All the files are in the Dropbox folder linked here.
IMPORTANT: use the included MIDI and Capacitivesensor Libraries when compiling the Arduino sketch because I had to modify the MIDI Library in order for StrumPad to work properly.
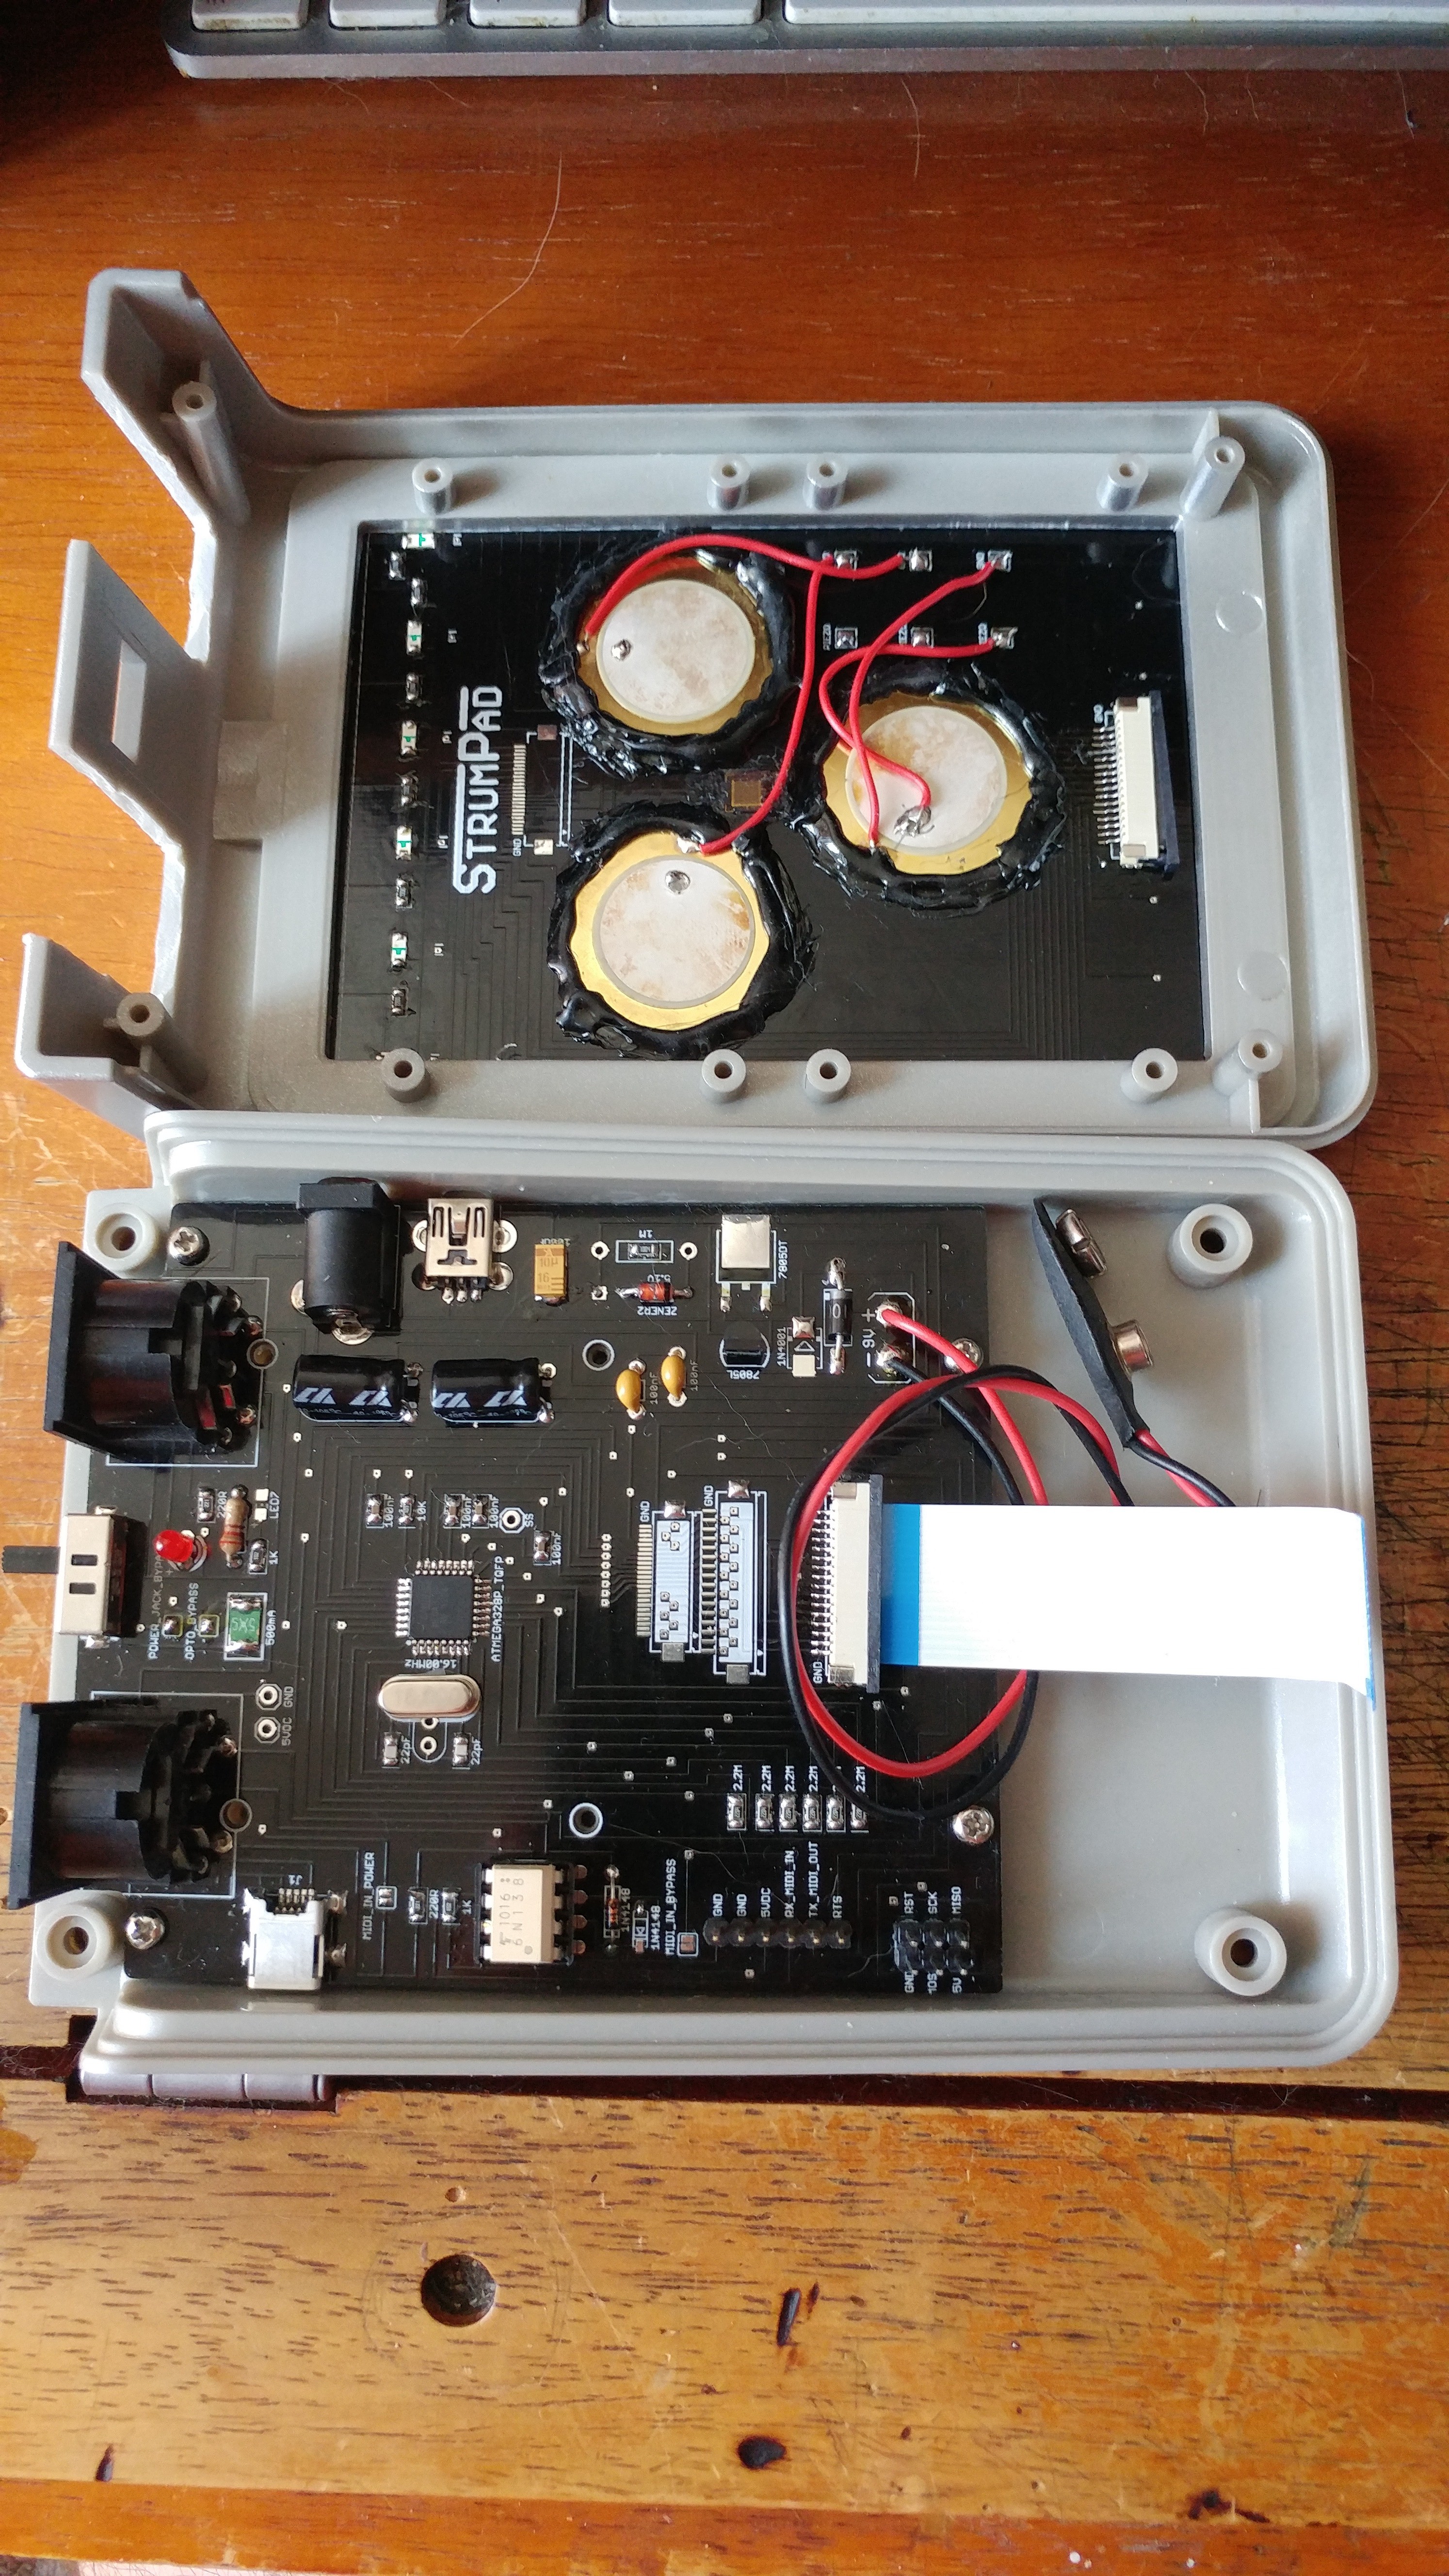
Also piezo placement and circuit is important. You should experiment with a piezo circuit separately in order to fin the best results. Experiment also with the resistor values for the Capacitive touch sensors; from 470K to 10M and see what gives the best results.
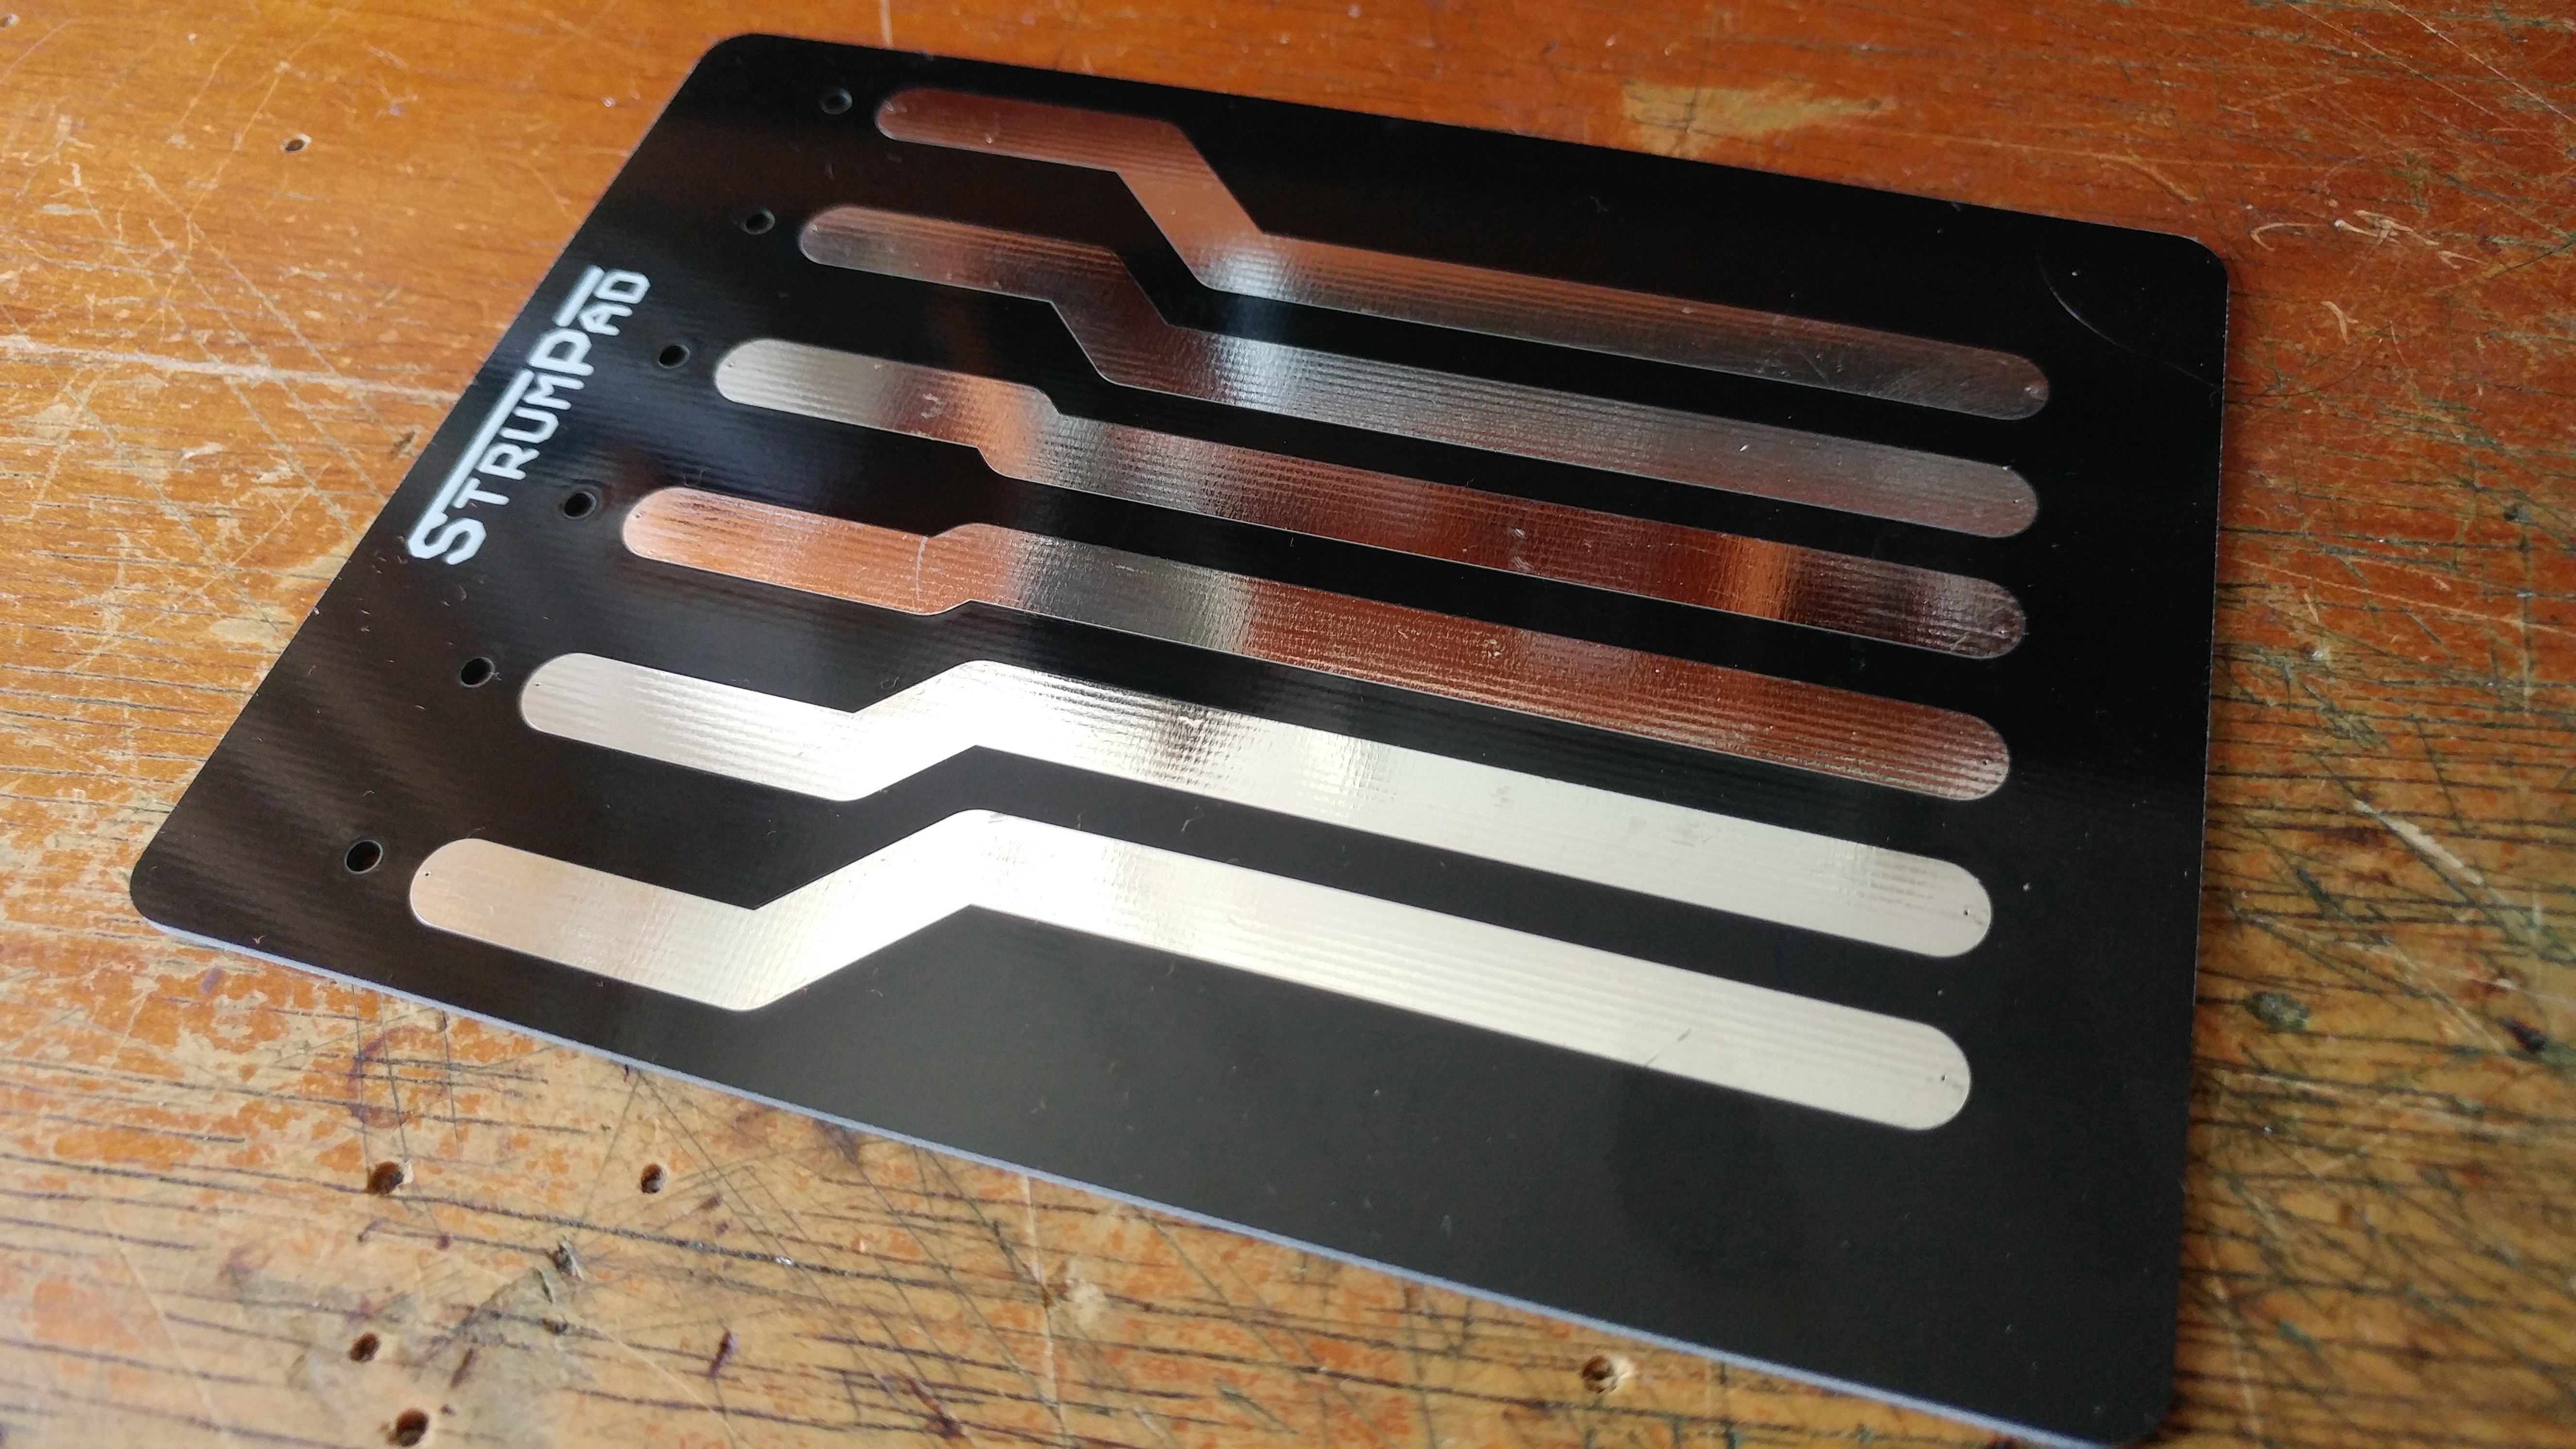
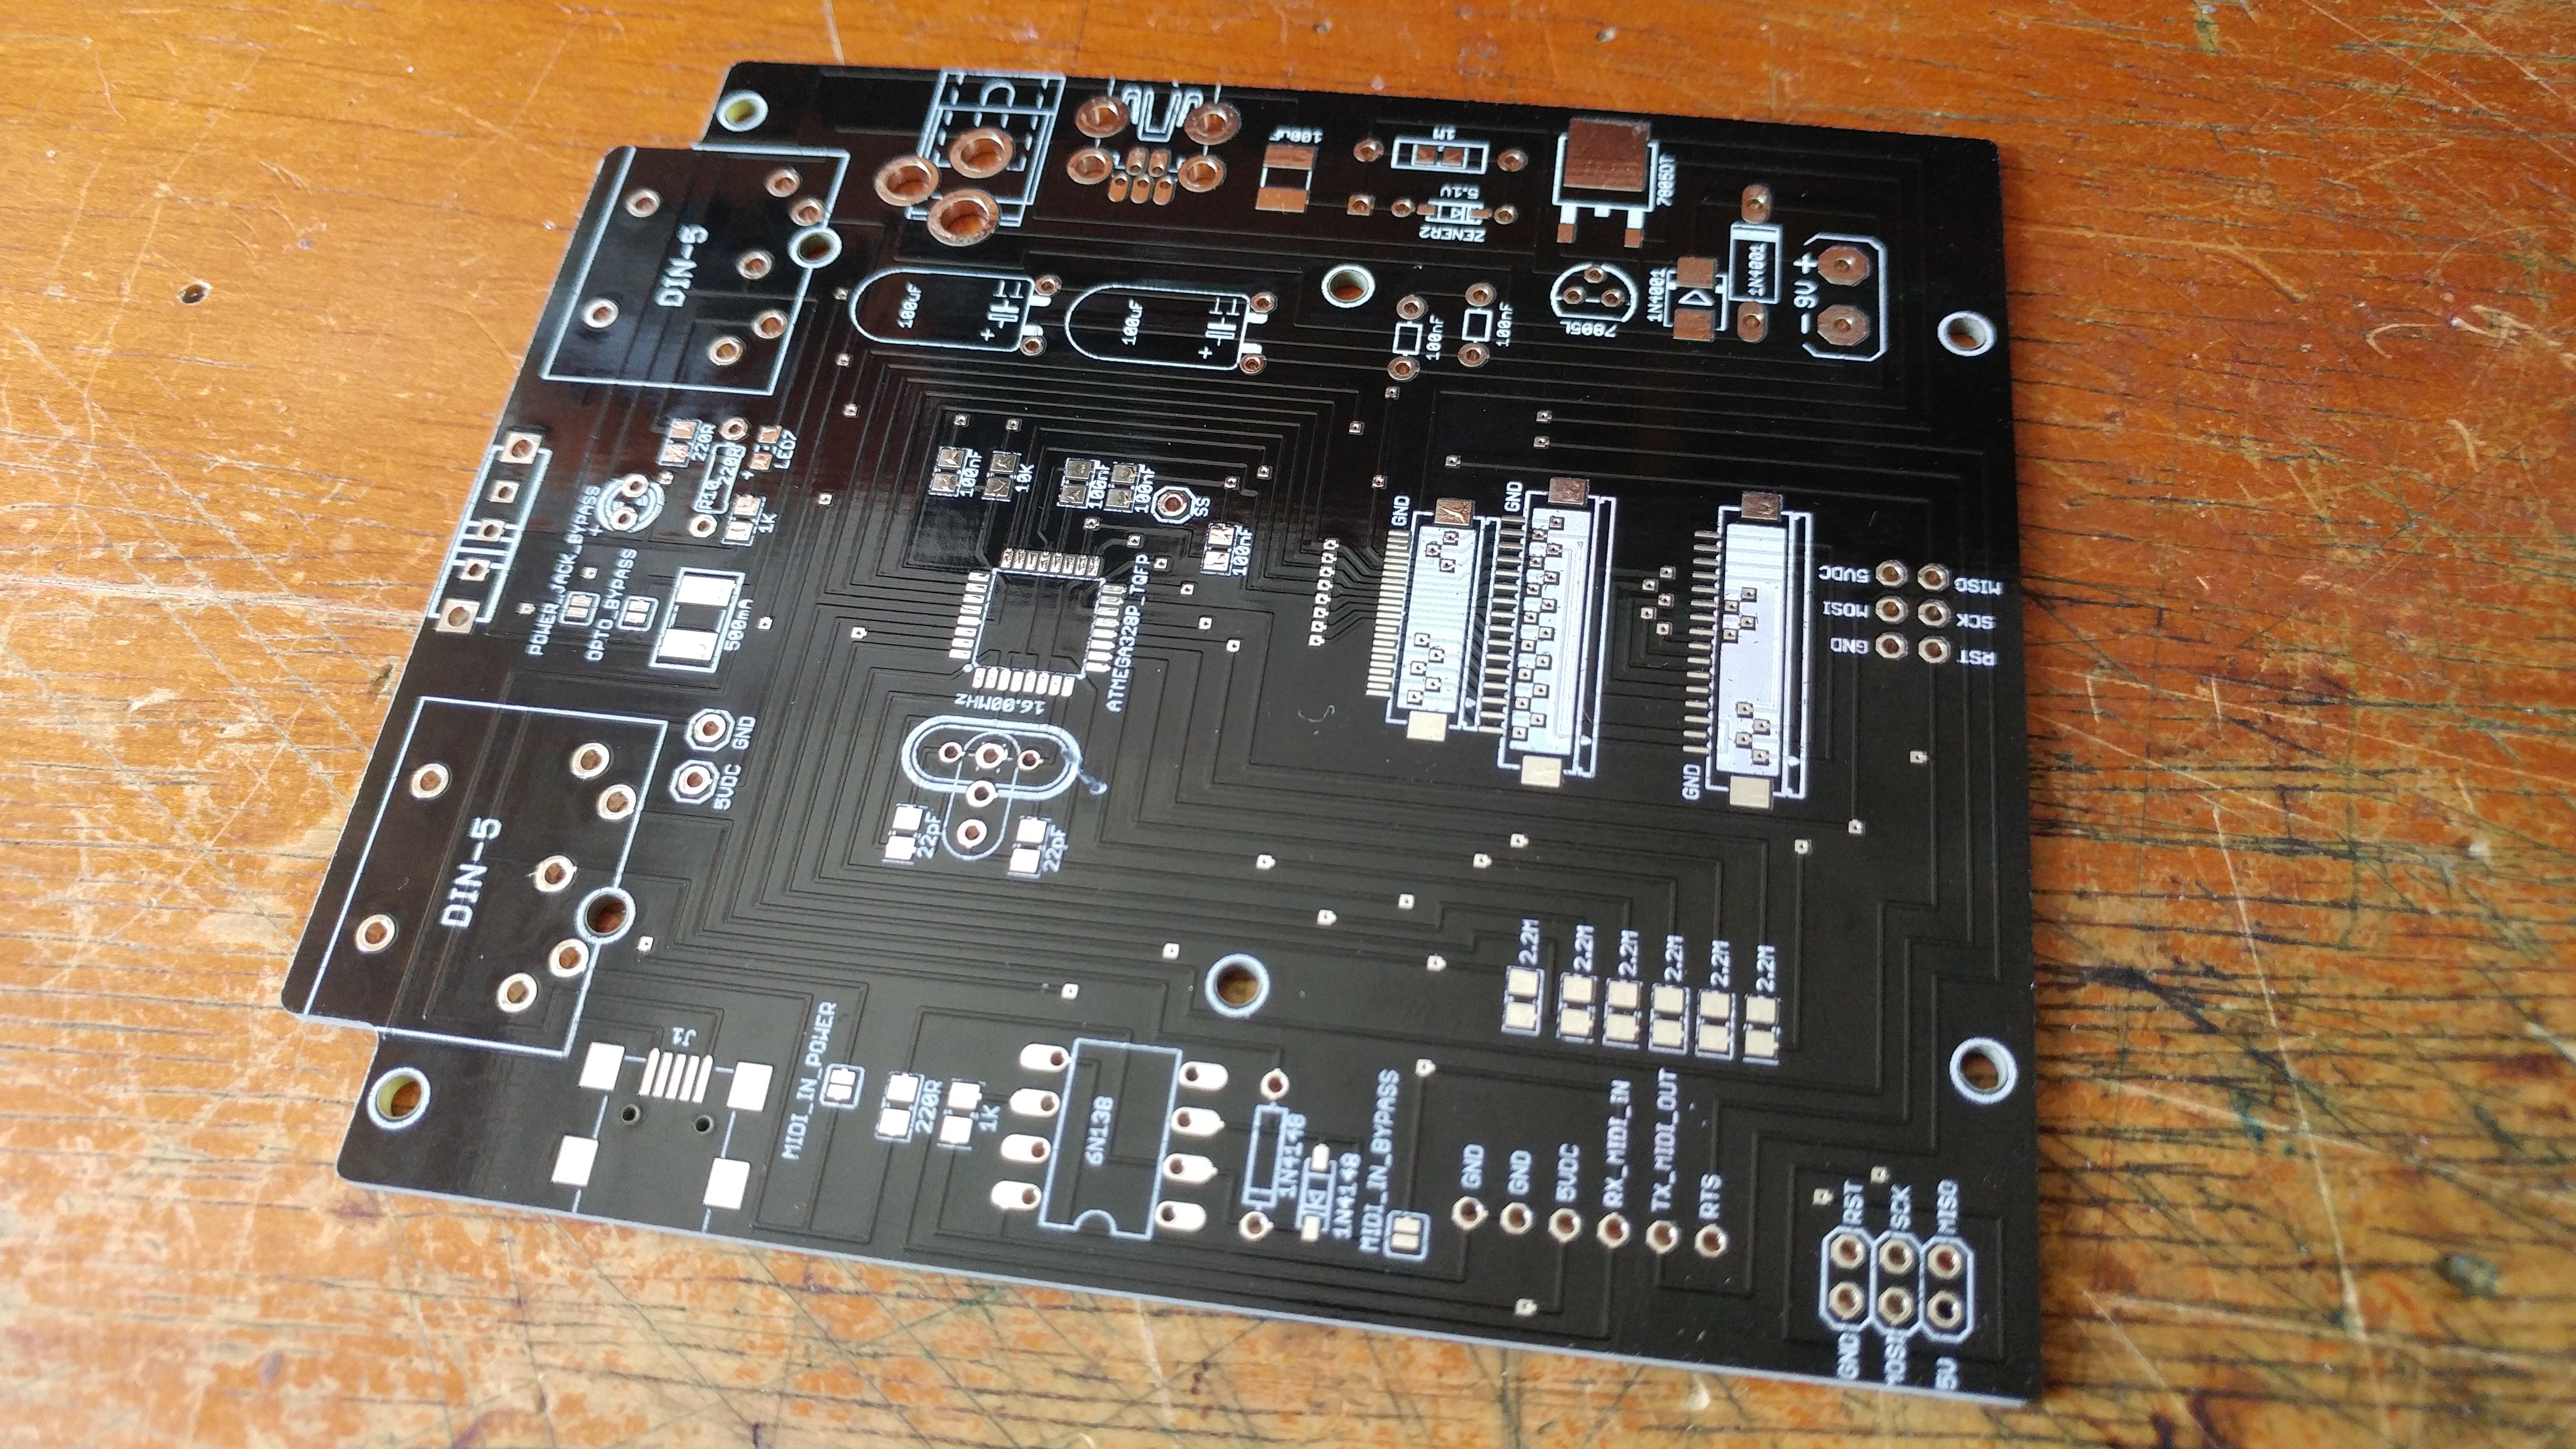
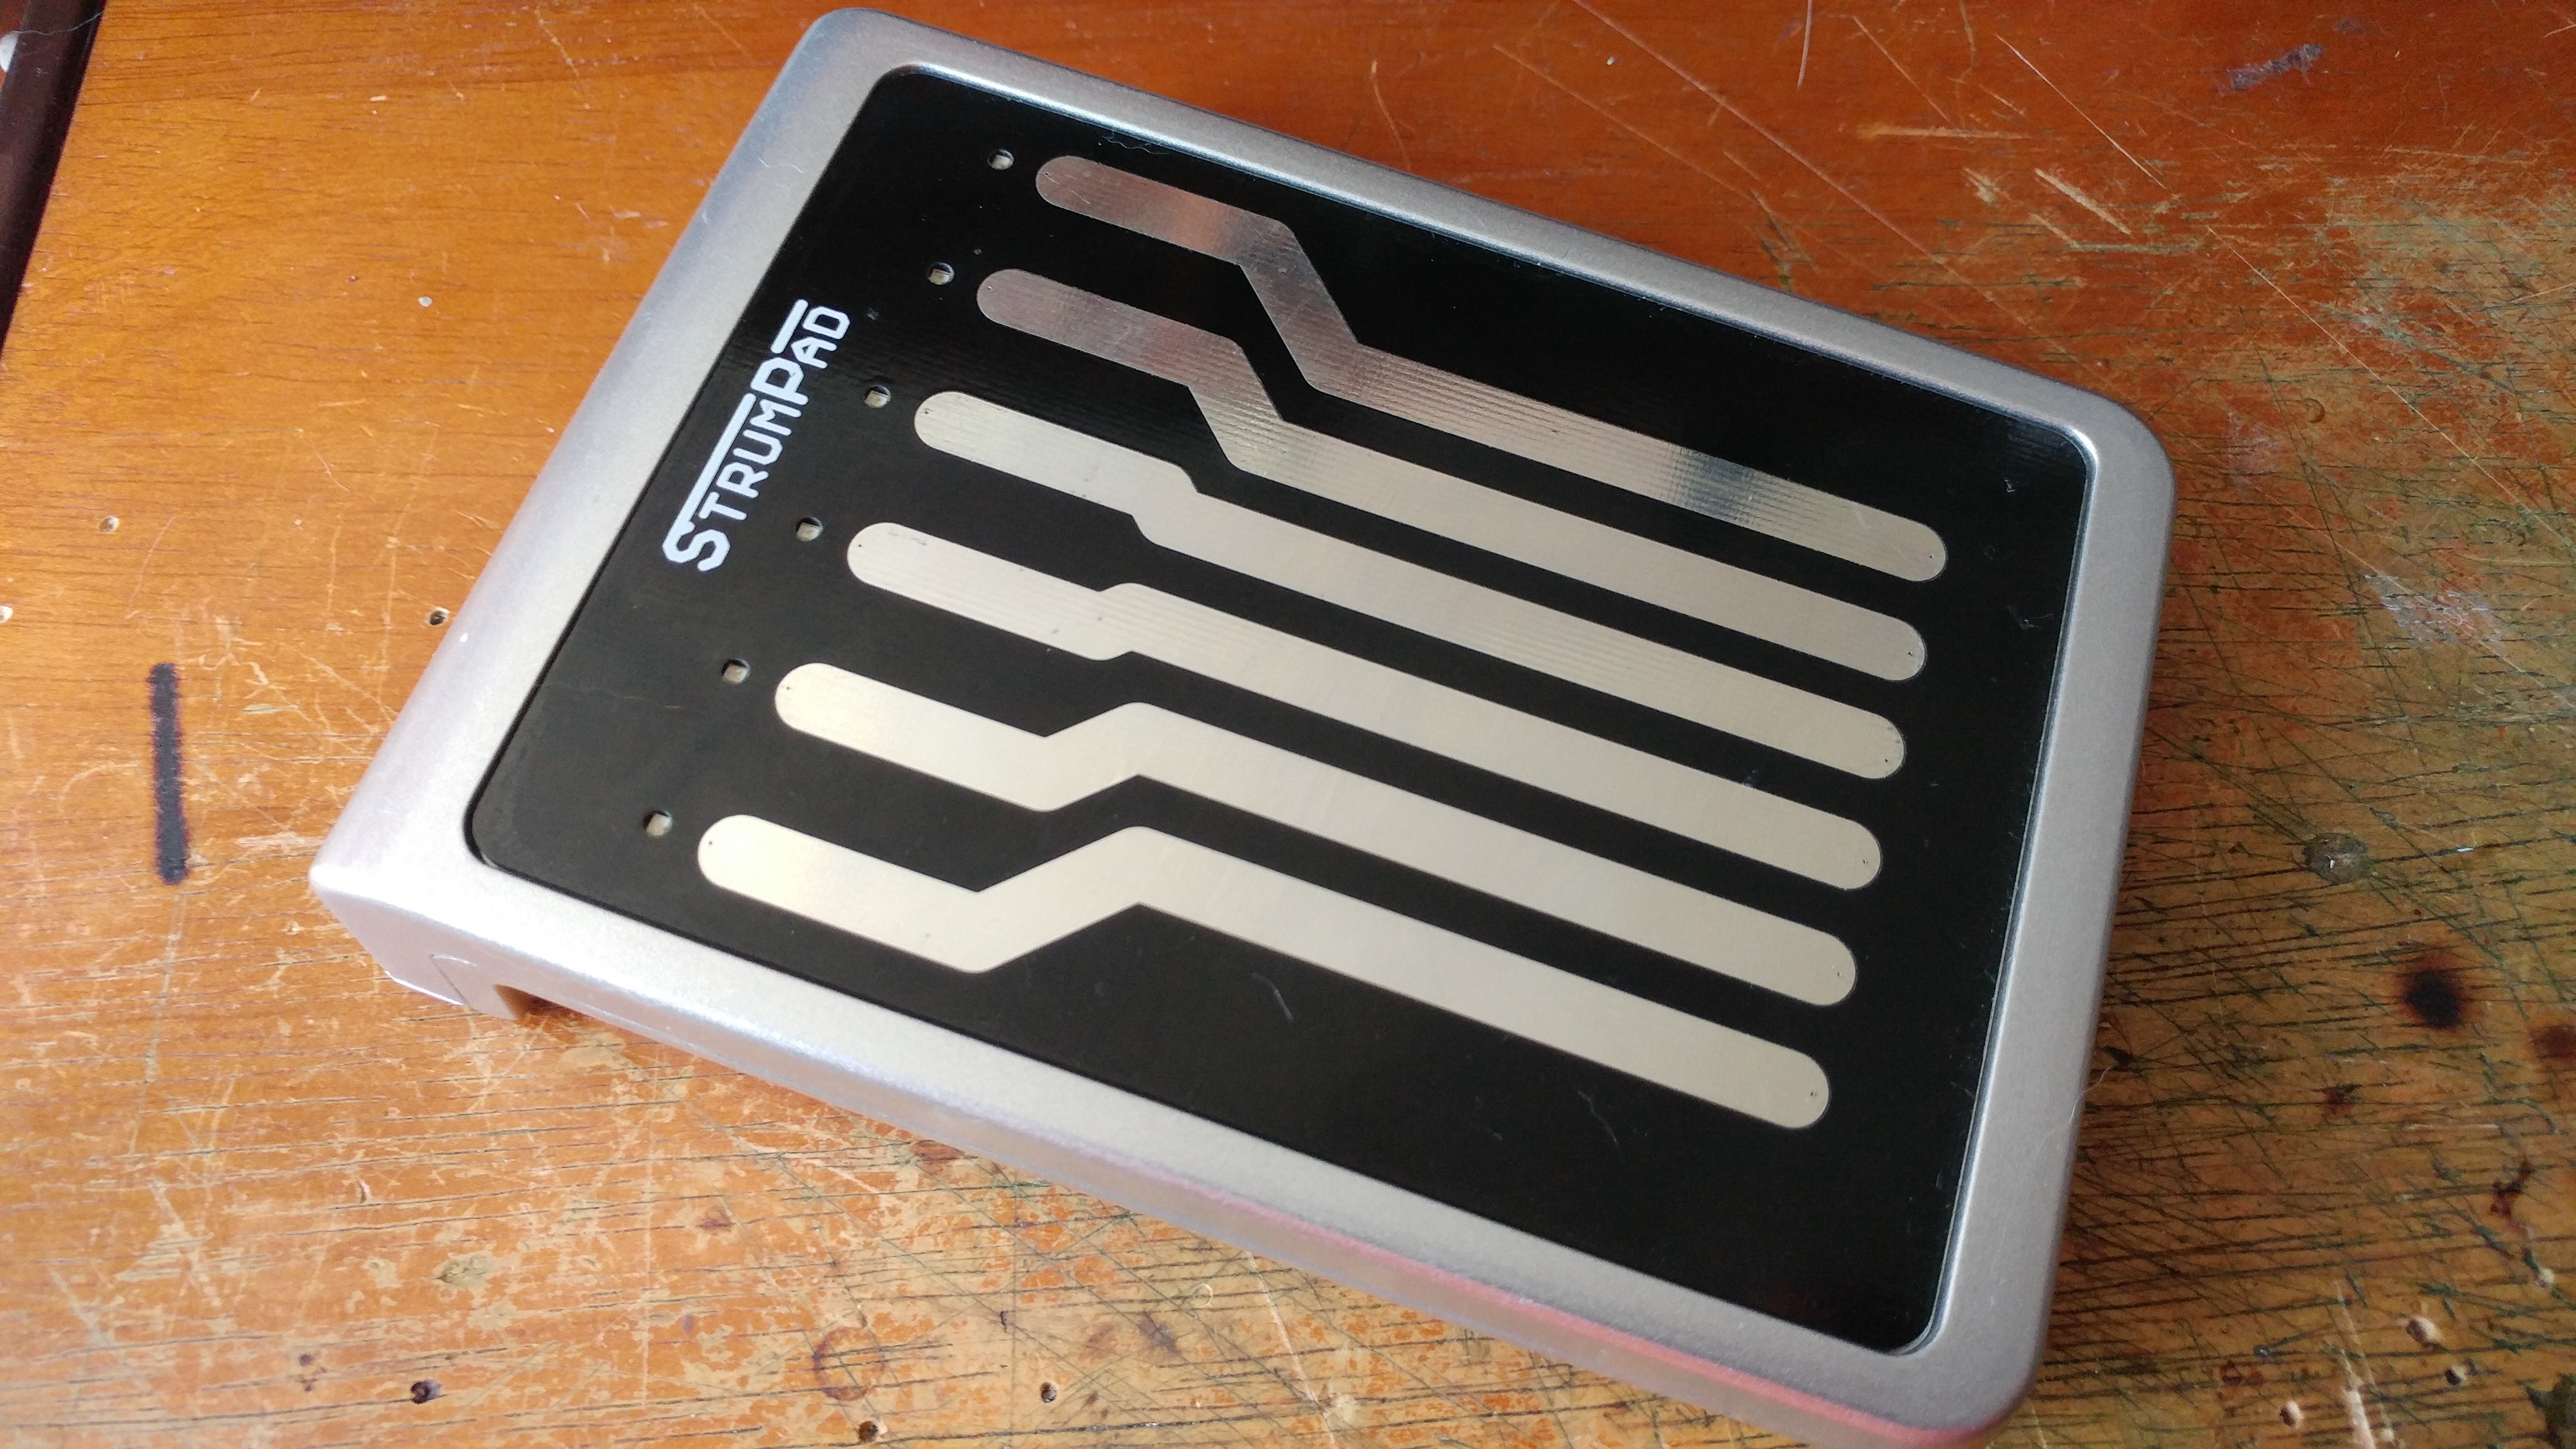
If you want to etch the board, there a 3 pdf files that show the traces. One colour image that shows all top and bottom traces for reference. One colour image that shows the bottom traces that you'll jump or etch if you're good with 2 sided PCB technique. And an black and white image of the board that is inverted cause it is the TOP layer and will be inverted to the right position once applied to the copper board.
I used a 2 sided copper board. The area on the bottom that will has the piezo was just marked with a black marker so there was a slightly larger circle of copper left in order to solder the piezo right to it.
 miro2424

 Tina Belmont
 Peggy, Keith and Petyr
 ronald
 J. M. Hopkins
現在、電子ギターを自作中です。これからのスタートとなるのですが、ぜひこの
StrumPadを使用したいと思っています。わからないこともたくさん出てくると思うので、ぜひ質問をさせてください。メールアドレスなども教えていただくと助かります。よろしくお願いいたします。