-
SW: Map scrolls with boat
02/07/2016 at 22:21 • 0 commentsI just pushed a code update that scrolls the map with the boat, such that the boat is near the edge, and pointed at the center of the map.
Zooming will maintain the boat the same position on the screen.
If you want to test the code, you don't need a Pi, you can run it on any computer (with node.js), and by default it will use OpenStreetmap maps, so you don't need any offline tiles either.
The code is at: https://github.com/pilotniq/piChart
-
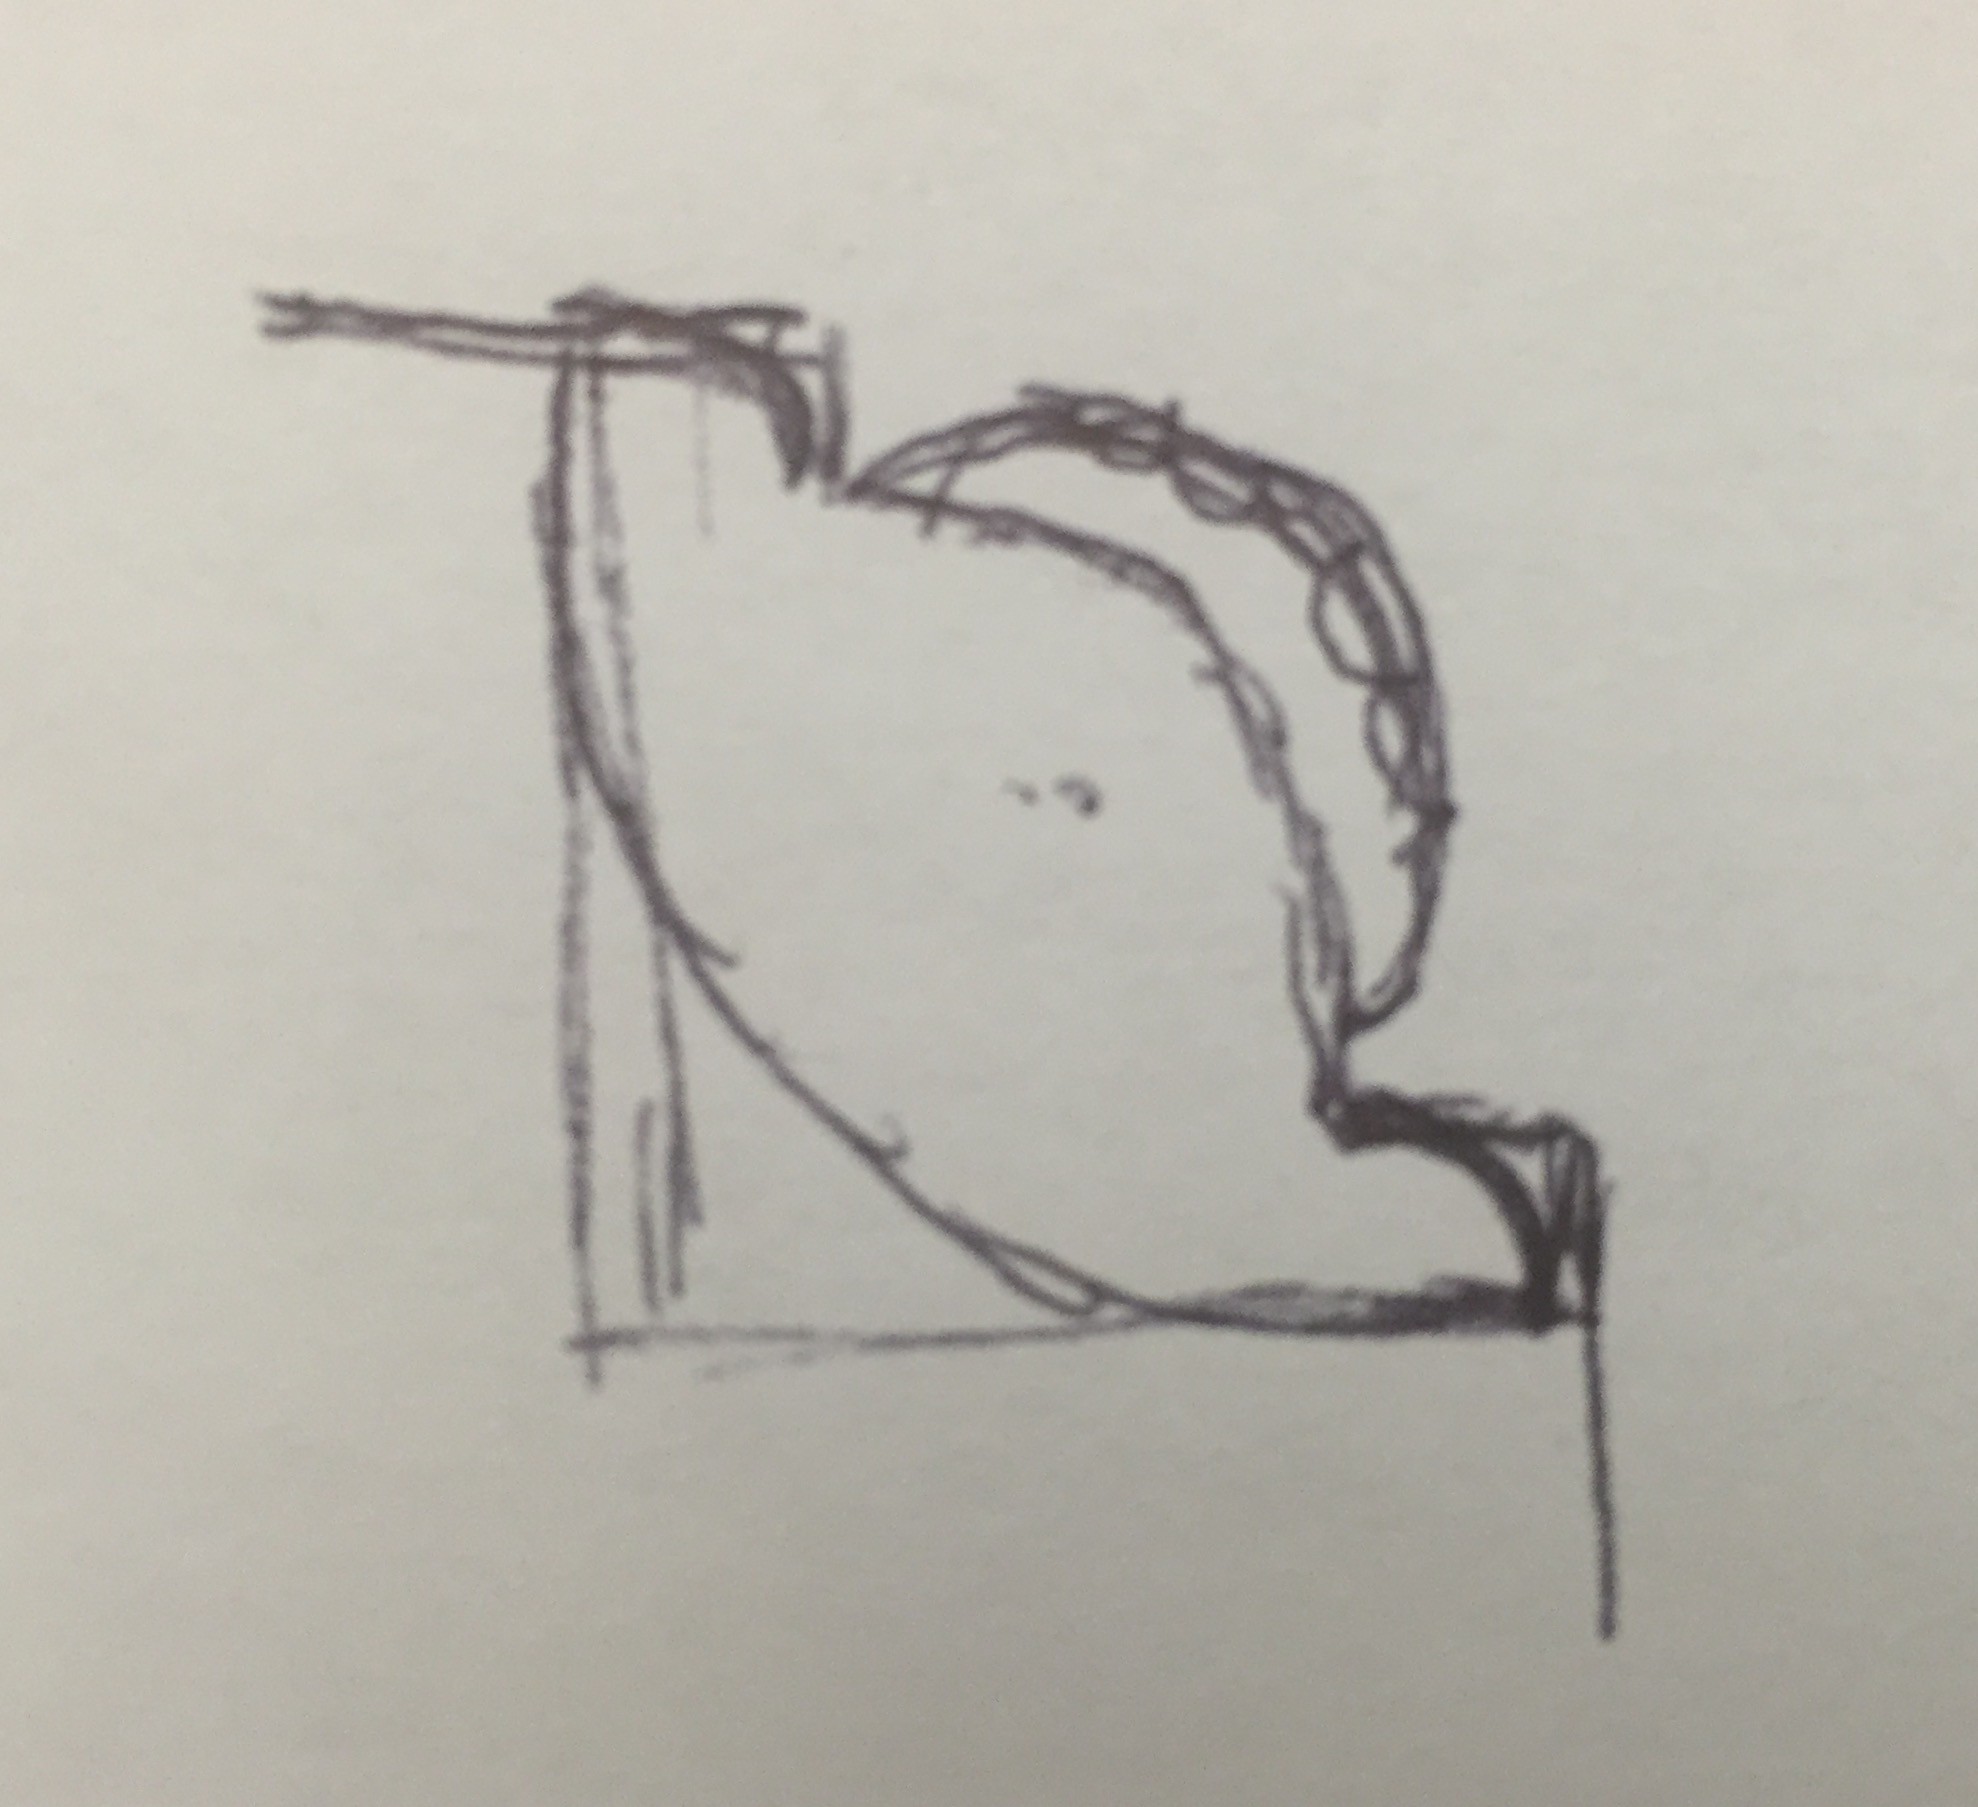
Sketches of Mechanical Design
02/07/2016 at 10:08 • 0 commentsI made some sketches of my vision of the mechanical design.
In this sketch I was thinking of having a lock as on/off switch with a key attached with a magnet to the front. I've since re-thought that, but I'll cover that in a later post.
![]()
To keep the device as protected as possible from rain I would rather not have any electronic components, or switches exposed on the front. My current switch-idea revolves around having a brass lever on the front with a magnet, and a reed switch under the wood sensing the switch position.
I plan to have an on/off switch, a backlight on/off switch (without the backlight I approximately halve the energy use, and the display switches to the sunlight-readable grayscale mode), and a thumbwheel like control to zoom in and out. To keep it minimal - no pan controls, the display will always scroll with the boat.
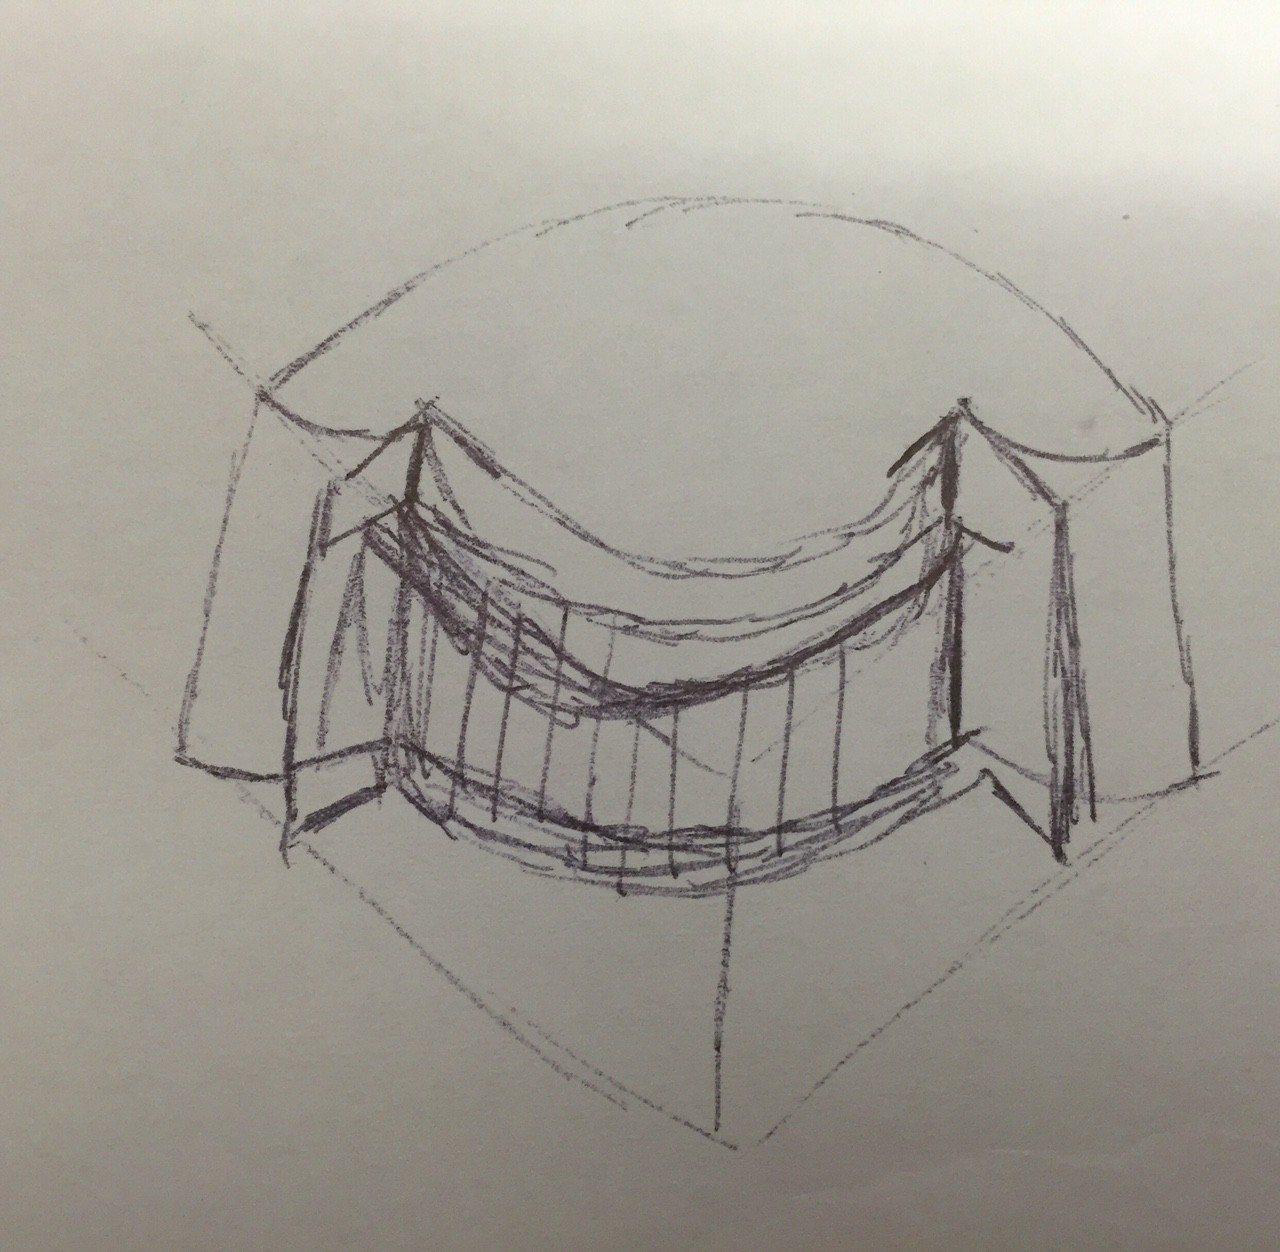
I'm thinking to put the thumbwheel in the upper right corner in landscape mode, so that it ends up in the lower right corner. It should be recessed for protection:
![]()
![]()
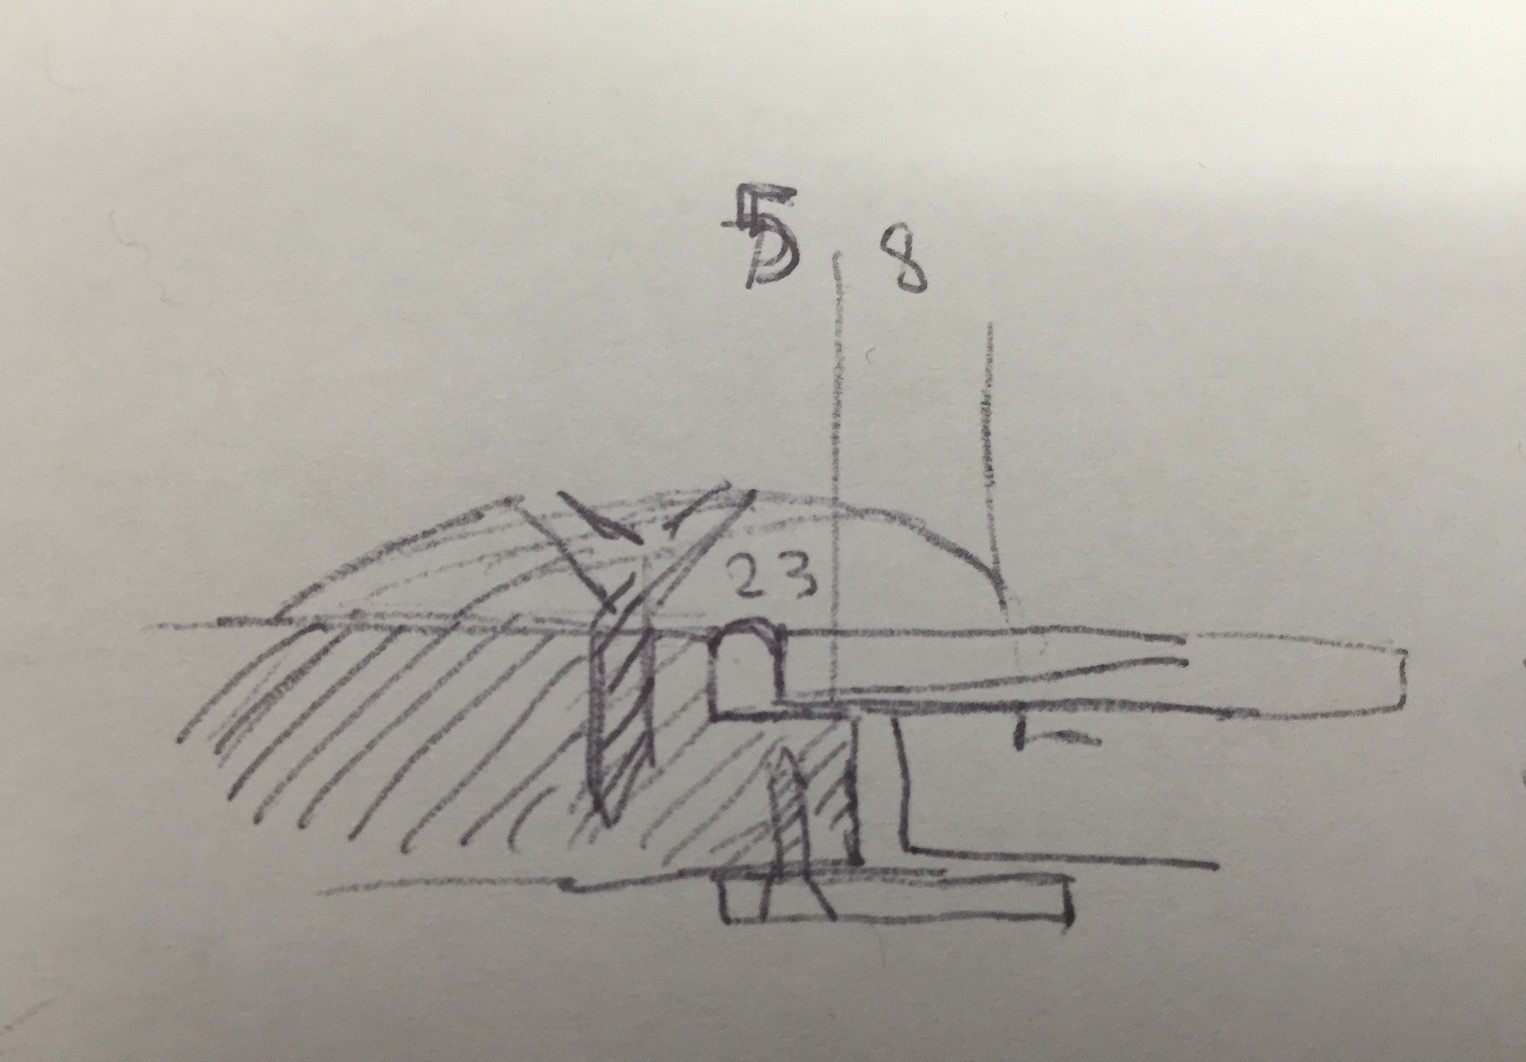
The display will be mounted under some plexiglass for protection:
![]()
Here's a photo of the kind of look (mahogny/brass) I'm aiming for:
![]()
-
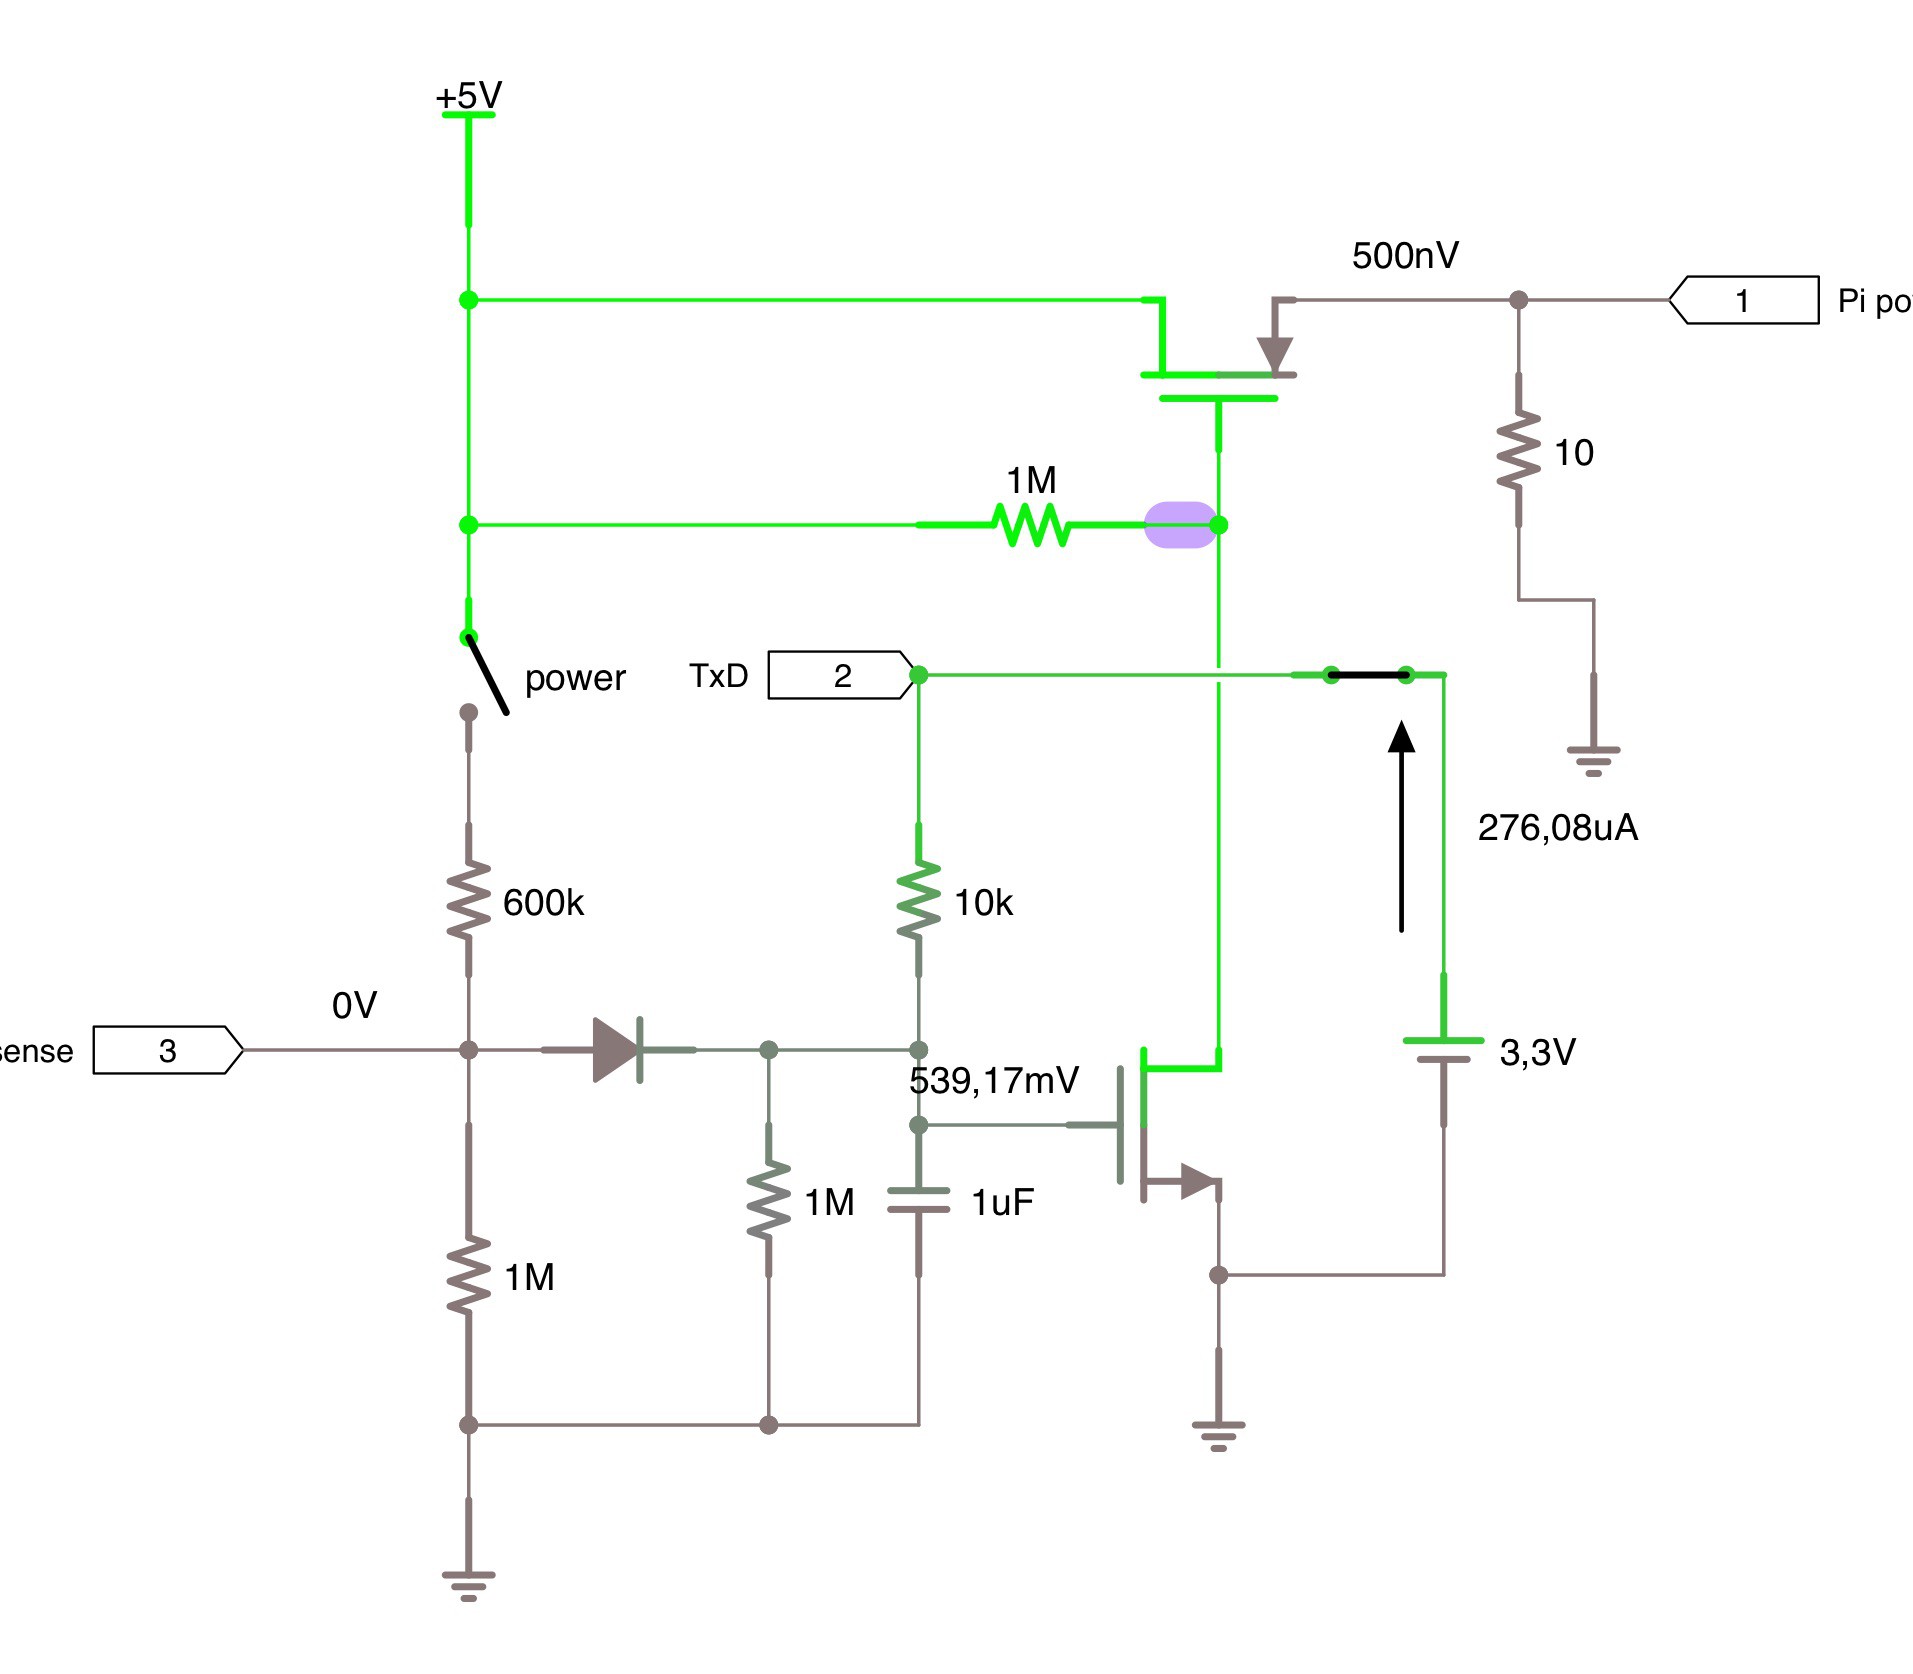
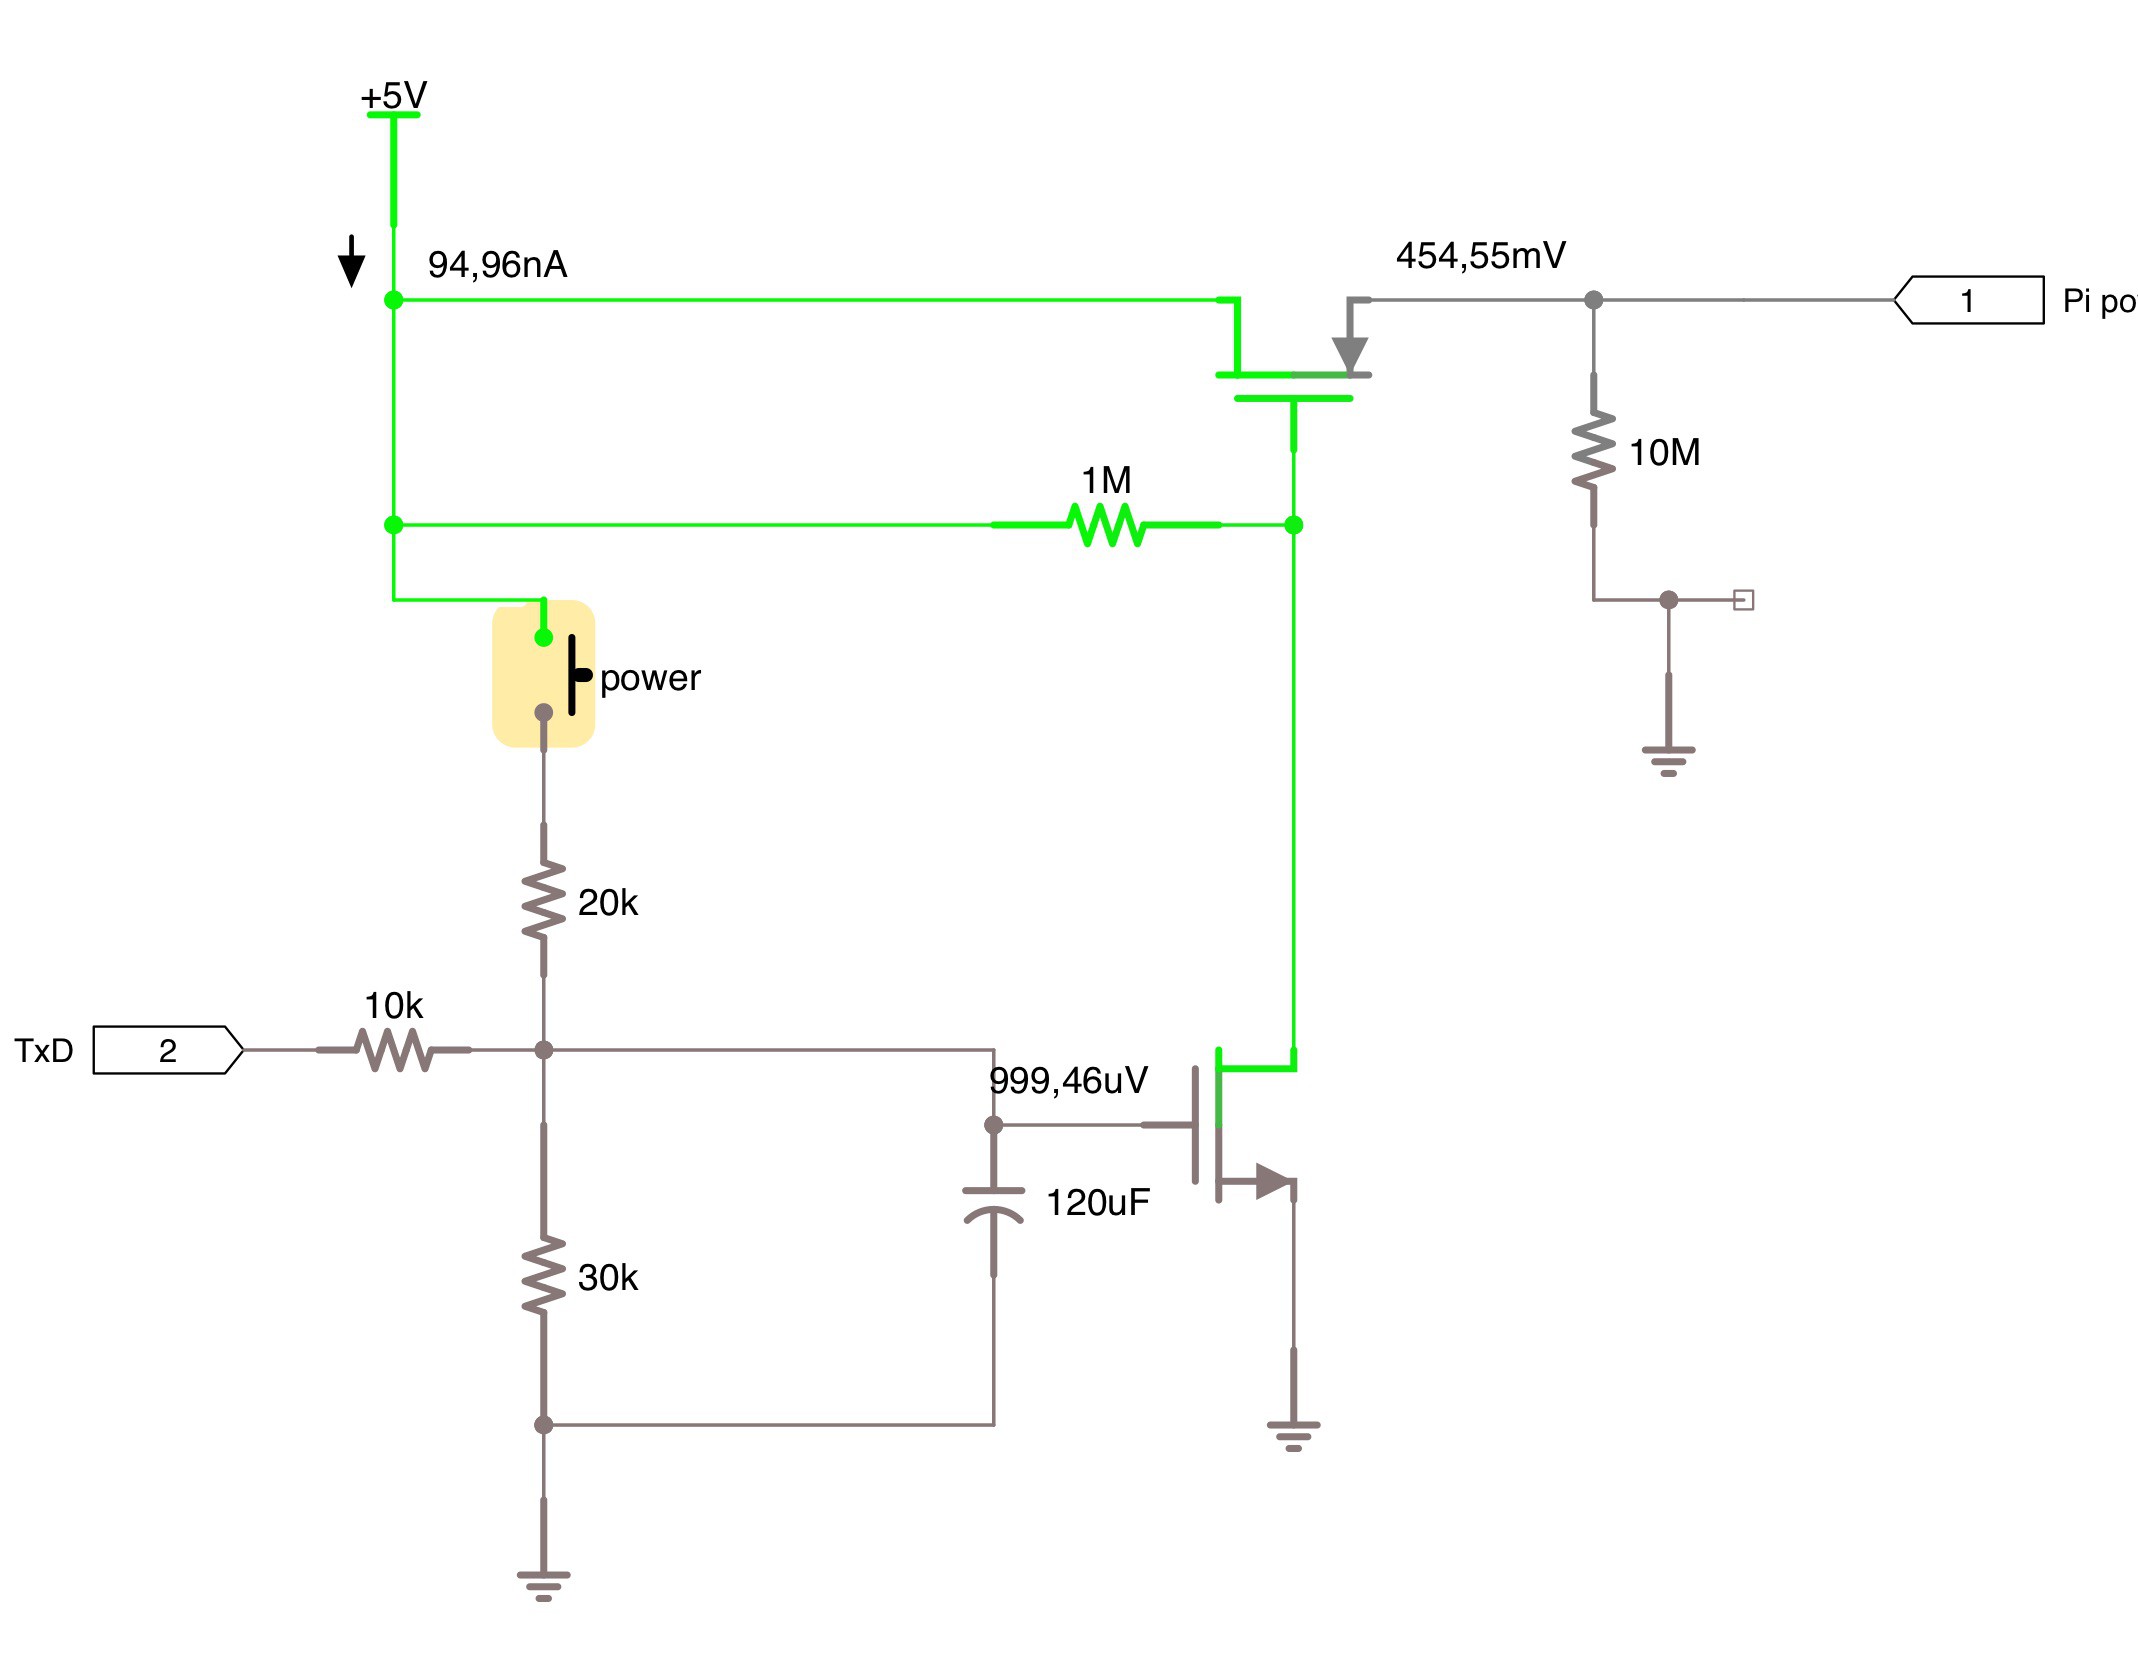
Updated RPi On/Off Circuit
02/07/2016 at 09:24 • 2 commentsI updated the Raspberry Pi On/Off circuit to include a signal to the Raspberry Pi so it detects when the Pi is turned off.
I'm also thinking now of not having a momentary switch for the power switch.
Here's the new circuit. Again, detailed component values have not been selected. The 10 ohm resistor symolises the Pi's load. I'll attach the iCircuit file to the Hackaday project.:
![]()
Here's the script (/home/pi/shutdownMonitor.py) that turns off the Pi when it detects that the power switch has been turned off:
# Import the modules to send commands to the system and access GPIO pins
from subprocess import call
import RPi.GPIO as gpio
import time
import os

# Define a function to keep script running
def loop():
    time.sleep(60)

# Define a function to run when an interrupt is called
def shutdown(pin):
     print "shutting down..."
     os.system( "sudo shutdown -h now" )
     # call('halt', shell=False)

gpio.setmode(gpio.BCM) # Set pin numbering to board numbering
gpio.setup(23, gpio.IN ) # , pull_up_down=gpio.PUD_TRI) # Set up pin 7 as an input
# gpio.add_event_detect(23, gpio.RISING, callback=shutdown, bouncetime=200) # Set up an interrupt to look for button presses
gpio.add_event_detect(23, gpio.FALLING, callback=shutdown, bouncetime=200) # Set up an interrupt to look for button presses

loop() # Run the loop function to keep script running
It is started from /etc/rc.local like this:python /home/pi/shutdownMonitor.py & -
Raspberry Pi On/Off circuit
02/05/2016 at 15:05 • 0 commentsI just uploaded a block diagram of the 'tablet', and a sketch of a circuit diagram for turning the Raspberry Pi power on and off.
The thing about turning the Raspberry Pi off, is that you want to do an orderly shut down, or your SD-card could be corrupted.
![]()
The circuit works as follows:
When the momentary power switch is pushed, the capacitor is charged, and the lower transistor is turned on. This turns the upper transistor on, and power is delivered to the Pi. When the power switch is released, the capacitor will start discharging through the 30k resistor.
However, when the Pi is turned on, it starts outputting 3.3V on the TxD output. This will charge the capacitor, and keep the Pi turned on.
I need to add something so the Pi can sense if the on/off switch is pushed. If it is, and the Pi is on, the Pi can start it's orderly shutdown (/sbin/shutdown -h now). When shutdown is complete, the TxD signal will go low, and the capacitor will start discharging through the 30k resistance. When it has discharged, the lower transistor will turn off, which will turn the upper transistor off, which will turn off the power to the Pi (and the video board).
Detailed component values have not been chosen yet, the above circuit was simulated in iCircuit on the iPad to get it working right. I did build it on a breadboard to test that it works.
The 20k resistor is used as a voltage divider, so that the TxD pin is not exposed to more than 3.3V. The 10k resistor is so too much current won't be drawn from the TxD pin when charging the capacitor.
I've seen other solutions, but most of them seemed overly complicated.
I have not yet decided whether to just wire this up on a perfboard, or have a PCB made.
-
Initial Code Push
02/03/2016 at 20:47 • 0 commentsI just pushed the current code to GitHub.
It's amazing, with 93 lines of node.js and 225 lines of HTML, much of the basic functionality is present.
You'll need to either have your own map tile images or change the HTML to use online maps/charts to get a map (otherwise you'll see tile addresses and a boat symbol, I think).
Although intended to be run on a Raspberry Pi, I imagine you could run this code on any computer.
My next task is to get Websocket communication between the server and the web page working, and have the server simulate a moving boat, and have the map update.
Let me know if you have any comments!
Pi Chart
A wireless nautical chart plotter based on a Raspberry Pi and a sunlight readable screen.