-
Heat Sink Housing
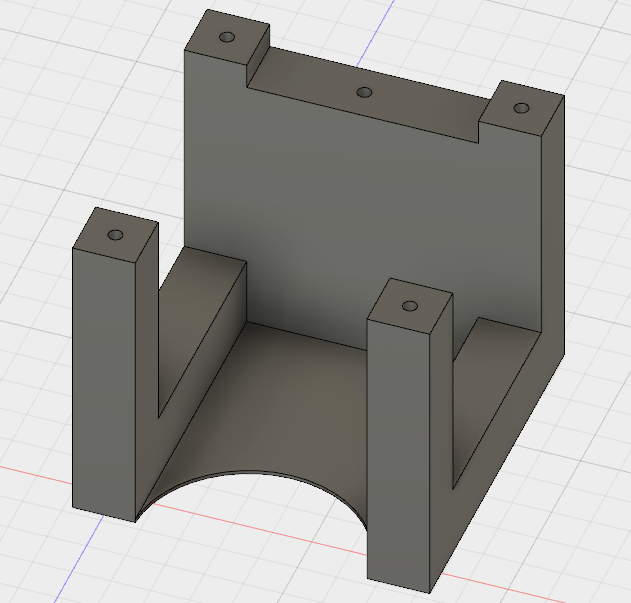
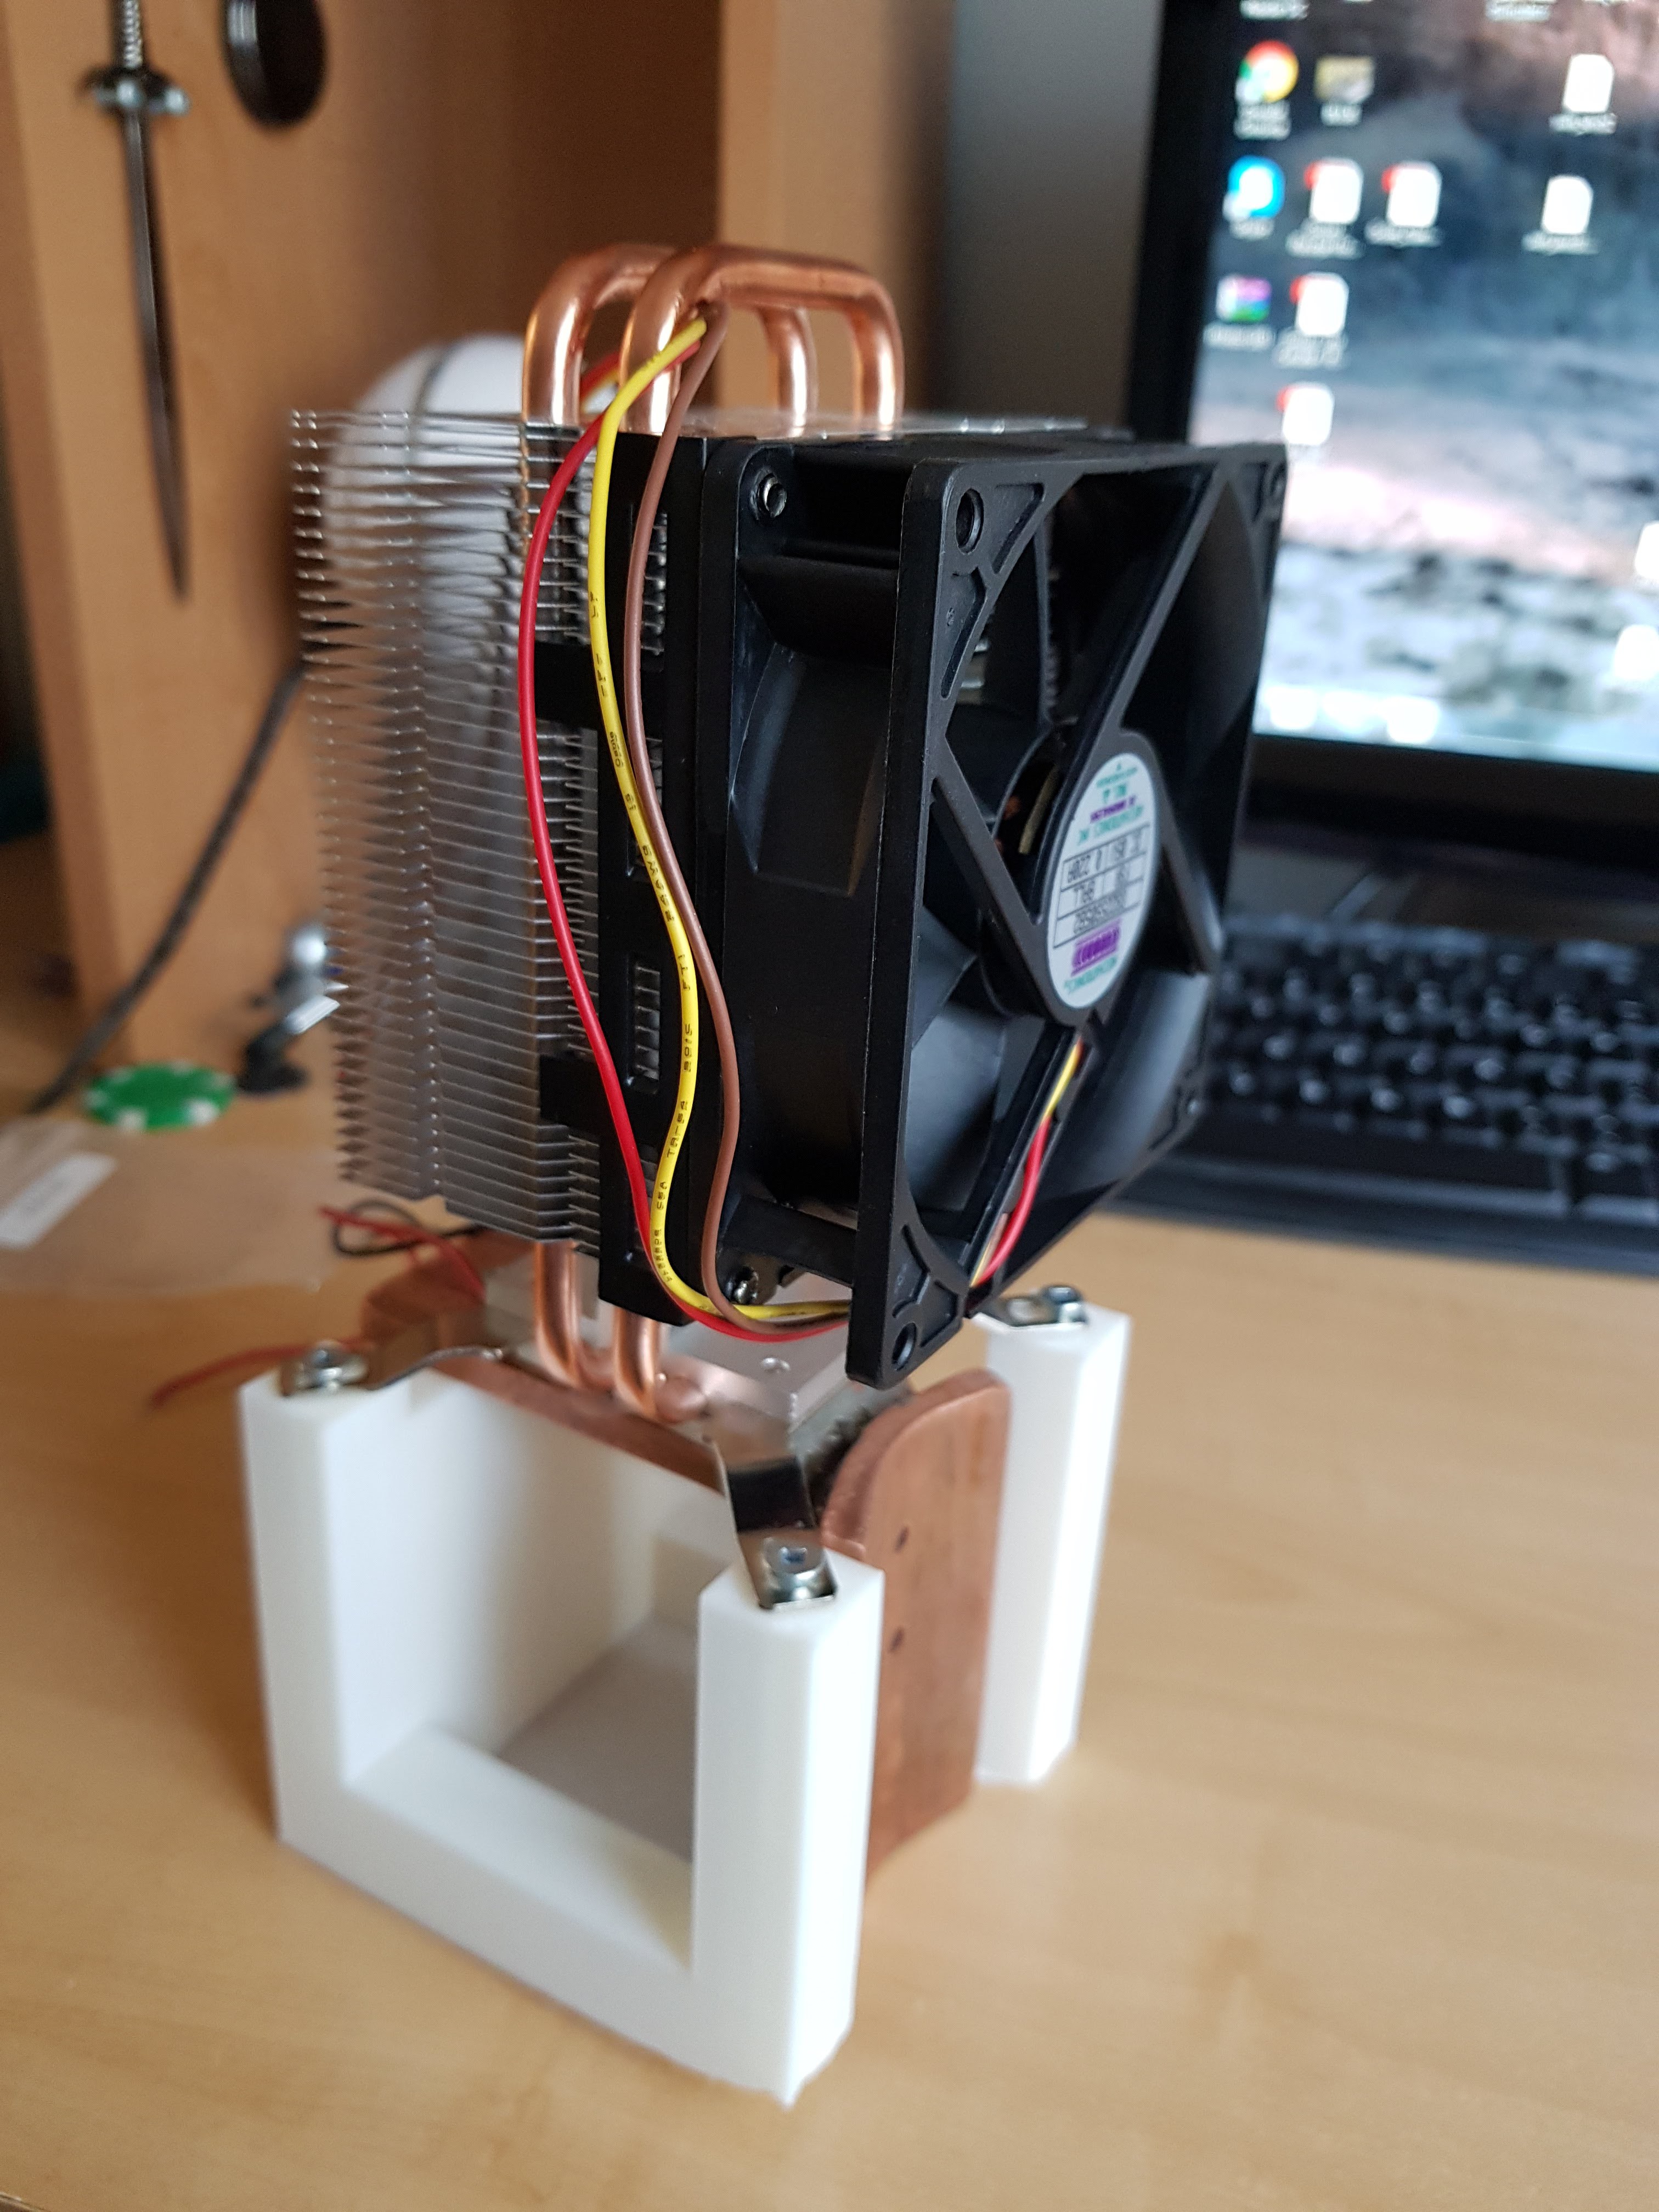
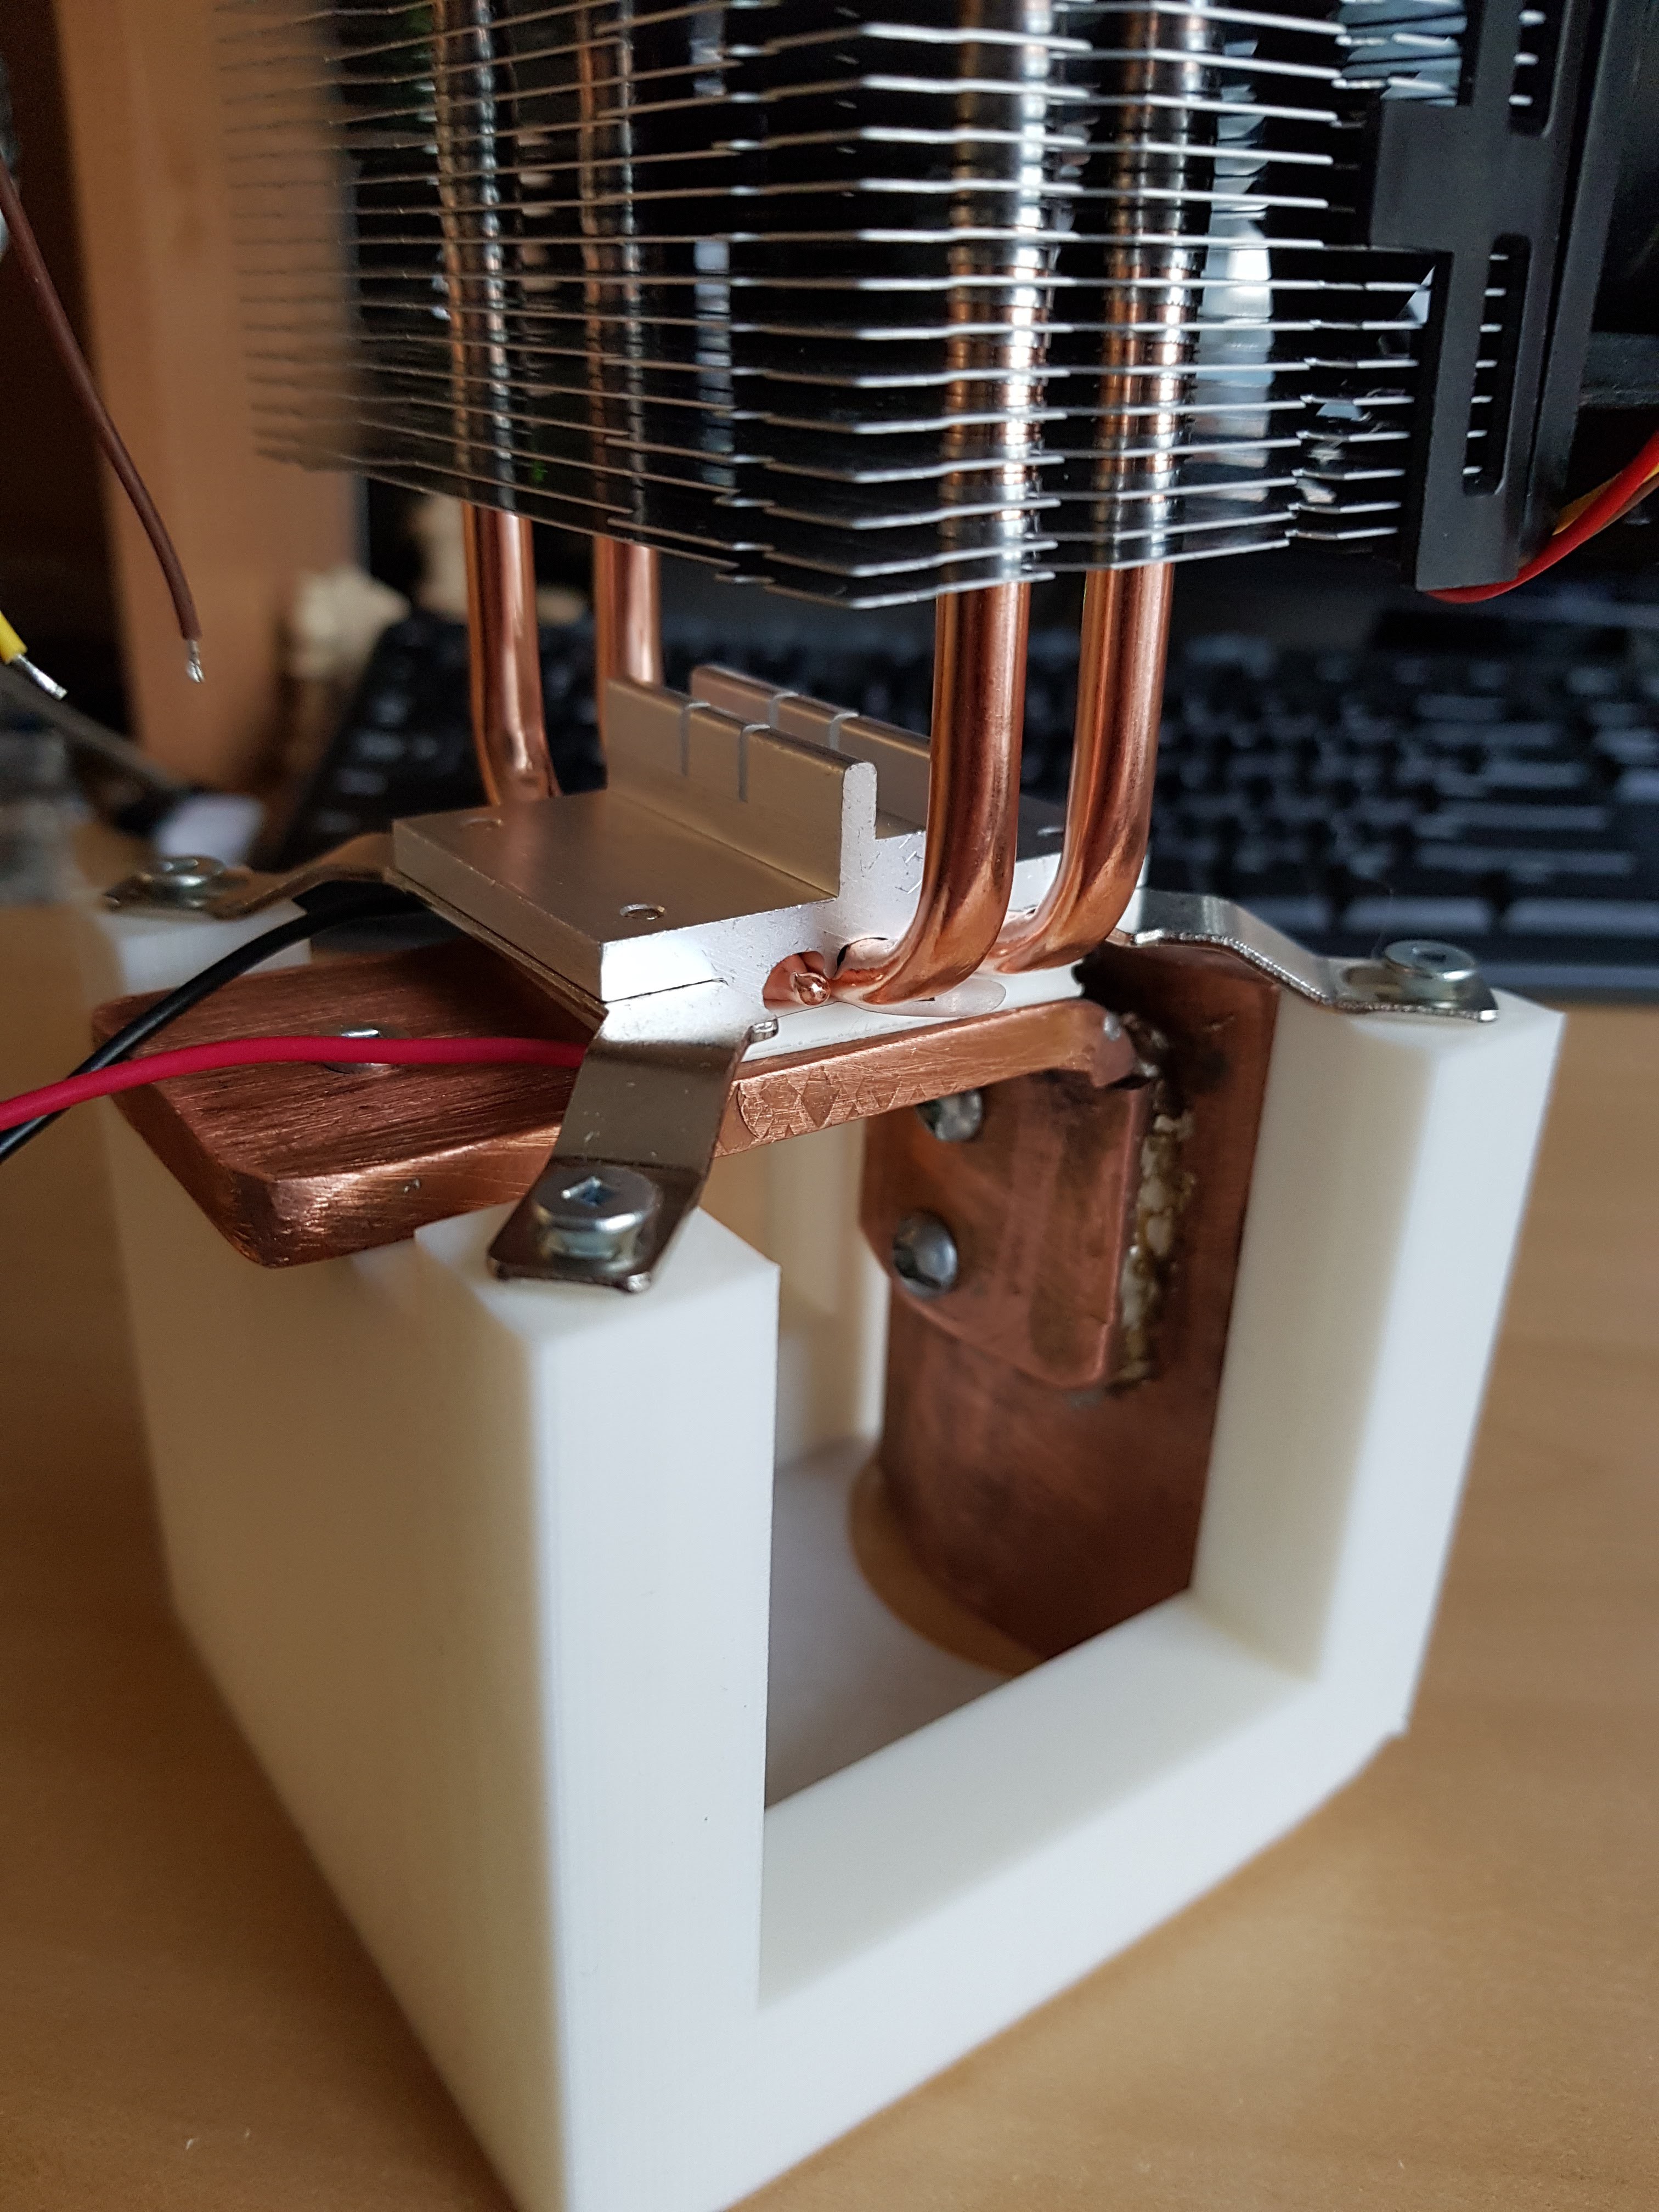
05/21/2018 at 21:03 • 0 commentsI've done up a rough prototype housing 3D printed with PLA to confirm my dimensions were good and for easier testing.
It printed a bit wonky on the bottom but good enough.
![]()
![]()
I did another test with the hot mug and was able to yield 260mV at peak. I still have not applied the thermal paste between the surfaces of the thermoelectric generator. I ran the fan from a separate 5V source to see the effect on produced voltage. I was able to get up to 290mV peak thanks to the extra temperature differential.
-
Heat Transferring
05/17/2018 at 04:01 • 0 commentsThe design of this requires heat to transfer from the side of the mug to a mounted heat sink. The original vision of this design is to have the heat sink mounted on a surface that is 90 degrees rotated from the surface that will conduct heat from the side of the cup. For the best power output I'd require maximum heat transfer from the mug to the thermo electric generator and heat sink.
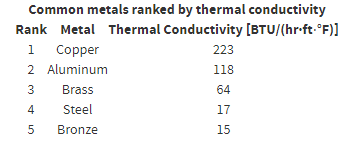
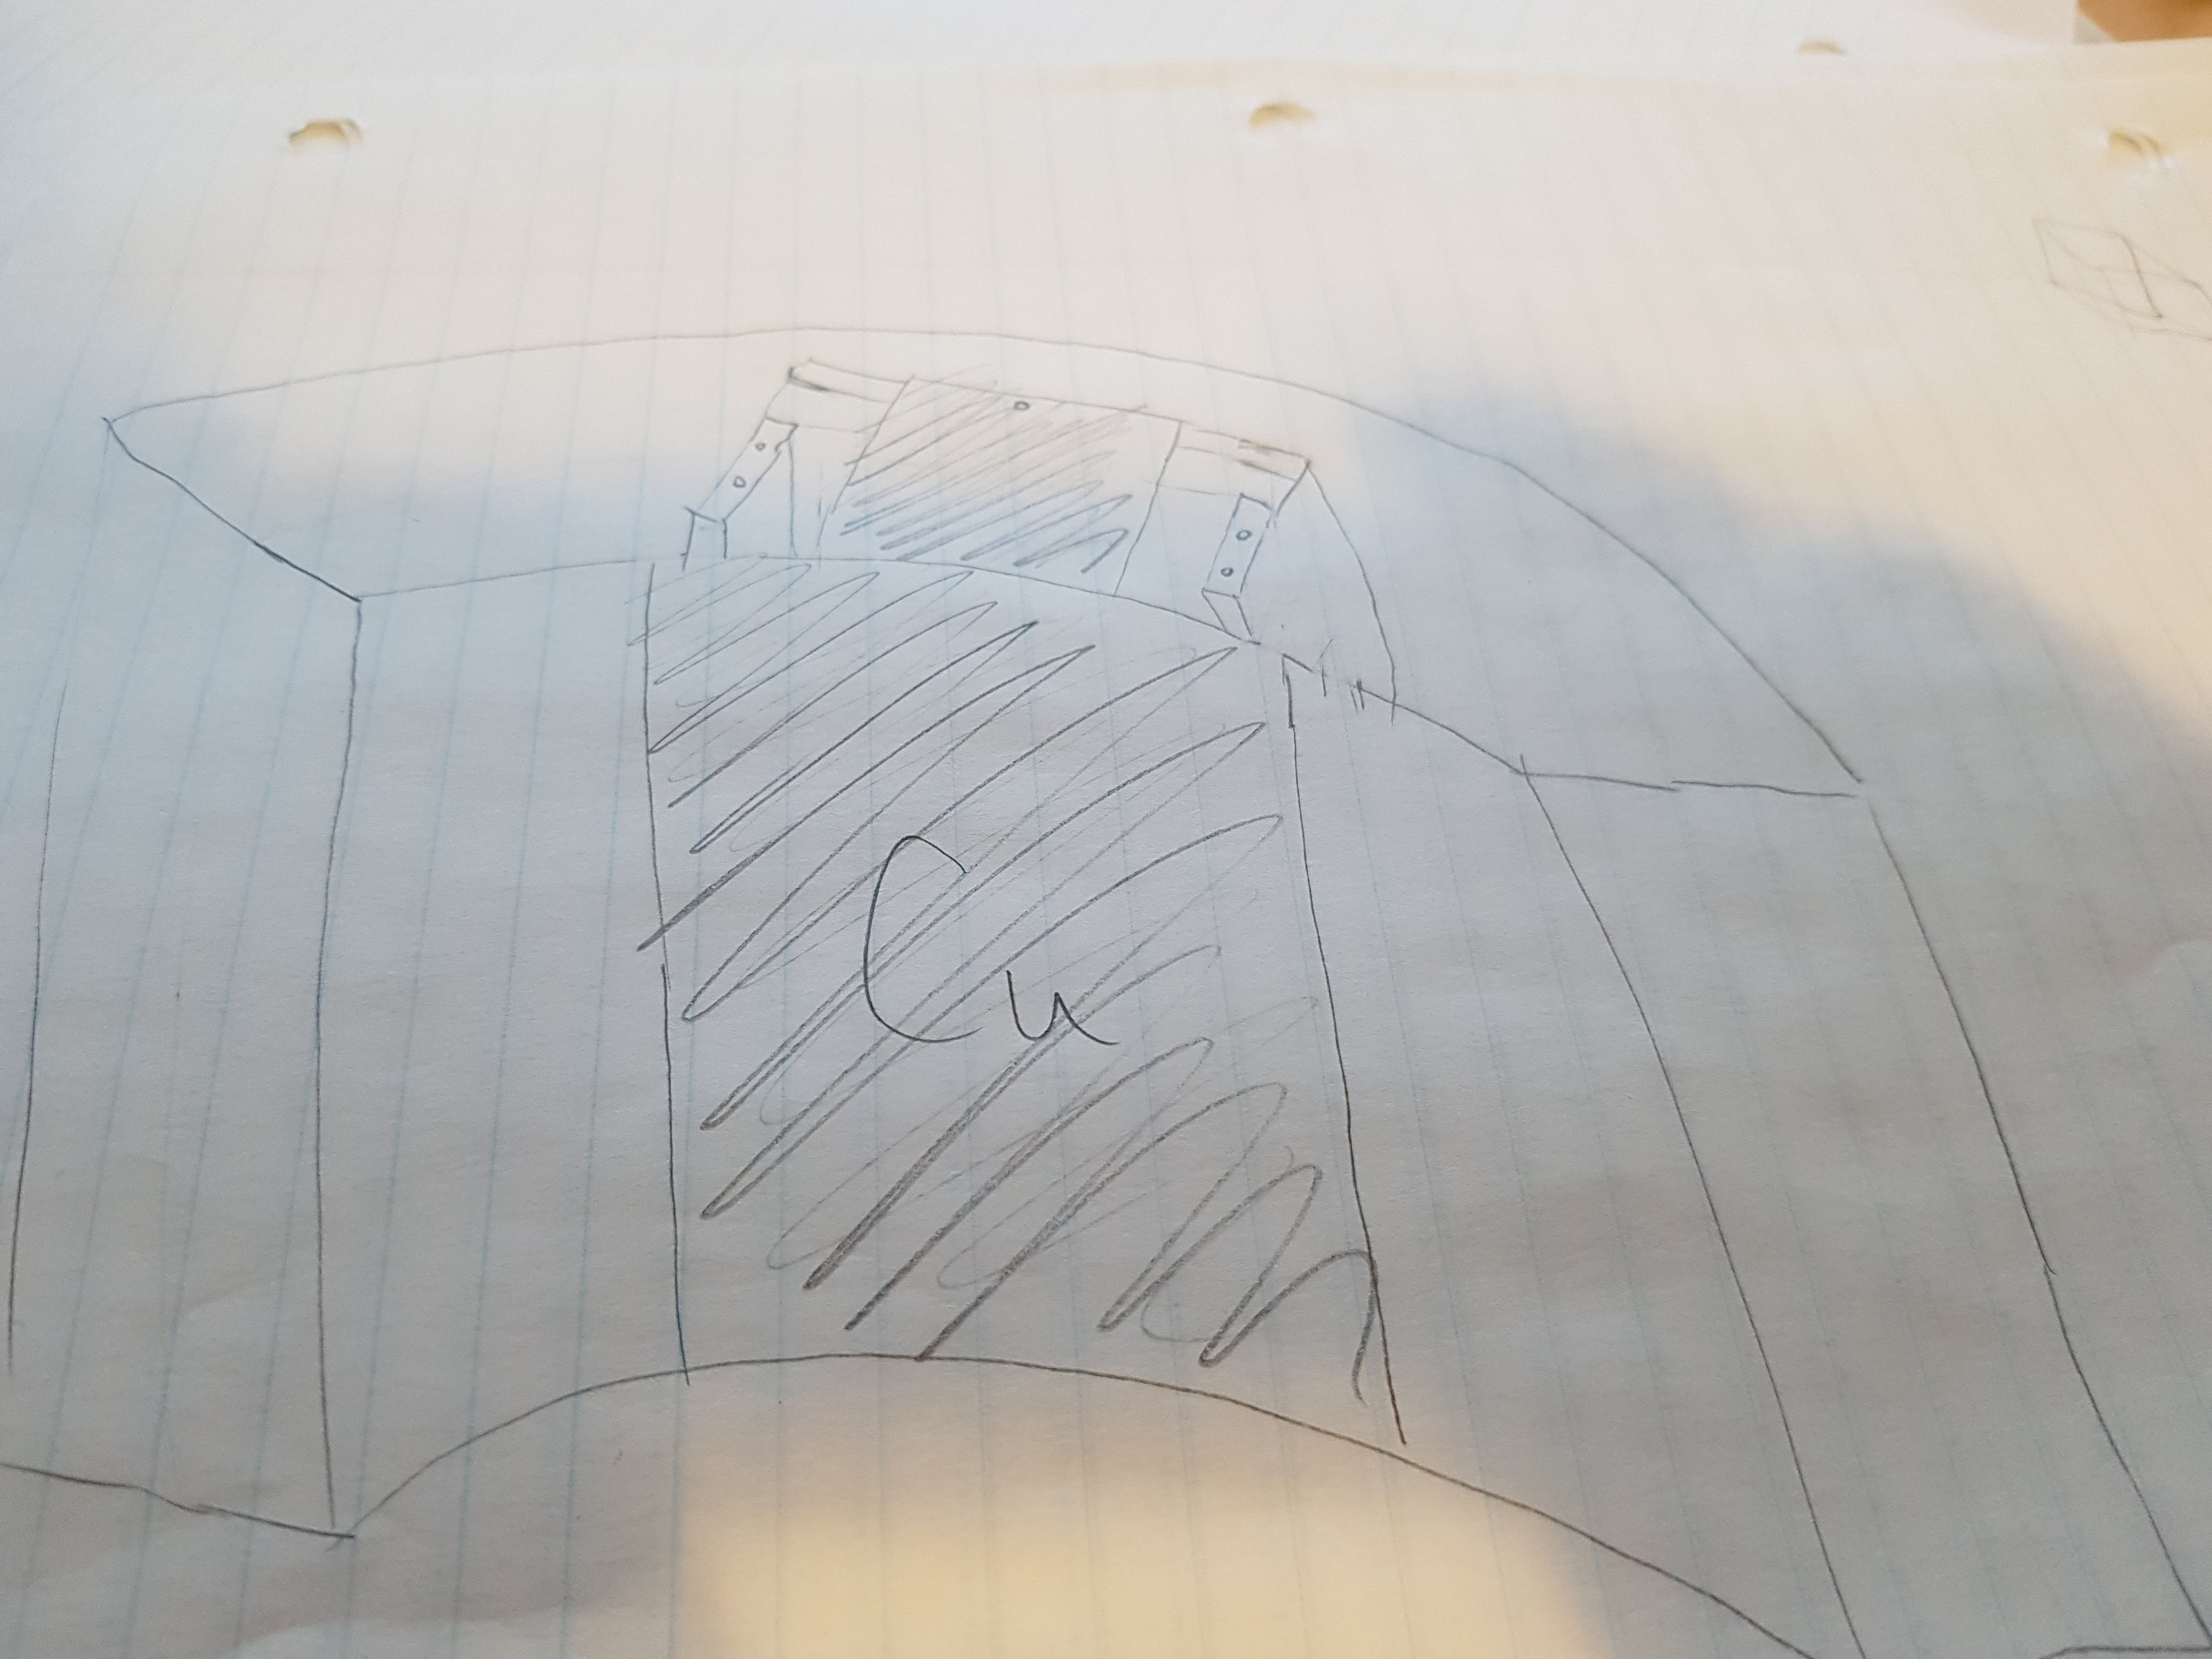
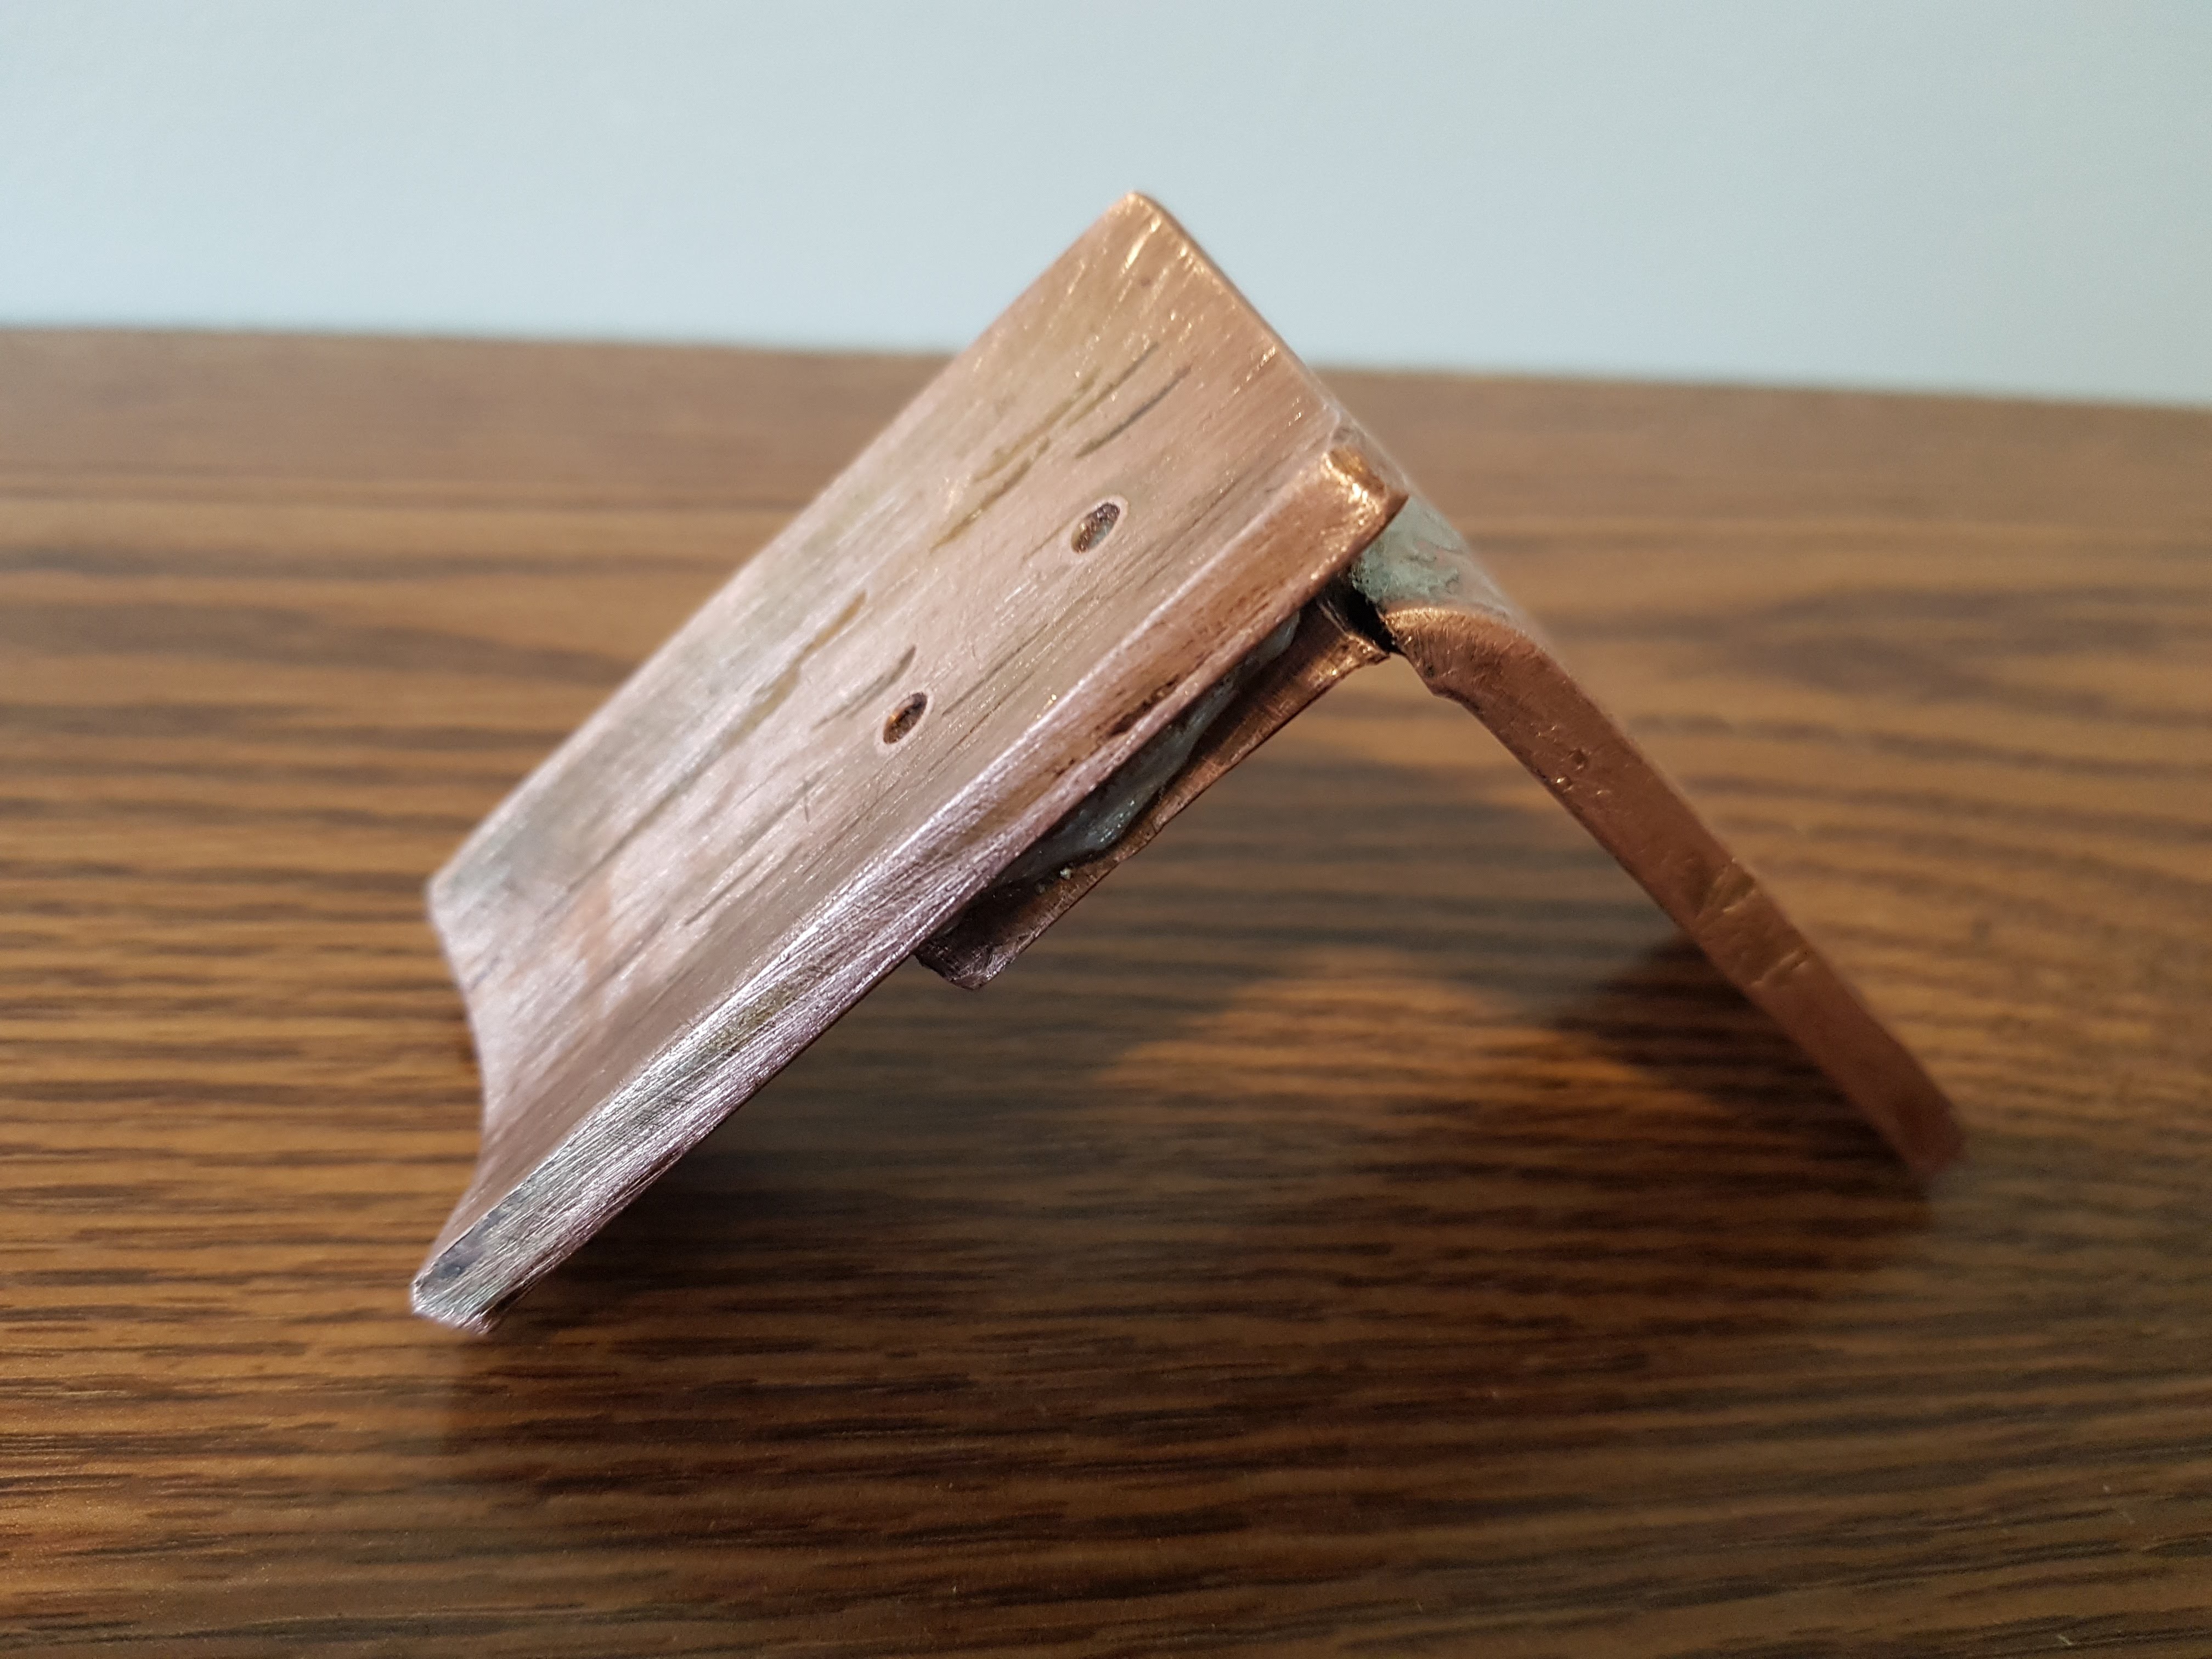
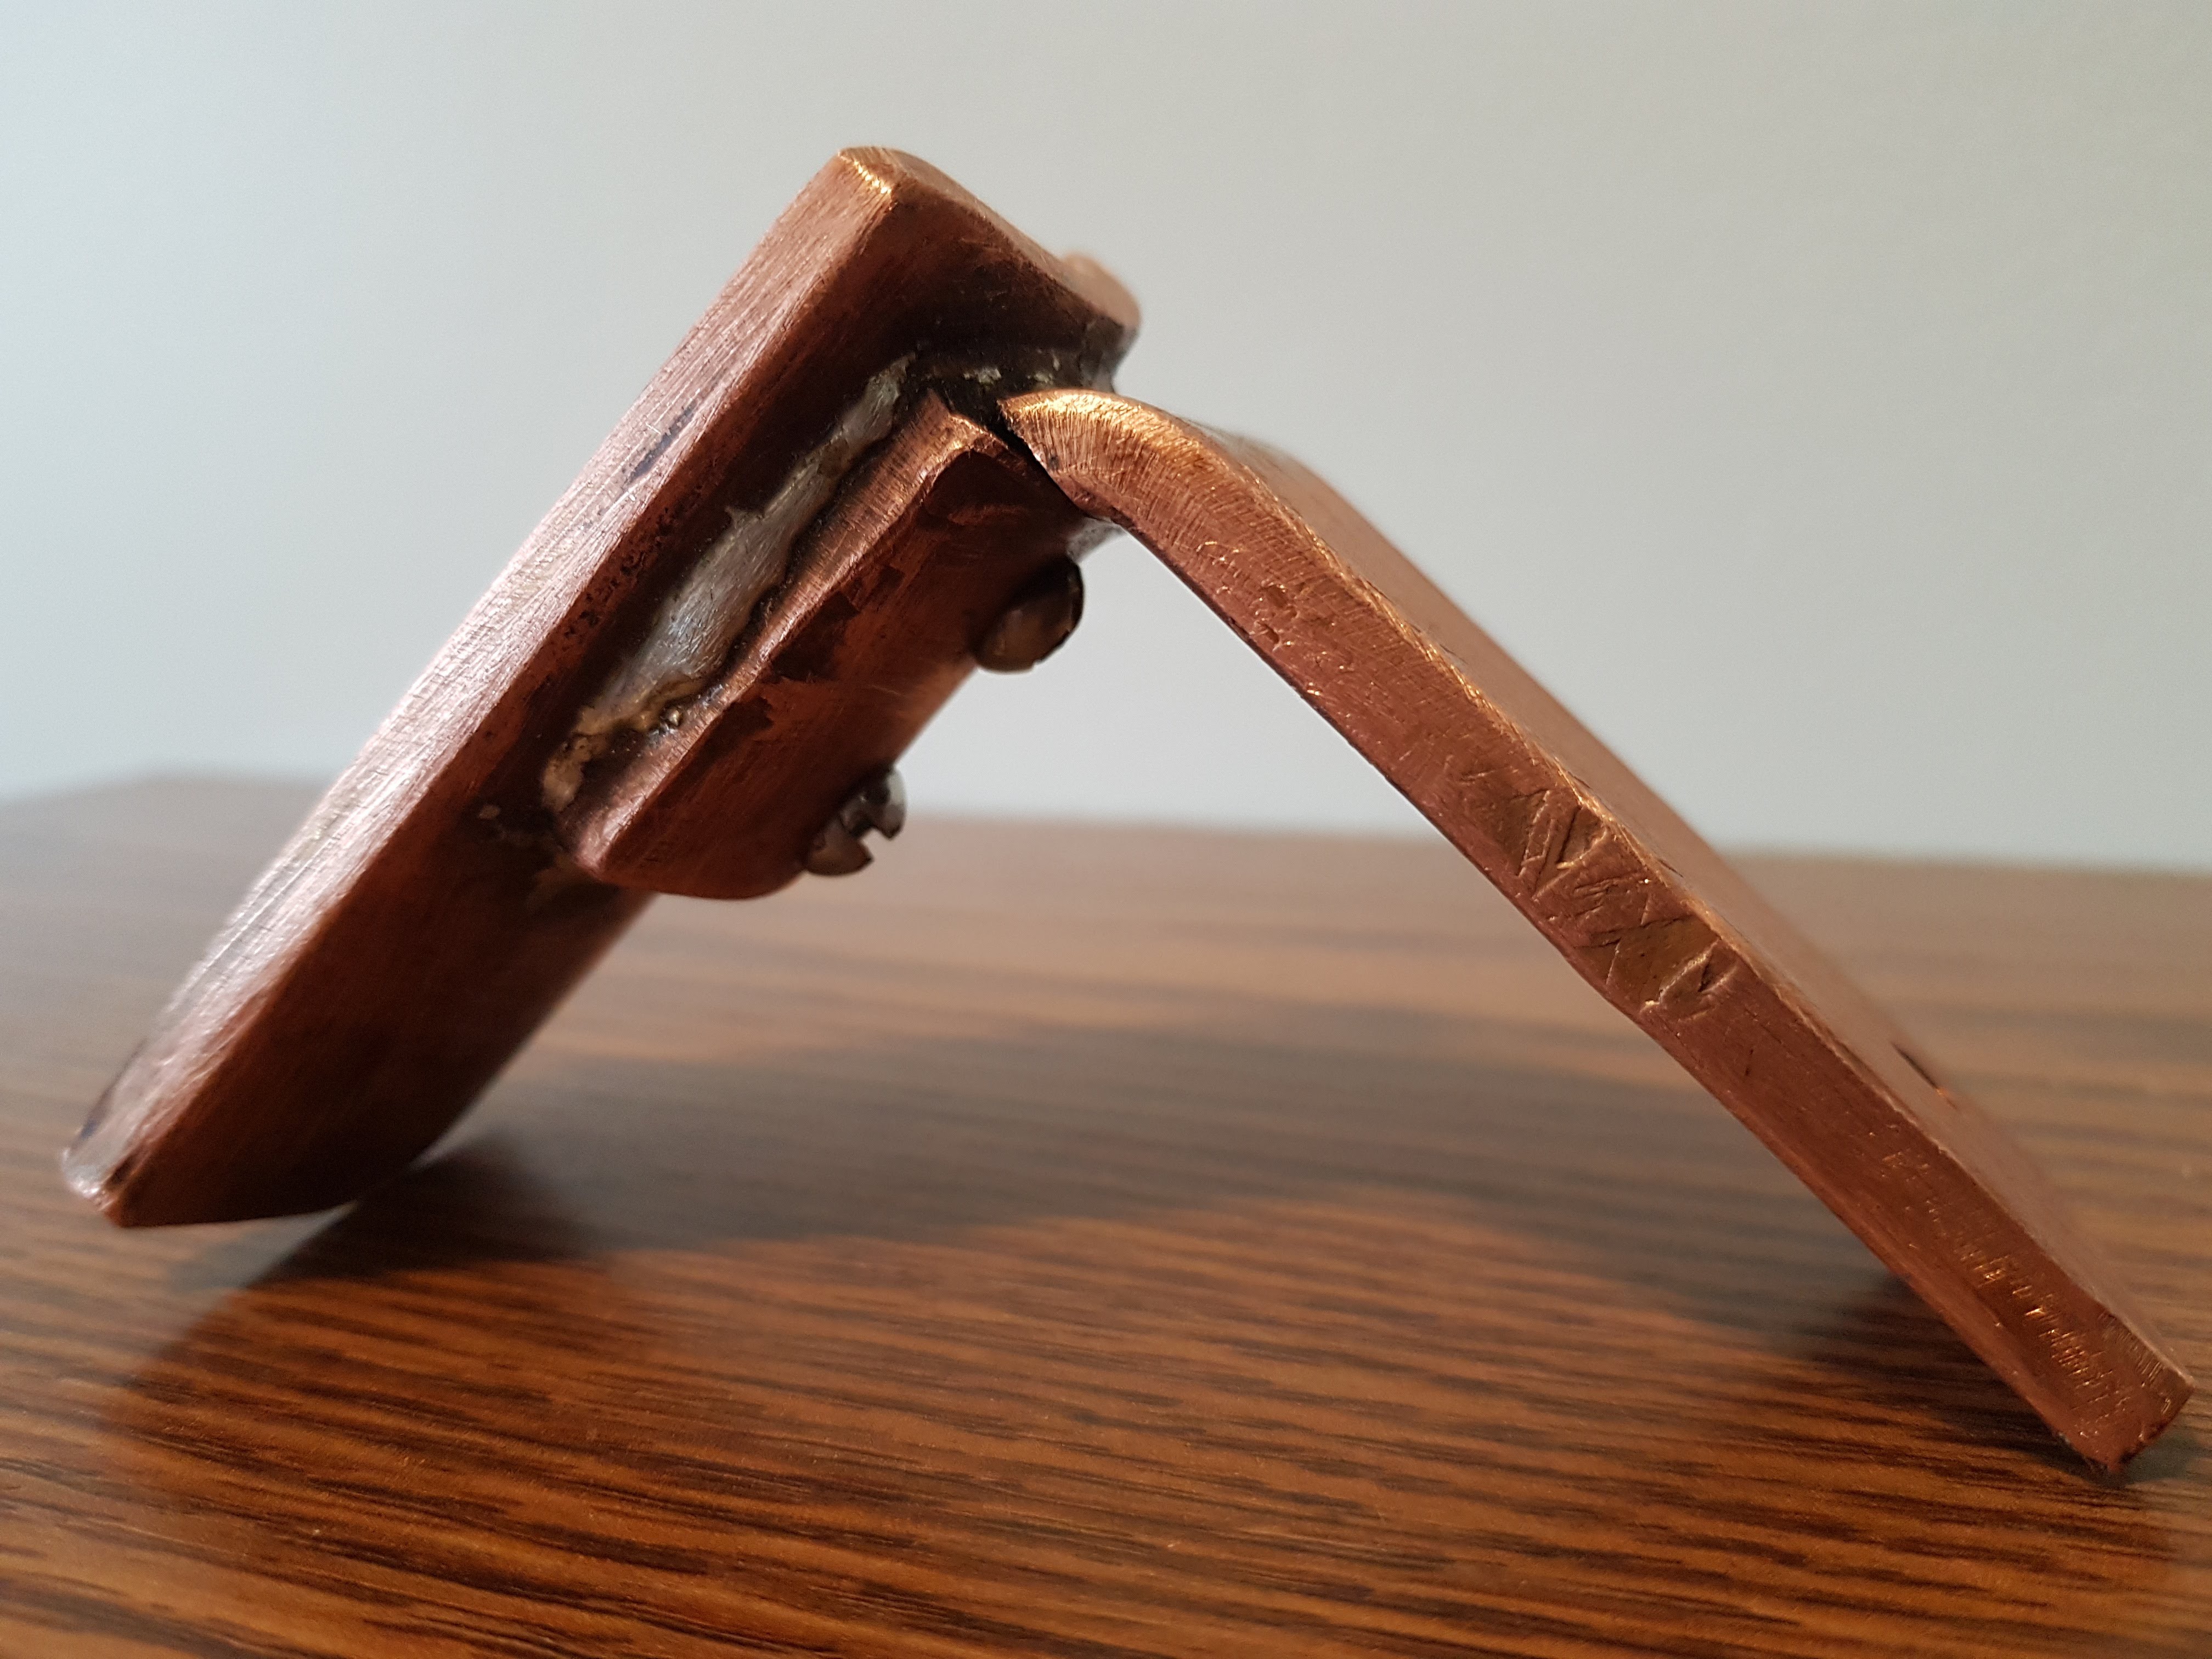
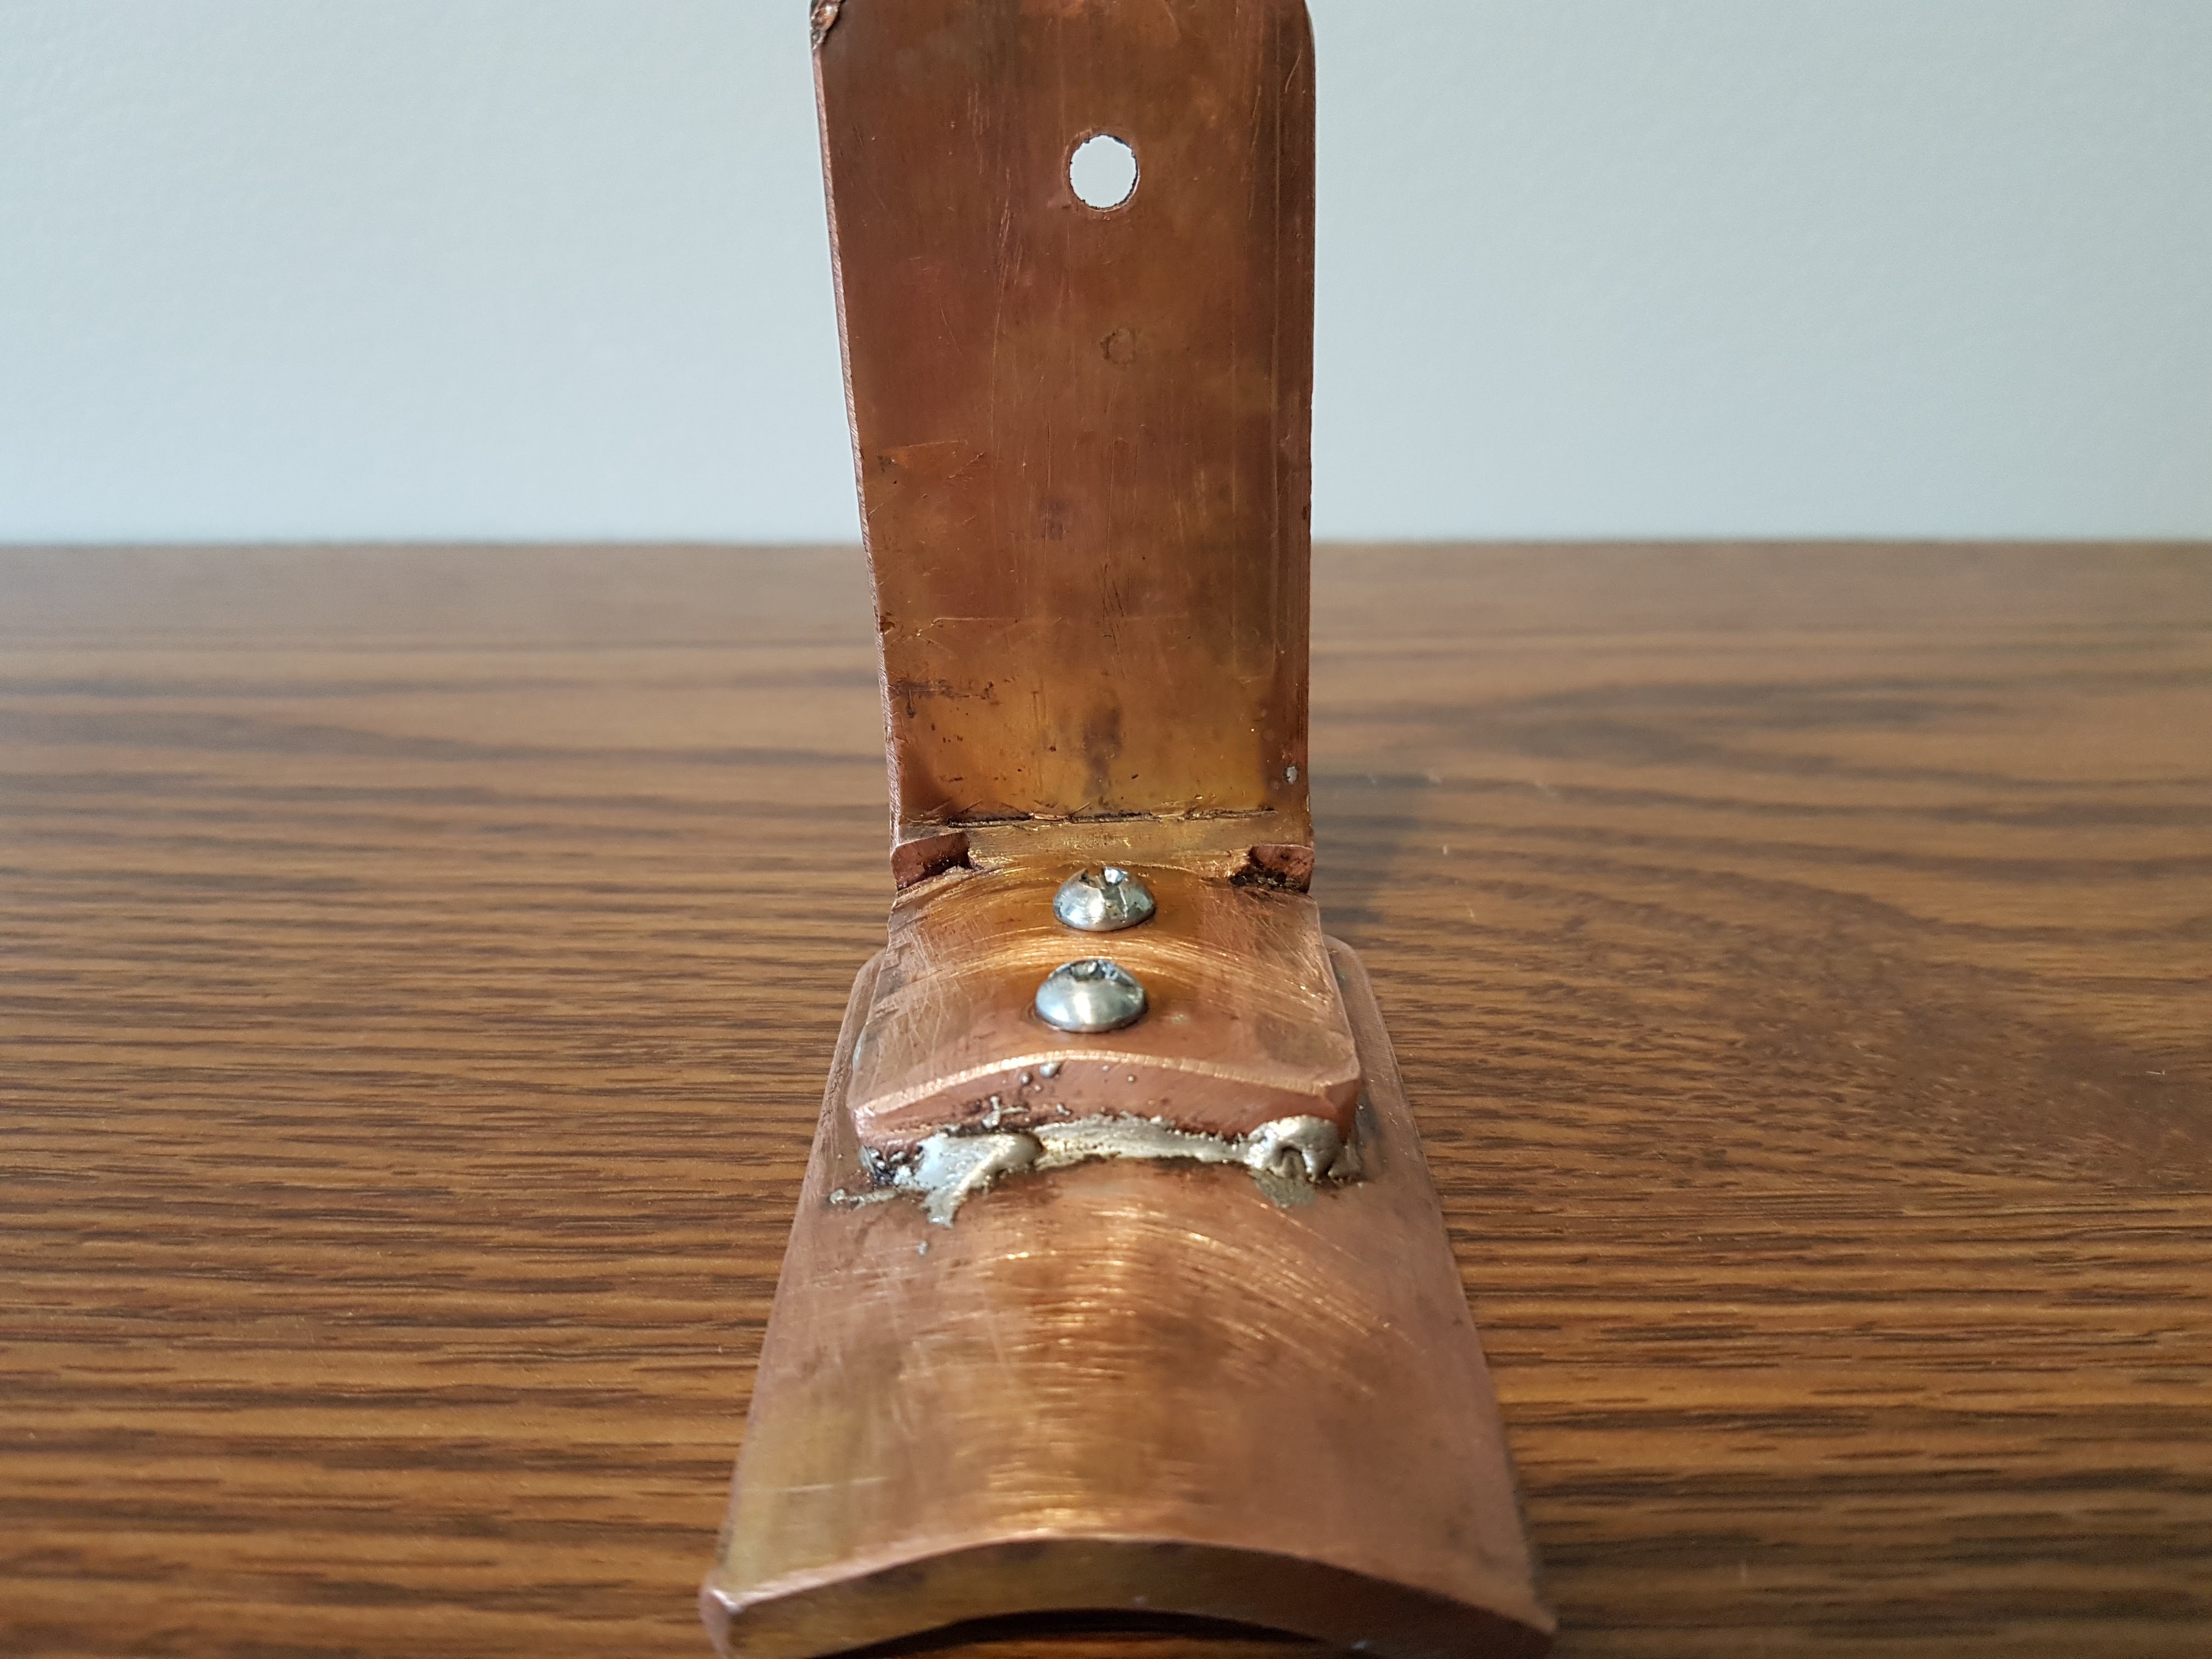
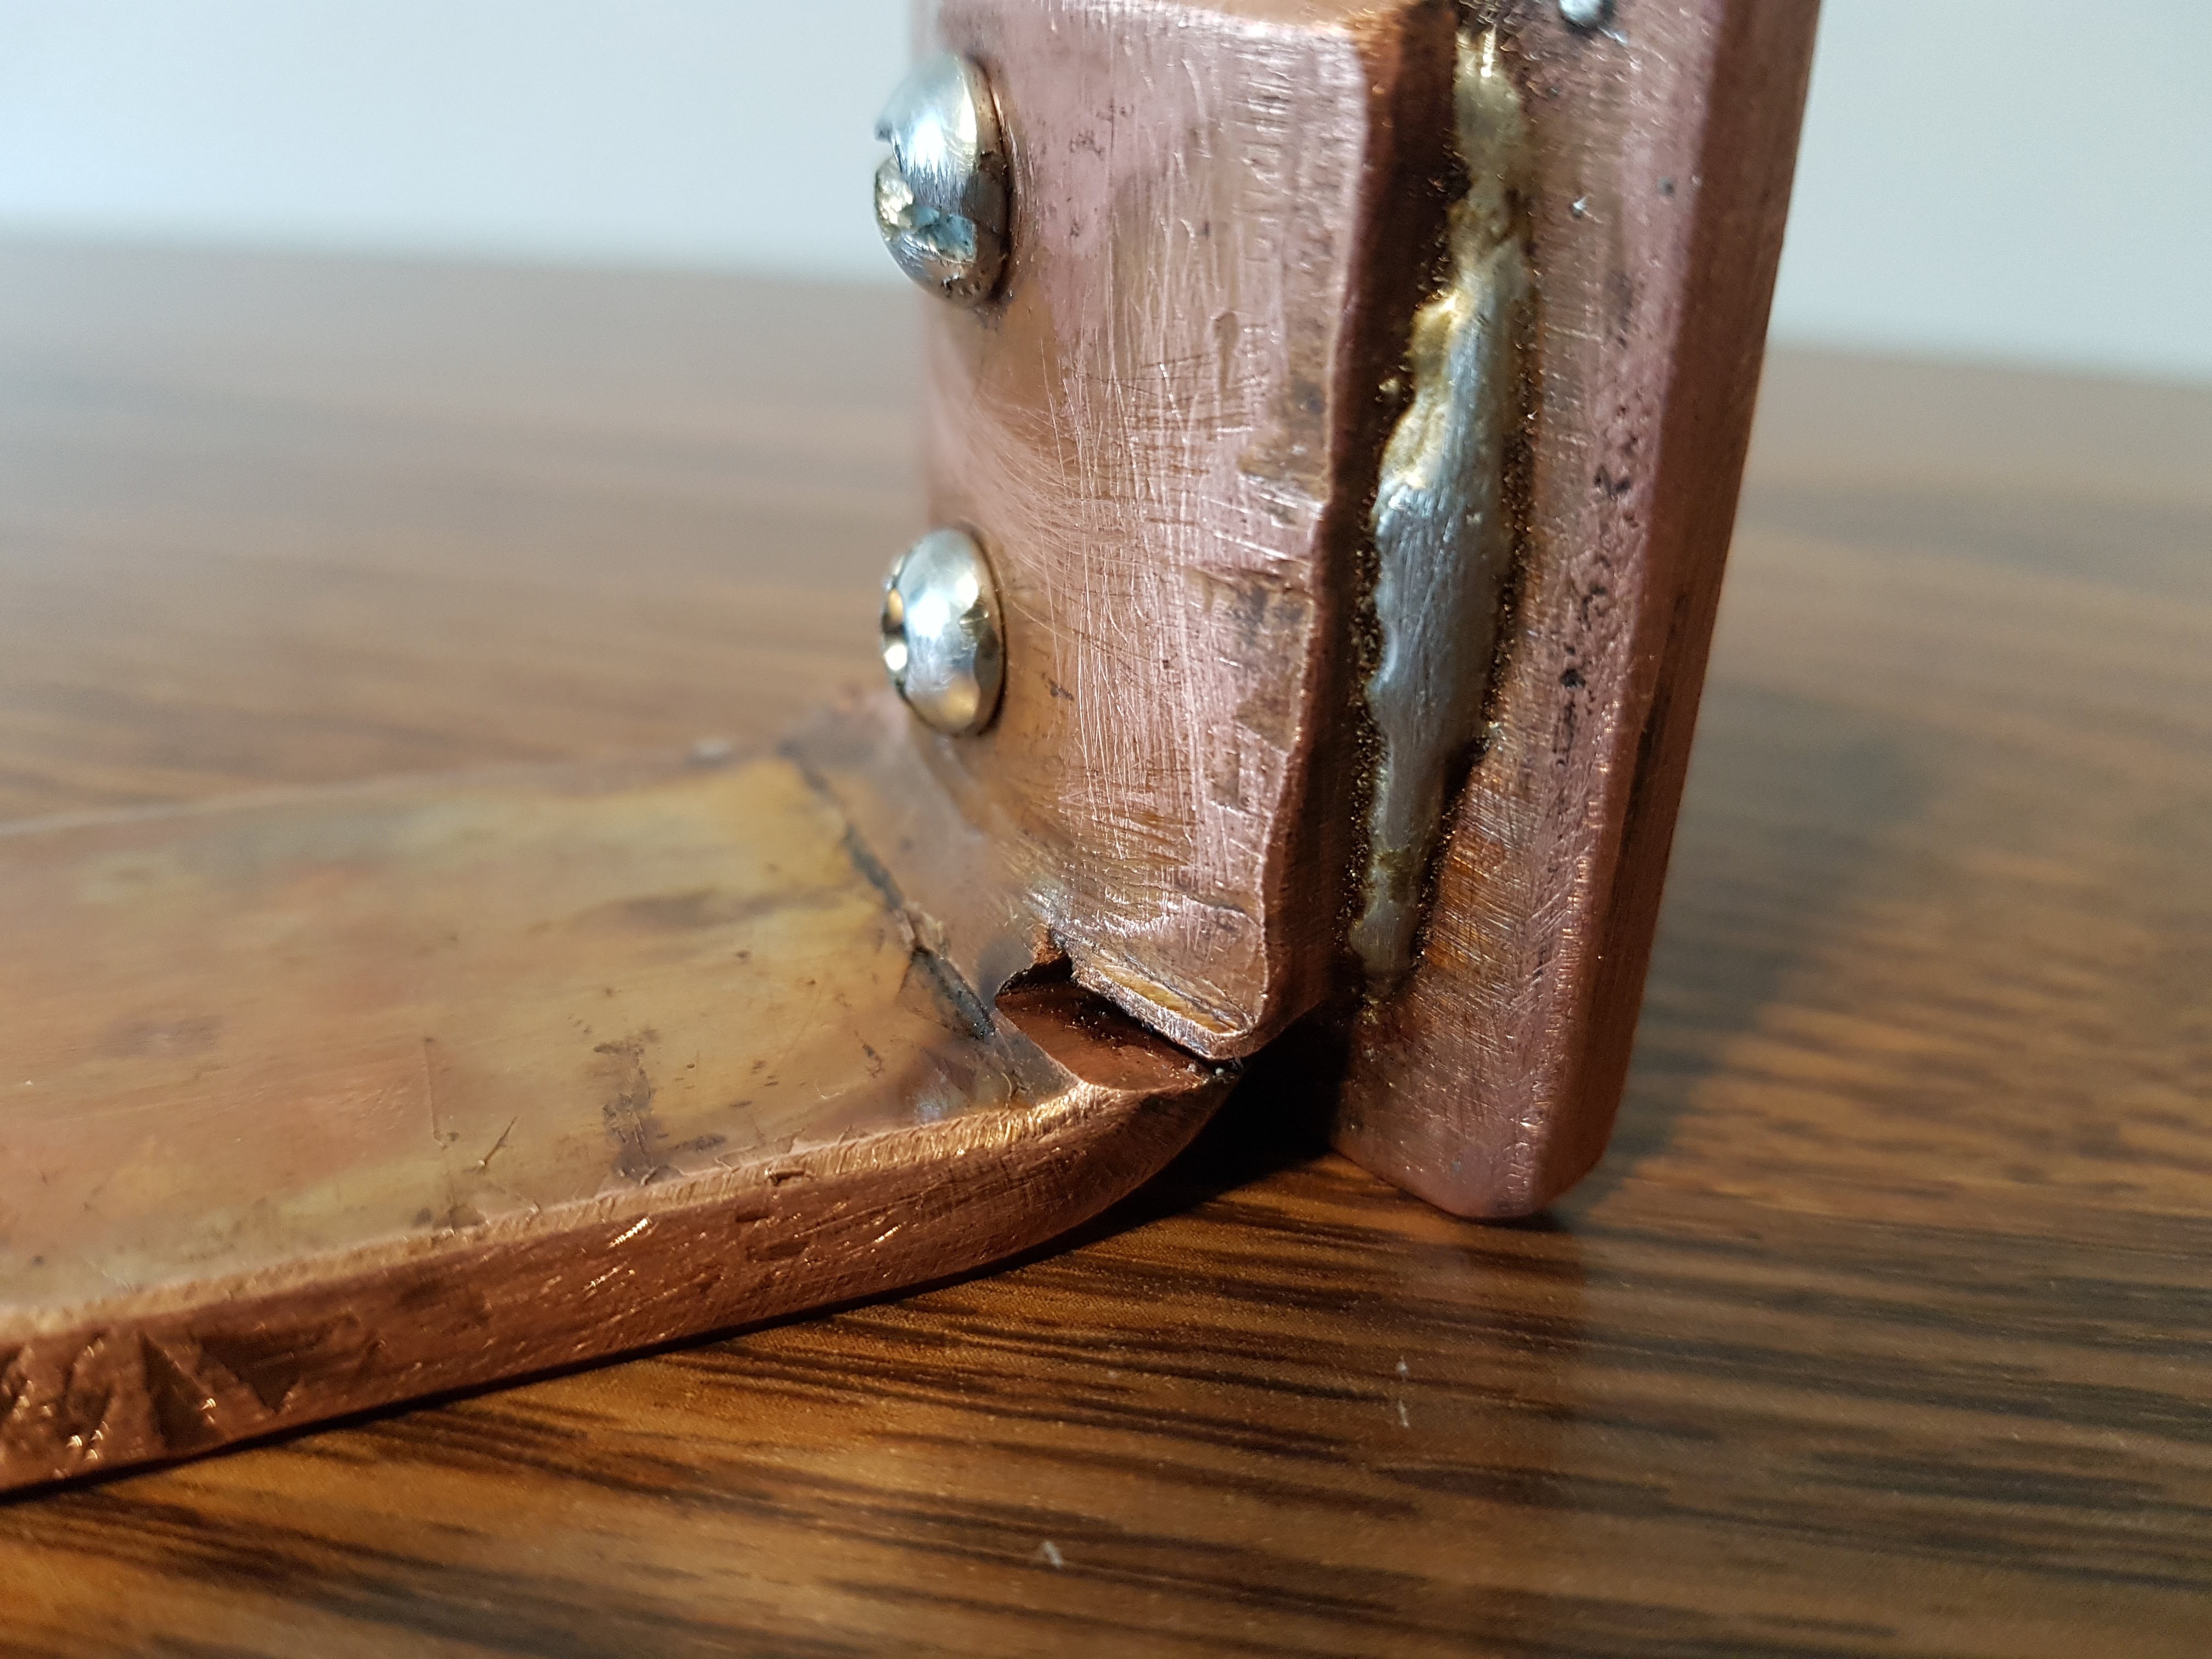
Image from https://www.metalsupermarkets.com/which-metals-conduct-heat-best/ This is a good comparison of readily available metals and their heat transferring ability (in the easy to understand and fun BTU per hour foot degree farenheit!). Copper is the ideal choice, but pretty hard to work with for the average person. Luckily I have a very talented friend who was able to help me bring this vision to life. With some dimensions and a terrible drawing he was able to make it happen.
![]()
![]()
![]()
![]()
![]()
![]()
I ran a quick test with a hot mug of water, holding the copper, the thermo electric generator, and the heat sink together. I was able to generate an impressive 150mV, which I believe may be enough to step up to a usable voltage for a fan. Being able to run a fan will aid the heat sink in dissipation, yielding even more power from the generator.
-
Design Constraints
04/14/2018 at 19:45 • 0 commentsI have some self-imposed constraints for this project.
1. Product to be modular and not physically attached to coffee cup.
-this design is to slide up beside a coffee cup.
2. Coffee cup to be a regular size and made of ceramic.
-heat transfer would be better with a metal cup, but since the average person likely only has ceramic cups, that will be what is used in testing.
3. Use of only one thermo-electric generator (soft constraint).
-the heat sink style I've selected only works with one generator, it is also ideal to only have one due to cost. The trouble with this will be that these do not generate a lot of voltage, so it may be difficult to step the voltage up to something a motor can use. Multiple TEGs (thermo-electric generators) can be used in series to output a higher voltage. This may be necessary to get a useful voltage, but would require a redesign and would have it's own difficulties to implement.
4. Energy from heat differential must spin a fan, and have a noticeable on how much time it takes for a hot cup of liquid to cool down.
-Spinning a motor from energy generated is the ultimate goal of the project. I'm expecting that any extra airflow will increase the cooling rate. I will need to do a control test however of what effect simply placing the project beside a cup will have. Having the project beside a cup may help insulate the drink, or even pull heat away from it on it's own.
It may be that a simple heat sink placed beside a coffee cup would be more effective that my intended design, but the point of the project is to explore harvesting energy and using it for electrical power in a "real world" application.
-
Design Stage Planning
03/23/2018 at 23:32 • 0 commentsI will be attempting this project in two stages. The first stage will be purely harvesting energy to run a fan. If I can get that working I will try to incorporate a microcontroller to monitor the temperature that will set off a notification when the optimal drinking temperature has been reached.
1. Running a fan from generator module
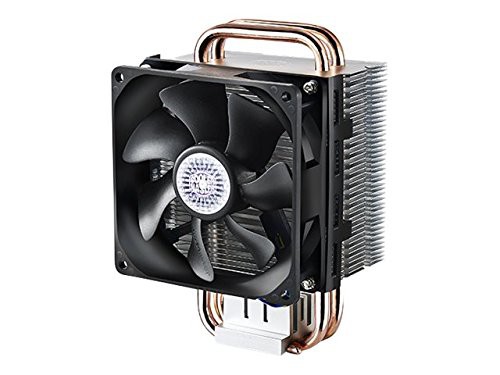
I've ordered a nice looking heatsink that should do well for the cool side of the module, the Cooler Master Hyper T2.
![]()
The fan may need to be replaced with something that runs at a lower voltage. This fan is rated for 12V, which is likely going to be tough to reach with a single peltier generator, even with the voltage boost module. It is likely I will go with a 3V or 5V fan, depending how the first tests go with all pieces thermally bonded. I would also turn the fan around backwards so it blows air forward rather than backwards. Cooling efficiency will likely go down a bit but the increased airflow over the mug would be worth it.
Copper is the ideal metal to use as the conductor that will rest up against the side of the mug. It is the metal with the best thermal conductivity. There will no doubt be some condensation on the copper, so corrosion resistance is a great benefit.
2. Temperature monitoring
Once I can successfully run a fan that has a noticeable effect on cooling, the next step will be adding a microcontroller into the mix. The plan is to use a simple temperature sensor that outputs an analog voltage, and monitor until the desired temperature is reached. From there a buzzer or LED can alert the user that the coffee or tea is ready to drink.
Rather than using batteries, I plan to try supercapacitors to power this. Since power may be scarce, I'll be sure to run the microcontroller at a low frequency and make use of sleep mode between temperature reads to conserve power.
Coffee/Tea Cooling Buddy
Monitor the temperature of your drink and know when it reaches the perfect temperature. Even generates a tiny bit of electricity too!
 Scott Clandinin