 vpetrache
-
1Step 1
Get a wifi Usb dongle, usb keyboard, an LCD display and connect the Raspberry Pi. Also, connect the Arduino via Usb cable.
-
2Step 2
First, you need to install Raspbian. More information here: https://www.raspberrypi.org/documentation/installation/installing-images/
-
3Step 3
To connect to ssh, you need the Pi's Ip address. I used a cool tool for Mac called PiFinder (https://learn.adafruit.com/the-adafruit-raspberry-pi-finder/finding-and-connecting) which finds all the Raspberry Pi's connected to the network.
You can connect the Pi to a display, open the Terminal and run:ifconfig
The inet Ip address is the Pi connection to the network. Next step is to connect via ssh either through Putty on Windows, or from Terminal via Linux or Mac.I ran the command from terminal:
ssh pi@192.168.1.23(where pi = user and 192.168.1.23 = Ip address of the PI)
-
4Step 4
Do an update of the system. Open the terminal,or ssh, and run:
sudo apt-get update sudo apt-get upgrade -y sudo reboot -
5Step 5
Install the software for comunnicating with the Arduino via serial:
sudo apt-get install inoInstall the database software:
sudo apt-get install sqlite3
Install the web server:sudo apt-get install apache2 -
6Step 6
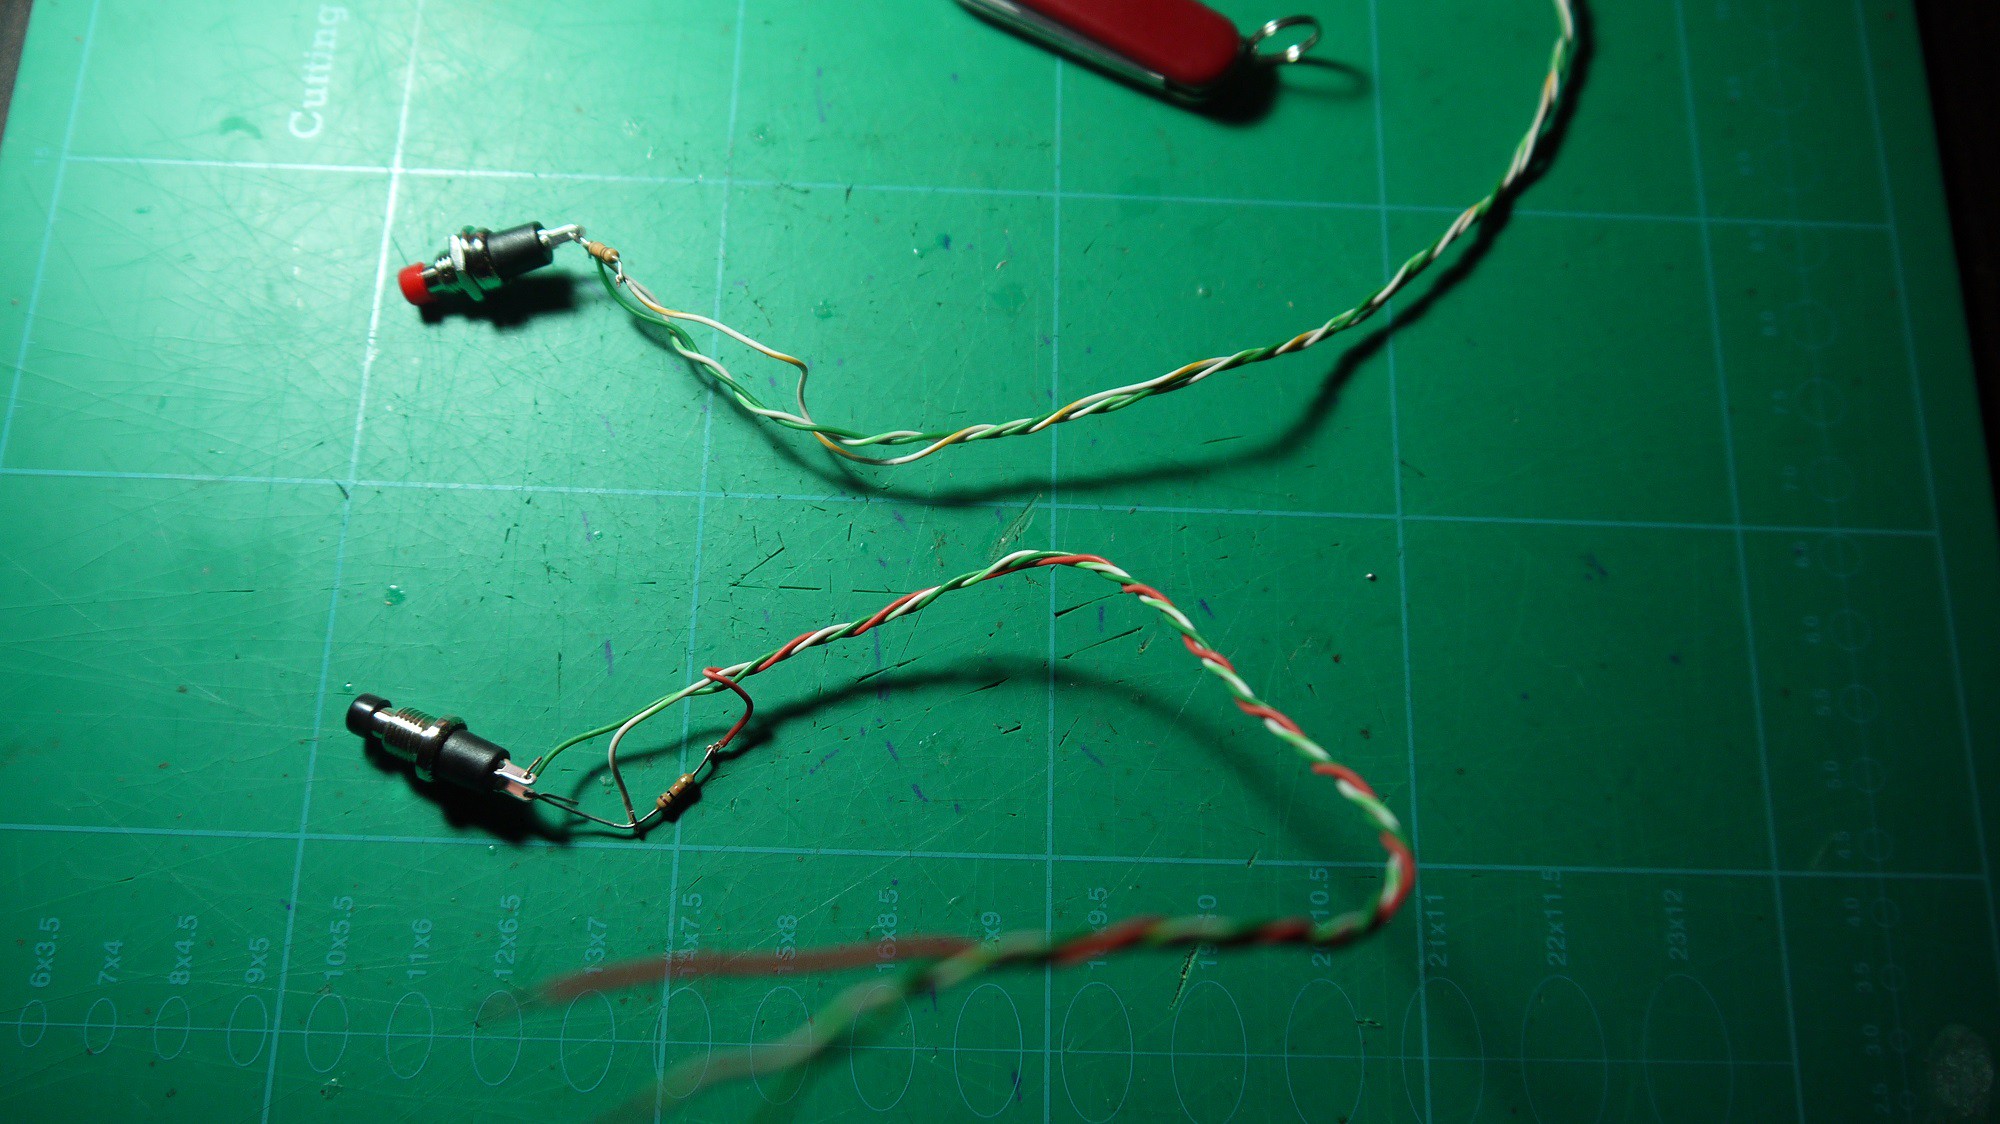
Solder two buttons to wires and 10k resistors.
![]()
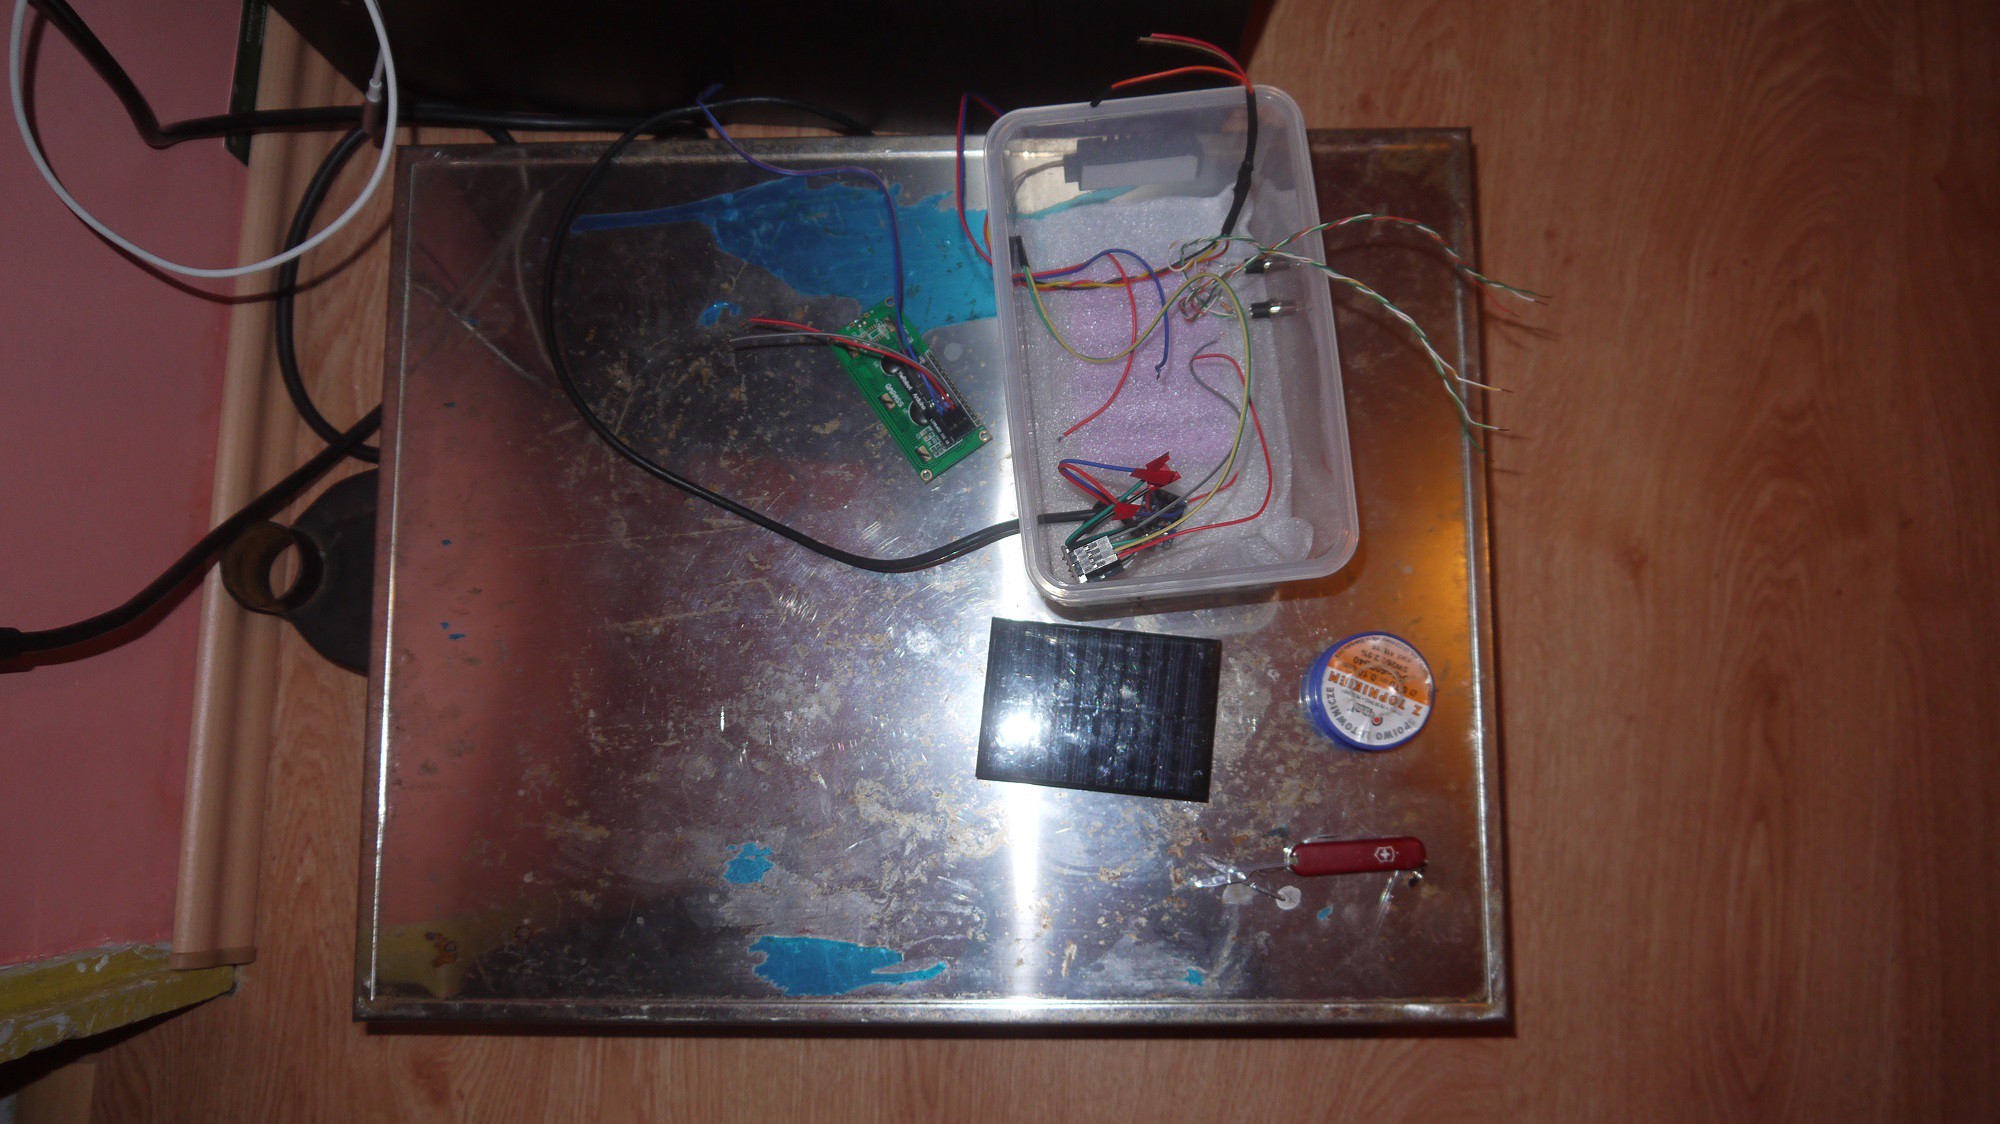
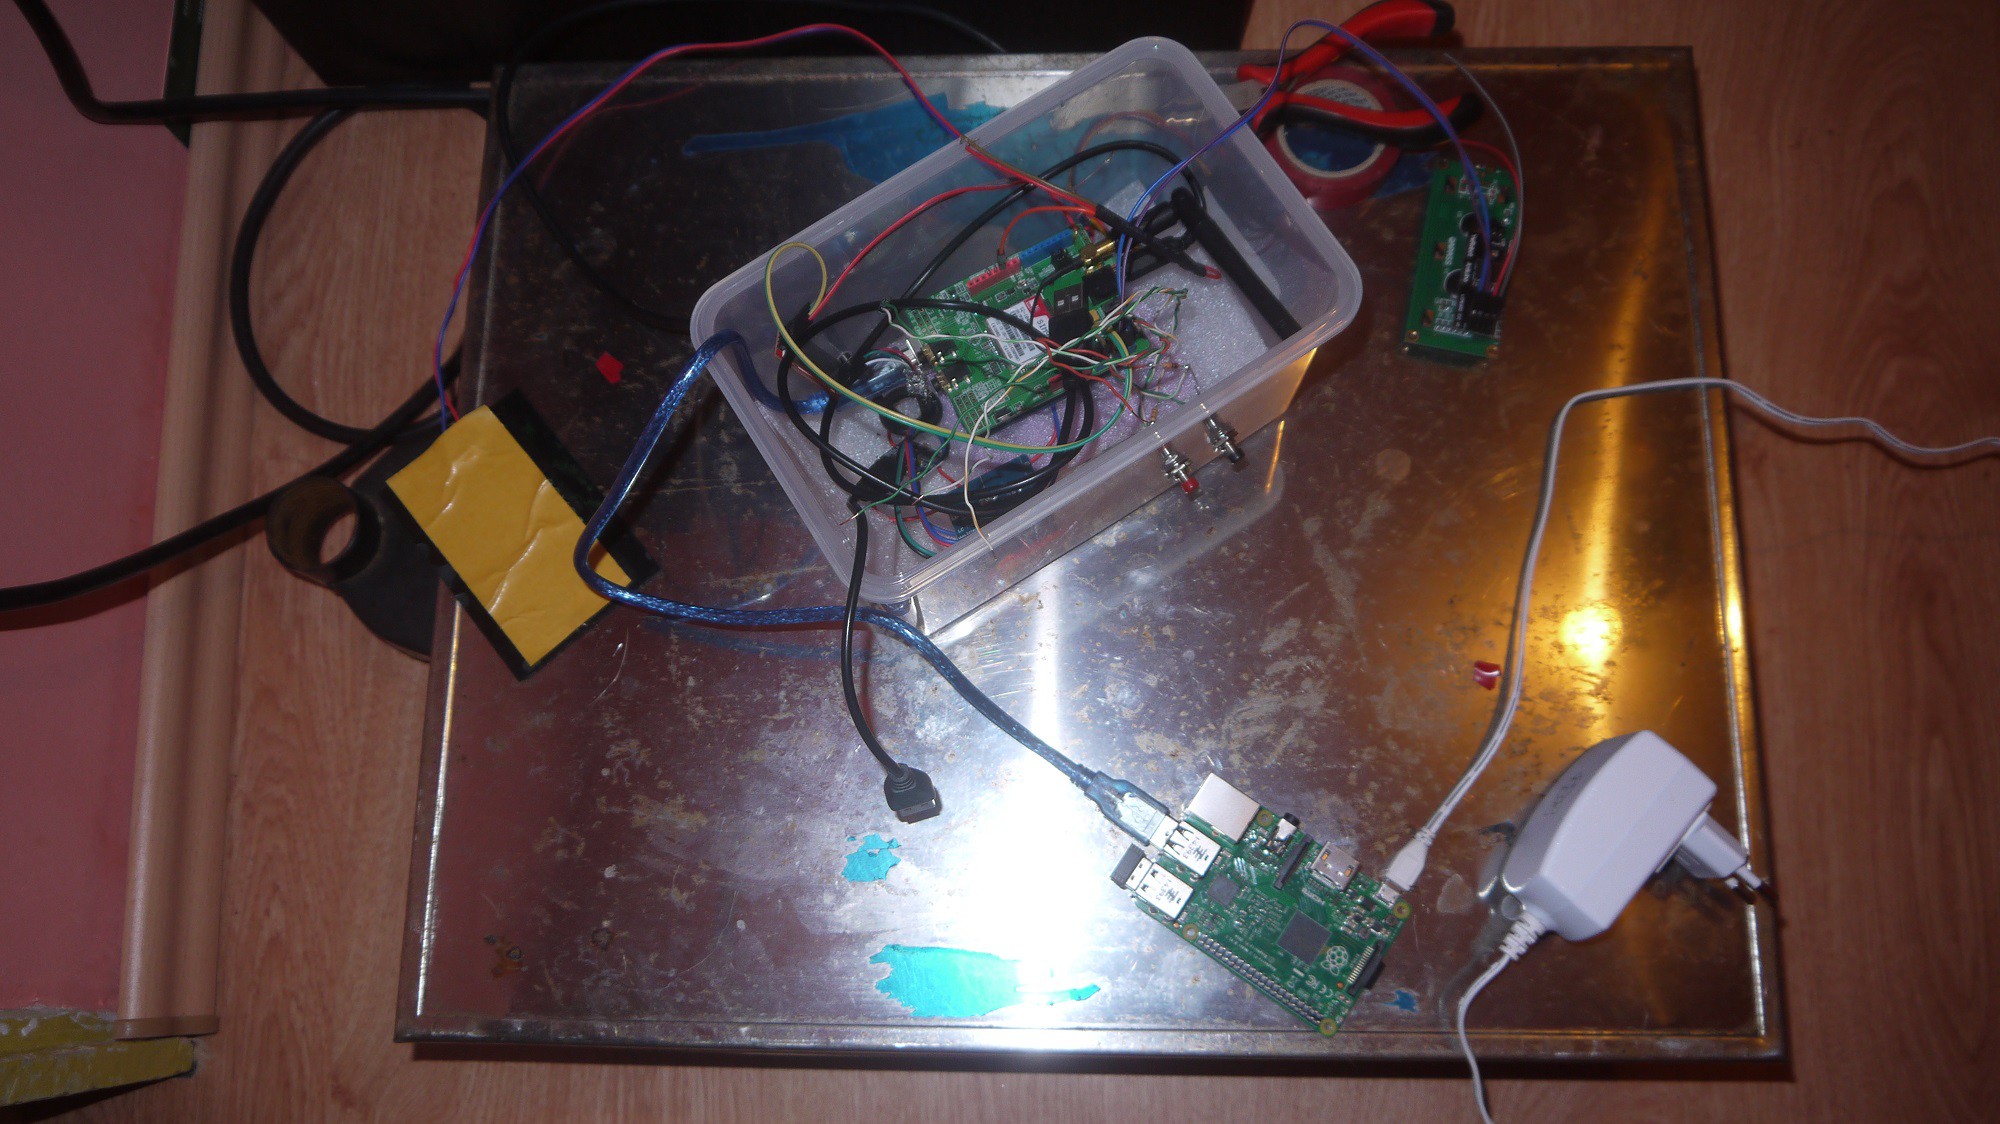
Prepare the enclosure box. I choose a food box as it is waterproof.
![]()
To power the system I've choose a battery pack of Li-Ion 3.7v 18750, a battery charger and 2 power boost 0.9v to 5v. Also, I hooked up a solar panel, but it is not so efficient.
-
7Step 7
Next step is to setup the Arduino environment: https://www.arduino.cc/en/Main/Software
Install Arduino IDE and then install the libraries from the links below.Connect your Arduino board and upload the sketch: ArduinoRaspberryPiHive.ino located in the Git repository.
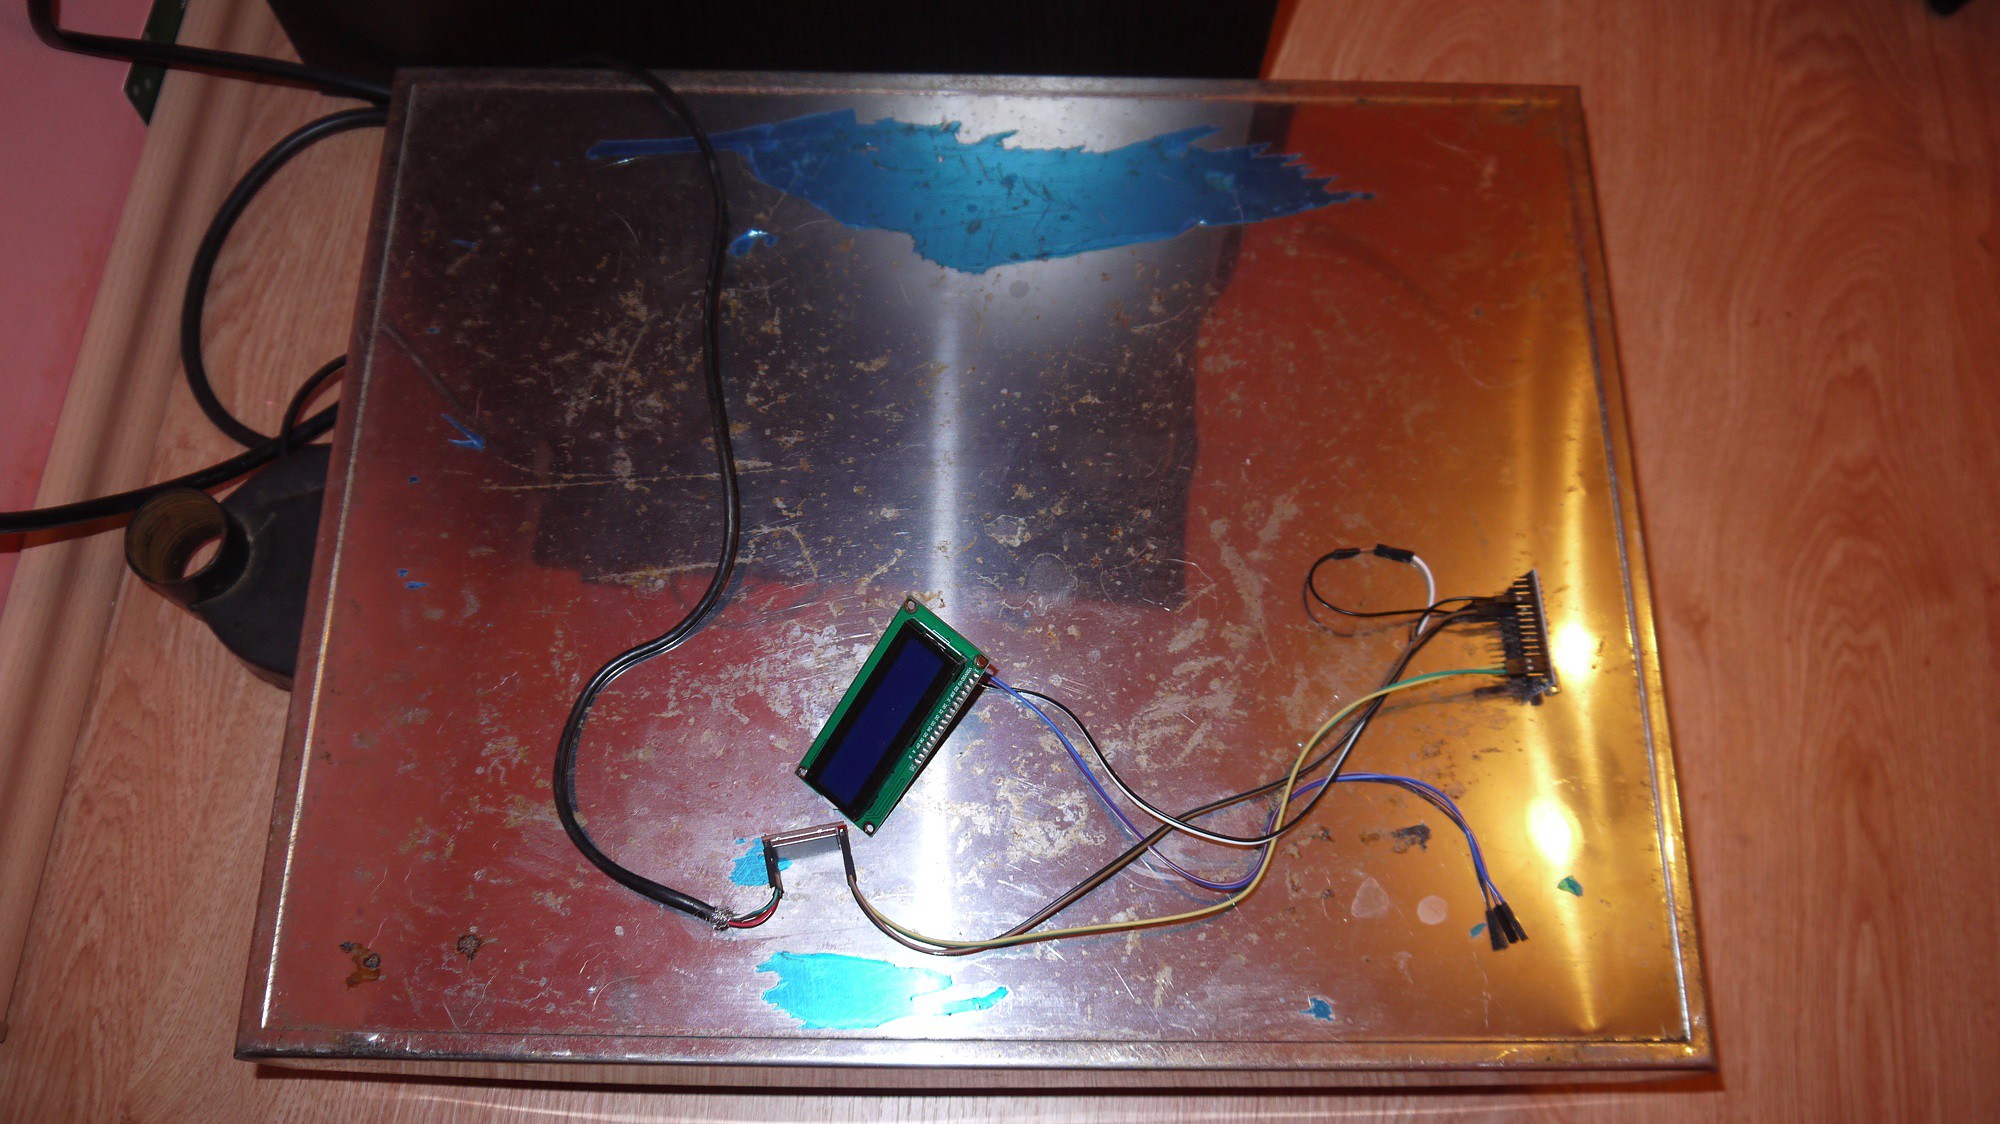
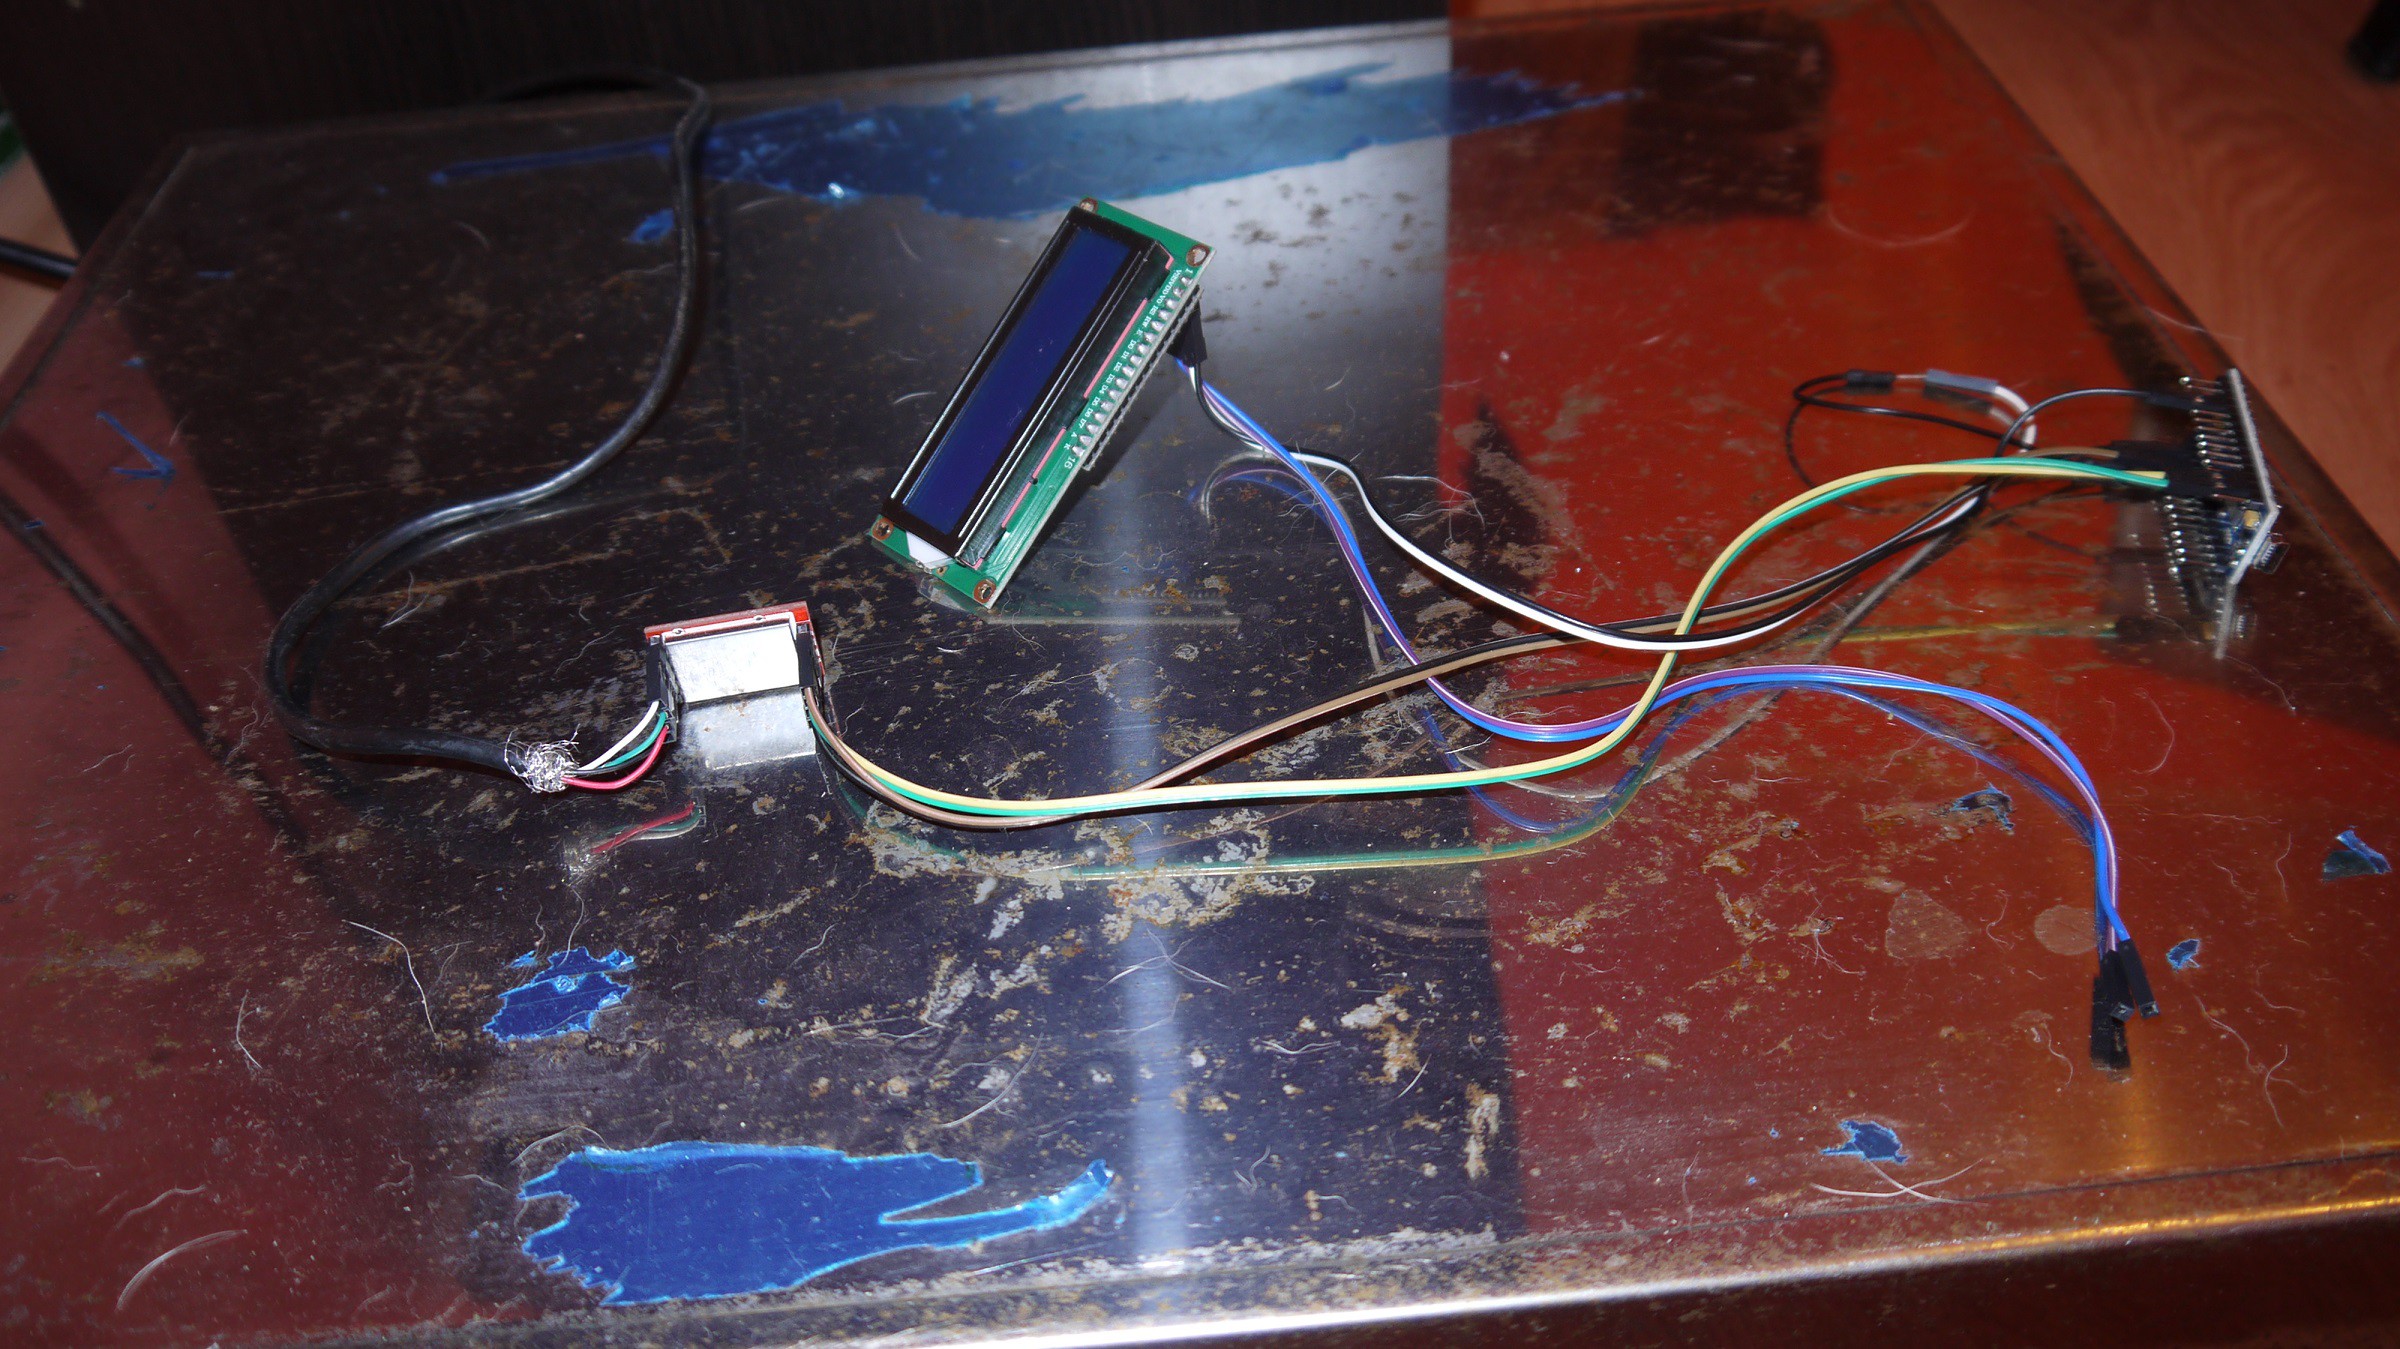
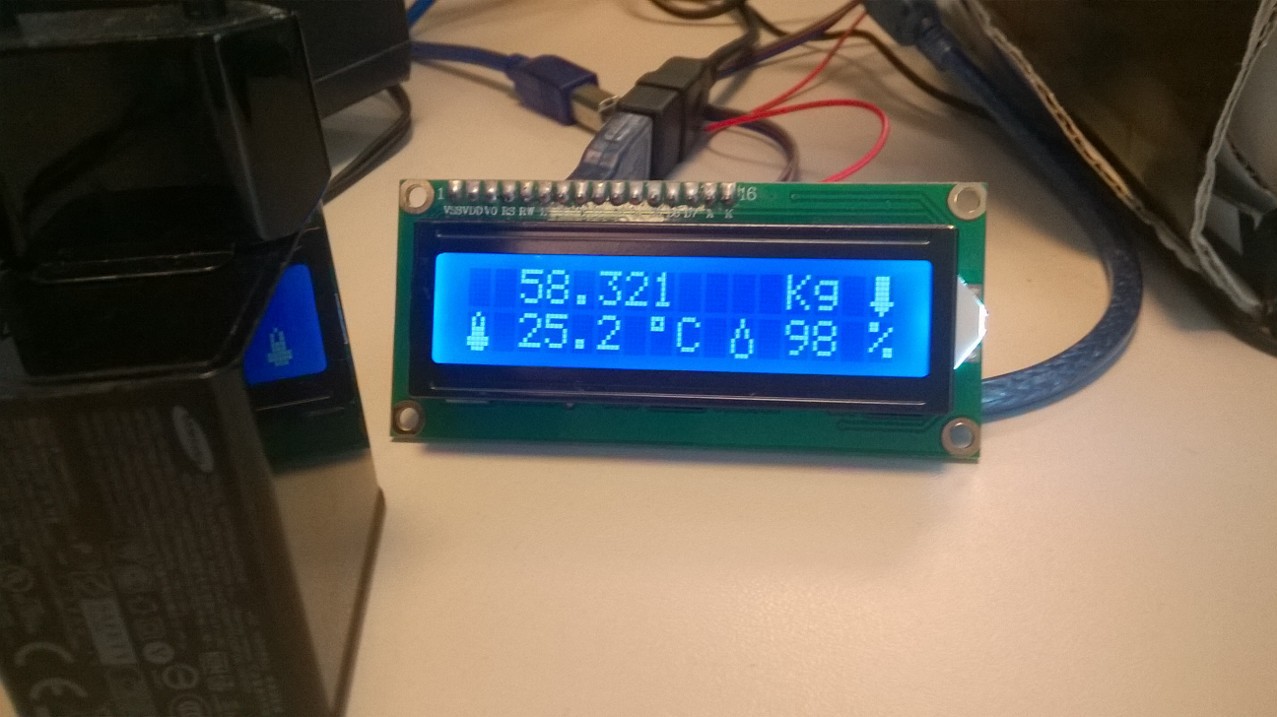
Connect DHT sensor to digital pin 10, LCD display to SCL and SDA, HX711 board to A1 and A0, button for reset scale to pin 11 and button for backlight on to digital pin 12. Also, all extensions have 5v and Ground.
![]()
![]()
I did a split and soldered directly to my Arduino's usb, a screw on terminal, for 5V and GND. I figured if I used the 5v pin on the Arduino I would get about 4.5v.![]()
-
8Step 8
Now we proceed with configuring Raspberry Pi.
Connect the Arduino via USB cable to Arduino.
![]()
Open the terminal and run:
ino serialYou will be prompted with a serial reading from the Arduino. If not you did something wrong.
Close the window and open another Terminal. -
9Step 9
Create the database by runing the following command:
This creates a database called templog.sqlite3 templog.db
Add tabels weight and temps:
This query creates 2 tables called temps (having a coluimn for date and time called timestamp, and a numeric column called temp) and weight (having a coluimn for date and time called timestamp, and a numeric column called Kg)CREATE TABLE temps (timestamp DATETIME, temp NUMERIC); CREATE TABLE weight (timestamp DATETIME, Kg NUMERIC); Commit;Make sure to add ; after each query.
If you run:
-tables
you should be prompted with two tables, temps and weight.Close the window and open another Terminal.
-
10Step 10
Run the following commands:
FIrst will copy the templog.db to folder /var/www/. The second command changes the file's owner.sudo cp templog.db /var/www/ sudo chown www-data:www-data /var/www/templog.db
Raspberry Pi Web Application for Beekeeping
This is a project of how to automate beekeeping, and take decisions on where to keep your hives for better honey harvesting.
Discussions
Become a Hackaday.io Member
Create an account to leave a comment. Already have an account? Log In.