-
Rocket Launches and 1/2 Scale Progress Update
05/03/2016 at 23:34 • 0 commentsI've been busy for the past several weeks. I went to the ROCC sponsored launch two weekends ago. It was a night launch and they had a bunch of cool rockets there, not anything too high powered though. Some of them got very creative with the lights on their rockets. I was the only one who actually saw the rockets launch (my other teammates got there after they were finished launching because they got the times mixed up). We got to ask lots of questions though (mostly concerning their launch pads at that point), and it seems like a good place to launch anything small that we have.
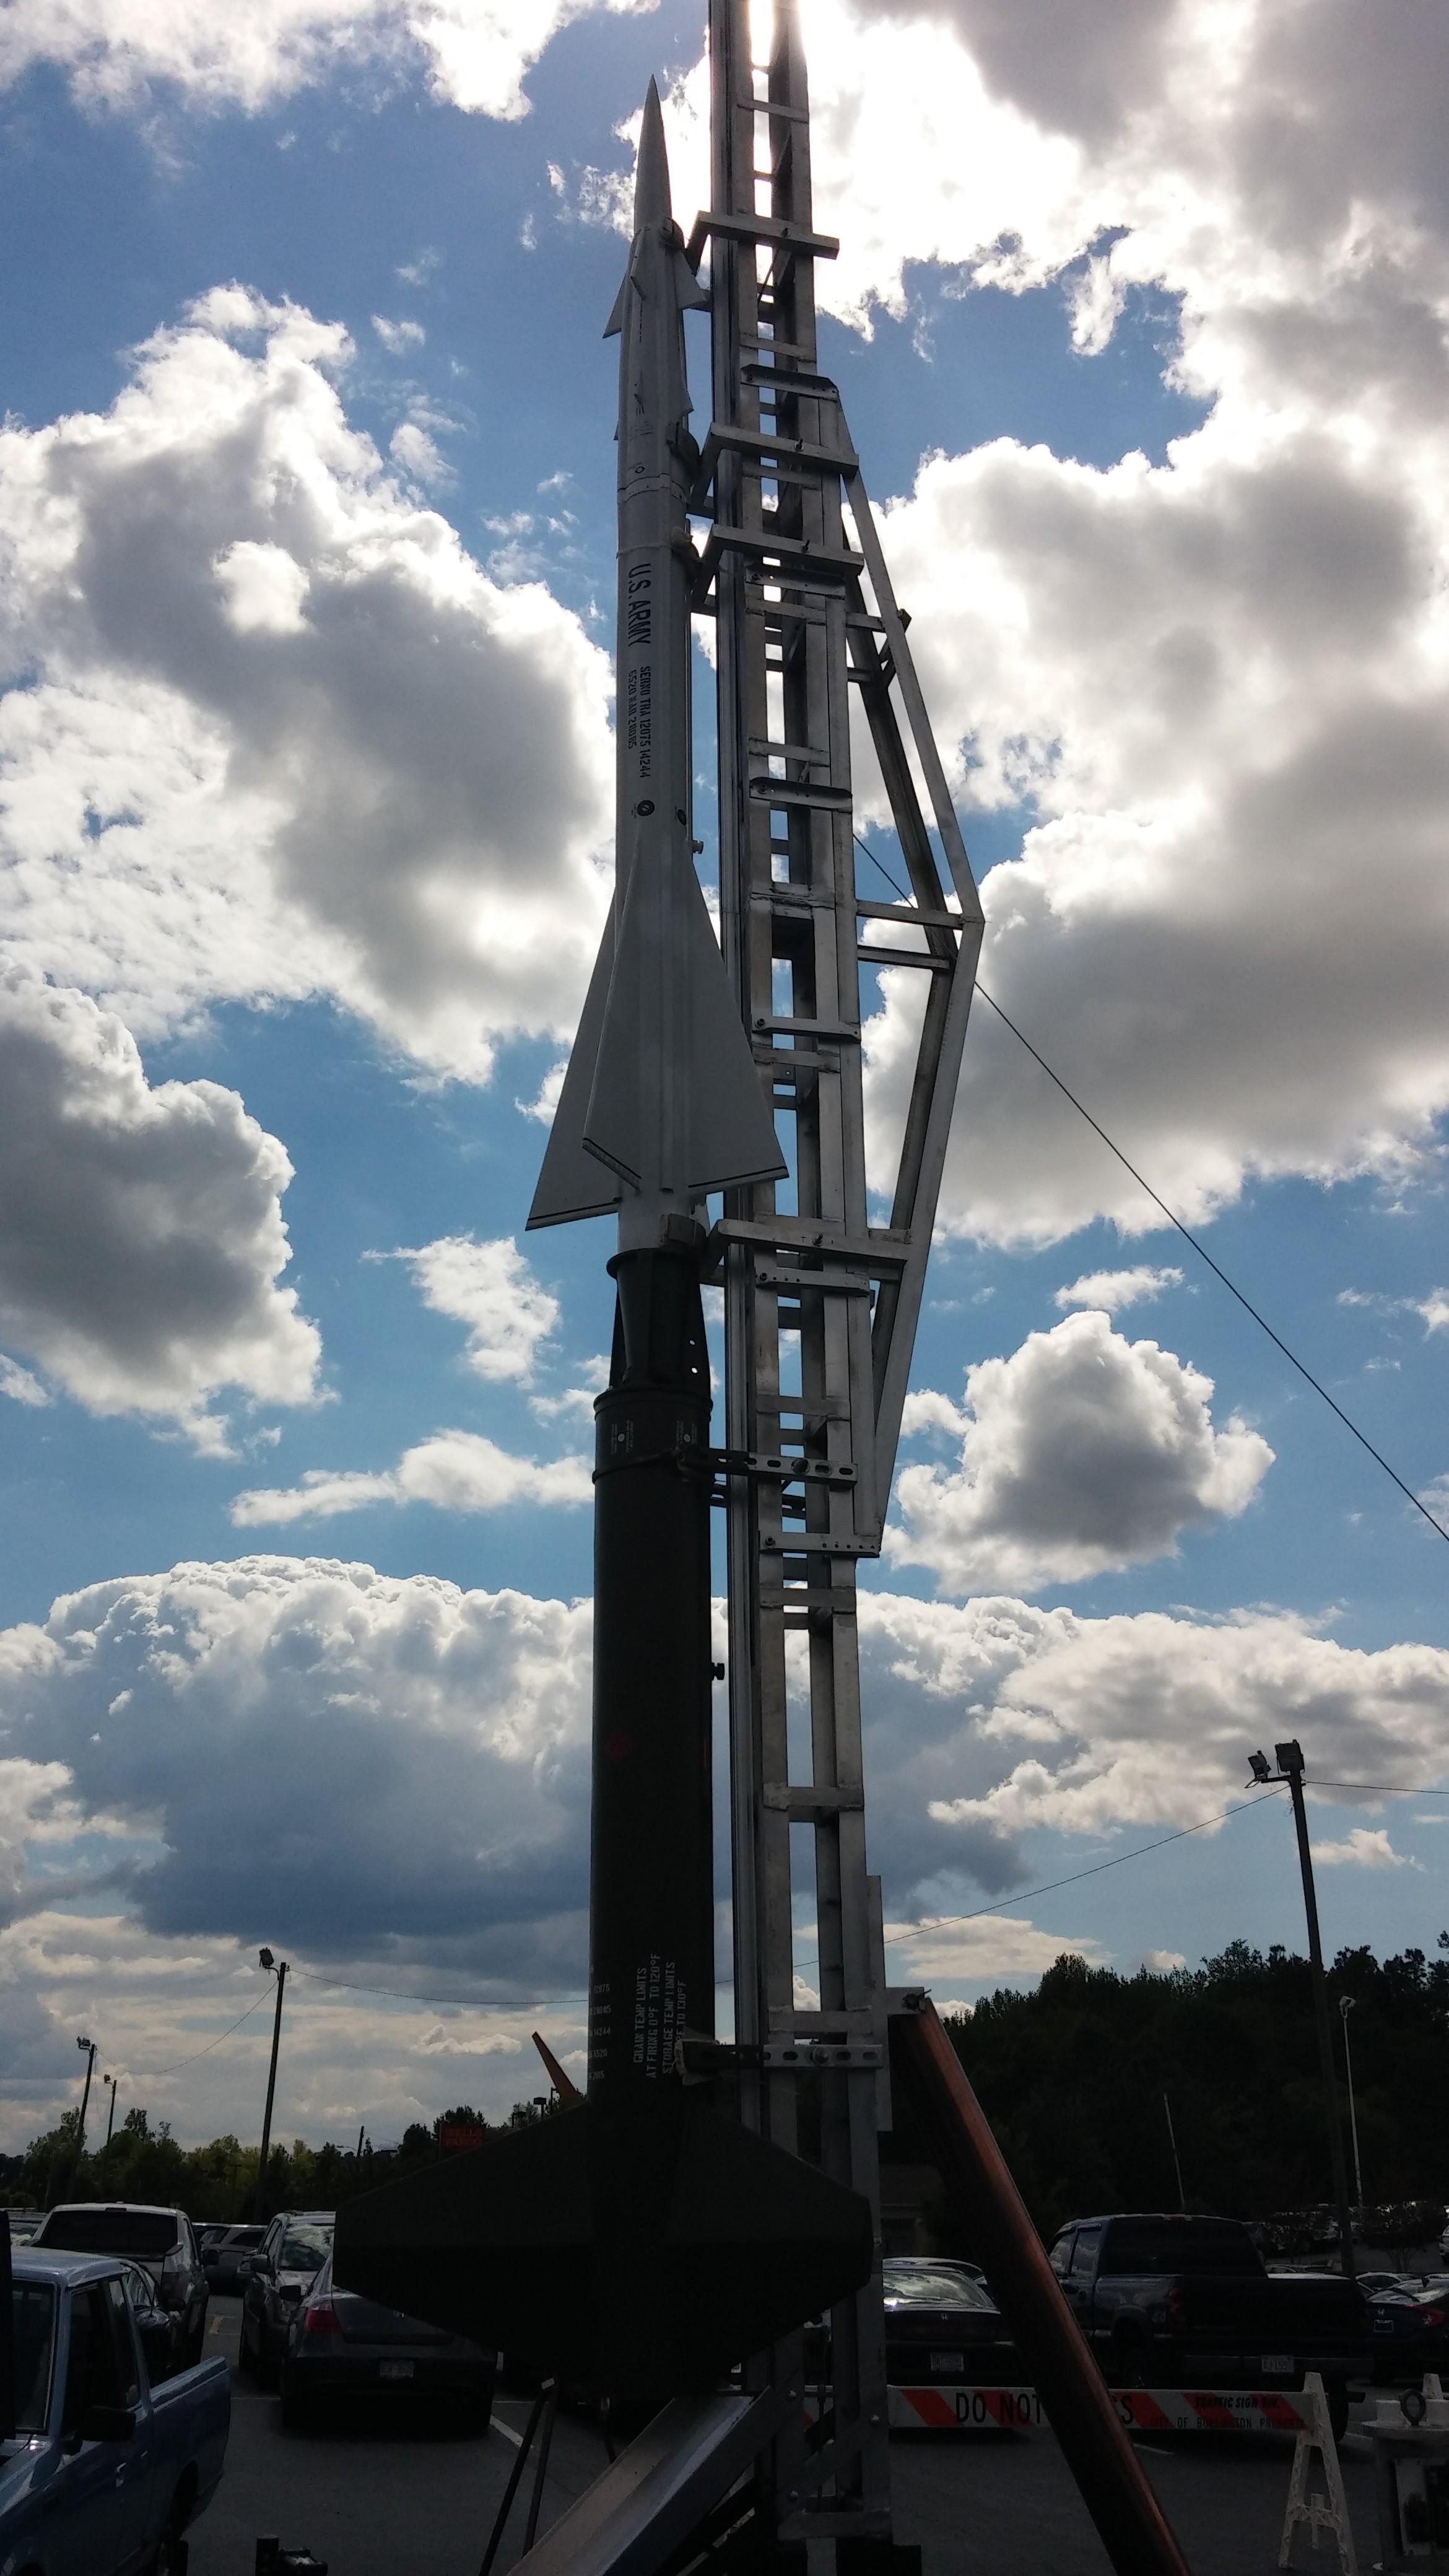
The weekend after that I went to the mini maker fair in Burlington with Julia (the current head of our rocket team), to show off our 1/3 and 1/2 scale along with our parachute, e-bay, and camera stuff. It was a lot of fun, and there was a lot of neat stuff (although the table with robotics across from us stole our thunder a bit). We decided that it would probably be a good idea to go to the fair again next year, but next time have something we can let kids play with. While there, we met some people who built this monster:
![]()
We got their contact information and they've invited us to work with them if we want. I'm planning on visiting their workshop over the summer to see what they've got there. I'll be the only one in the state over the summer, so any rocket stuff over the summer pretty much falls on me.
The next day I went with two of my teammates out to Baysboro, NC to see some high powered rocket launches sponsored by Tripoly (the guys we met at the maker fair are also part of Tripoly). None of the rockets launched there were small by any means, and we brought over our 1/3 and 1/2 scale rockets to show them. They seemed pretty amused by our 3D printed parts; they don't every really use 3D printed parts because plastic can't be used with high power motors without blasting apart. We learned a lot from them while we were there and we saw some cool rockets too.
Here's a pizza box rocket with what I believe is 2 g motors sticking out of it.
![]()
I also have a video of it launching. Only one of the motors went off, the other one was a dud.
This is a rocket made by a student at East Carolina University (forget his name).
![]()
Here's a video of that launching (a K motor maybe?), and the one below it has a motor that was made by the rocket owner (an estimated K on his part- ended up going almost 9000 feet).
On a side note, I really need to stop videotaping vertically on my phone.
Anyhow, as for our progress on our half scale, we're planning on launching it next Saturday at a large cow farm we found (or at Fort Brag, possibly). We have a larger launch pad built, we finally got our motor in (expensive hazmat shipping- I got to walk around campus with a big box labeled explosive), and we have most of our parts printed. I think at this point we're waiting on shear pins, and we also probably have to sand the motor mount a bit more or we have to reprint it. We can successfully shove the motor casing in the mount, it's just a bit on the snug side ( to put it lightly).
We cut a hole in our parachute to reduce on drift. Something got measured wrong somewhere, and it ended up looking like a glorified skirt, so we put a cross of fabric over the hole, so now it's sort of a hybrid parachute.
We also got a new team member last week or so who is good with arduinos, so he's been working on the altimeter we built for us. It can now read the altitude, but the display on it still doesn't work. We're still figuring out what to do on that. It looks better than it did though.
Today we also modified our igniter (the thing that arms and ultimately ignites the rocket motor), and tested it out on a 1/2 A motor we had (it's the smallest motor you can buy commercially). So we buried the motor in the dirt next to the engineering workshop and ignited it. Long story short, it shot itself onto the workshop's roof. I have a video of the fun.
We're winding down for the year here, with finals next week then the summer. One of our team mates is graduating, and the rest will be out of state. I'll probably work on a few rocket related things over the summer, but I'll probably write something about our 1/2 scale's launch, and then you won't hear from me until the next school year starts up.
-
Preparing the 1/2 Scale Rocket
04/12/2016 at 23:21 • 0 commentsThe Rocket team is going to have a busy three weeks ahead of us; right now we're all doing our best to get our 1/2 scale ready to launch as soon as possible. This weekend a few members of the team and I are going to a night launch sponsored by ROCC, one of the local rocket clubs. Two of us are trying to get licenses so we can buy and launch higher powered rockets; joining the local club in one of the steps in doing that, so we're going to talk to them. One of my other team members has a few questions to ask them about rocketry in general. That same weekend we'll be co-sponsoring a movie night at Elon University to see if we can raise some publicity. We're hoping to have our 1/2 scale mostly finished by then so we can show it off. The weekend after that we're going to be presenting what we've been working on at a mini maker fair at one of the malls in Burlington. Then on the 28th I have to formally present our project to the kickbox staff (And whoever else shows up? They didn't give us many details). Hopefully by then we'll have launched the 1/2 scale, that's the plan anyway.
First, we are STILL troubleshooting the altimeter we built, and as it stands I don't see it being finished before my deadline to present. We still have two of our team working on it and they've been trying to consult with one of the professors here, but from what I hear it's a slow process. It's disappointing, but something we have to move past. To make up for our altimeter difficulties, I ordered a commercial altimeter that also does dual deployment and will work for our final rocket. We're currently trying to build some electronic bays for it so it will fit into our 1/3 scale rocket and our 1/2 scale rocket. It will be easy for it to fit in our 1/2 scale rocket because the rocket is very big compared to everything else we've been launching. Our 1/3 scale rocket- what we're planning to test it with- is another matter. In our 1/3 scale the e-bay will be competing for space with the parachute and it will be tricky to fit it in. We're going to end up cutting the body tube 1/3 of the way down from the nose cone and adding in another section with the e-bay in it so it will fit. The shape of the e-bay will also be different from the traditional ones to save space- it's simple but a little difficult to explain so I'll post a picture of it once we get it printed. We also printed out a new motor mount for the 1/3 scale. We used a different plastic that melts at a higher temperature this time because our old one melted slightly and fused with the rocket motor.
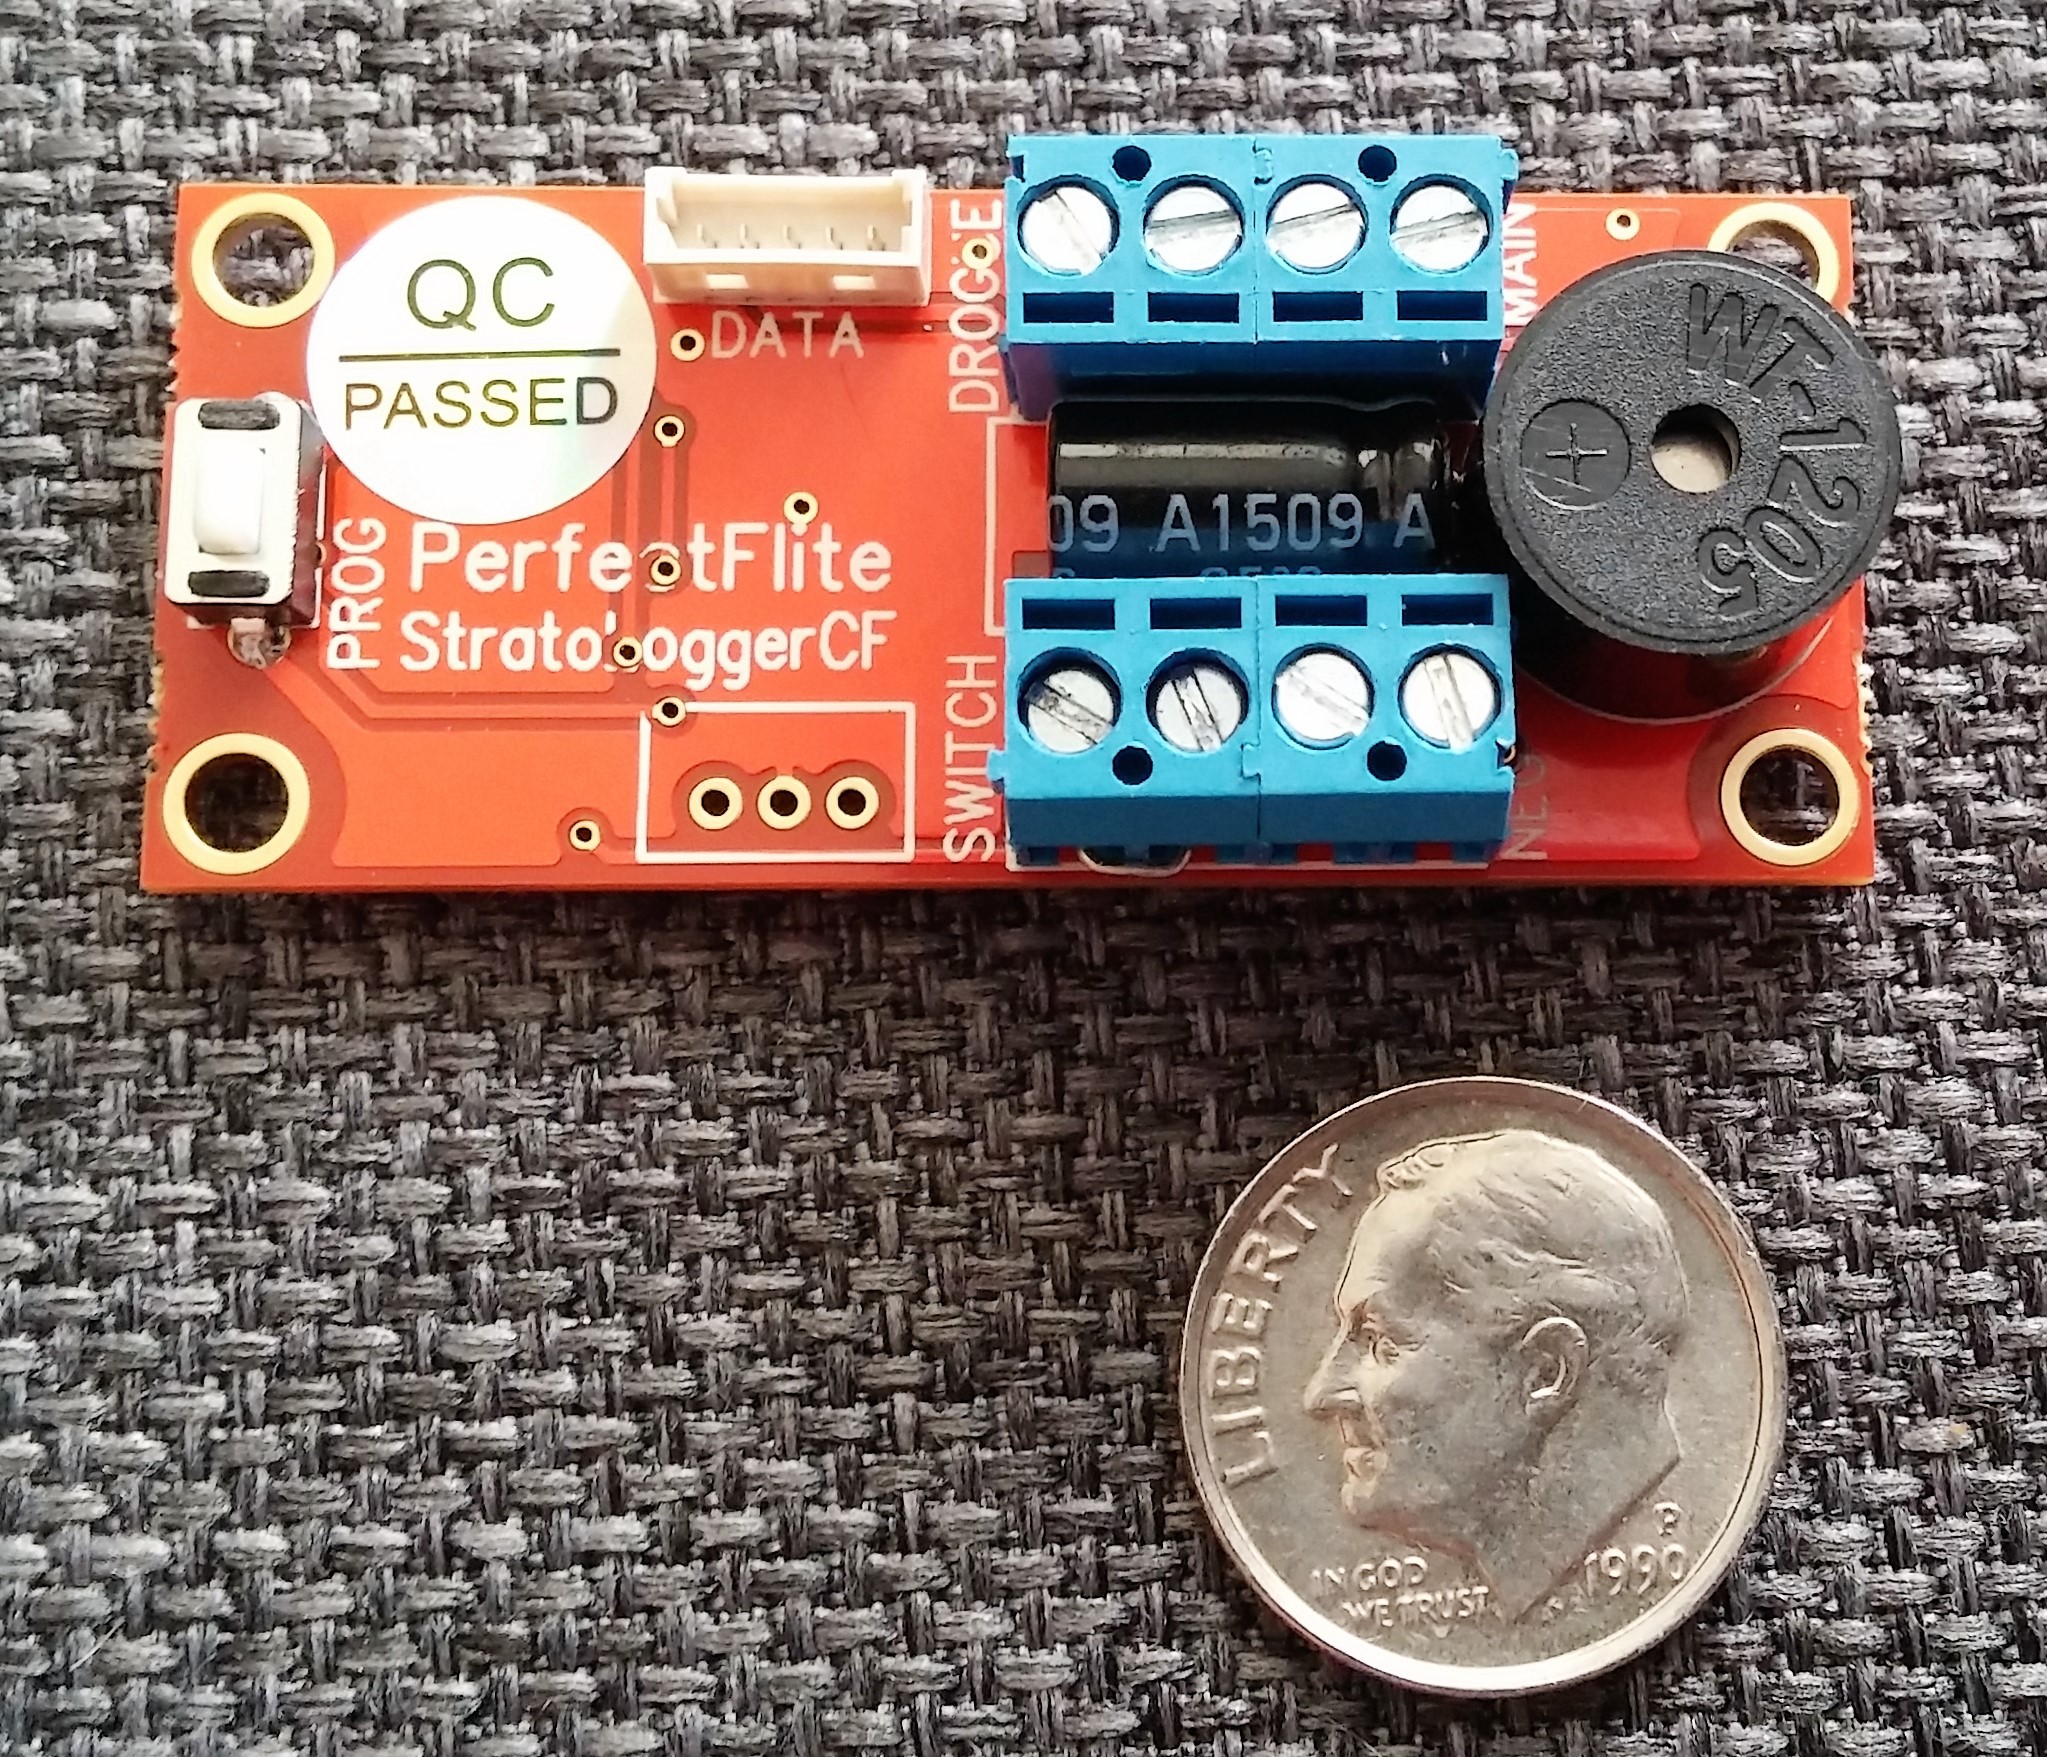
Here's a picture of the altimeter I bought- it's a good price for what you get, and instead of having a display it communicates the altitude by beeping. I compared it to a dime for size.
![]()
One of our members also wanted to fit a go-pro camera into our 1/2 scale so he could get some cool videos of the launch. One of the cameras will fit into the nosecone and will be looking out (we'll cut out a small window for the lense, and fit some clear plastic over it). We'll also probably put another camera in the rocket later with a little para-scope-type-thing sticking out from the lens so it can get a shot looking down. Since cameras are technically a flight recording device, I decided to include them in the project because we're having to do some creative things to fit them in. One of my team members wants to maybe put them both in the rocket at the same time, but I don't really think that's going to work because it's not as it the cameras are weightless.
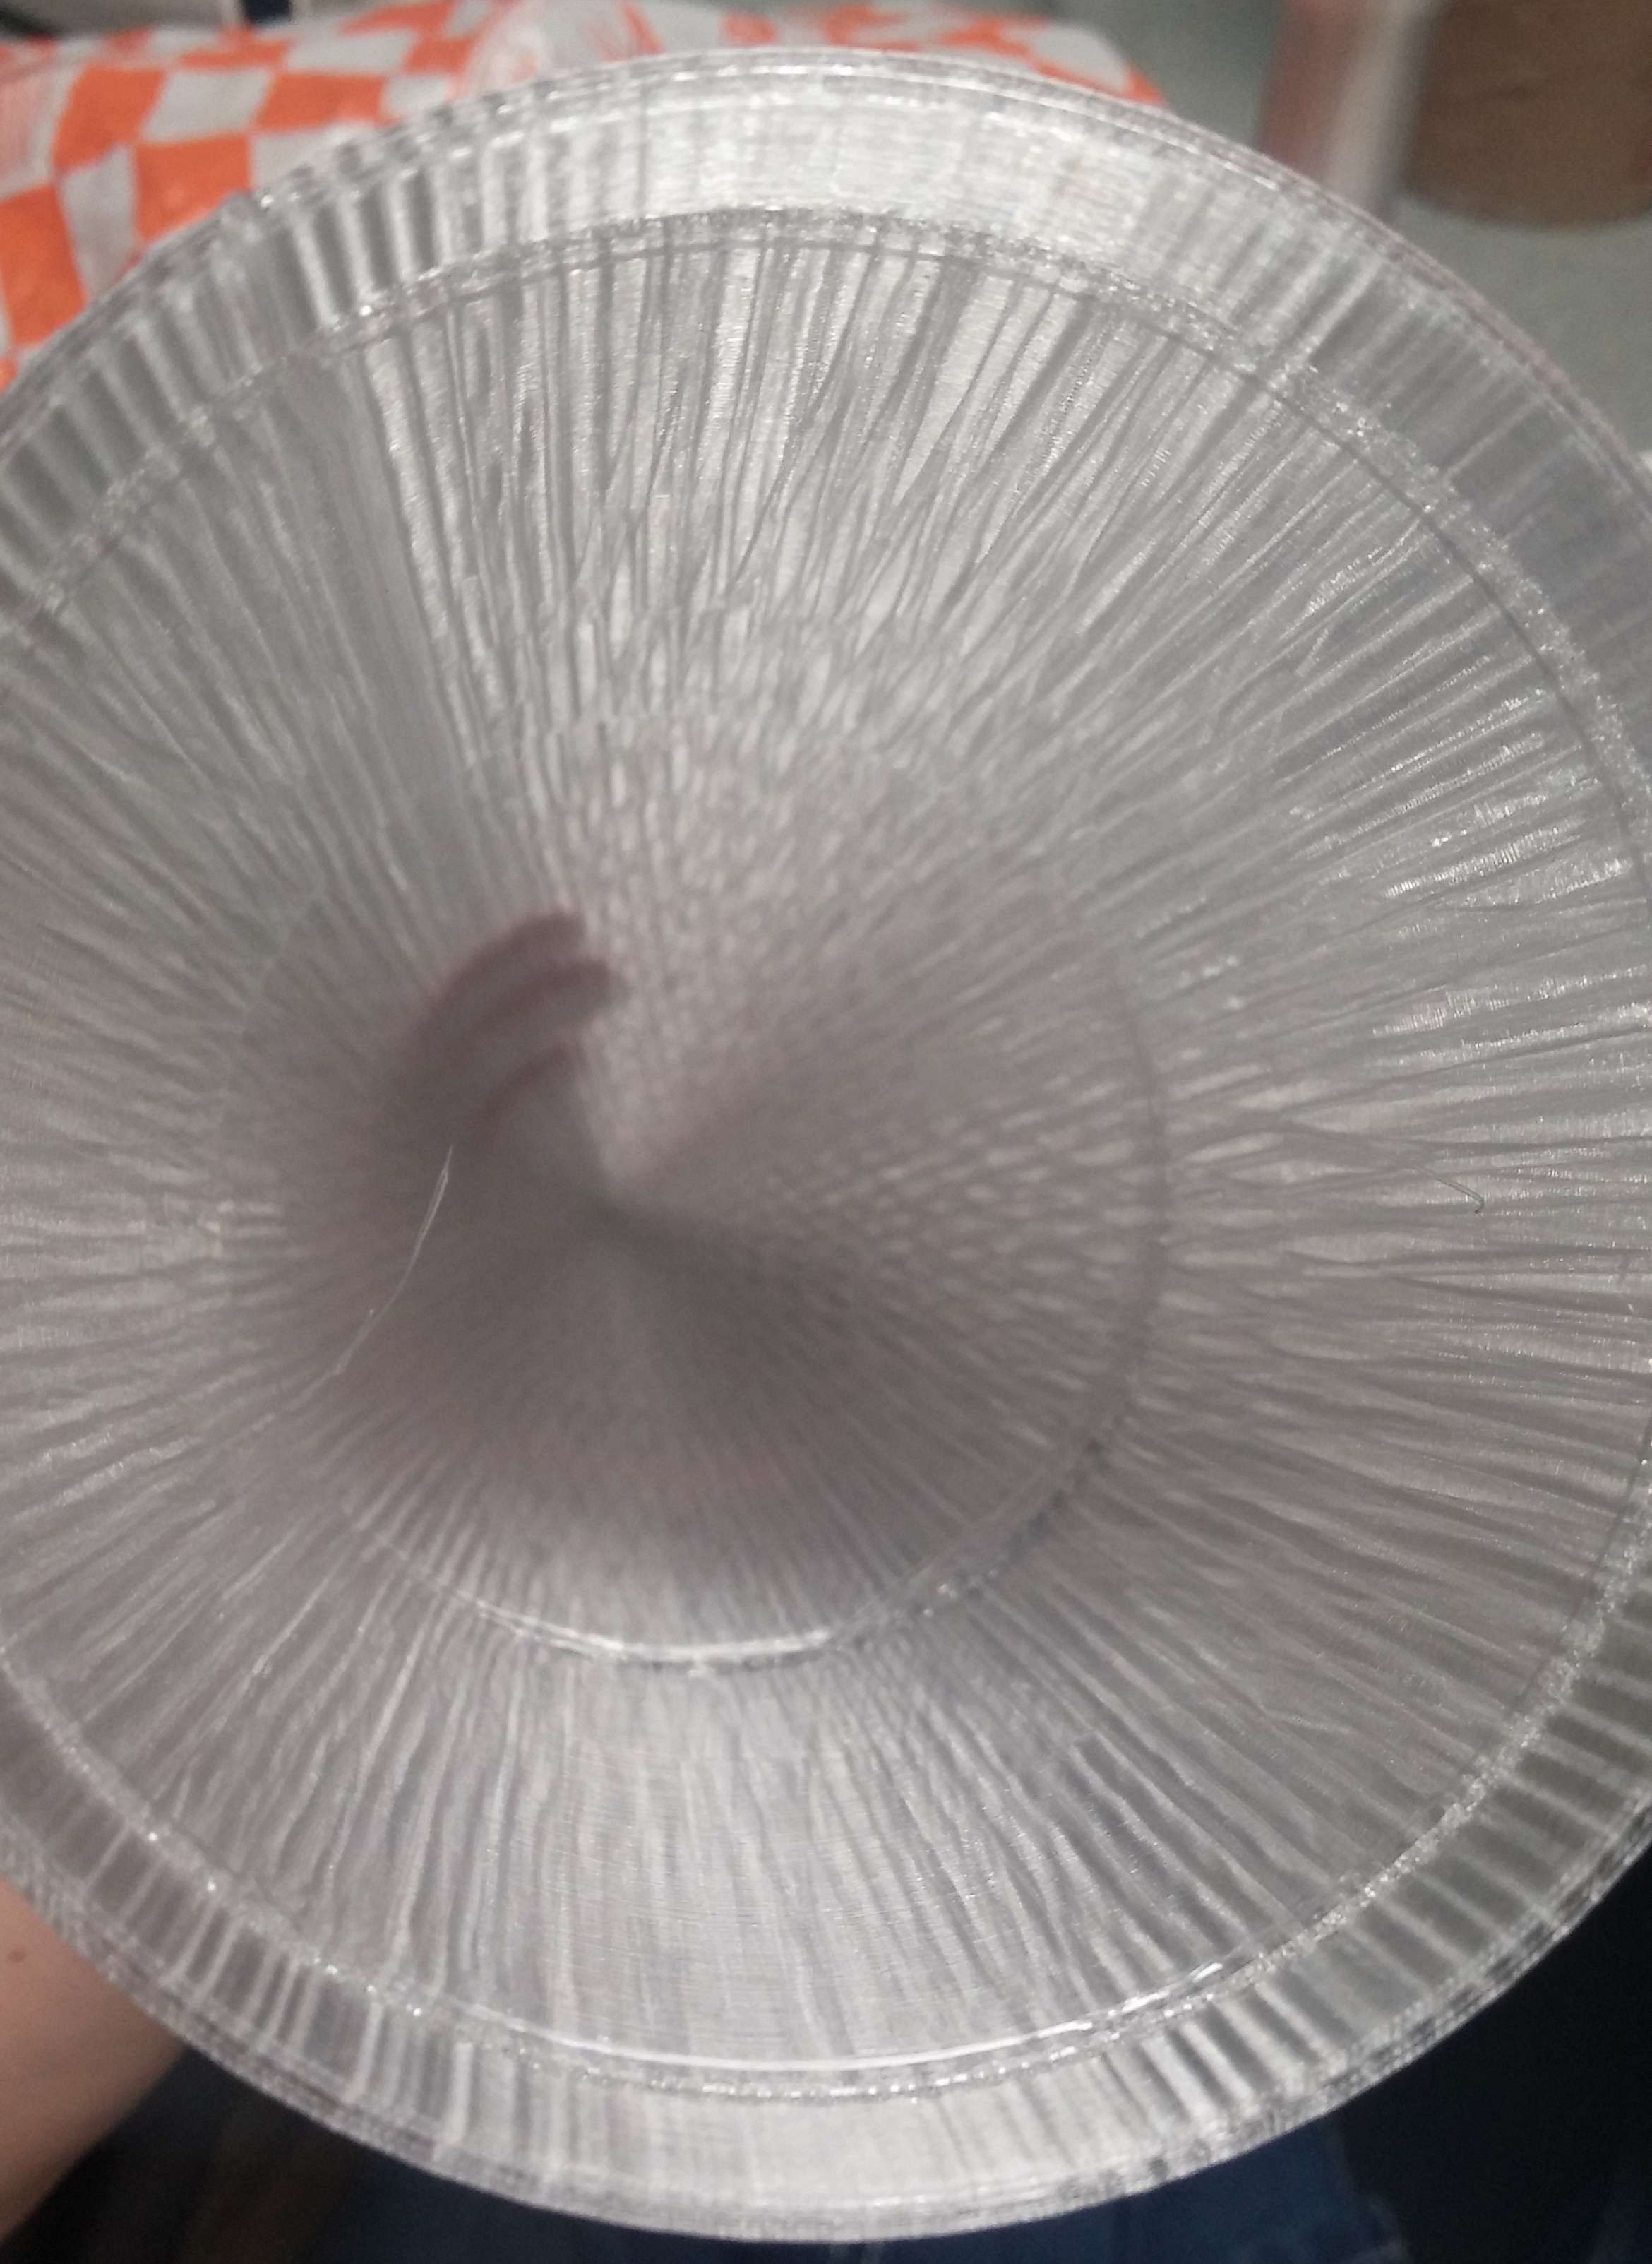
Here's a picture of the cylinder that we 3D printed to hold the camera. The nose cone will fit over it.
![]()
Speaking of the nosecone, when we printed it the head of the printer got bumped somehow and our nosecone got printed slightly off, so we had to cut it in two today and reattach it properly. After that I had to sand the inside slightly because it doesn't fit perfectly over the cylinder for the camera. Nothing we print ever seems to fit perfectly like it should because of the different plastics that are used (it's only about a millimeter off, but it's still a pain). You'd think our team member who designs the stuff for 3D printing would have realized this by now, but I guess not. It's not really his fault, and it's not like the rest of us have learned to use the 3D software yet (it's on the to-do list). Anyhow, the nosecone is fixed now, and at this point we're just squabbling over what color to paint the rocket.
Here's my very artsy picture of the inside of our nosecone. It was printed with transparent plastic, so it looks pretty cool.
![]()
Here's a picture of our nosecone before we fixed it; you might see how it could be a problem like it was.
![]()
The last thing to get past for the 1/2 scale will be the motor itself. It will be a G motor, and unfortunately it seems that those have extremely expensive shipping ($30 hazmat shipping). We have enough money in our budget to buy it though, and the motors themselves aren't that expensive (less than the shipping actually), and once we have a reloadable casing for it, buying the motors will be less expensive. We also have to print the motor mount for the rocket, but that should be an easy scale up of our last mount.
-
1/3 Scale Launches
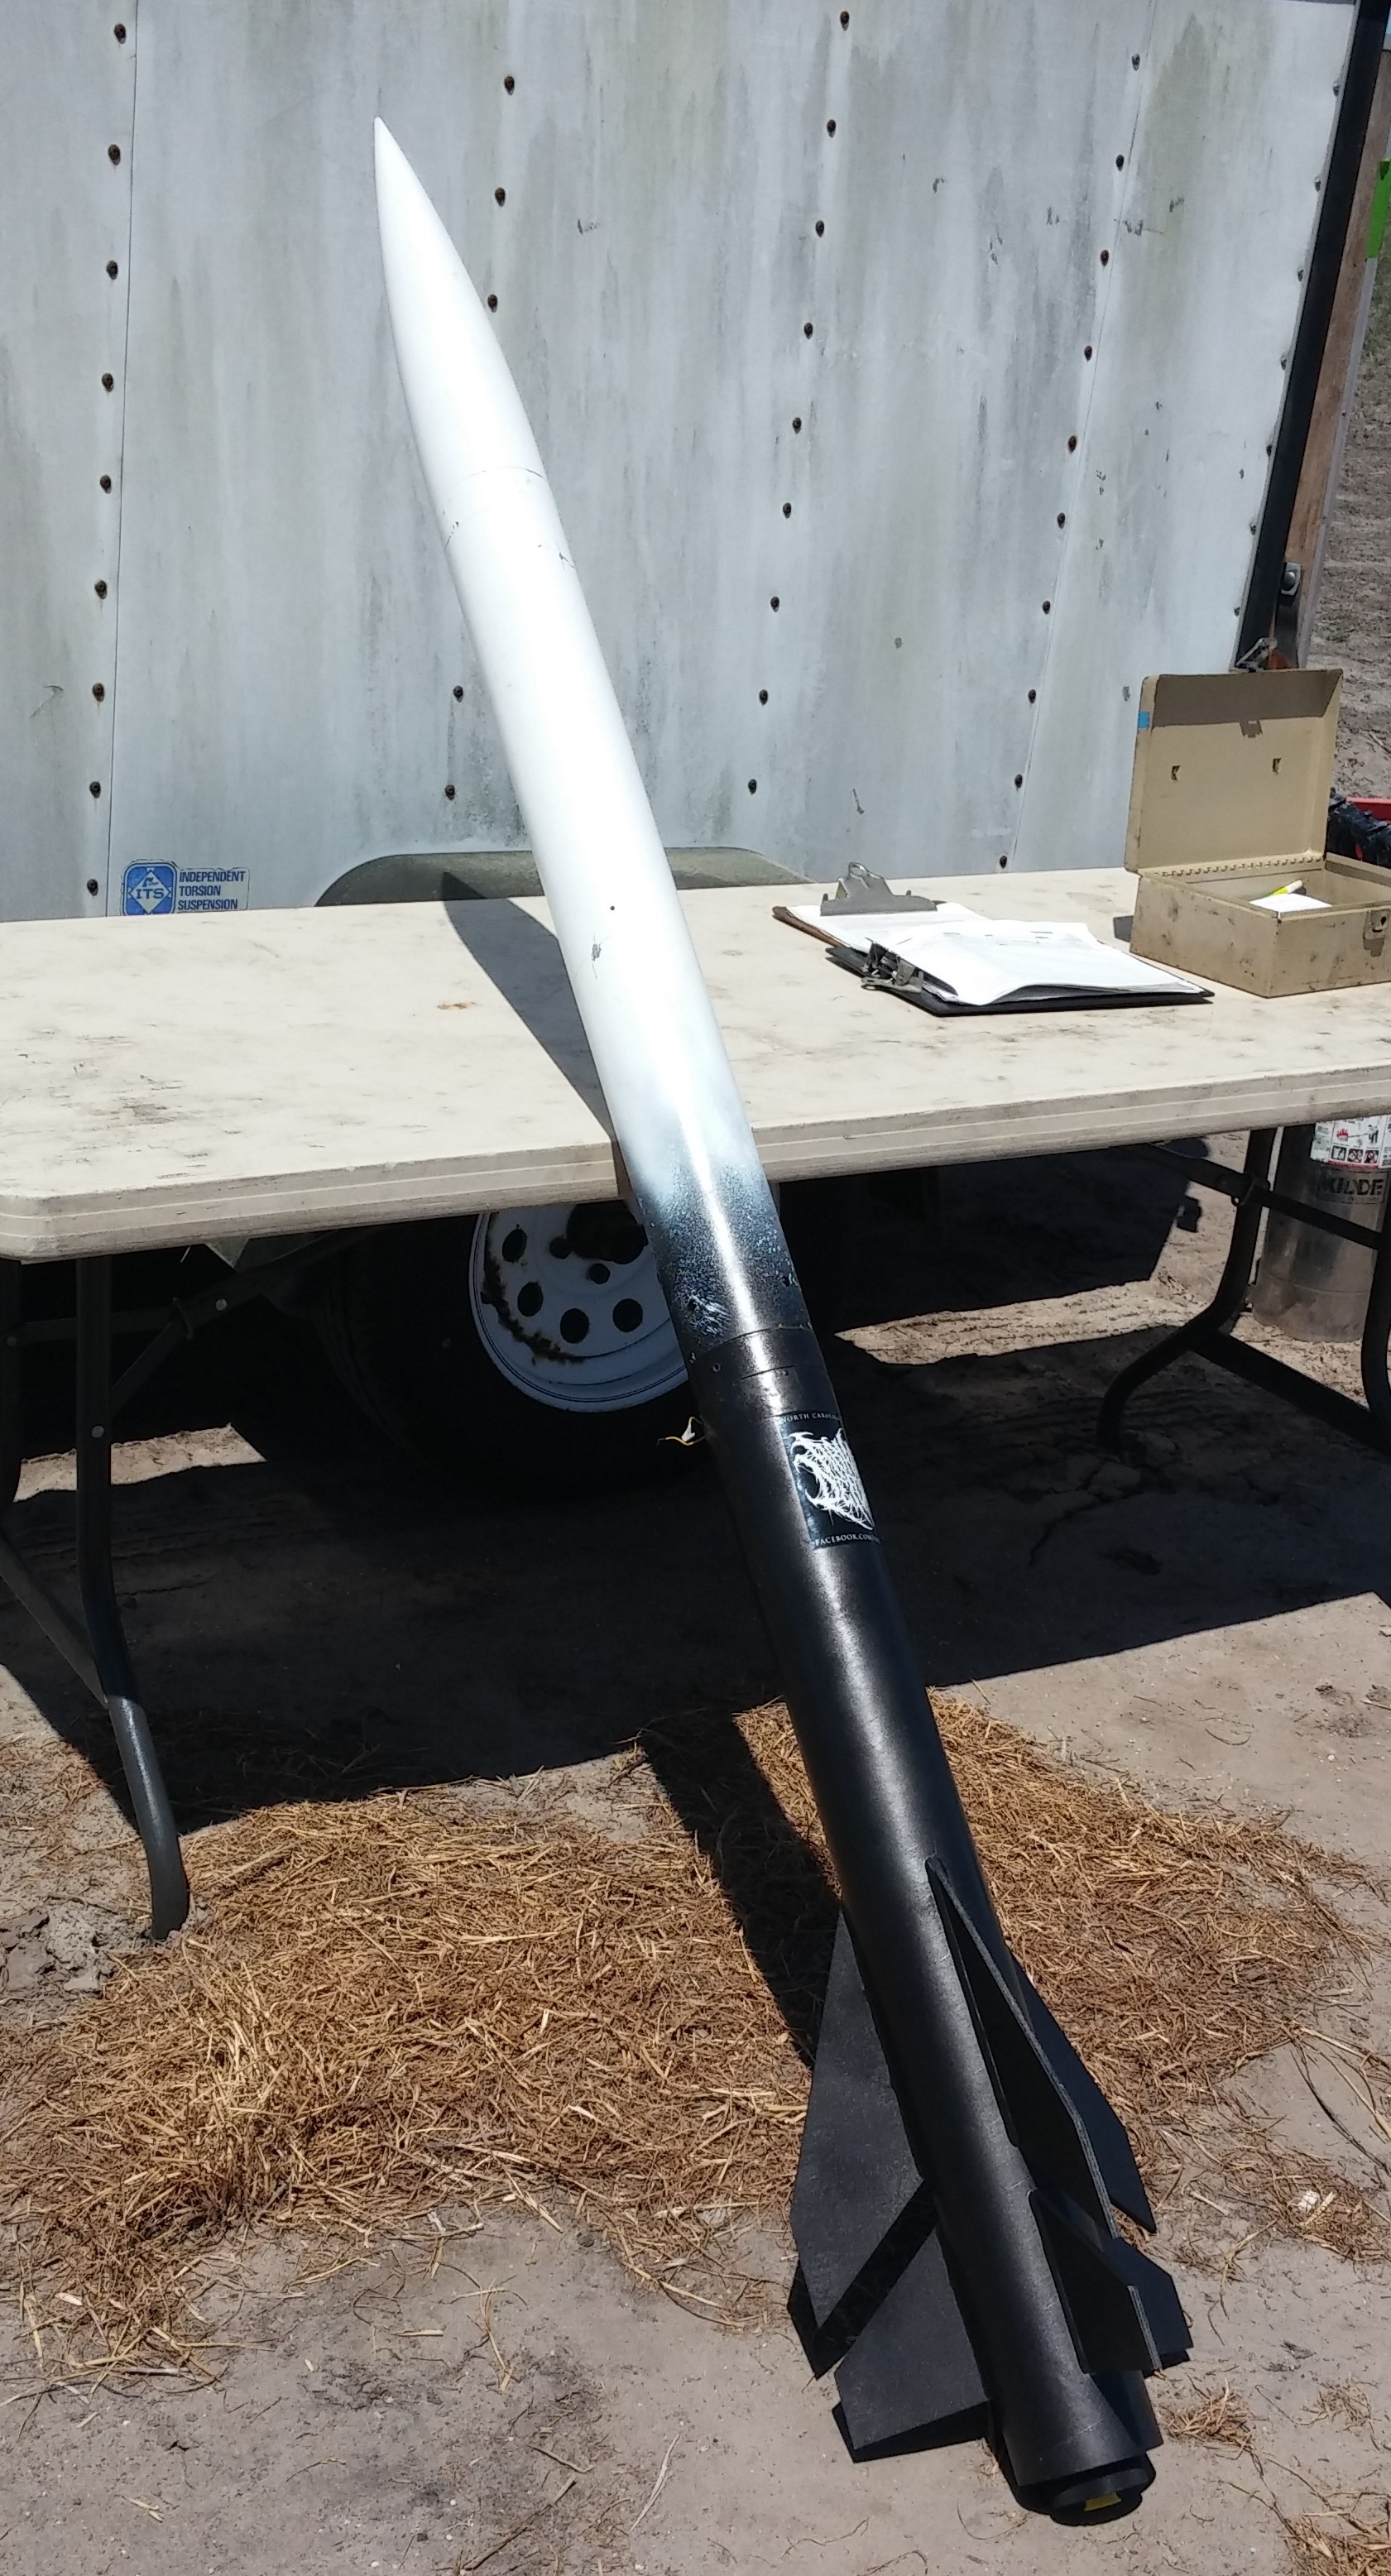
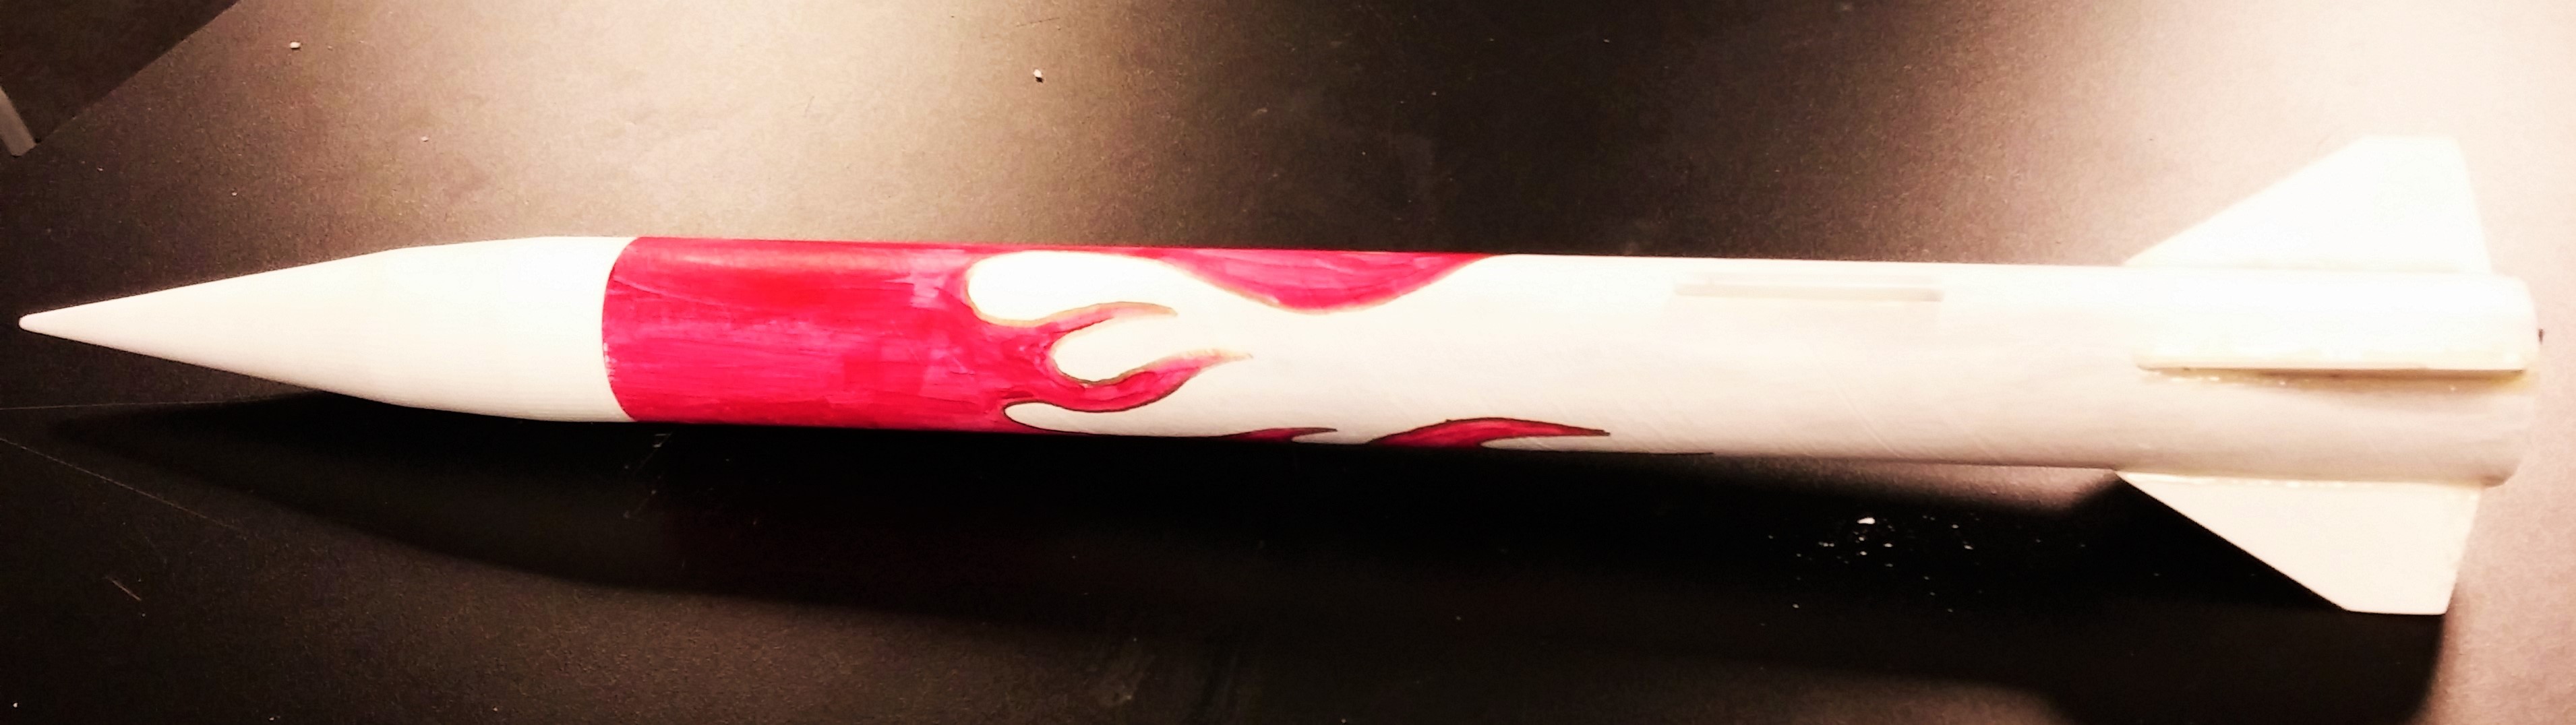
03/15/2016 at 04:24 • 0 commentsFriday March 4, as well as last Saturday, the 11th, we launched our 1/3 scale rocket with a D and E motor respectively. We meant to have our altimeter ready for our launch last Saturday, but our technical problems thwarted those plans (by the way, I meant to get a picture of it before I gave it to my other team members, but I forgot; I'll get a picture of it later). Hopefully we'll have it ready in time for the next launch of our 1/2 scale rocket. To solve some of the problems with our last rocket, we attached the fins directly to the body, made the motor housing one solid piece, and distributed the weight in the rocket so it would be more stable in flight. I also painted it, so it looks much cooler than our last rocket.
Here's a picture of our 1/3 scale rocket:
![]()
We launched on the 4th with a D motor, and it went relatively well, but we accidentally made our rocket over stable. This means that when the rocket tilts slightly in the air, it over corrects making the rocket corkscrew slightly in flight. You can kind of see it as it goes up into the air.
Here the video of our launch with the D motor:
On the 11th we launched our rocket with an E motor. It's much more powerful than the D motor; I took a picture of the scorch marks from the motor so you could compare it to the marks from the D motor in one of my old posts. My other team mates took a picture of this to prove to campus rec that we don't screw up their fields with our launches (their fields have bald patches anyway).
![]()
On another note, we'll need to build a new launch pad for our larger sized motors, because this one isn't going to cut it anymore. We're also going to have to use a rail instead of a rod for our rockets, because they'll be bigger and that's also what they use in the competition we'll be entering. The launch pad will be our next project, along with brainstorming for the 10 lb payload we'll have to have (we're not currently sold on our Geiger counter idea).
Our rocket launched wonderfully for our E motor. The only thing we'll have to change for this size of rocket is our parachute. Currently we're using a small orange plastic parasheet (that's what a parachute with no gores is called) we got from a rocket kit, and it's a little too small for the rocket, and it's beginning to get some burn marks and tiny holes in it. We'll probably just cut another slightly larger parasheet out of our nylon material we have.
Here's a video of our launch with the E motor:
The only problem with we had with our E motor was that it melted the plastic on our engine housing and the engine refused to come out. Our engine housing is 3D printed, so it's just a matter of using different plastic to print with, which will be a simple fix for next time.
-
Prototypes and Testing
03/12/2016 at 00:05 • 0 commentsA few days ago we finished up building our arduino altimeter and our first parachute. Our prototype parachute is meant for our 1/2 scale rocket, and we'll be launching that possibly after spring break so we wont be field testing it for a while, but we did throw it off of the balcony of the McMichael building attached to a water bottle filled with sand. The parachute is elliptical in shape and has 6 gores (triangle sections).
Here's a video of our 5th test:
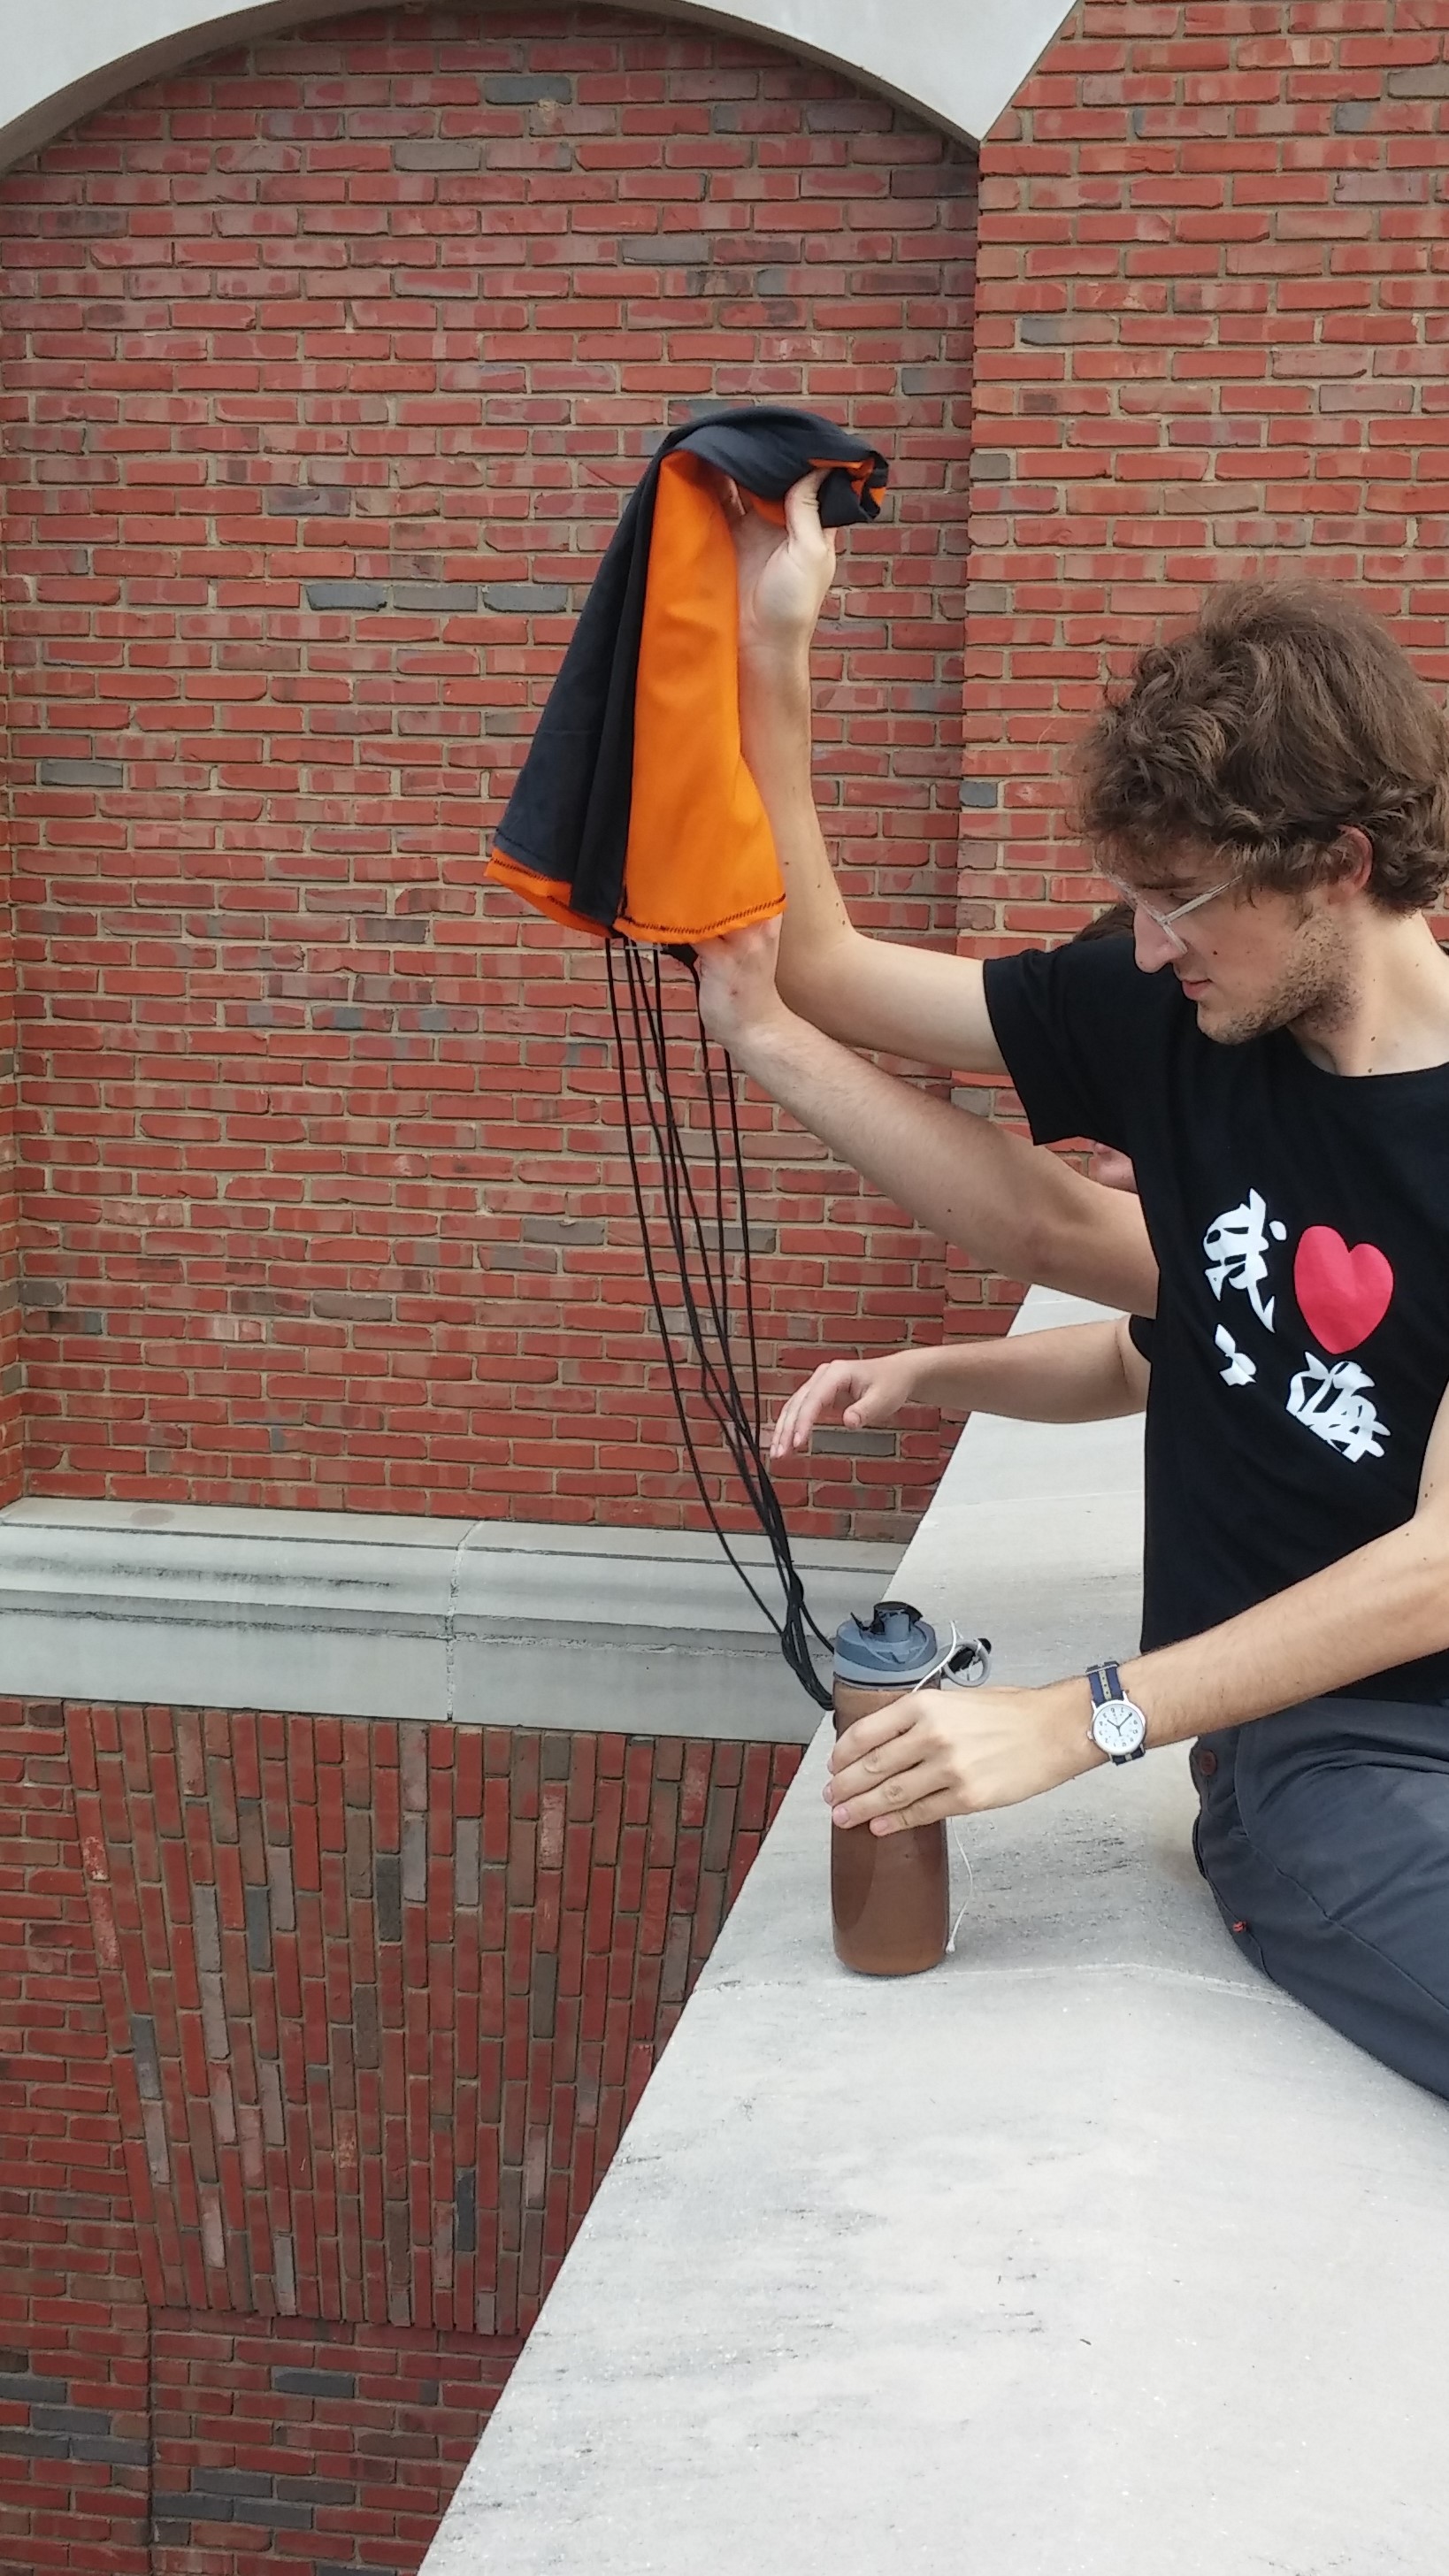
And a picture of us about to throw the parachute off a smaller balcony outside:
![]()
We finished building the arduino altimeter on Tuesday, but I had difficulty getting the code for it to work. The code was provided online, but the thing was that the thing the code referenced (the library) was missing, so I had a time of finding one that we could use. We also ended up using a different display from what was in the instructions I used, so I ended up having to redefine the pins in the code as well. I am neither good at building electronics or coding; in fact, I have the most technological problems out of anyone I know, so just managing to do that was a major achievement. It's a good day when I don't break anything. Despite my progress, the altimeter is still not displaying correctly, so today I gave the altimeter to the members of our team who actually know how to code and work with arduinos (they were busy before), and we're going to try to sort it out today in time for our launch tomorrow of our 1/3 scale rocket.
-
Recent Launch
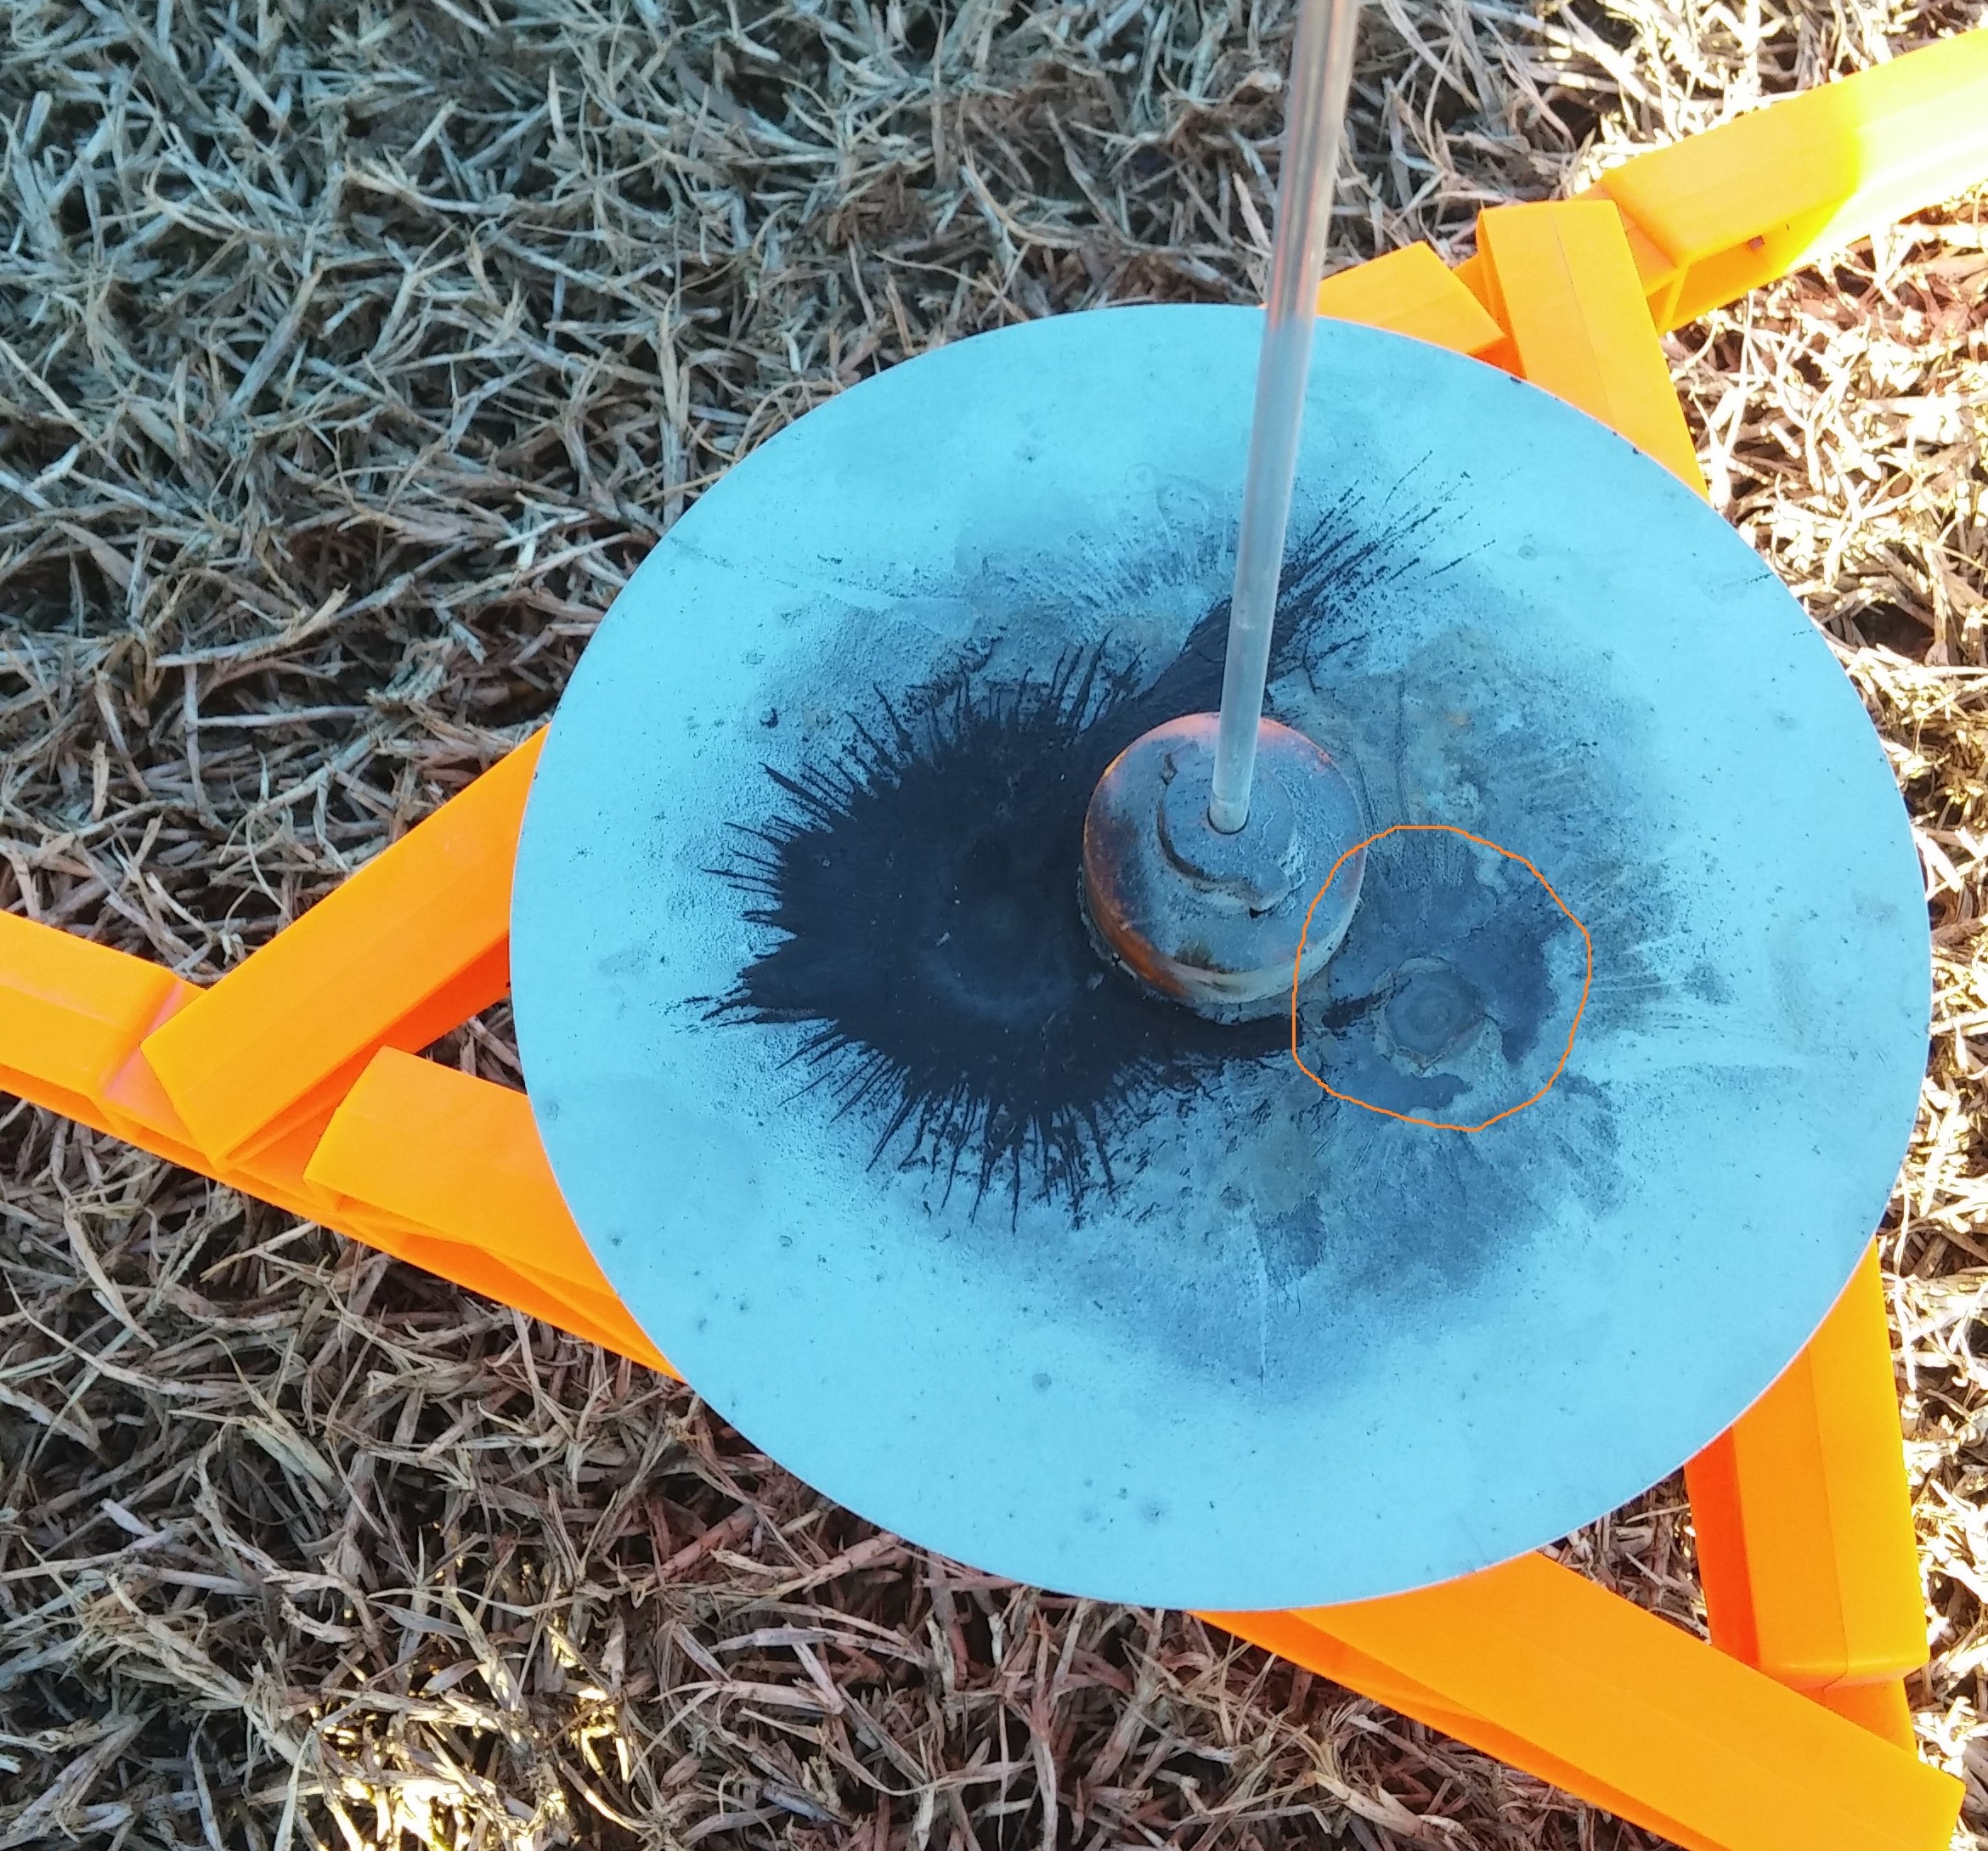
02/27/2016 at 21:13 • 0 commentsYesterday we launched with our level D rocket motor, to give you idea of how powerful this motor was compared to our last one (a C motor), below is a picture of the burn marks from the two exhausts. The black smudge is the D motor, and the gray smudge I circled is the C motor.
![]()
On the day we launched the wind was 15mph with gusts up to 20mph, and we're not supposed to launch with wind speeds above 20mph. We deliberated whether it would be o.k to launch, and decided to go ahead with it anyway. Unfortunately our rocket wasn't stable enough to withstand the wind speeds, and it corkscrewed in flight and hit the ground without the parachute deploying. The field we were launching in was too small (campus rec made us move), and the rocket ended up hitting the pavement outside of our field and the rocket was destroyed. Our nose cone broke into 3 pieces, and 3 fins came off. For our next rocket we plan on using the same motor, but our rocket will be at a 1/3 scale, and built with a higher stability. We're planning on launching our 1/3 scale on March 11, and hopefully by that time our parachute and small altimeter will be ready to test.
Here was our rocket before it launched (our rocket team leader Julia is next to it; she didn't know I was taking a picture):
![]()
And here is our rocket after the launch:
![]()
At this point our parachute design is underway and we have the materials for making the parachute. We ordered black and orange rip-stop nylon material and nylon thread to make our parachute. We're planning on starting the construction of the altimeter on Tuesday, March 1st, although it probably won't be finished until a later date because one part we need for it hasn't arrived yet. To give an idea for the scale of it, I took a picture of the arduino we're going to use next to a dime. It's about one dime wide and two dimes tall.
![]()
To give an update for what we decided to do for our full scale rocket, we decided to not build an altimeter or dual recovery system for it because of the time and money it would have consumed compared to what we could get commercially. Also, the rocket competition rules state that we must use a commercial-off-the-shelf altimeter, so that also factored into the final decision.
-
Initial Research
02/20/2016 at 22:56 • 0 commentsThe goal of the rocket team is to eventually enter a rocket into the Sounding Rocket Competition, which is an intercollegiate competition with teams from all around the world. Our final rocket is projected to be about 5'' in diameter, 5-6 feet in length, and its target altitude is 10,000 feet. For this project we decided to focus on building a small altimeter for our model rockets (scaled down versions of our final rocket), and designing and making a main parachute. We will also hopefully be able to also make a drogue parachute and a 10 lb payload for our final rocket that we'll use for the competition.
We decided that for our next major launch we would launch a 1/3 scale version of our final rocket, so we decided to design our parachute based on the 1/3 scale size. If our design works, we'll go ahead and make a larger parachute for our final rocket with the same design. We're going to try to make a toroidal shaped parachute for our main, because it will create the most drag for our rocket. It will be about 3 feet in diameter for our 1/3 scale rocket. A drogue chute is a smaller parachute attached to the main chute that deploys first and gets the rocket into position, so the main chute can deploy properly; they're needed when you start to use large parachutes. We haven't figured out the sizing for the drogue yet, and right now I feel our best course of action is to make the drogue the same size as what's commercially available, test it to see how well it performs, and then make adjustments from there. The picture below is of a commercially available toroidal parachute with a drogue chute attached.
![A commercially available toroidal chute with a drogue attached.]()
I found the instructions for making a small altimeter earlier in the year, and it's based off an arduino system. I ordered the parts for it, so once the parts arrive we'll begin making the altimeter. The design for the small altimeter is simple, but eventually we'll need to create a larger one for our larger scale rockets because the small one won't be able to handle the high altitudes or G forces well enough. In addition to the altimeter, we'll need a to construct an accelorometer, and a GPS. We'll also need to find a way to make the altimeter deploy the drogue and main chutes at the right altitude. We're unsure whether it would be better to buy some of the flight data collectors commercially for our final rocket, or if it would be better to make the devices ourselves. For some of the components we use, we're constrained by the rules of the competition, and we're planning at this point to buy the GPS tracker commercially. For the other components we're looking into basing them off of a larger arduino system.
In the competition we'll need a 10lb payload to put into our rocket, and we get extra points if we have the payload complete some sort of scientific experiment while in the air. Our initial thoughts were to either buy or construct some Geiger counters and have them measure different levels of radiation at different altitudes to see how much of a risk it poses to flight crews at different altitudes, because we know that of all the people deemed "radiation workers," flight crews accumulate some of the most radiation in their systems. At this time, we haven't looked into this idea very much, so I can't say much about what we might do with it. We know that if we proceed with this idea, we'll at least have to create a separate recovery system for it.
Photo credit to: https://www.apogeerockets.com/Building_Supplies/Parachutes_Recovery_Equipment/Parachutes/High_Power/60in_Iris_Ultra_Parachute
Amateur Rockets
Progress of Elon University's Rocket Team on making a rocket fly to 10,000 ft.