 StéphaneAG
-
11Step 11
Before starting sewing every part together, we have some work to be done on the boxing & Cie.
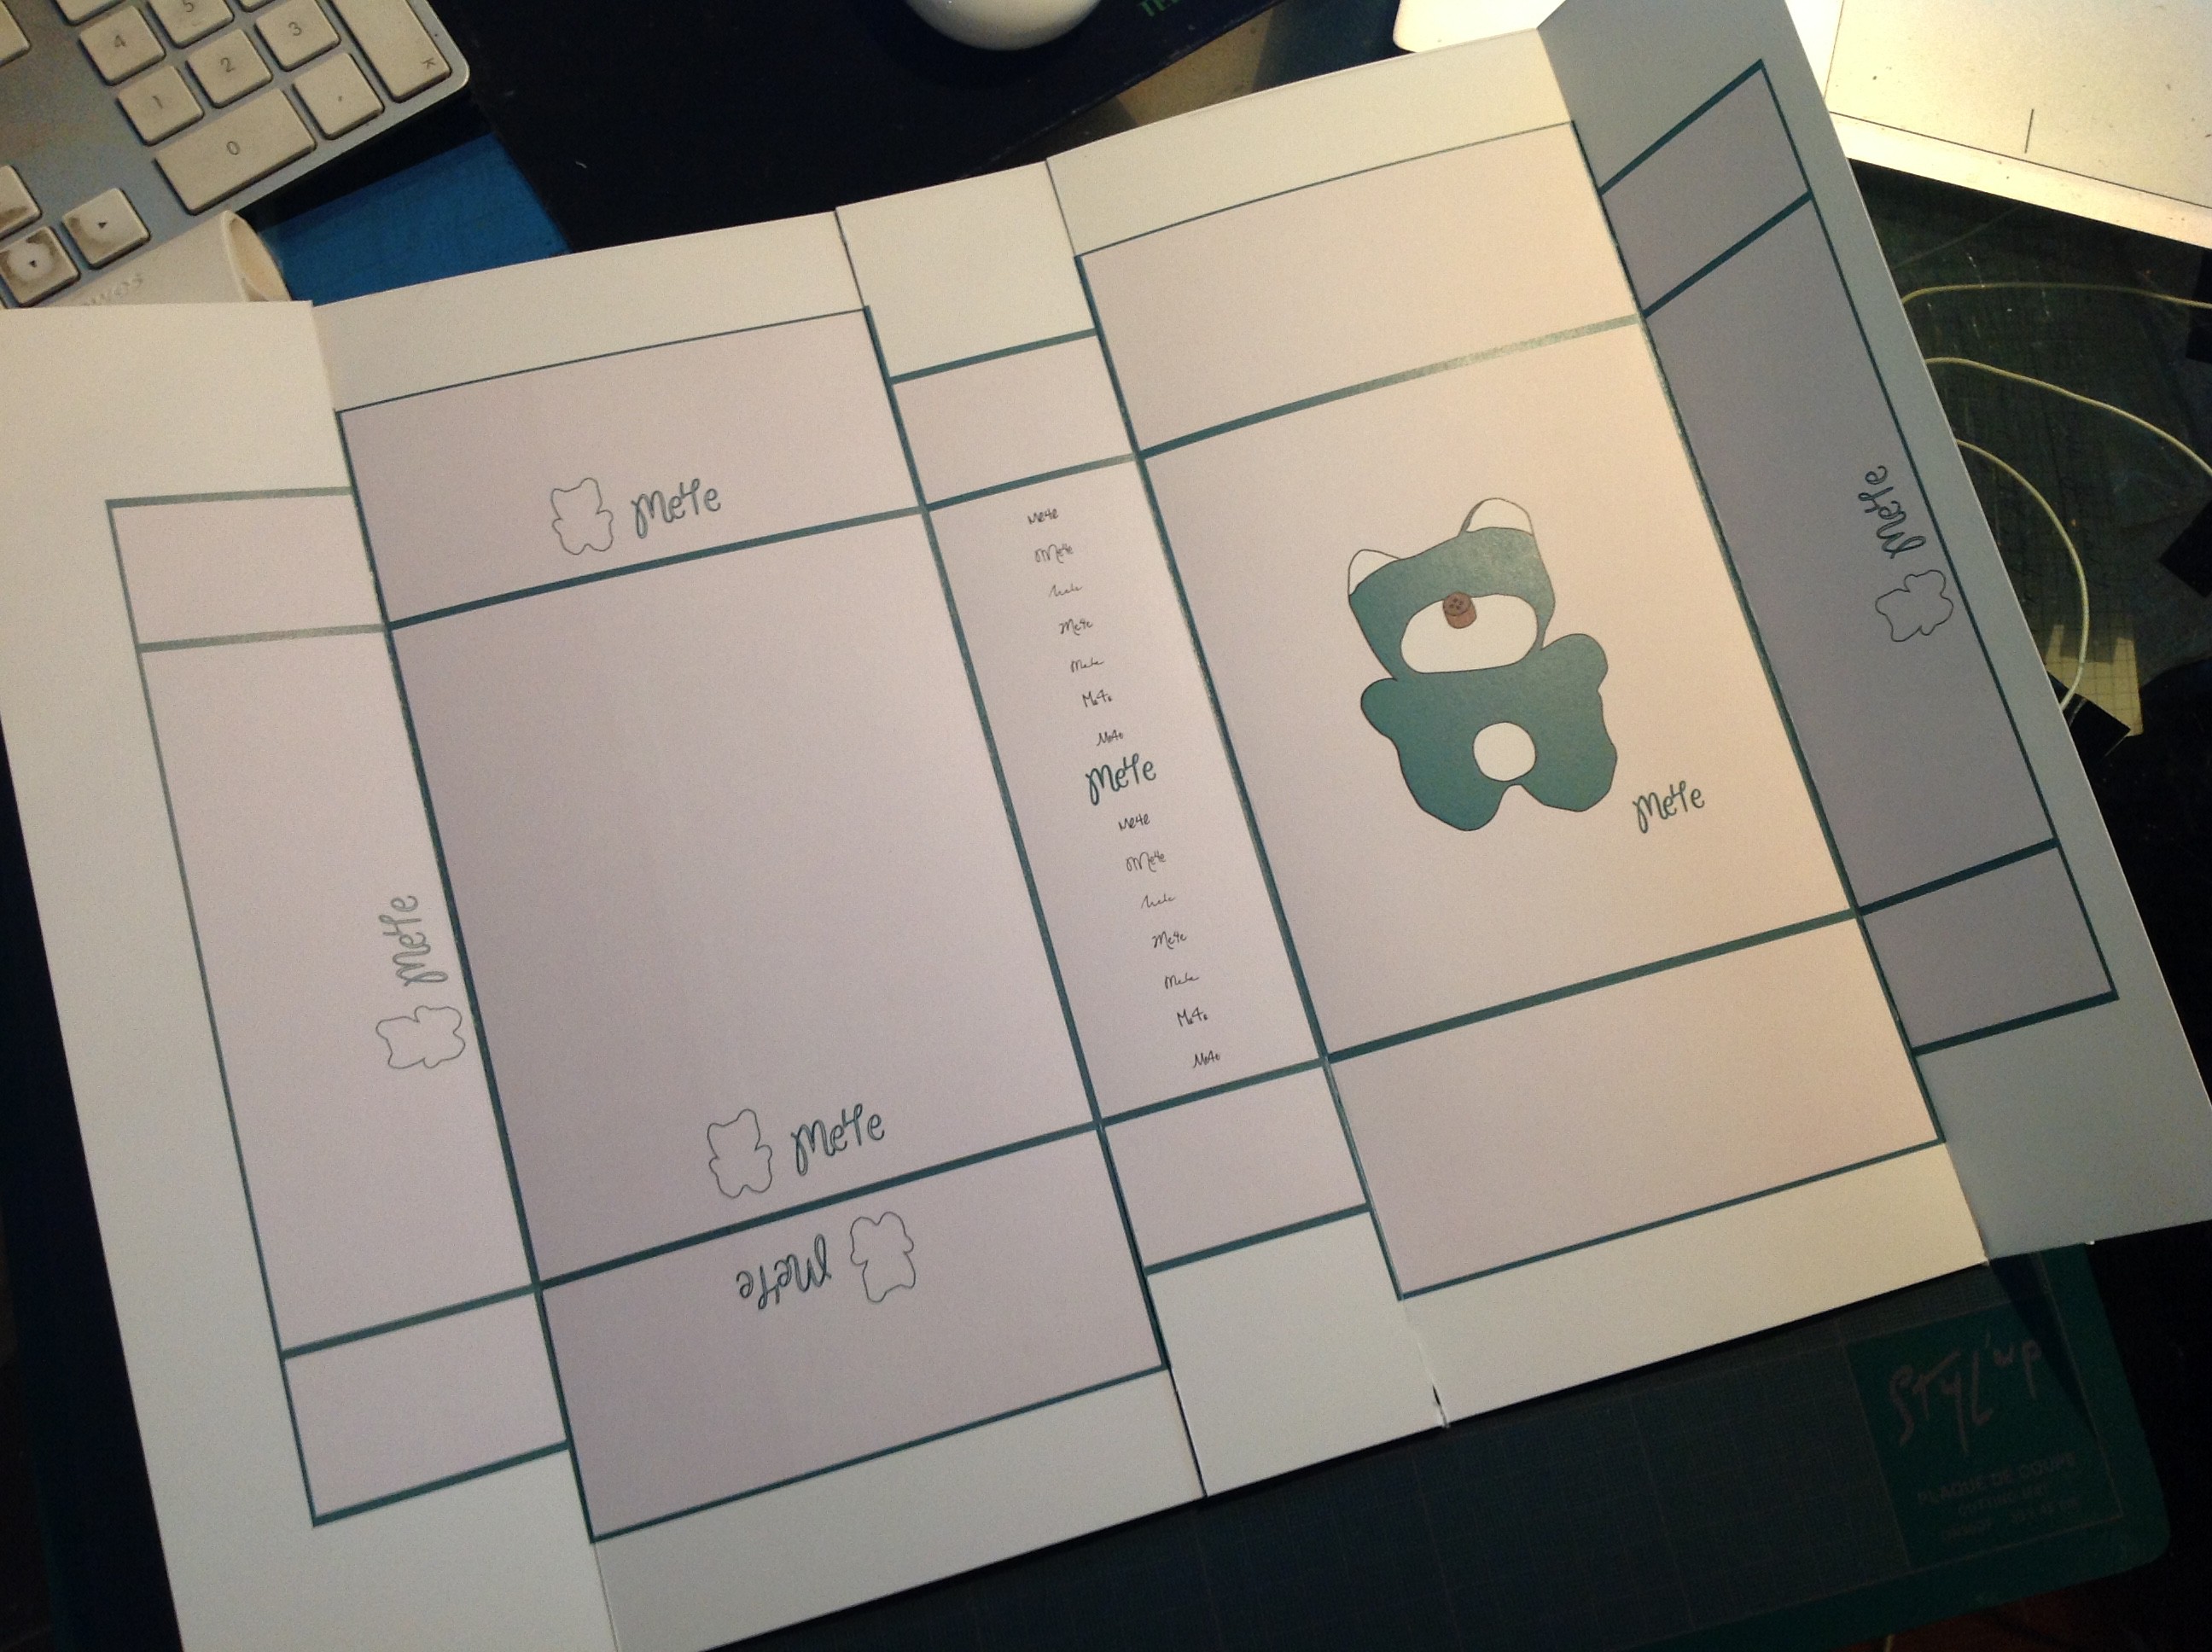
Remember the reference drawing we took ? Here it is !
![]()
![]()
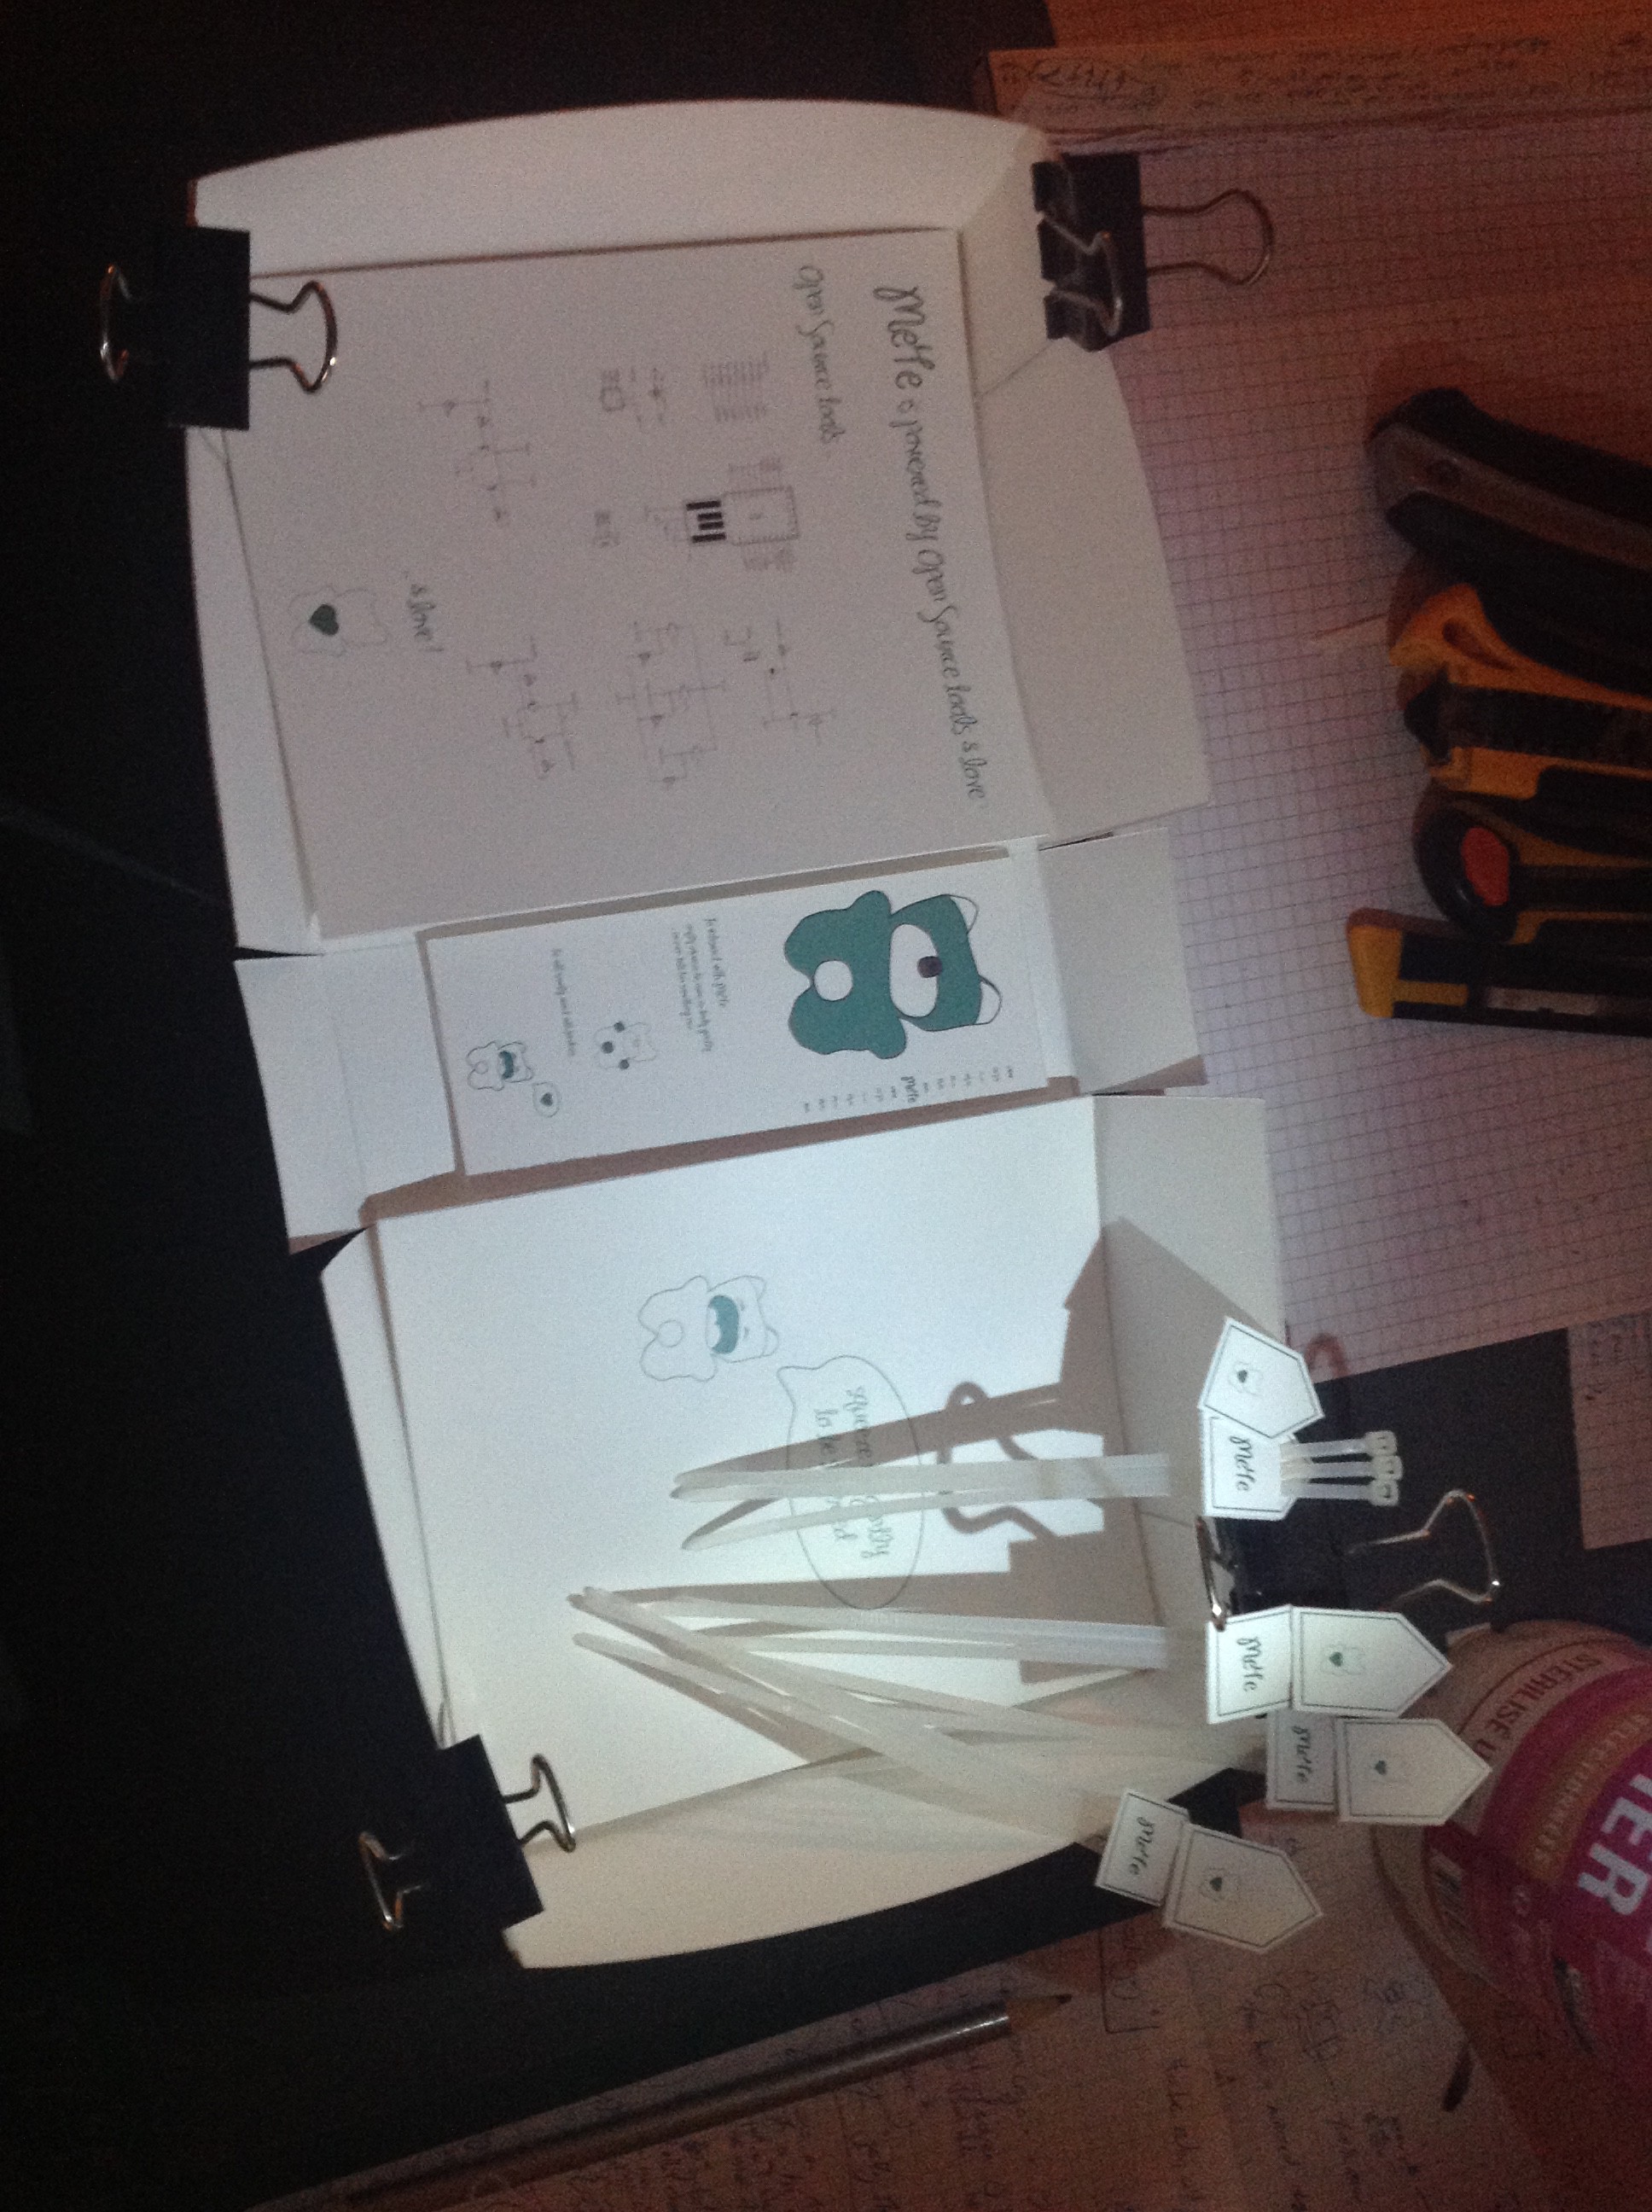
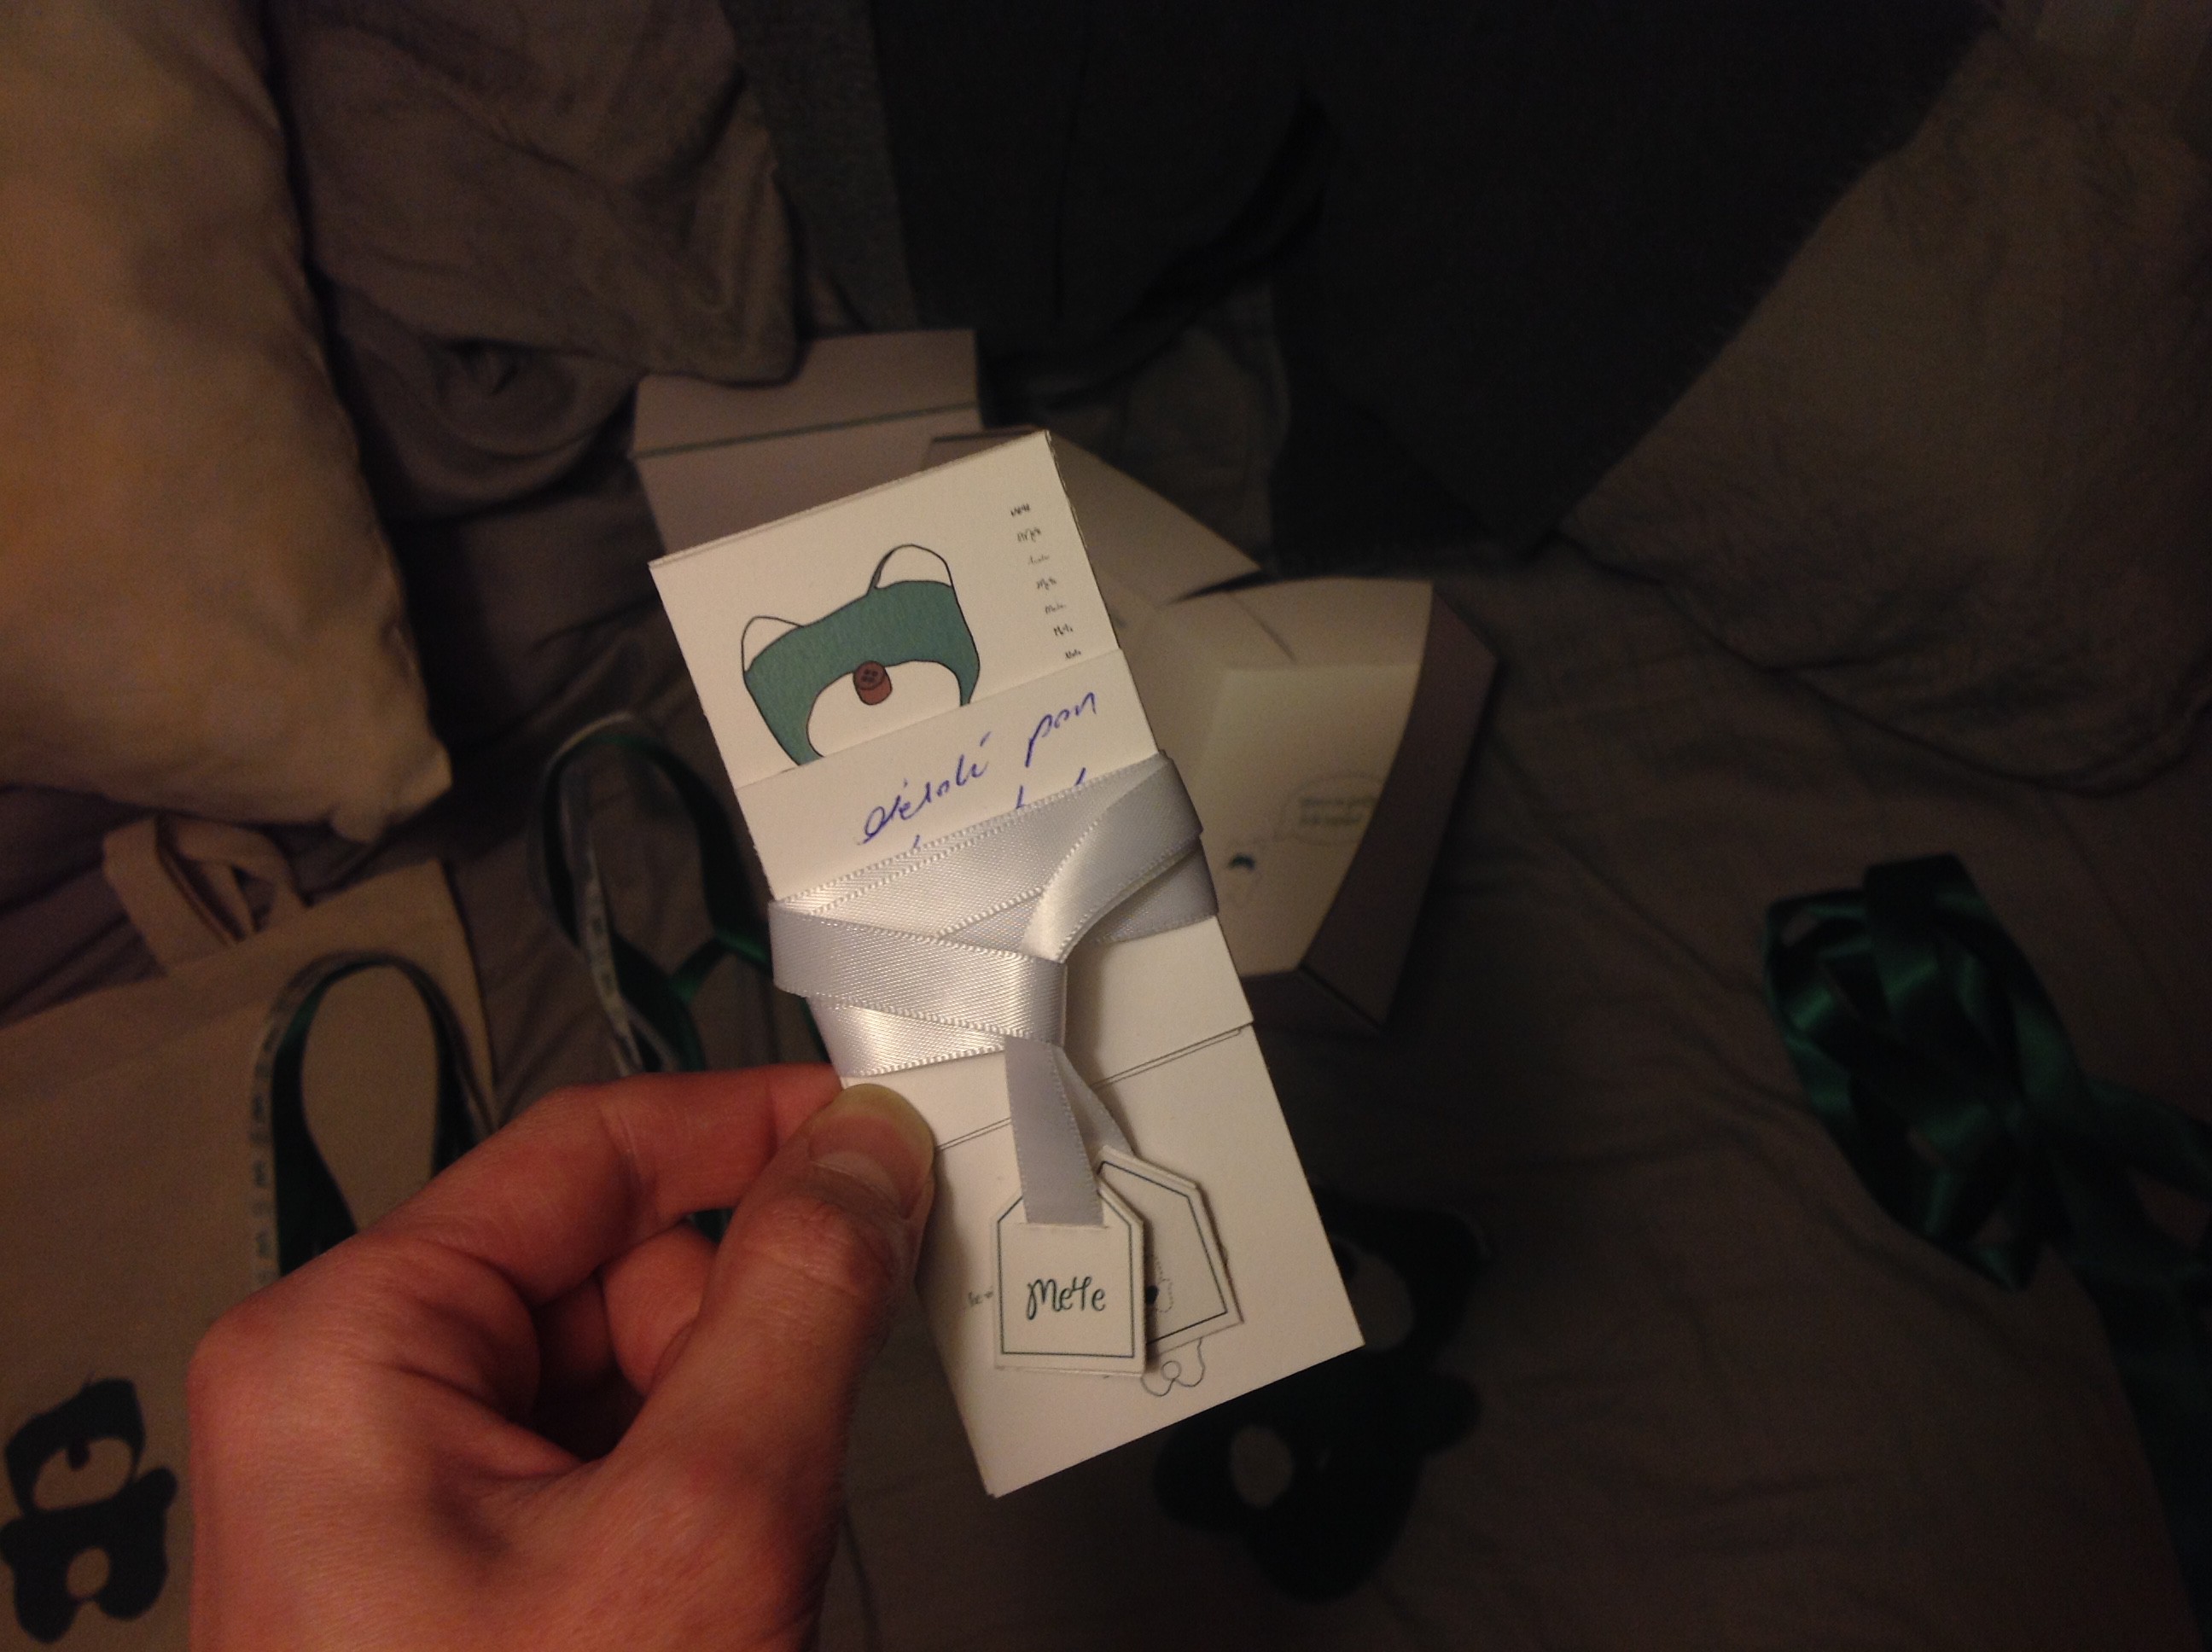
Aside from the main package, we have little niceties to go along with it
![]()
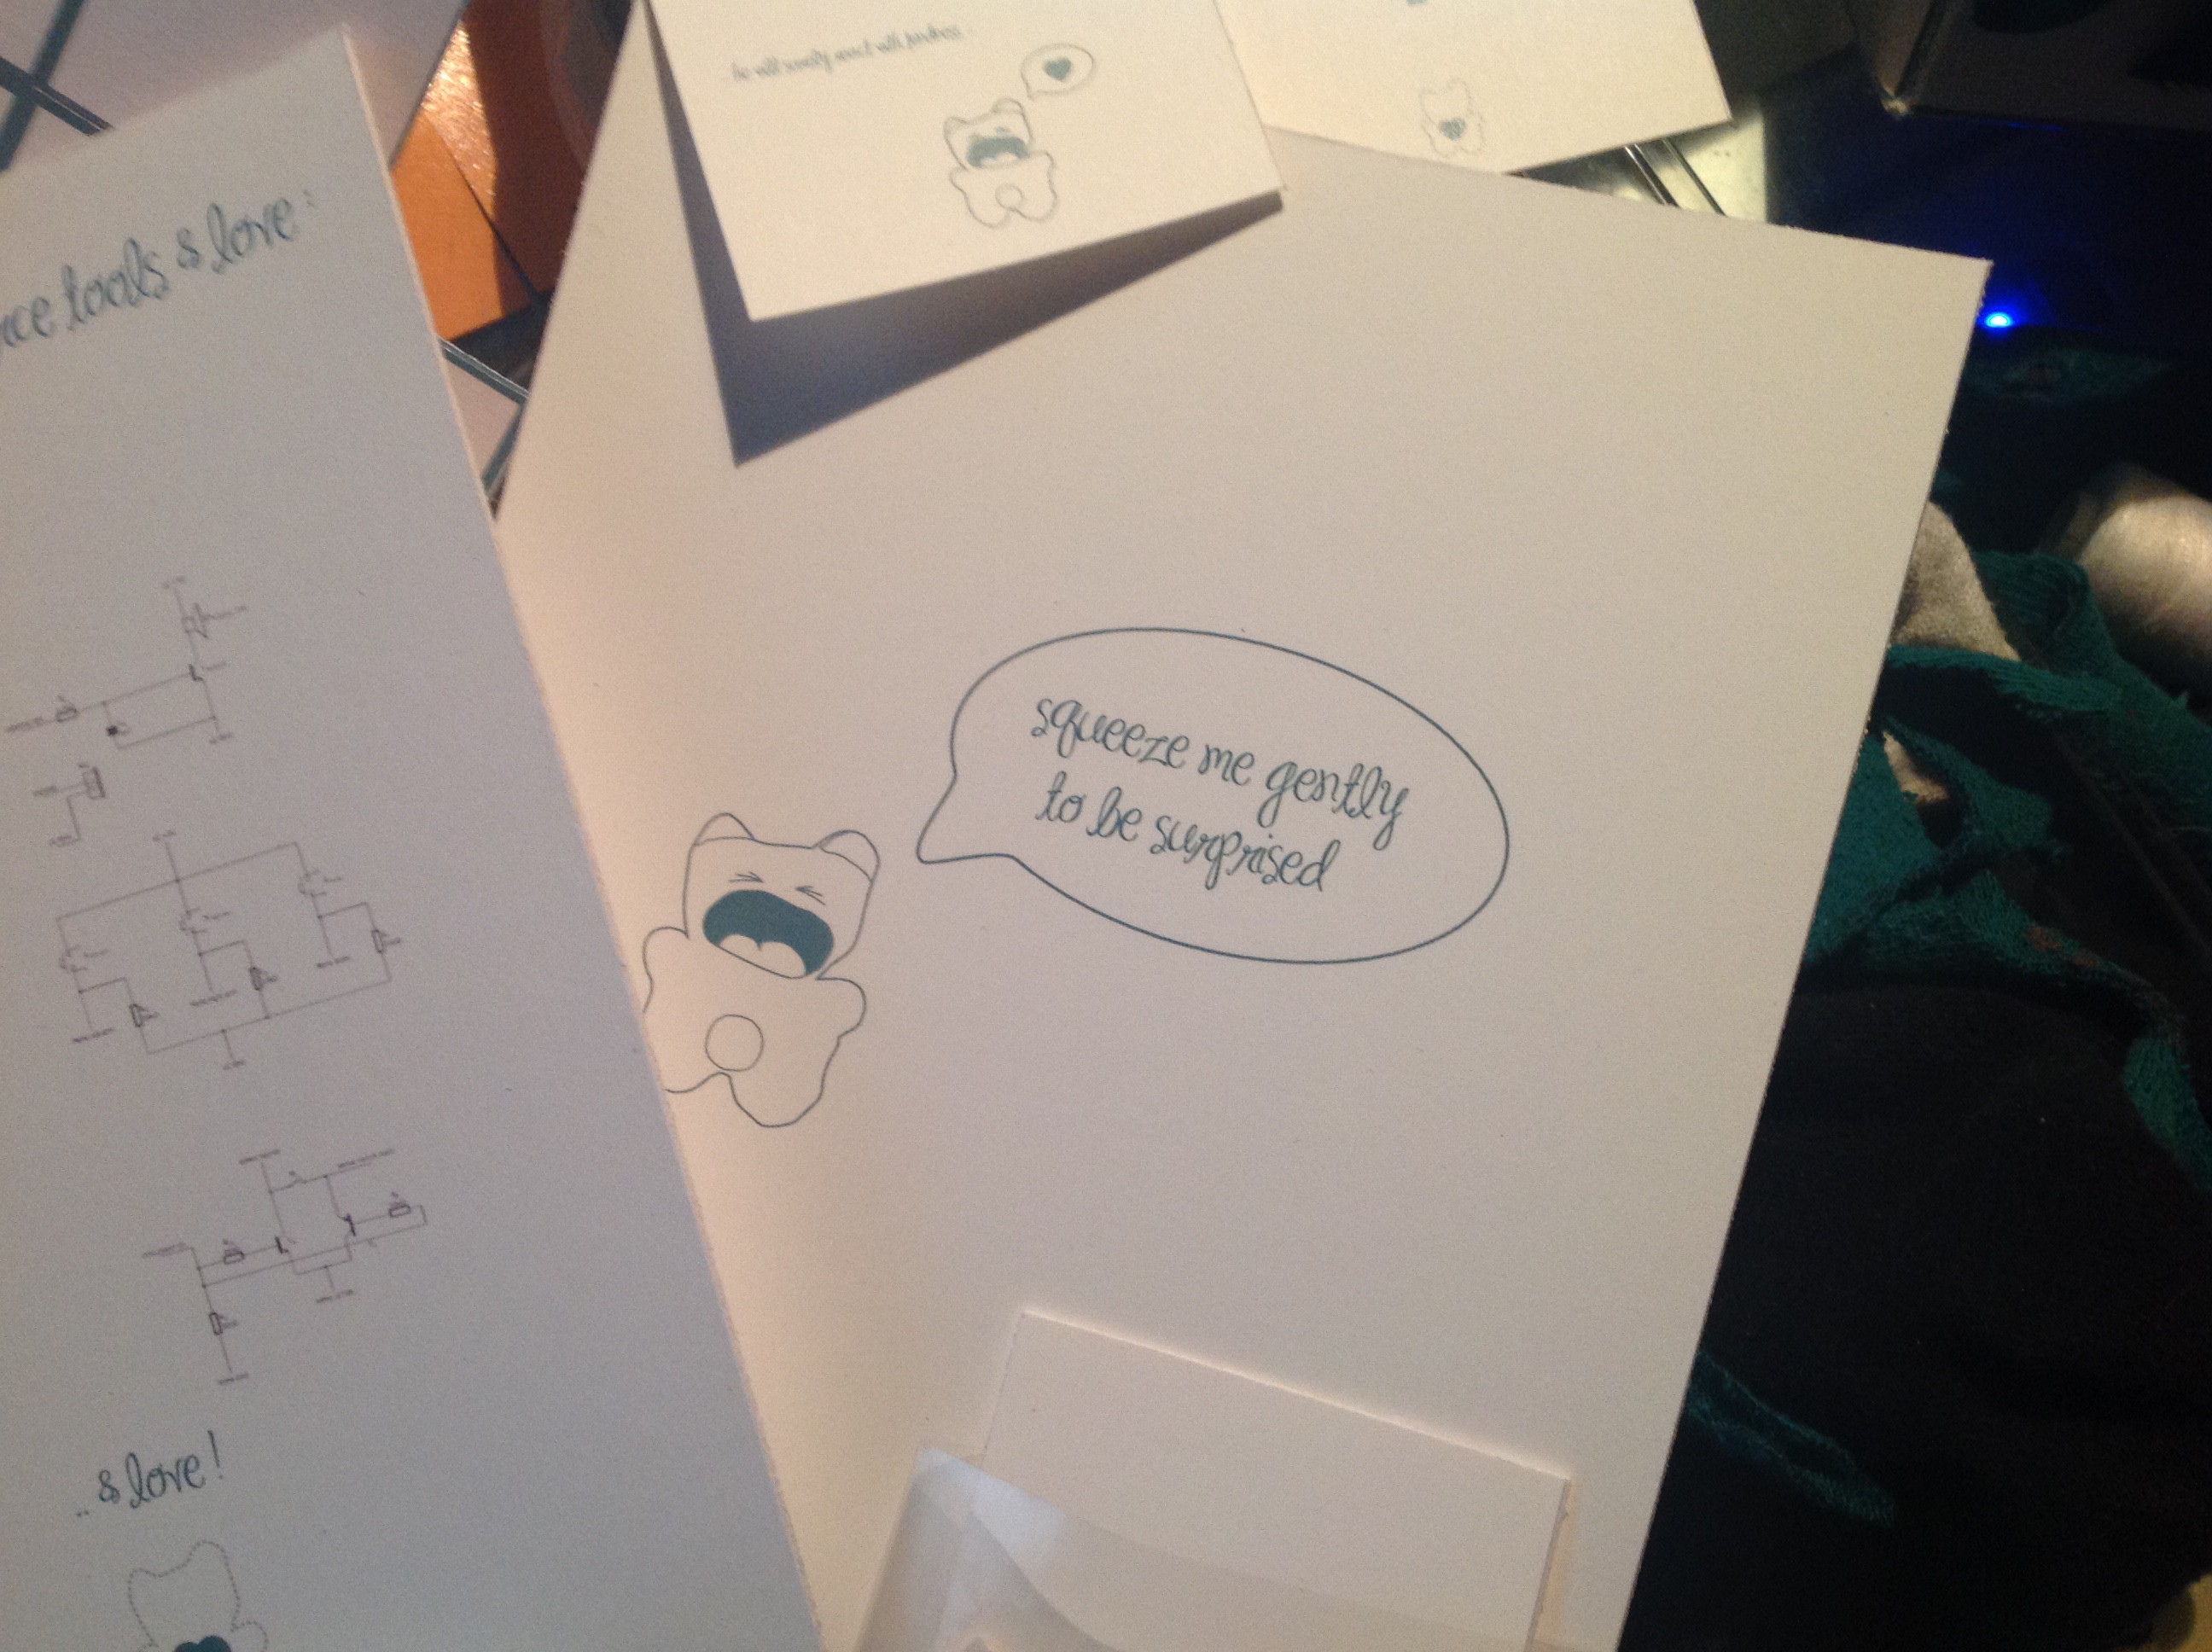
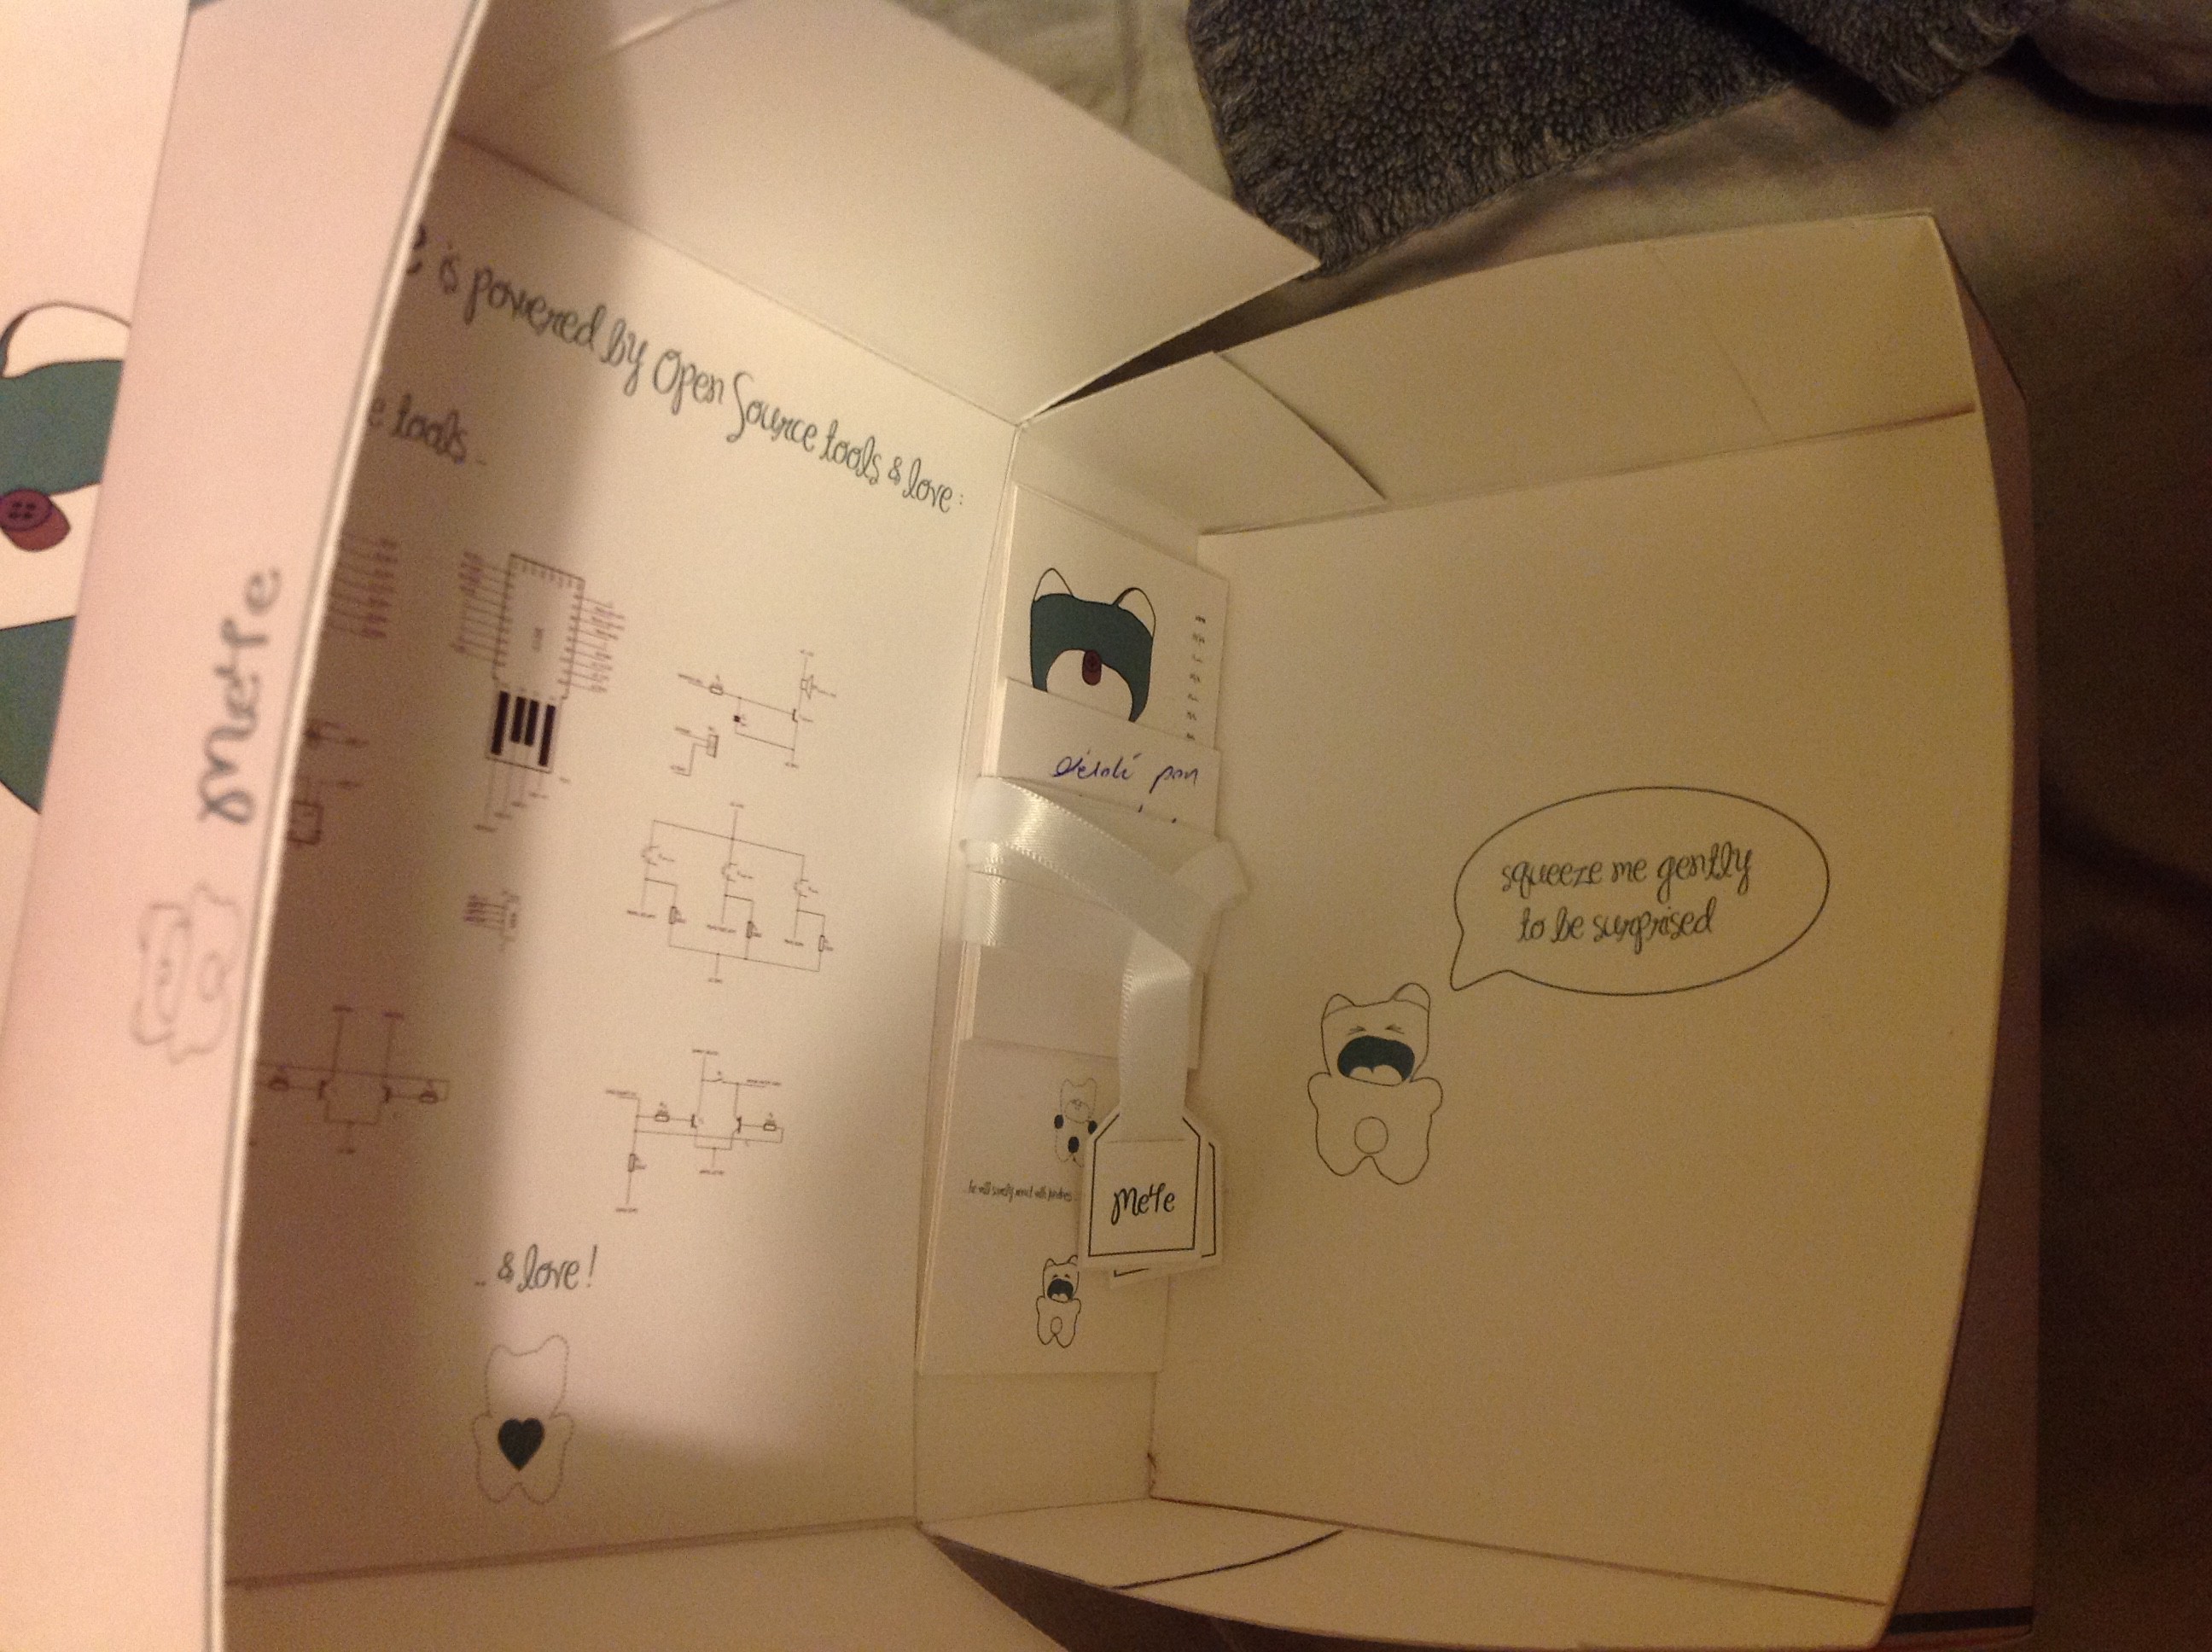
What about making the future owner aware of the insides ?..
![]()
.. and this is the drawing that gets revaled when the pluche is taken out of its package :P
![]()
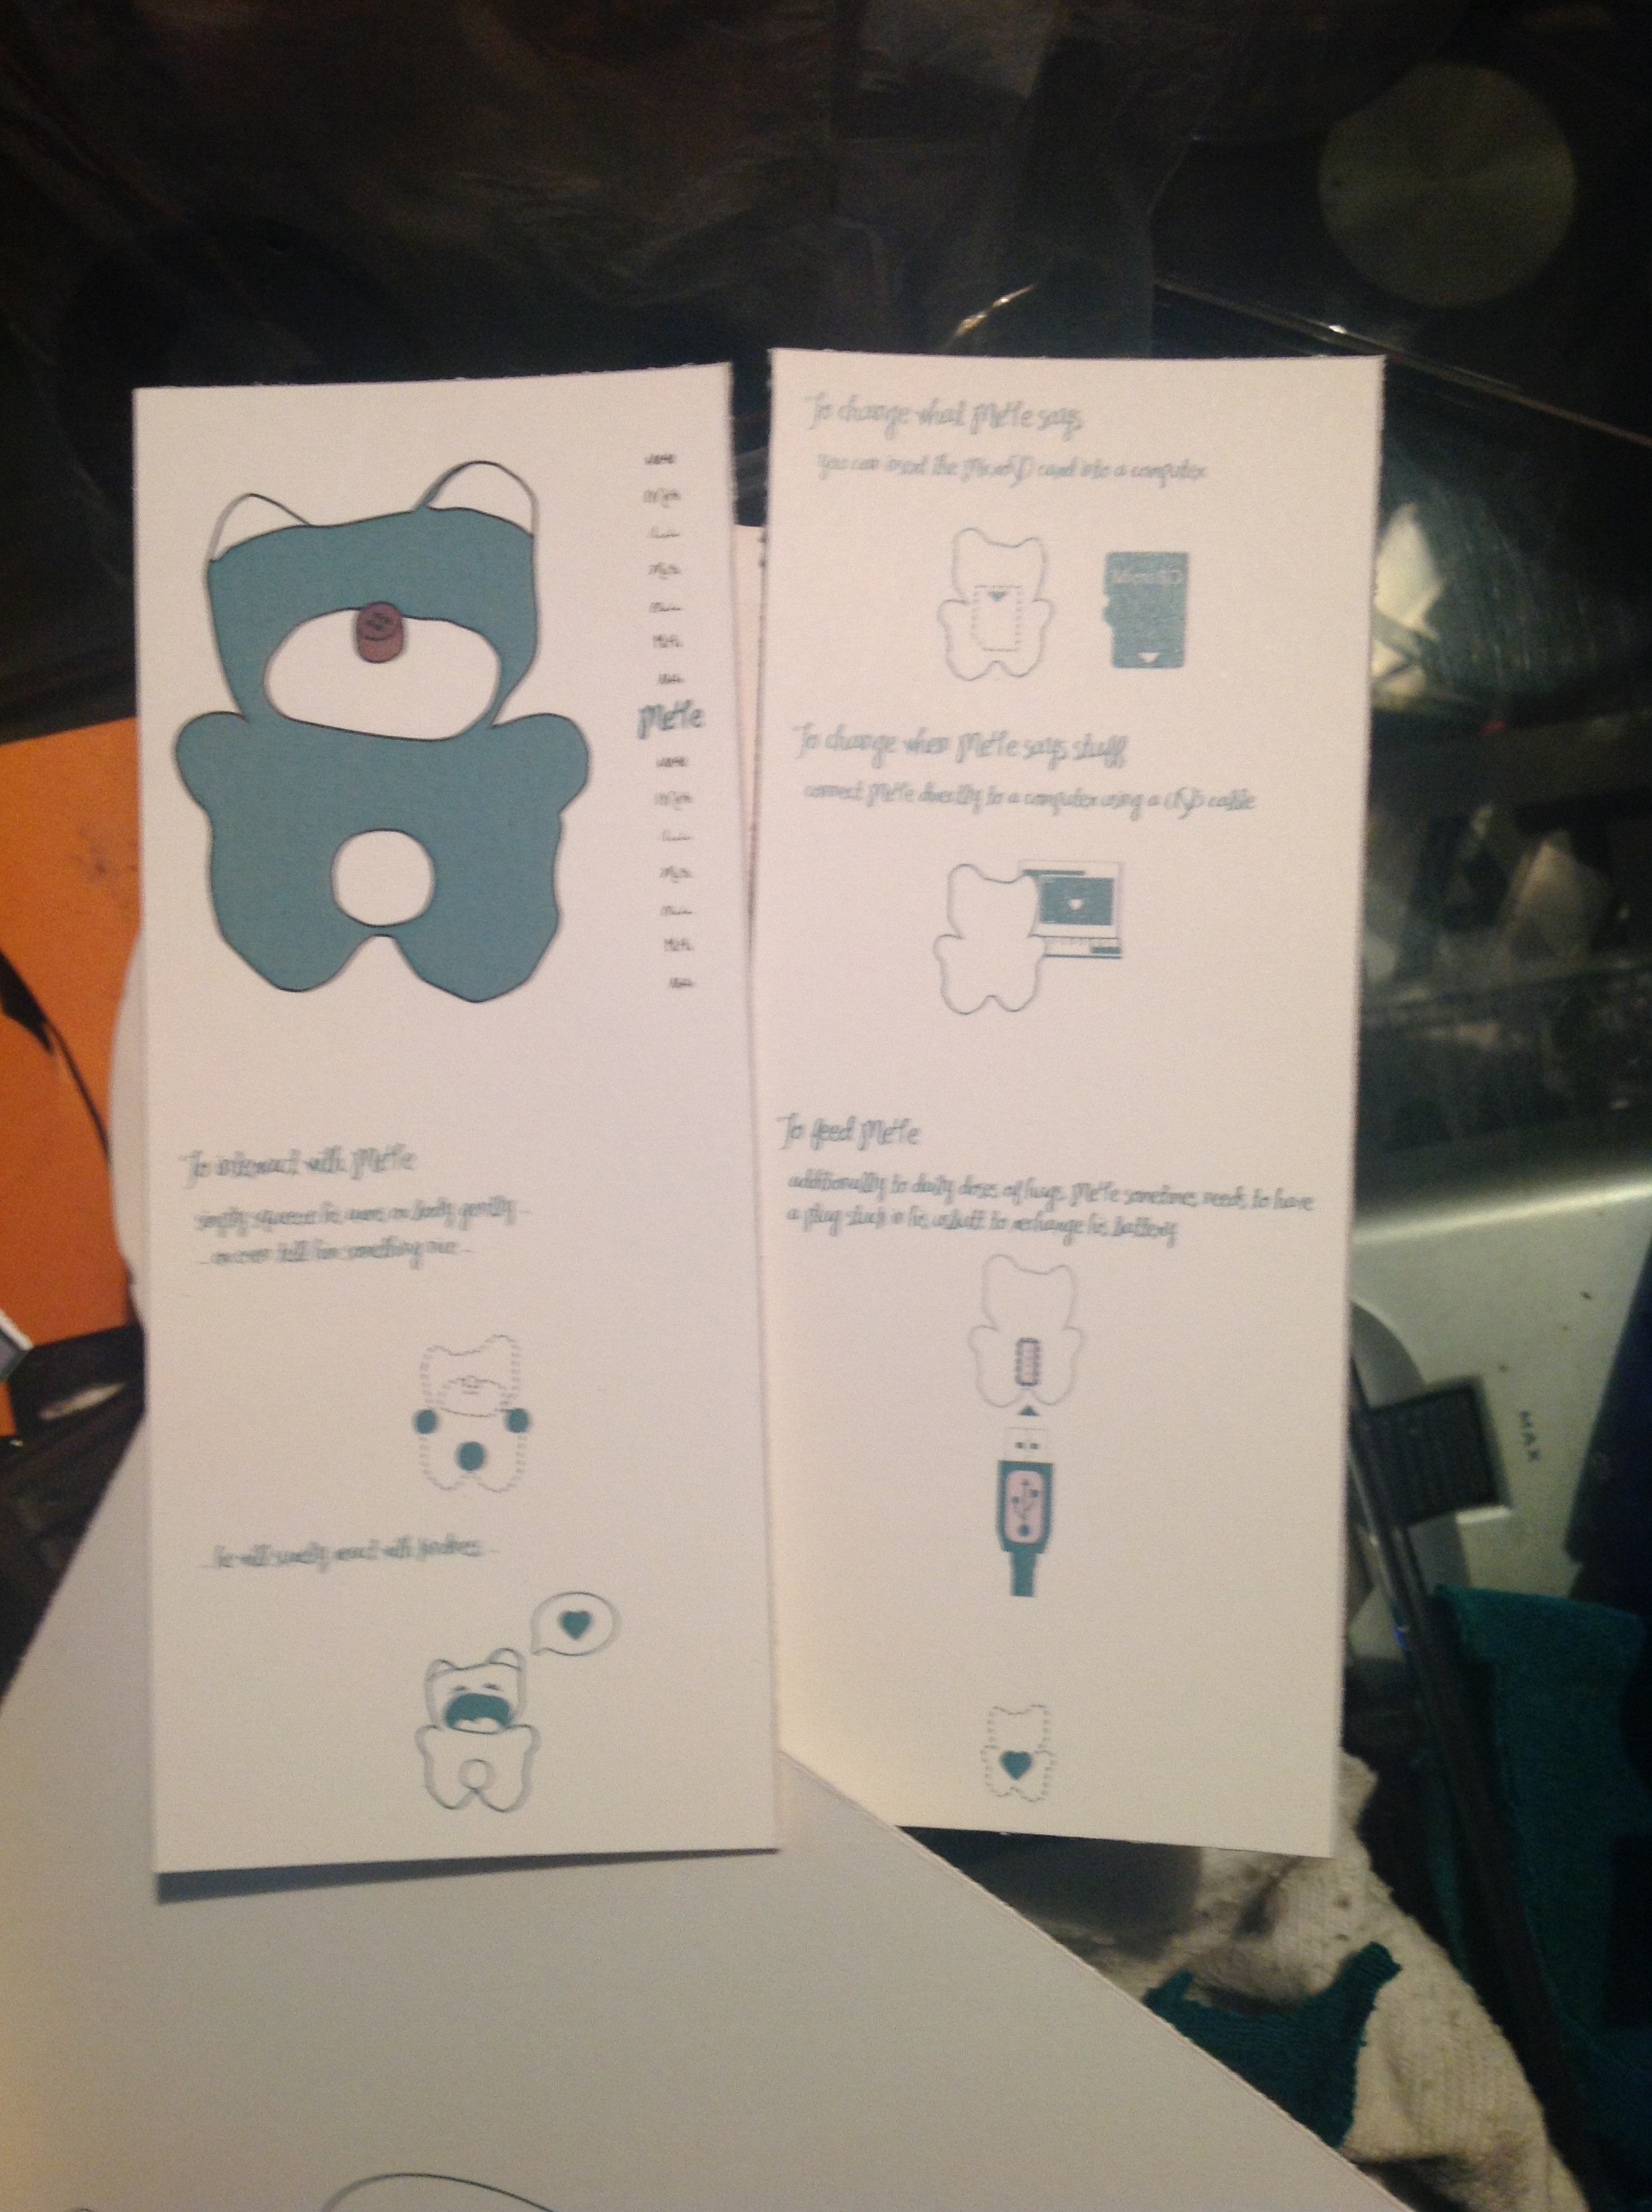
Te be more exhaustive on what can be done with Me4e, there's also a little how-to
![]()
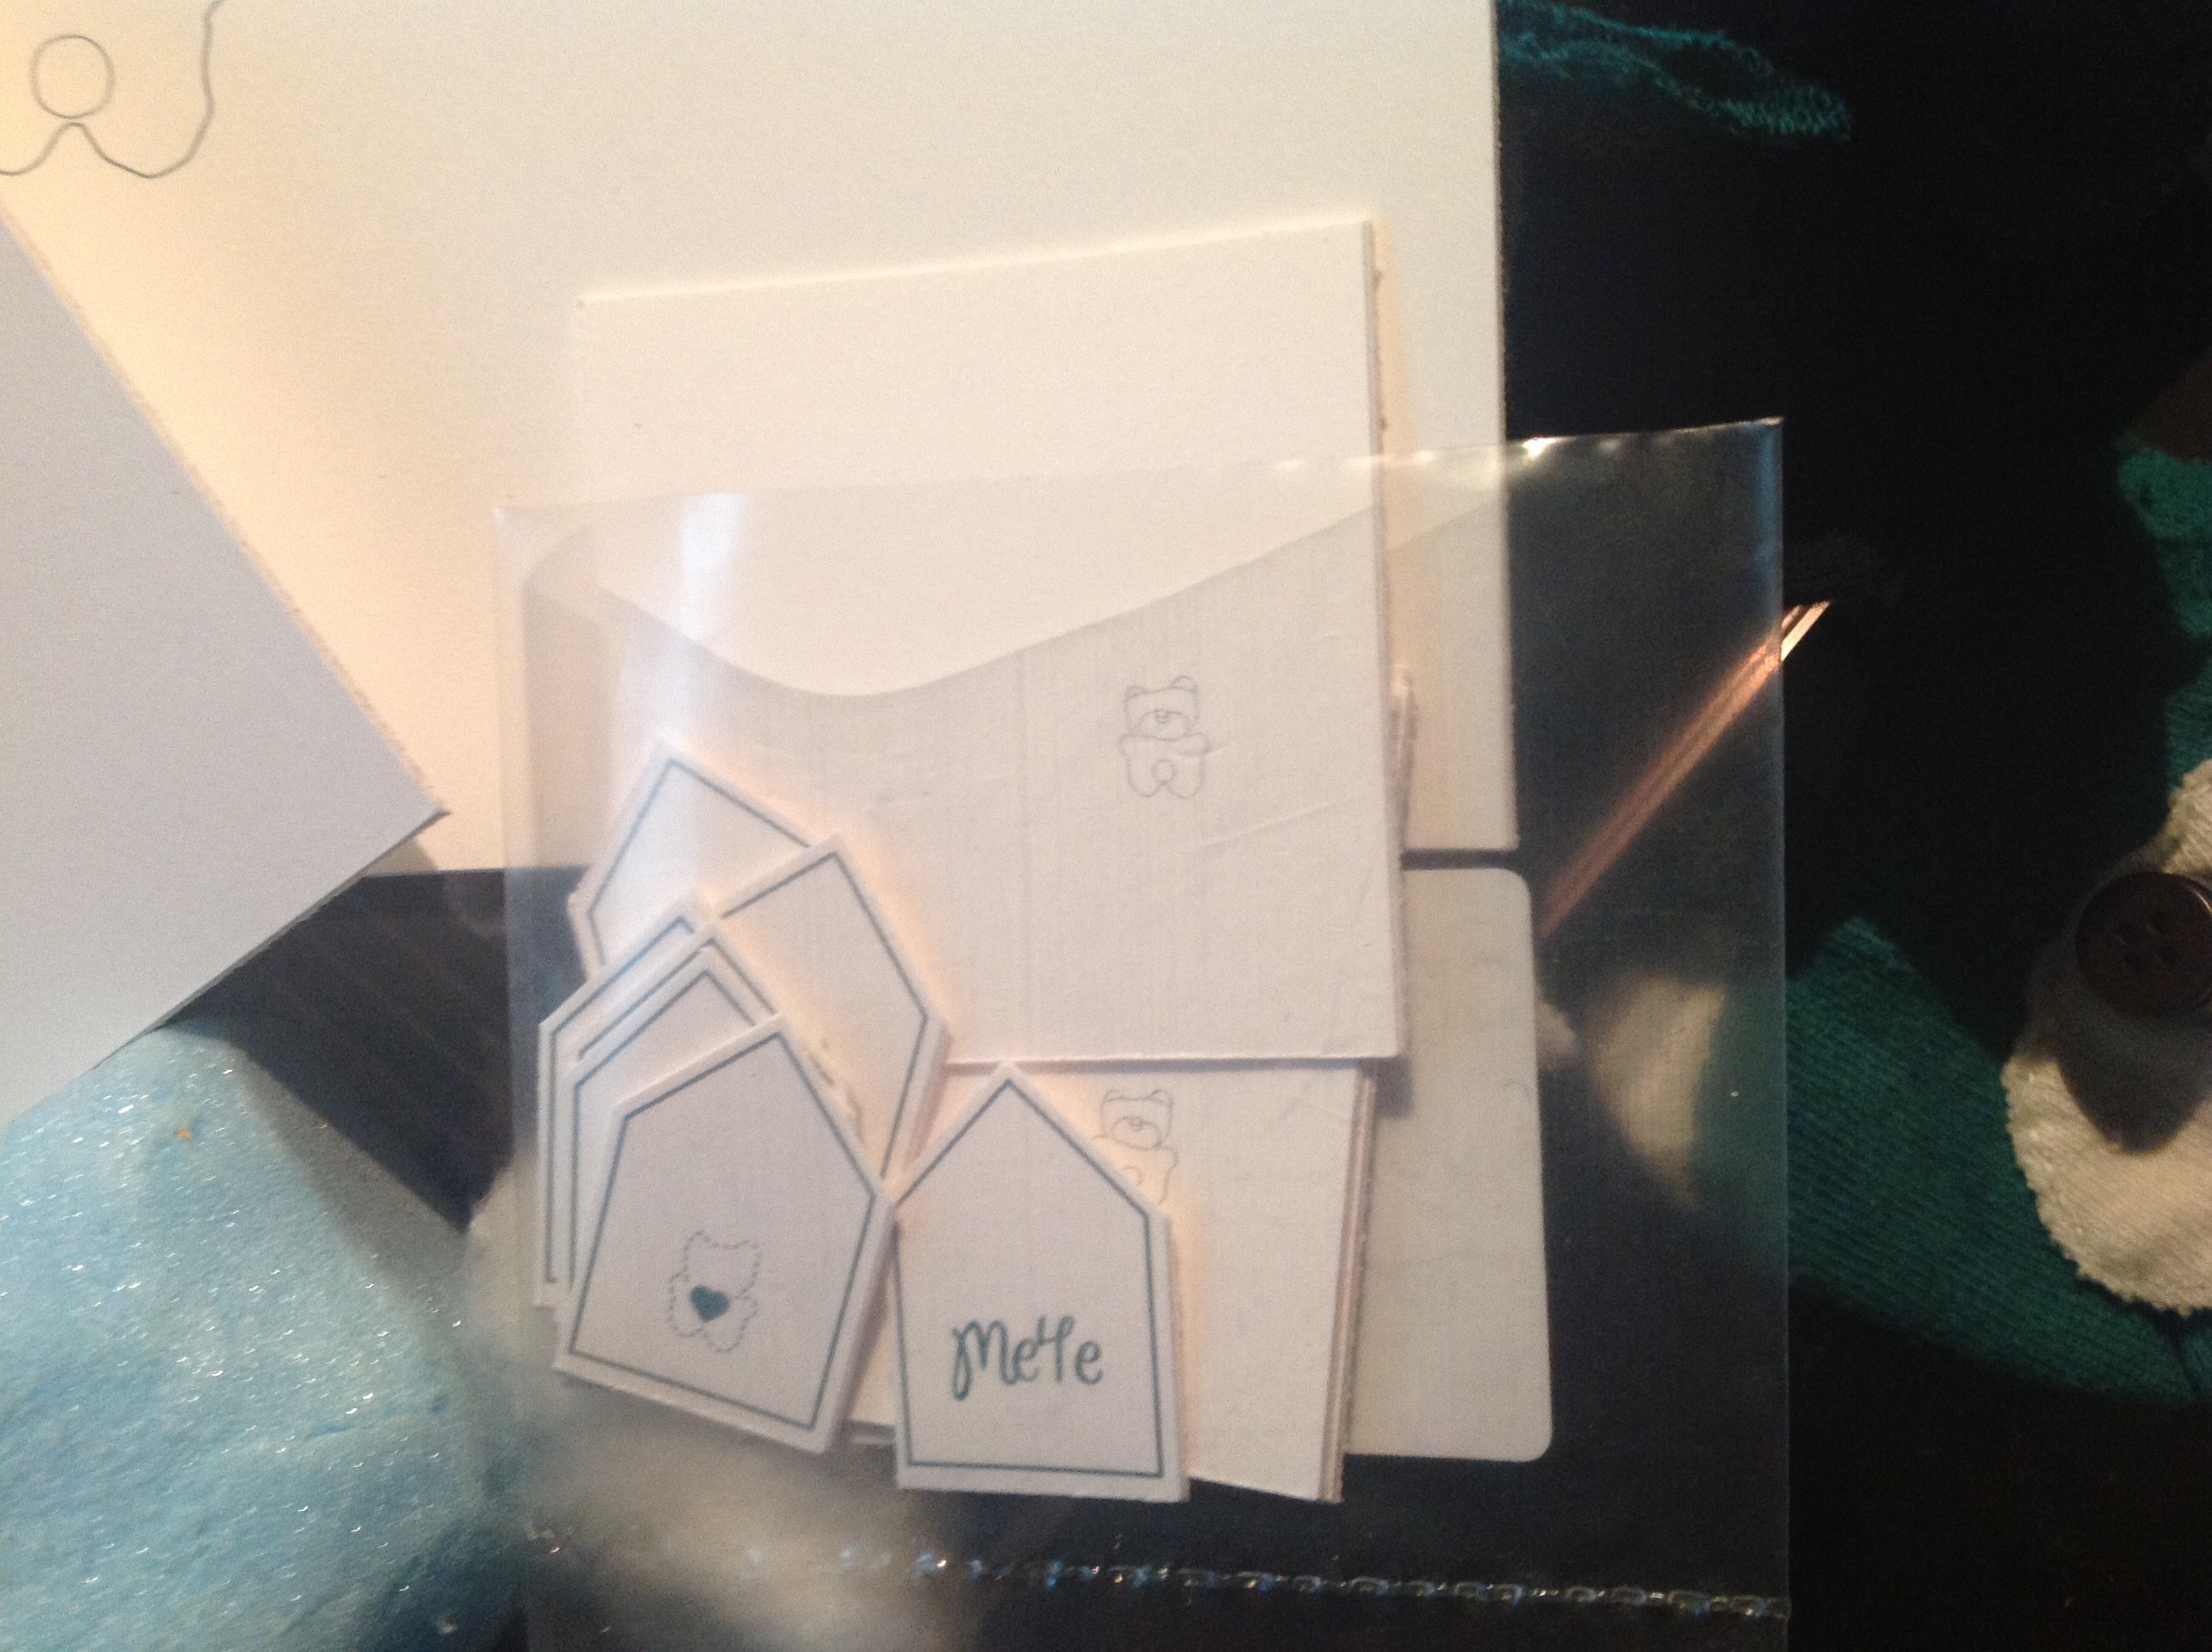
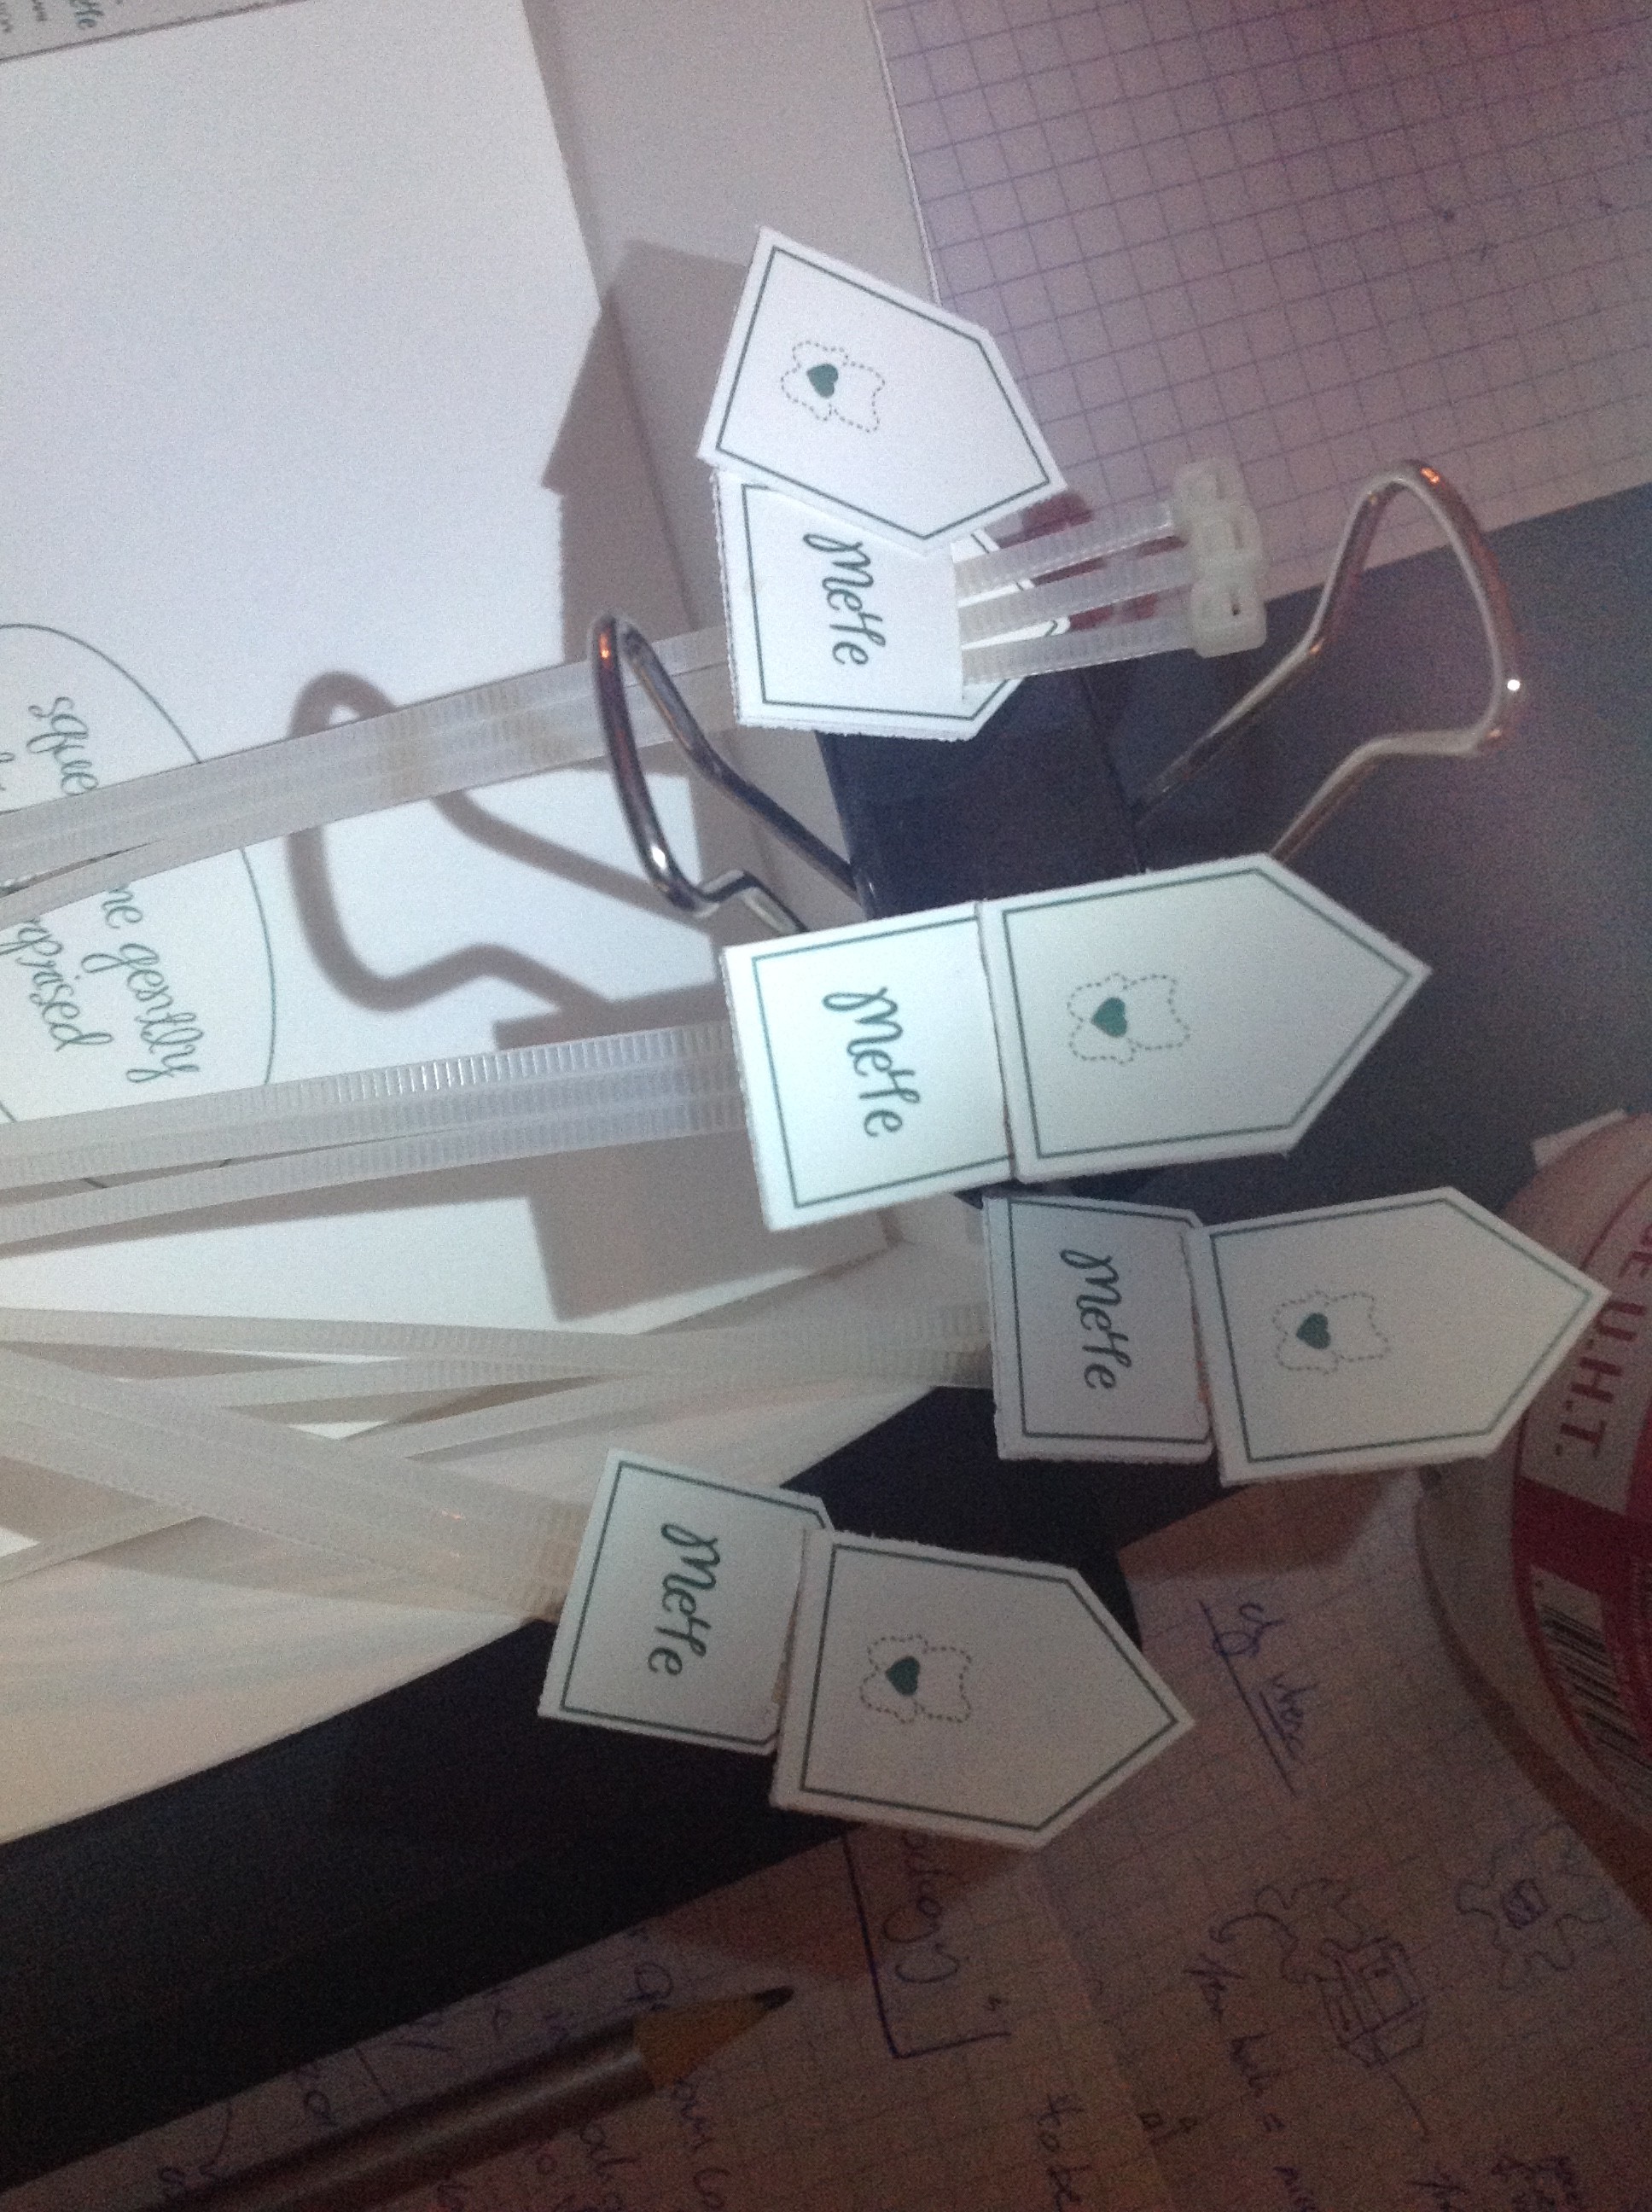
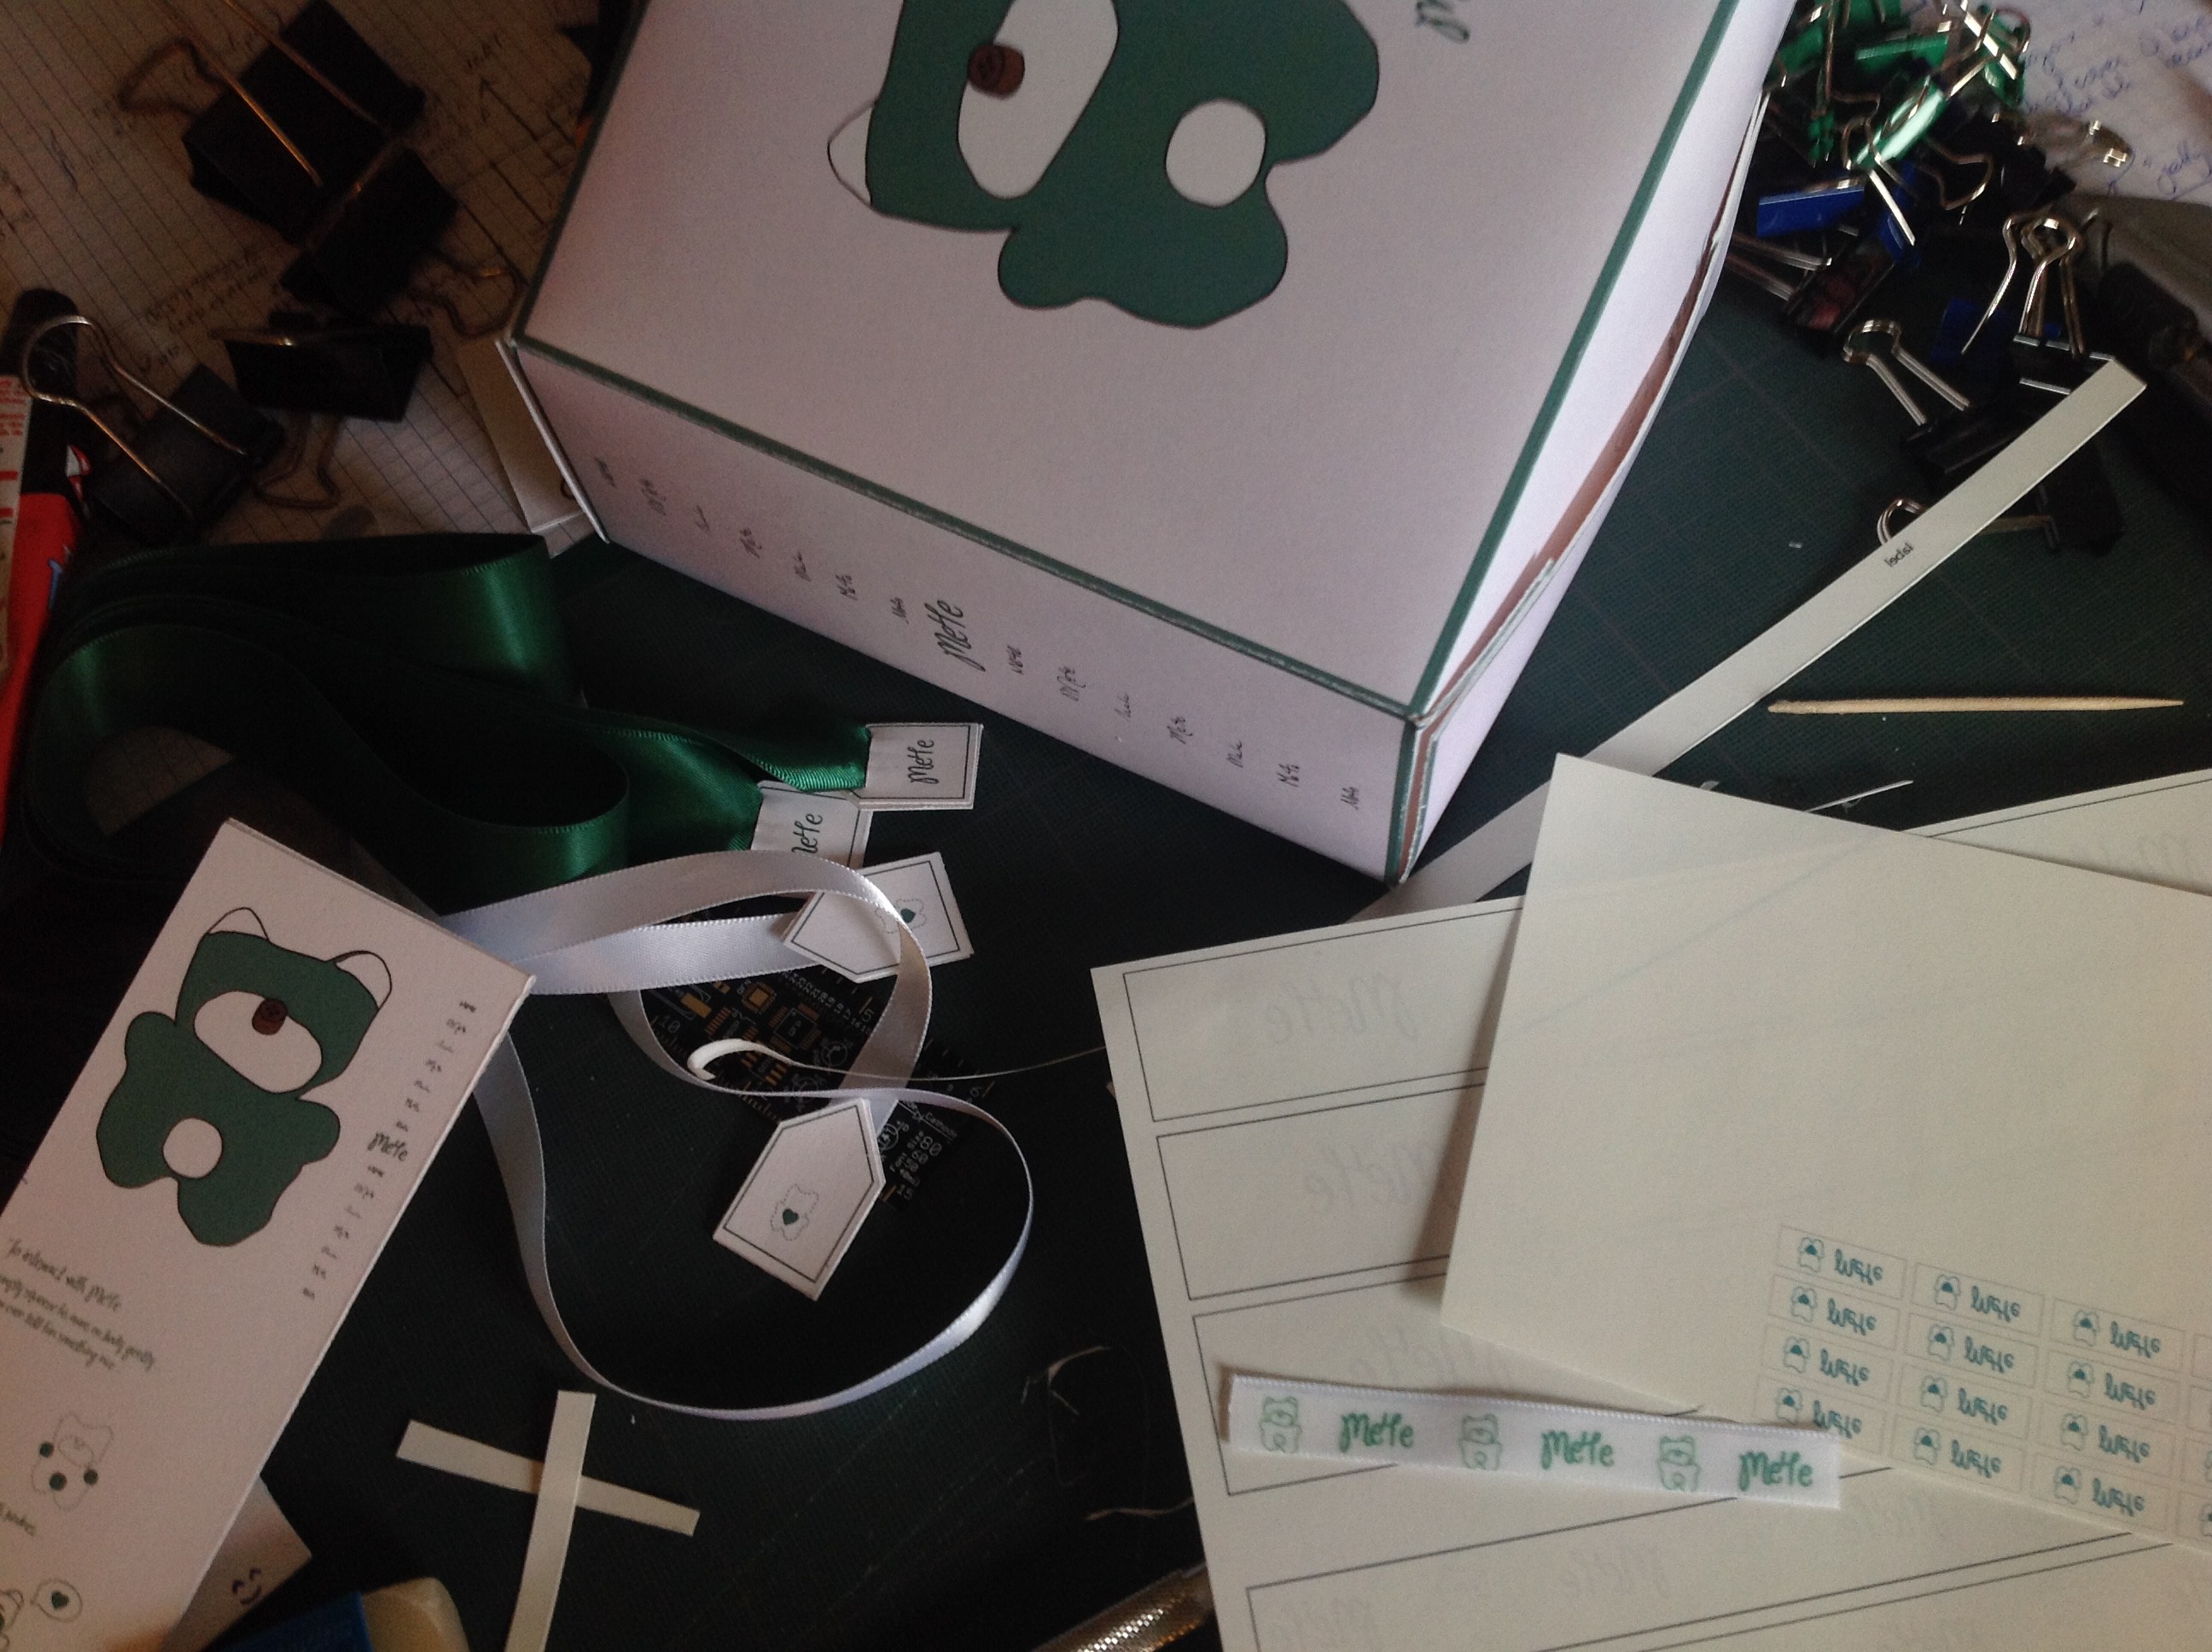
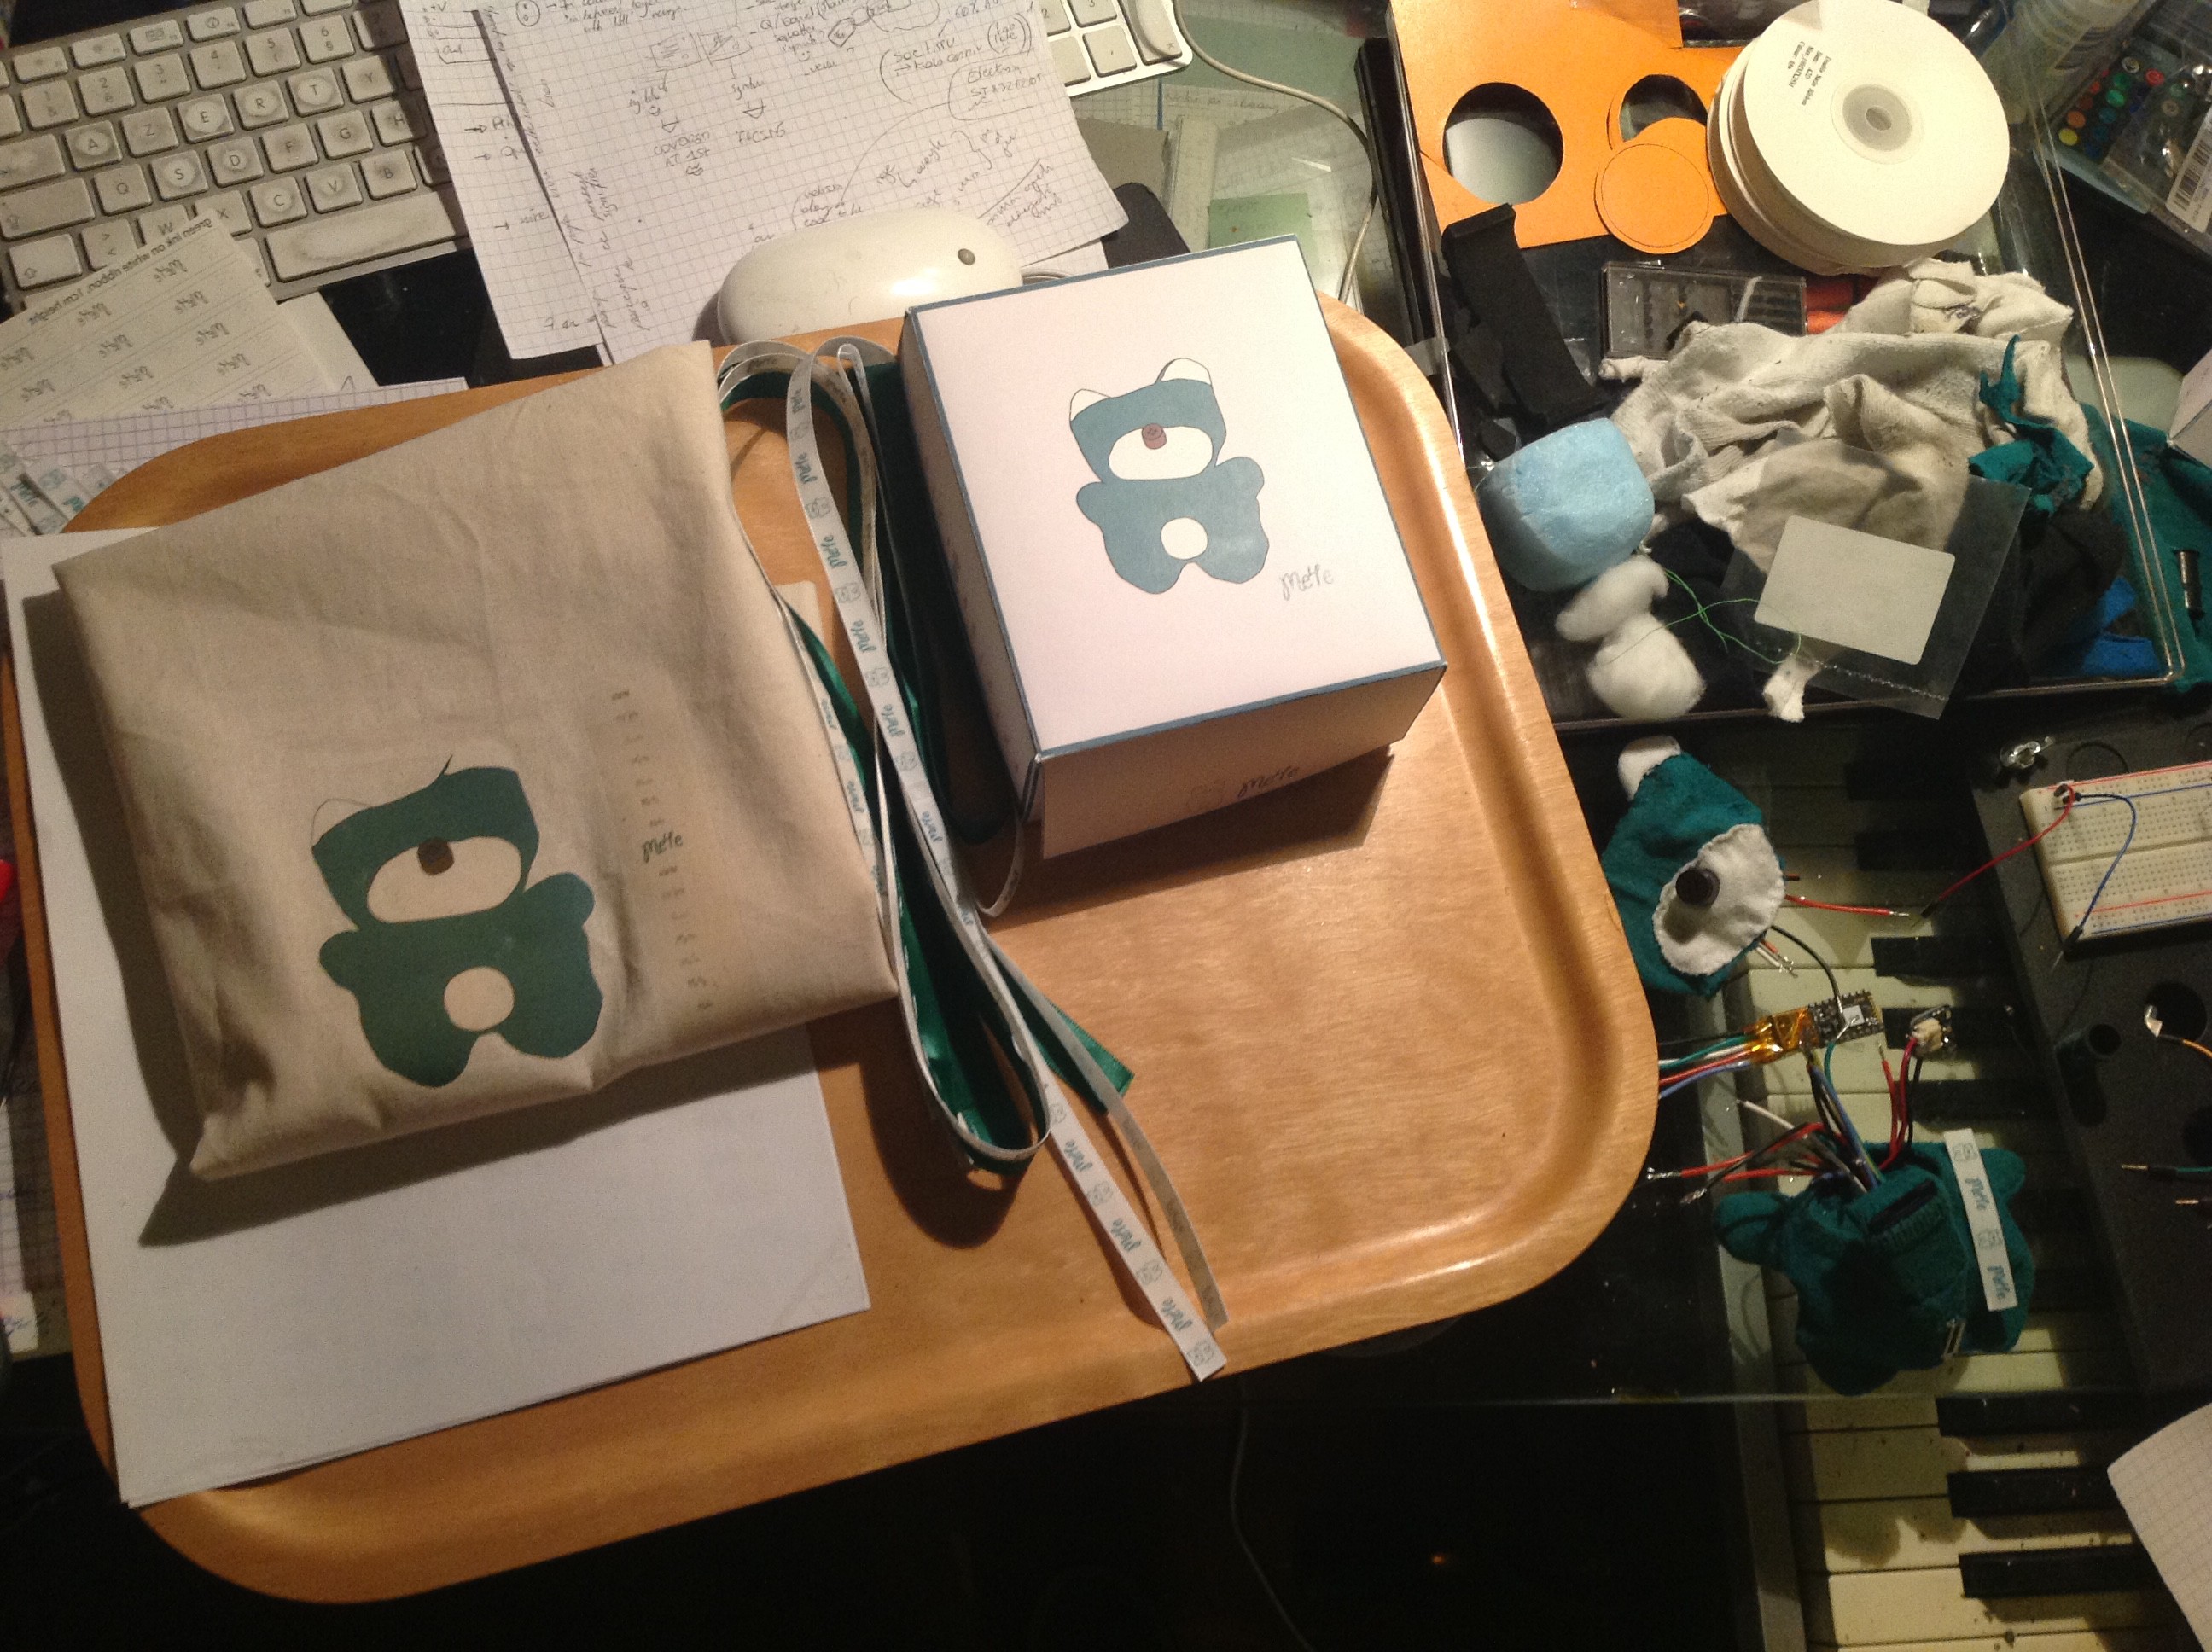
So far, so good, here's what we've prepared:
![]()
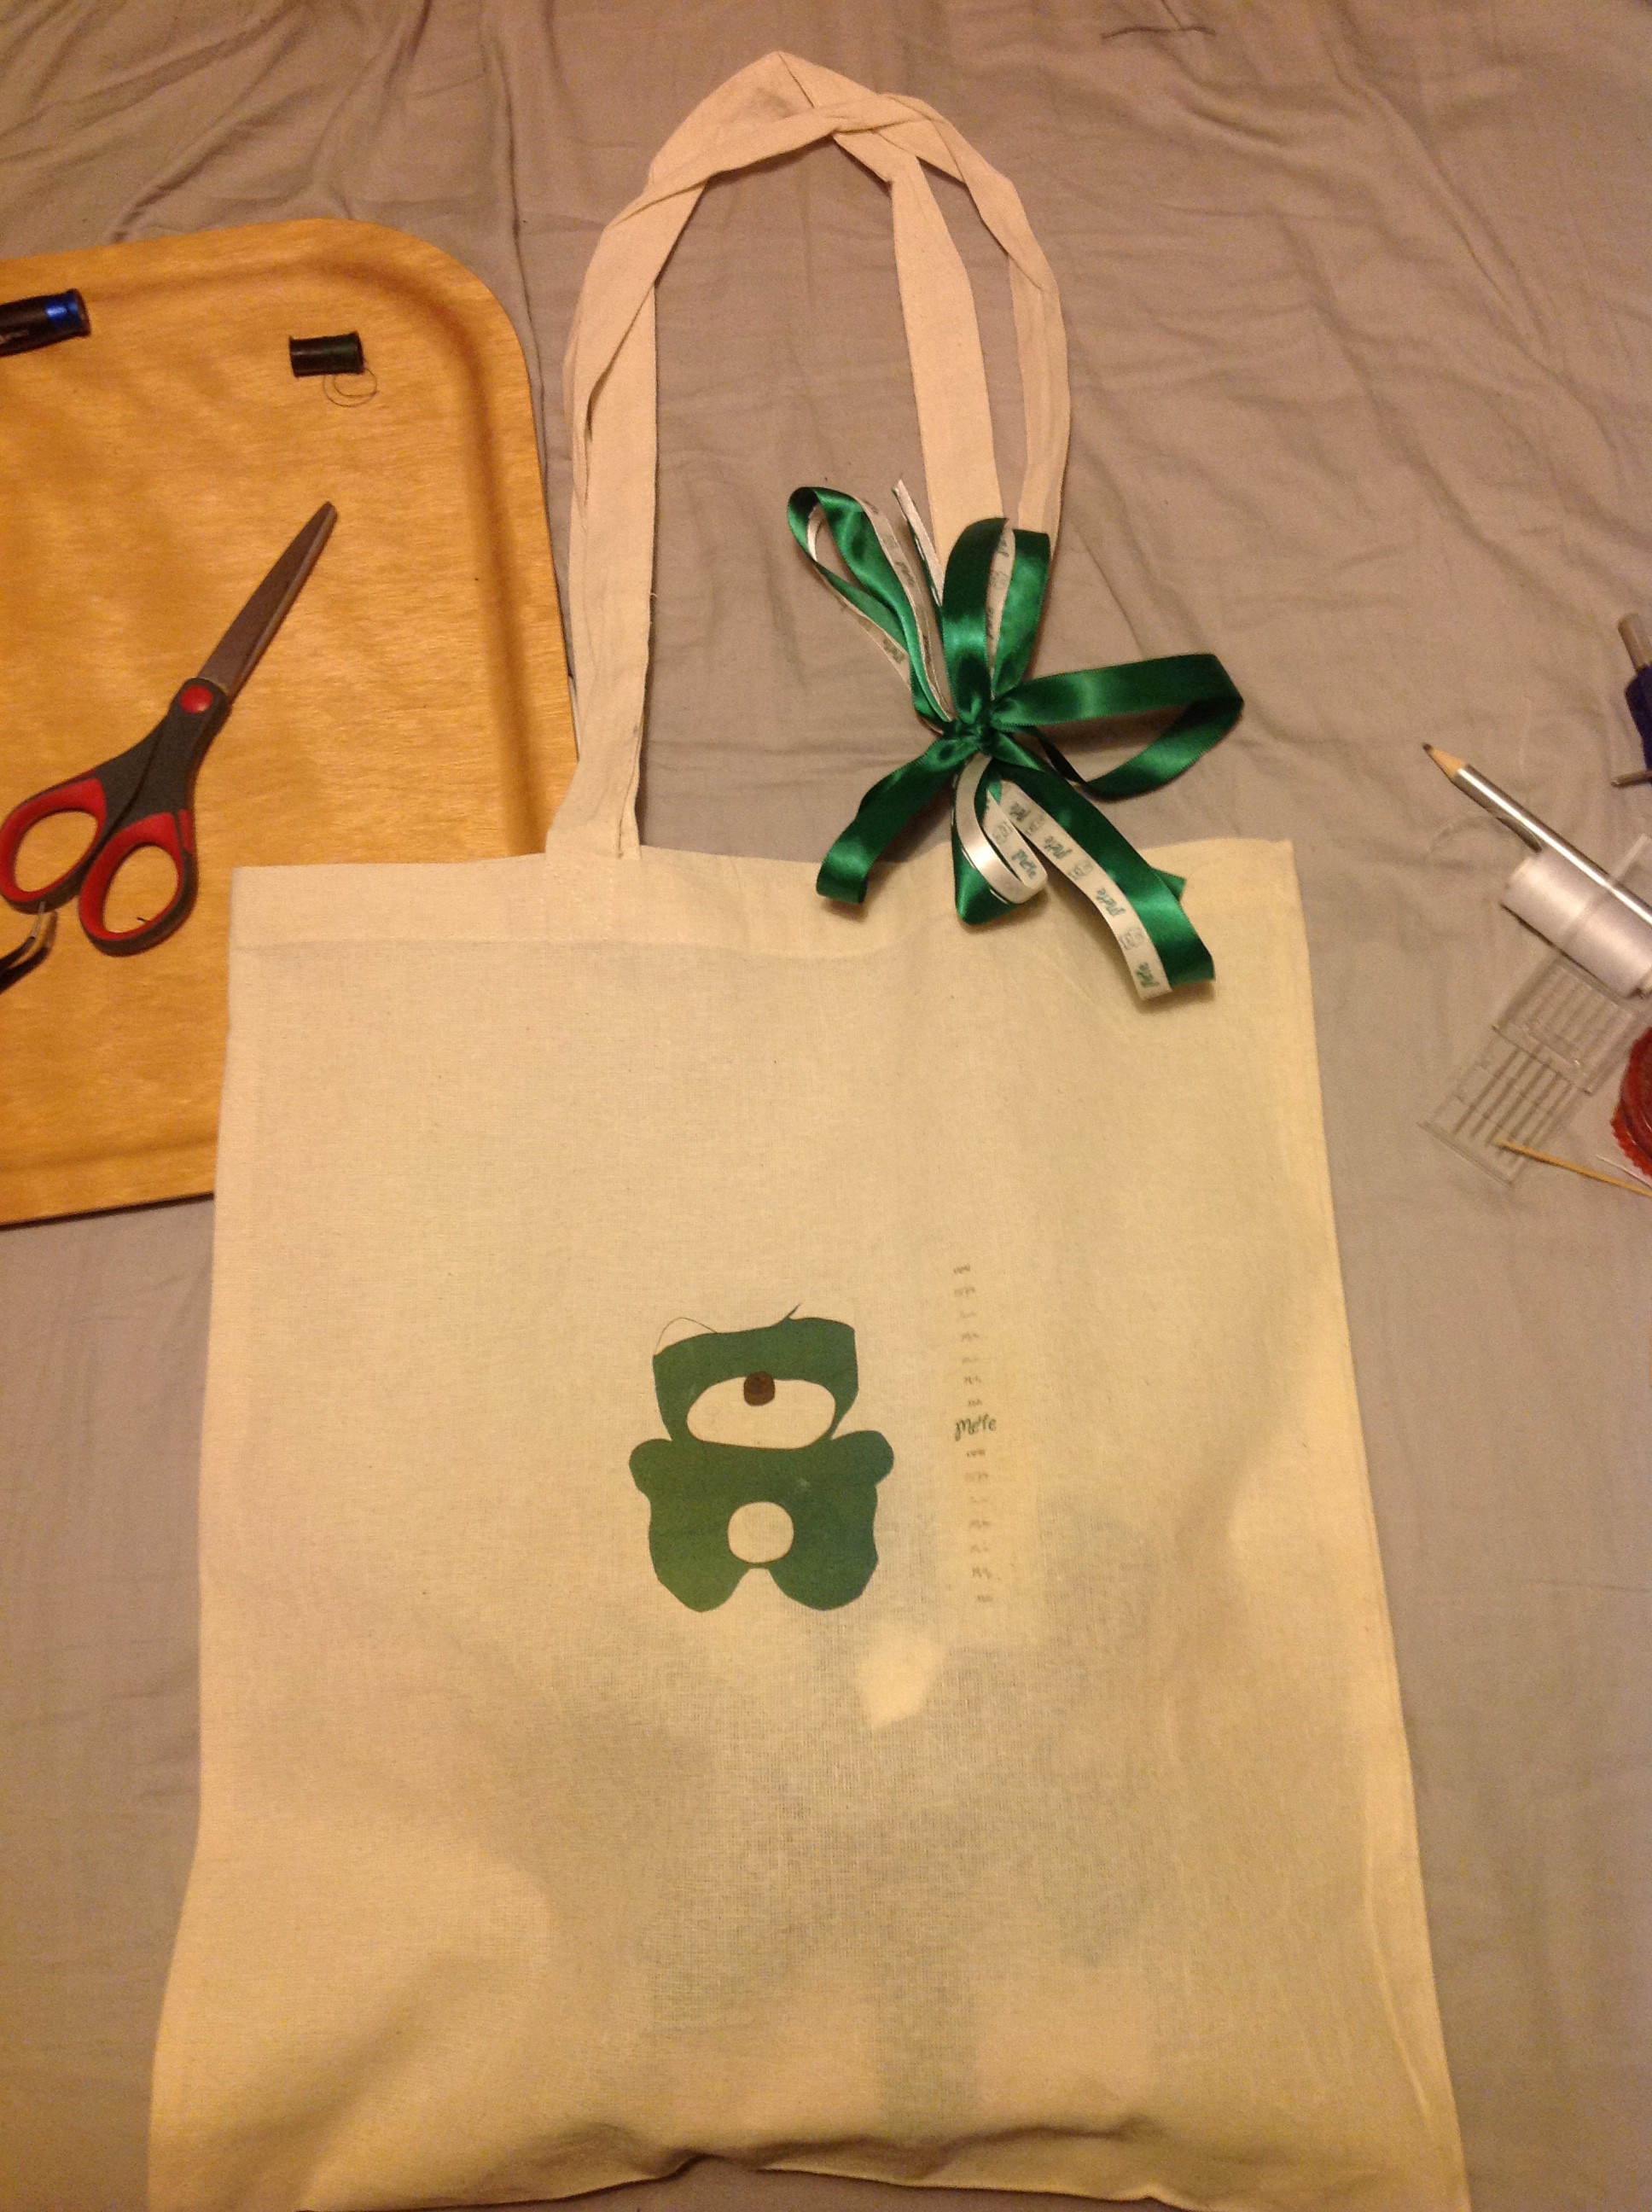
Those little things on the right 'll be used to have cleaner ends on the satin ribbon we'll use
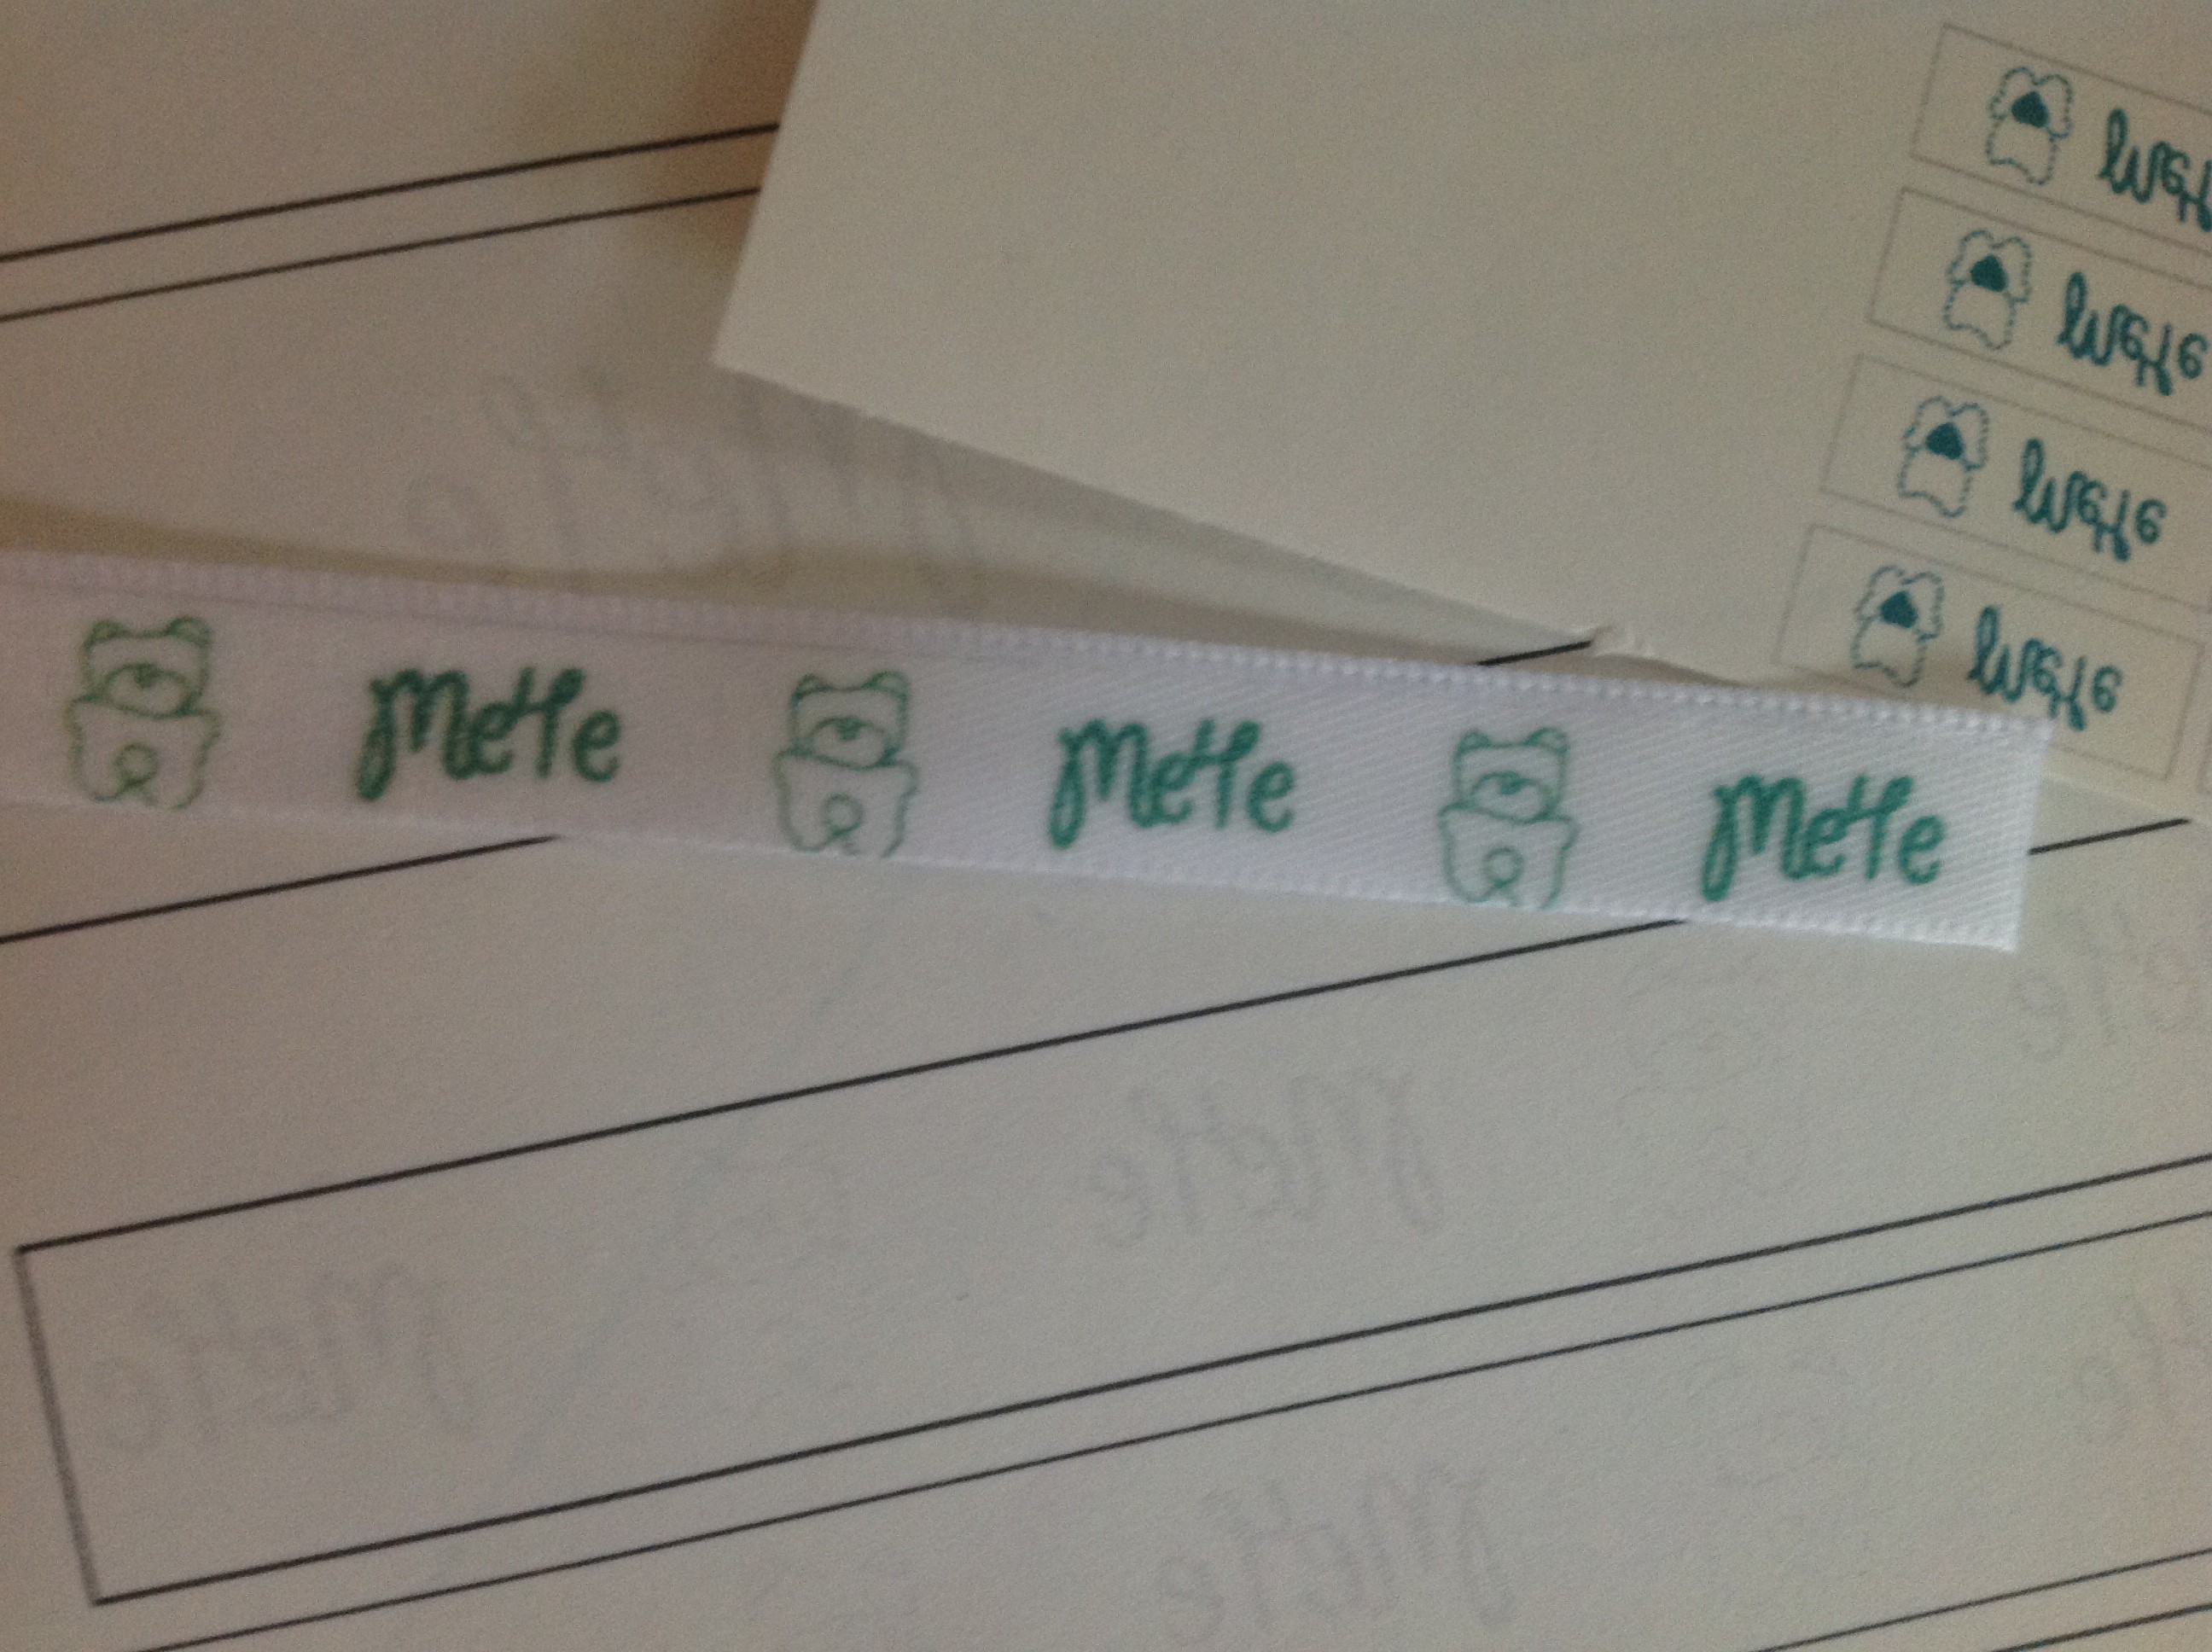
![]()
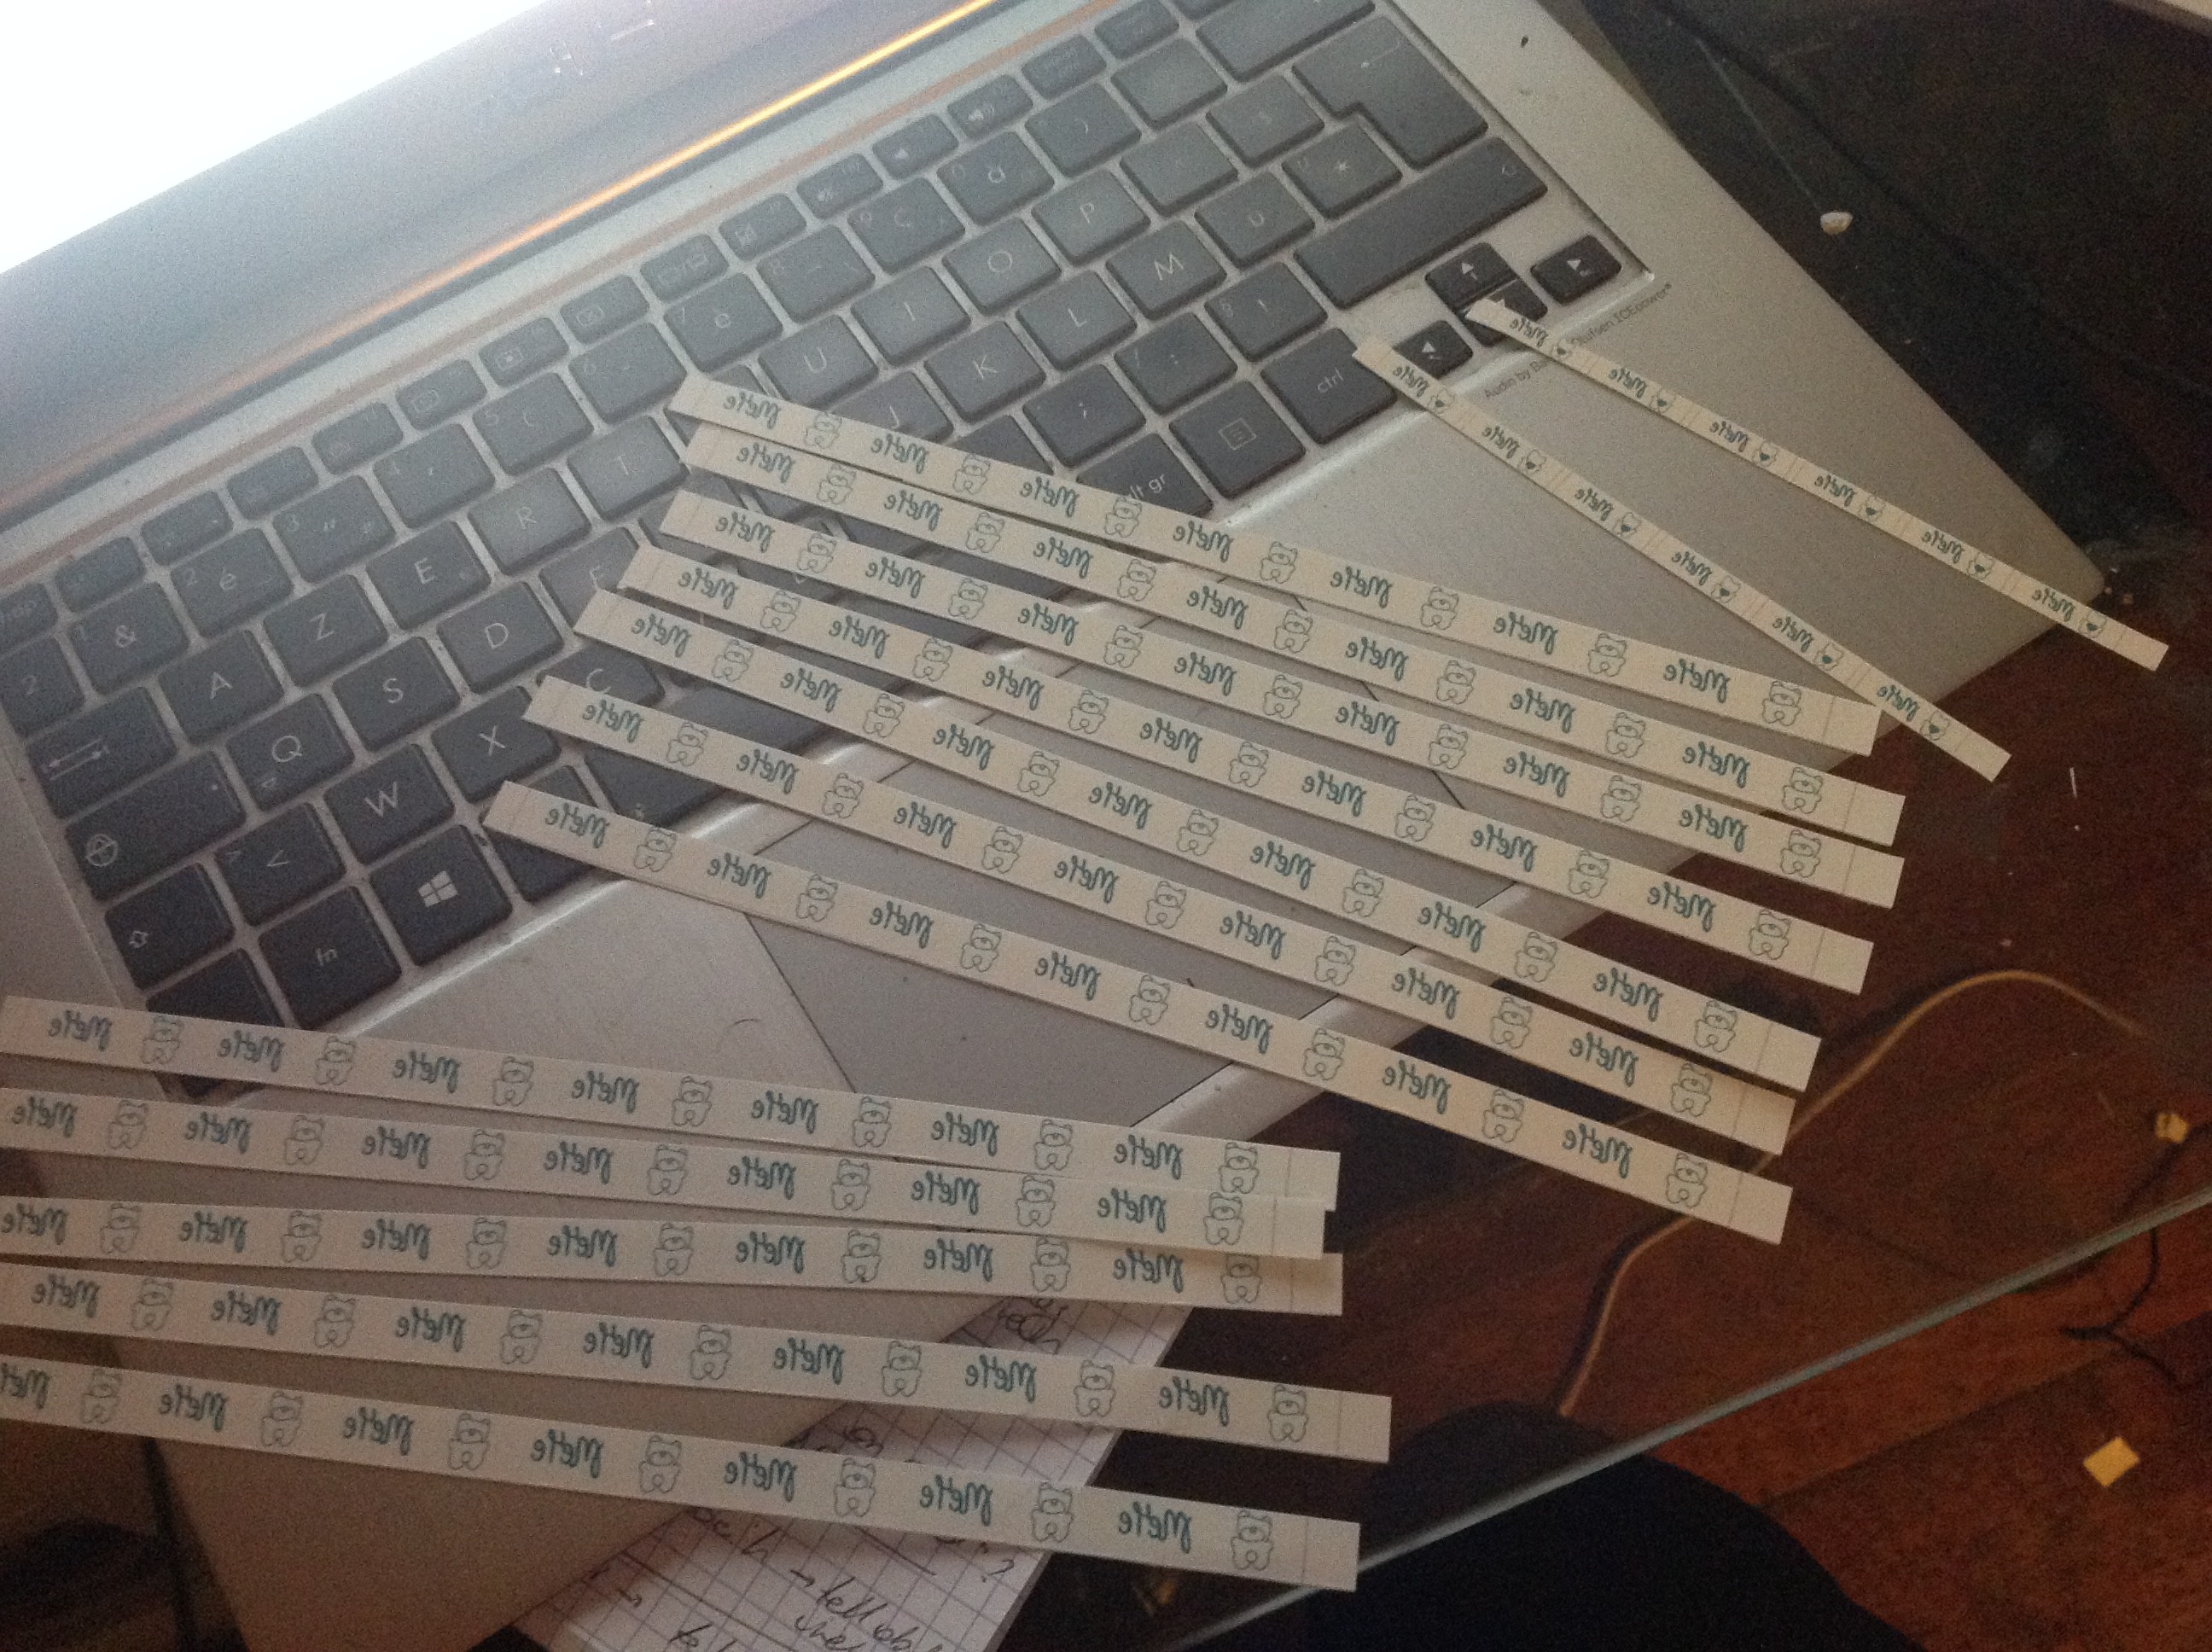
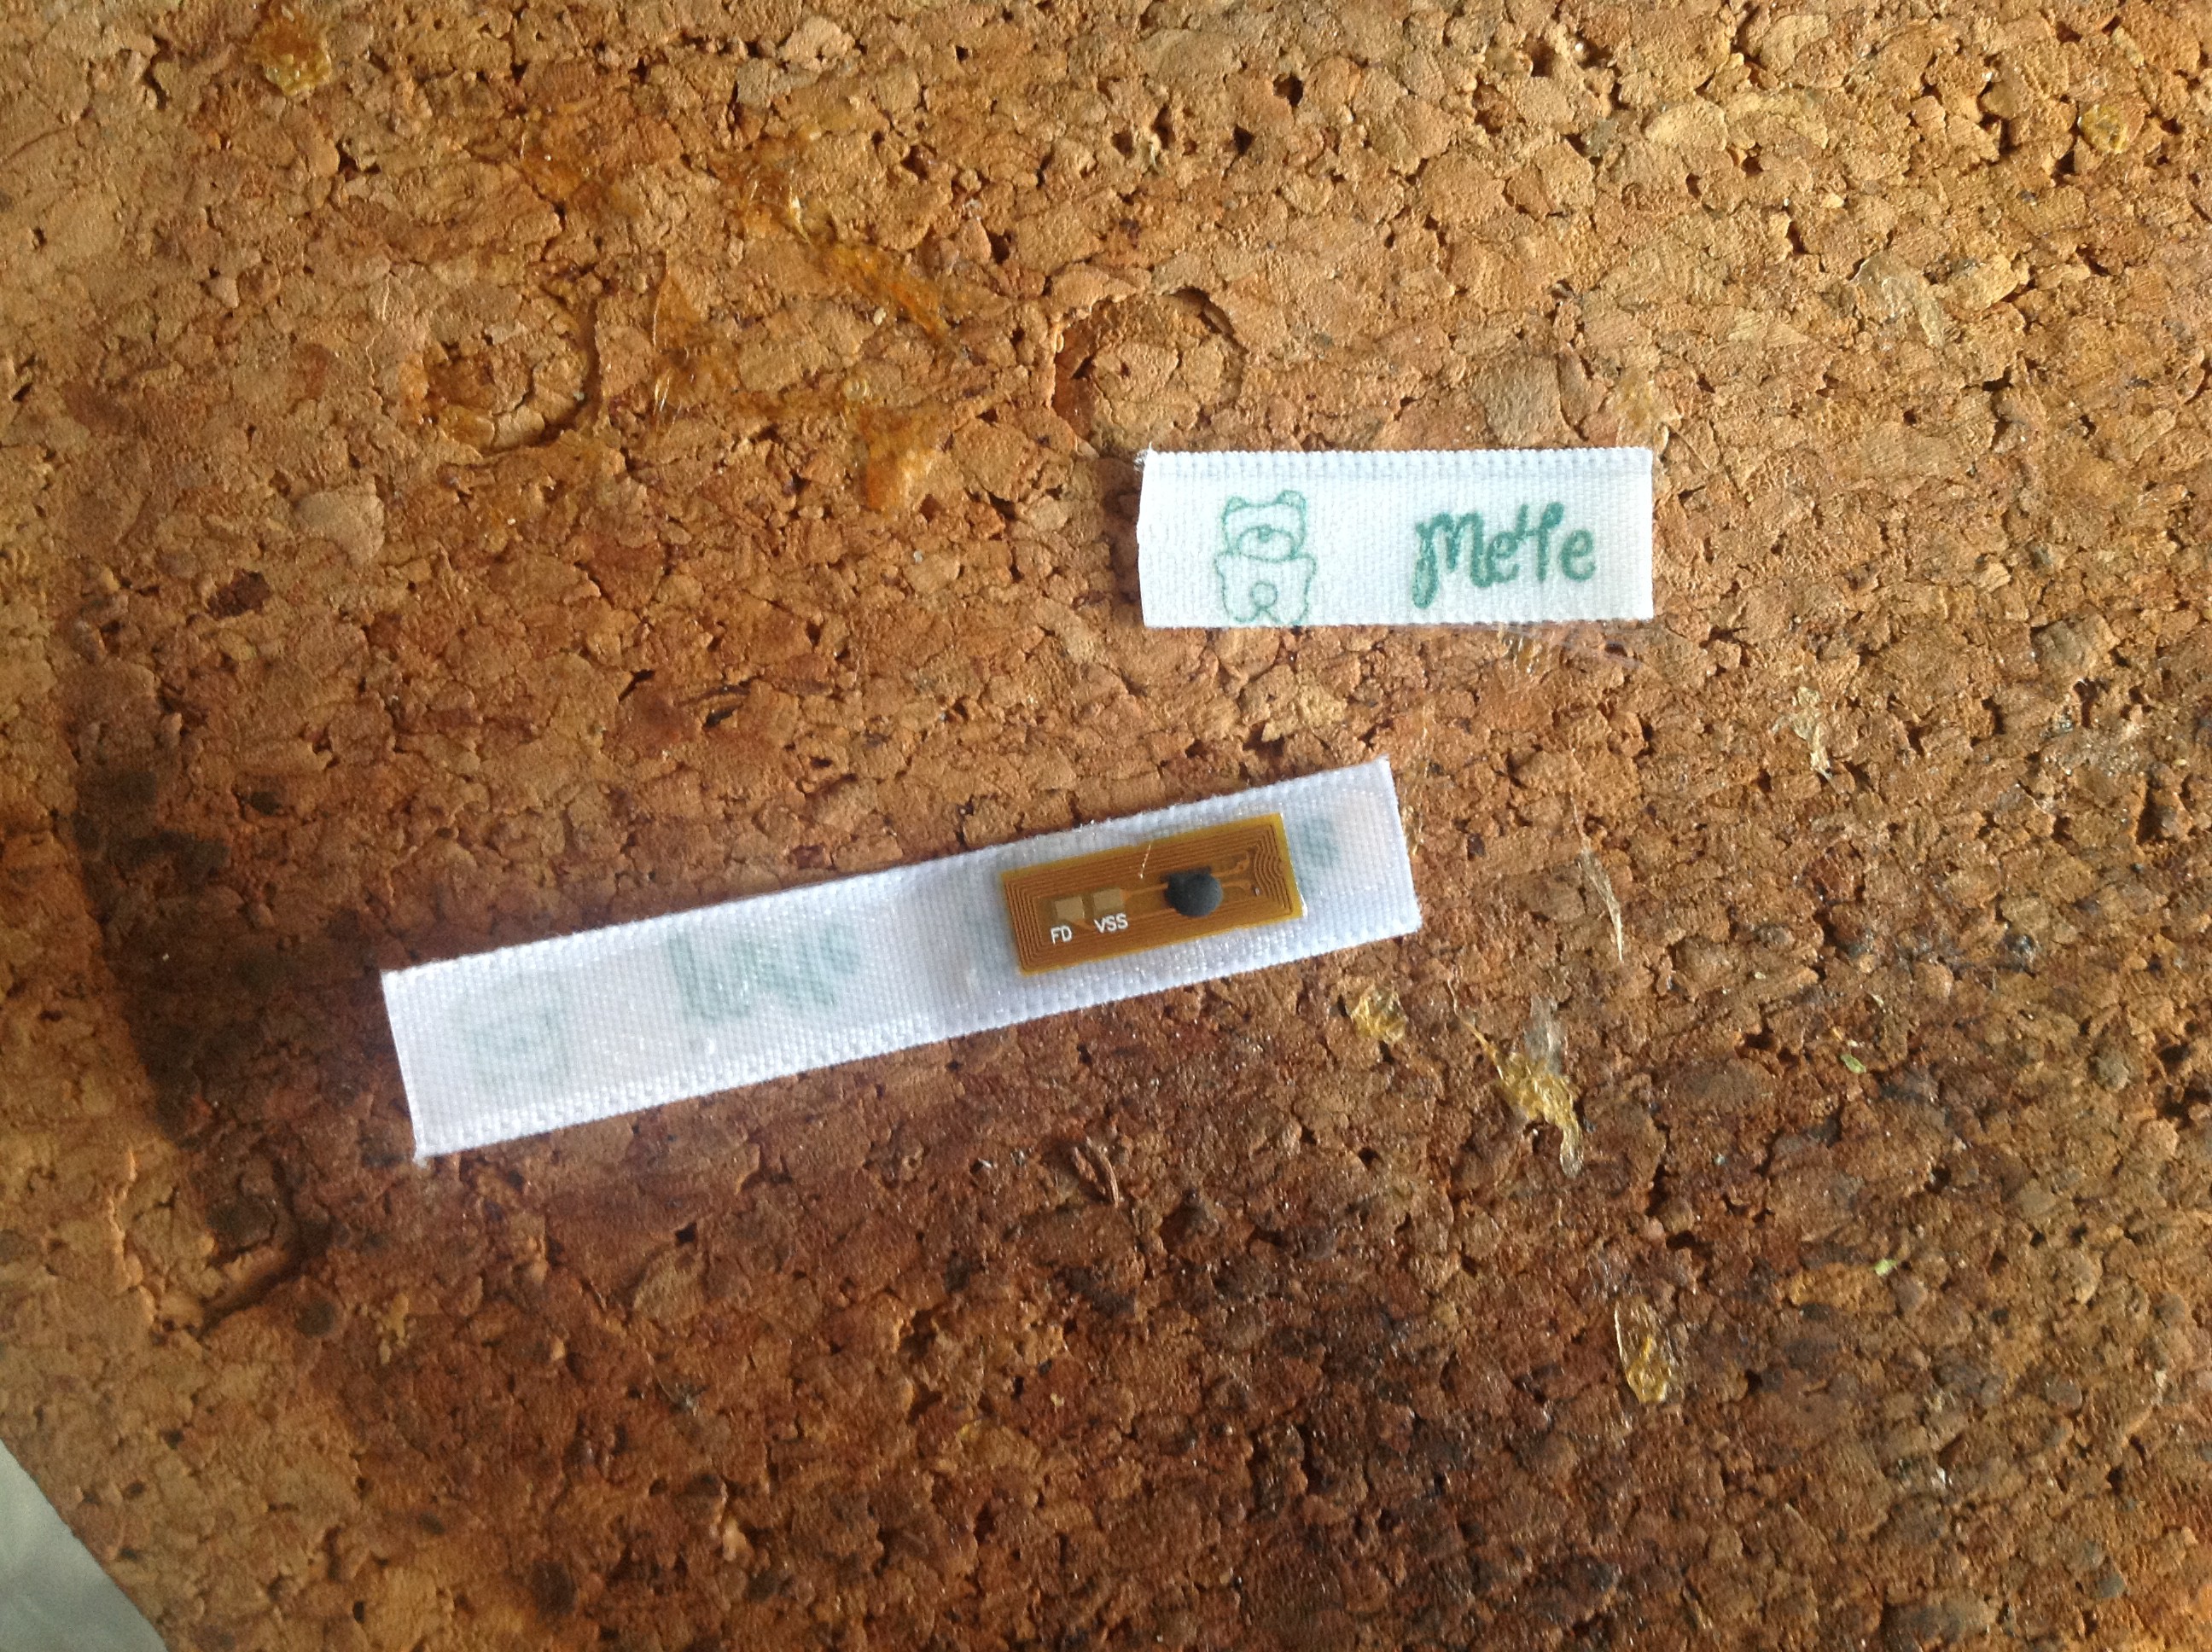
We also have some tiny Me4e for the ribbons ( I used a heating iron to make the transfer )
![]()
![]()
![]()
See ? we're making progress :)
![]()
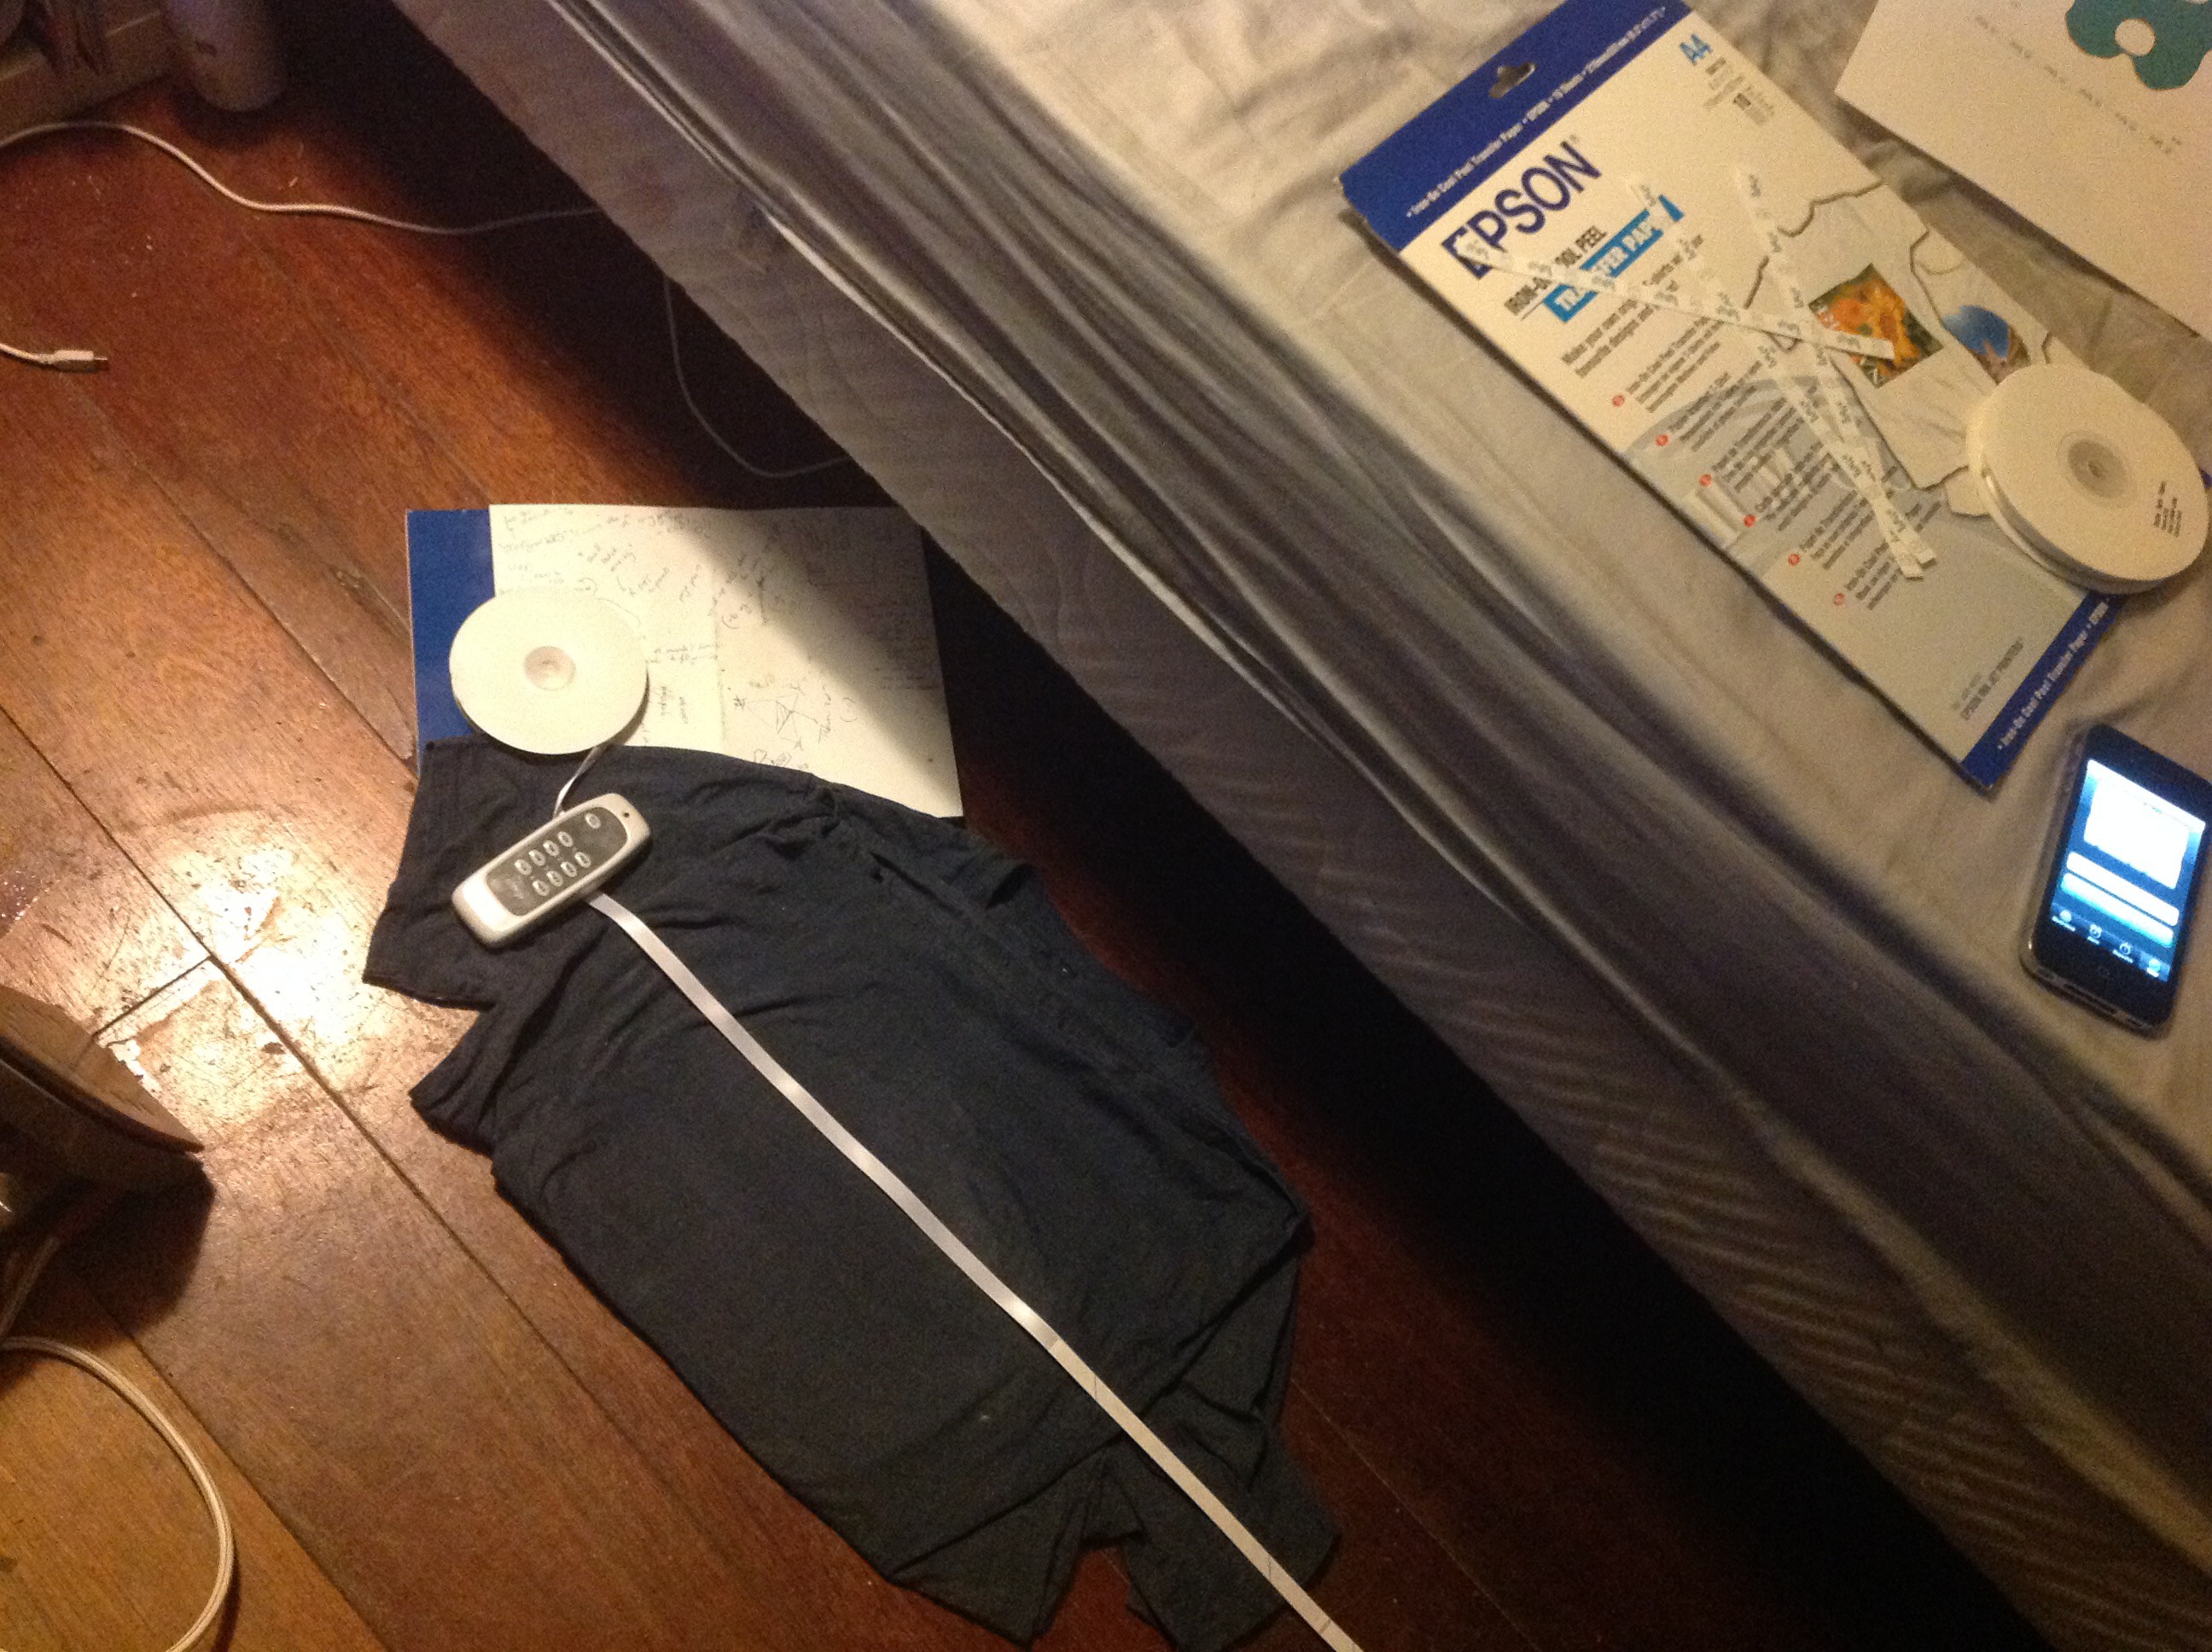
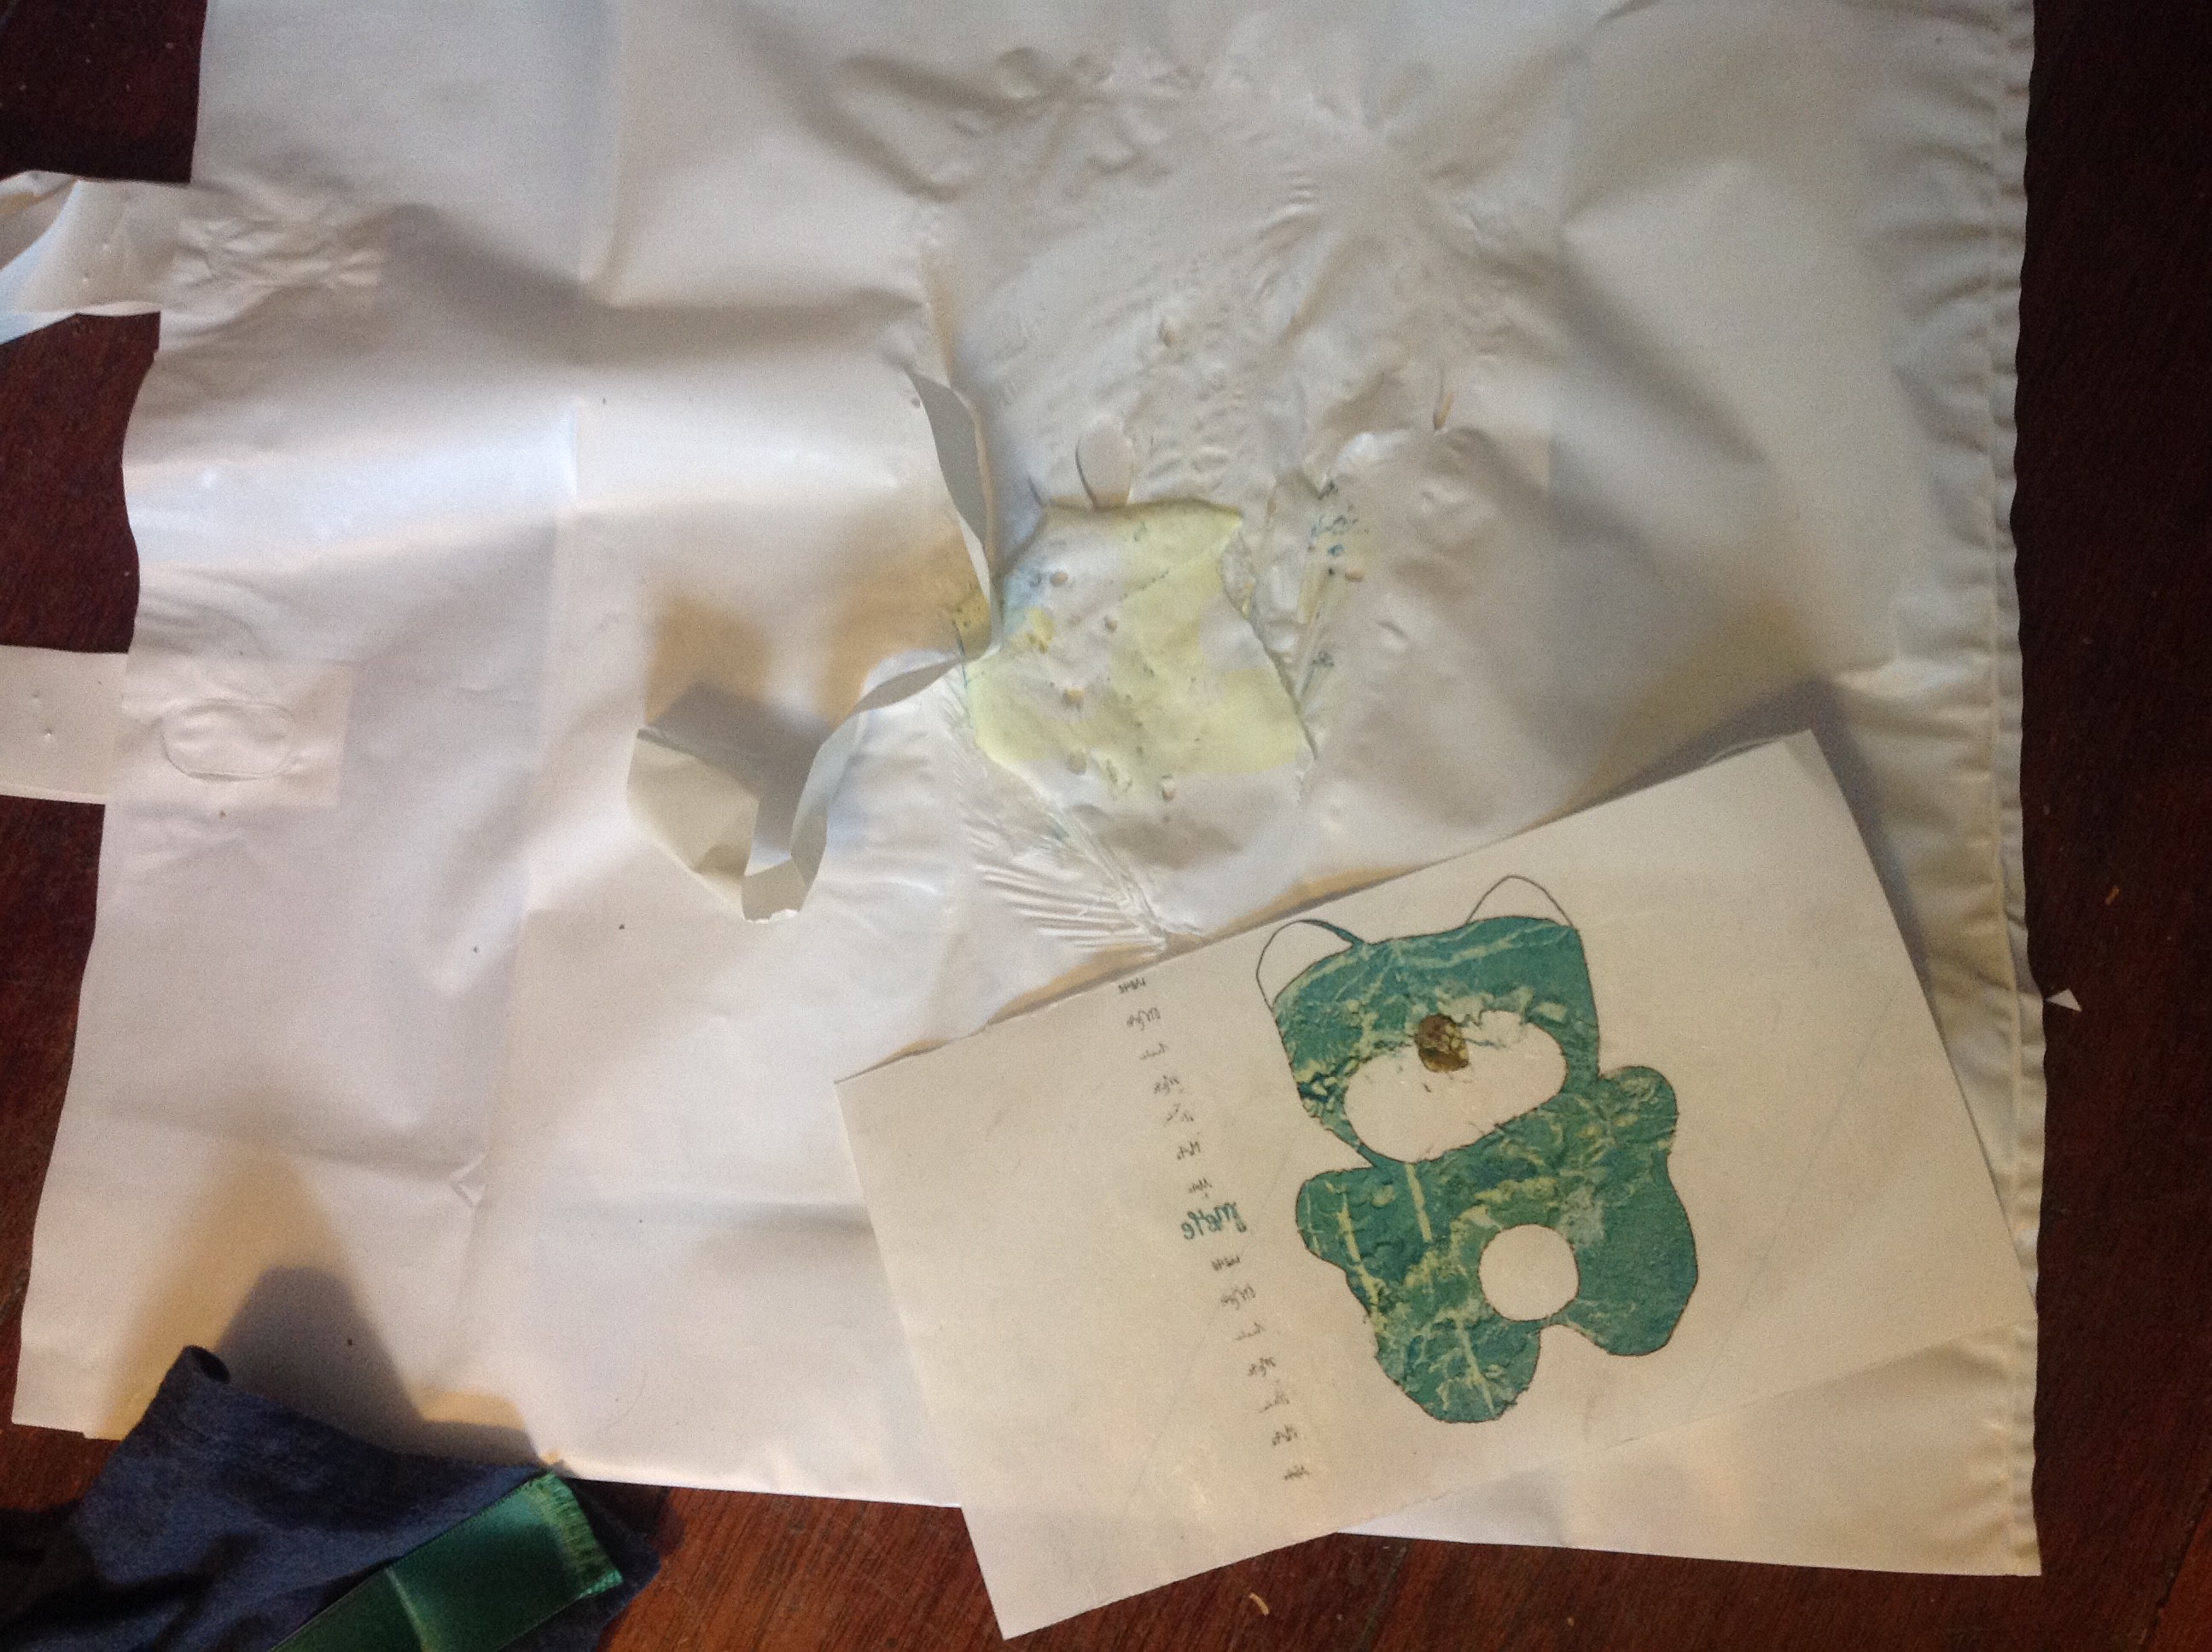
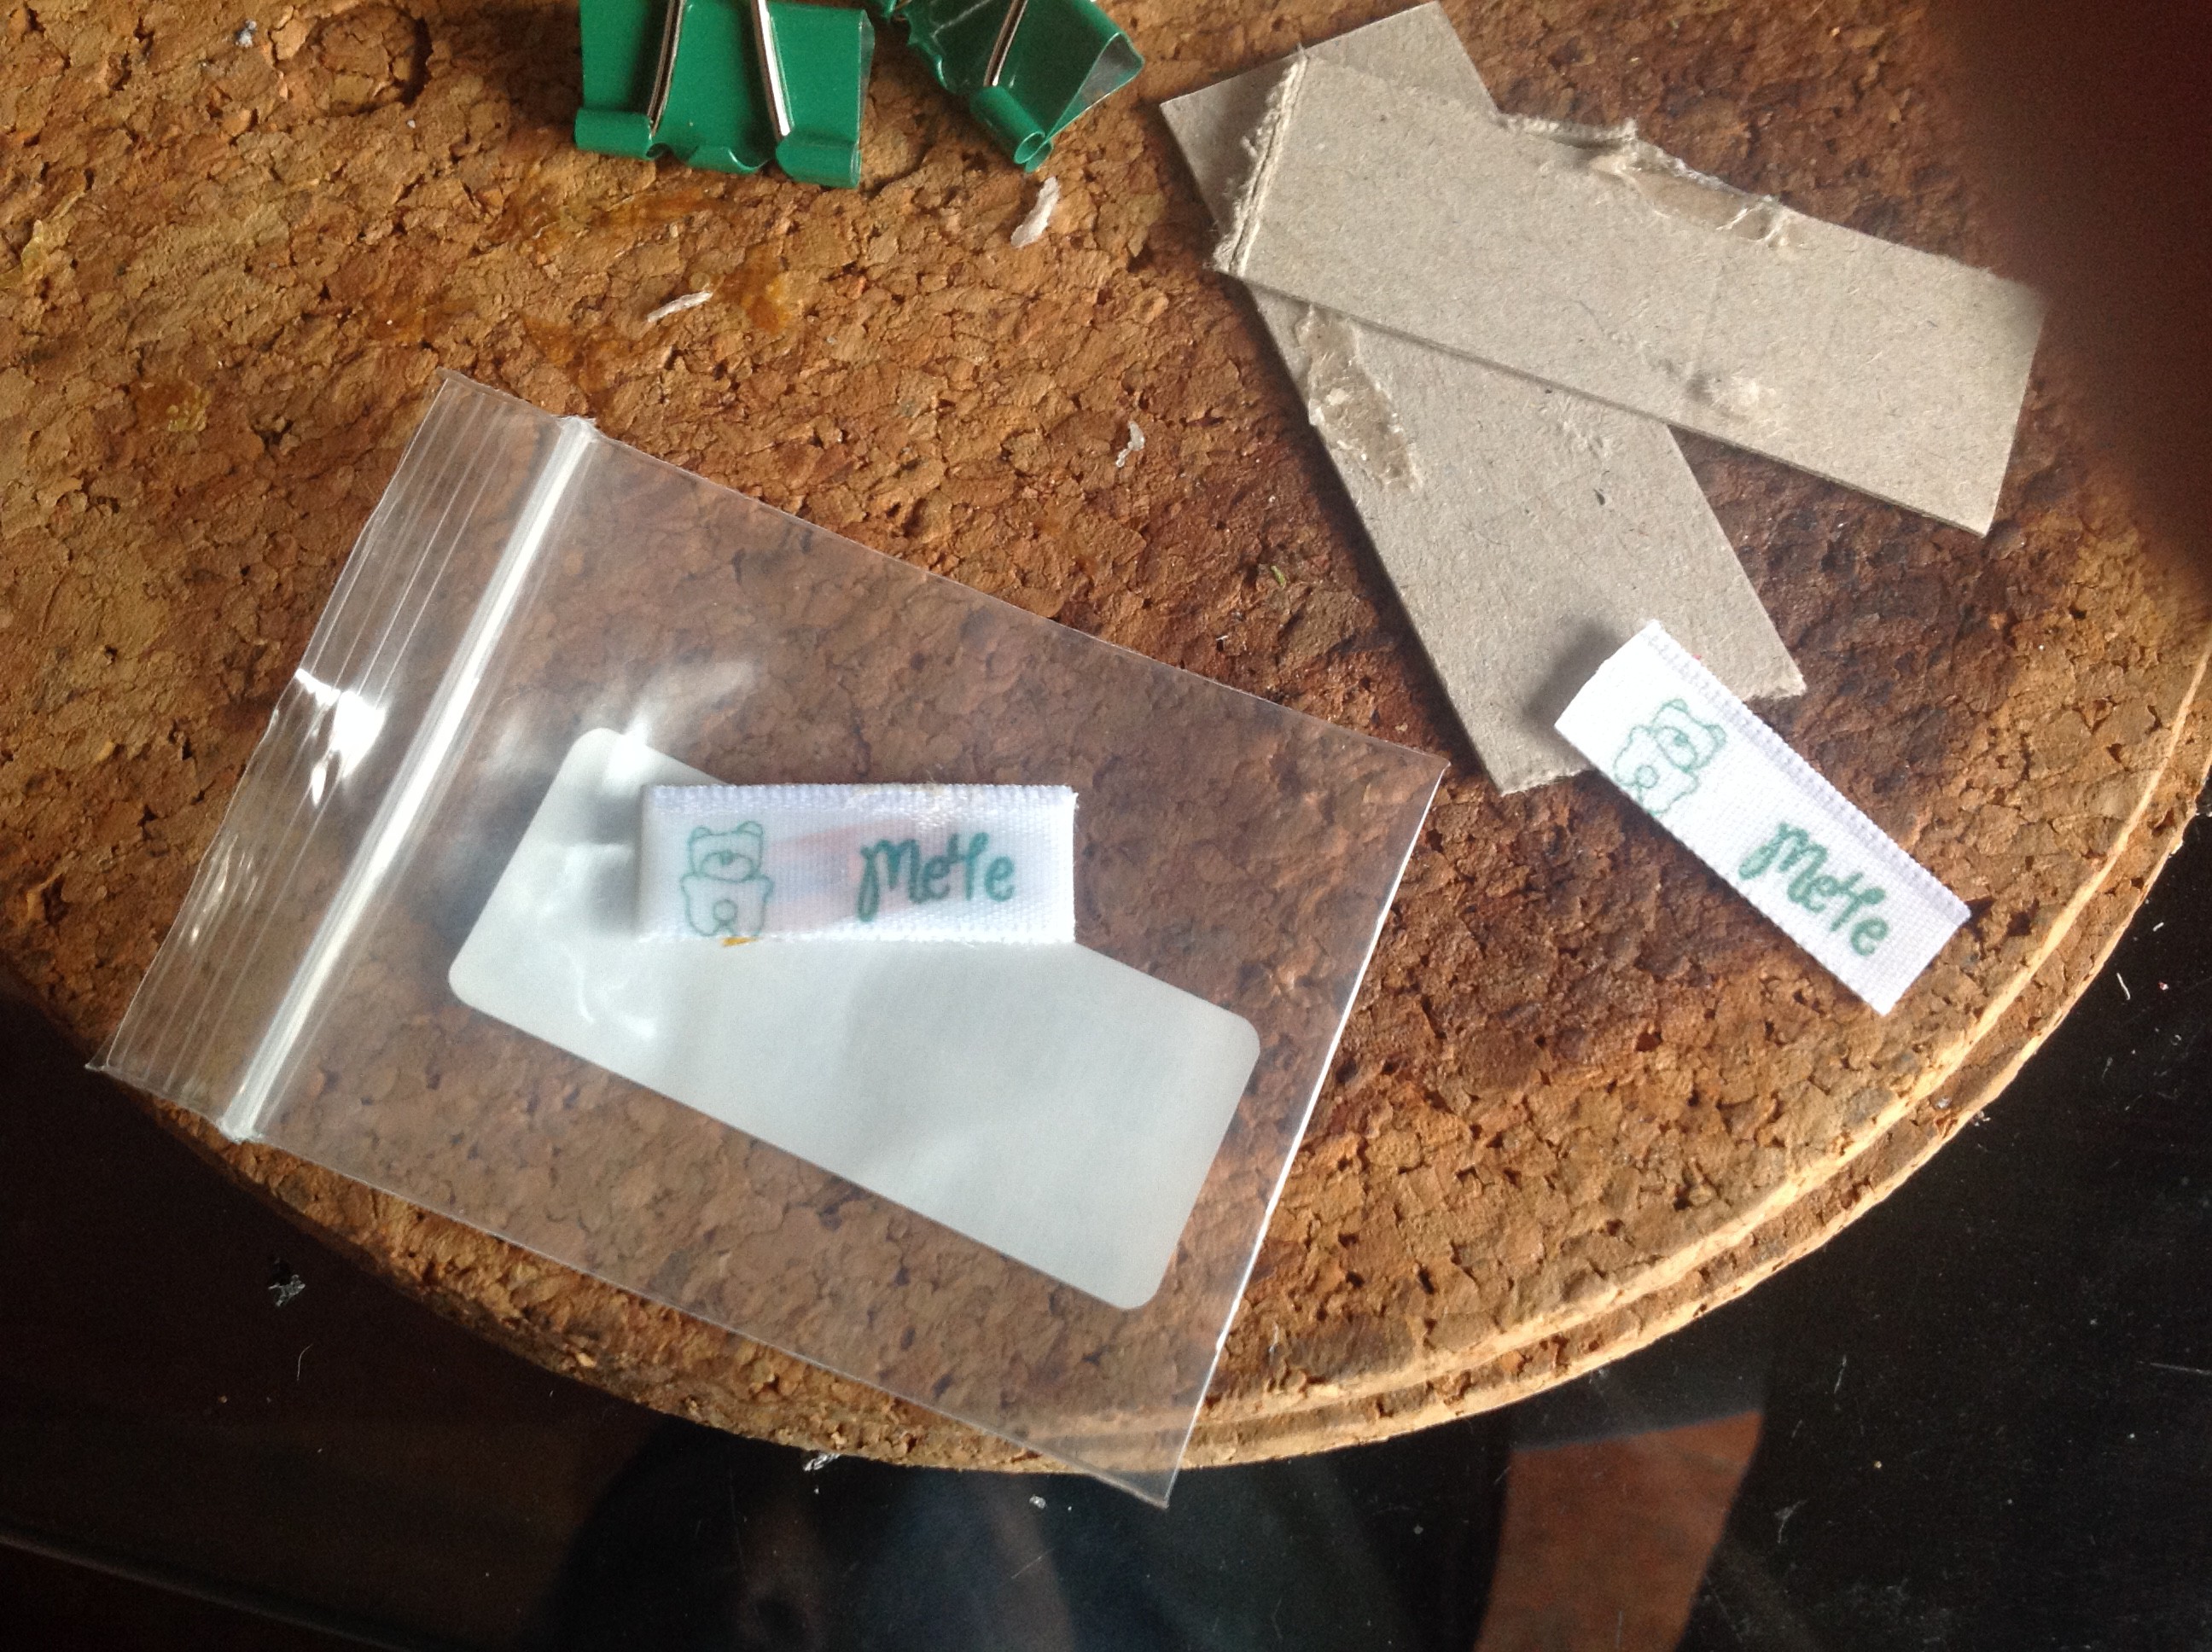
A little warning here: even if you need a bag to put a gift into, don't forget plastic hates heating iron trasnfer ;) ..
![]()
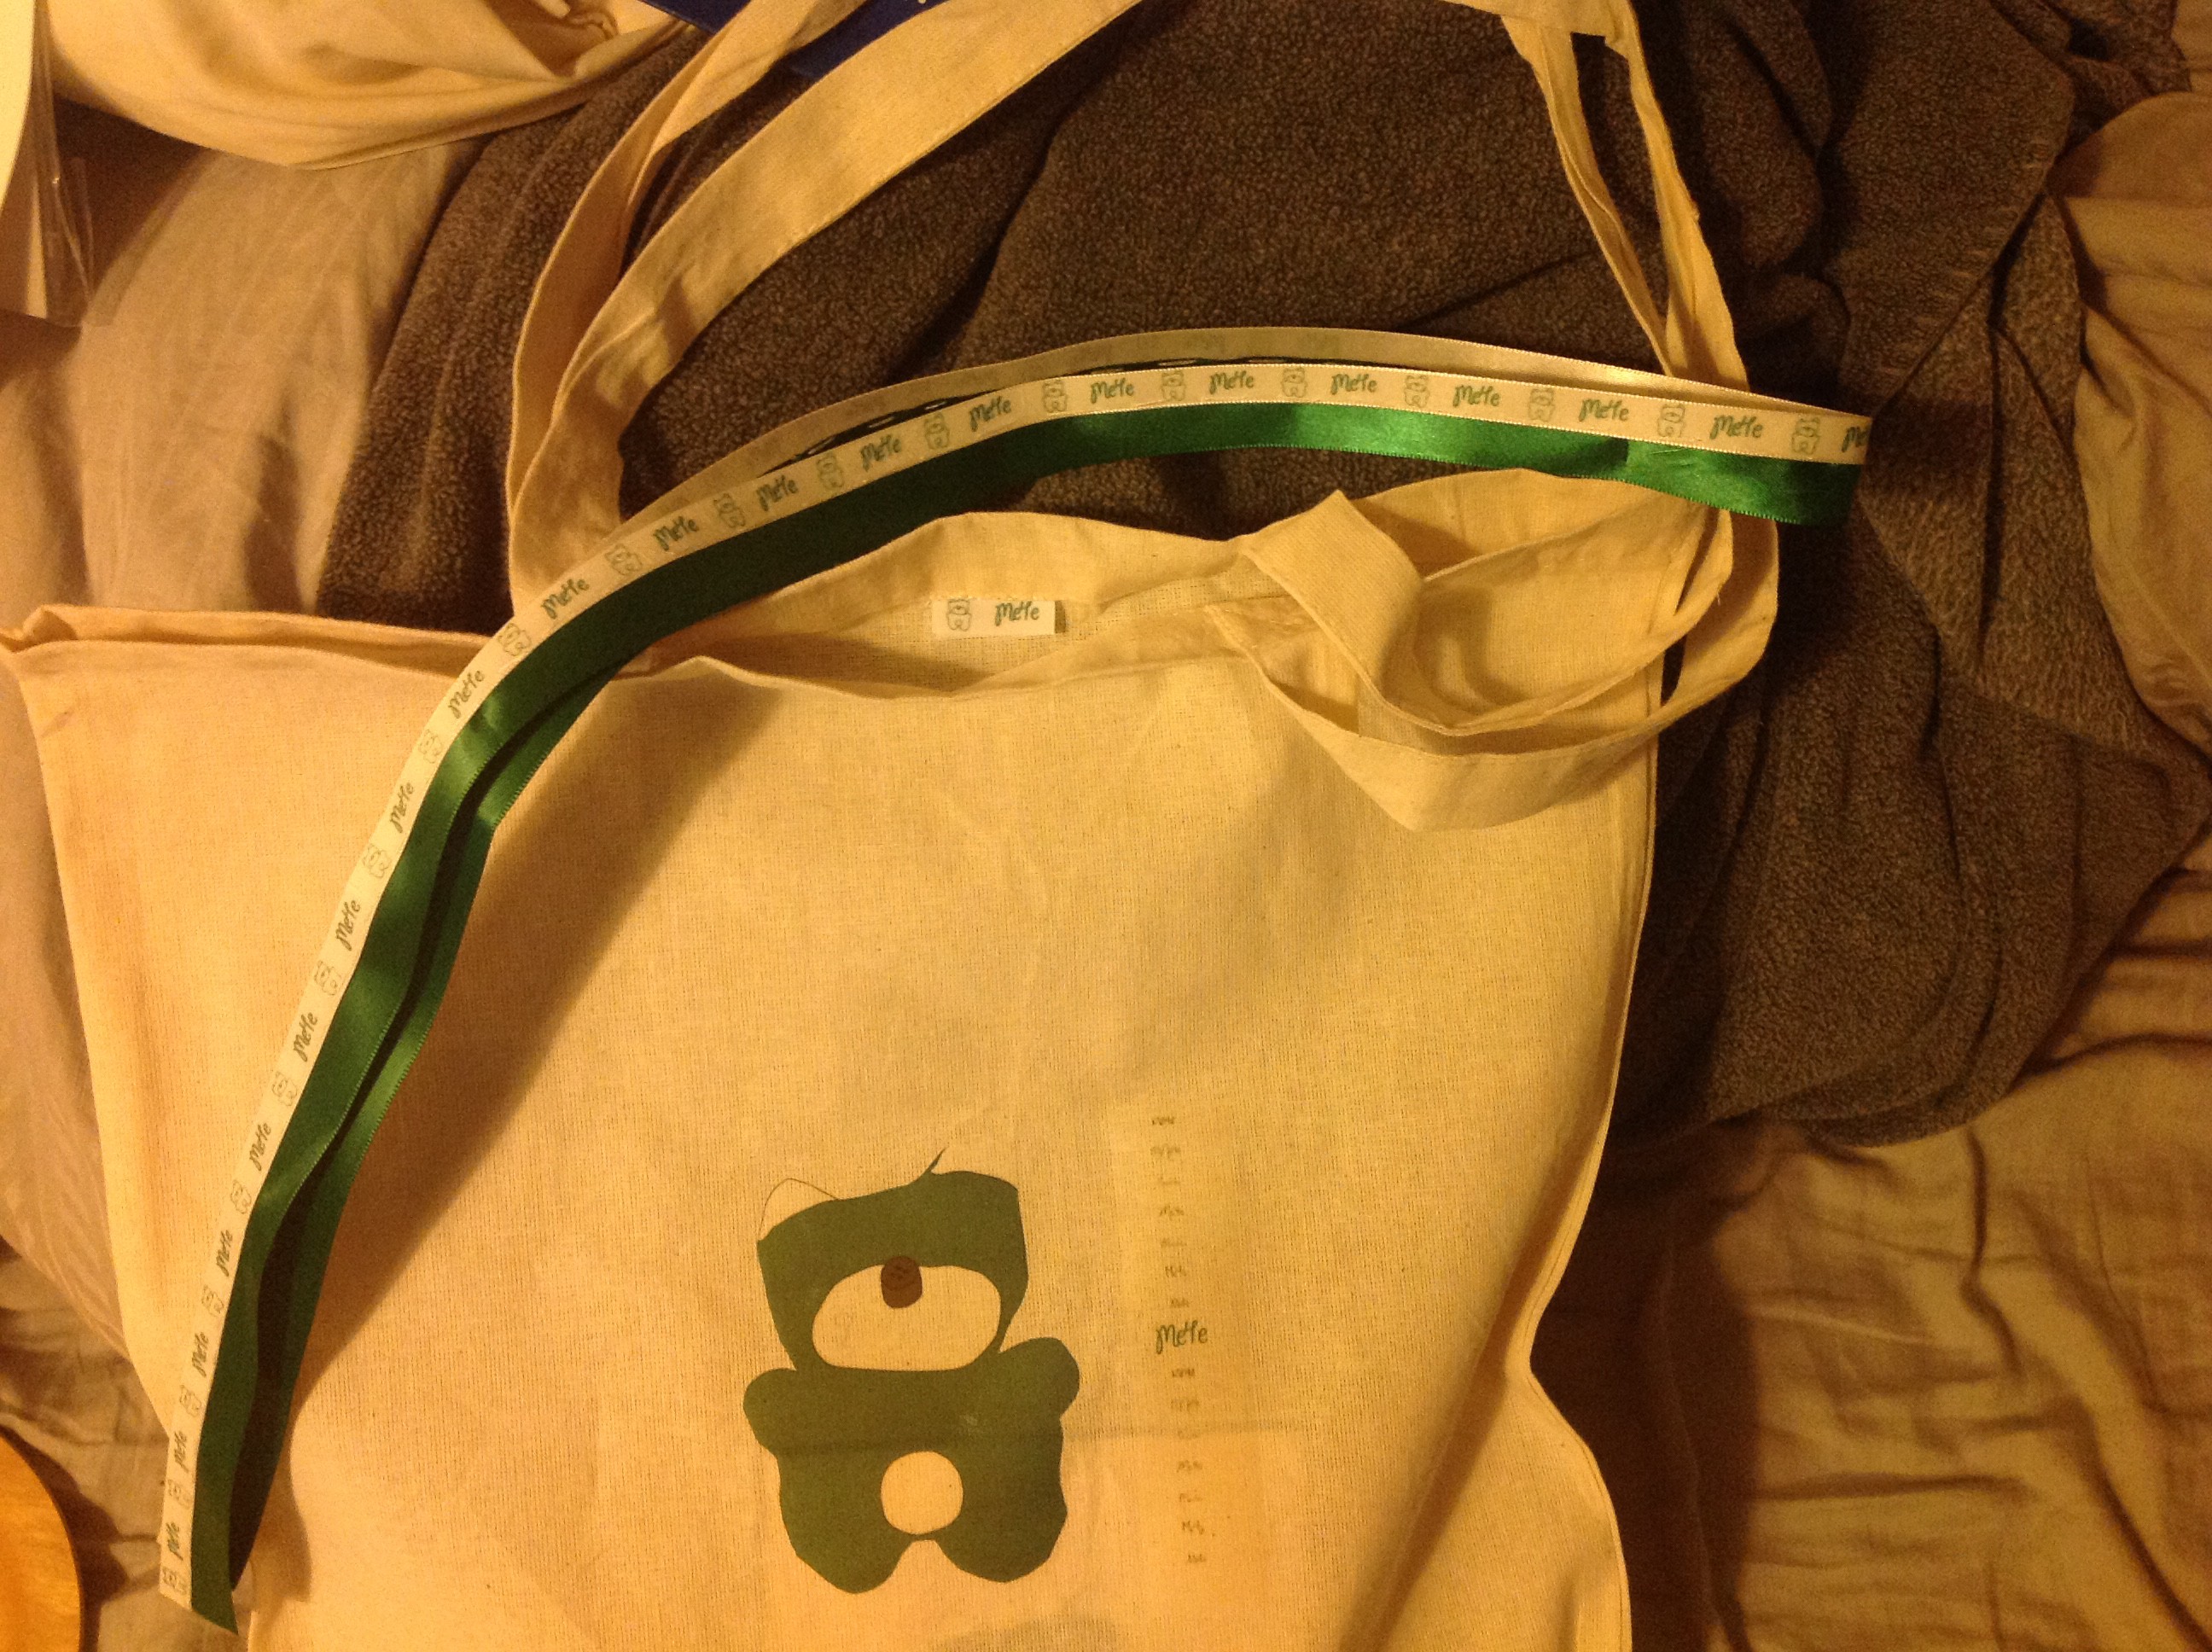
.. instead, find your way to a textile one:
![]()
Now that we have mostly everything, we can finish the boxing, starting by writing apologizes for not making this in time for Valentine's day ( yet in the evening, so this works ? )
![]()
![]()
Quick overview of the work done by now:
![]()
-
12Step 12
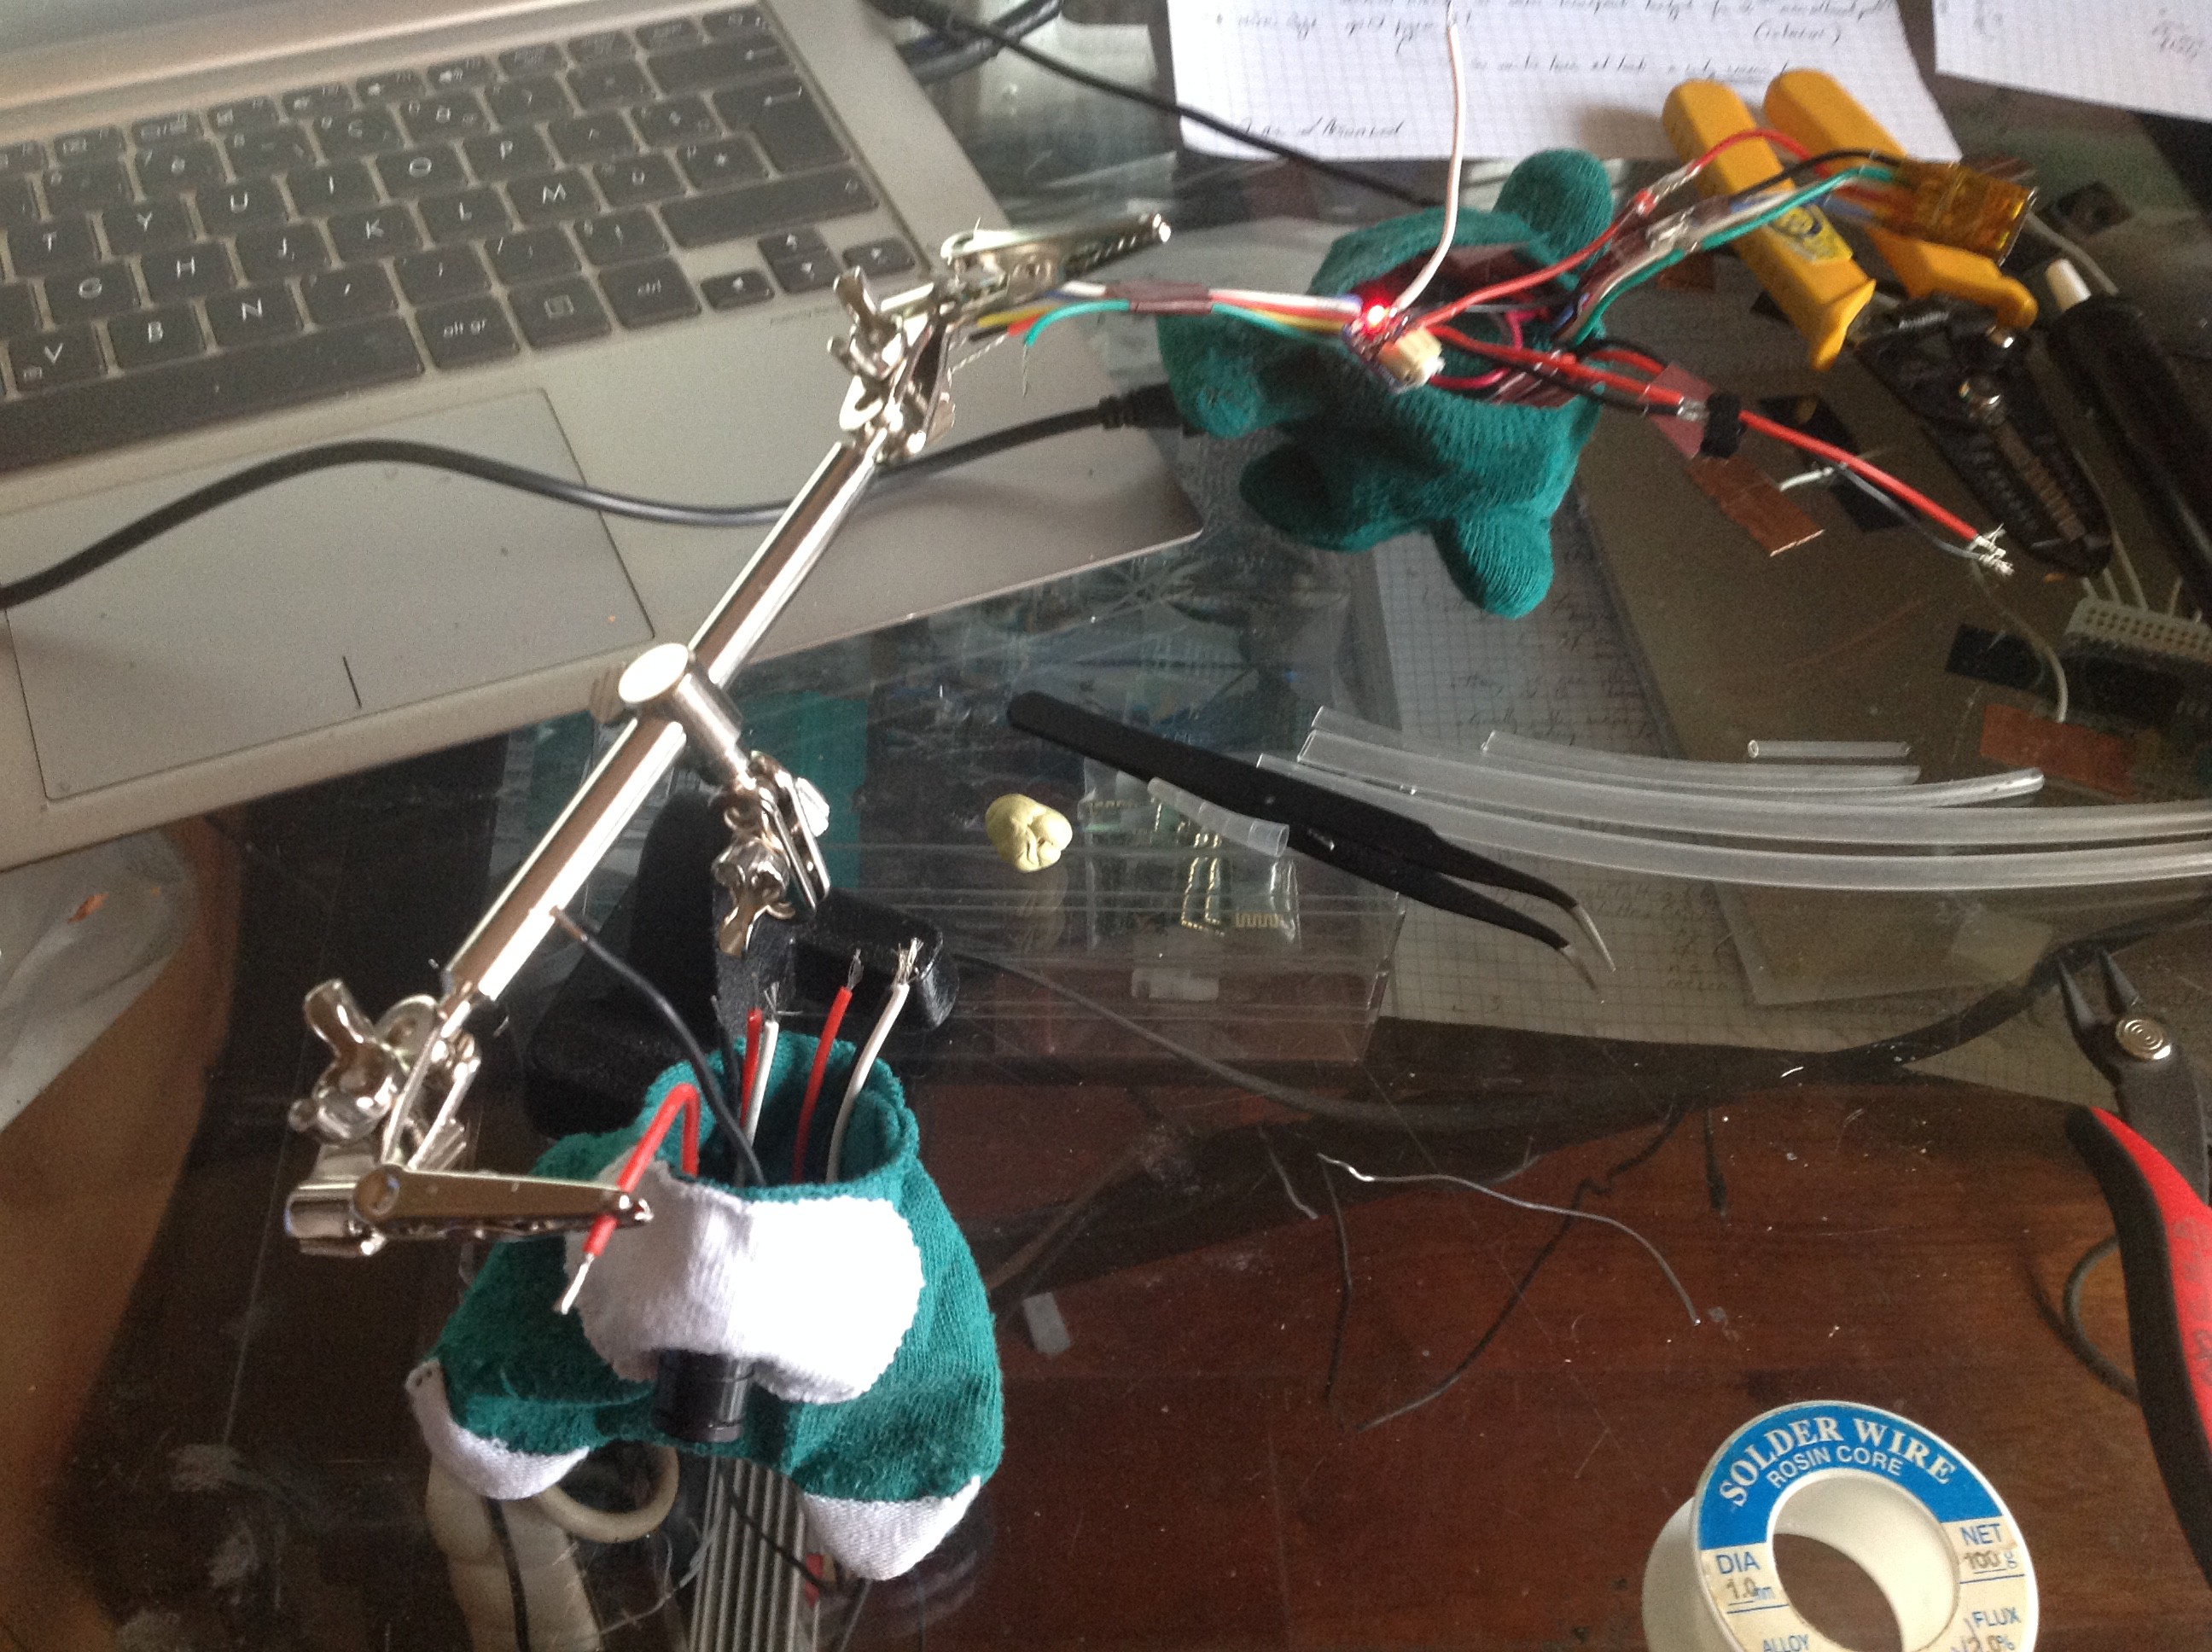
Now, the "big part": we have nearly four hours to have finished, we don't have any "good" solder left, and we're not quite sure how to stuff everything we did together t ofit in the pluche ..
![]()
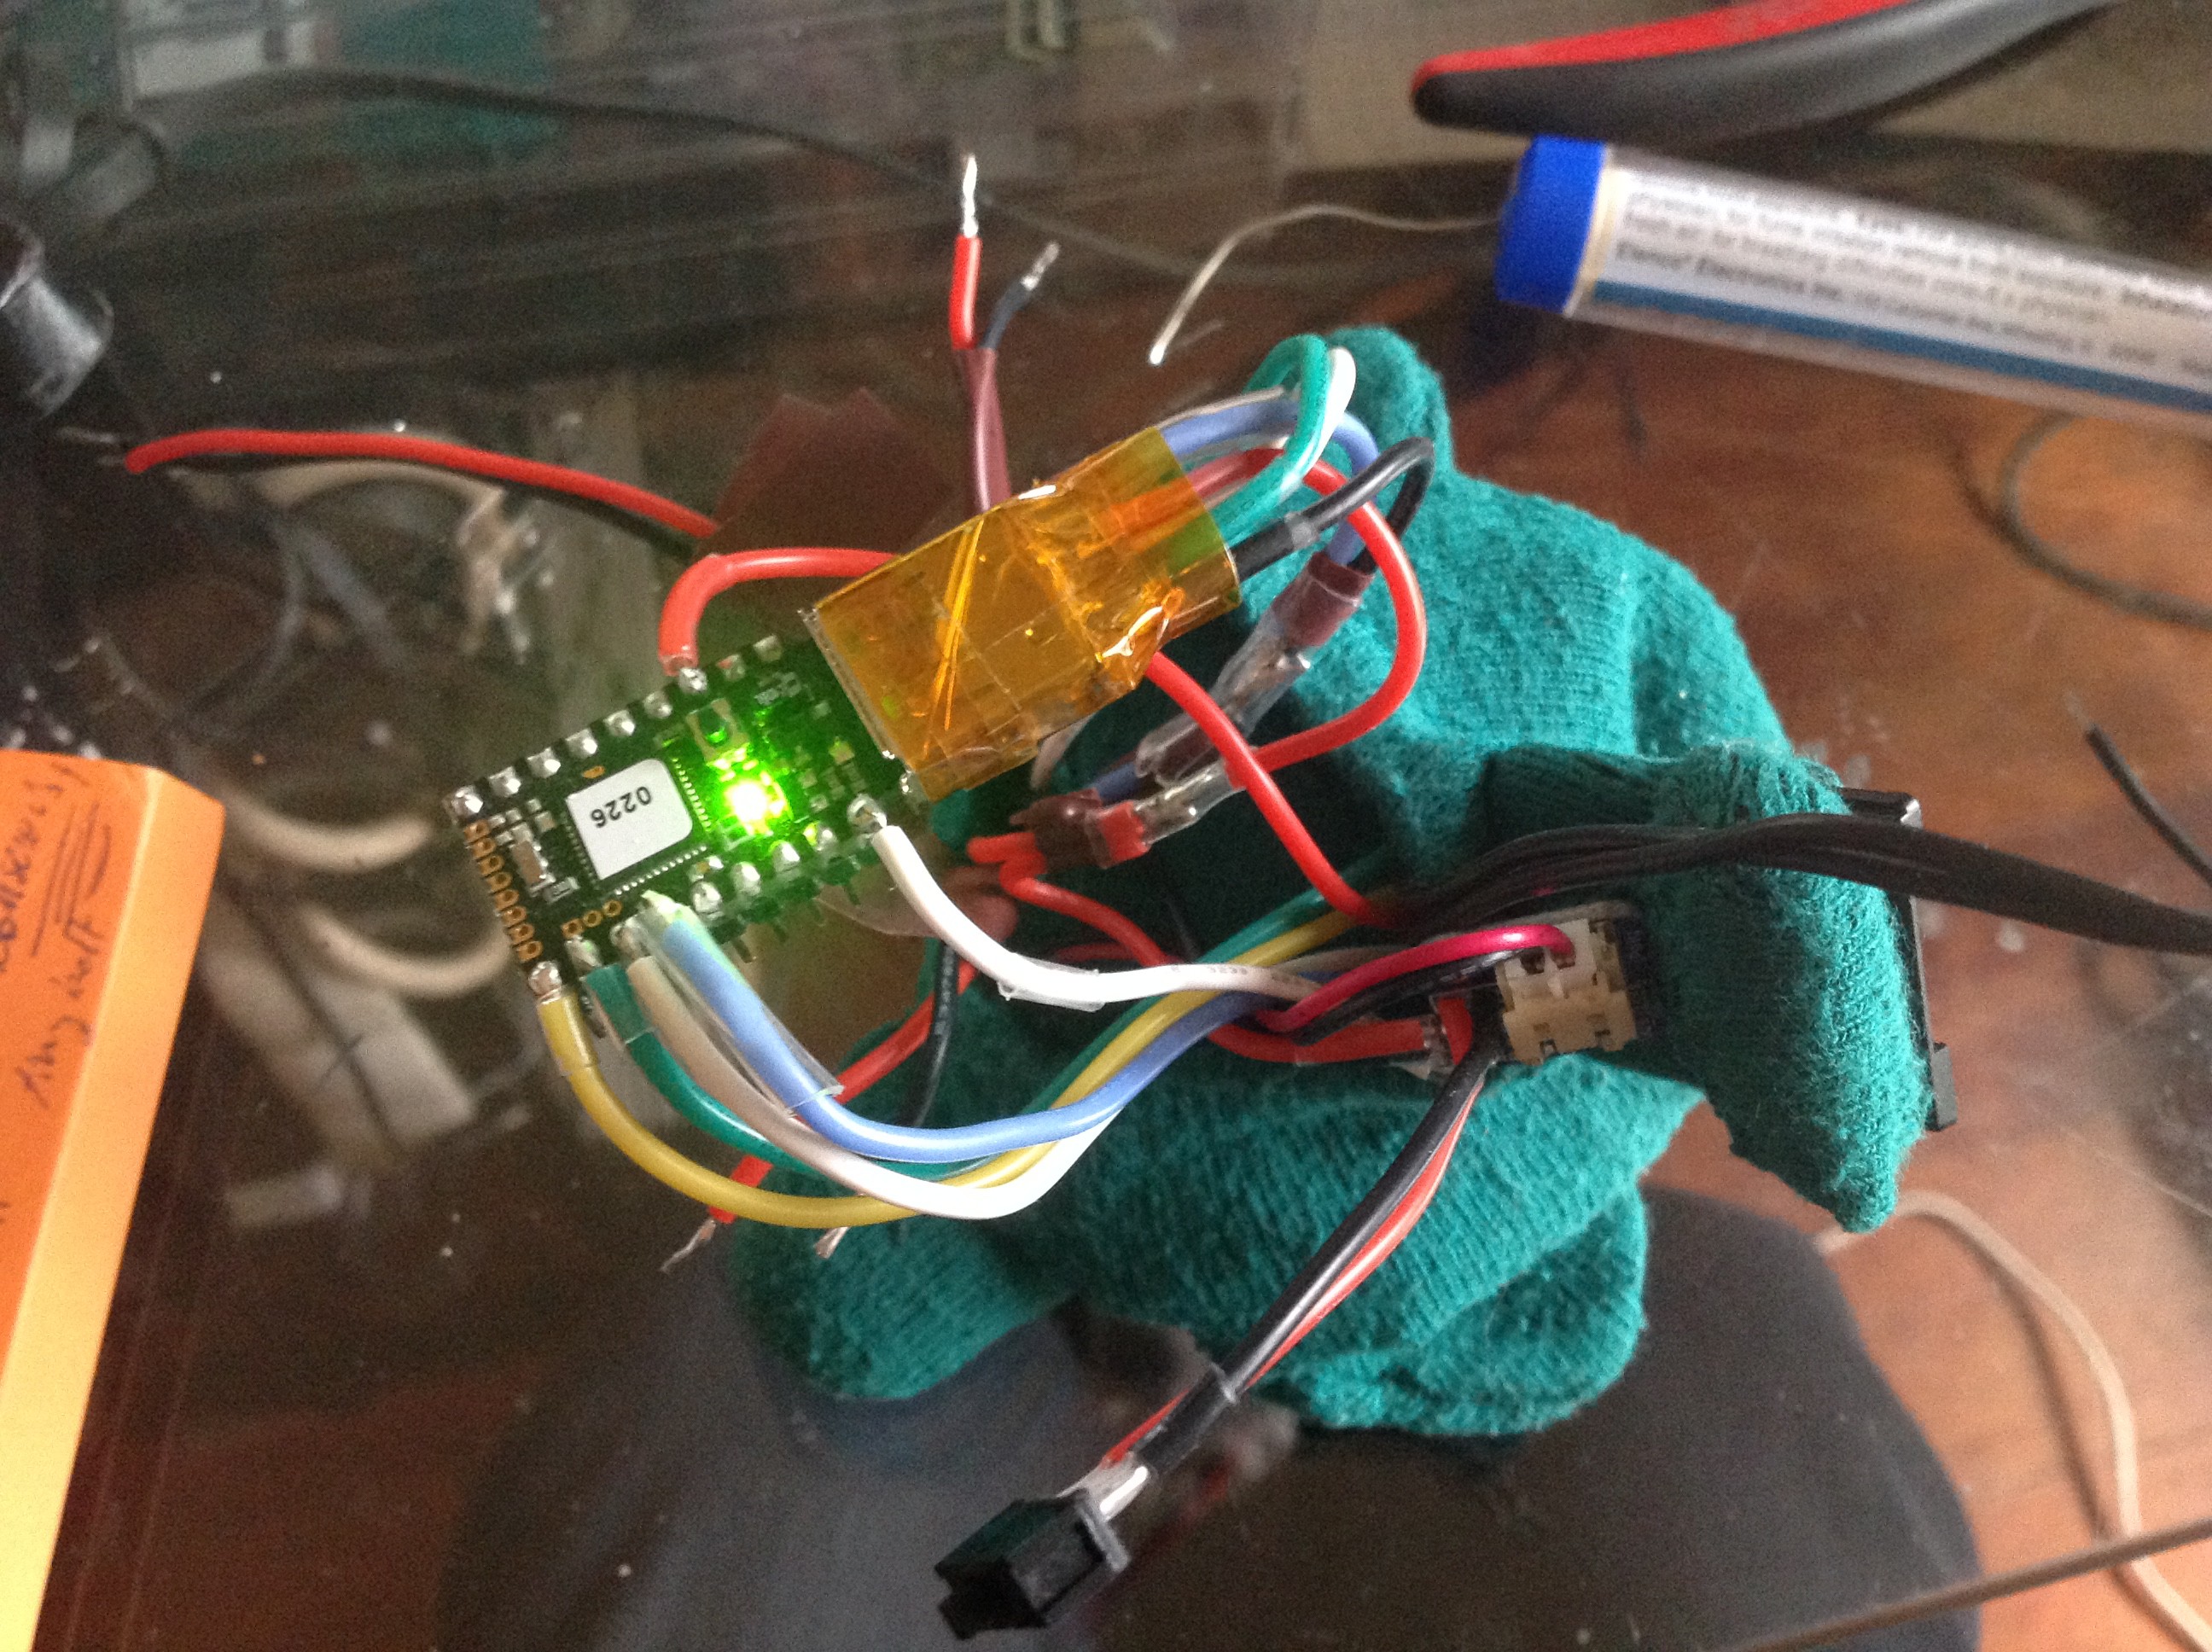
Since we gotta start somewhere, we'll test the battery circuit, then try powering the uC, and then tin the head's wires
![]()
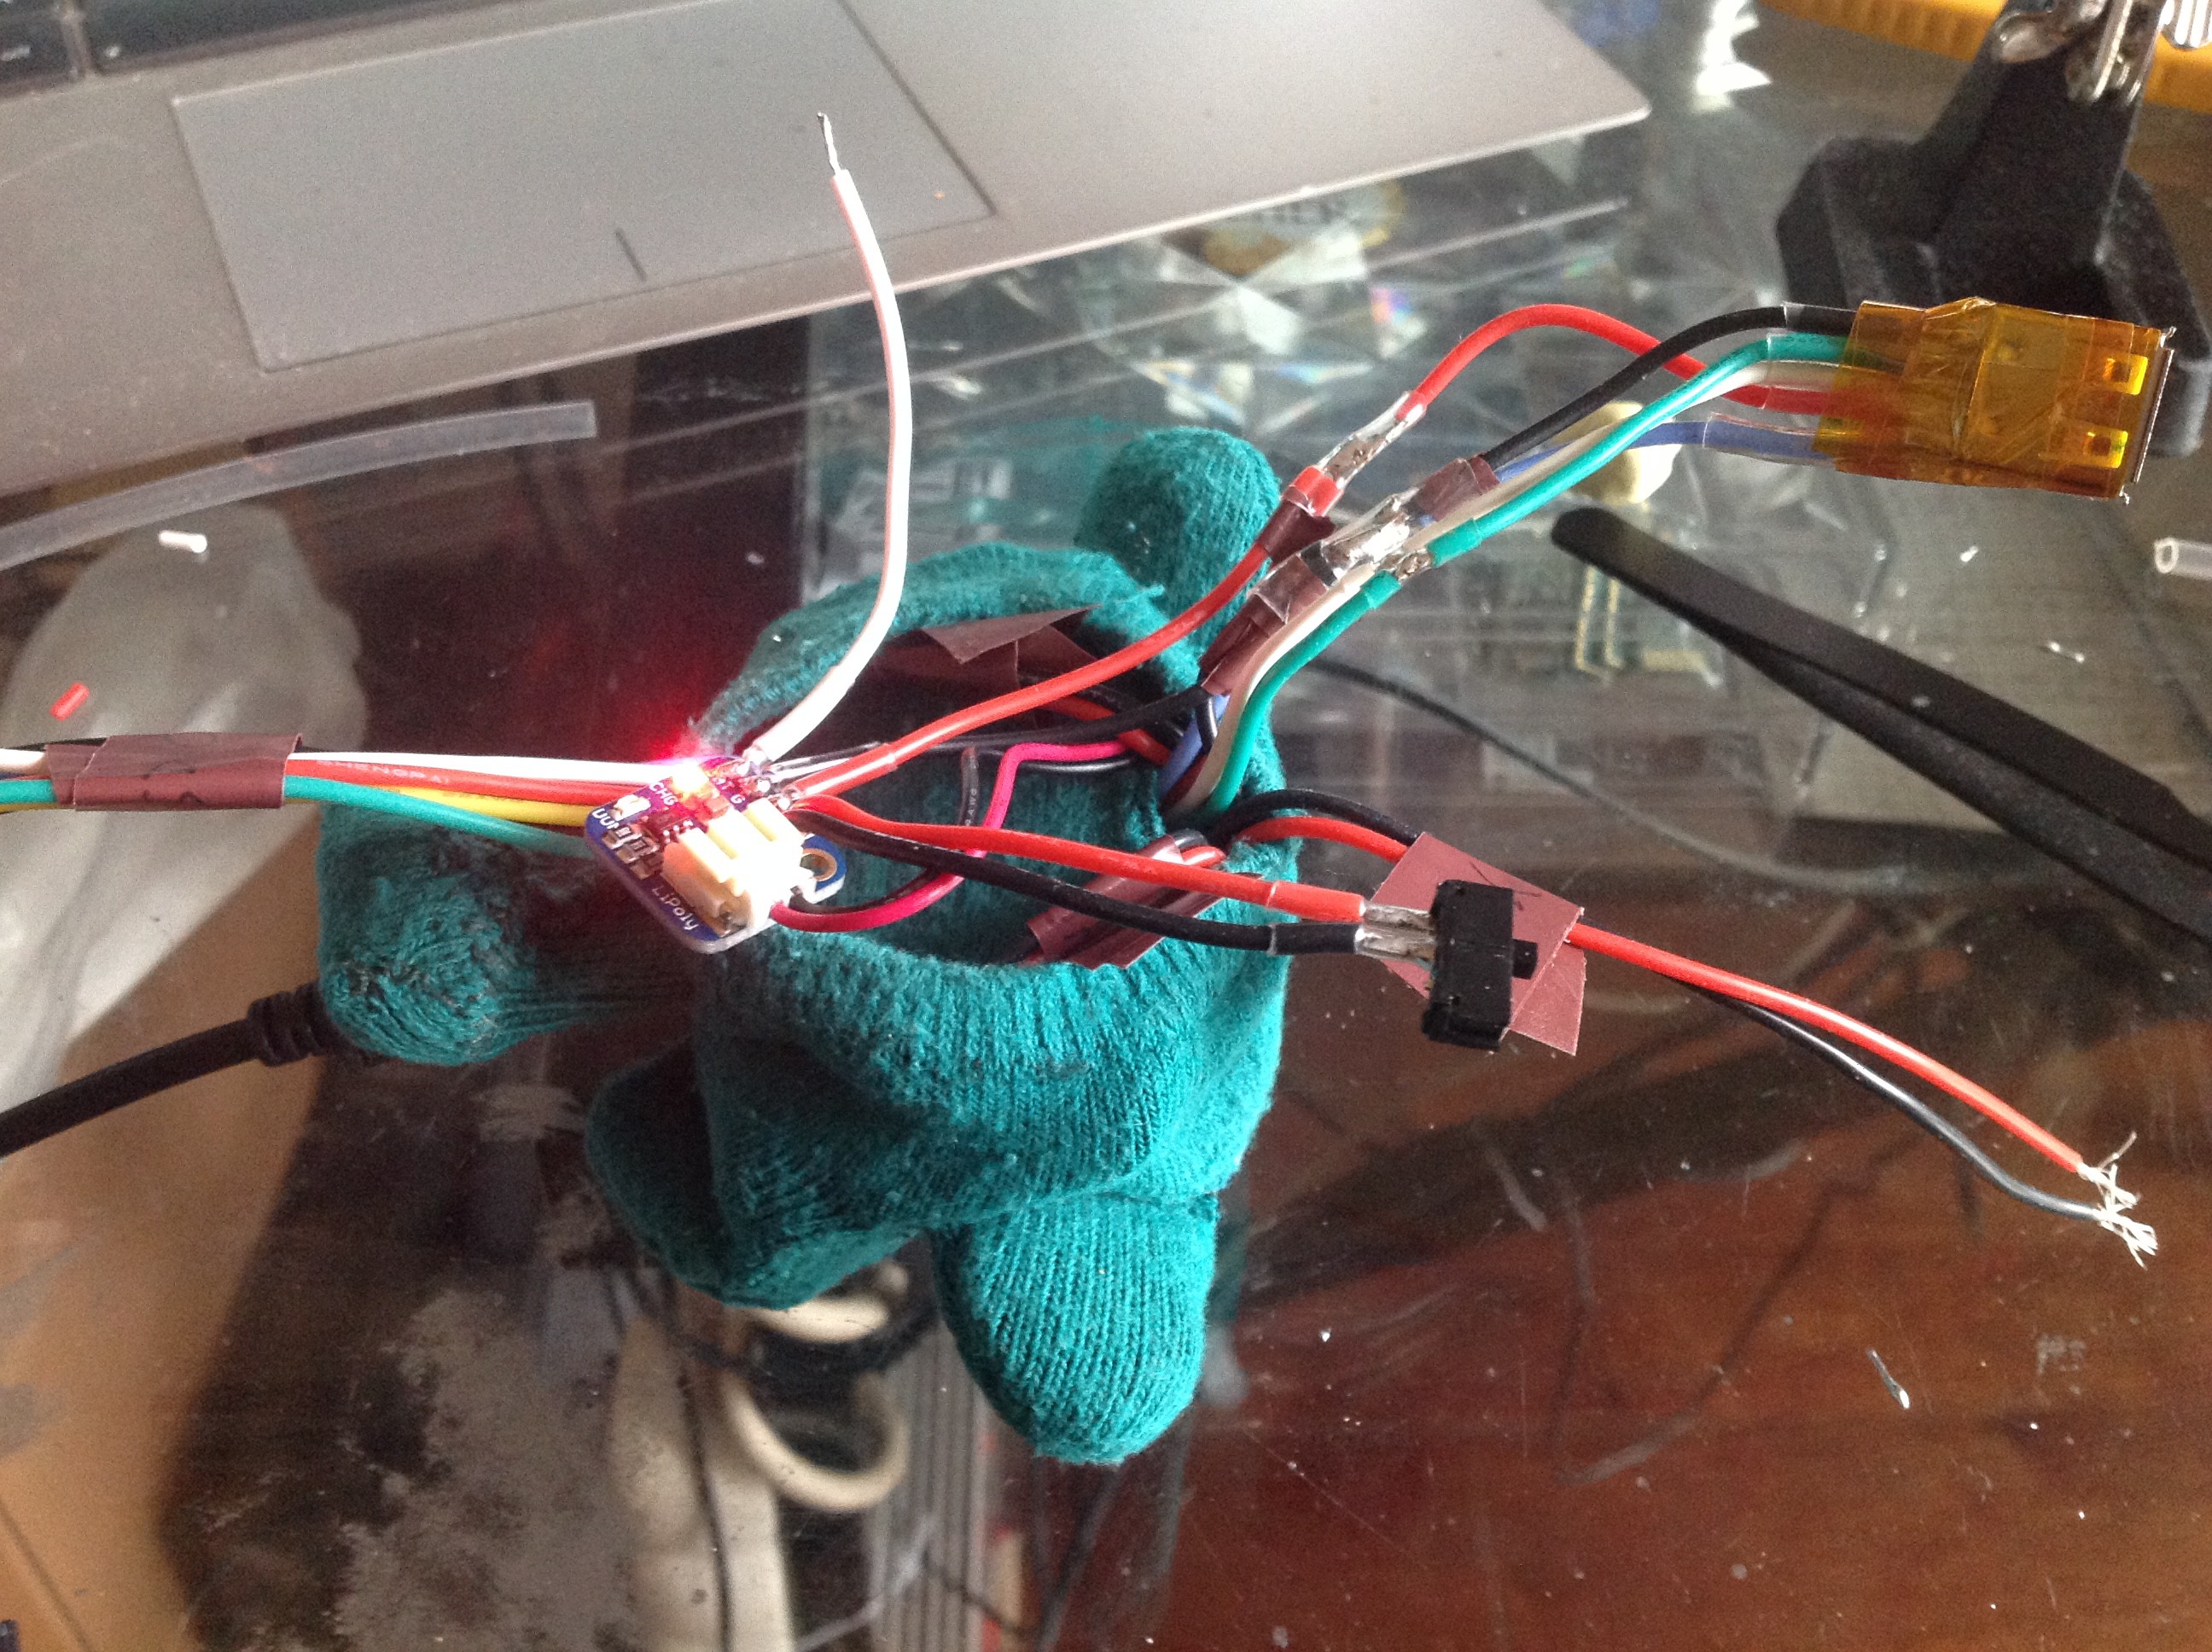
I used an external breakout for battery charging with an external on/off switch ( It 'll reside on the back, behind the SD backpak )
![]()
![]()
-
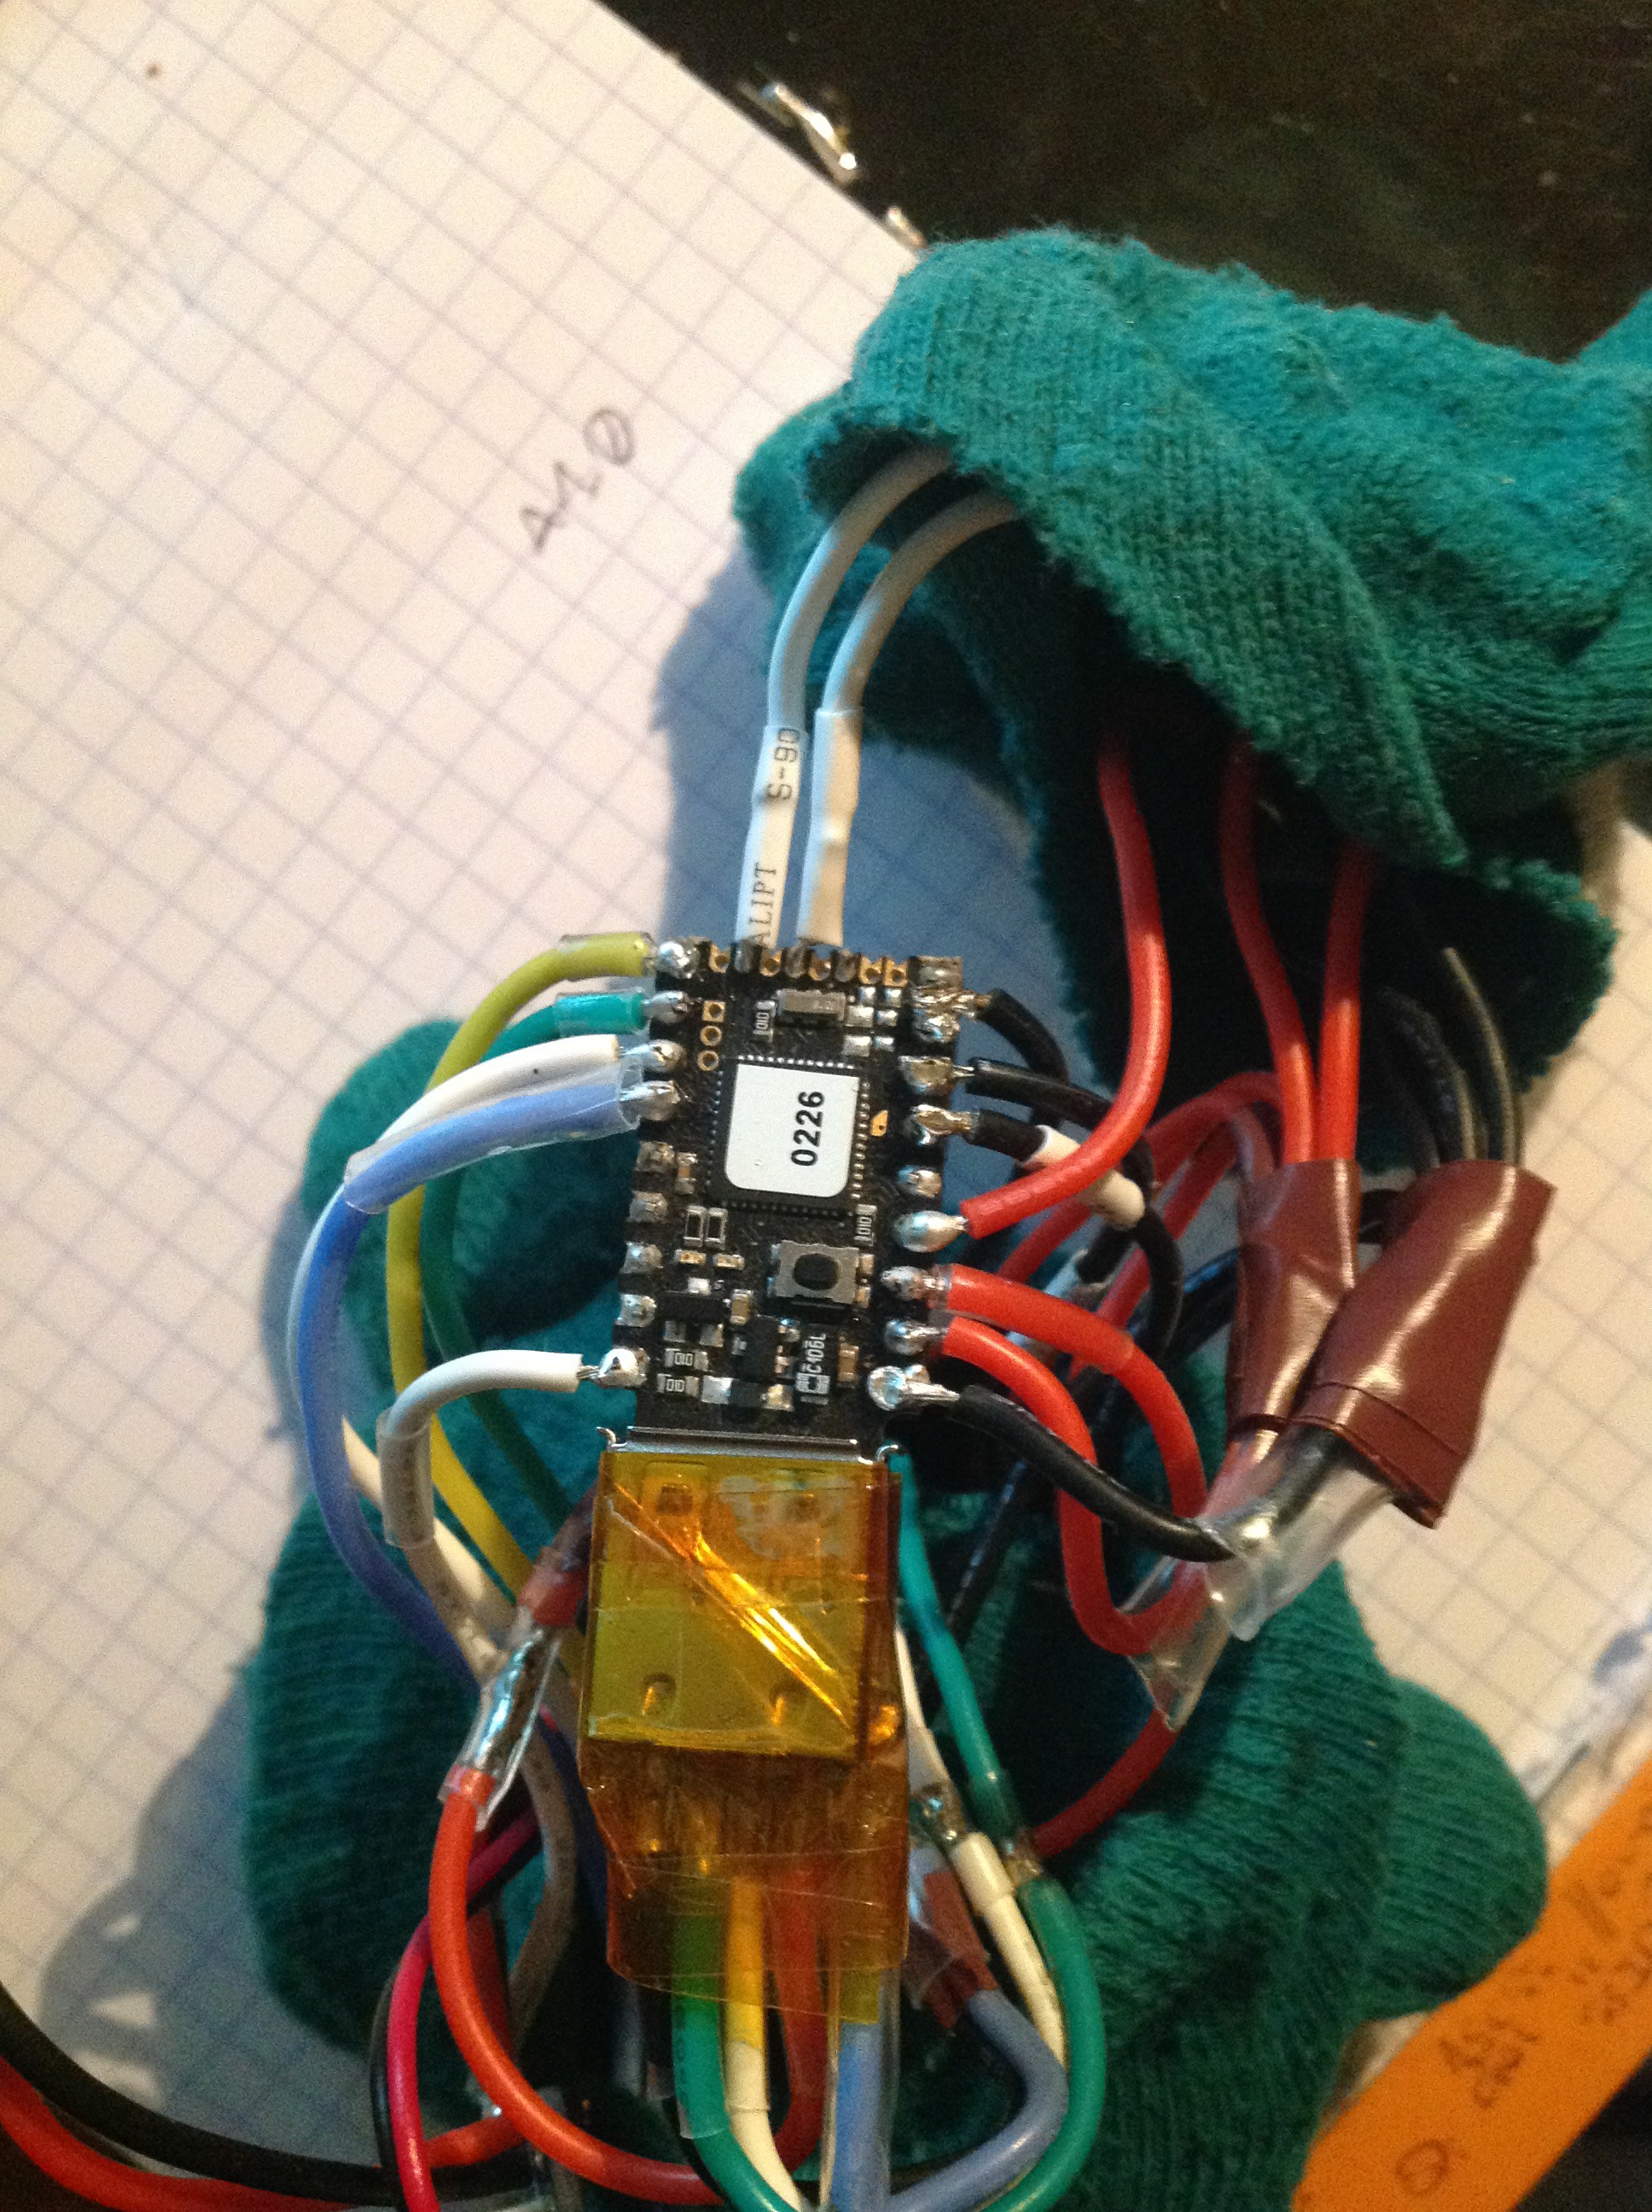
13Step 13
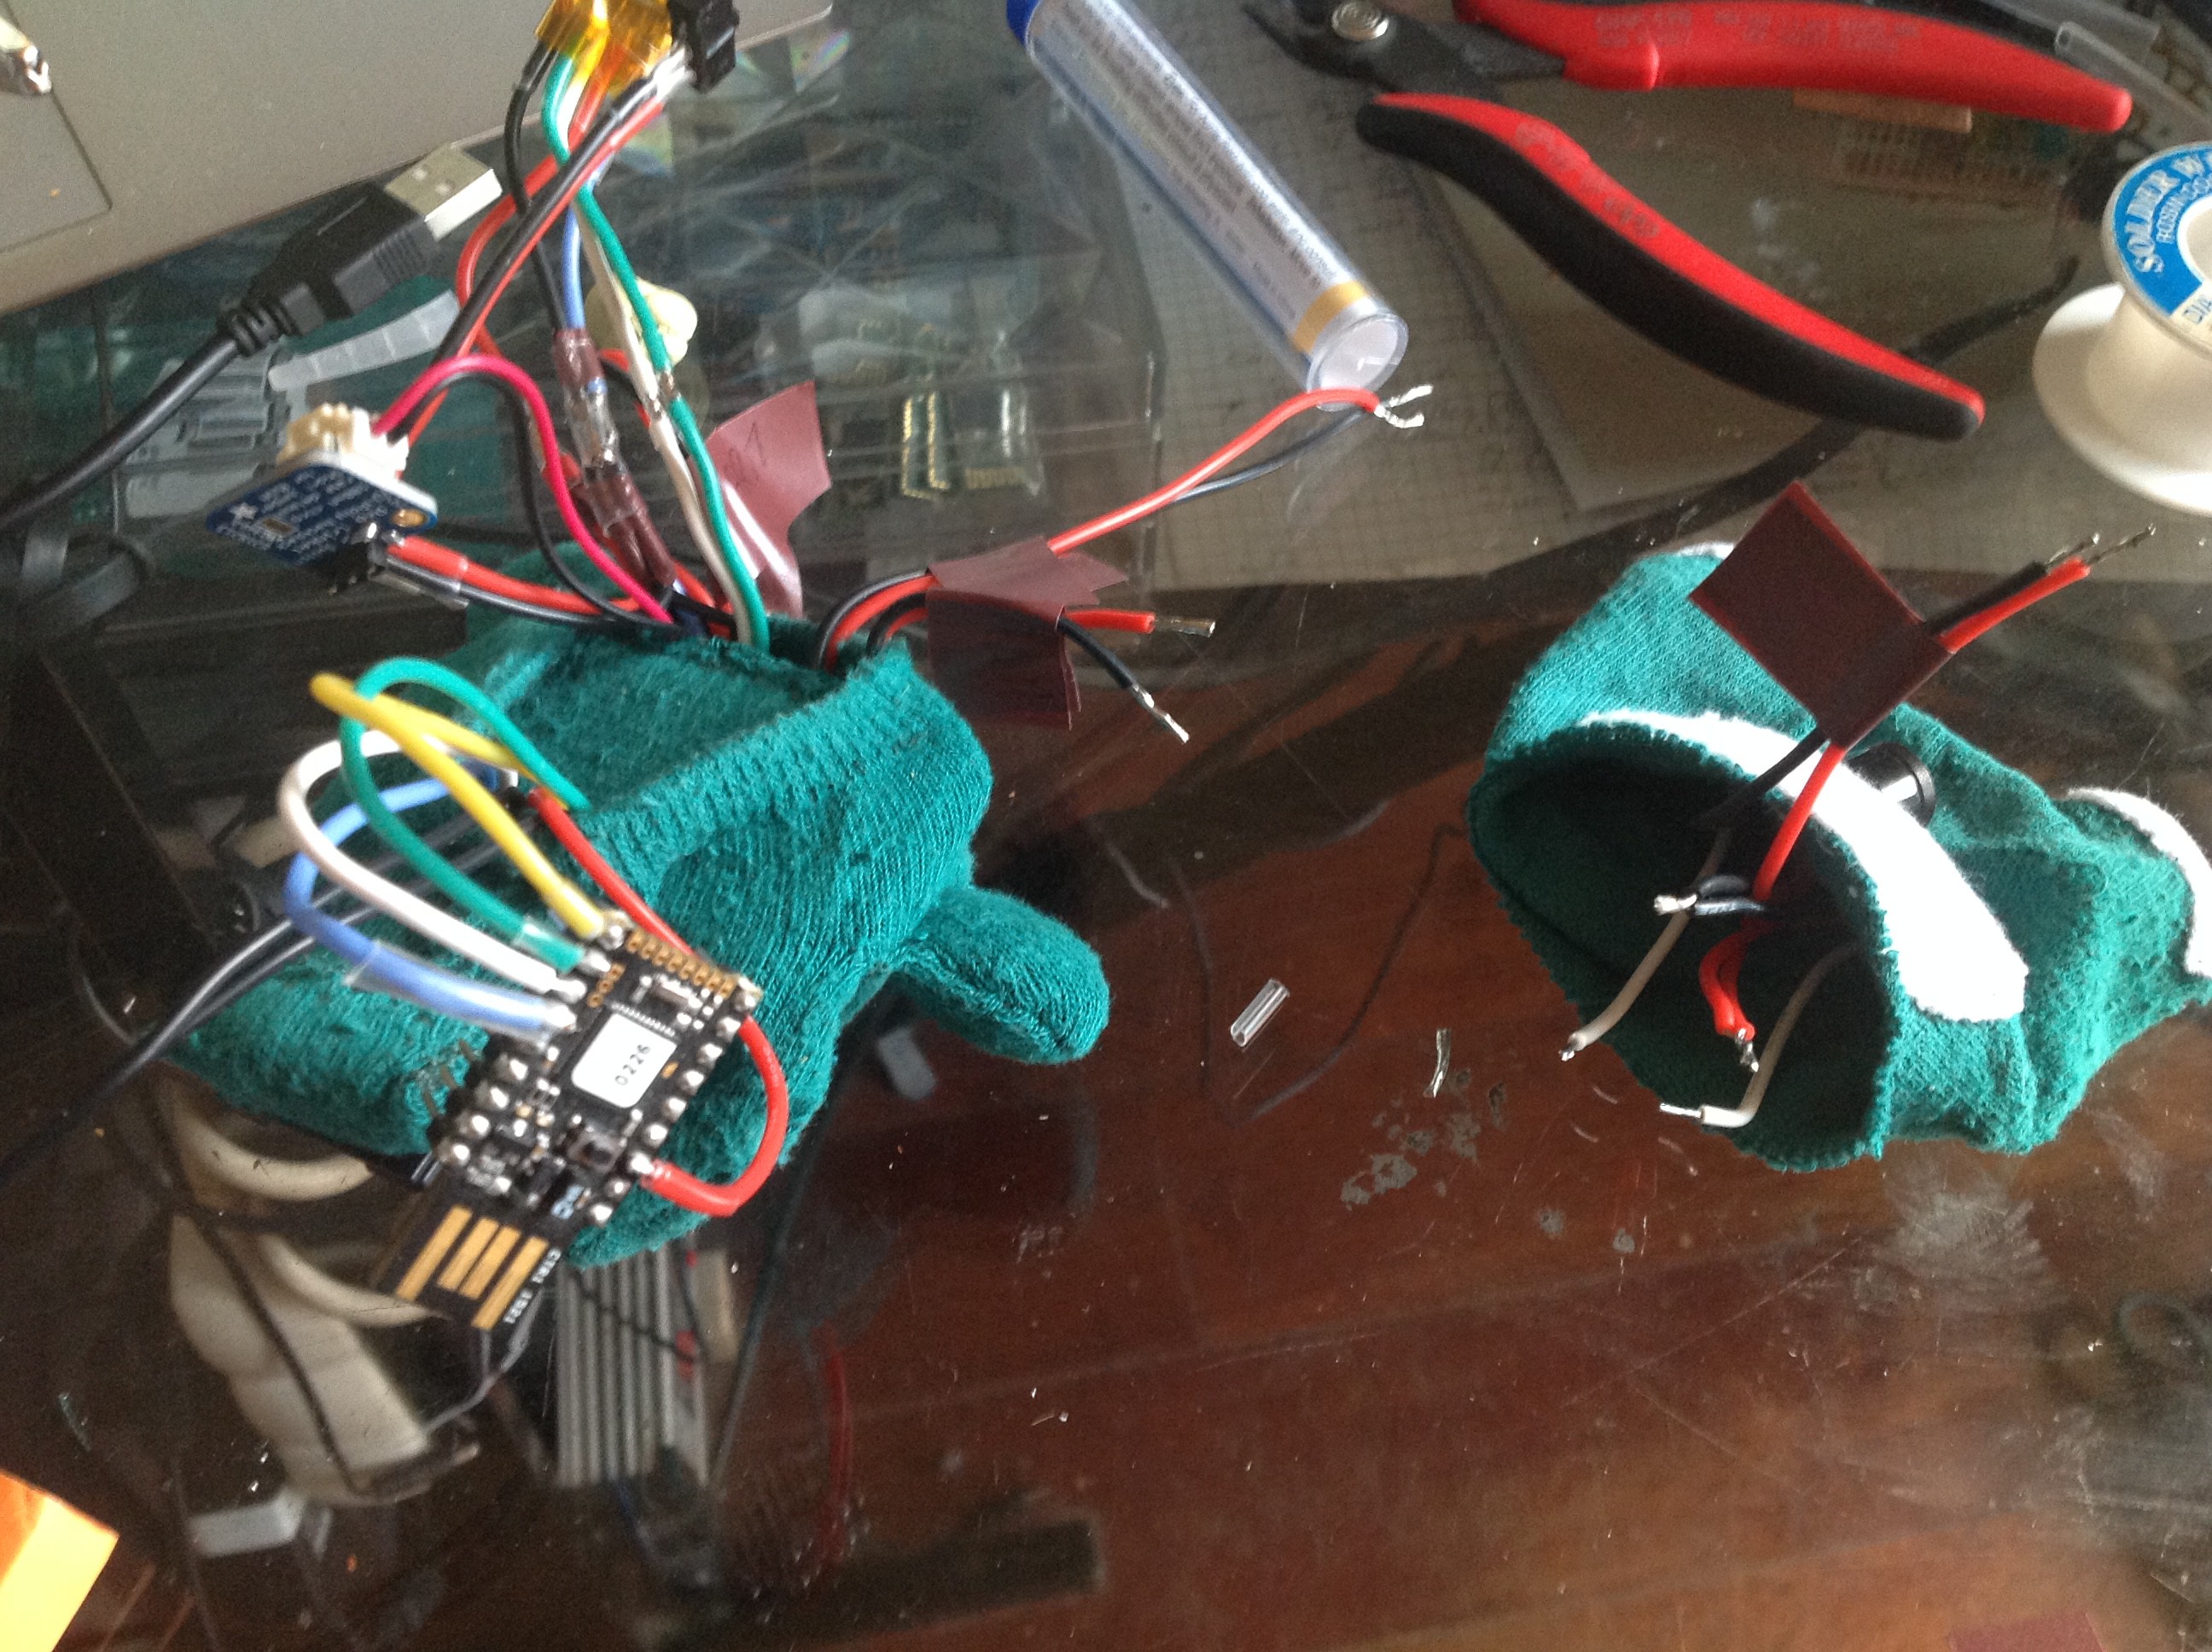
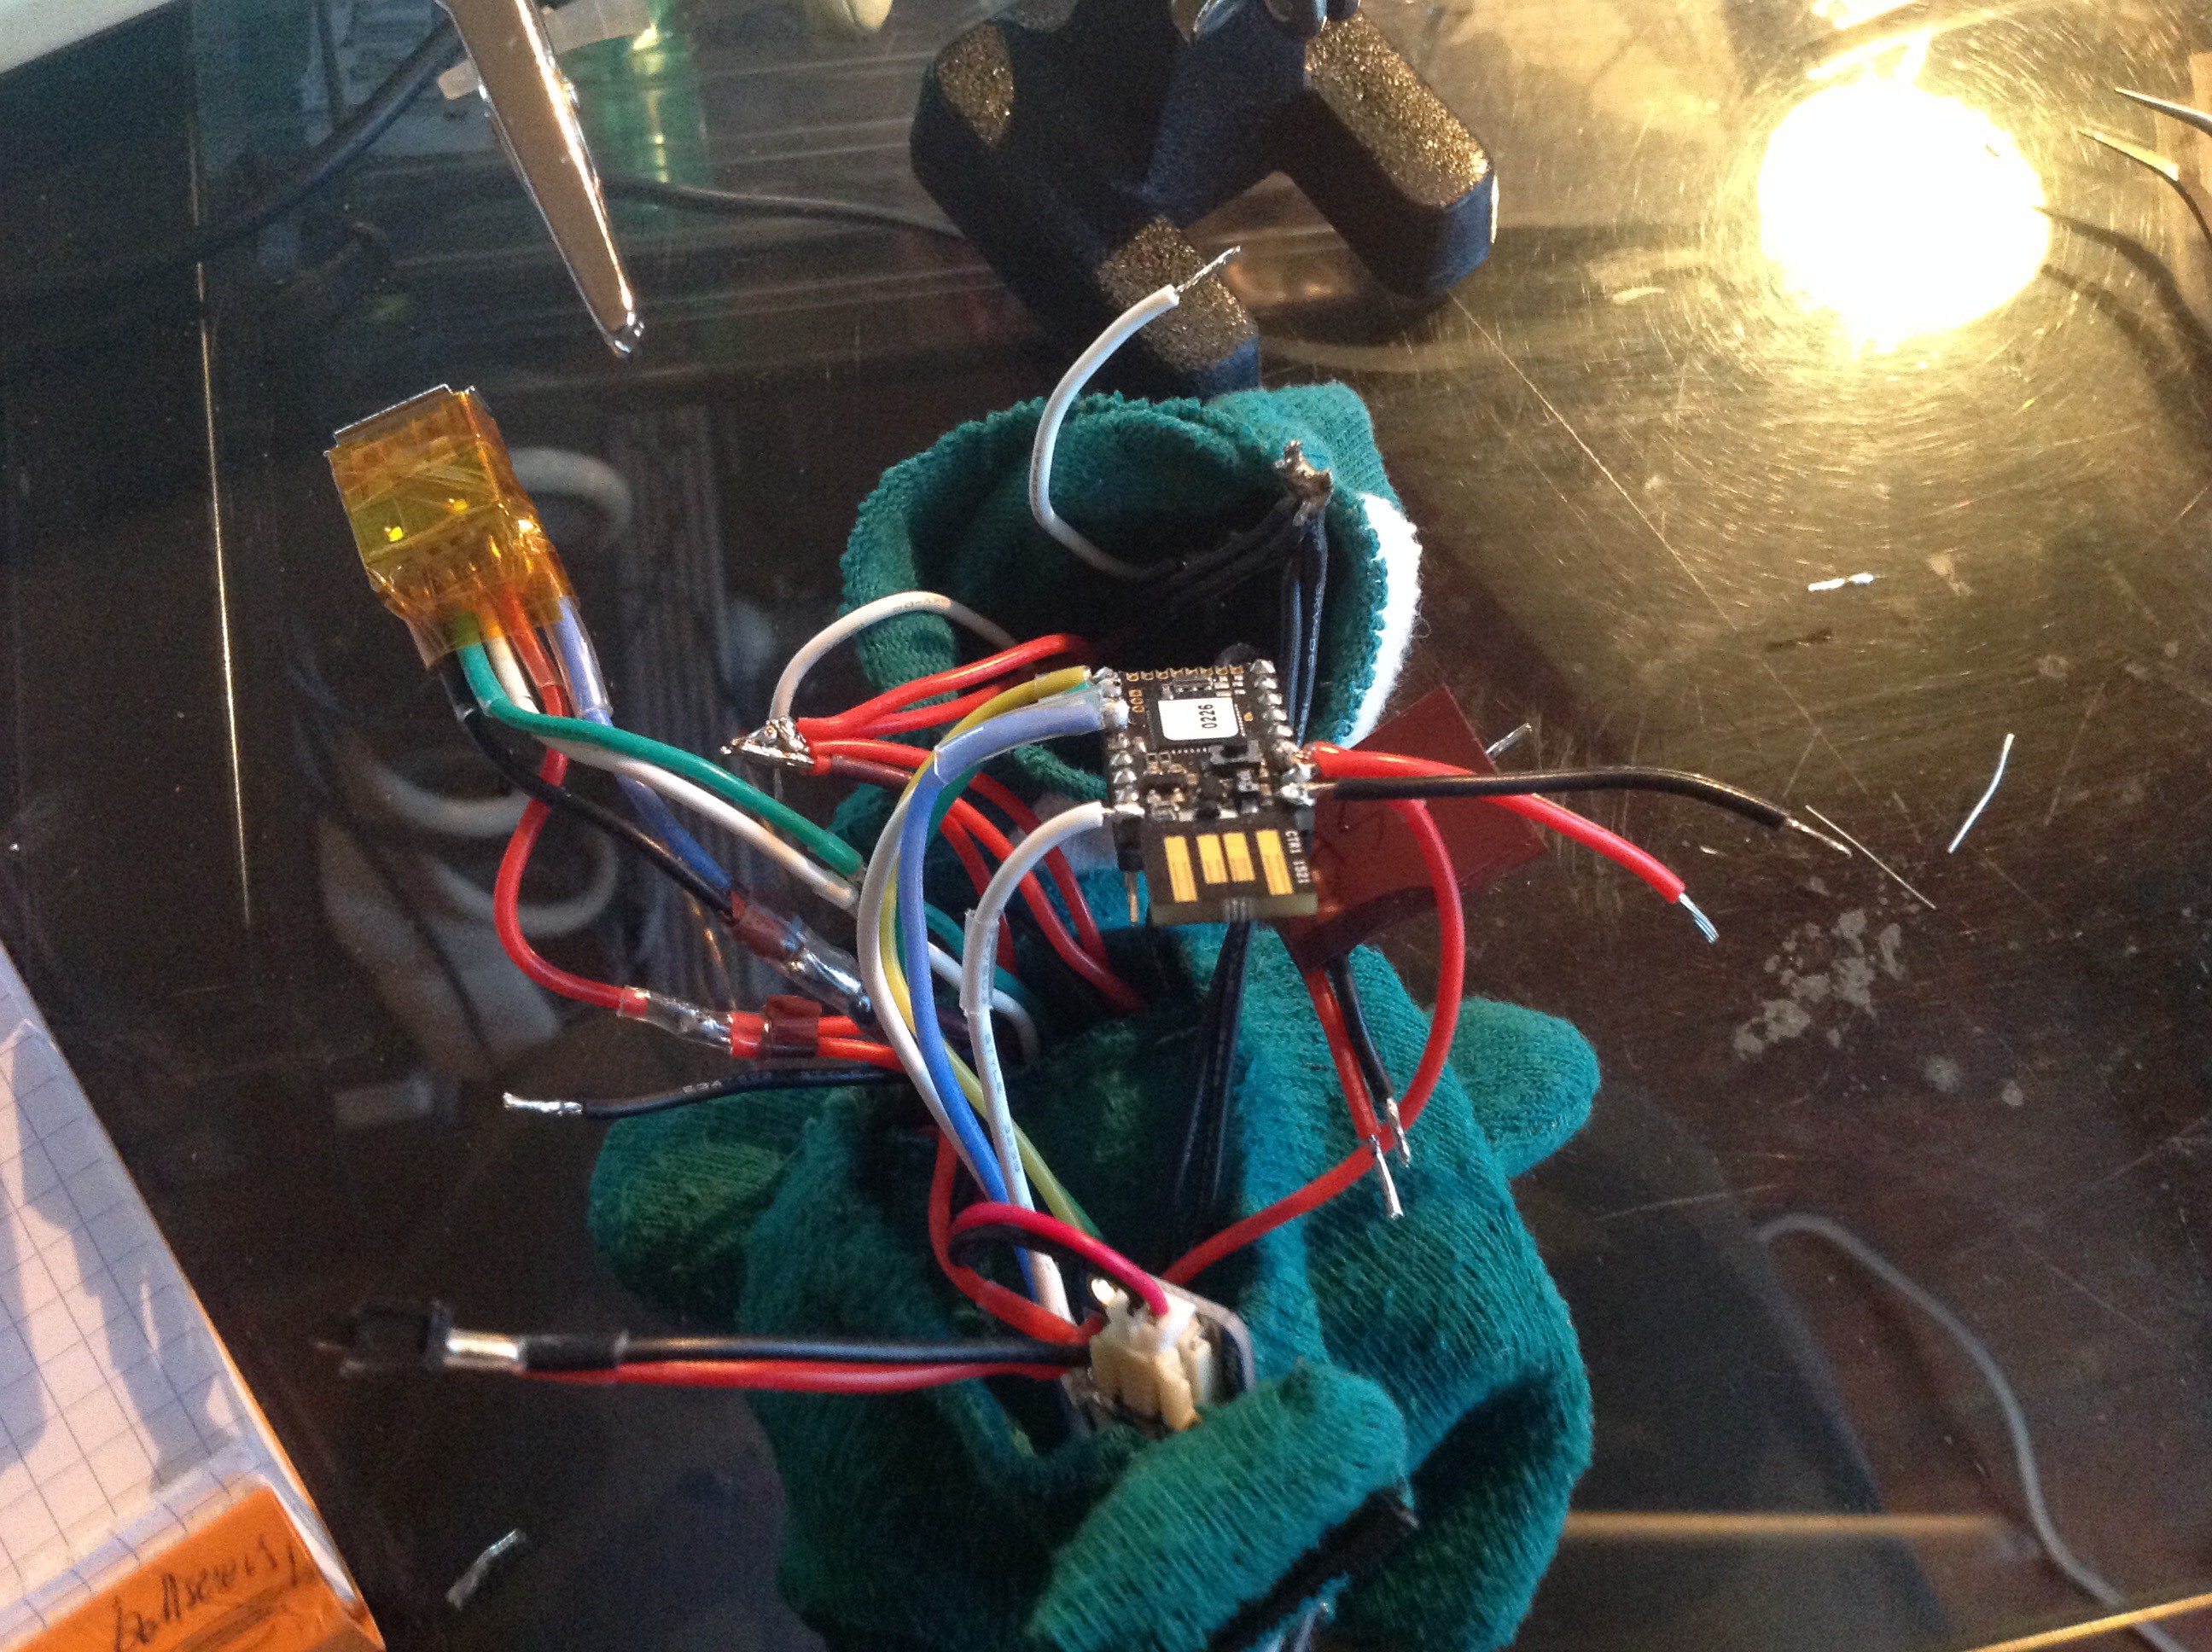
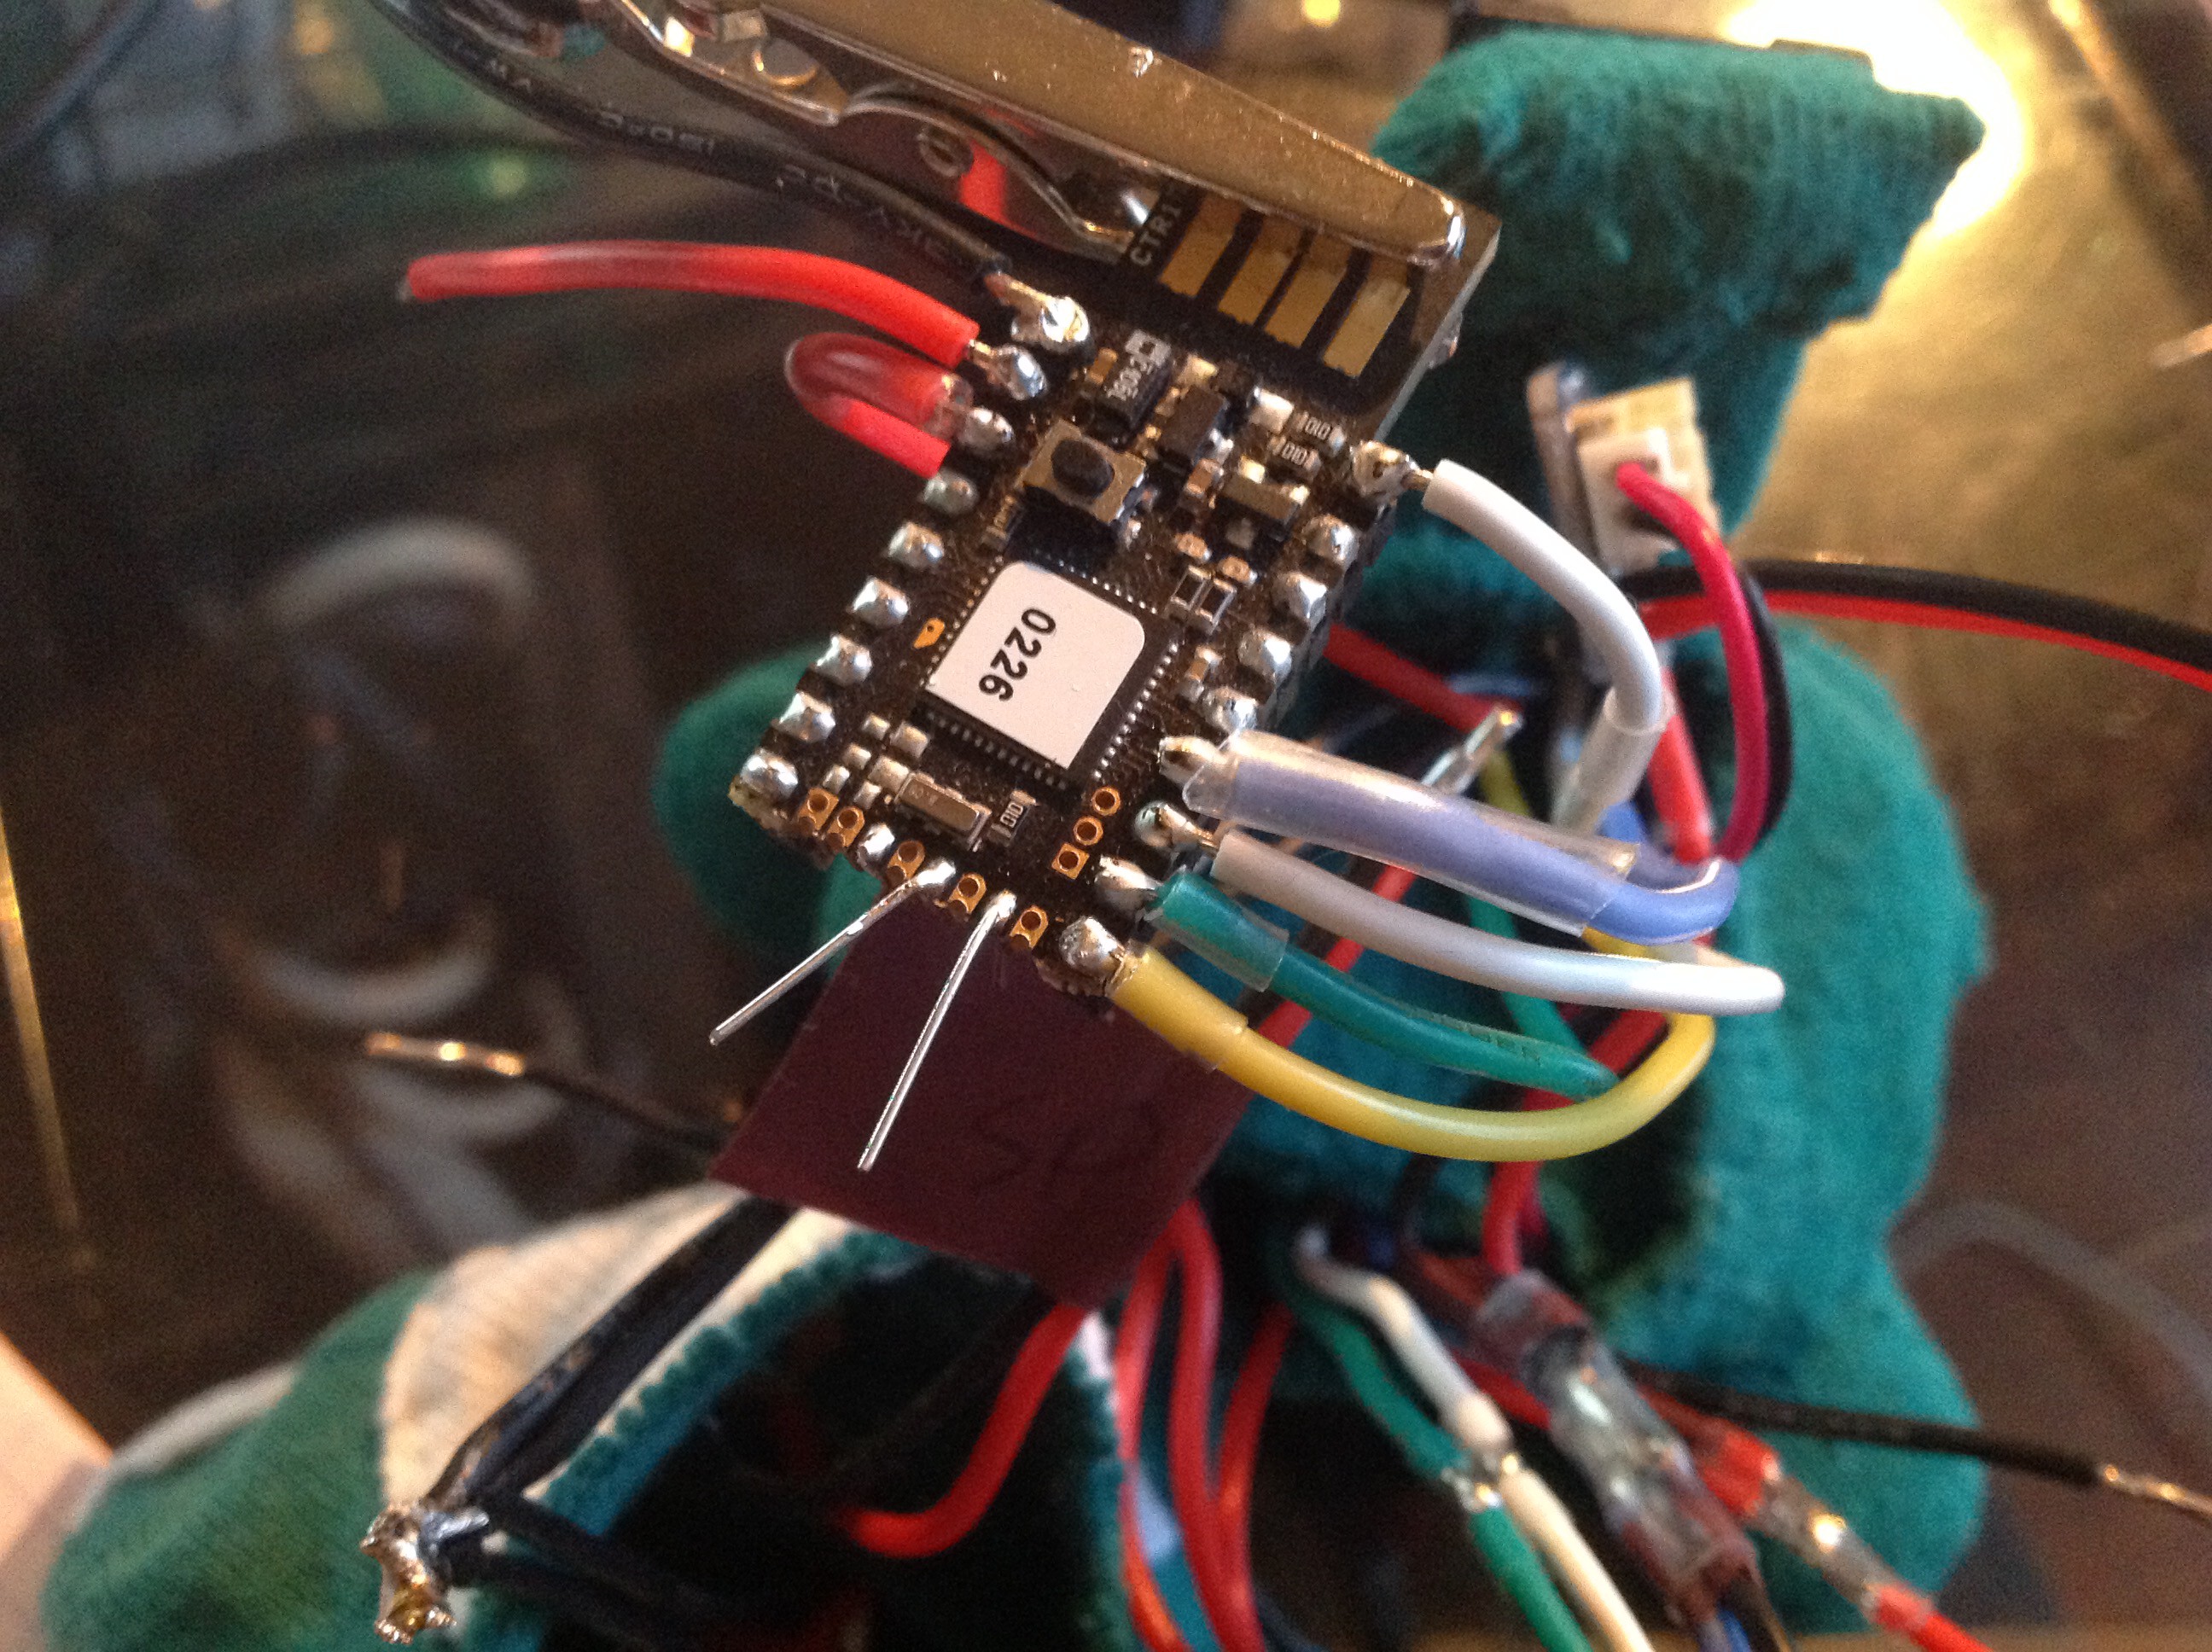
Now we're pretty confident that our uC is powered up correctly, we have to solder all the stuff to its pins, starting with the SD card ones.
![]()
![]()
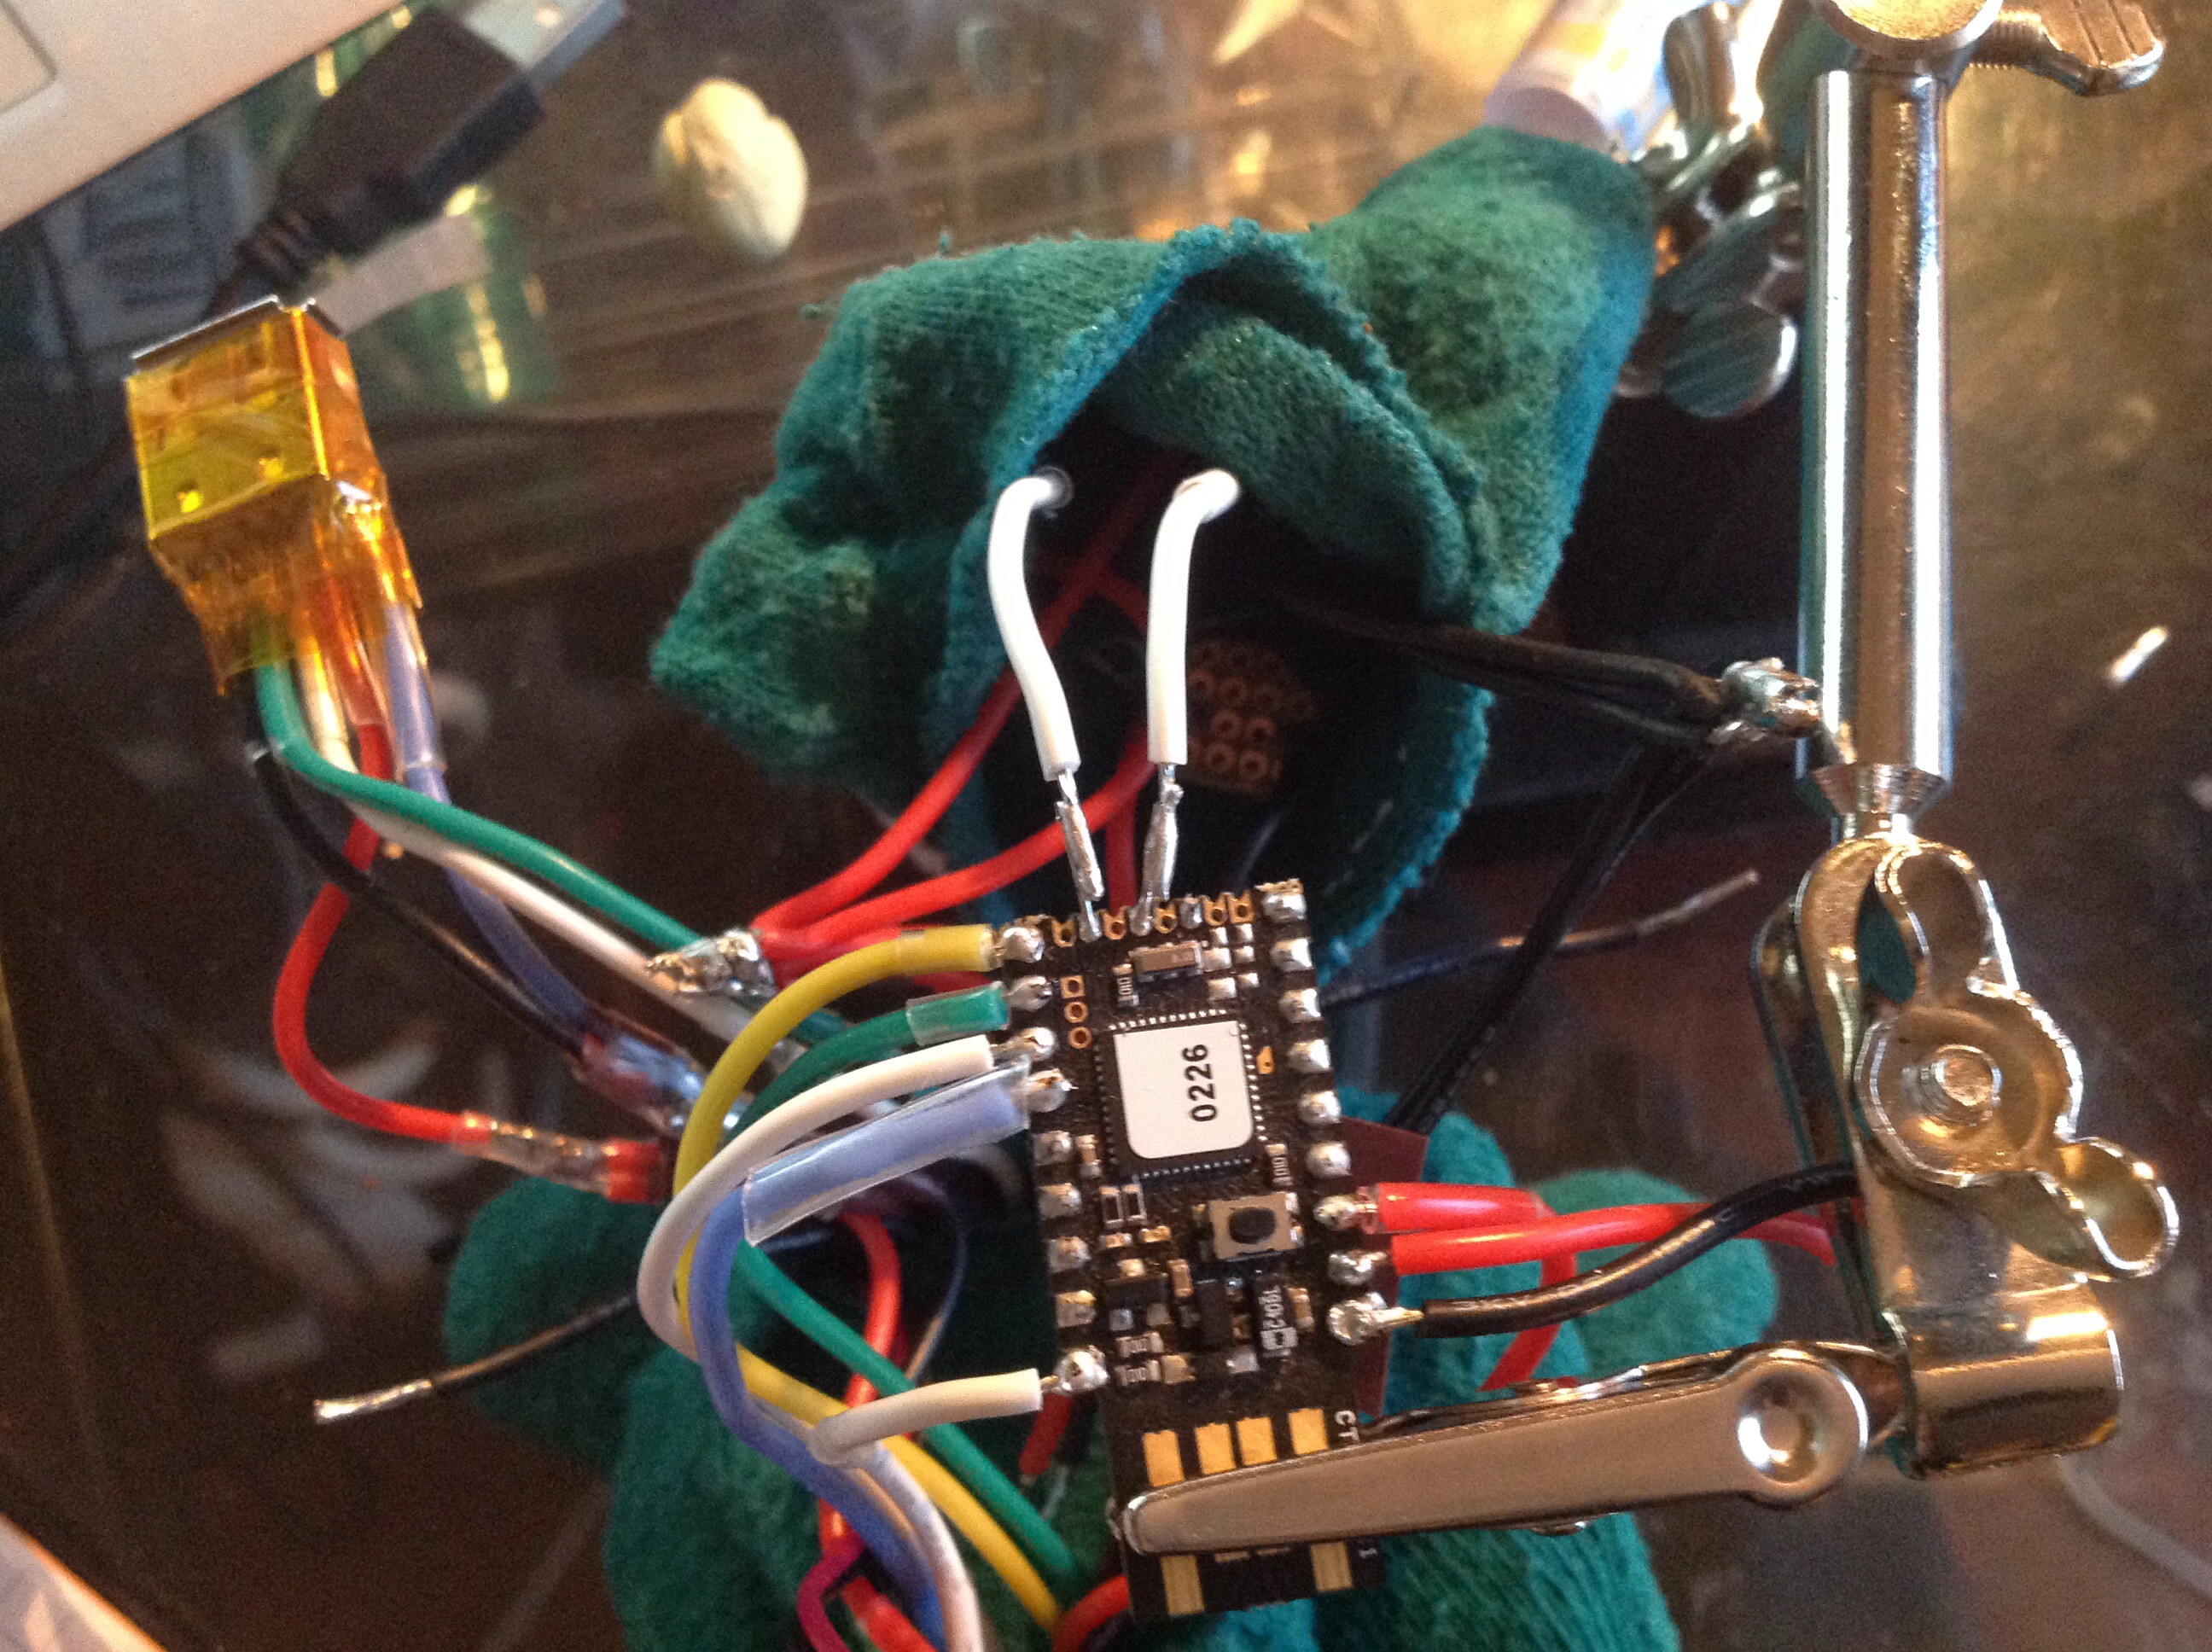
We also test that we our uC is free enough to be moved in the desired location ( where it connects to the internal USB port )
![]()
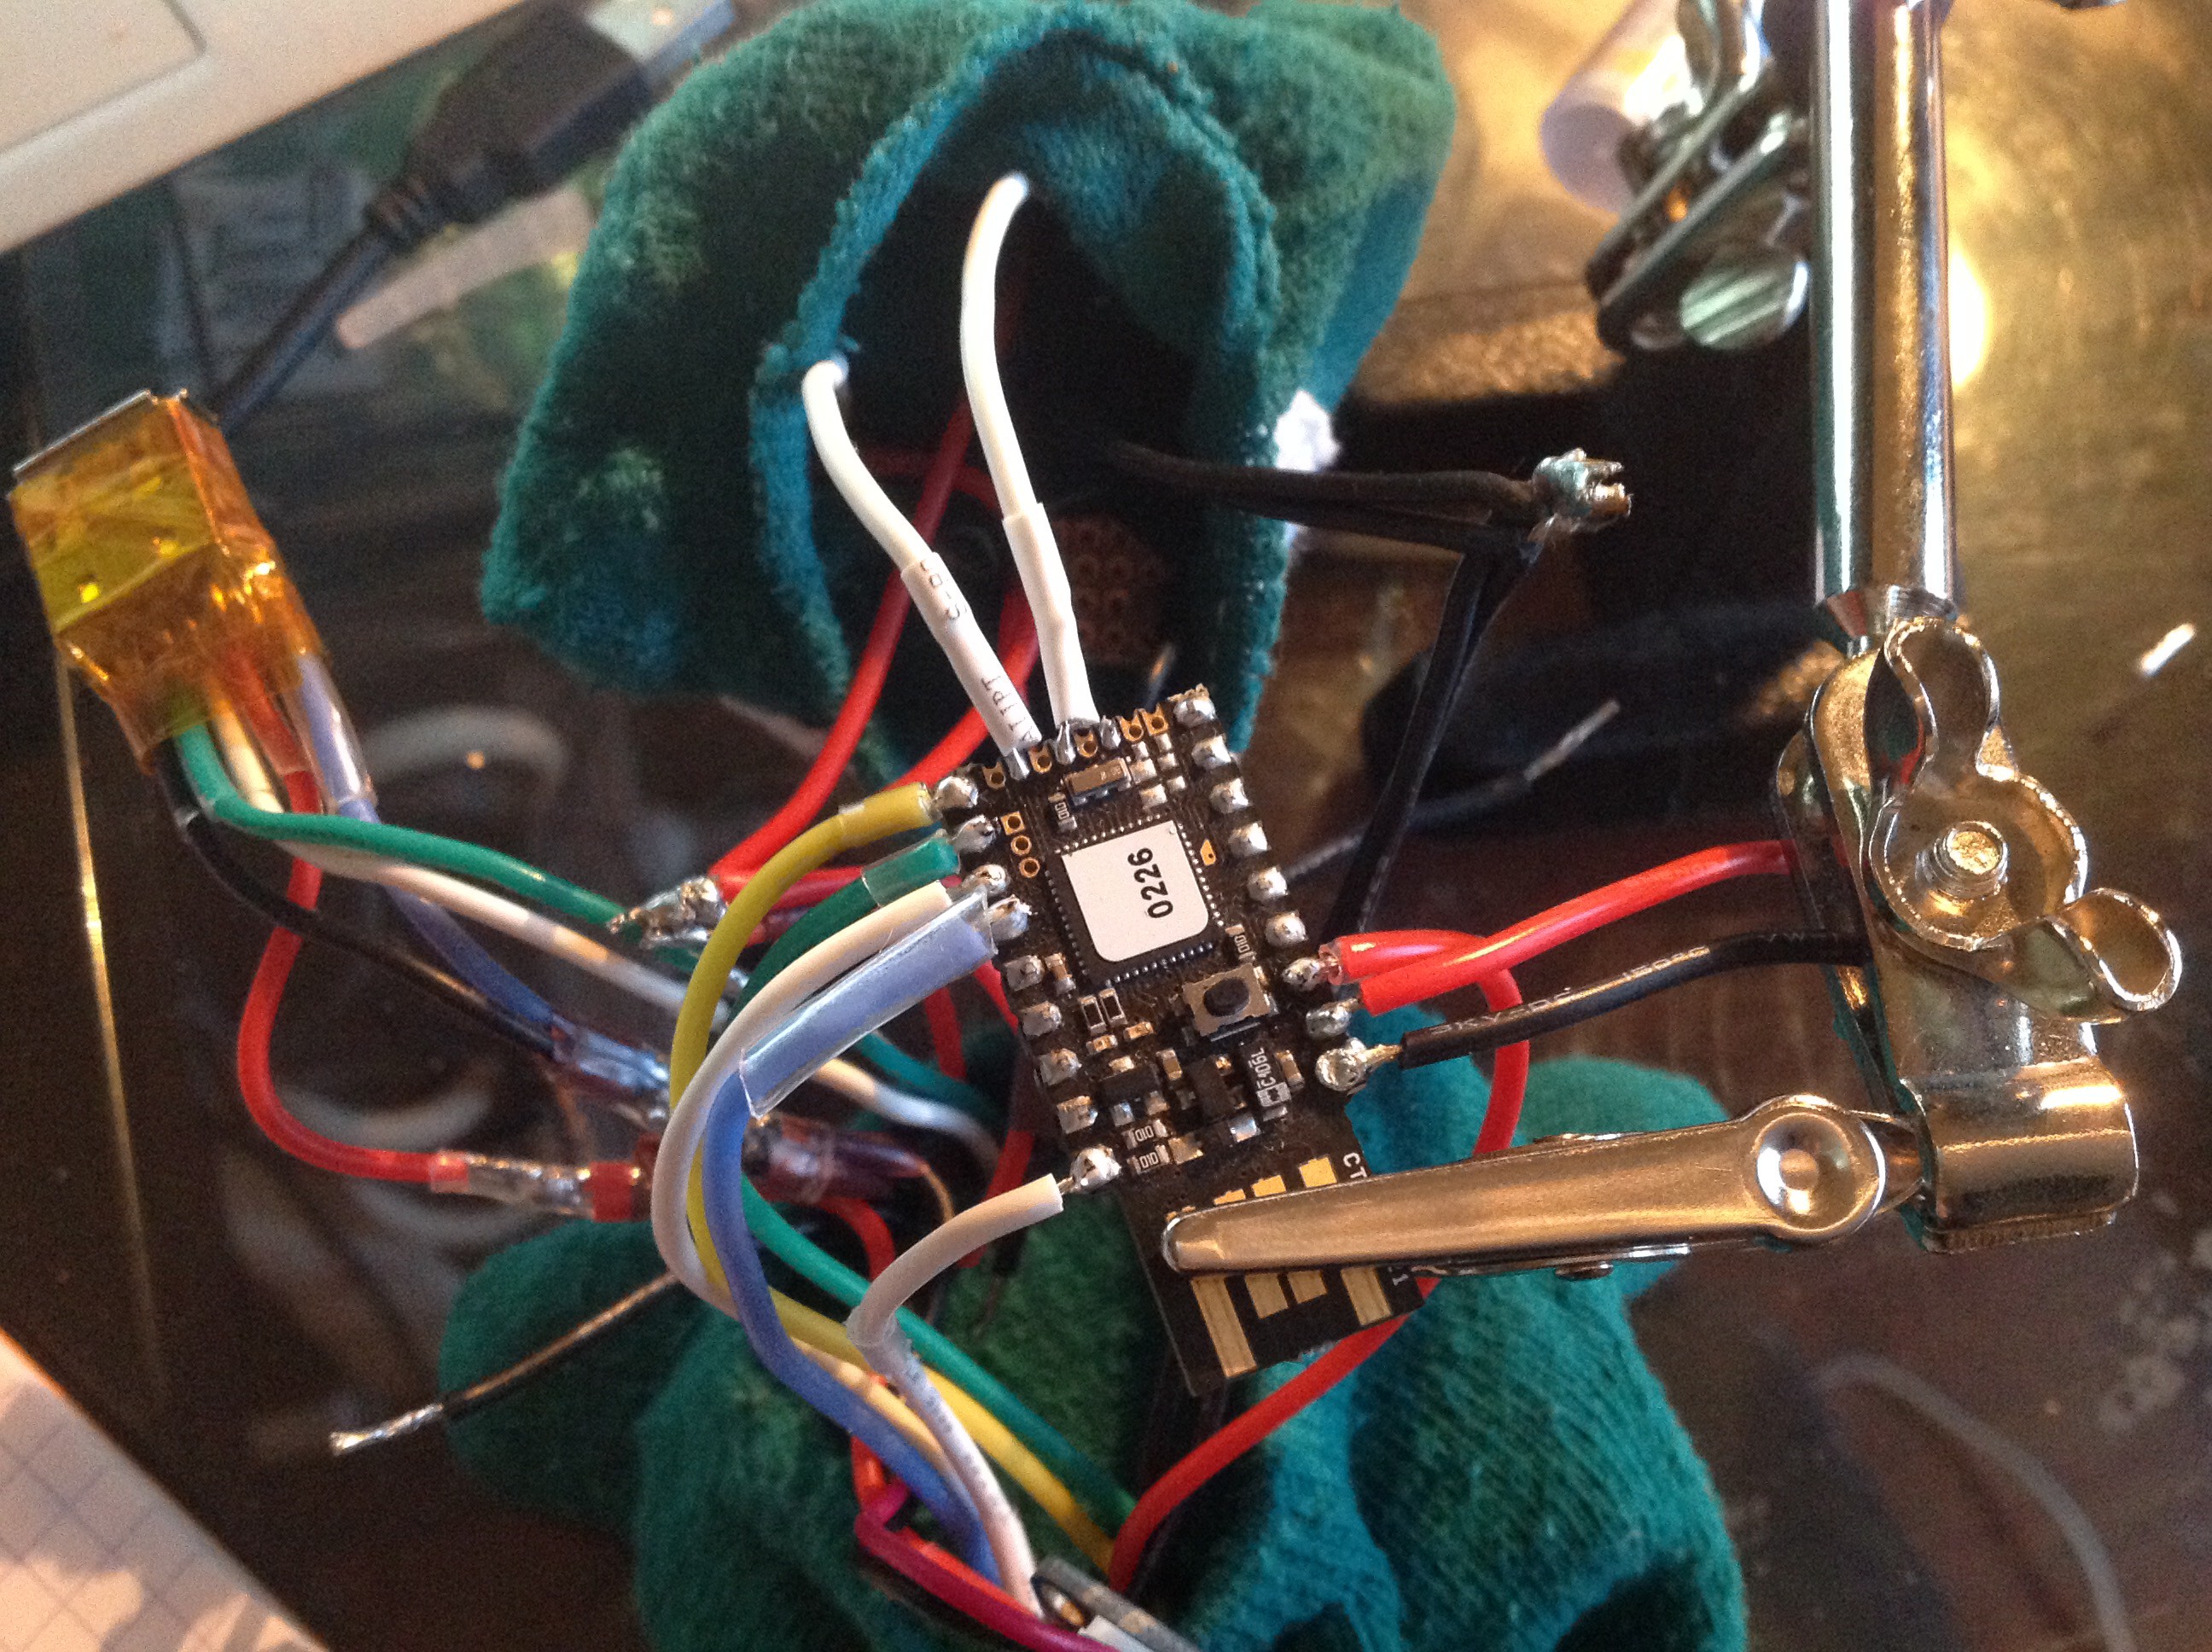
Once this is done, we prepare the wires that 'll connect to the head parts![]()
![]()
![]()
![]()
-
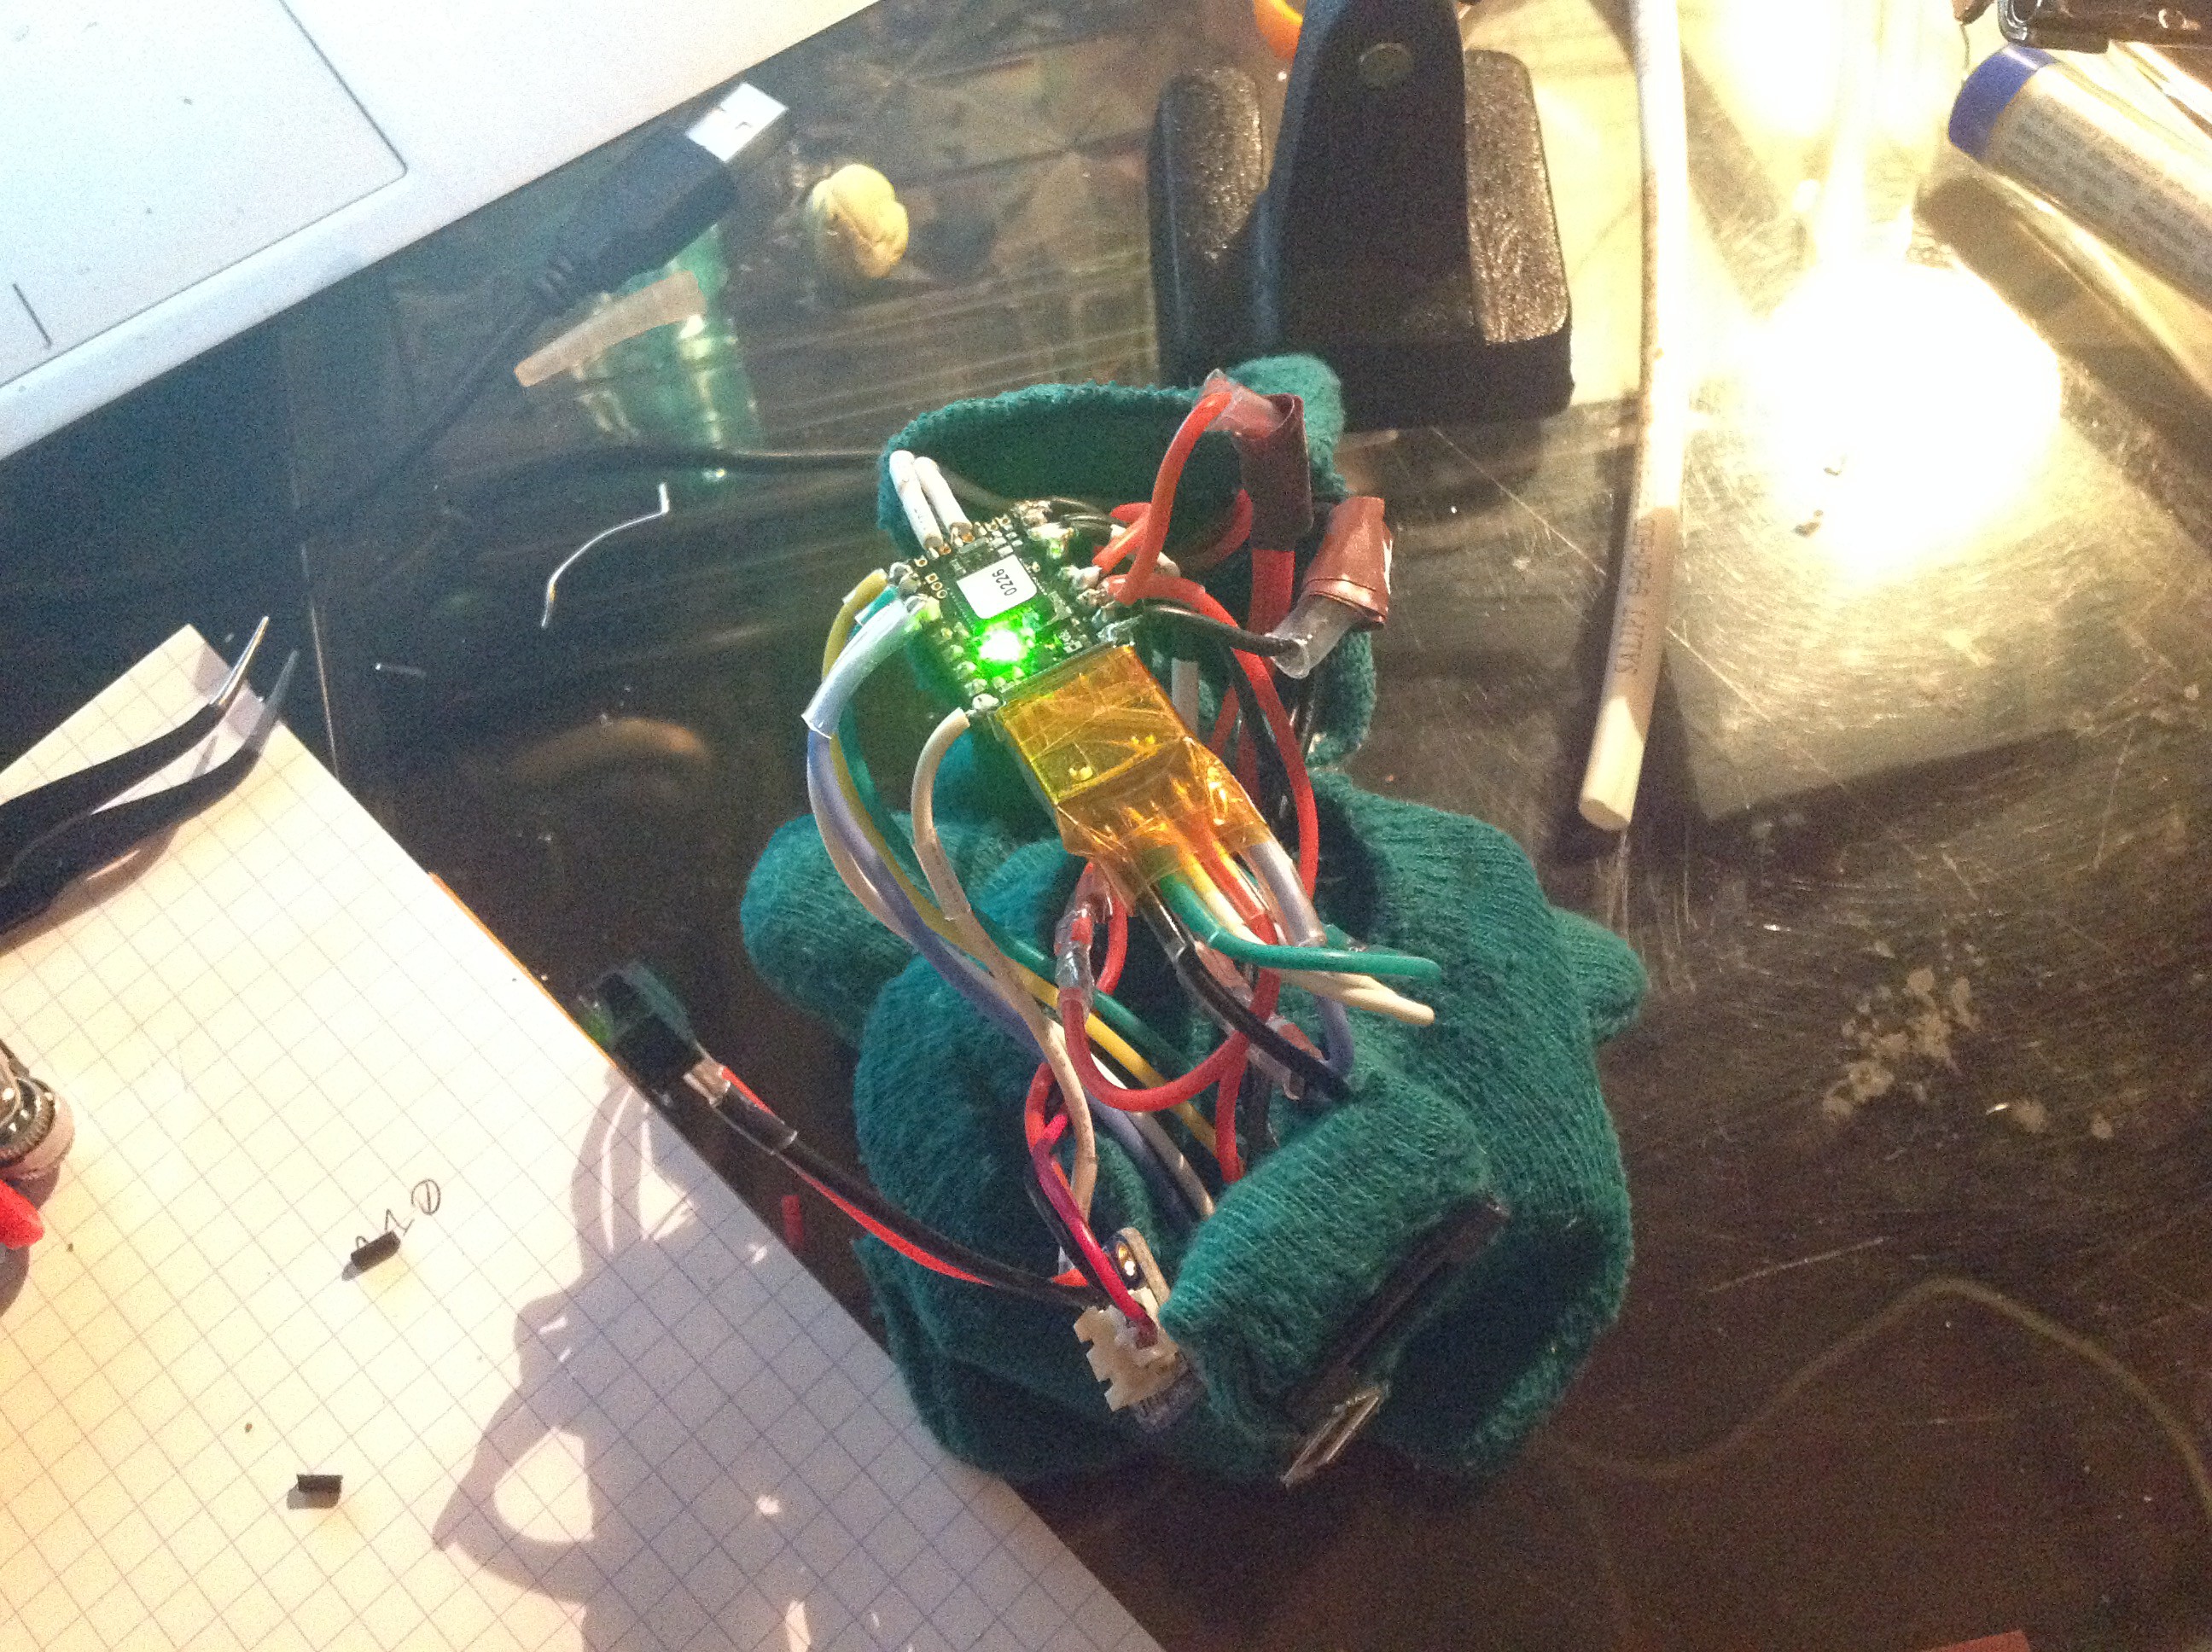
14Step 14
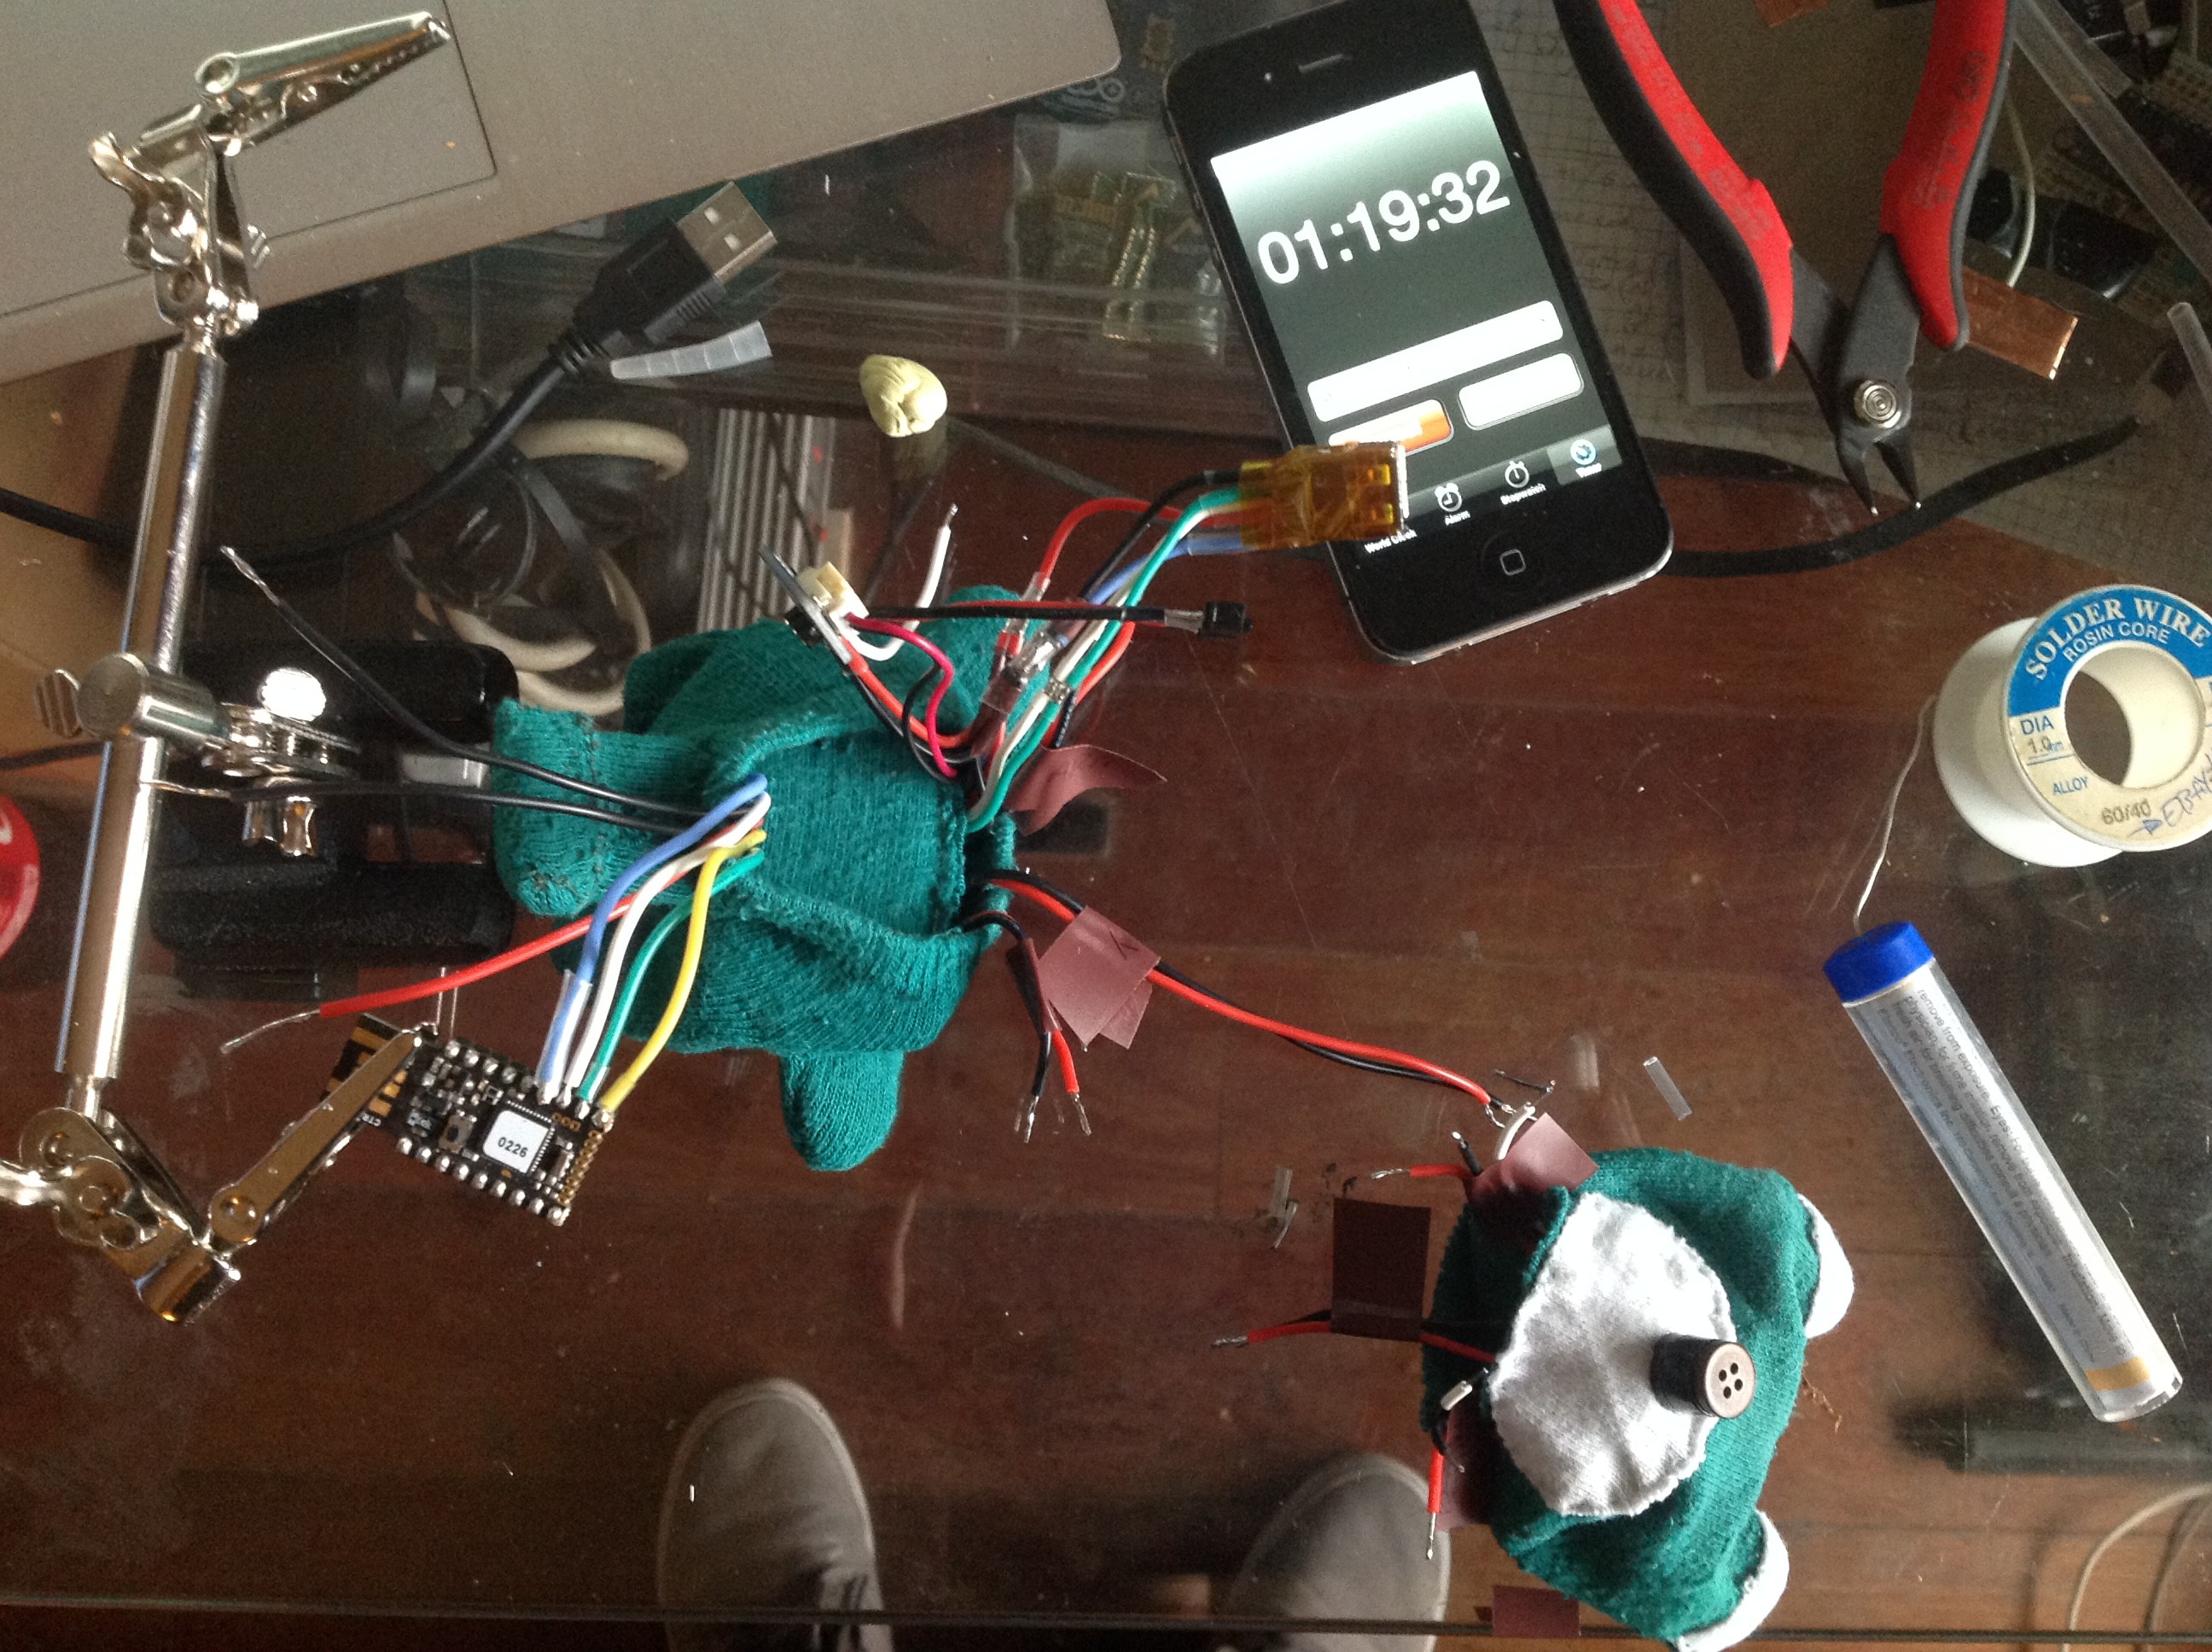
Yay !!! Packing-up time !! Will we make it [ in time ?! ] ?
![]()
Last battery test before finishing packing up
![]()
![]()
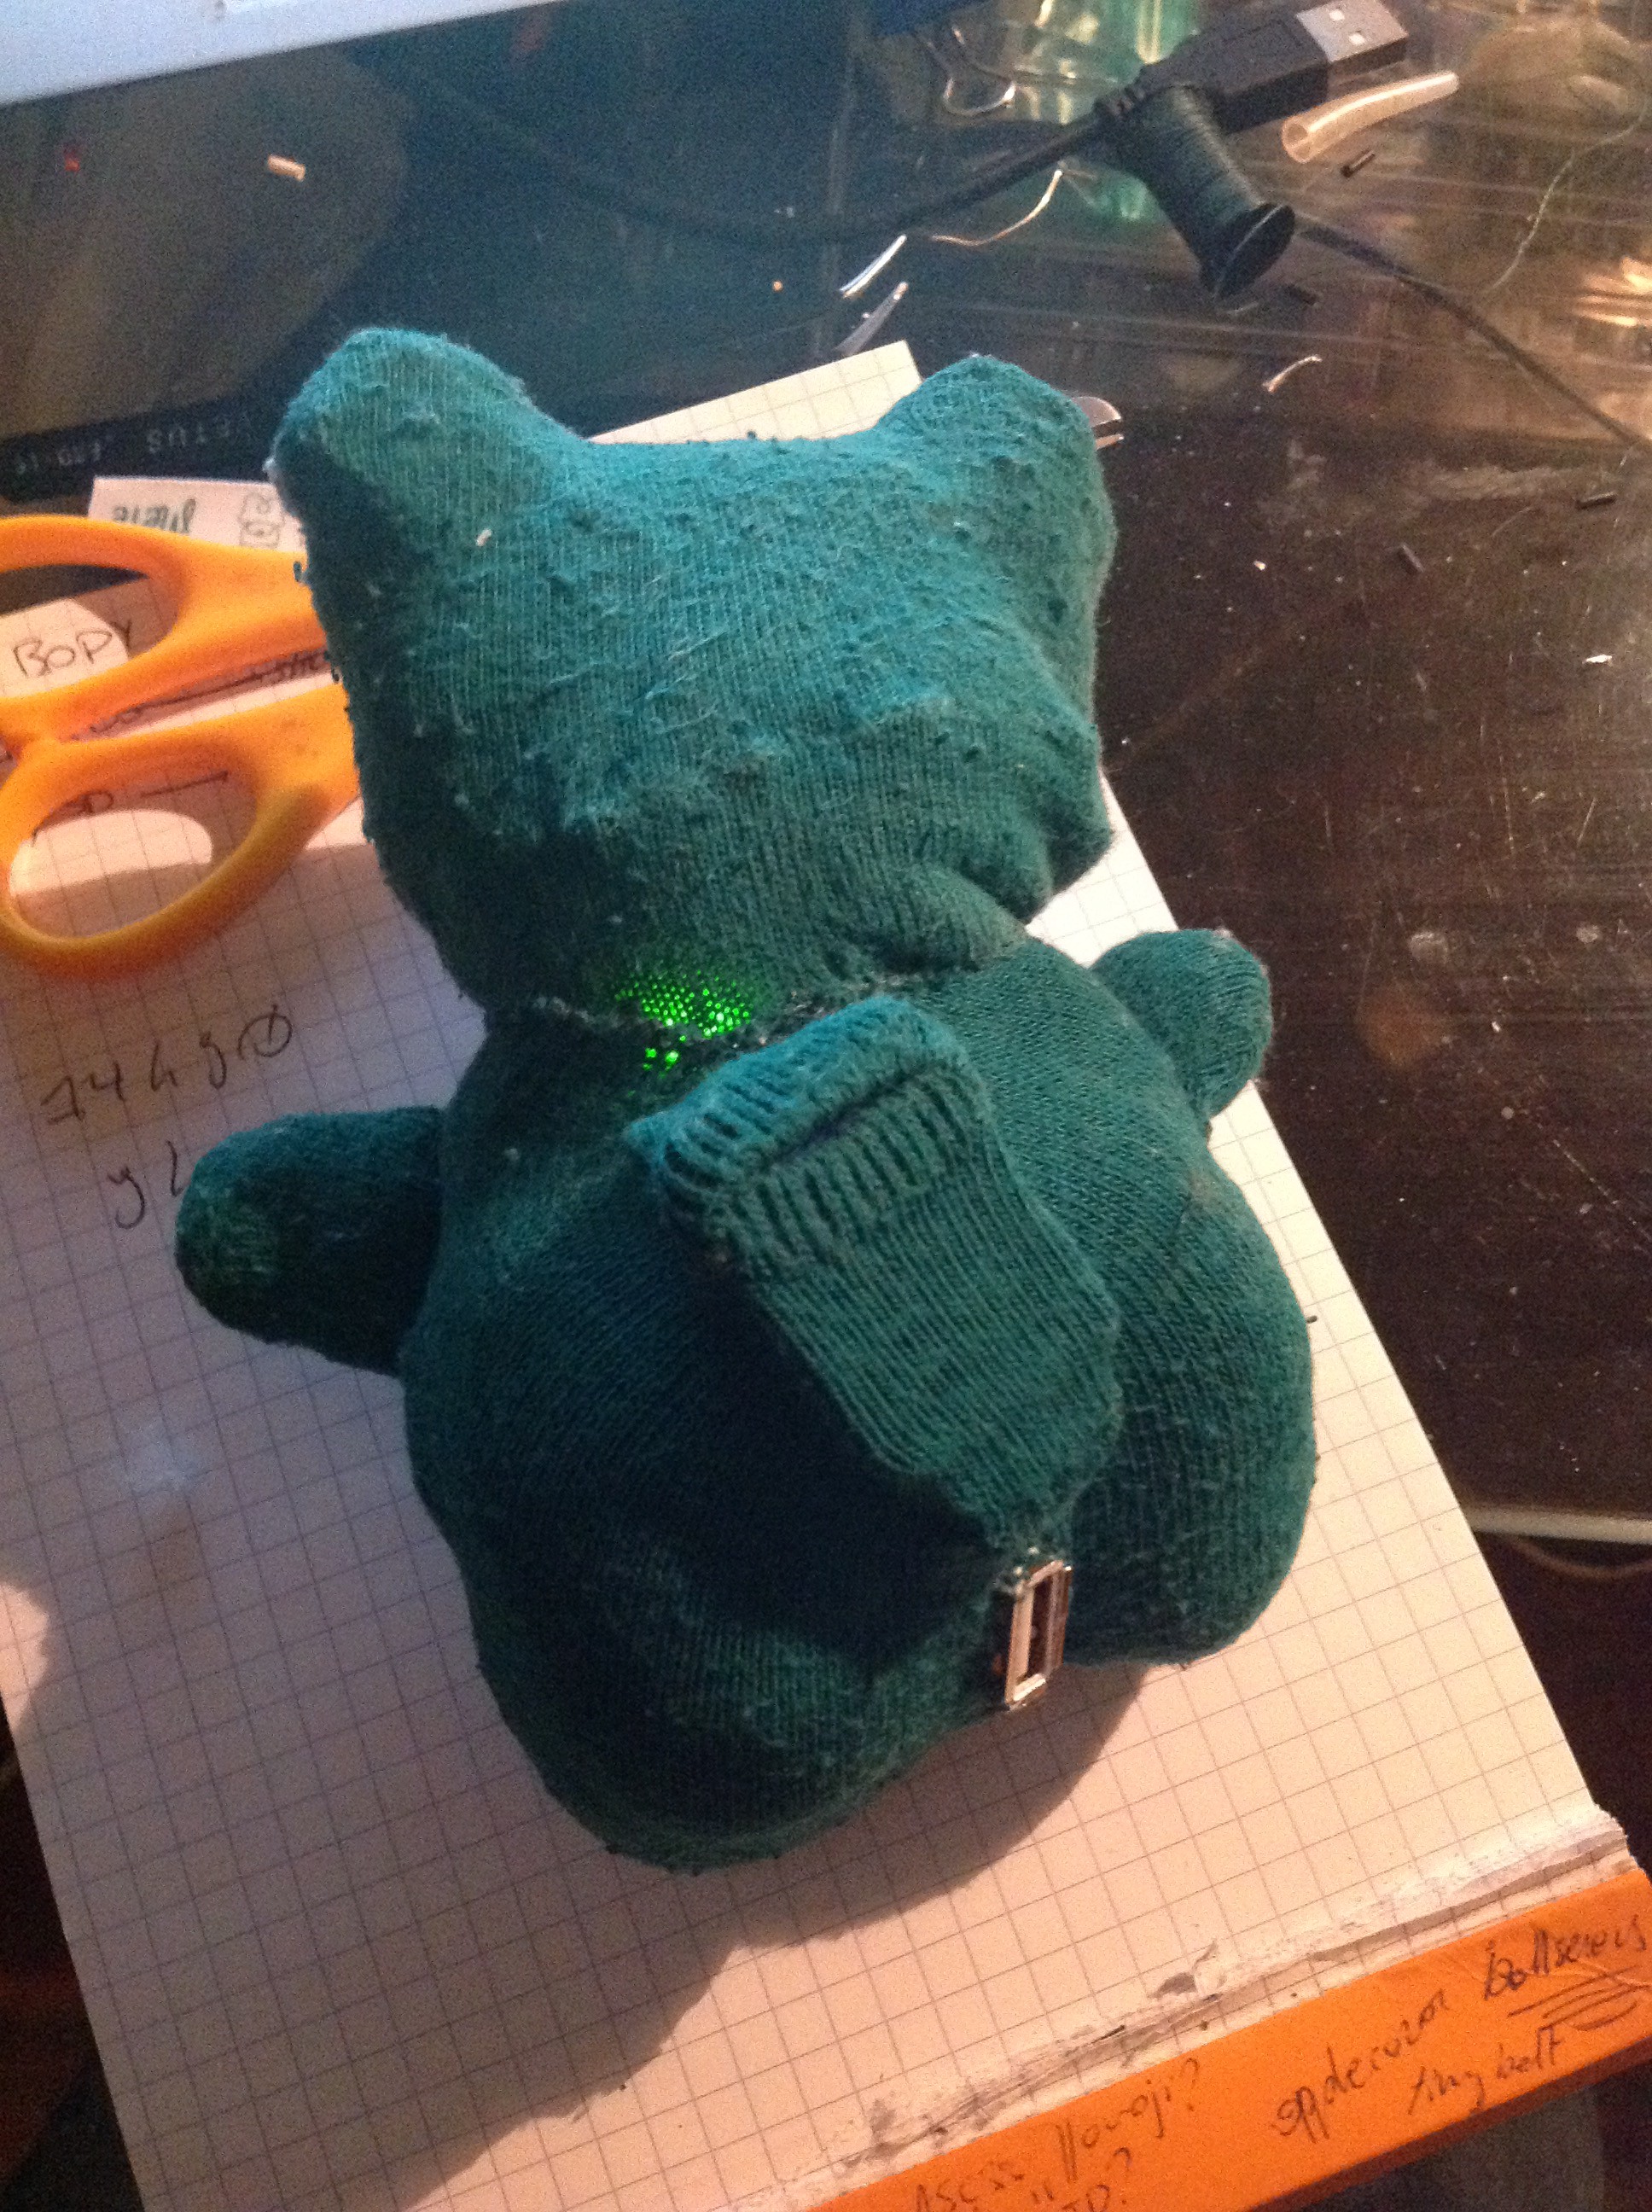
Here we can see the on/off switche that 'll reside behind the SD backpack.
![]()
Also, we have the reset button in the neck ( matrix-like ? If we had the usbutt* in here, maybe ? )
* but it wouldn't be a "usbutt"** no more :/
** this non-funny pun translates grate in french: "cusb" ( "cul-usb" )
![]()
Yup, our switch works ! :D
-
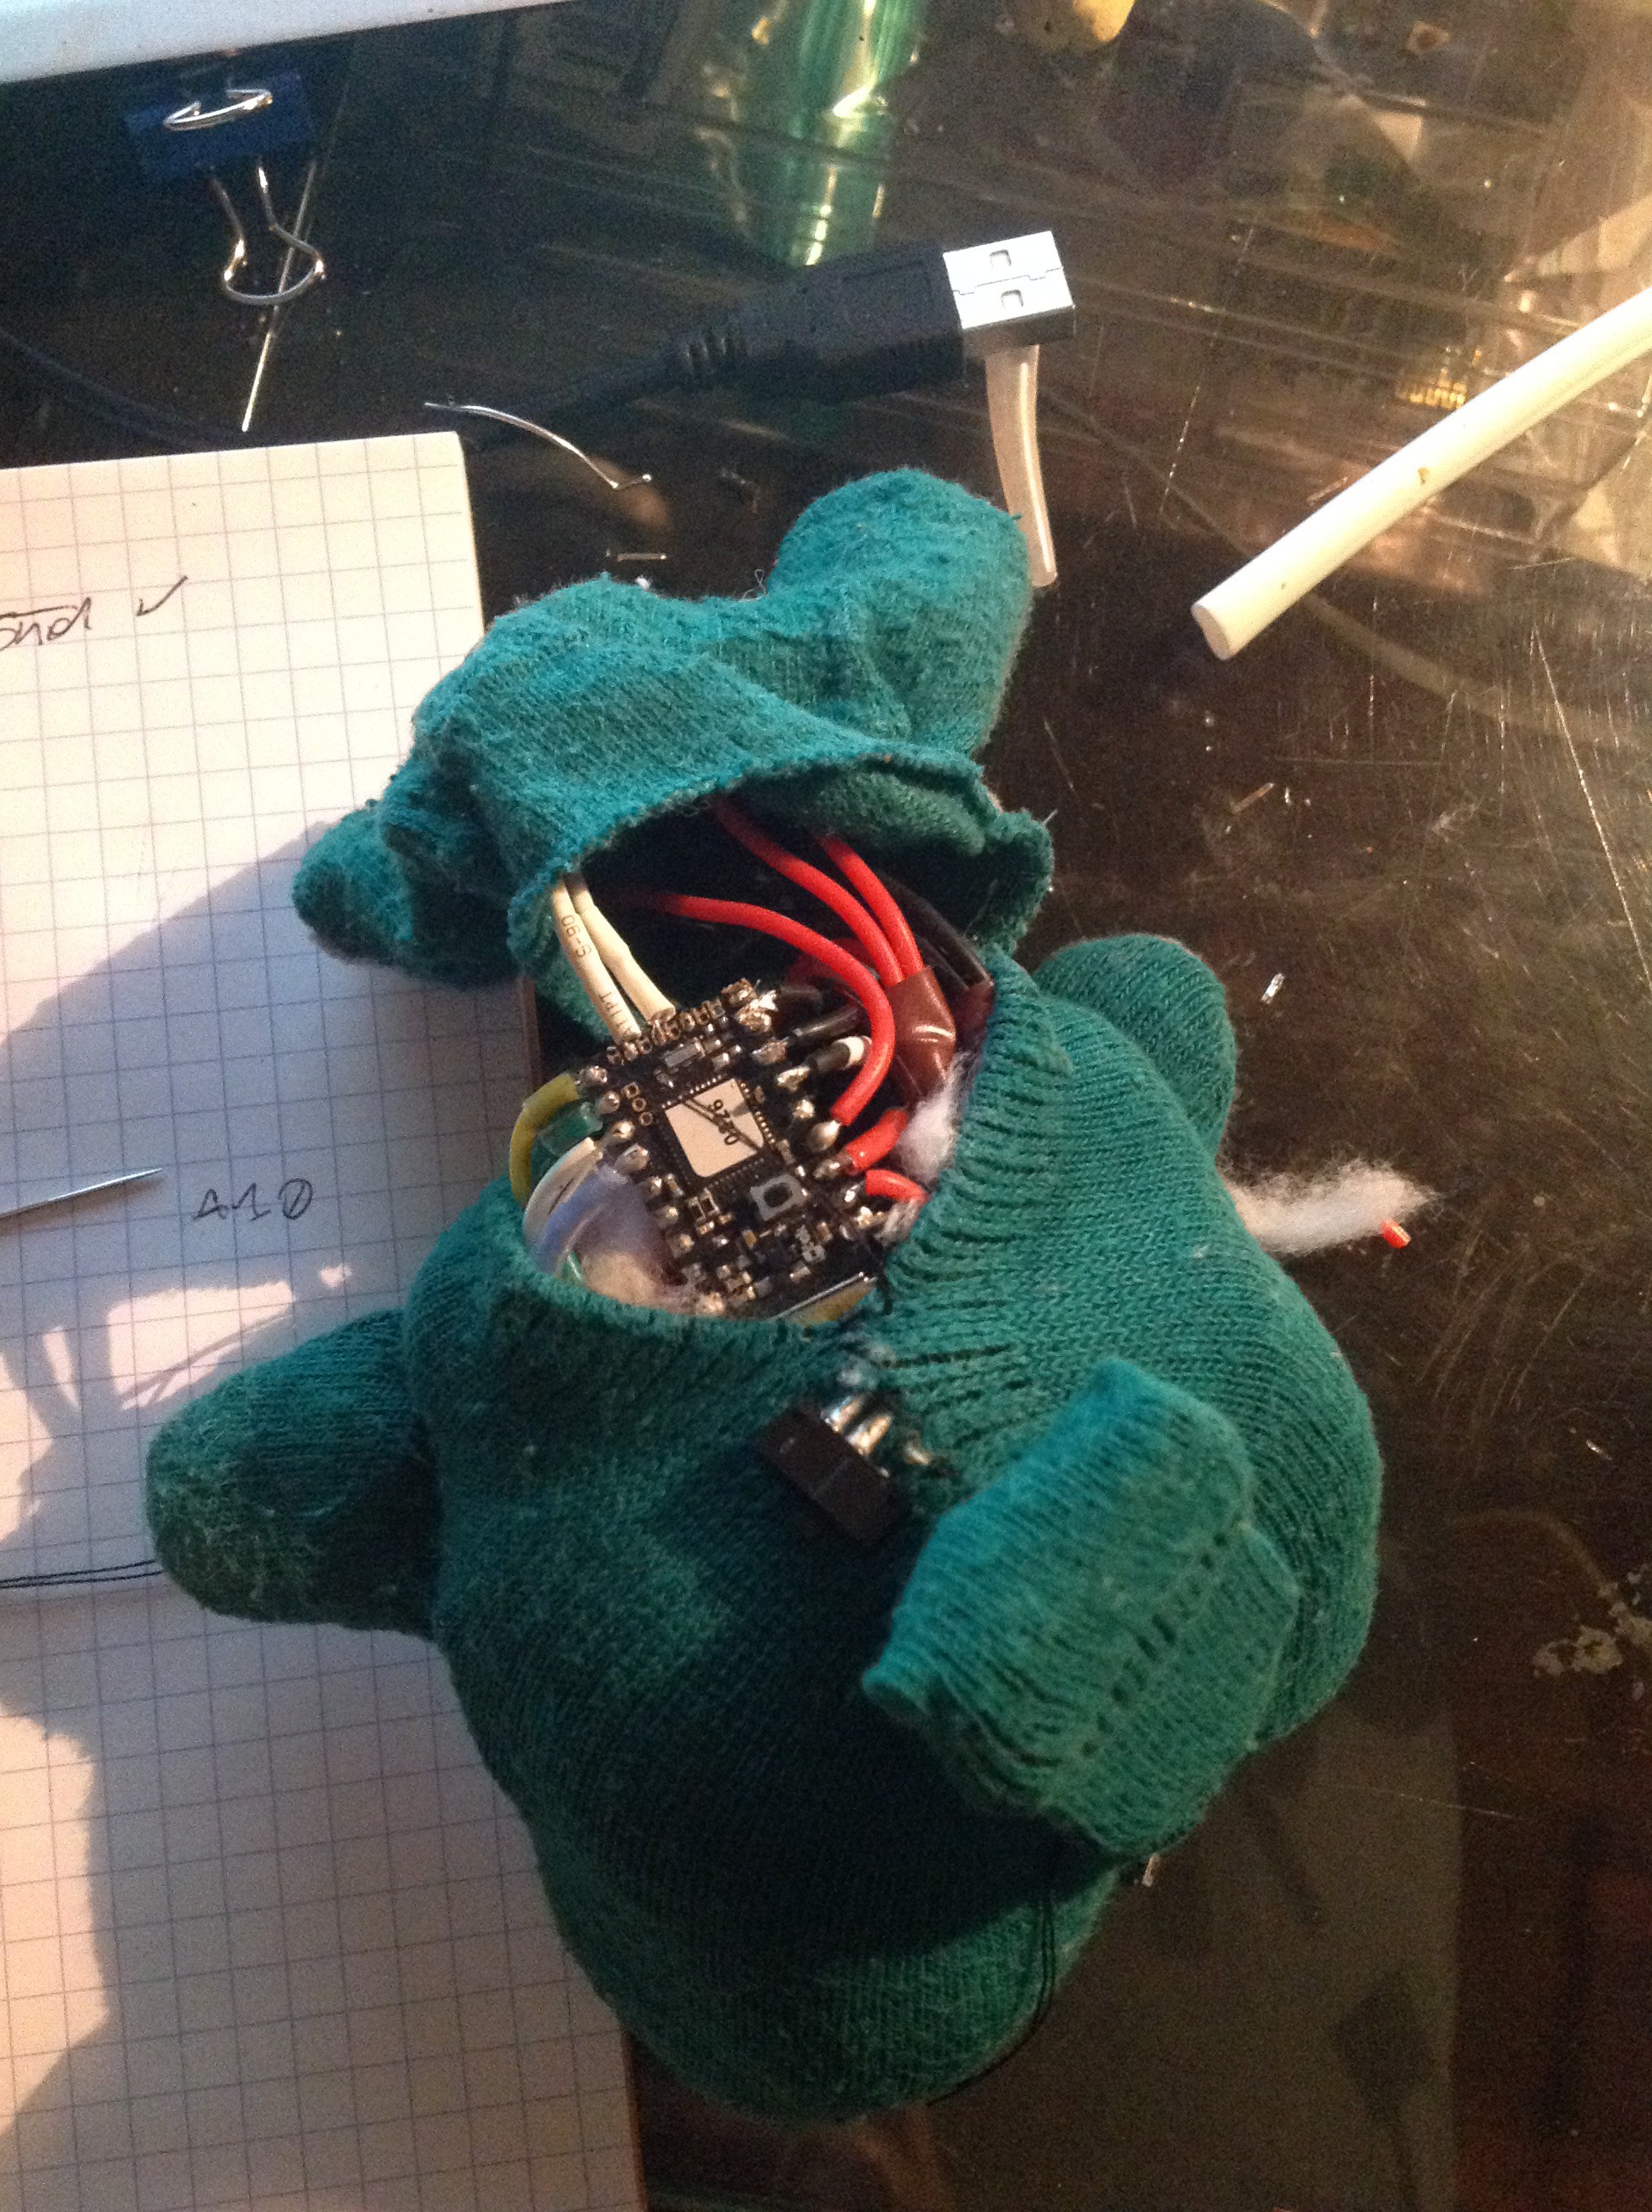
15Step 15
Now, the following is more a test than something that I had actually working: I couldn't program the NFC tag with my android device, but I had some nice implm ideas
![]()
![]()
-
16Step 16
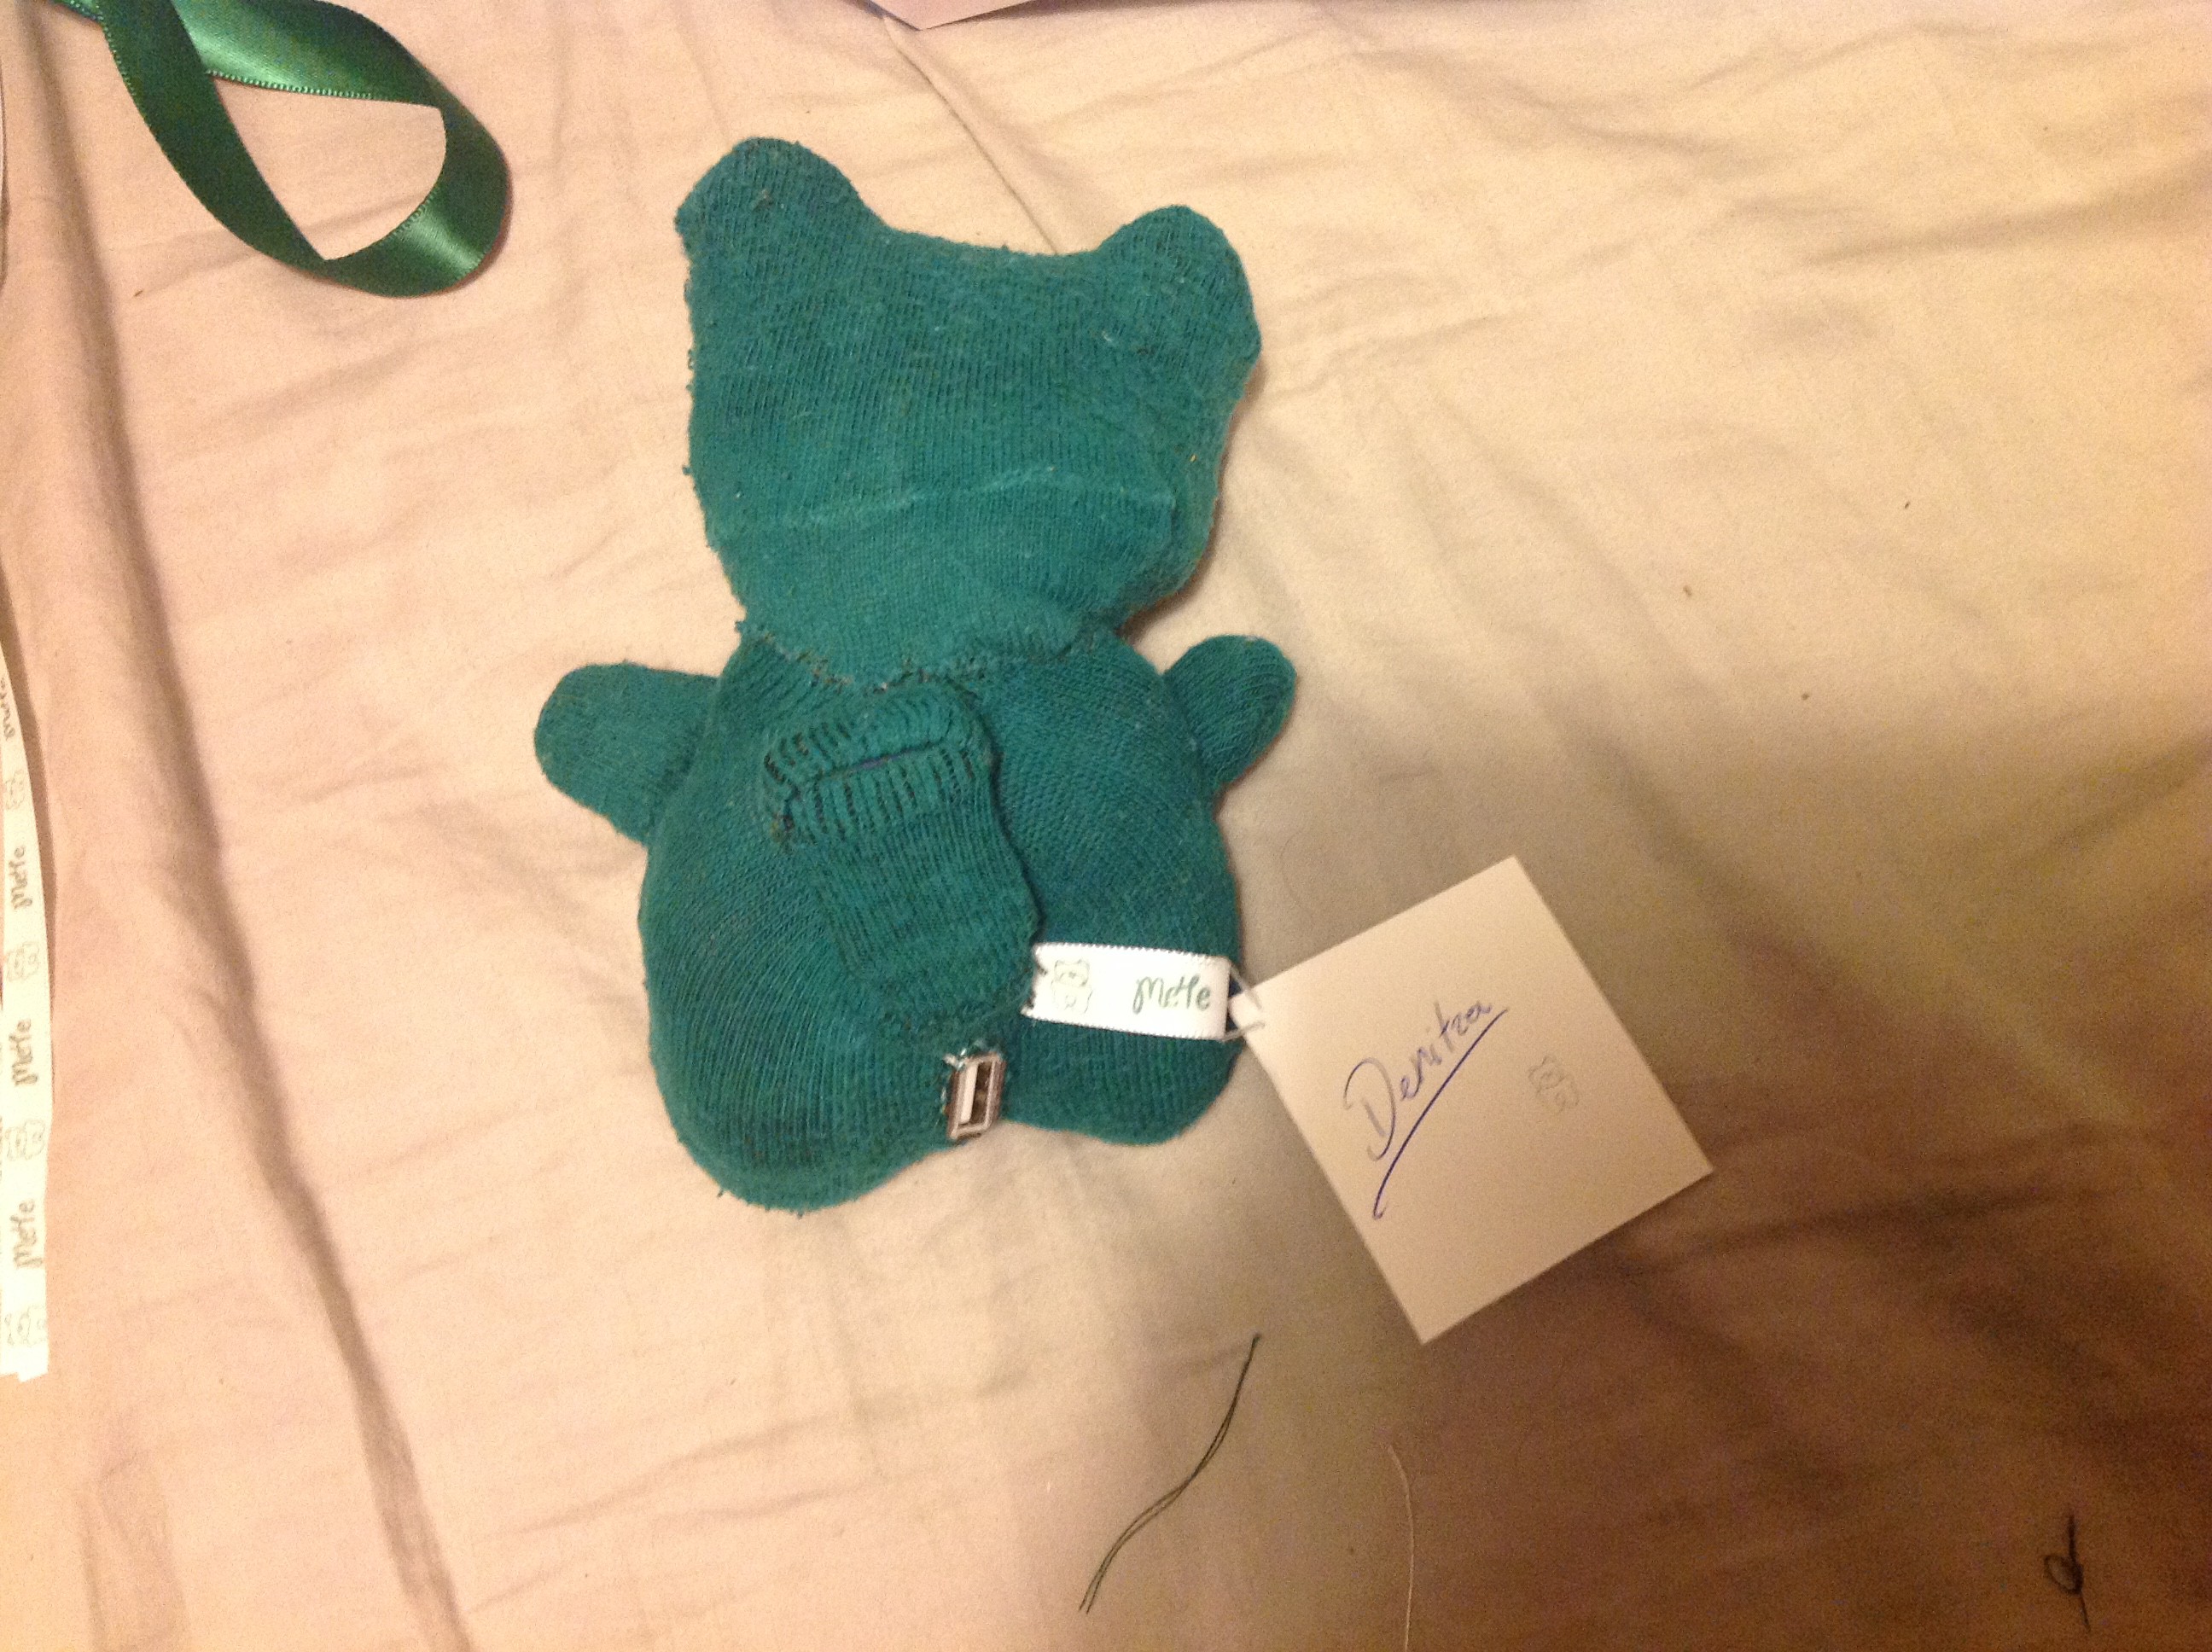
Finishing the boxing, starting with sewing the label to the pluche ..
![]()
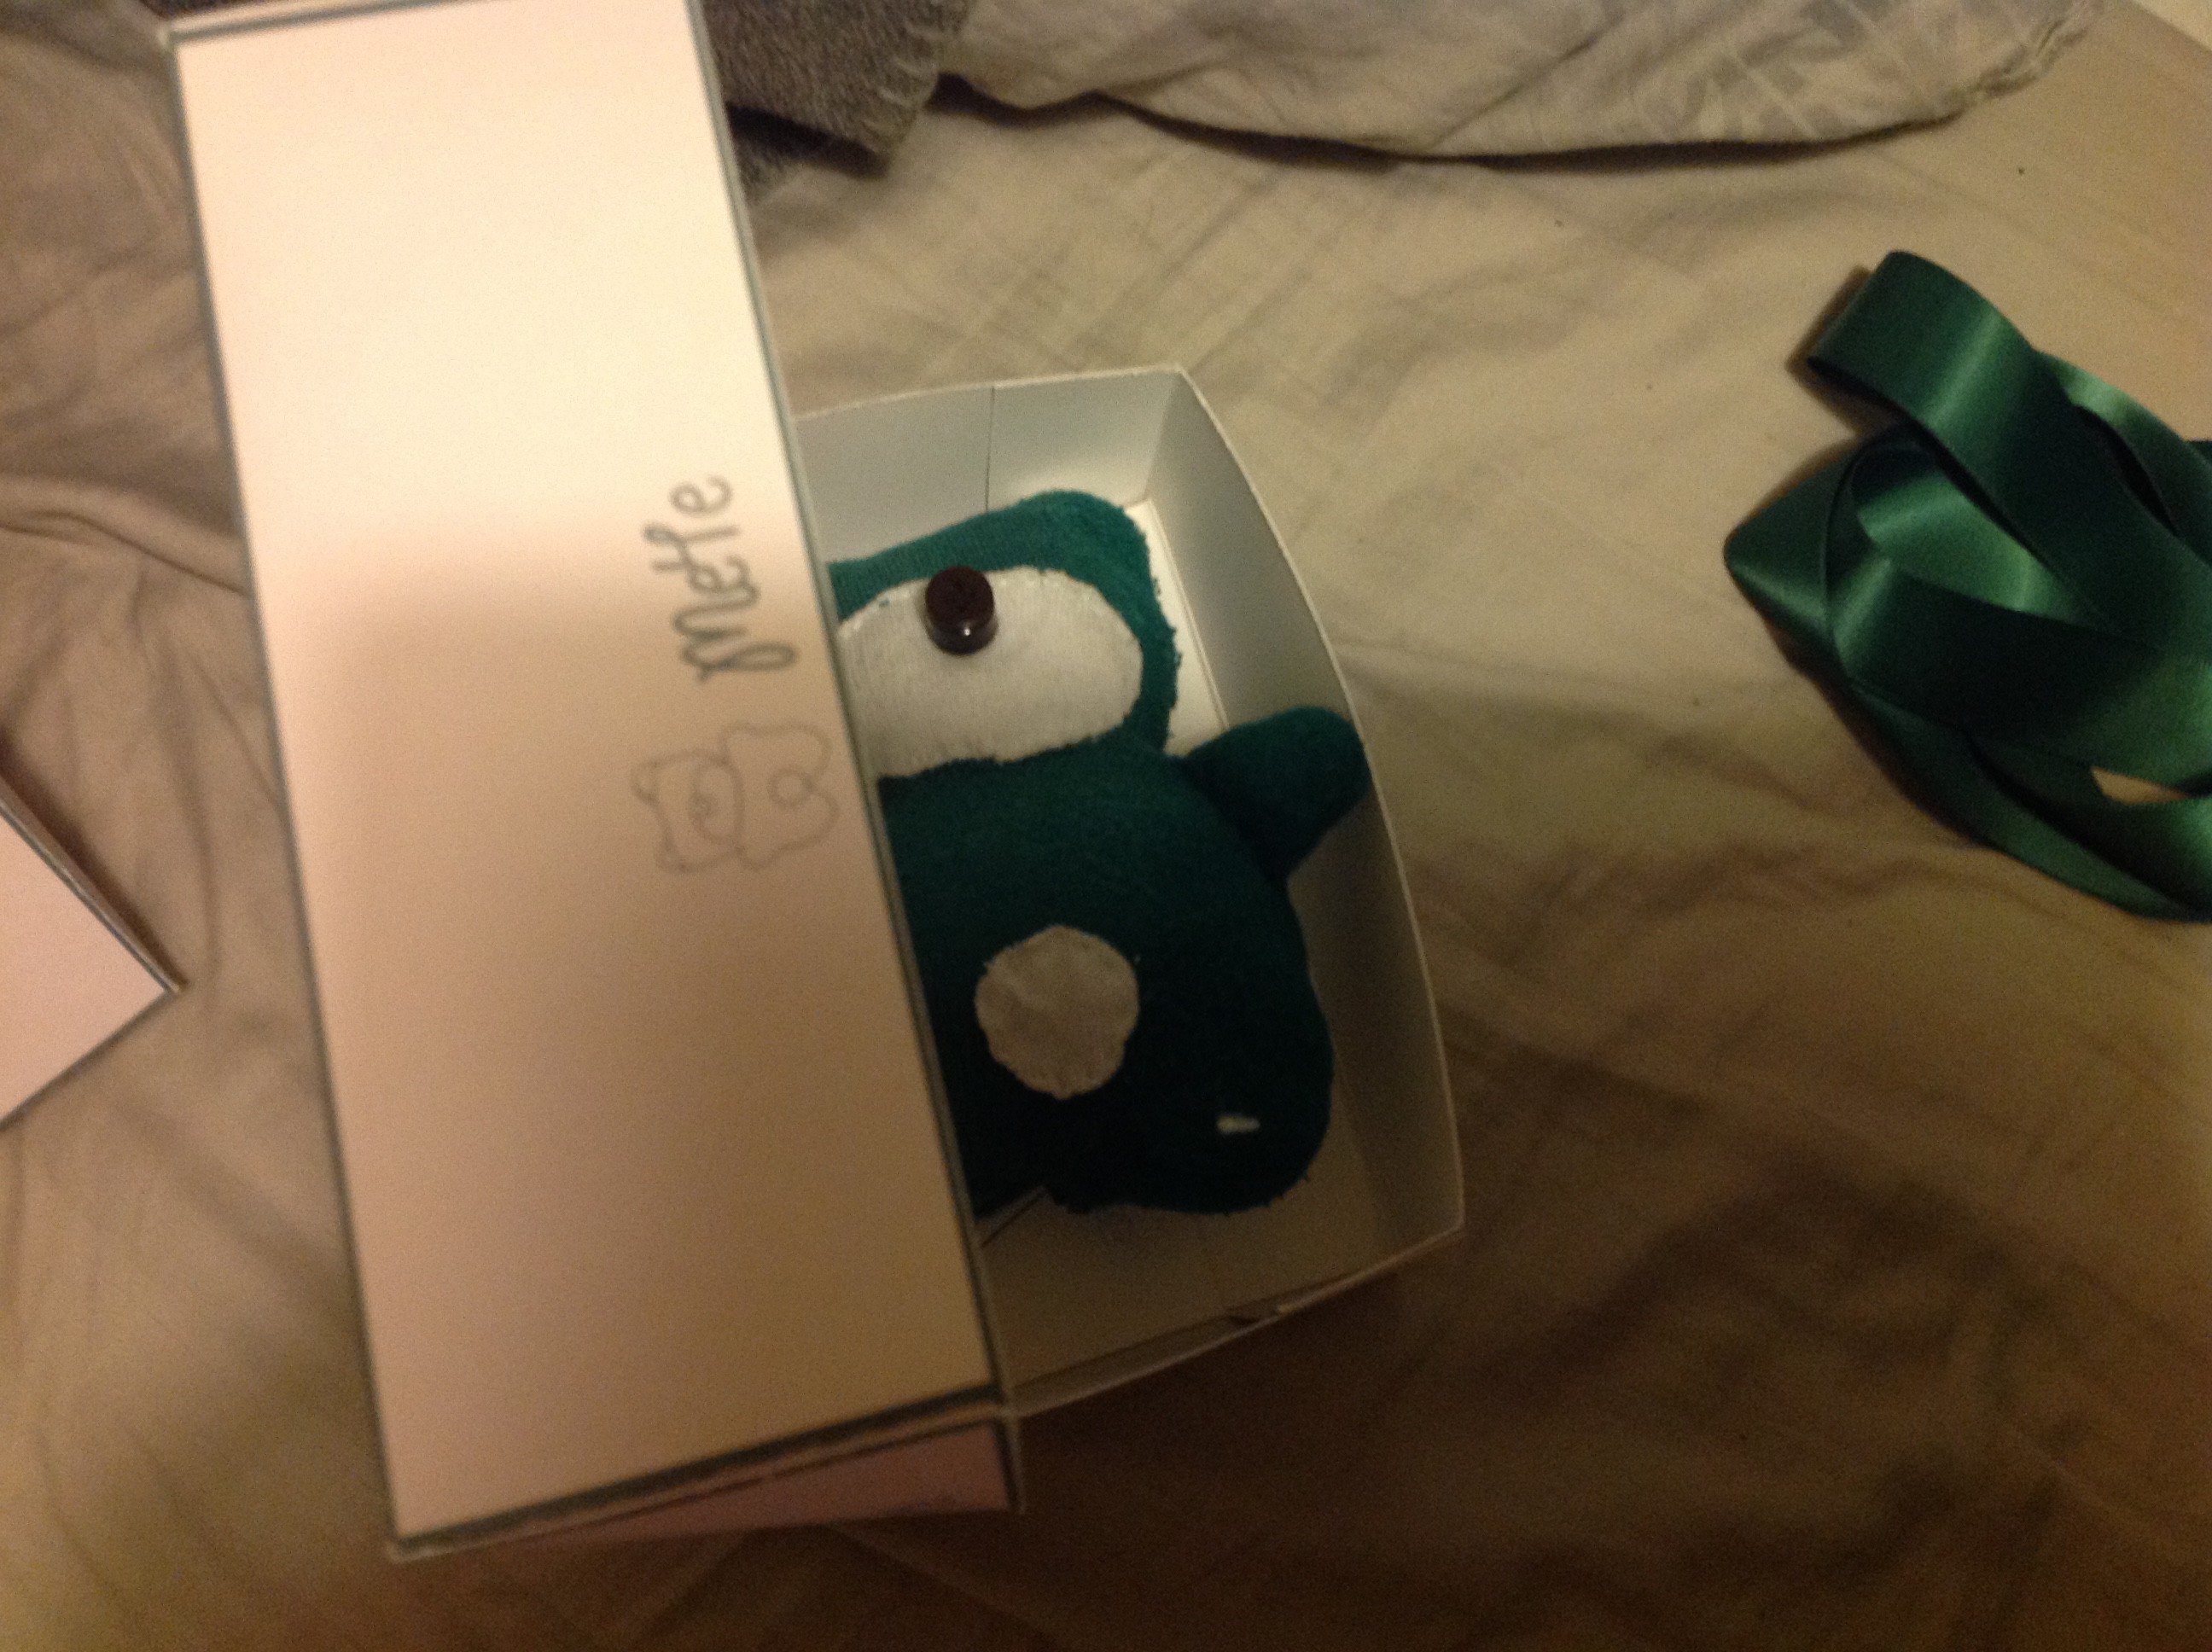
.. and then jailing Me4e ( poor littl' thing :/ )
![]()
Once the package is closed, we use a large ribbon to hide the maximum of the box possible ( for a greater surprise ! ^^ )
![]()
Now !
It's thirty past twenty-one, and you gotta hurry up picking some roses before delivering your packaged cutness ;p
![]()
-
17Step 17
Lastly, this is a video of the wip desktop app that's used to adjust settings & update Me4 ( Chrome Packaged App )
-
18Step 18
And what's not yet done ( hence the "vegetable pluche" statement ): the firmware :)
i♥Me4e
Me4e is a cute little [blind] bear that can't quite dance, but used to spread l0v ;p


Discussions
Become a Hackaday.io Member
Create an account to leave a comment. Already have an account? Log In.