For this project, I commited pretty much any crime in design for 3D-printing. No flats, lots of overhangs, thin shell (2mm). So the only way I could print this without excessive use of support structures was cutting the design into pieces that could be printed selfsupporting, thus maintaining a nice surface quality.
Fails
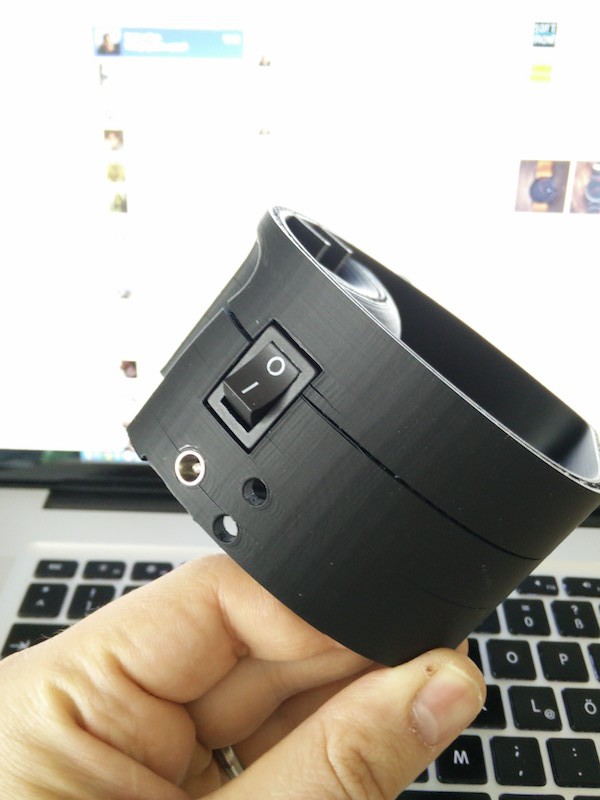
I tried smartABS and PET-G for this. In the first trial, I printed the smartABS at 255°C at 50mm/s. The bananaing was minimal, but the result (see below photo, the cracks were not caused by the switch) had many thermal cracks and would've required massive fixing.
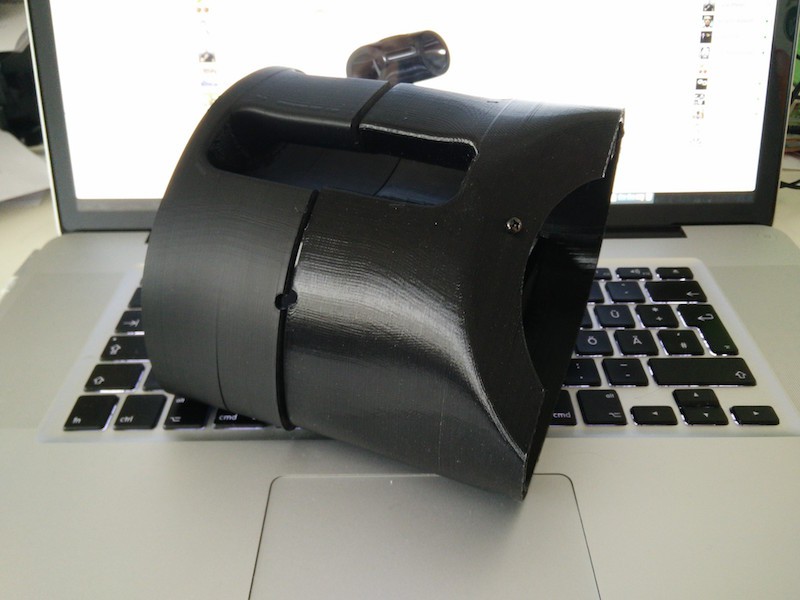
Then I tried the PET-G, which I bought for printing large objects with less bananaing. Unfortunately, even after iterating down to 240 °C, wich is kind of the lower end in layer bonding, as well as different retraction settings, the PET-G was still very oozy and blobby. The nozzle ran into hard bumps of dripping plastic over and over again, which caused this print to fail, too (see right half of below photo).
Successes
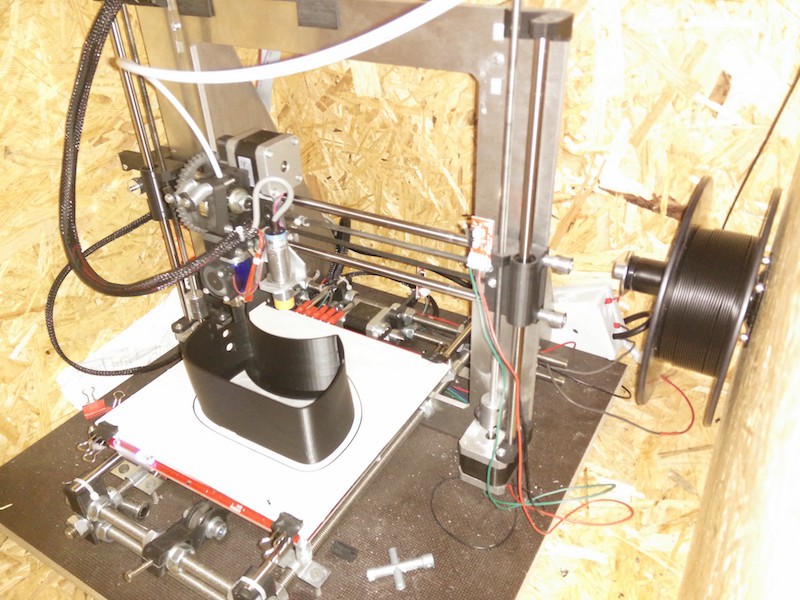
So I went back to smartABS, which is still my favorite material, iterating upwards in temperature. I ended up printing the shell at 280 °C with 50 mm/s, way above the maximum specified temperature of smartABS (270 °C), but this improved the layer bonding enough to give me nice, banana-free shells without cracks. Below you can see my printer in its natural-wood habitat printing a center pice of the shell.
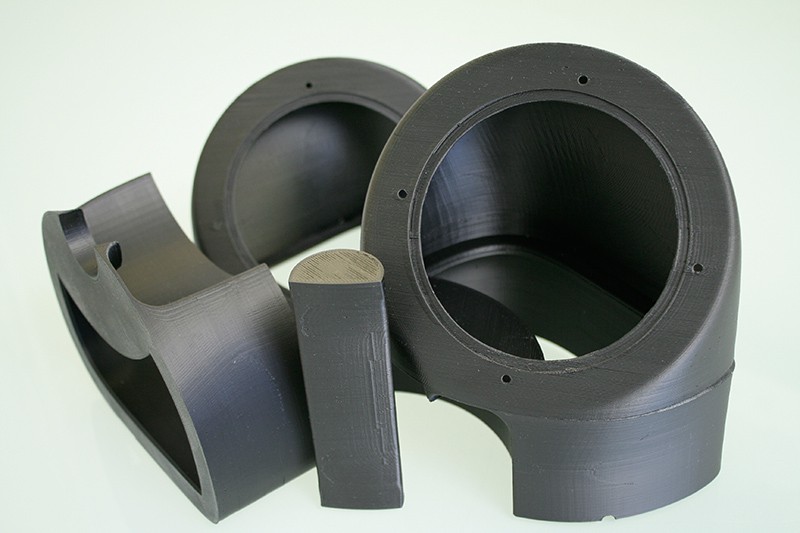
After about 30 hours of printing, I had all the parts crack- and banana-free.
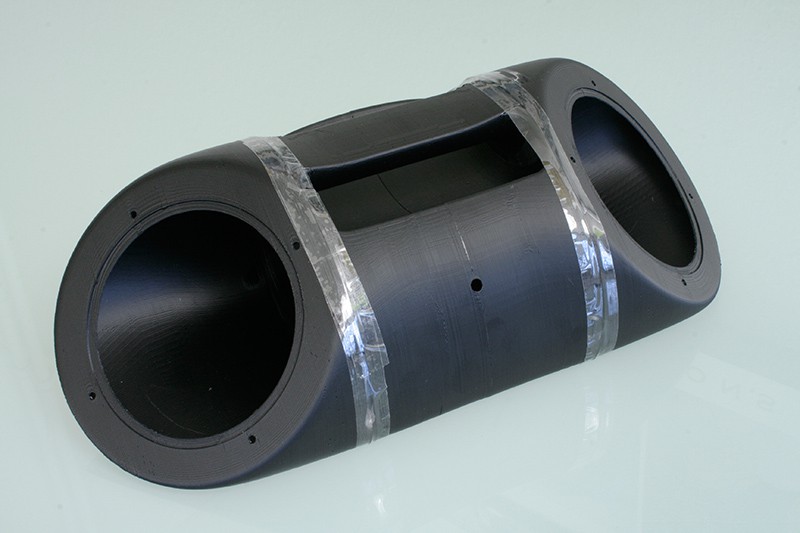
The five parts were then glued together using aceton and acetone-ABS slurry. Then scotch tape holds it together until everything has hardened.
 Moritz Walter
Discussions
Become a Hackaday.io Member
Create an account to leave a comment. Already have an account? Log In.
Great write-up, lots of useful information! Is the glued bond as strong as the printed parts?
Are you sure? yes | no
Thanks, the bond is quite strong, probably breaks everywhere but at the weld seam.
Are you sure? yes | no