I got another chunk of fabrication and gluing done last night. It's a somewhat lengthy process since the epoxy takes a long time to set up, but this forces me to slow down and focus on each part.
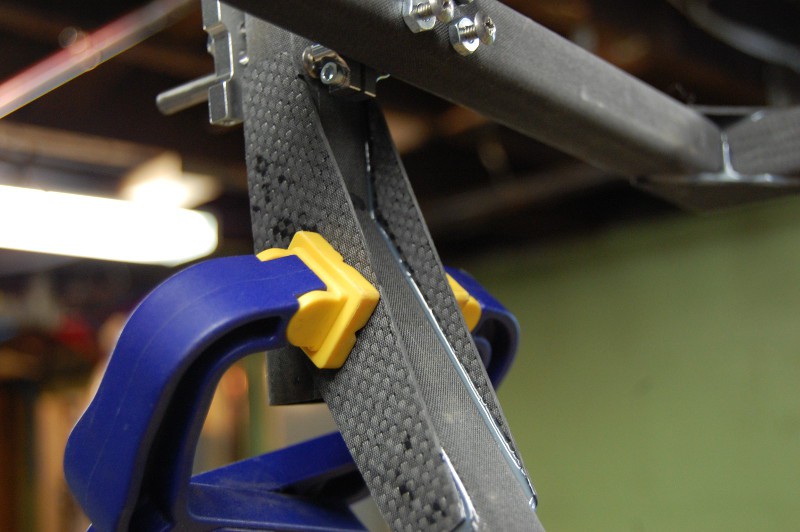
I finished cutting the angled reinforcement brackets for the battery plate and epoxied them to the frame. The glue job isn't the prettiest around, and I wasn't able to clamp them well so the gaps are a bit larger than I'd like:
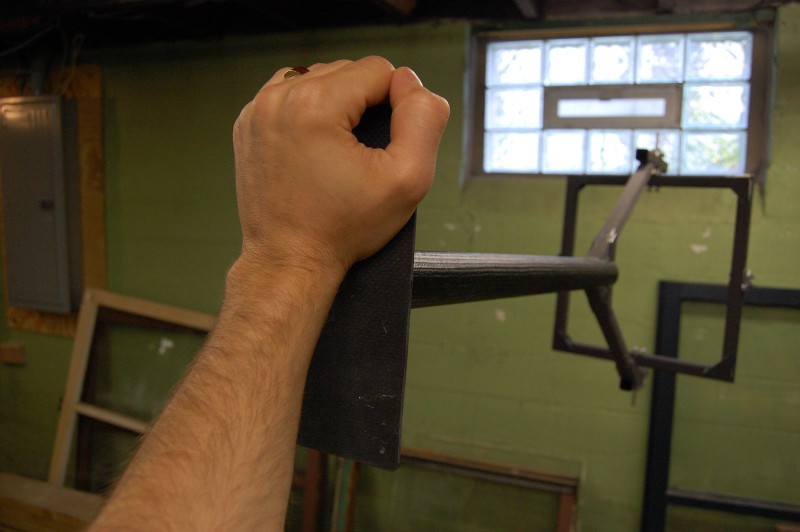
However, after curing overnight, a quick strength test this morning suggested that all is well. I'll repeat this test once the motors and servos are mounted:
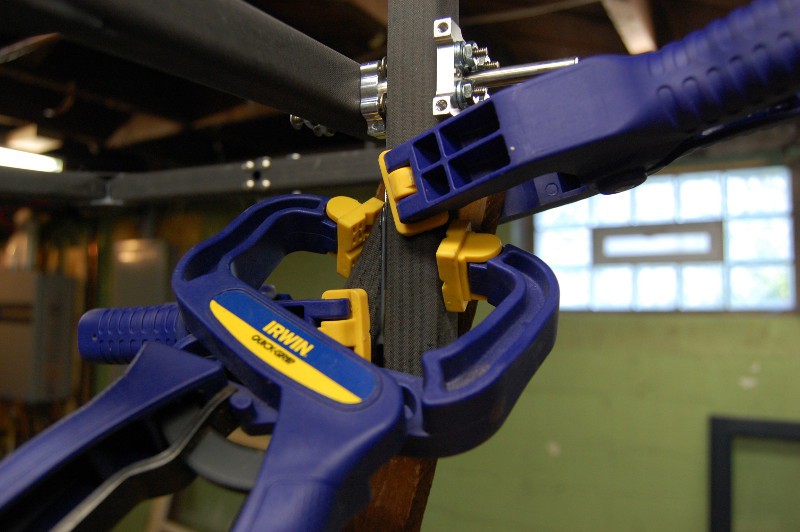
After drilling a few holes for the servo mount, I used the pitch ring to align the second frame upright prior to gluing and clamping. This morning, the pitch ring rotated with minimal resistance--a great sign!
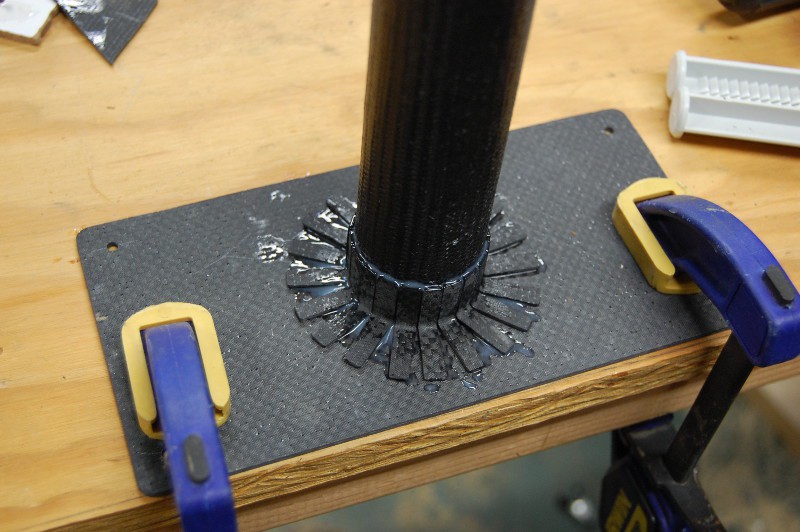
I also cut and glued gussets on the other side, as the joints don't have a great deal of epoxy coverage by themselves. After taking these pictures this morning, I did the same on the opposite side:

Physical construction, at least the cutting and gluing part, is pretty much wrapped up at this point. So what's next?
- Mount all the electrical gear--servos, motors, props, ESCs, Arduino, battery--and get a final weight number. With the wire and Space Glue, I'm setting the over/under at 2kg even.
- Test servo actuation. This is a big concern; I'm sure I'll need to ramp the servos to prevent over-stressing their gearboxes. I know I've talked about it before, but I might *finally* sit down and do some torque calculations to figure out a good starting acceleration rate. It's been said before, but I really should have done that two months ago. Oh well.
- Thrust testing!!! I'll start with 9" props, but a few sets of 10x4.5s are on the way too. This will be fairly in depth; I'll need to modify the thrust testing rig to grab GimbalBot's frame at the right point. I'm also planning to run battery life tests on the thrust rig to get an idea for flight time.
Exciting times in the world of strange unmanned aircraft. Stay tuned!
- Zach
 zakqwy


Discussions
Become a Hackaday.io Member
Create an account to leave a comment. Already have an account? Log In.