Close
0%
0%

Dtto - Explorer Modular Robot

Modular self-reconfigurable robot, focused on all-terrain search and rescue operations using bio-inspired locomotion mechanisms

Similar projects worth following
“You must be shapeless, formless, like water. When you pour water in a cup, it becomes the cup. When you pour water in a bottle, it becomes the bottle. When you pour water in a teapot, it becomes the teapot. Become like water my friend.” Bruce Lee

The Dtto Robot is a modular transformable robot designed to be versatile, flexible and self-reconfigurable. The idea of modular robots is that they can adopt any shape they want, by changing the position and the connection of their modules.

The small size, the versatility and the limitless shapes it can adopt, make Dtto the perfect robot for all kind of search and rescue operations.


Full project: https://github.com/otrebla333

Check out our shared gdrive folder, were we are discussing and proposing new ideas and concepts for the next version of the Dtto Modular Robot!


2016HackadayPrize Final Video


The problem

In most natural disaster situations, like hurricanes, earthquakes, fires, there are situations where people get trapped without the possibility to get out to safety by themselves. Then is when search and rescue operation teams come at play. Nowadays, most of the search and rescue operations are carried out by humans, needing a lot of specialized manpower and hours of work to look for possible survivors.

After working at Ground Zero on the WTC, Dr. Robin Murphy, Professor of Computer Science at University of South Florida, who was working with search and rescue robots, said:

“Robots proved helpful” ; “Using robots can minimize the number of personnel on site, and reduce the fatigue and errors” ; She sees mobile robots as scouts able to navigate, adapt and perceive. ; ”Robots will be manpackable” ; “so small that they can fit into small subhuman confines, able to tell their orientation as they snake throught open spaces in rubble” ; “...going where no human should go”

Source: (http://www.aaai.org/Pressroom/Releases/release-02-0910.php)


How it works

In robotics, the usual approach for designing exploration robots is: First, study the terrain characteristics and then, designing a robot according to those needs. When moving trough an unexplored and unpredictable terrain like an earthquake affected building, you never know which kind of obstacles will you find. There is where modulars robots can do really well.

The Dtto Modular Robot has been designed with adaptability in mind. Inspired by how fire ants colonies work, a number of modules (or small robots) find each other, connect mechanically and colaborate to act as one only robot, creating a collective inteligence. They can link together and bulid structures without any central comand. The advantatge of being all modules the same is that, if one of them breaks, it can easily get replaced by another one, creating a self-healing structure.

By changing its configuration, the Dtto robot can move like a snake through a small pipeline, then transform into a wheel-like robot to move faster, then transform to a centipede robot when there is no vertical space and finally build a bridge to get to the other side of the hanging floor.

Expandability

While looking for the minimum size, the robot is designed to contain almost all the electronics and motors in one half, so that there is a large free space in the other half.

That free space can be used to install a thermal camera, microphone and speakers, multiple sensors, more actuators (like grippers) or even more batteries.

SPECS

  • Small and self-contained robot
  • Fully 3D printable
  • Self-reconfiguration capabilities
  • Bluetooth + Radio communication
  • Multiple locomotion modes (snake, wheel, walker...)
  • Rechargable batteries
  • Simulation model validated
  • Cheap modules (<55 USD)
  • Open Source Hardware and Software
  • FIRST OPEN-SOURCE SELF-RECONFIGURABLE MODULAR ROBOT!

Special thanks to Dr. Jose Luís Ramírez, and to Dr. Juan González-Gómez “Obijuan”, for their support and help everytime I needed it.

It has been fully printed with open-source 3D printers, uses open-source hardware and has been designed entirely on FreeCad.

This robot is Inspired by the MTRAN III, by The National Institute of Advanced Industrial Science and Technology (AIST), Japan. (https://unit.aist.go.jp/is/frrg/dsysd/mtran3/index.htm)

The CAD files, and STL printing files are located in the FILES and in the github repository (https://github.com/otrebla333/Dtto-Modular-Robot/tree/master/3D-printing)

This project and all of it's files, images, videos and texts are entirely licensed under the CC BY-SA 4.0 license. (http://creativecommons.org/licenses/by-sa/4.0/legalcode)


VIDEOS:


More videos:

https://www.youtube.com/playlist?list=PLoFHruvLOzZ8lMCxhqWBXichj1xdftpll...

Read more »

Hexapod_VREP.ttt

Hexapod simulation. It's designed to facilitate the addition of up to 9 pair of legs, but I haven't tried it yet :D

ttt - 440.51 kB - 09/18/2016 at 19:03

Download

V-REP files.zip

Files to simulate the robot in V-REP

Zip Archive - 1.41 MB - 09/02/2016 at 16:19

Download

Plansv1.pdf

Blueprints

Adobe Portable Document Format - 76.58 kB - 08/11/2016 at 11:49

Preview

DttoModularRobotv2-3Dparts.zip

STL files

Zip Archive - 573.34 kB - 08/10/2016 at 14:20

Download

List of 3D printed Partsv4.pdf

All parts to print listed here

Adobe Portable Document Format - 329.72 kB - 08/10/2016 at 14:19

Preview

View all 17 files

  • 22 × 3D printed Parts
  • 1 × Arduino Nano v3.0 2x if IR detection enabled (optional)
  • 2 × TowerPro MG92B Servomotor
  • 3 × TowerPro SG90 Servomotor
  • 1 × Bluetooth HC-05

View all 14 components

  • Face rotation + connection mechanism

    Alberto03/16/2018 at 11:38 0 comments

    Here is a short video demonstrating the connection mechanism inside a rotating face:


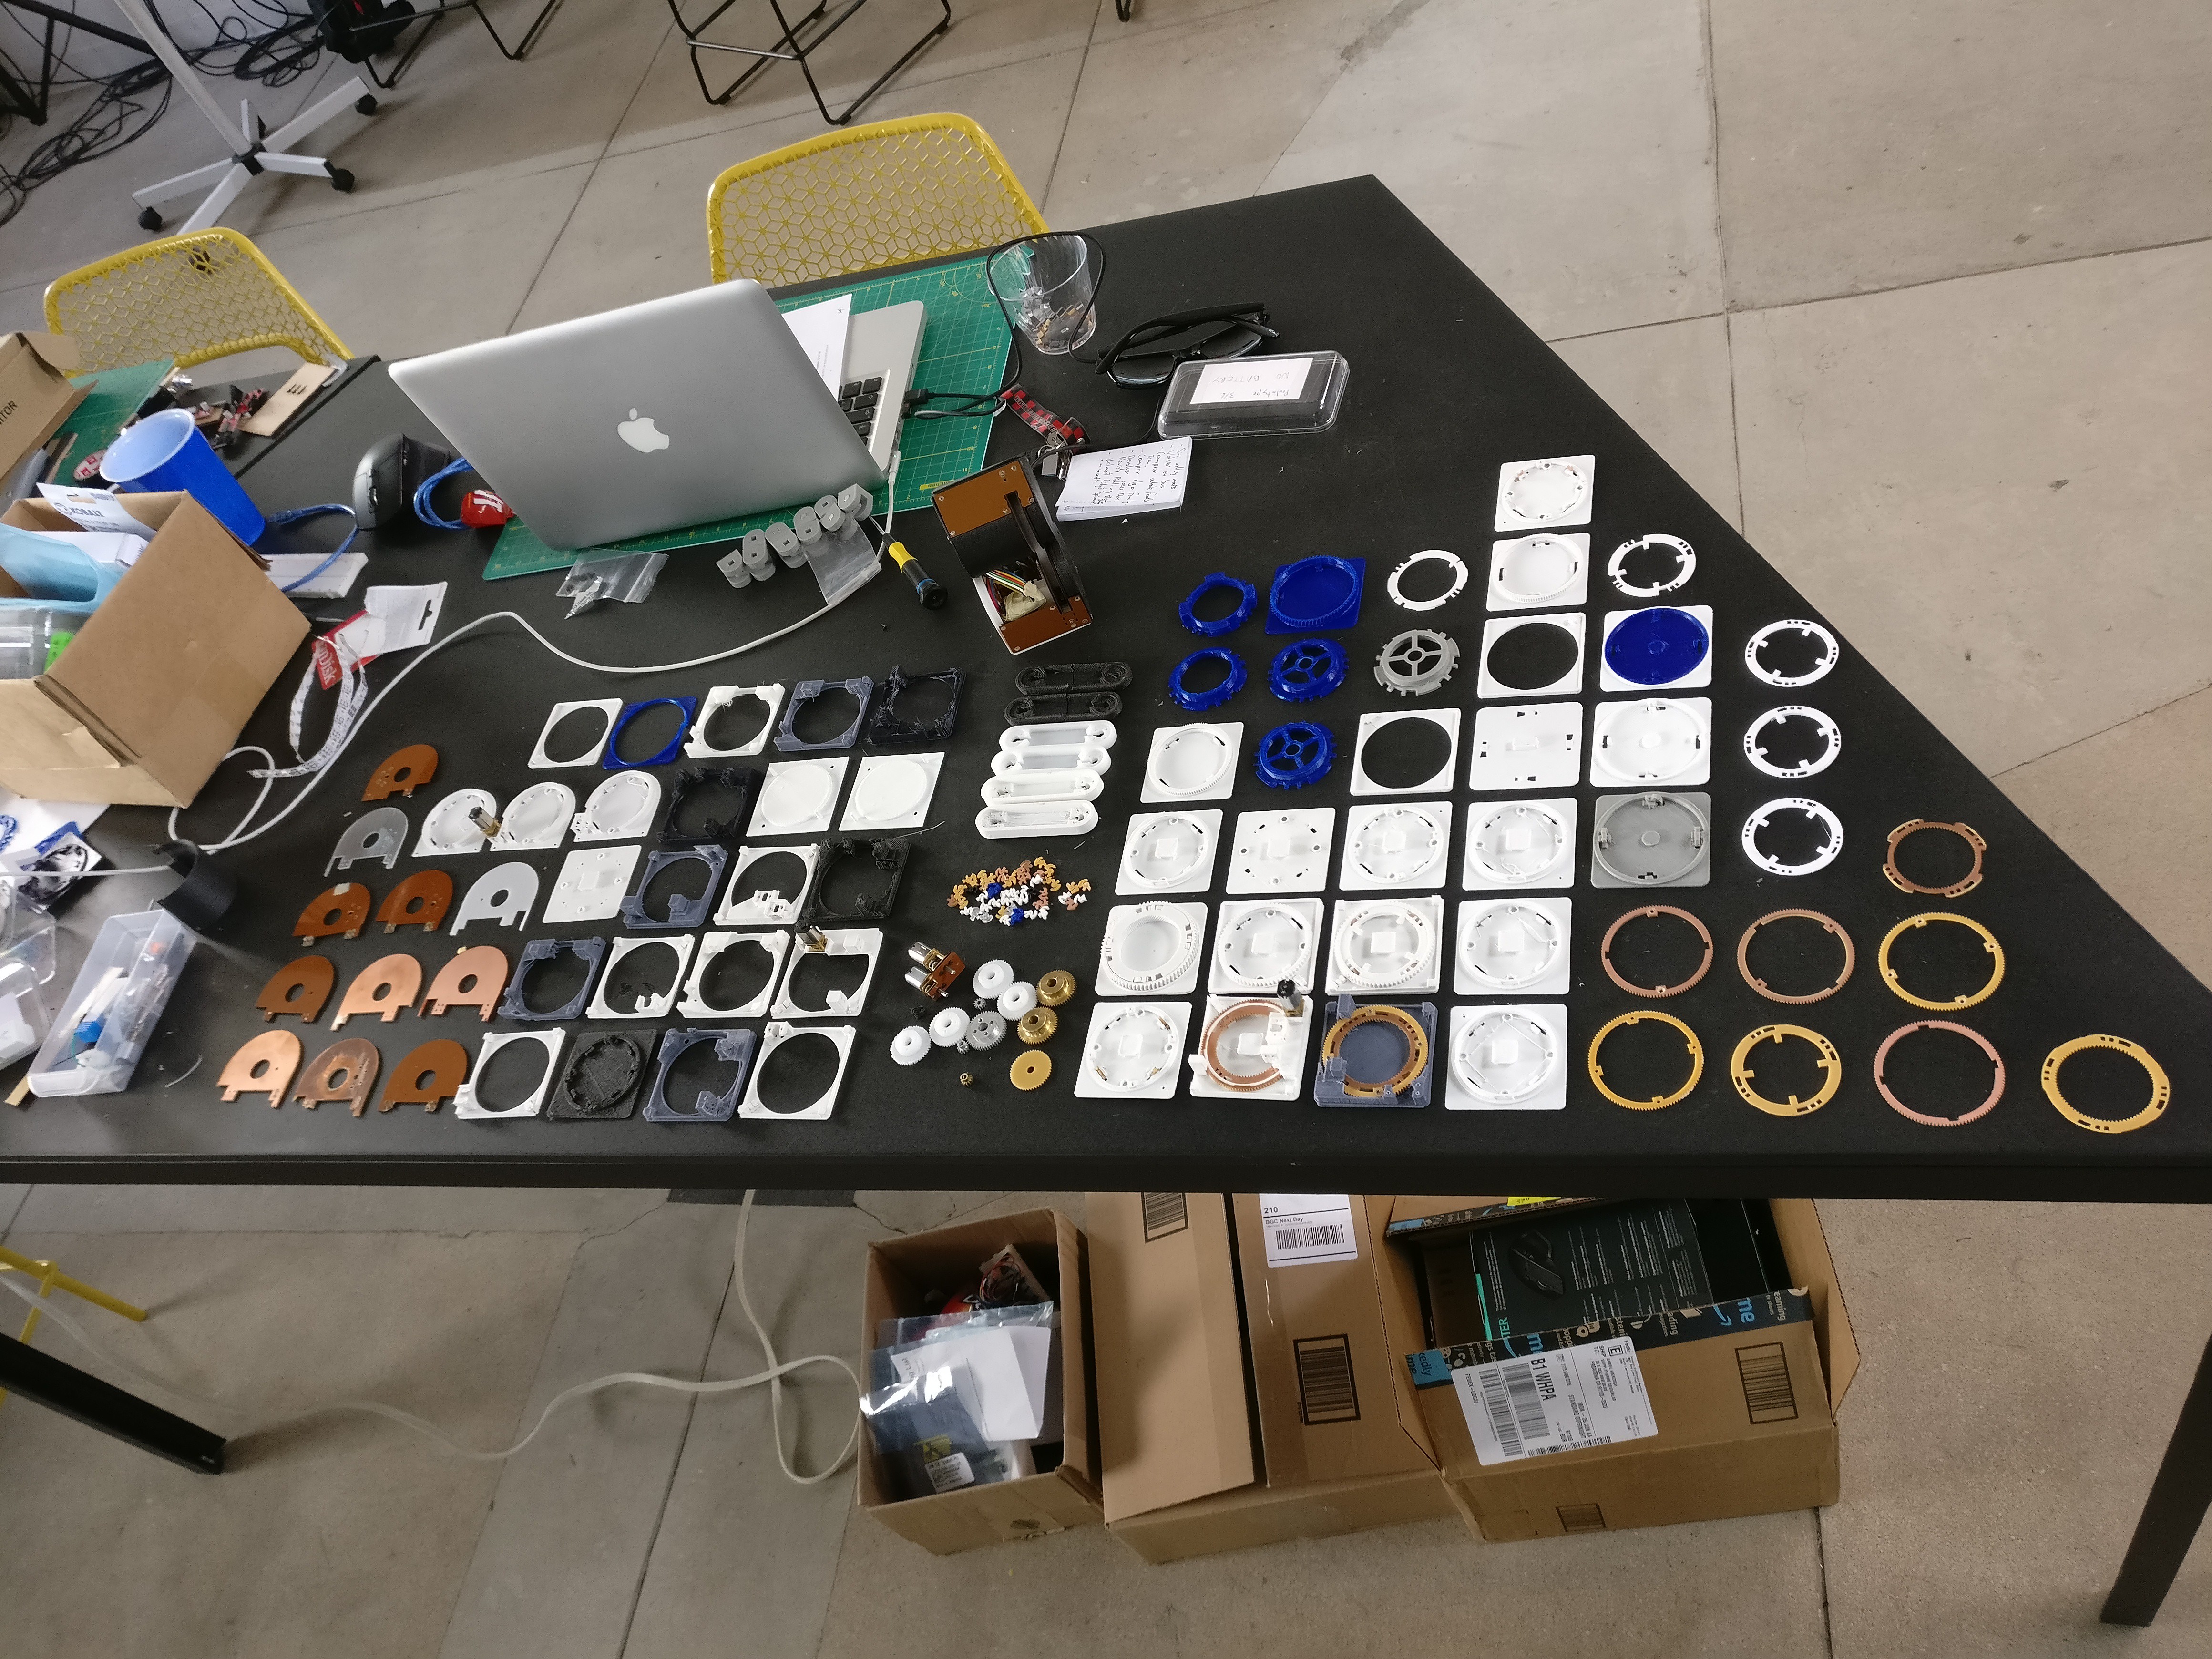
    And these are some of the different versions of each of the parts of the module. It still needs a huge amount of work to do...

  • Dtto v3 mechanical structure

    Alberto06/06/2017 at 22:21 0 comments

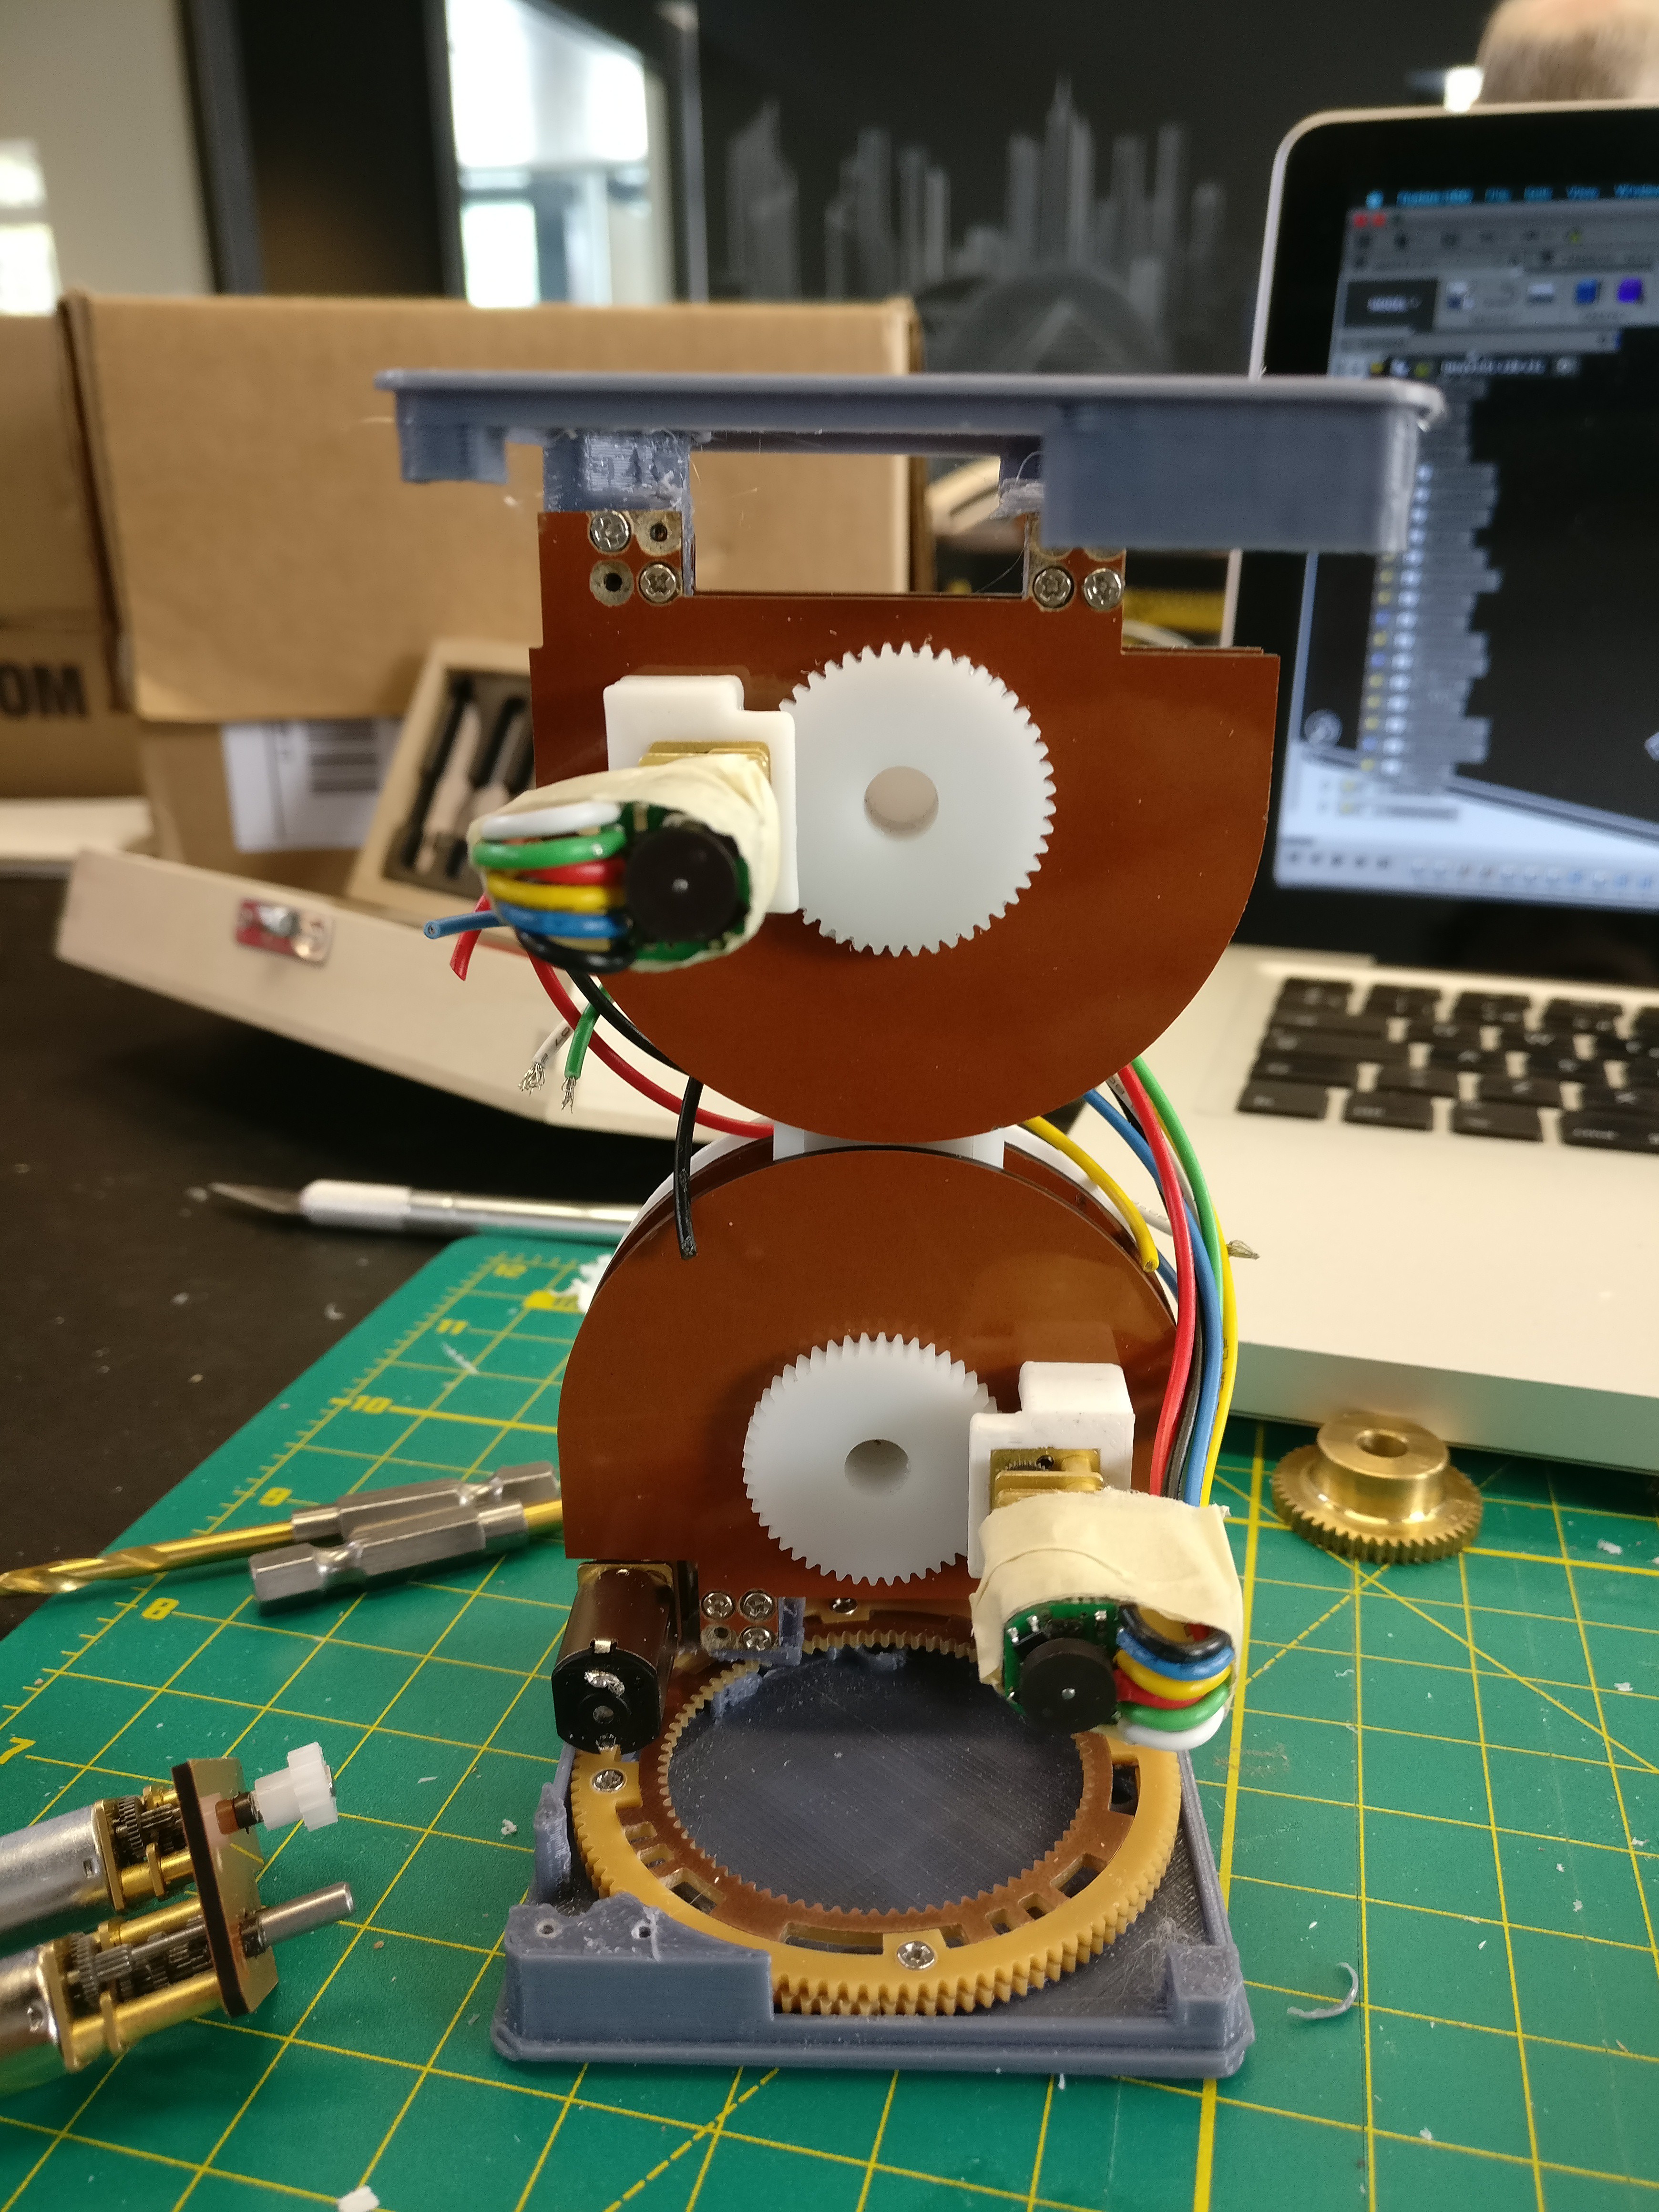
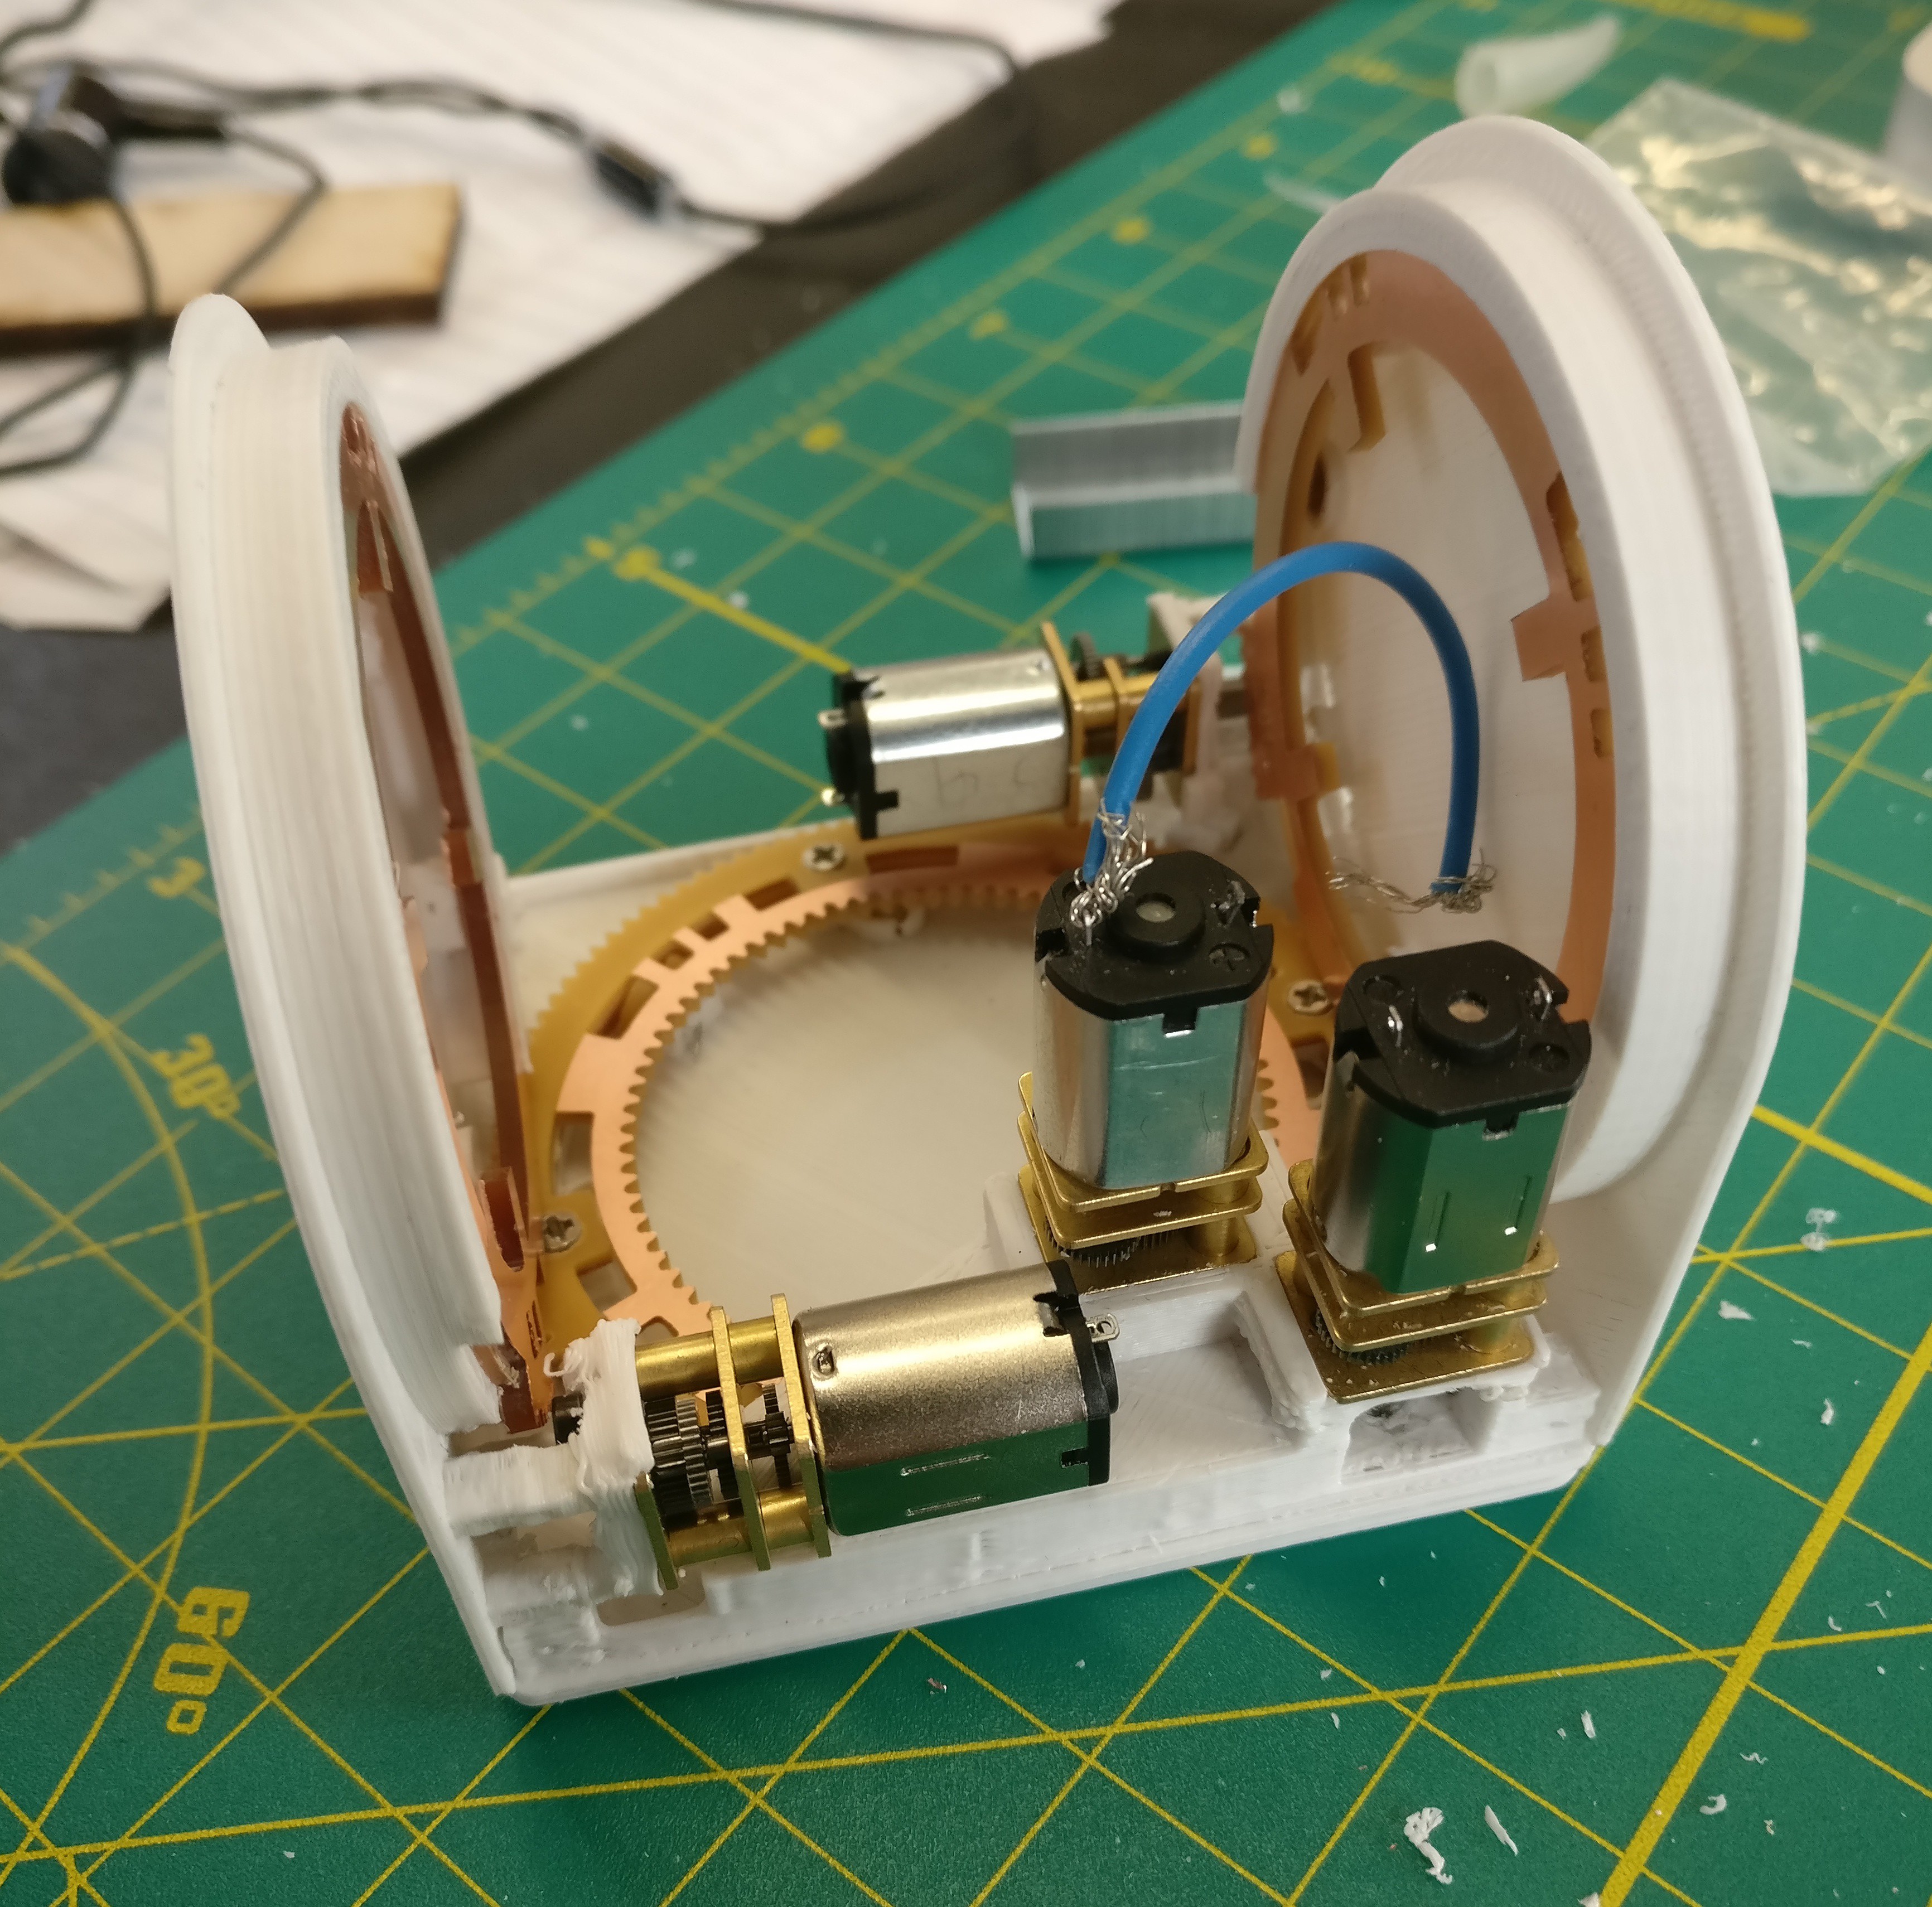
    This is how it looks the mechanical structure for the next version of the Dtto modular robot.

    It will be using this small metal gear motors with huge reduction, so that we can get way more torque than on the previous generation.

    Now I'm testing the durability of these white machined Delrin gears. They are lighter than the brass ones, and we need the modules to be as light as possible!

  • Coupling + face rotation

    Alberto05/03/2017 at 17:17 0 comments

    Here's a preview of all the coupling mechanisms + face rotation assembled!

  • Coupling mechanism for Dtto v3

    Alberto04/19/2017 at 16:38 0 comments

    Now I'm finally working full time on the project! And I have access to awesome 3D printers and CNCs and cool things at the Supplyframe DesignLab :).

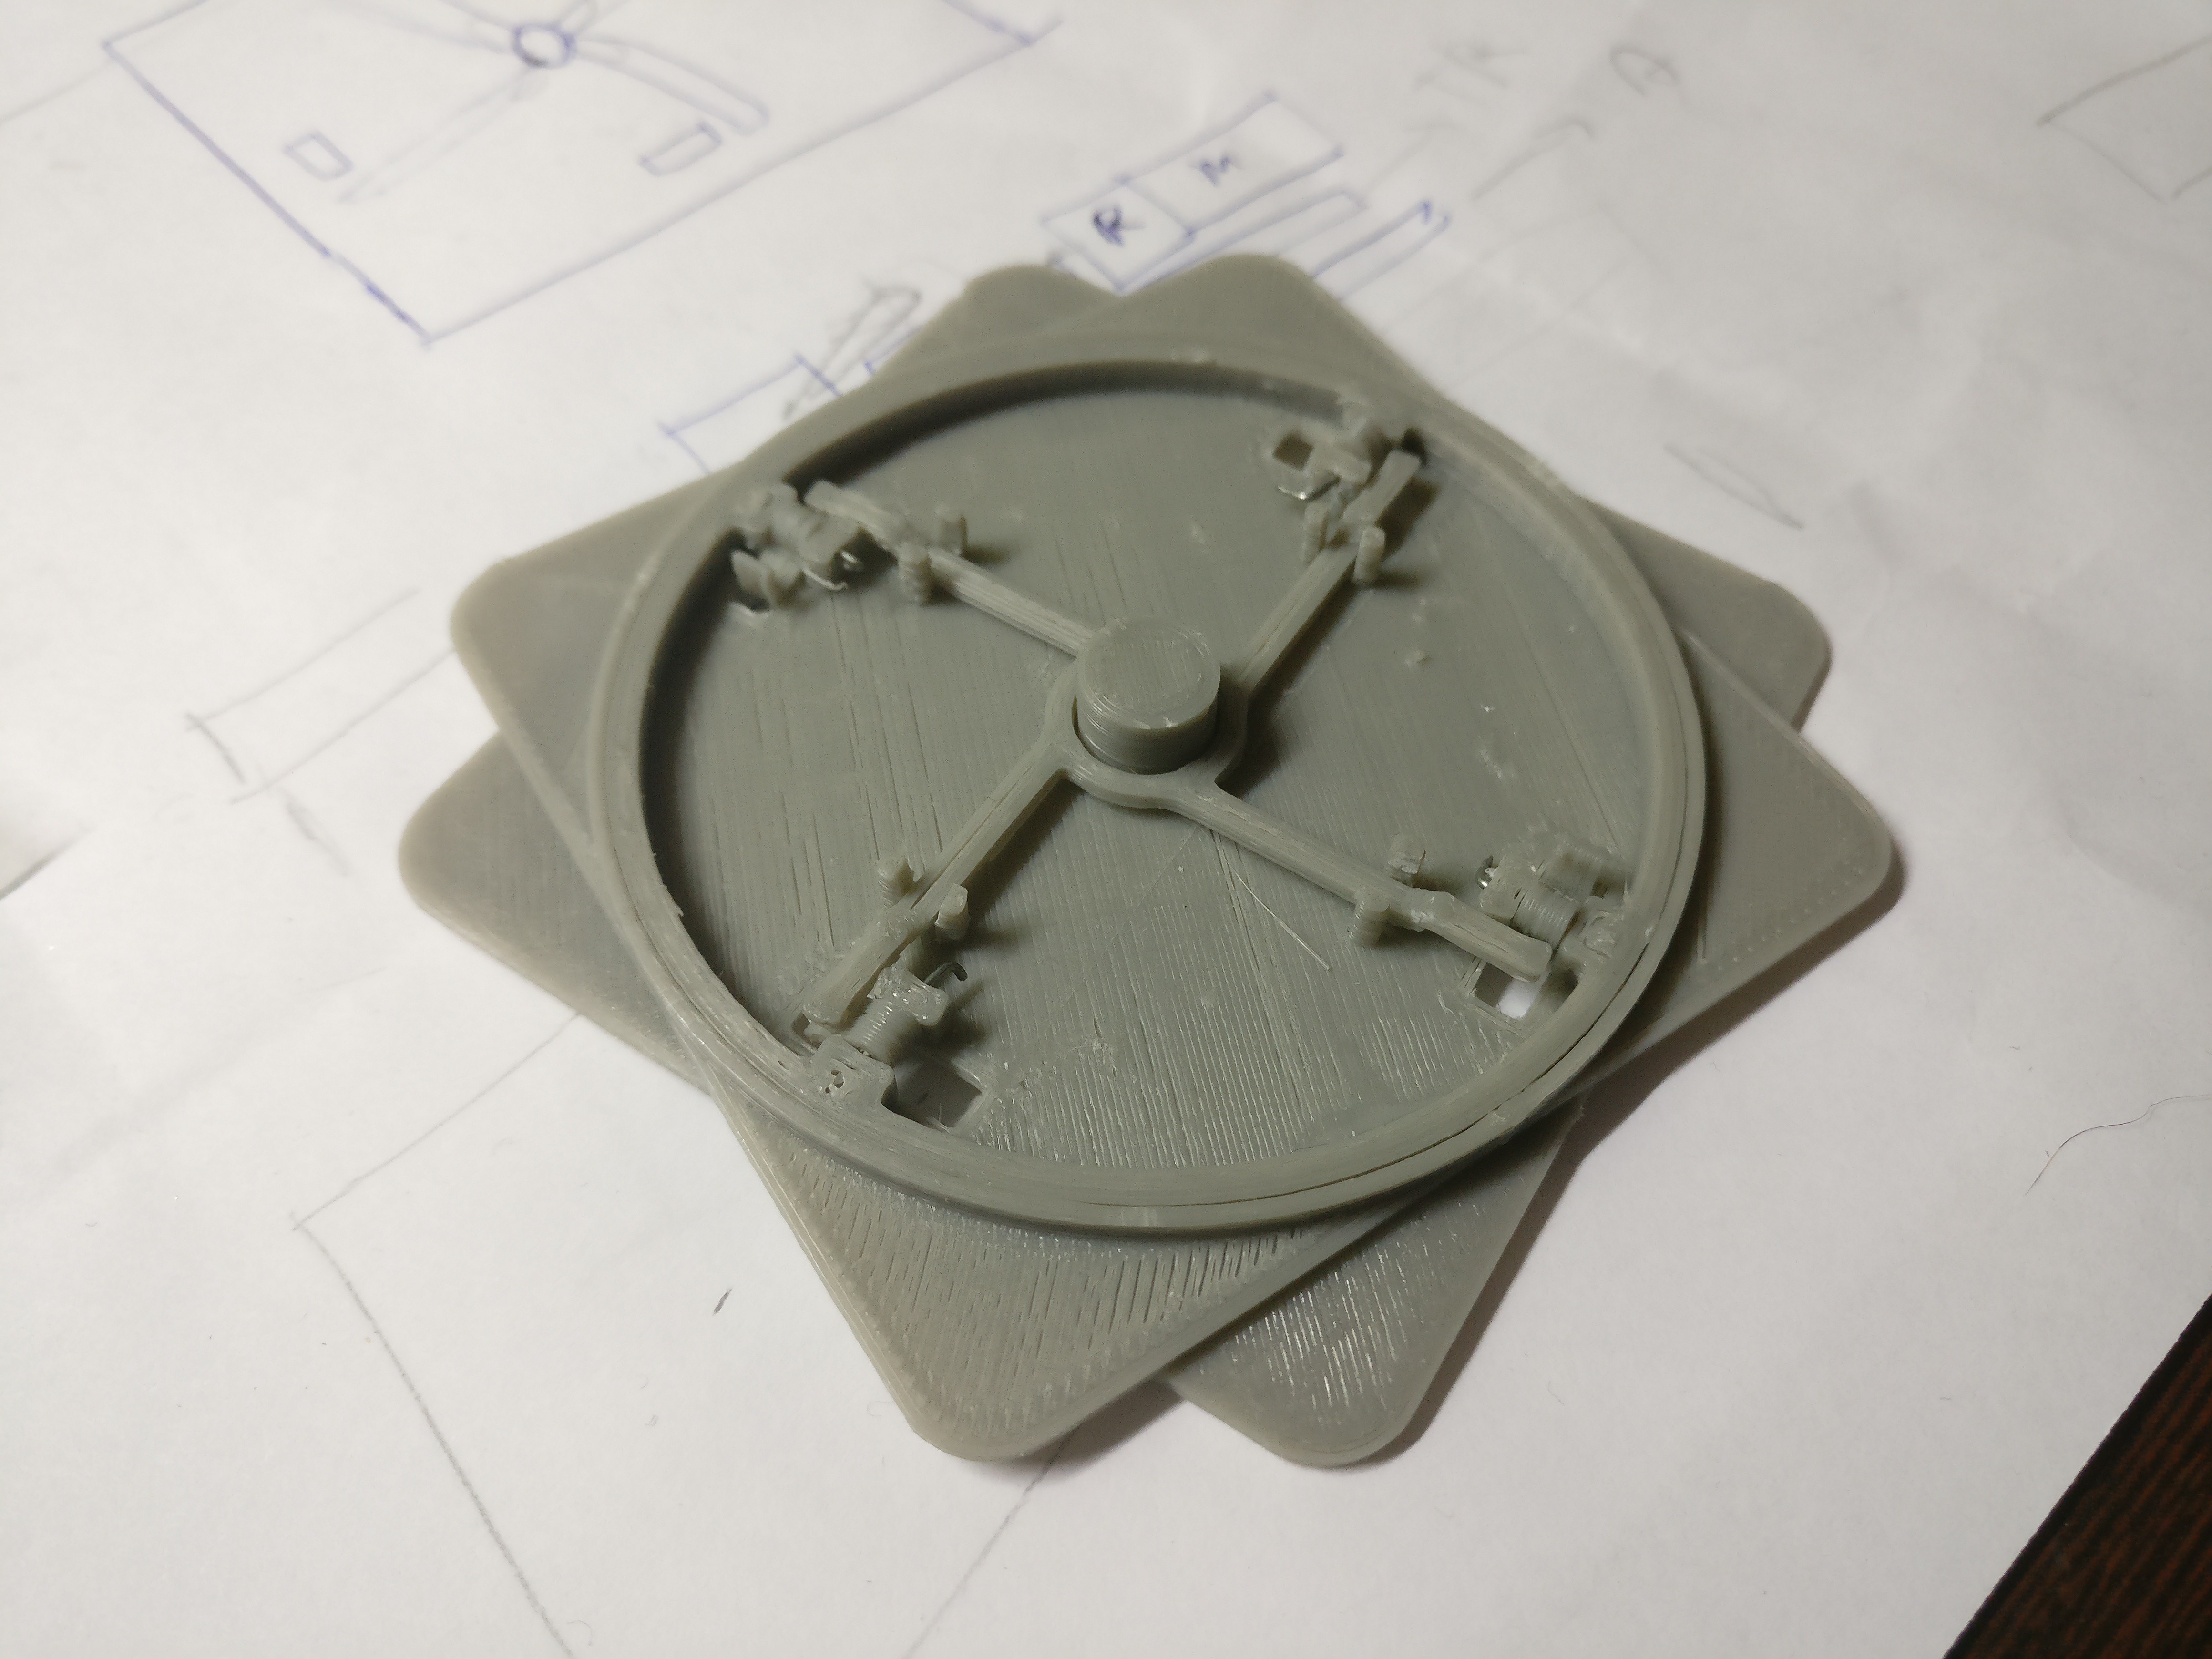
    The most critical part on the modules is the coupling mechanism that holds them together. This is a second design for holding the modules together:


    Any ideas are welcome!

    Alberto

  • Working on Dtto 3.0!

    Alberto03/27/2017 at 16:58 1 comment

    Hello!

    These days we've been trying to design a small mechanism that allows the 4 hooks to rotate with the full face of the module. The idea is that, when mechanically connected, the modules can change their relative position (for example, to change from a 2D worm structure to a 3D snake movement).

    This is the first test, with the 4 hooks on the rotating plate:

    Having rotating faces at both ends of the modules, we could use them as wheels to move on flat surfaces.

    Still a looooot of work to do, we will keep working!

  • Dtto modular robot Work Team!

    Alberto01/31/2017 at 09:35 0 comments

    Hello there!

    We are now a small group of people actively working on the project! Some things that we are currently trying to improve are:

    - More powerful main actuators

    - Smaller coupling mechanism

    - Controller software

    - Robot software! (We still need some software guys interested in robotics :D)

    - Redesign of the module: Same size, +1 DOF

    We are working together in this gdrive folder; it´s open for everyone to see what´s happening inside :)

    If you are interested in sharing something with us, please, don´t hesitate to contact us and we will add you to the workteam!

    Thanks!!

    Alberto

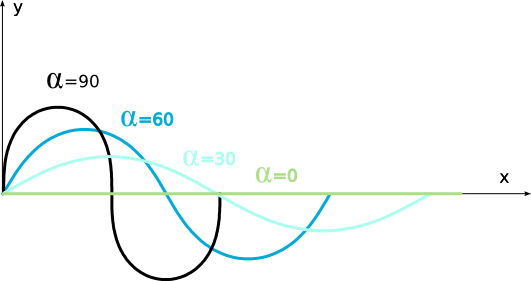
  • Math behind the serpentinoid movement

    Alberto10/20/2016 at 18:07 0 comments

    Hello there!

    Hoping to answer some questions, here you can find the mathematical equations describing the serpentinoid movement:

    The studies by Hirose were the first ones on modelling the snake movement:

    Hirose, Satoshi. Biologically Inspired Robots (Snake-like Locomotor and Manipulator.: Oxford Science Press, 1993.

    You can also check this derived paper:

    Simulation Study of Snake-like Robot’s Serpentine Locomotion Based on Recurdyn

    ; by Wang Nan, Pang Bo and Zhou Sha-Shahttp://maxwellsci.com/print/rjaset/v7-37-41.pdf)

    And this documentation in Spanish by Juan González:

    http://nbviewer.jupyter.org/github/Obijuan/My-Ipython-notebooks/blob/master/serpenoid-curve/Serpenoid-Curve-es.ipynb

    (I will probably make a document with all the documentation I´ve used as soon as I can…)


    Thanks!

  • More Dtto Modular robots around the world :)

    Alberto09/27/2016 at 19:00 0 comments

    Hellooo,

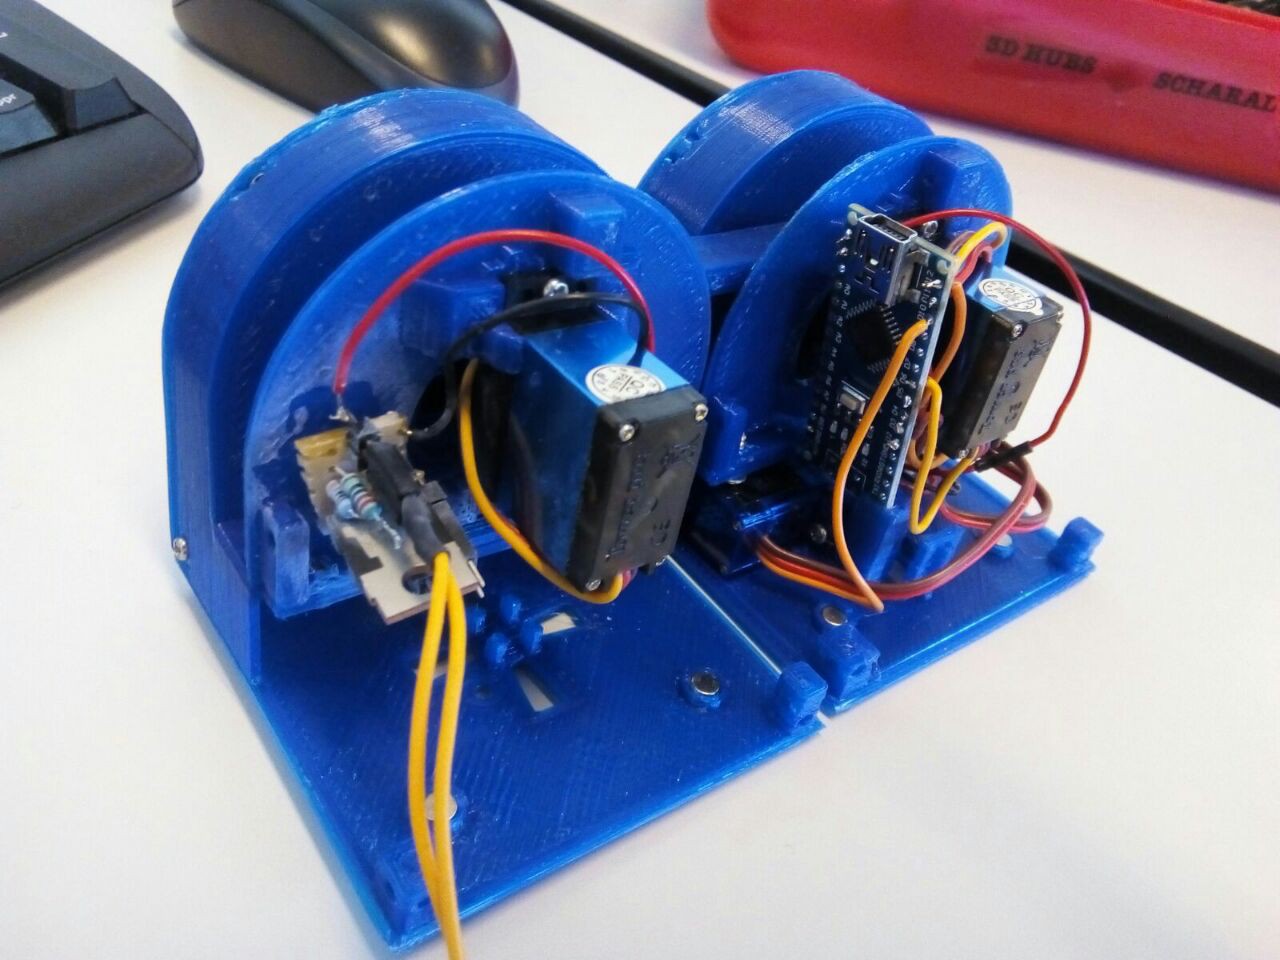
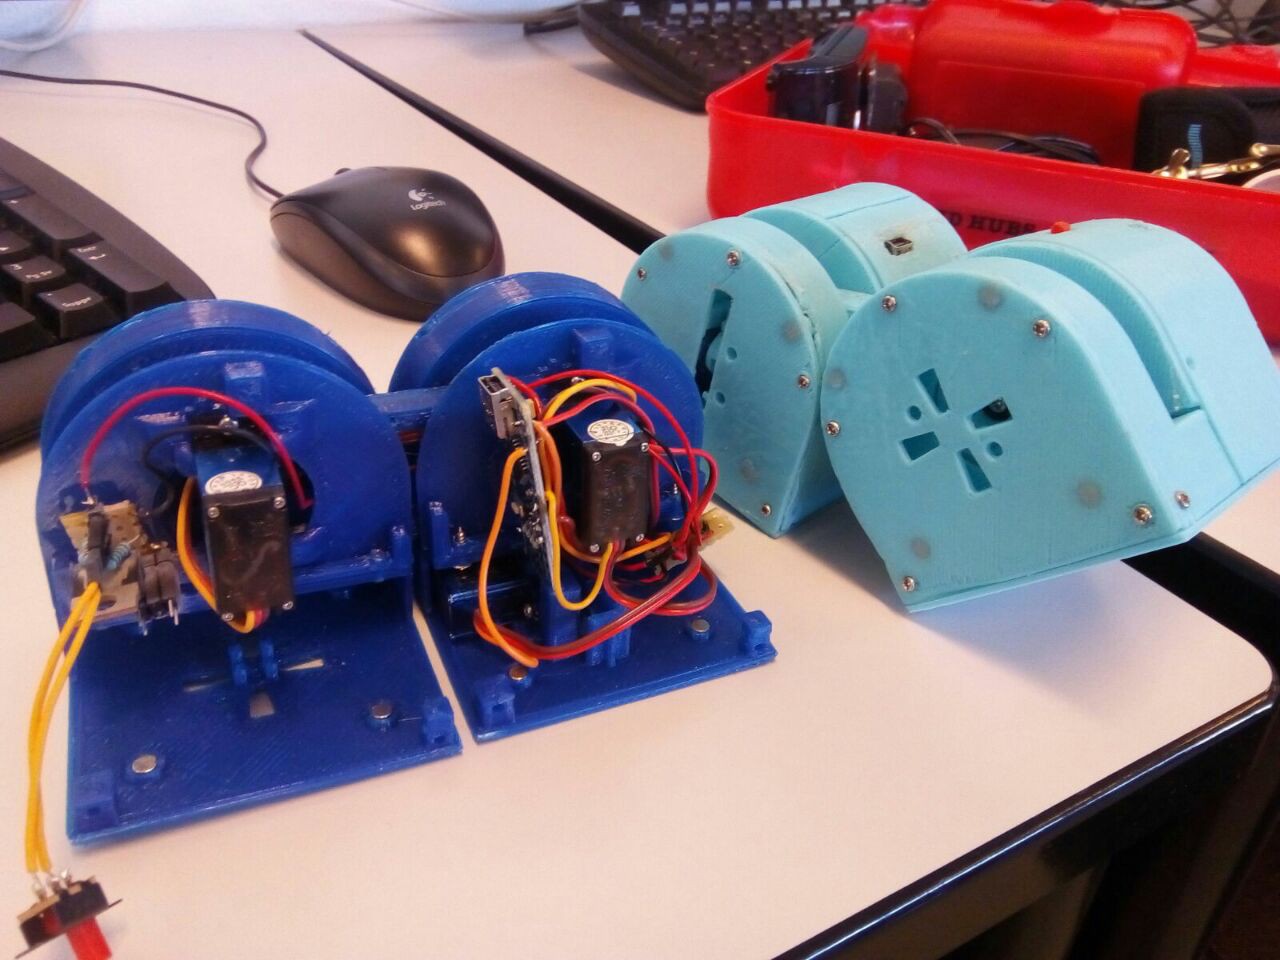
    Today I want to share with you some pictures of the clones we already have!

    The following pictures are from our friend Nathan, from France :

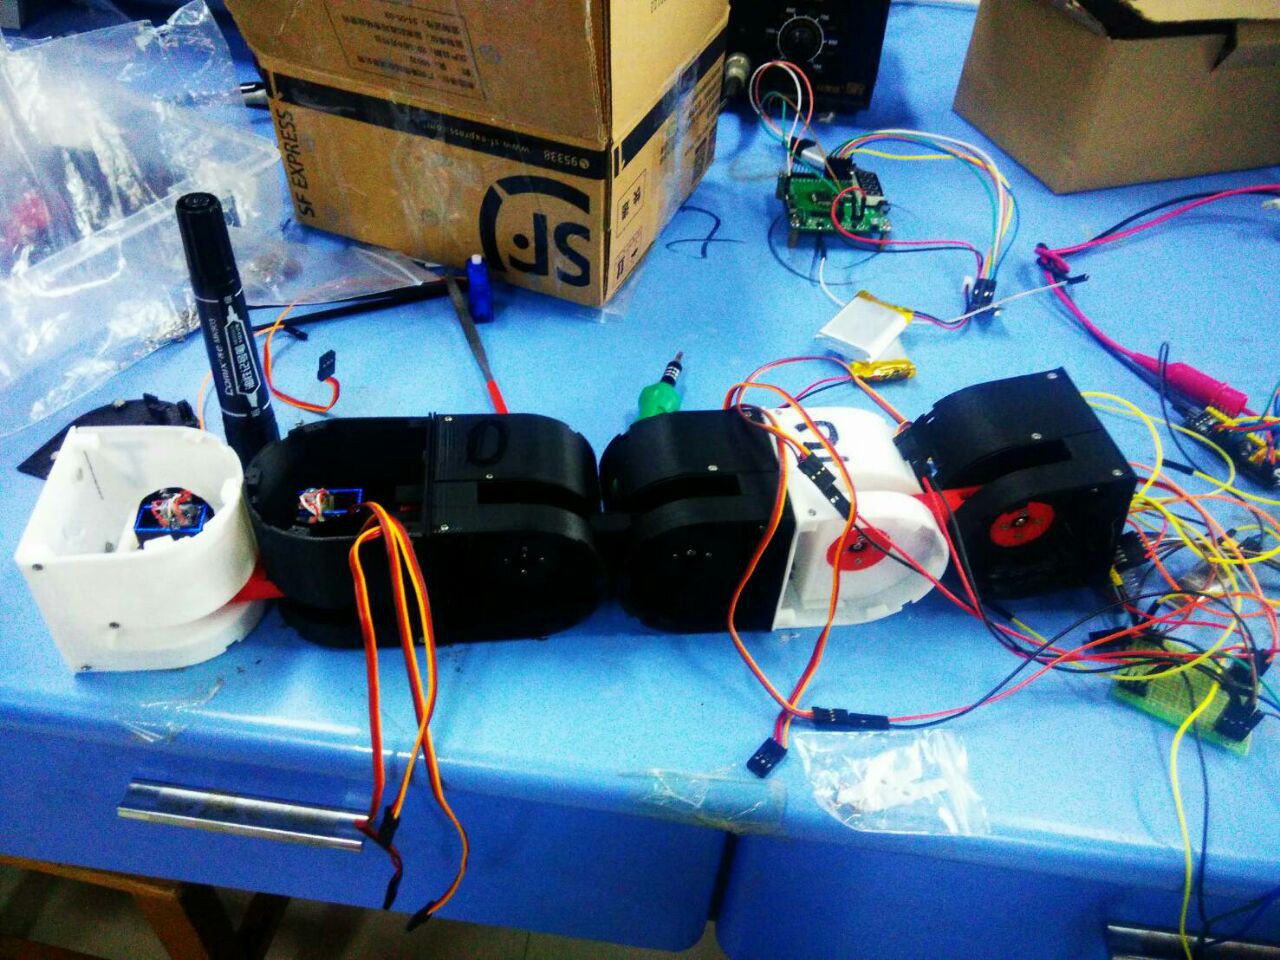
    And here we have the pictures from our friend Nansong, China, who almost have now more modules than myself :D :

    Thanks!!

  • Hexapod locomotion

    Alberto09/14/2016 at 22:02 0 comments

    Hello!

    Today I got the robot to walk like an hexapod robot... so here you have a video!


    Hope you enjoy this weird evolutions until the final one, haha

    Alberto

  • V-REP simulation models available!

    Alberto09/02/2016 at 16:22 0 comments

    Hello!

    It's been a while but today I've uploaded all the simulation files I've created so far! You can simulate the robot, test different parameters and even create your own robot configurations!

    Here's a video showing the simulator in action:


    Thanks!

    Alberto

View all 23 project logs

  • 1
    Step 1

    This is an illustrated guide on how to assembly a module (v2) for the Dtto Modular Robot.

    In the project files you will find the following documents:

    - Bill of Materials

    - List of 3D Printed Parts

    - Schematics

    - STL files for printing

    You will find all the documents also on:

    https://github.com/otrebla333/Dtto-Modular-Robot

    Components:

    Quantity

    Description

    22

    3D Printed Parts

    1

    Arduino Nano v3.0

    1

    HC-05 Bluetooth Module

    1

    NRF24L01+ Wireless Transceiver

    24

    Neodimium Disk Magnets (4x3mm)

    2

    TowerPro MG92B Servomotor

    3

    TowerPro SG90 Servomotor

    2

    Li-Po Battery 3,7V 600mAh 25C

    1

    LM317 Voltage Regulator

    1

    Mini Switch

    1

    WS2812 RGB LED

    40

    M1.7x4mm Self Tapper Screw

    1

    330 Ohms Resistor

    1

    1200 Ohms Resistor

    4

    520 Ohms Resistor

    3

    Small Rubber Band (dental braces)

    This tutorial will show how to assembly a fully working Dtto Modular Robot module. We strongly recommend you to have close by a rasp (nail file, emery board, sandpaper) and a set of precision blades.

    First of all, we need to print all the parts of the robot. For this type of project, whe think that ABS plastic it’s better because it is more machinable than others. The .stl files are available in the links in the first page. You also have a link to a pdf file detailing how many parts we need, each Part Nº and some details (List of 3D Printed Parts). We will be using the Part Nº to identify the parts. We also need the schematics file to check the connections.

    Once we have all our parts printed, all supports removed and carefully sanded, we can proceed to the assembly of the module.

    Note: In this tutorial we won’t be assembling the IR detection system. This feature will be available as soon as possible.

    We do not take any responsibility and we are not liable for anything occurred while assembling and working with this modular robot. :)

  • 2
    Step 2

    We need:

    - 2 x Part 004-1

    - 1 x Part 011-1

    First of all, we have to ensure these 3 parts fit perfectly. It is very important that the 004-1 Parts rotate freely around the center. The easier they rotate, the less energy is lost in friction -> the robot moves better.

  • 3
    Step 3

    We need:

    - 2 x MG92B Servomotor

    - 4 x 520 Ohms Resistor

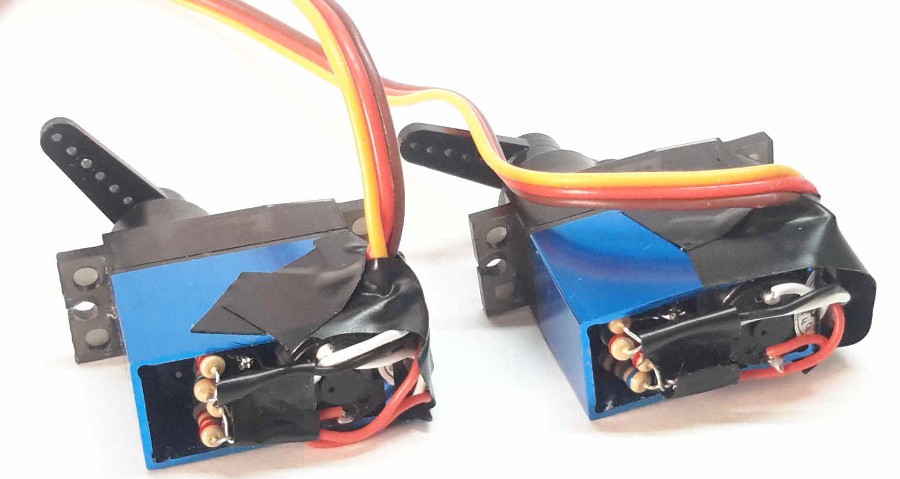
    The second thing to do is to adapt the MG92B Servomotors to turn the full 180 Degrees. The method we used was to add a couple resistors to each servo control circuit:

    - Take apart the back cover of the servomotor (4 screws).

    - Carefully separate the control circuit from the inside. The potentiometer is located under the circuit (it may be covered by a black film). Once you can access the 3 pins of the potentiometer,you have to unsolder the first and the third cable (not the center one). Then, you have to solder a 520Ohms resistor to each of these two pins, and then solder the cable to the resistor. You can find tutorials on how to modify servomotors (search: Modify servo 180 degree), but it’s important you use the 520 Ohms resistors (in the pictures we used one 680 and one 2200 Ohms resistors in parallel to get the 520 Ohms).

    - The control circuit does not fit the casing anymore, so we are going to stick it to the side of the metal case (see pictures). Protect the circuit from short-circuits with some tape on both sides.

    - Repeat the procedure for the other servomotor

View all 21 instructions

Enjoy this project?

Share

Discussions

Leo wrote 04/04/2019 at 09:39 point

OMG this is the coolest thing I've ever seen. Have you ever thought about selling it to rescue organizations? 

  Are you sure? yes | no

Hassen wrote 11/30/2018 at 02:53 point

Can anyone brief me about initialization and steps of servo instructions ?  Thanks

  Are you sure? yes | no

jake2468uk wrote 11/06/2018 at 20:40 point

Can I just ask what exactly it is that tells the robots which shape and movements to take? is it random or is it based on how many of the robots are active or is it controlled somewhere else?

  Are you sure? yes | no

Aaron wrote 01/04/2018 at 15:19 point

I've noticed that some of the segments are different in the videos. What are the difference between the two?

  Are you sure? yes | no

Alberto wrote 03/16/2018 at 11:06 point

Hi Aaron,

There are two different and compatible versions shown in the videos. You have both models on Github, with their FreeCAD files.

The biggest difference is the main motors. The second version is using metal geared motors.

The 3rd version is intended to be a complete redesign, new materials, new motors, new coupling mechanism, new degrees of freedom and new brain. And a decent and usable code.

I started working on it but I was overwhelmed by the complexity of the project, so after more than two years working on the project I decided to take a break and work on other things.

I'm gonna upload what I have soon.

Alberto

  Are you sure? yes | no

Aaron wrote 09/07/2017 at 14:16 point

Is there anyways I can get the dimensions for the parts? 

  Are you sure? yes | no

Mohsen Abbasi wrote 04/26/2017 at 15:02 point

Which program do you use for simulation? V-Rep?

Do you know a better one?

  Are you sure? yes | no

Alberto wrote 03/16/2018 at 11:07 point

I use V-REP for all the simulations. I think it's pretty cool and we can use it with an open license. I haven't used any other robot simulation software, sorry,

Alberto

  Are you sure? yes | no

Aaron wrote 04/25/2017 at 00:02 point

Do you have an open repository for your V3? I'm very eager to see the new stuff you're working on, and even experiment with it myself. 

  Are you sure? yes | no

Aaron wrote 04/04/2017 at 16:28 point

Have you considered moving to another chip beyond the Arduino Micro? I've been messing around with both the ESP8266 and the NRF52 series. They're both very low power and offer a lot of bang for their buck - so to speak. 

This is a really fantastic project, and has made me eager to get my 3D printer working again. Why did you end up choosing this form factor over something like the SMORES?

  Are you sure? yes | no

Alberto wrote 04/19/2017 at 16:33 point

I'm thinking on moving to the SAM family of Atmel, because probably for future applications we will need more brain on the robots. 

I absolutely admire the SMORES and the work they have done there, but I think there are not really many advantages on using that form factor. The project gets much more complicated to design, and you have more electronic "overhead", because you need more modules. 

The third version I'm actually working on should solve some of the problems of previous versions, and add some new cool reconfiguration possibilities! 

  Are you sure? yes | no

Simon Merrett wrote 01/05/2017 at 18:14 point

It seems strange that the winner of the HaD Prize hasn't posted anything on HaD.io for many weeks. Are there any updates?

  Are you sure? yes | no

Alberto wrote 01/16/2017 at 13:32 point

Hello Simon,

Sorry for the delay, I´ve been a little off these weeks... I´m actually thinking on making major design changes to the robot, so making it version 3! The main goals for it are:

- More powerful main motors, with position feedback

- Strongest coupling mechanism + stronger magnets (have to test it yet), and maybe removing the separator mechanism.

- Add a new DOF in one end, to allow rotation of the modules when they are snake-like connected

- Adding Gyro + Accelerometer to all of them, and working on the software to take profit of that (actually the software it´s the weakest point...)

- Finishing the IR communication system so they can find themselves 

I have many more things in mind, and I will start almost full time on it in maybe two months... But any help and ideas are welcome!

Alberto

  Are you sure? yes | no

Simon Merrett wrote 01/16/2017 at 18:31 point

Welcome back! I made a more detailed reply to your response below.

  Are you sure? yes | no

leerlemoniii wrote 01/05/2017 at 02:34 point

without a doubt the coolest small robot project I have ever seen.  The fact that these modules attach themselves together is a remarkable idea... keep up the cool work.

  Are you sure? yes | no

Alberto wrote 01/16/2017 at 13:24 point

Self-reconfigurable robots are without doubt (for me) the coolest robots nowadays! If you like them, you could also check out the SMORES robot, by modlabupenn, where the father of reconfigurable modular robots (Prof. Mark Yim) it´s actually working!

  Are you sure? yes | no

Simon Merrett wrote 11/23/2016 at 14:48 point

Hi, I'm impressed! I read an article about all the different mechanisms you considered and discounted but can't find the link now. Please could you link it here or tell us what you ruled out on your way to the current design? It would really help people to offer ideas for improvement. 

  Are you sure? yes | no

Alberto wrote 01/16/2017 at 13:20 point

Hello Simon! 

I actually can´t think of that article you mention... The mechanism is shown here min 1:04

The idea was that the mechanism was able to hold the modules together, but also separate them when needed. The problem that I´m seeing with this mechanism is that the servo is too big for what it does... I´m actually thinking on removing the "separation" possibility, to reduce the size of the motor and put bigger main motors.... But anyways, I think the coupling mechanism should be improved to be more solid and resist better at torsion forces... Any ideas?

Thanks!

  Are you sure? yes | no

Simon Merrett wrote 01/16/2017 at 18:31 point

Alberto - great to hear from you! I think the phrase which confused me was from this post http://hackaday.com/tag/2016-hackaday-prize/ which said "the multitude of different mechanisms built from modules during testing". It made me think there were multiple *module* mechanisms tested, not overall configurations of modules.

Nevertheless, it's great to get more detail on what you'll be focusing on next. 

For the inter-module coupling mechanism, what about a ball lock pin style of connection? E.g.


That would allow large pulling forces, self location (rounded end and magnets) as well as low unlocking forces. If used centrally, the new degree of freedom you mentioned above could rotate around this pin.

Can you build the DOF in the middle (intra-module?) coupling? This would perhaps offer new travelling options to a single module.

The other thought your project sparked in me was to perhaps use "tendons" around a "spine" and perhaps a soft outer case that would assist in constraining the tendons, to create a "vertibrate"  mechanism. Roger Rabbit's worm isn't a million miles away from the concept. https://hackaday.io/project/9570-robot-walking-like-worm

Sorry if I'm getting carried away - it's just such an exciting project.

Could you expand on the bit about maybe losing the ability to decouple/separate the modules? It seems like an important feature to achieve "reconfigurability" without looking into it in detail. Would you keep the feature if you could move the servo to another part of the module? Can servos go smaller and still work? There are small linear actuators but I haven't tried them out.

  Are you sure? yes | no

Hua Tiger wrote 08/21/2016 at 15:46 point

Coolest project! http://www.modrobotics.com may also be interesting.

  Are you sure? yes | no

Alberto wrote 08/23/2016 at 08:50 point

Yes! In that website we can see that modular robots can also make great toys... thanks

  Are you sure? yes | no

Javier Isabel wrote 06/06/2016 at 18:09 point

Dtto is amazingl! Good luck with the project and keep on oscillating :)

  Are you sure? yes | no

Alberto wrote 07/04/2016 at 09:39 point

Thank you very much Javier!

  Are you sure? yes | no

Harry Svensson wrote 06/06/2016 at 00:25 point

I can literally hear the integers the servos are fed with, ouch. My point: There are smaller degrees than 1, the protocol the servo is using is not limited to 180 different values. 

  Are you sure? yes | no

Alberto wrote 06/06/2016 at 11:22 point

Thanks for your comment, I never thought it was necessary but it probably is. 

I will update the code to use the write.microseconds instruction.

Thanks

  Are you sure? yes | no

Alex Rich wrote 03/04/2016 at 01:38 point

I didn't understand how cool this was until I saw the video - great project!  My kids loved it, this would make a fantastic toy.

  Are you sure? yes | no

Alberto wrote 03/04/2016 at 11:28 point

Yes it would! I'm working on making it simple, but there's still a lot of work in the software part... Thanks!

  Are you sure? yes | no

Gertlex wrote 03/03/2016 at 18:55 point

Great looking project, and the video is super neat as well!

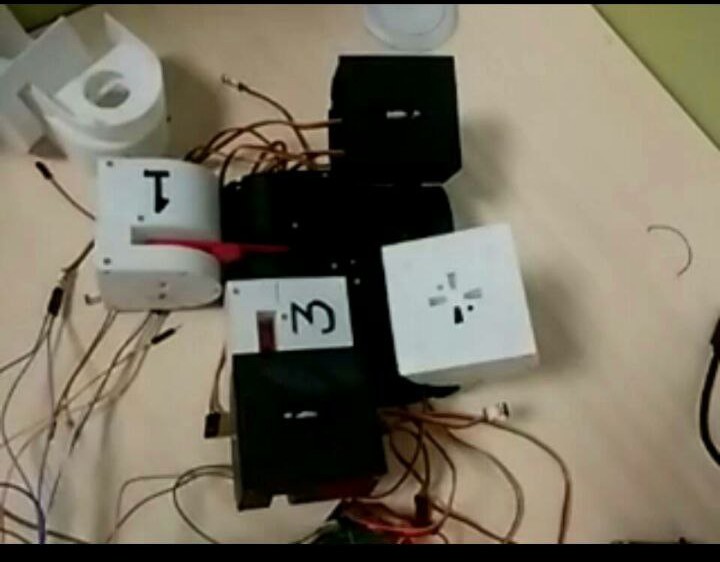
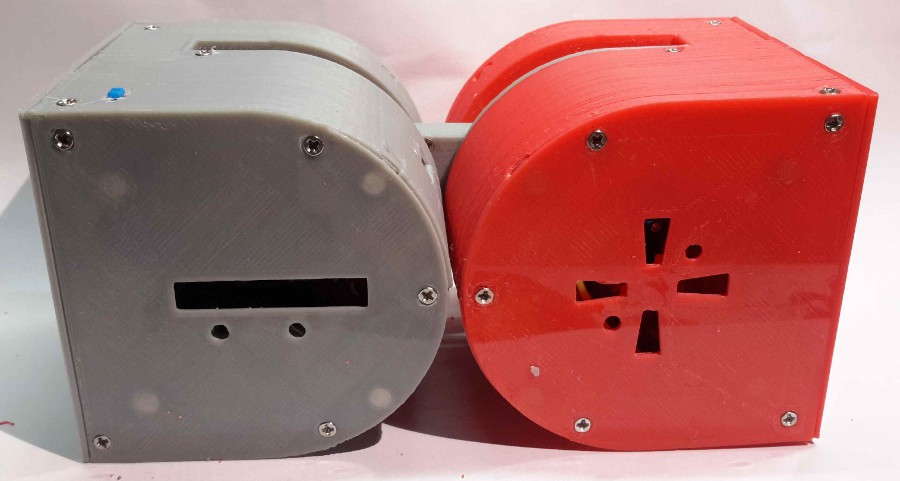
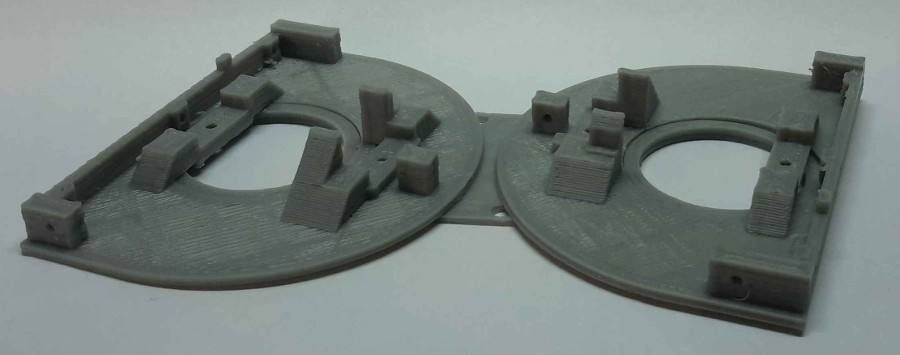
Can we get a pic or three of the internals? :)

  Are you sure? yes | no

Alberto wrote 03/04/2016 at 11:43 point

I've uploaded some internal pics in the 'files' section (It's my first time using hackaday so I don't know if that's the usual way to do it..).

Thanks!

  Are you sure? yes | no

Gertlex wrote 03/04/2016 at 17:14 point

Thanks :) Great job with the packaging!

  Are you sure? yes | no

jaromir.sukuba wrote 07/04/2016 at 06:55 point

For easier viewing, you can just make new project log with lots of photos - at least, that's what I usually do. Those photos will appear in the gallery too.

You way is more friendly to those with slower internet connection, on the other hand.

By the way, amazing project. Usually I'm not exceptionally thrilled by robotics projects, but this one is outstanding.

  Are you sure? yes | no

Similar Projects

Does this project spark your interest?

Become a member to follow this project and never miss any updates