 Jasper Sikken
I have replaced the batteries and the charger of my Philips FC6149 Mini Vacuumer because the batteries were worn out 1 year after purchase. Only after I started hacking I realised it was still in its 2 years guarantee period, so I might as well have returned it for a new one. My mini vacuumer had always been on it's charging base.
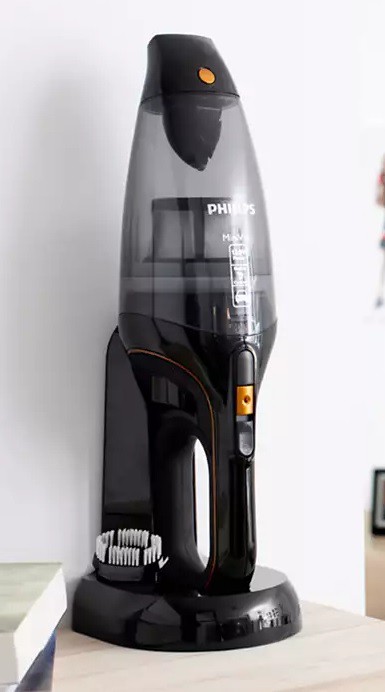
I have tried to rehresh the batteries by running them all the way down and recharge a few times, but that didn't help. It was time to open it up.
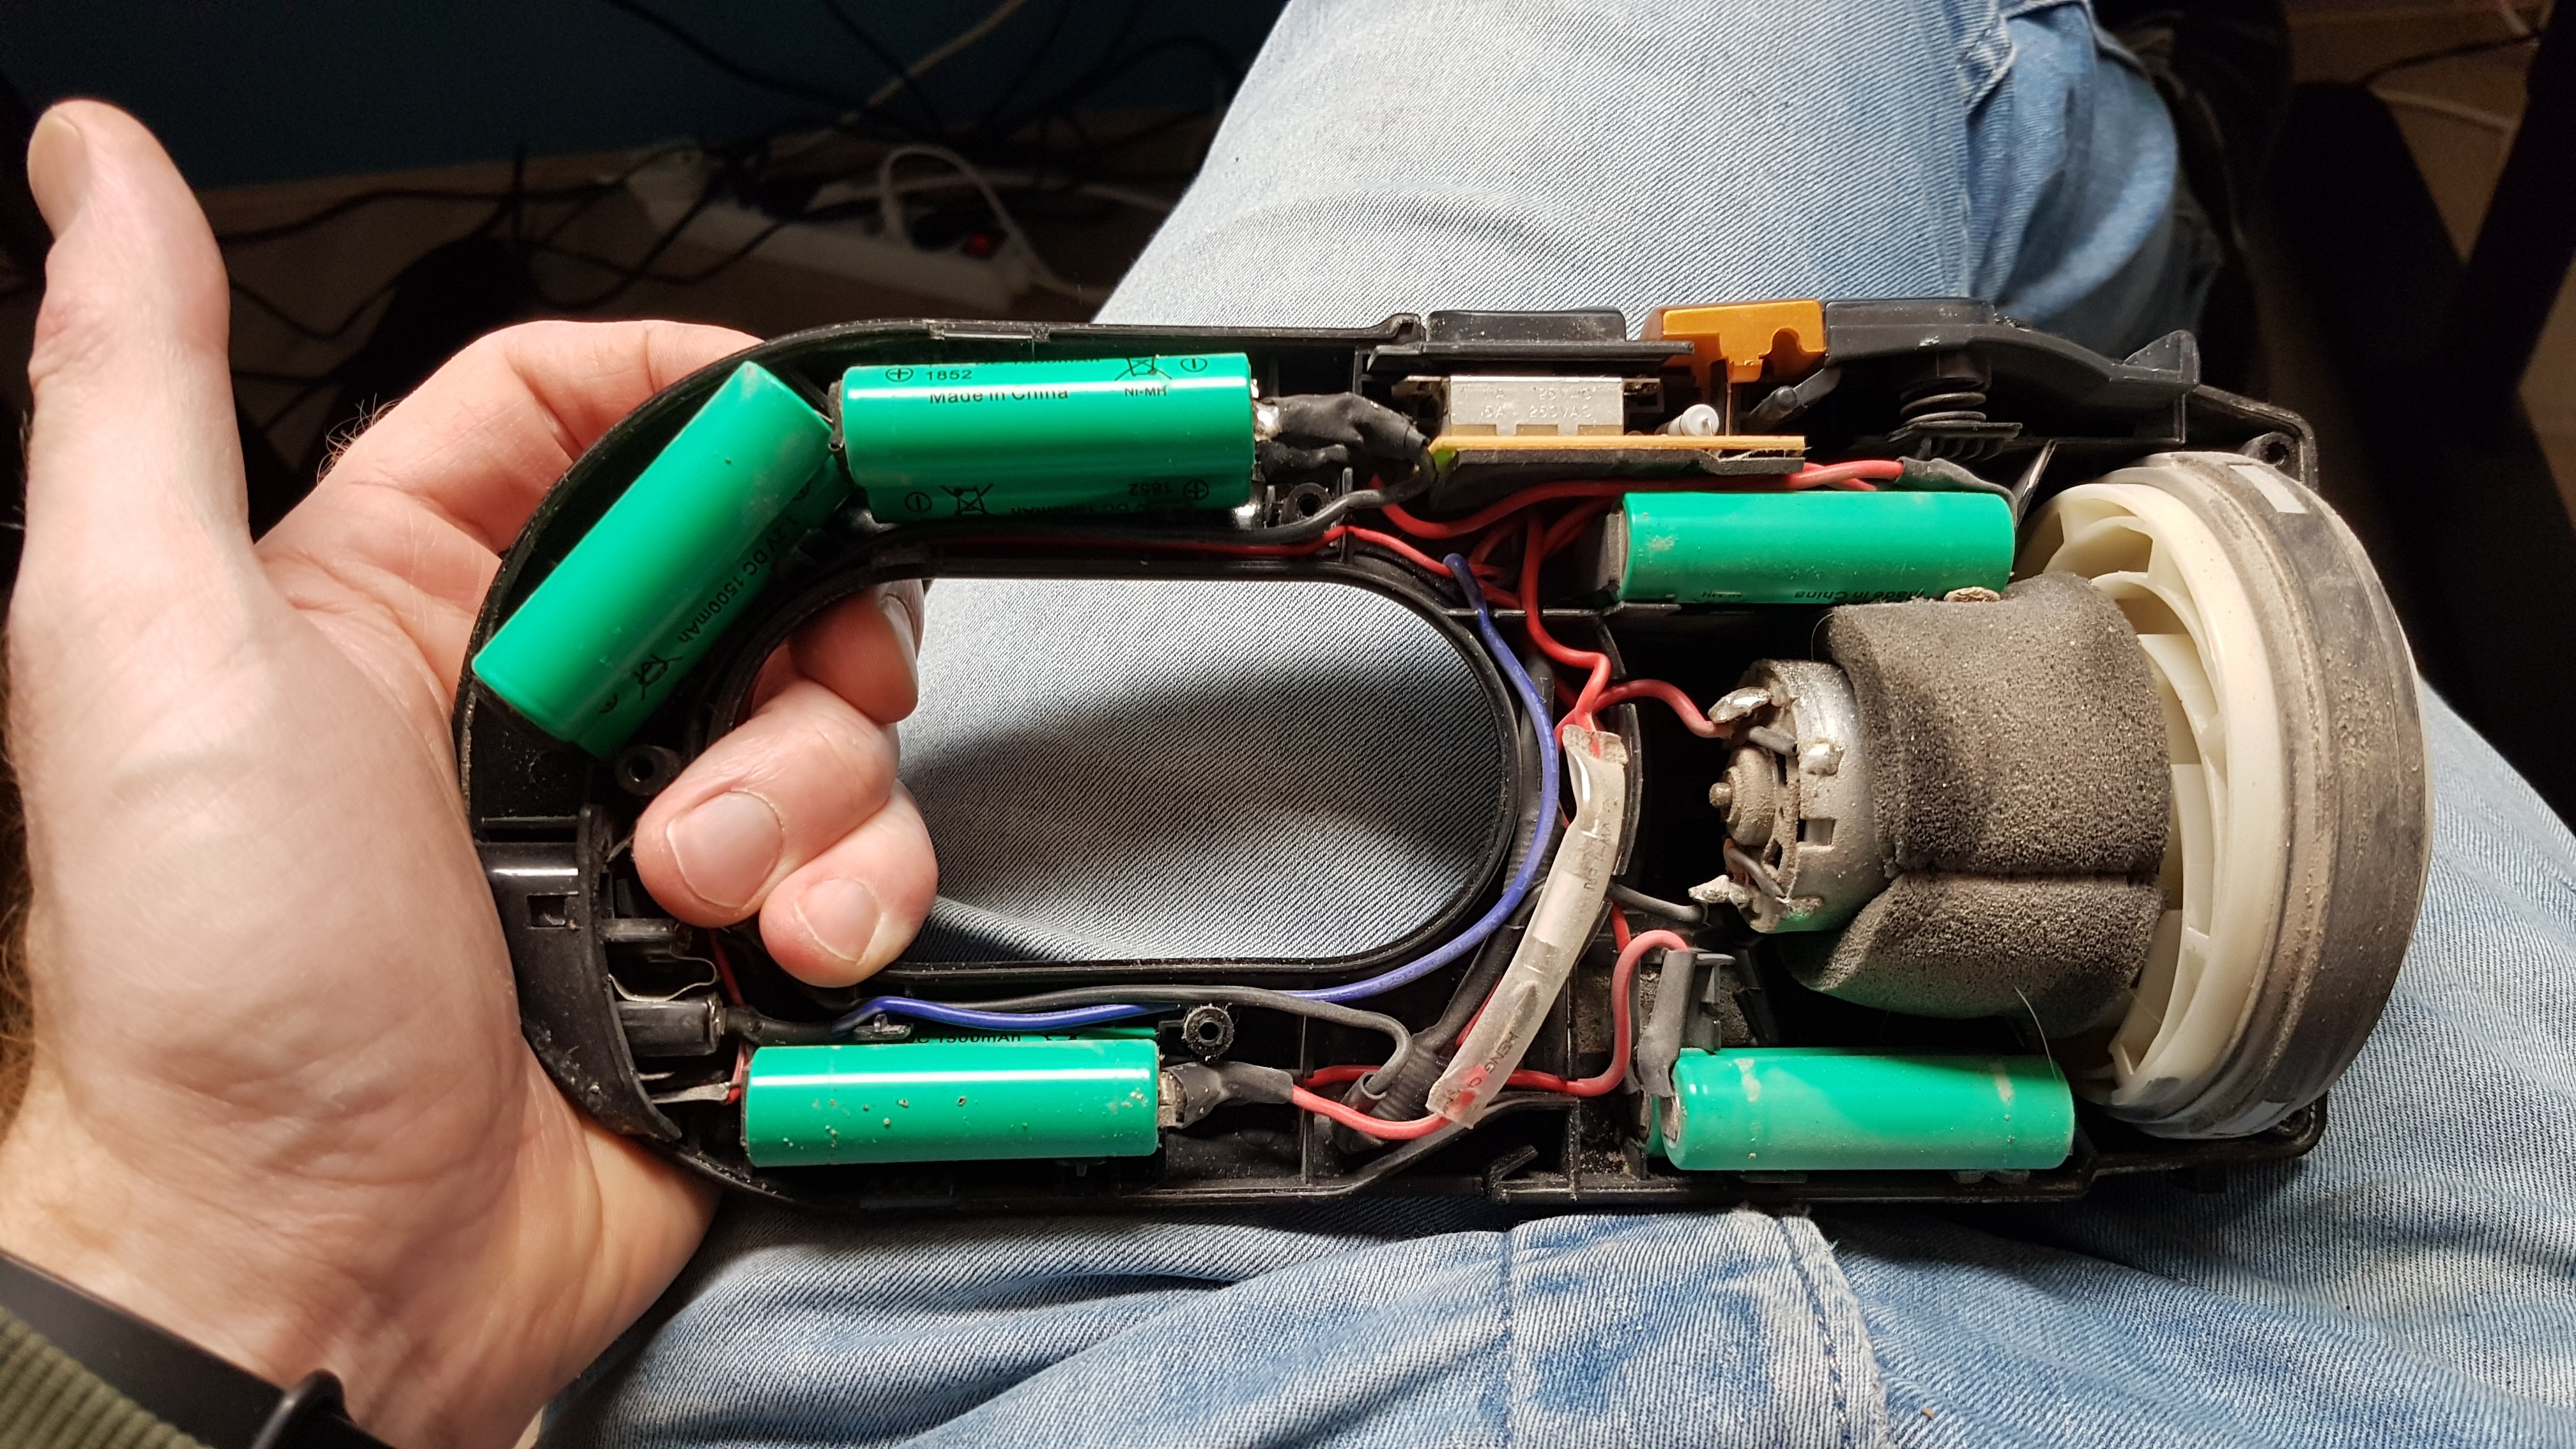
I found ten 1.2V Ni-MH batteries in series. The charging circuit basically exist of a 18V/200mA external power adapter and a series resistor. What? Oh my god. That is so bad. This charging circuit is designed so cheap, no wonder after 1 years of continuous charging the batteries wear out. Philips, this is so bad!
I have replaced the batteries with two 18650 Li-ion cells in series, a 1A 2S Li-ion charger and a 10A/2S battery protection/balancing board. And the 18V/200mA power adapter was replaced by a 12V/1A adapter. It took a while to remove some internal plastic to make place for these bigger cells.
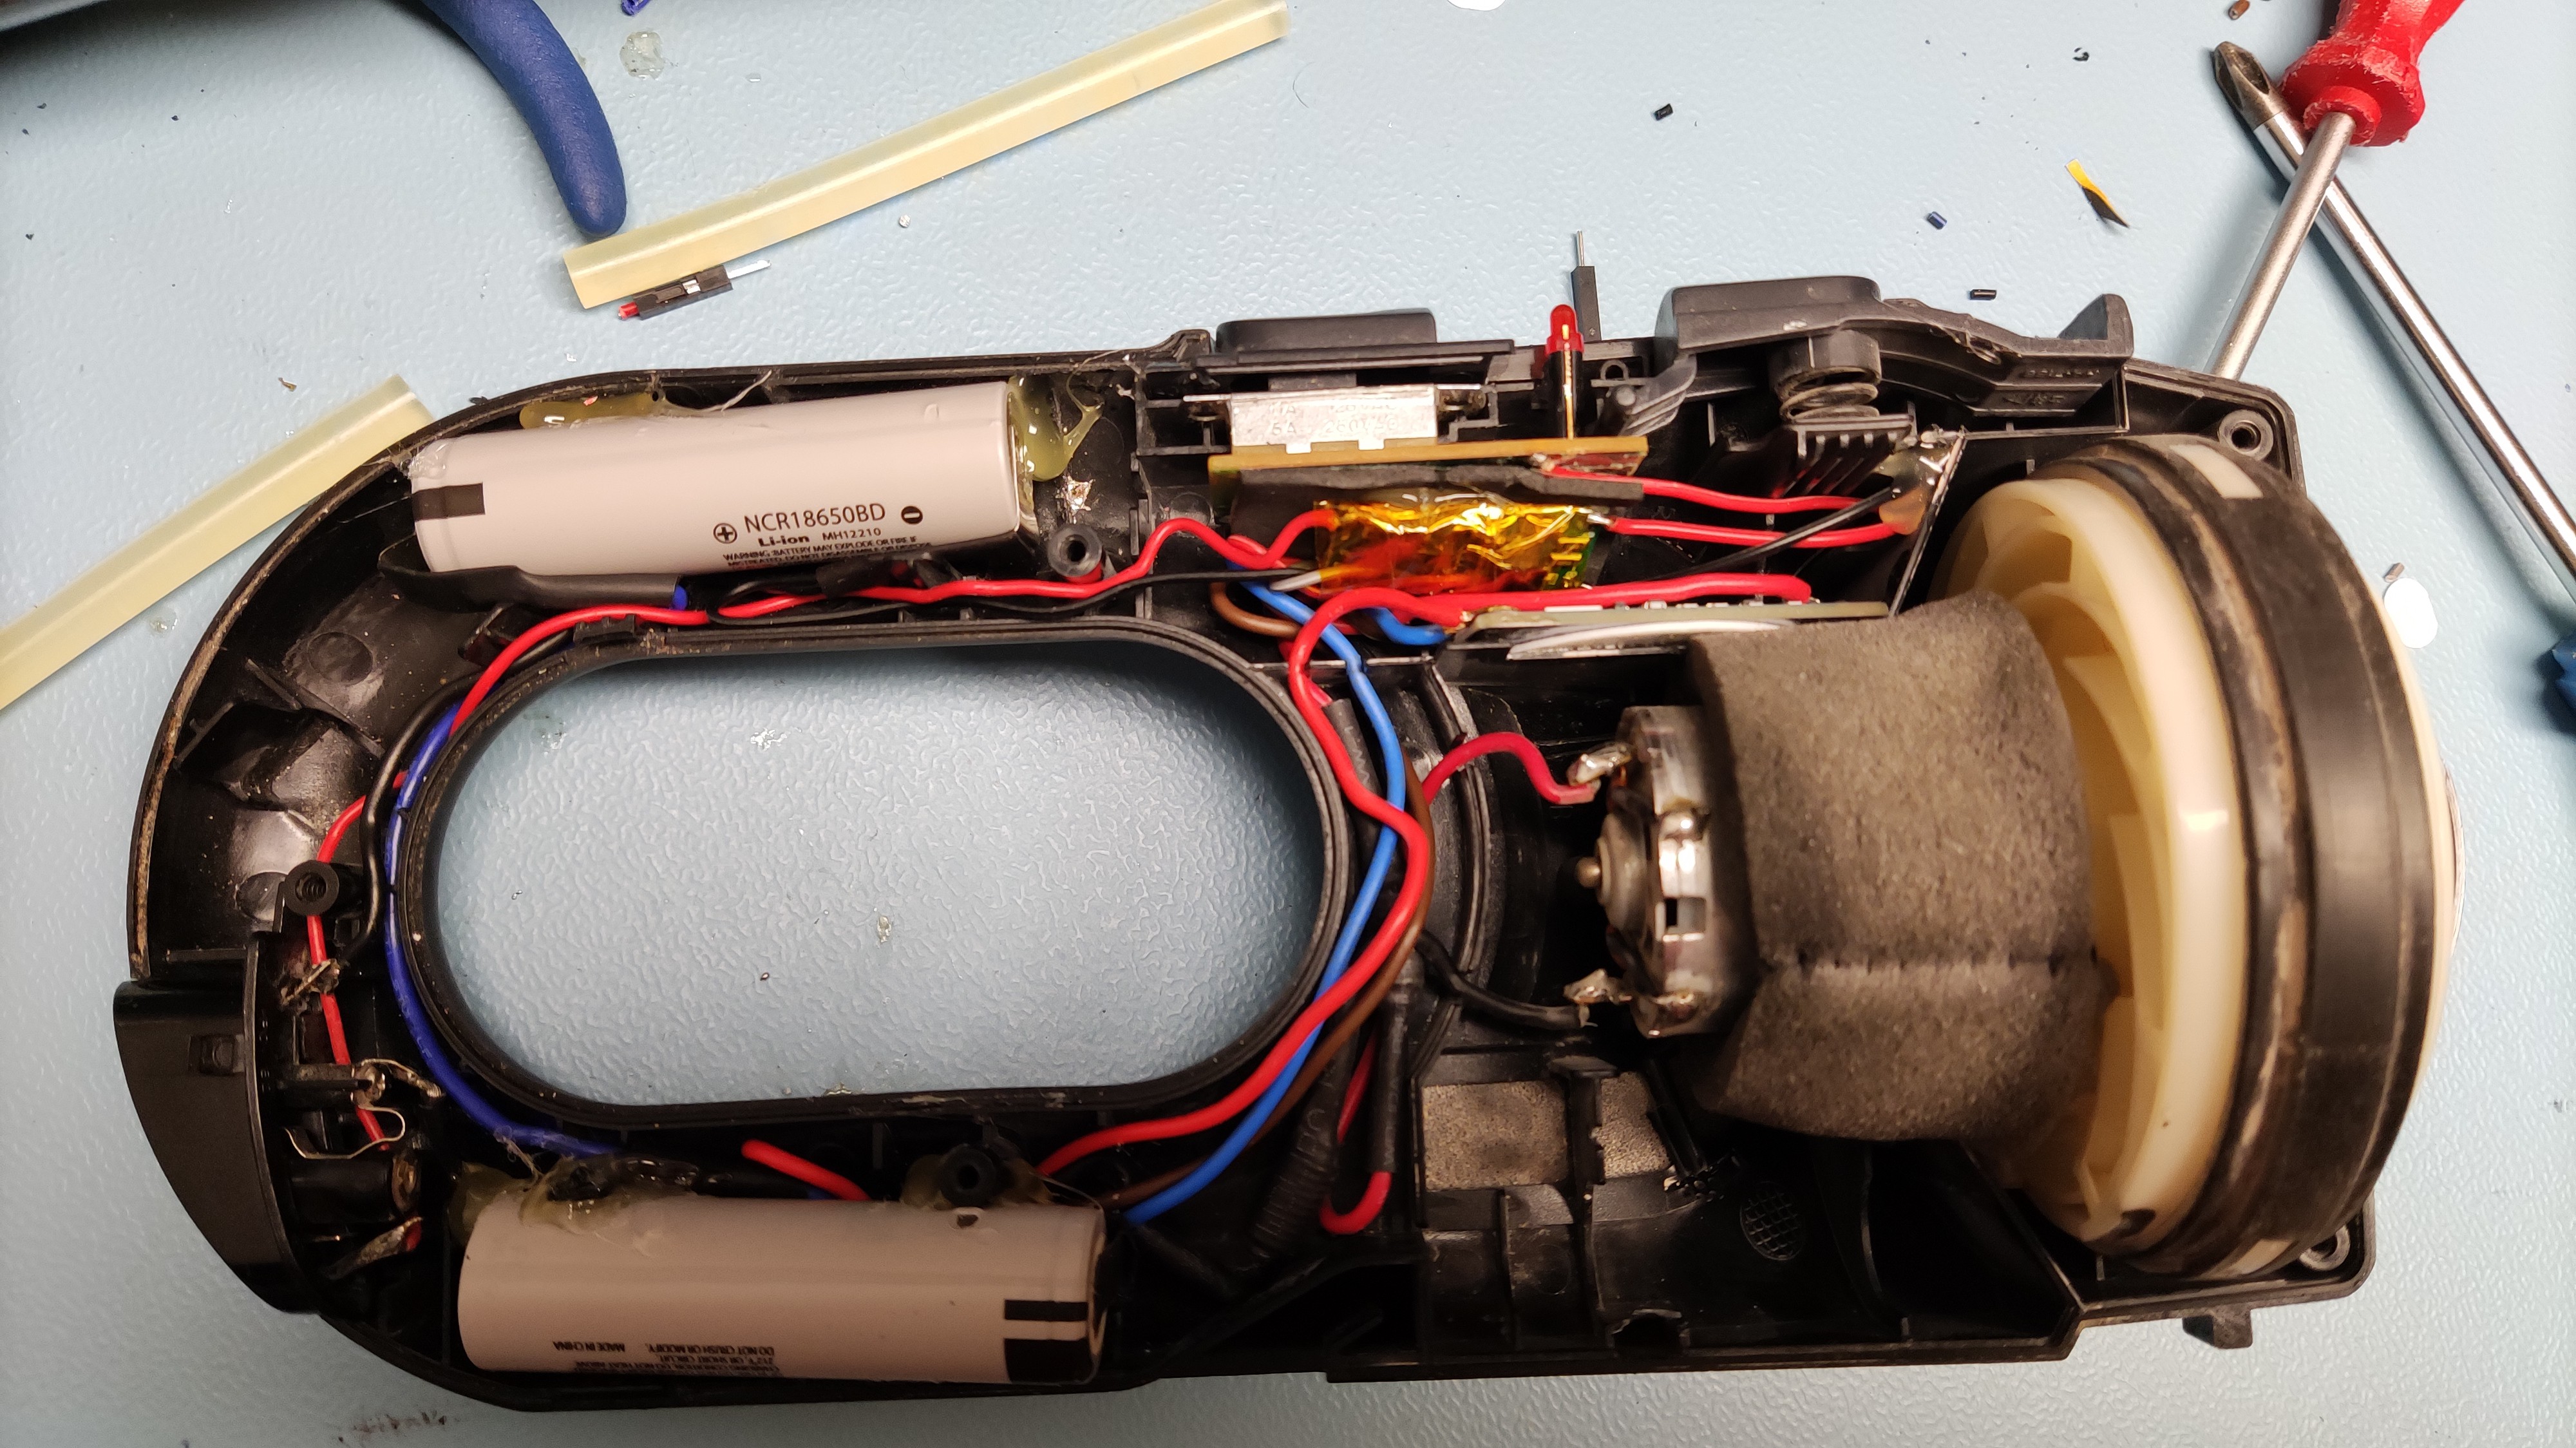
Even though the battery voltage (7.4V) is lower than before (12V) it works great again.
Discussions
Become a Hackaday.io Member
Create an account to leave a comment. Already have an account? Log In.
Hi There, do u have the step by step to upgrade this vacuum? I have one too but not able to charge anymore.. so i've been using the cigarette lighter with a cable in order to use it. Kinda defeat the purpose... hoping i can make it wireless again. Thanks
Are you sure? yes | no
No sorry I don't have a step by step guide.
Are you sure? yes | no
I made one based on the post of Jasper.
https://hackaday.io/page/13754-philips-minivac-battery-conversion
Are you sure? yes | no
cool!
Are you sure? yes | no