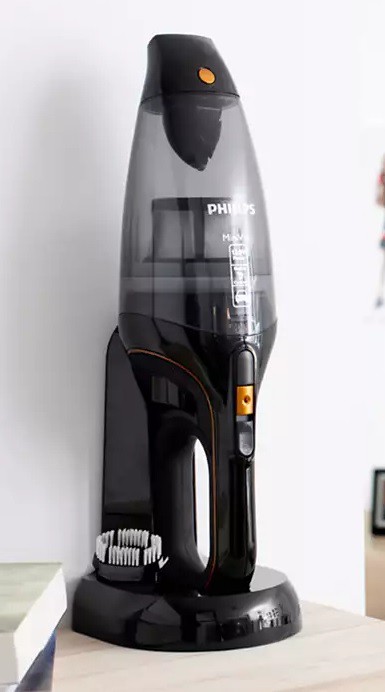
I have replaced the batteries and the charger of my Philips FC6149 Mini Vacuumer because the batteries were worn out 1 year after purchase. Only after I started hacking I realised it was still in its 2 years guarantee period, so I might as well have returned it for a new one. My mini vacuumer had always been on it's charging base.

I have tried to rehresh the batteries by running them all the way down and recharge a few times, but that didn't help. It was time to open it up.

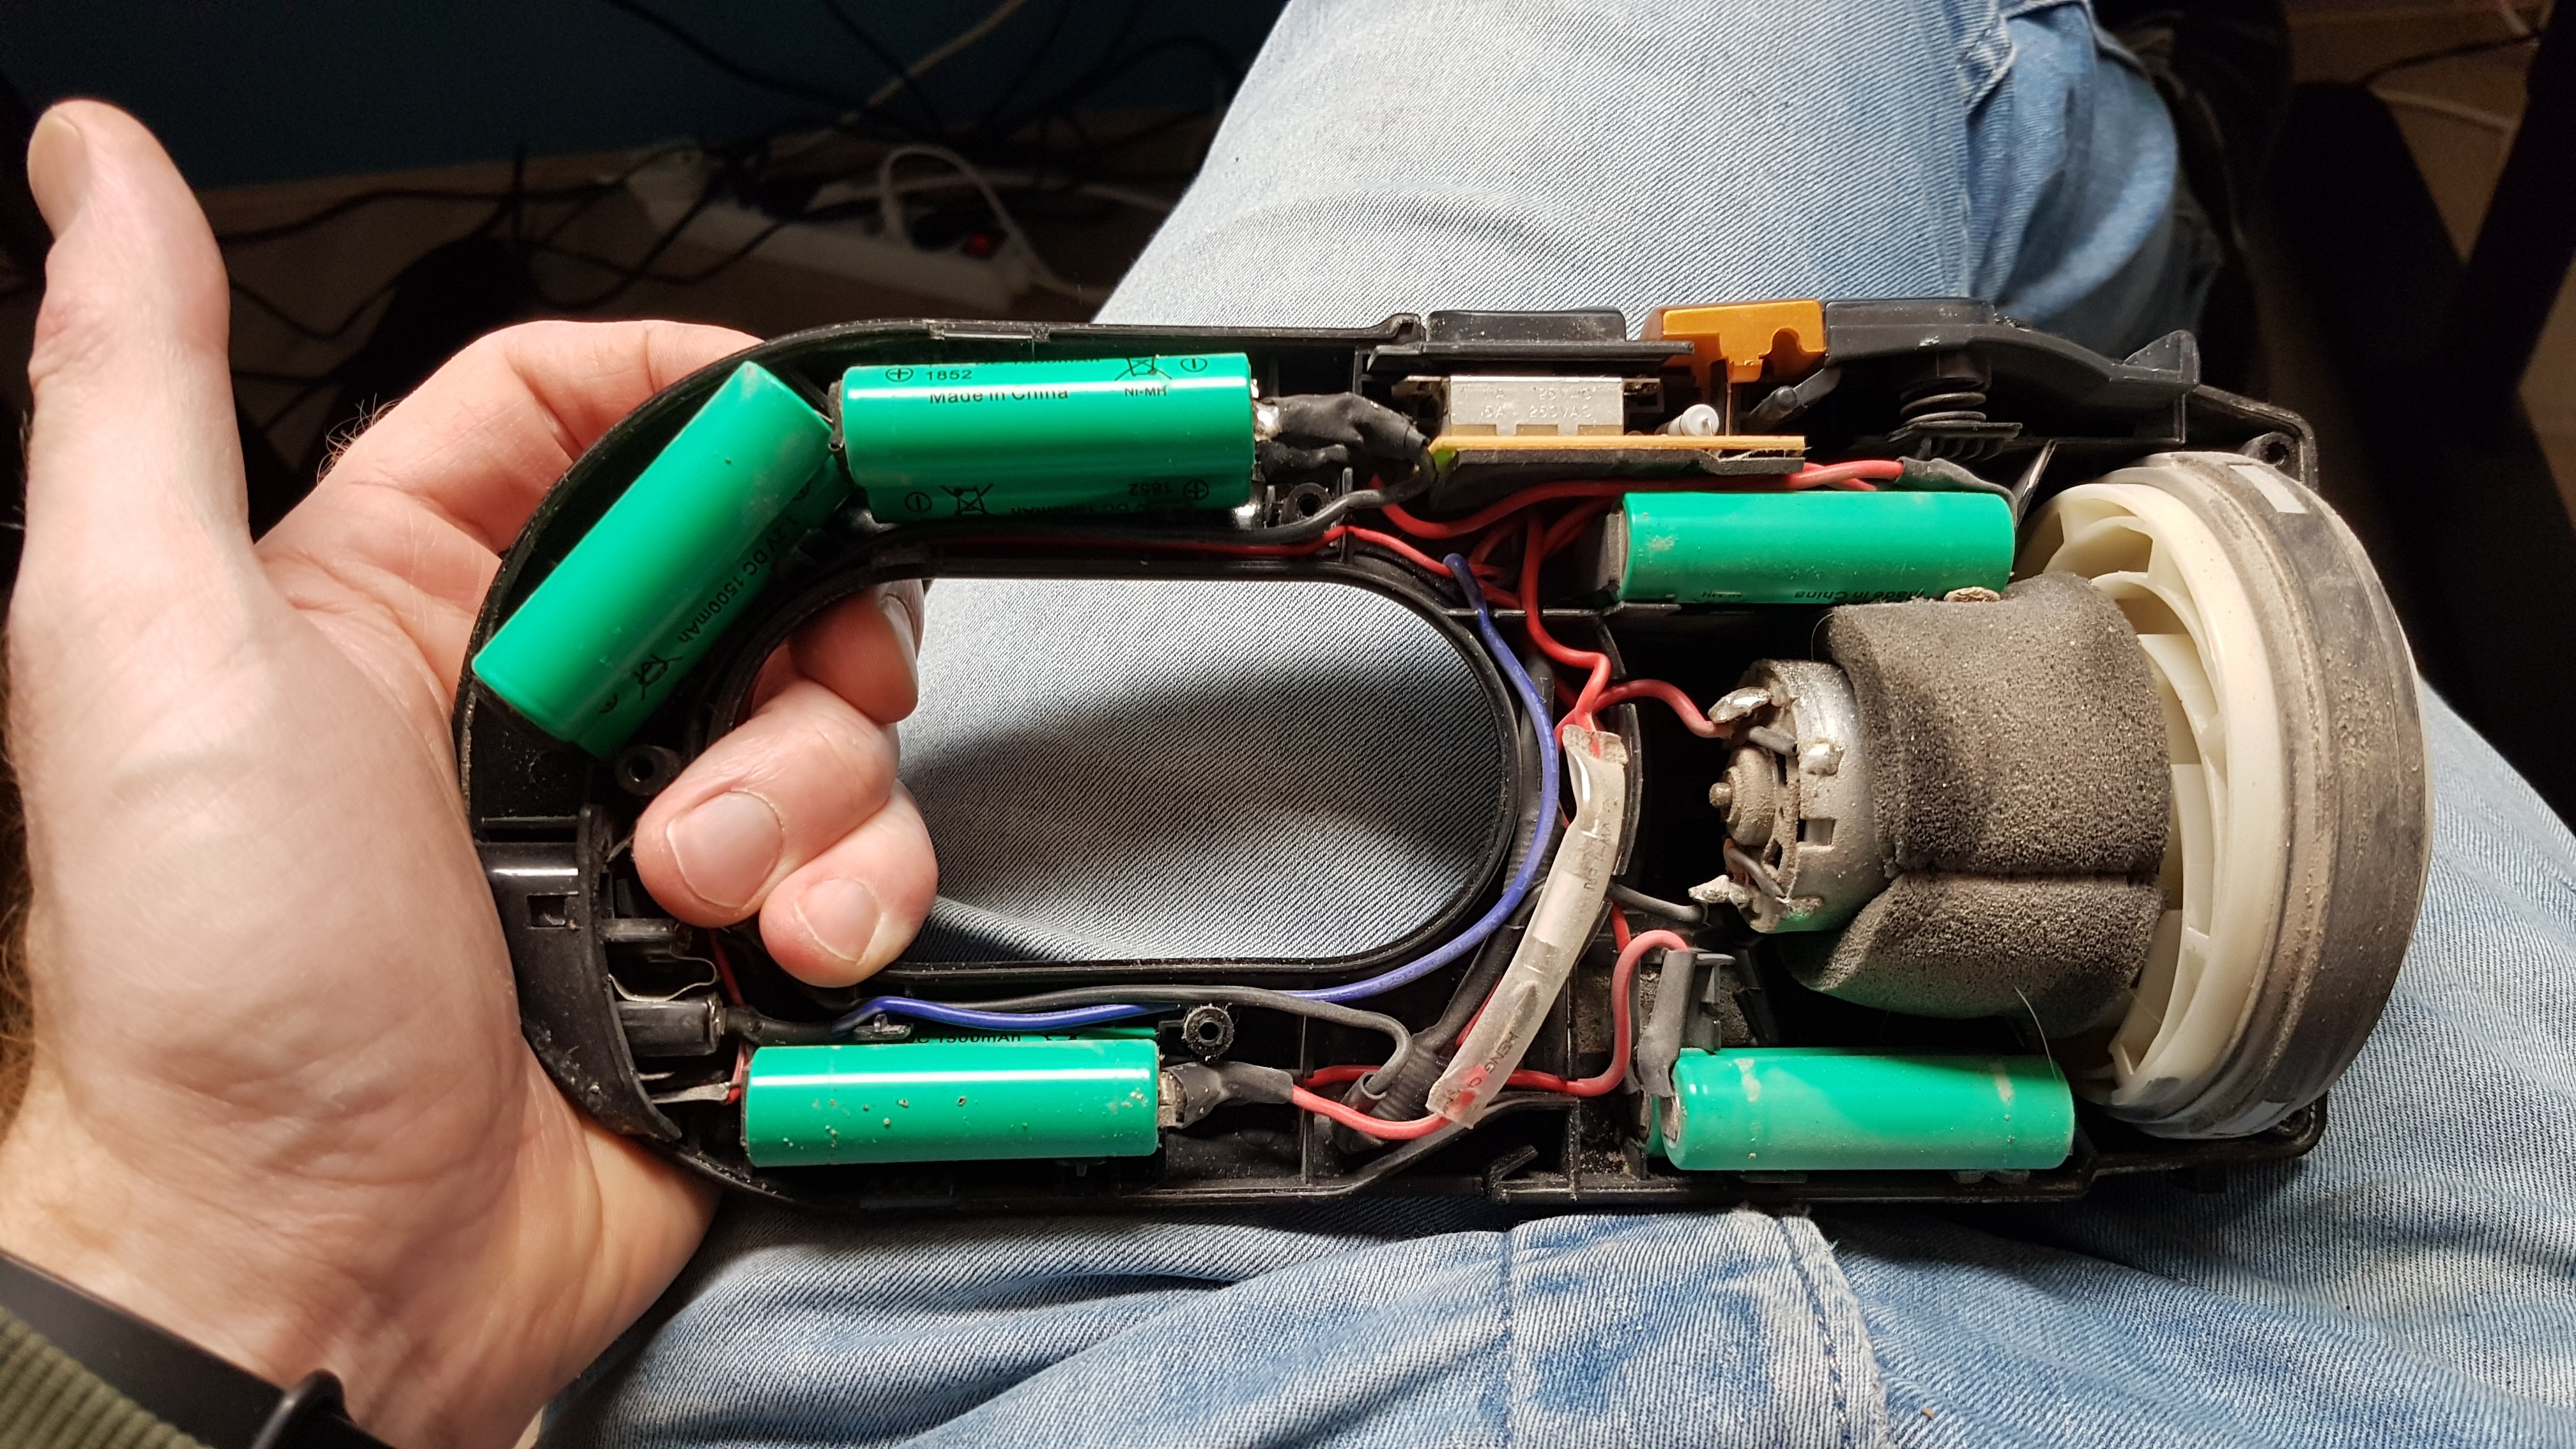
I found ten 1.2V Ni-MH batteries in series. The charging circuit basically exist of a 18V/200mA external power adapter and a series resistor. What? Oh my god. That is so bad. This charging circuit is designed so cheap, no wonder after 1 years of continuous charging the batteries wear out. Philips, this is so bad!
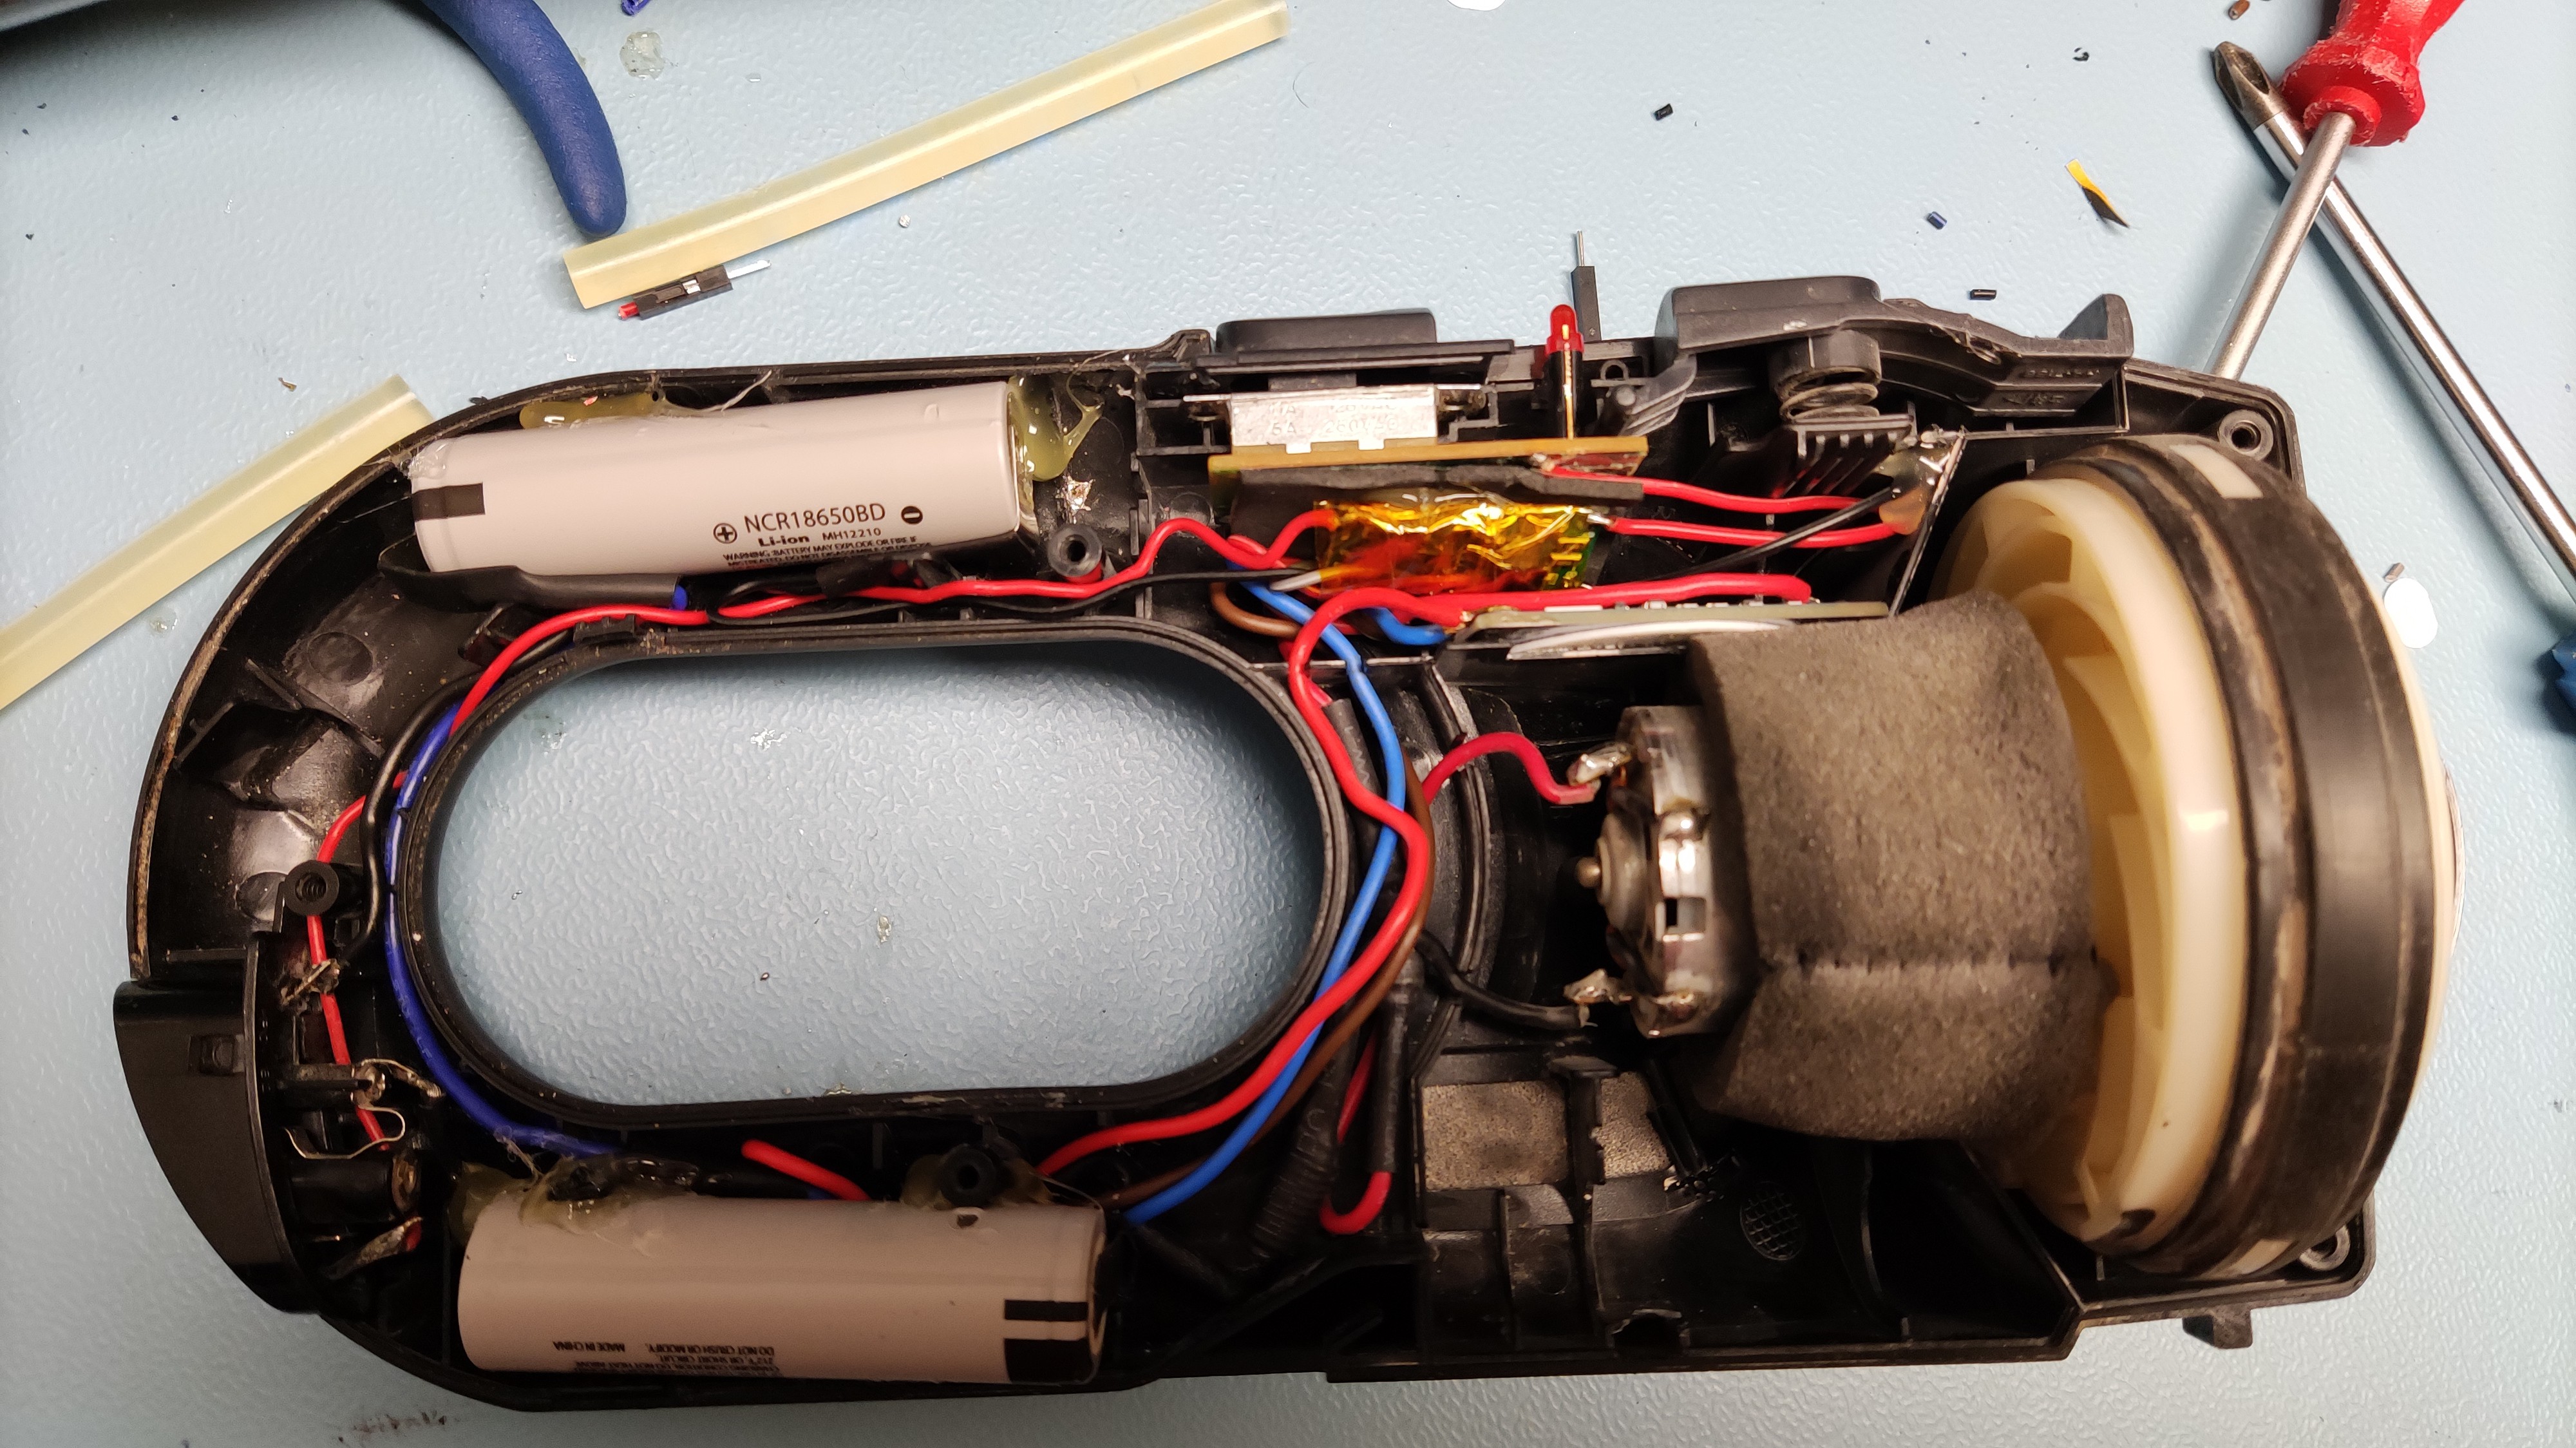
I have replaced the batteries with two 18650 Li-ion cells in series, a 1A 2S Li-ion charger and a 10A/2S battery protection/balancing board. And the 18V/200mA power adapter was replaced by a 12V/1A adapter. It took a while to remove some internal plastic to make place for these bigger cells.

Even though the battery voltage (7.4V) is lower than before (12V) it works great again.
 Jasper Sikken
Discussions
Become a Hackaday.io Member
Create an account to leave a comment. Already have an account? Log In.
Hi There, do u have the step by step to upgrade this vacuum? I have one too but not able to charge anymore.. so i've been using the cigarette lighter with a cable in order to use it. Kinda defeat the purpose... hoping i can make it wireless again. Thanks
Are you sure? yes | no
No sorry I don't have a step by step guide.
Are you sure? yes | no
I made one based on the post of Jasper.
https://hackaday.io/page/13754-philips-minivac-battery-conversion
Are you sure? yes | no
cool!
Are you sure? yes | no