 Torbjörn Lindholm
Disclaimer: PCBWay has sponsored this project and provided the board fabrication for free, but it does not affect any part of this article. I would've written the same regardless.
Hi everyone, I have been absent for a while, which was unavoidable at that time, so to make up for it, I've partnered with PCBWay for this project!
It will be a simple PT2399-based reverb/echo effect for electric guitars, with the aim of using as many easy-to-acquire parts as possible. This article will include the entire process of ordering from the site, from KiCad to PCBWay, to an actual circuit board. I hope this helps you with the rapid prototyping process at a very reasonable price.
First, we need to make the design, from schematic to Gerber files that will be used for the production of circuit boards (PCBs). For this, I chose to use KiCad 8 as it has a plugin to directly order from PCBWay, minimizing errors and hassle during the preparation of production data.
I am basing my design off of the Elliott Sound Products design (thank you!) who have generously published the circuit diagrams for their product. For explanations on how the circuit works, please check their page out at https://sound-au.com/project26a.htm (the page this project is based on).
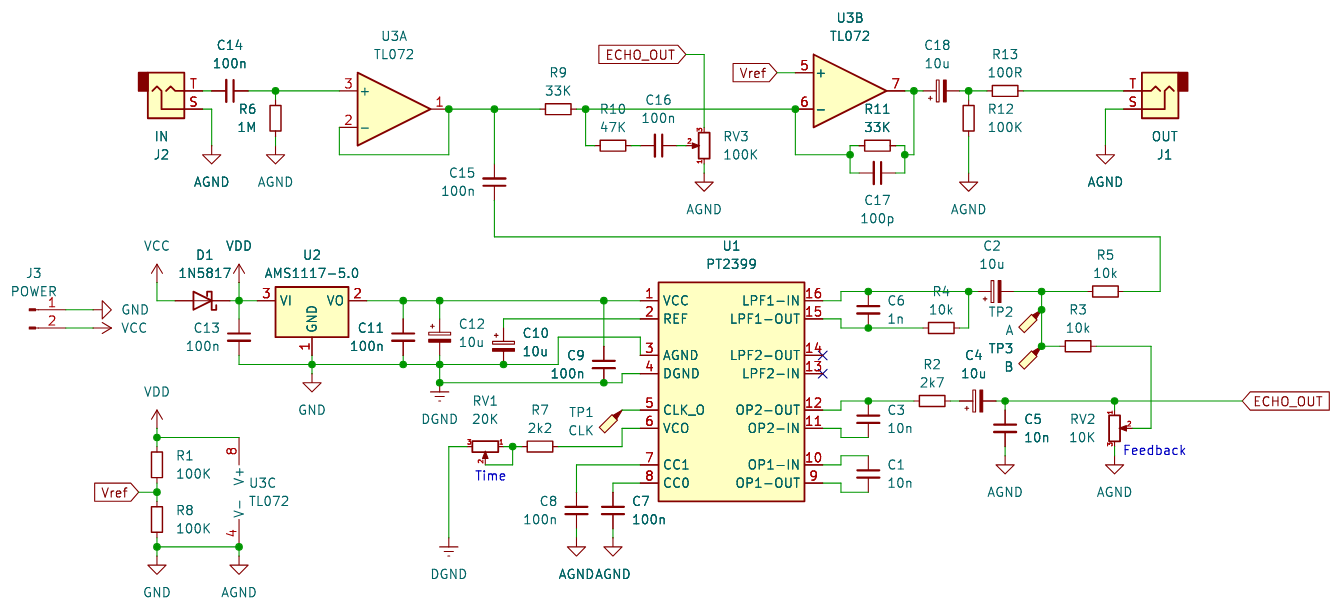
As you can see, this circuit needs prototyping before it is made into a commercial or shareable design. This is where the PCB editor and the plugin come into play.
To make our design a reality, we need to install a plugin. From the main KiCad interface, click on the Plugin and Content Manager, highlighted in yellow:

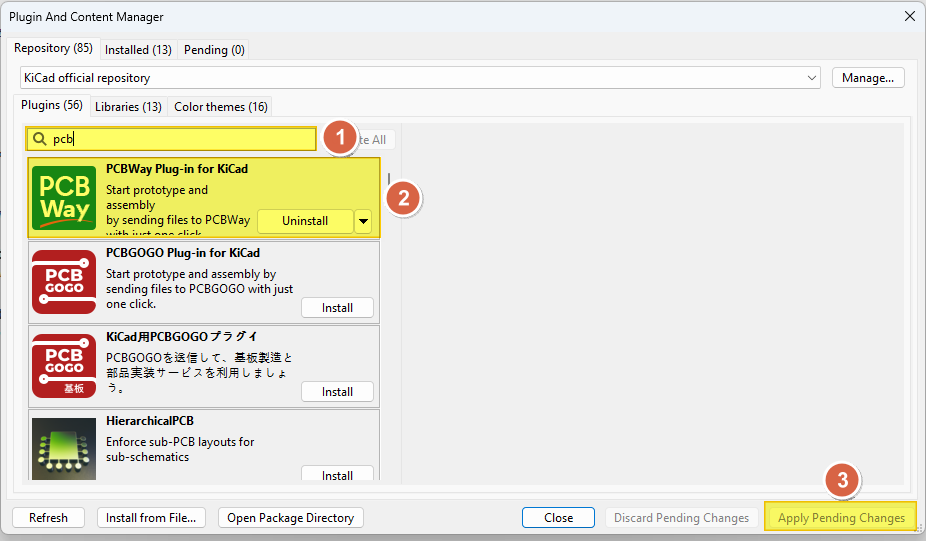
Then it's as simple as searching for "pcb" in the search field of the plugin manager interface (1) and clicking "install" as directed (2)!
Before you close the window, make sure to press "Apply pending changes" button (3) to complete the installation. (It says "Uninstall" in the image because I already have the plugin installed)
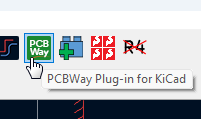
As simple as that! Now, we will go back to PCB Editor, which will now have a new menu item:
The highlighted area shows the menu icons for all plugins I have installed (here, I have installed few more of them. Your setup may be different, but the icon will stay the same.)
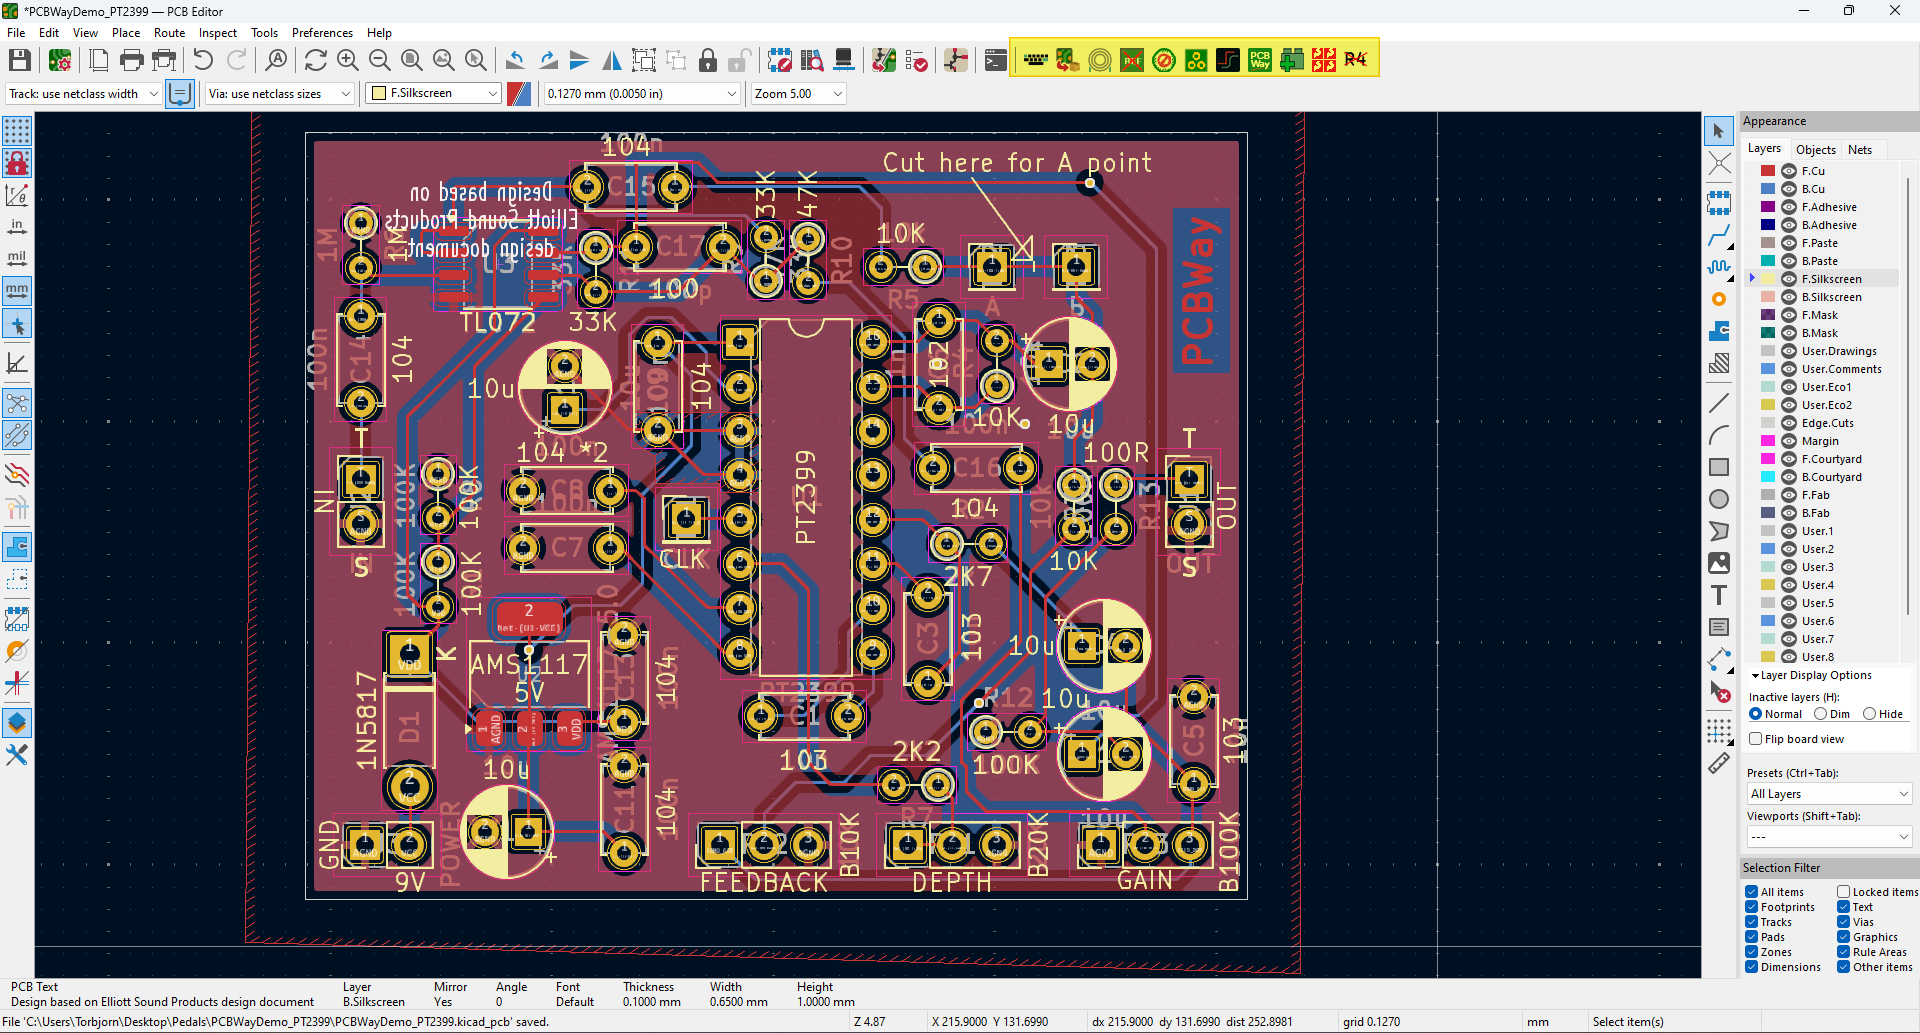
After I have finished laying down all the parts and tracks, I simply run a DRC check (important!), and if there are no errors, I click the PCBWay icon in the plugin menu area:
This saves my design as a format used by PCBWay in a ZIP file, which includes all of the required files for manufacturing, then automatically open the ordering page for me. There, I can adjust the settings as I like:

You can adjust crucial settings such as materials to use, how many layers are being used (it will be automatically selected based on the design you made), whether or not to have it made into a panel or individual circuit boards (very useful for small-scale fabrication!), what color it will be manufactured as (such as classic green with one additional option to make it matte, yellow, red, purple, blue, black, and white) and other settings. However, since I am okay with the default settings, we will continue as-is.
(If you have the design, you can have multi-color UV printing to make your project shine even more! This is a service you currently -- if I recall correctly -- can only get from PCBWay at a reasonable price. Use it to mark important areas of the circuit board, or turn your PCB into an art piece!)
Then, I clicked on (1) to select my region, and then clicked (2) to select which courier to use. DHL seems to be the fastest, but if you need to save on shipping costs, it may be economical to choose other couriers. On the same page, you can get an estimate of total price (for reference only):

Now, after I've set everything as I want and checked it meets my requirements, I pressed "Save to Cart" to move onto the payment step. It's very easy to do, but I needed to make sure you have uploaded the correct design, which is made easier with the plugin since it will name it as your project name. (if you are making a panel or multiple boards are combined into one design with snap-away tabs, you need to select an option in "Different design in panel" option that isn't 1 and matches how many designs there are.)
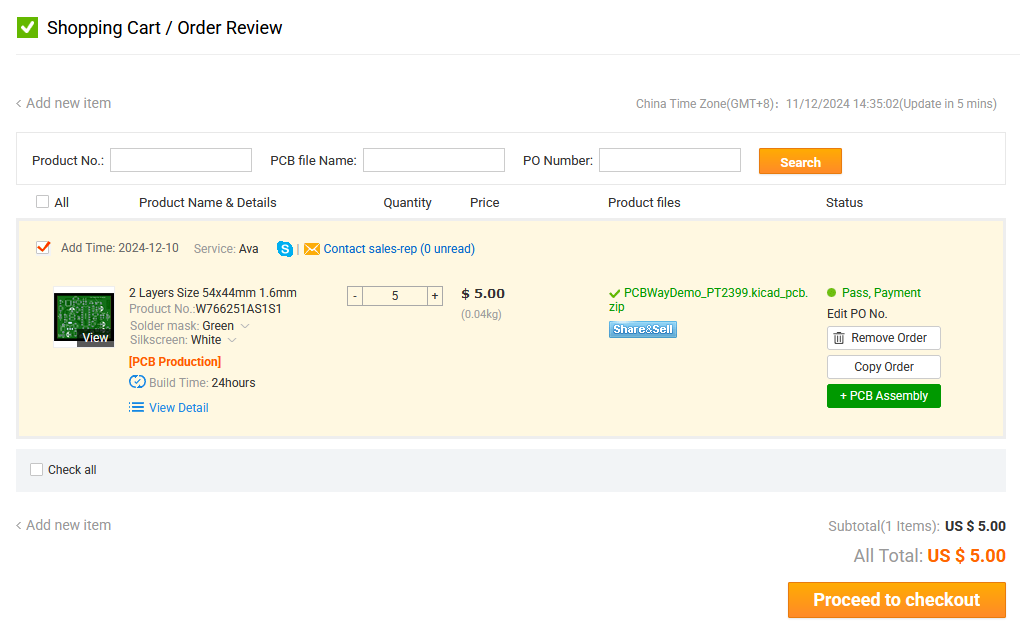
As you see, it is selected and you can proceed to checkout using the button below, with an option to only pay for the order you currently need separately by checking the boxes.
This feature is quite handy if you have multiple versions or multiple orders to make, though it'd be easy to make mistakes if they look similar!
Before you proceed, make sure you have all the shipping details filled in! You can access that page from the My PCBWay page easily, so please check it before proceeding.
For the payment step, you can choose many options, including PCBWay Credit which I used. Next, you will see this screen as I did:
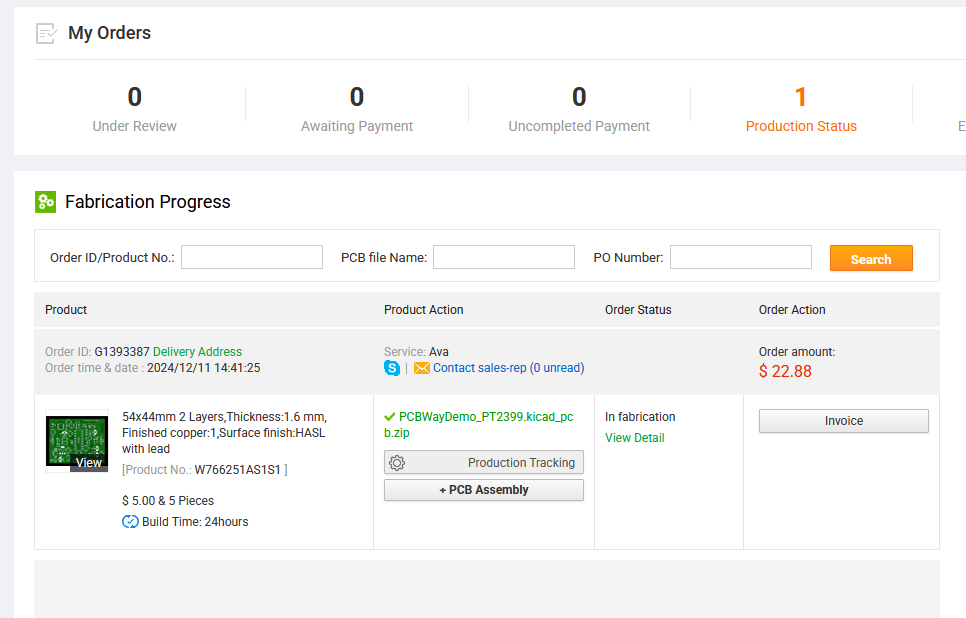
Here you can see how far the process has gone and when it will be shipped out from the factory.
Now we wait! You will also receive e-mail alerts for crucial updates, so be sure to check it every once in a while. You can also see the process of your design being made using the Production Tracking button.
So far, the process is a breeze to go through thanks to the official plugin which streamlines everything. Before that, you needed to prepare the files yourself using the Fabrication Output option of KiCad, which could introduce faults that would ruin your design. But nowadays it's just one click away! I really like this, because when I used other manufacturers, I kept messing up the files and they had to correct it back into a proper file.
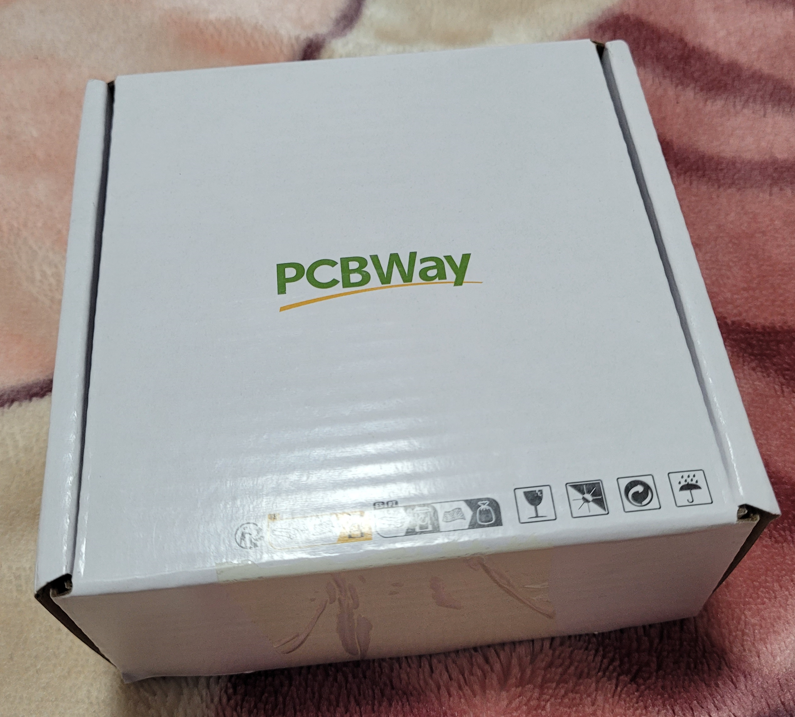
After few days, a box showed up, containing the circuit boards I ordered:
It is packed tightly with closed-cell foam, ensuring it will survive the shipping process.
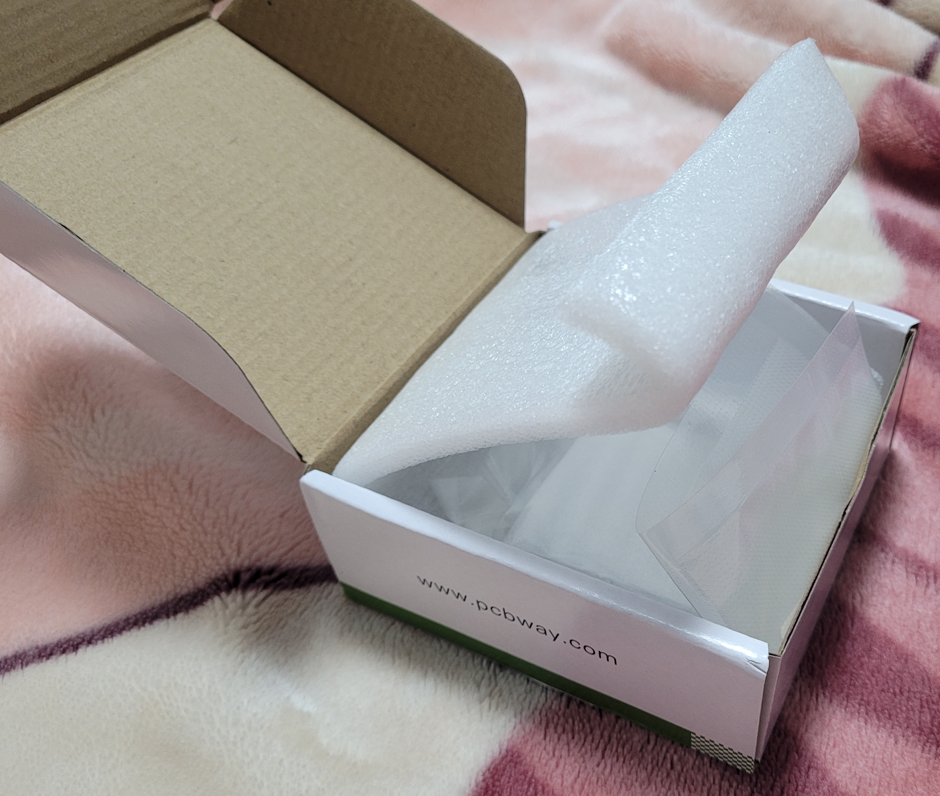 It's packed into a vacuum bag, which also bears your order number should you need it later.
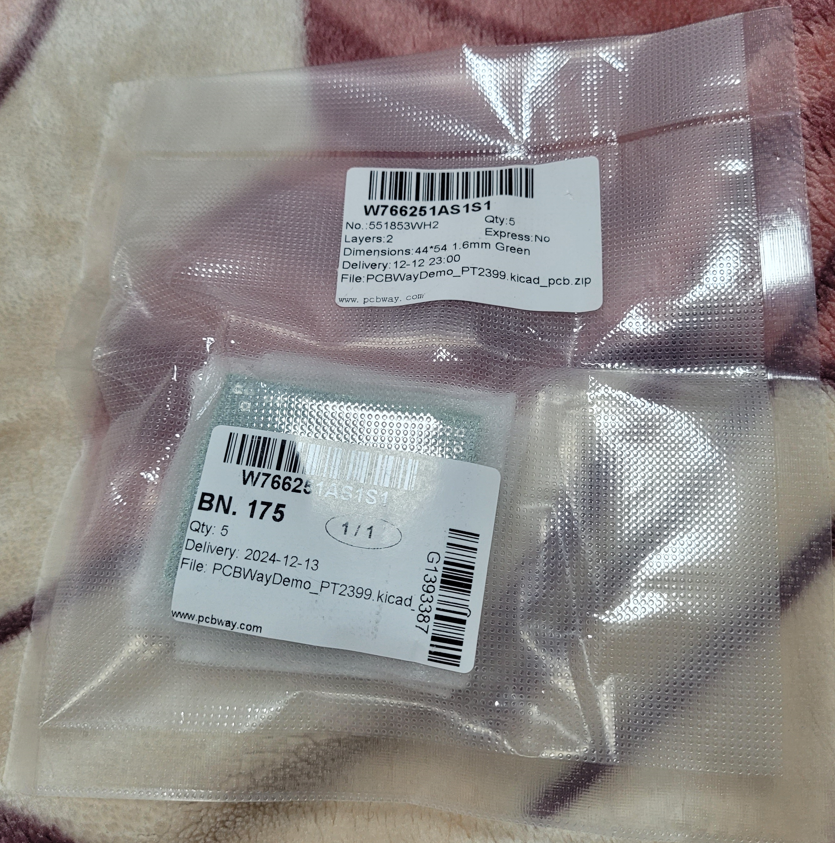
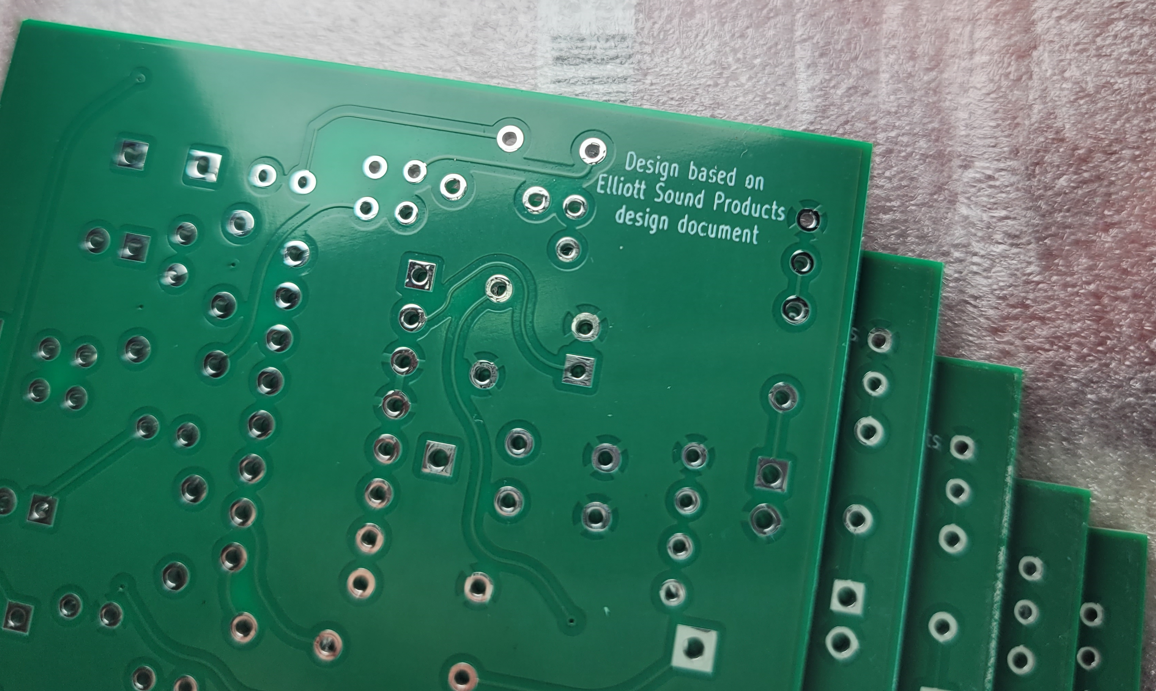
The quality of the circuit boards is immaculate, with a crisp high-resolution silkscreen process applied to it.
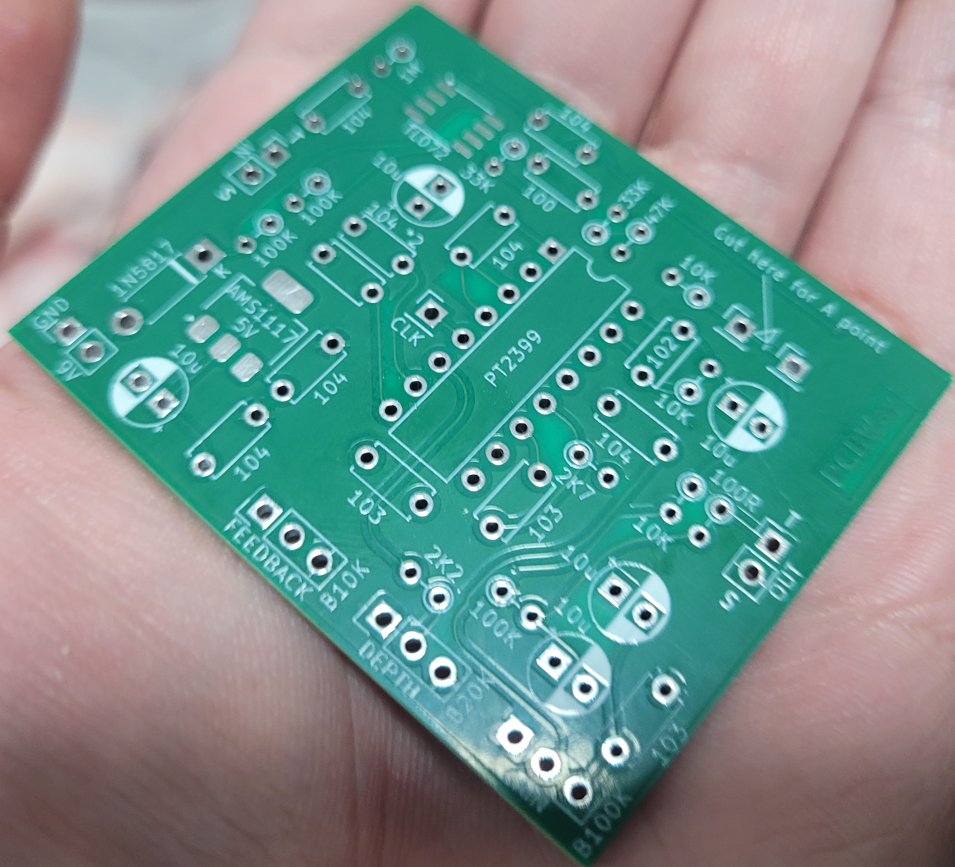
You can see the text clearly without having to guess what letter it is!
It is exactly as I ordered, down to the tenth of a millimeter! I can't wait to build the effect! (Parts are not here yet, but they've been ordered)
Thank you for reading! Special thanks to PCBWay for sponsoring the project!
Discussions
Become a Hackaday.io Member
Create an account to leave a comment. Already have an account? Log In.