 Christoph Tack
Requirement
- low power : 3V3 or lower, not 5V powered
- at least 7 GPIOs, 9 preferred. We don't want to read the status of the switches with an ADC.
- as small as possible
- cheap
- easy to solder
- Availability : 2nd sourced
- PlatformIO / Arduino support
The Arduino support seriously limits the choices. 8MHz on a 1V8 AVR-architecture is out of spec. Higher supply voltages are needed, which imply the addition of a boost converter when powering with two AA-batteries.
Using AVRISPmkII on Linux requires a rules-file for udev:
SUBSYSTEM!="usb_device", ACTION!="add", GOTO="avrisp_end"

# Atmel Corp.JTAG ICE mkII
ATTRS{idVendor}==”03eb”, ATTRS{idProduct}==”2103″, MODE:=”660″, GROUP:=”dialout”

# Atmel Corp. AVRISP mkII
ATTRS{idVendor}==”03eb”, ATTRS{idProduct}==”2104″, MODE:=”660″, GROUP:=”dialout”

# Atmel Corp. Dragon
ATTRS{idVendor}==”03eb”, ATTRS{idProduct}==”2107″, MODE:=”660″, GROUP:=”dialout”

LABEL=”avrisp_end”
Save this file as /etc/udev/rules.d/60-avrisp.rules
Choices
Bare bone MCU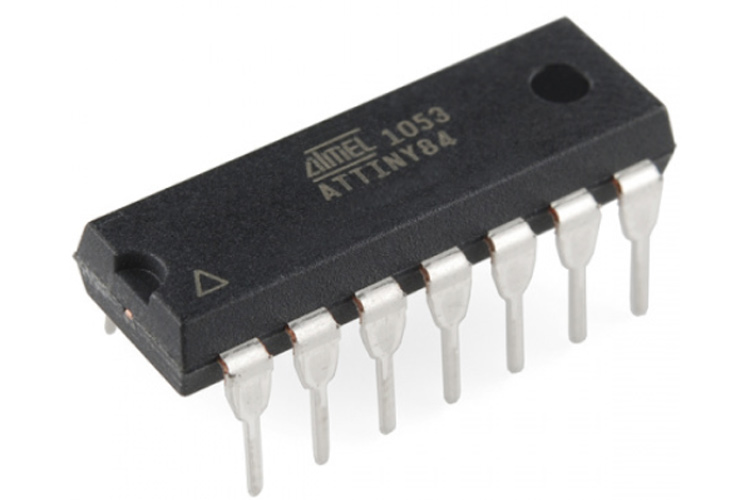
The smallest/cheapest MCU that PlatformIO supports is the ATtiny24A/44A/84A family. They can be had for €0.80 to €0.90 a piece. SOIC-14 will be the preferable package.
This can be used with PlatformIO. See here for a demo-setup.
The ATtiny441 and ATtiny841 are pin-compatible parts with some extra features such as two USARTS (HardwareSerial ports).
Arduino Pro Mini 328 - 3.3V/8MHz
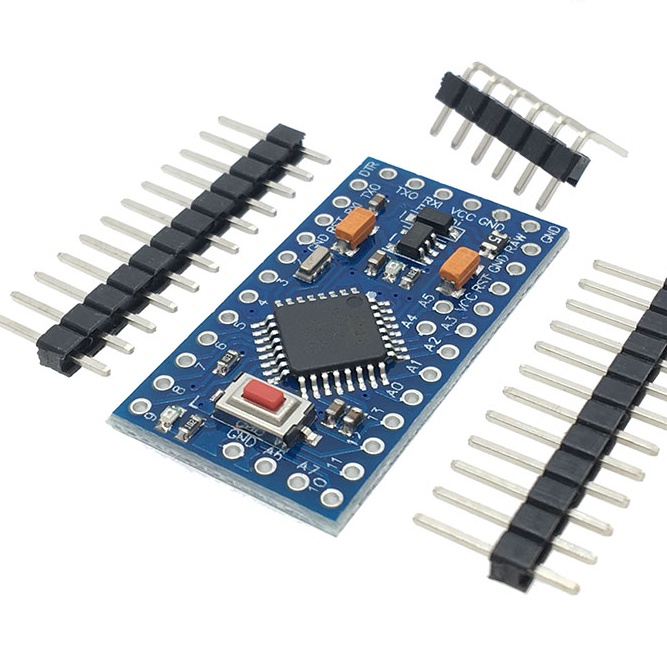
- Newer versions have four extra GPIOs : pin A4, A5, A6 & A7. These are located two by two on the right hand side of the MCU. Older versions have only two extra GPIOs.
- Requires an FTDI serial USB converter for programming.
- Warning! : When using a TTL-3V3-WE cable, the signal levels are 3V3, but the VCC level is 5V! The problem is that this FTDI VCC pin is directly connected to the 3V3 VCC pin on the Arduino.
- Either disconnect FTDI VCC or connect it to the RAW pin of the Arduino Pro Mini.
- 5V on VCC is no problem for the Arduino Pro Mini, but it might be disastrous to your connected 3V3 peripherals.
- 33 x 18mm
- fits in a DIP (2x12 pins, 0.6" row spacing) socket. Height can be reduced by inserting the headers from top side and solder them from bottom side.
- Sources for DIP socket :
- Where to buy : AliExpress 32341782884
- Getting started : Sparkfun : Using the Arduino Pro Mini 3.3V
- Burning the bootloader. There's a bootloader present upon delivery. In case you removed it and want to program it again:
Discussions
Become a Hackaday.io Member
Create an account to leave a comment. Already have an account? Log In.