I know, I know - It's been a long time seince I've written (and done) anything on this project.
A lot have happened although not that much on the project specifically. I got married, I've completed my laser cutter (at least to a stage where it can burn stuff) and a host of other things.
I kept hitting a brick wall when I attempted to communicate with the MCU on latest revision of the soldering pen. I've given up hope of getting it to work.
I considered going back to revision 2, but not having that slick low-profile mini-jack connector really bothered me.
So, two nights ago a friend wrote me. We came across the soldering pen project and we discussed problems and solutions. Just out of curiosity I tried to solder a new MCU on one of the PCBs. Using AVRDUDE I read the fuses - It worked! I then tried to put a simple blink sketch using the Arduino IDE onto the chip. Bang. Dead.
AVRDUDE couldn't see the chip anymore. Slowly it dawned that the fuse settings had to be wrong altough they were set right. To jump to the end of this: I think the unspecified fuse settings in the extended fuse caused some kind of lock-up in the chip. I don't have access to high voltage programmin equipment (such as the STK500) so trying anything like this was never in my head. I just assumed that the Arduino IDE would do the job. I have on several occasions had trouble with the right fuse settings through Arduino. Grrrrr!
Then, yesterday my friend came by. We talked a bit more and we assembled yet another board. using the default fuse settings from an online fuse calculator (engbedded) we tried one more time with AVRDUDE. Contact. then again in AVRDUDE. still working. right, now we modified the Boards.txt file and tried, with caution, to download the blink sketch from the Arduino IDE. no problems.
We read the fuses using AVRDUDE again. Still working.. wohooo!
Quickly I soldered the RGB LED to the pads. put power back on. Bang! Blindingly red light - at least blindingly bright for a LED that size! blinking! It was Blinking! YES!
Now for the Opamp and the connector to the tip. Set the temperature for 50 degrees and power on.
The system didn't have the MOSFET so of course nothing would happen. I used the tip of my soldering iron to heat up the other tip. I could se the soldering pen go from red to green indicating that the temperature was reached. success!
Now solder on the hall-sensor - Blue light indicating that the pen was hibernating was shown when I put a magnet close. Double success!
Add the LDO regulator and attach 12V.
Nothing. Quickly I disconnected the 12V again. something was wrong. I had to go to bed. dang - so close!
this morning I fired up the sytem again, after checking that all connections was right. I had a voltmeter on the 3.3V line and it came up nicely. A splitsecond later the red diode went on. I had simply not waited long enough for the 12V supply (a brick) to power on. I adjusted the sketch to 350 degress and tried again.
A quick puff of solder-smoke from the tip and a nice green glow from the 'ready' LED was shown.
YES! IT'S WORKING!!! We're back in business!
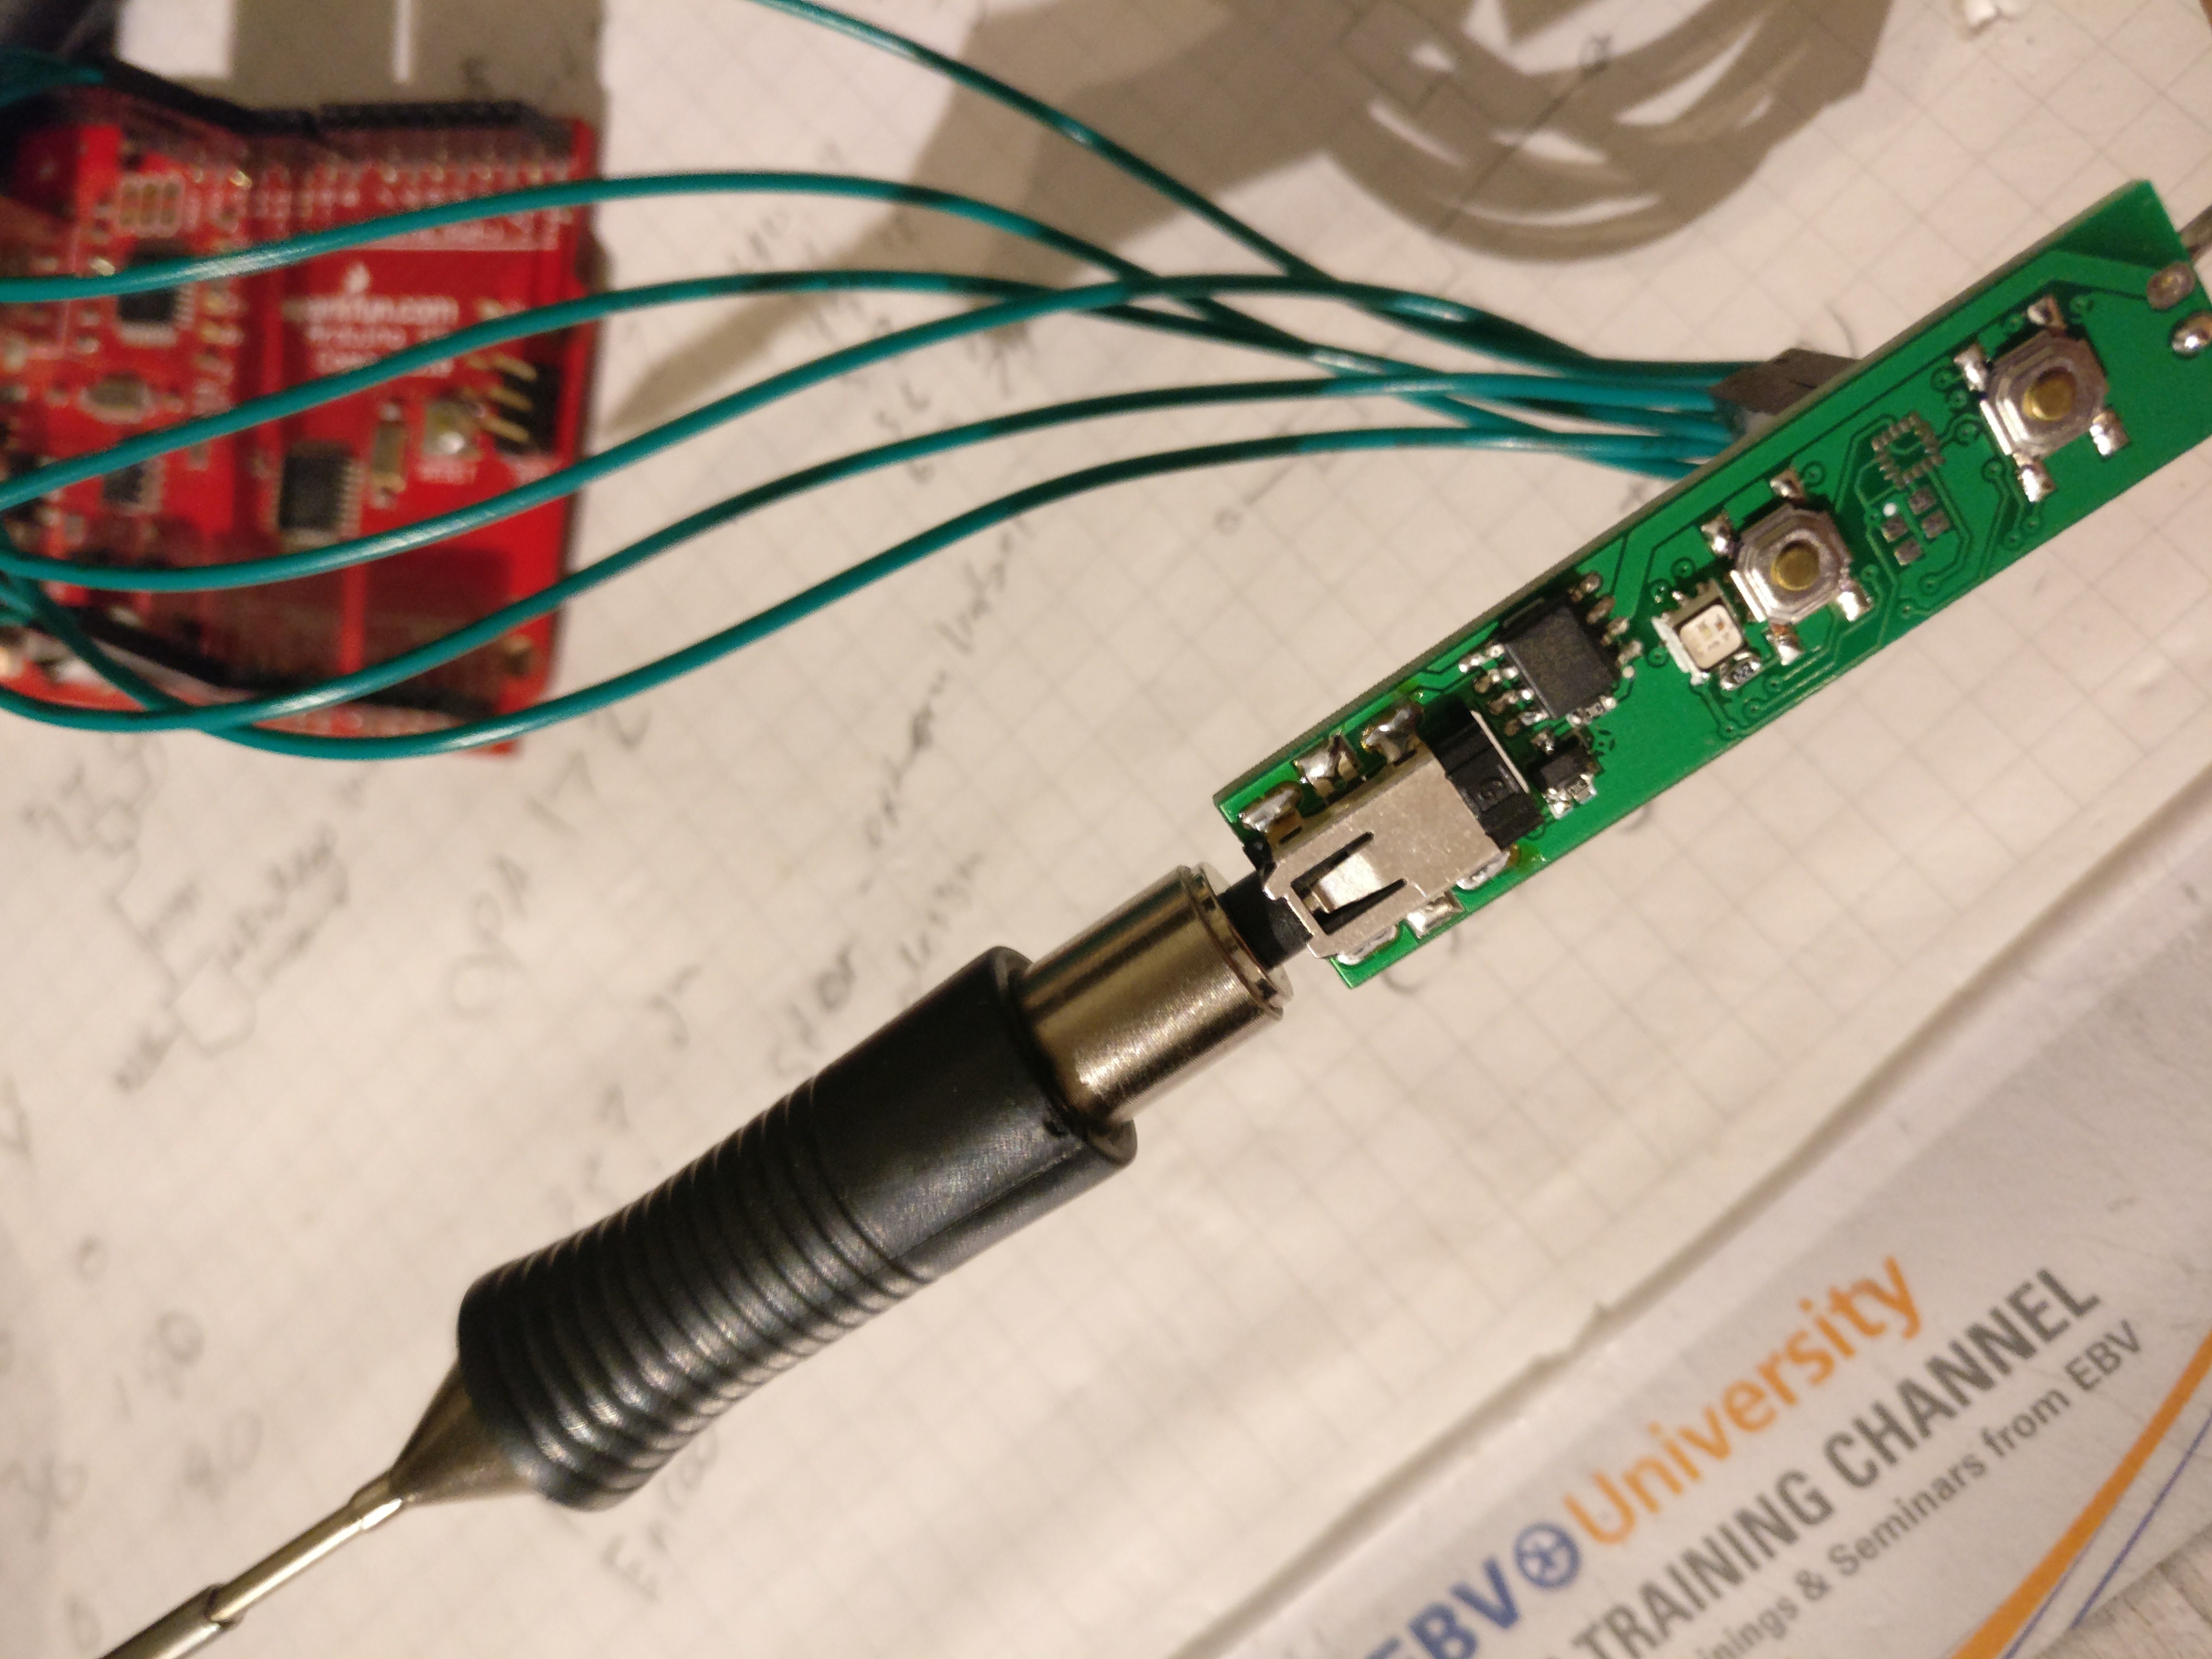
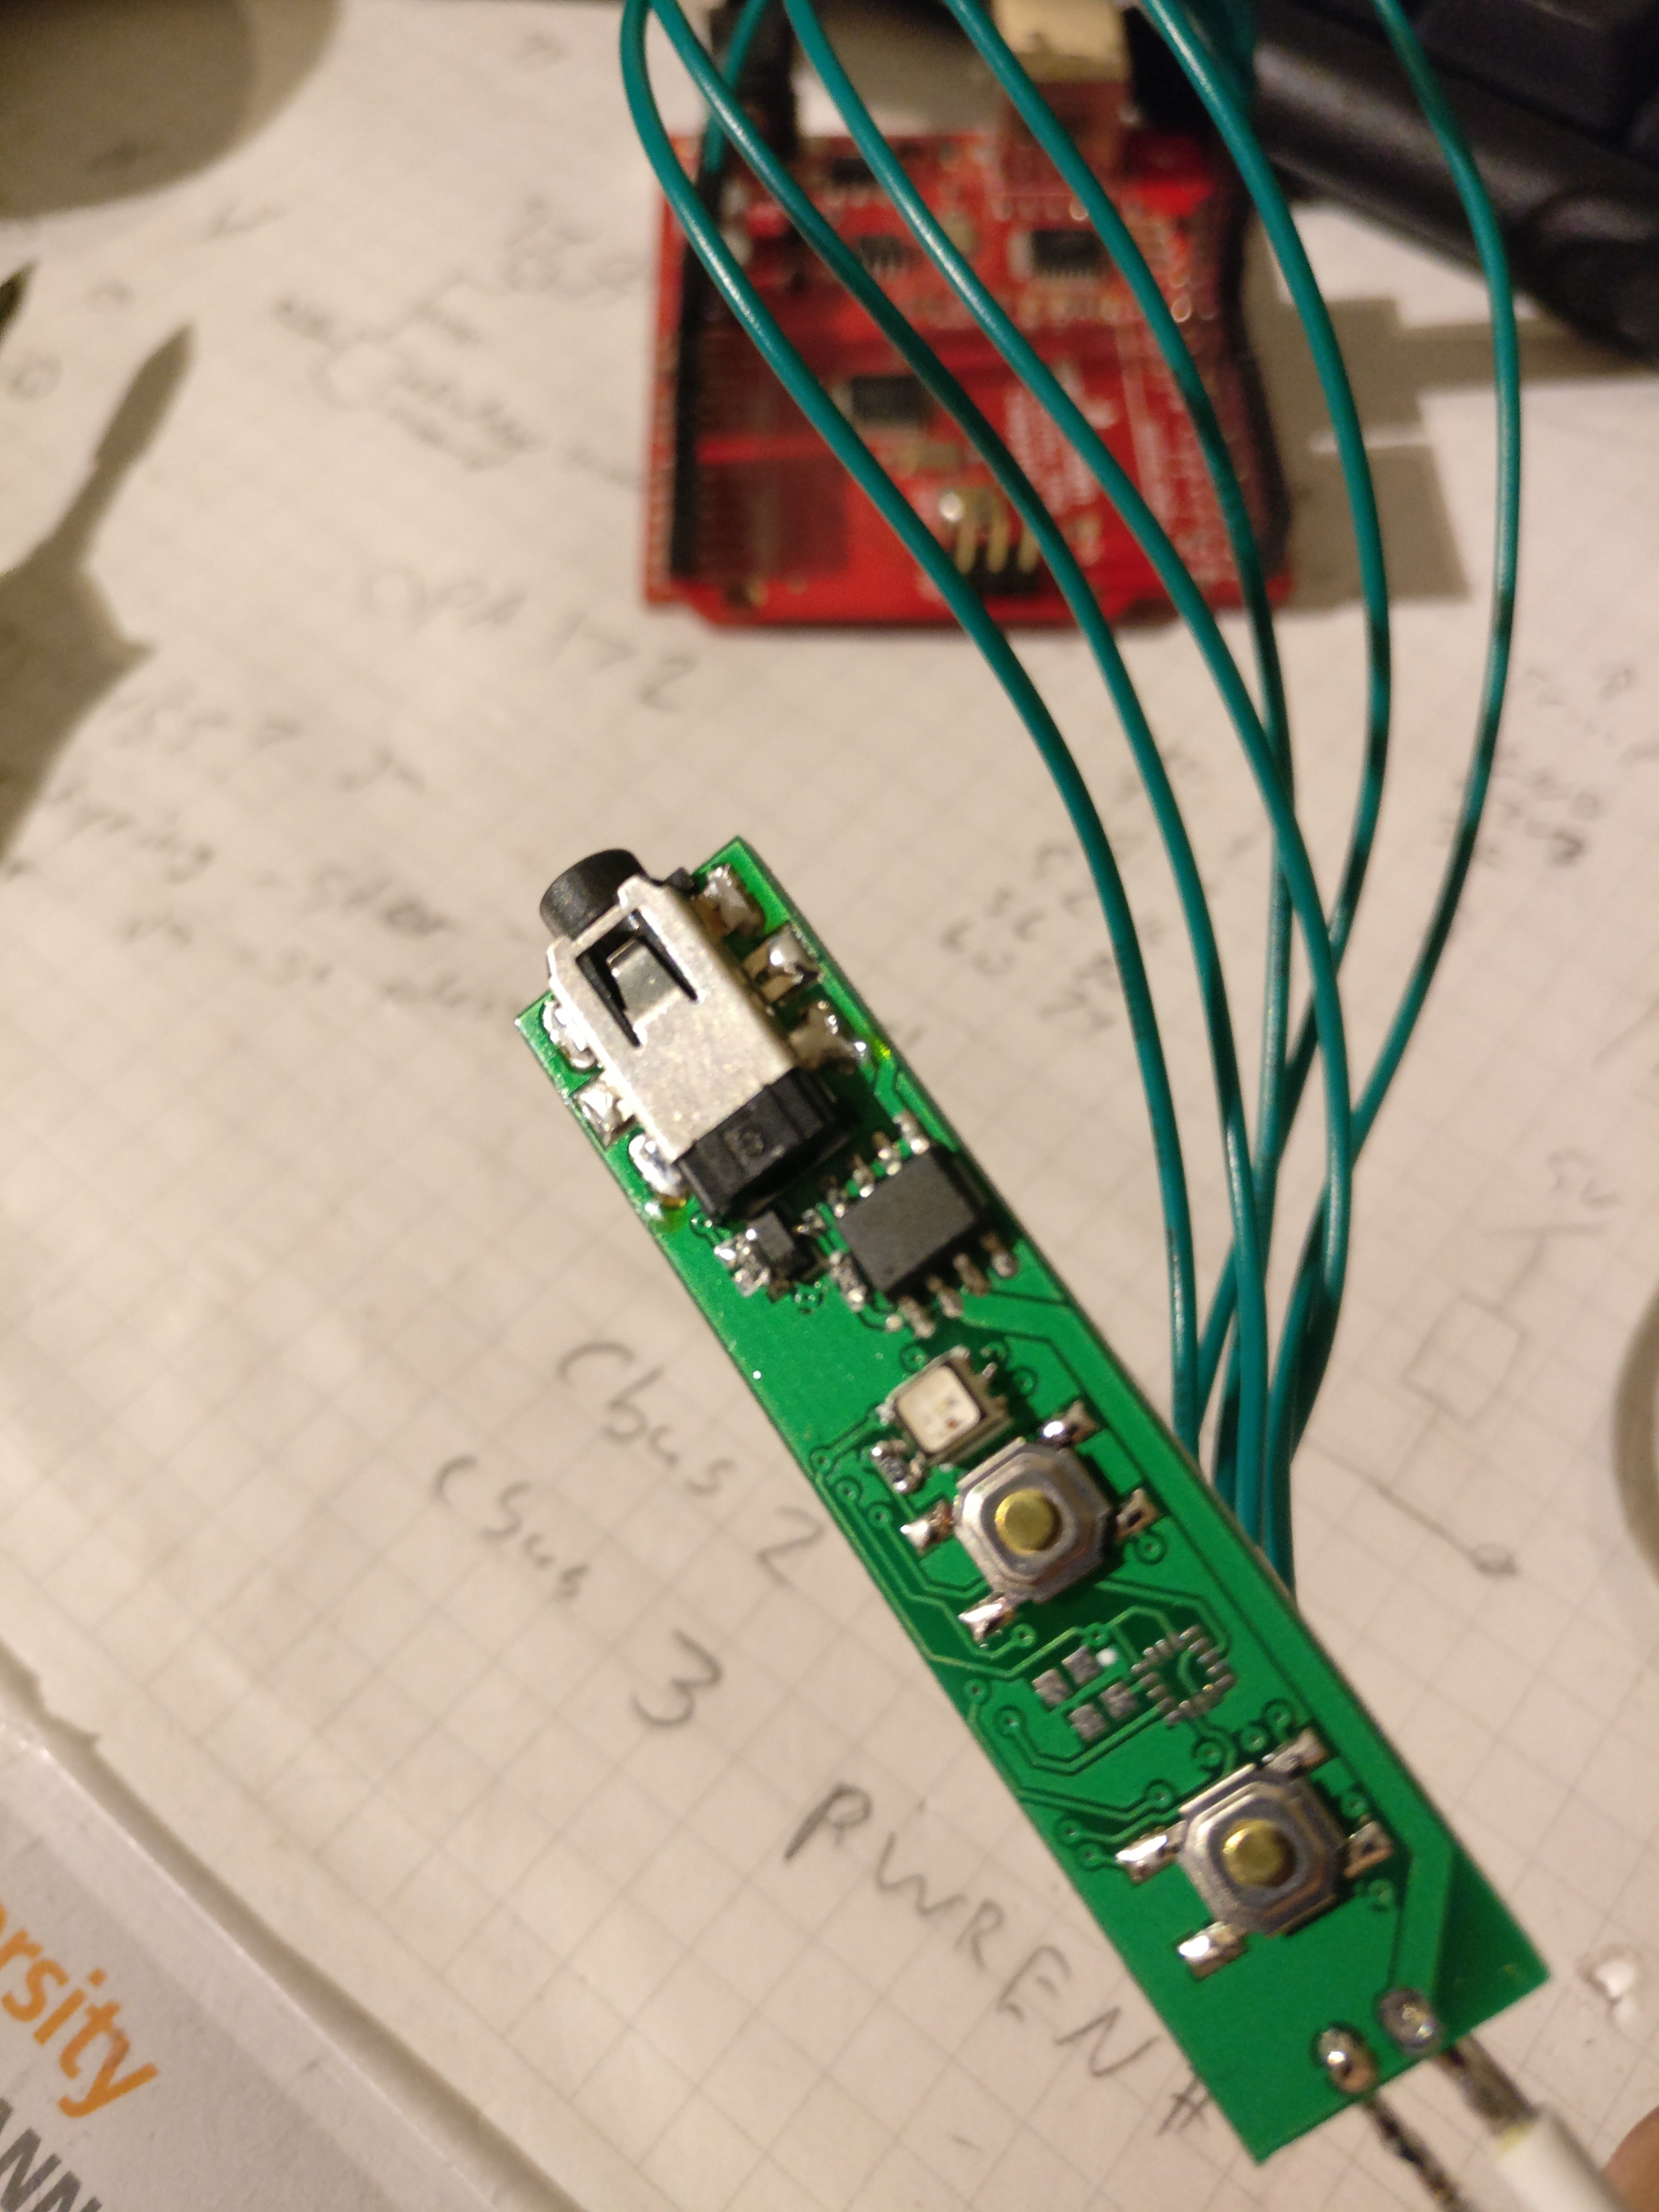
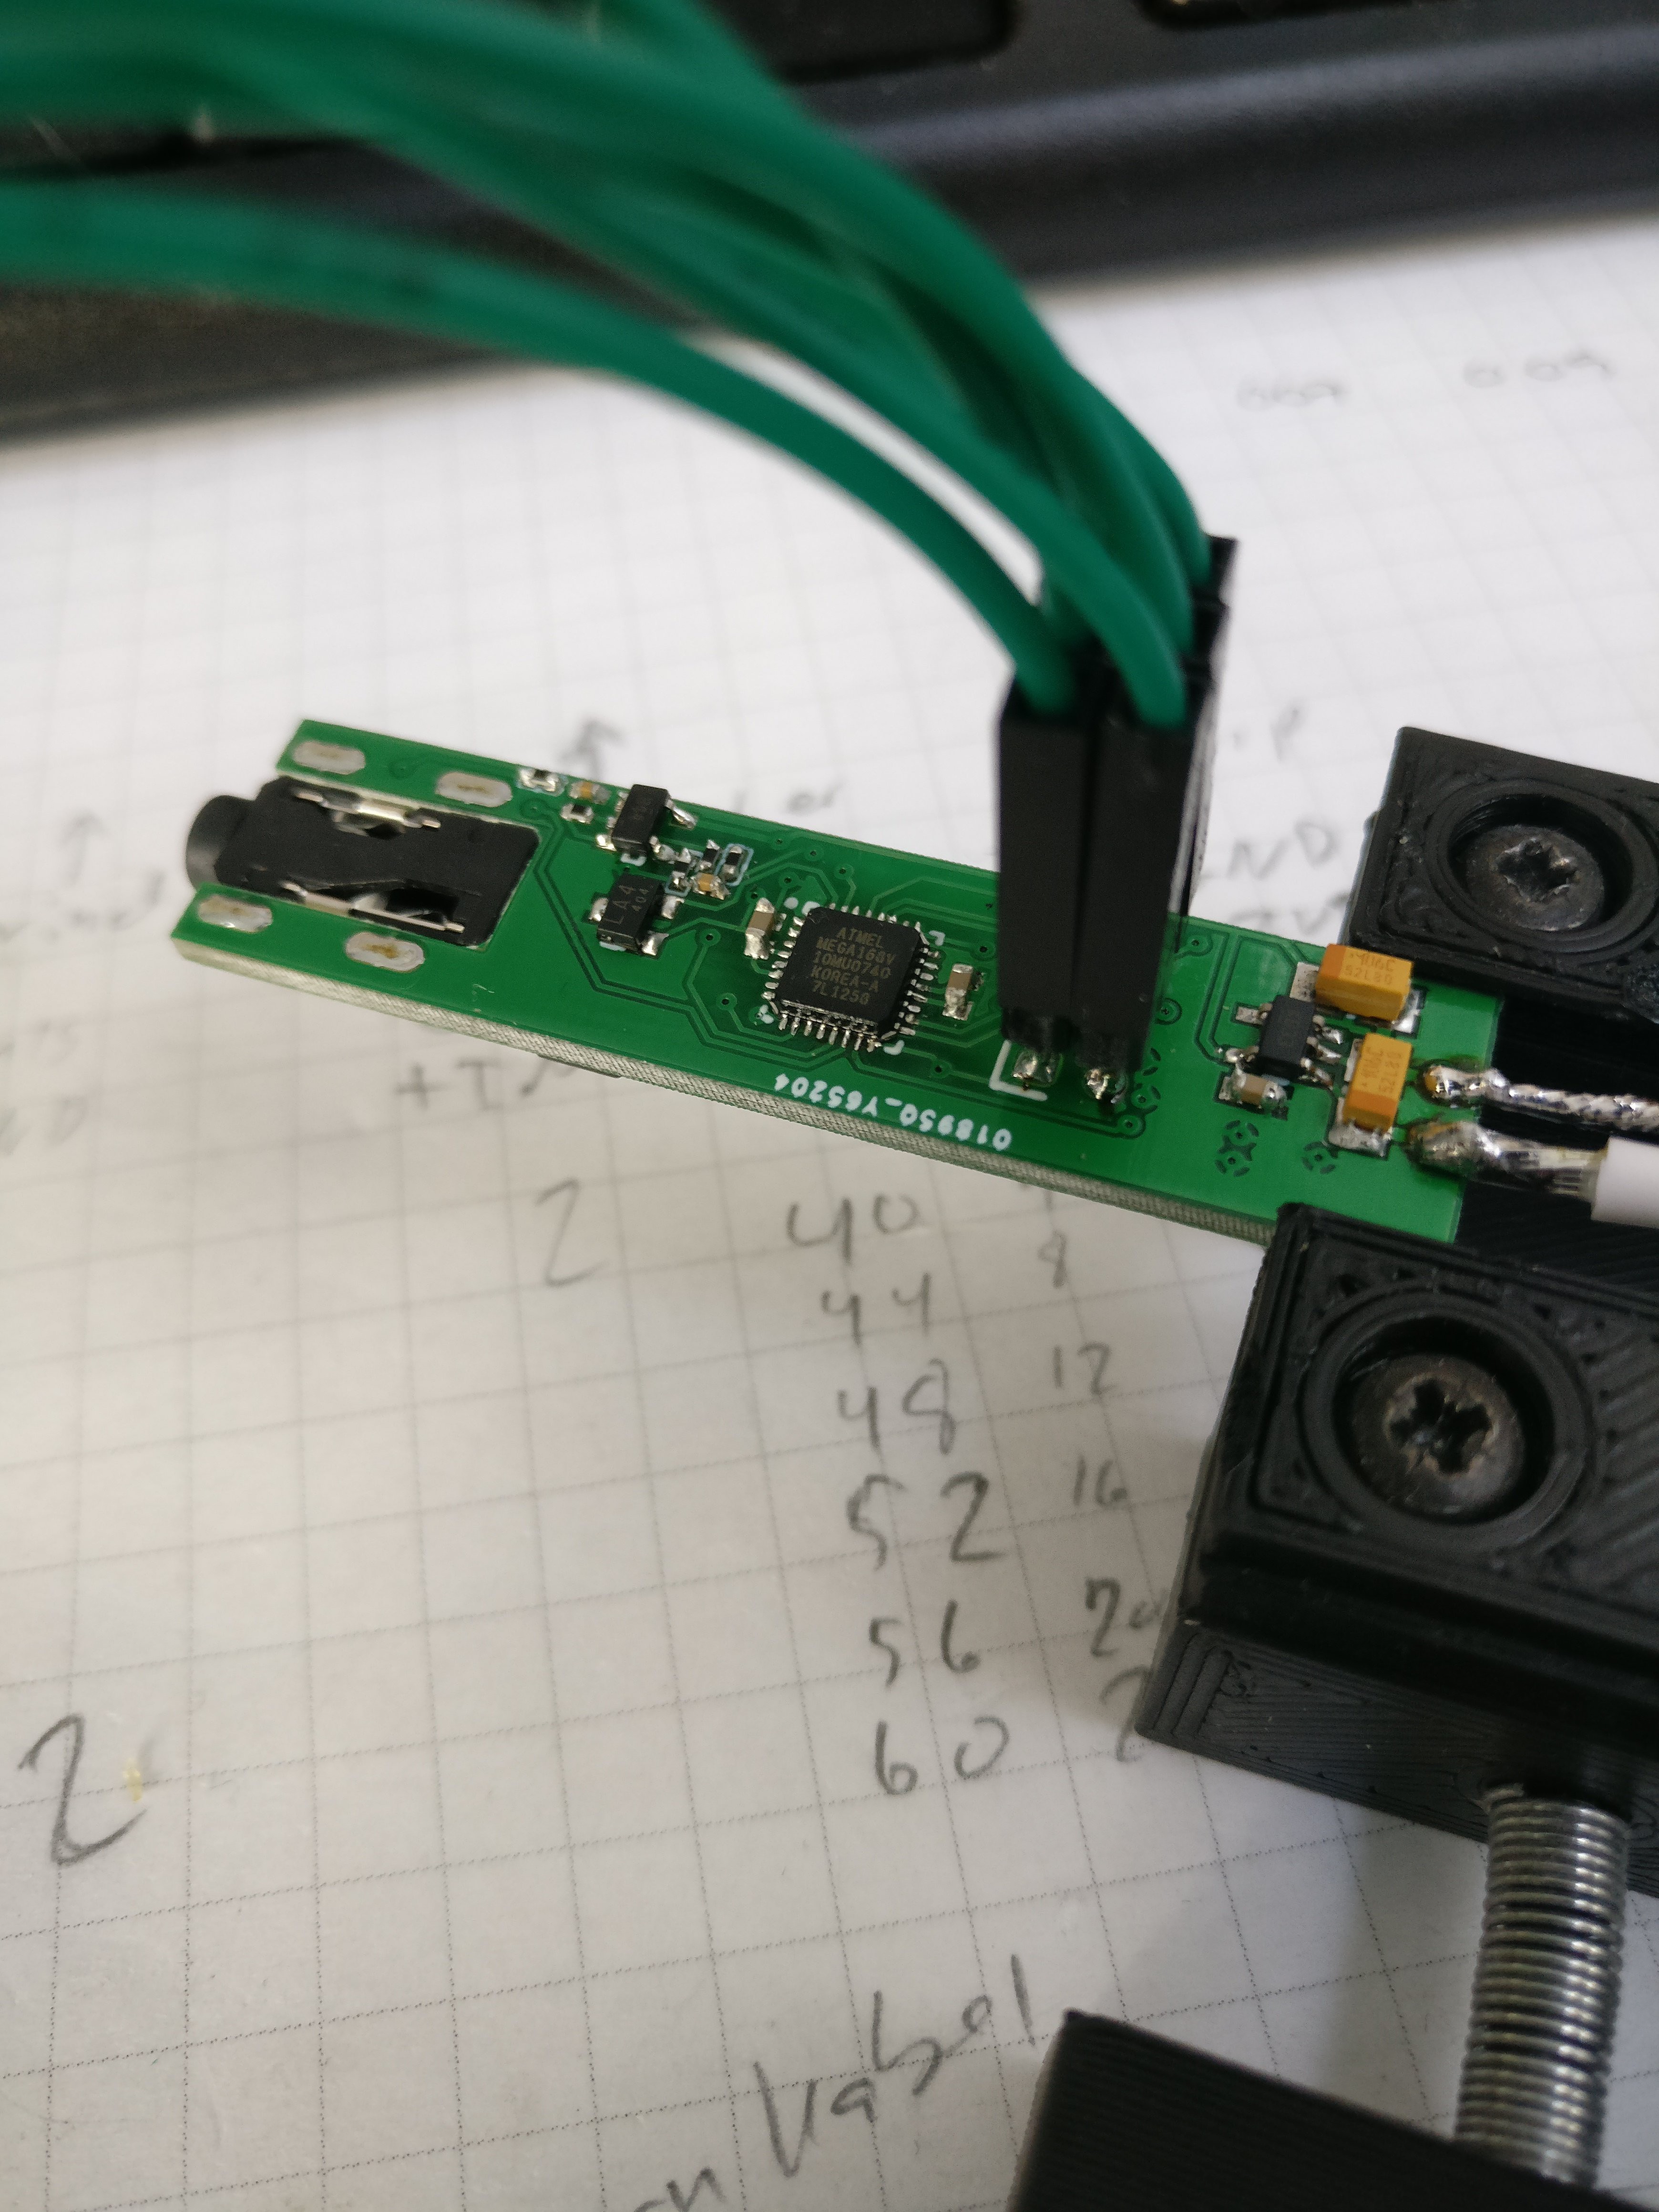
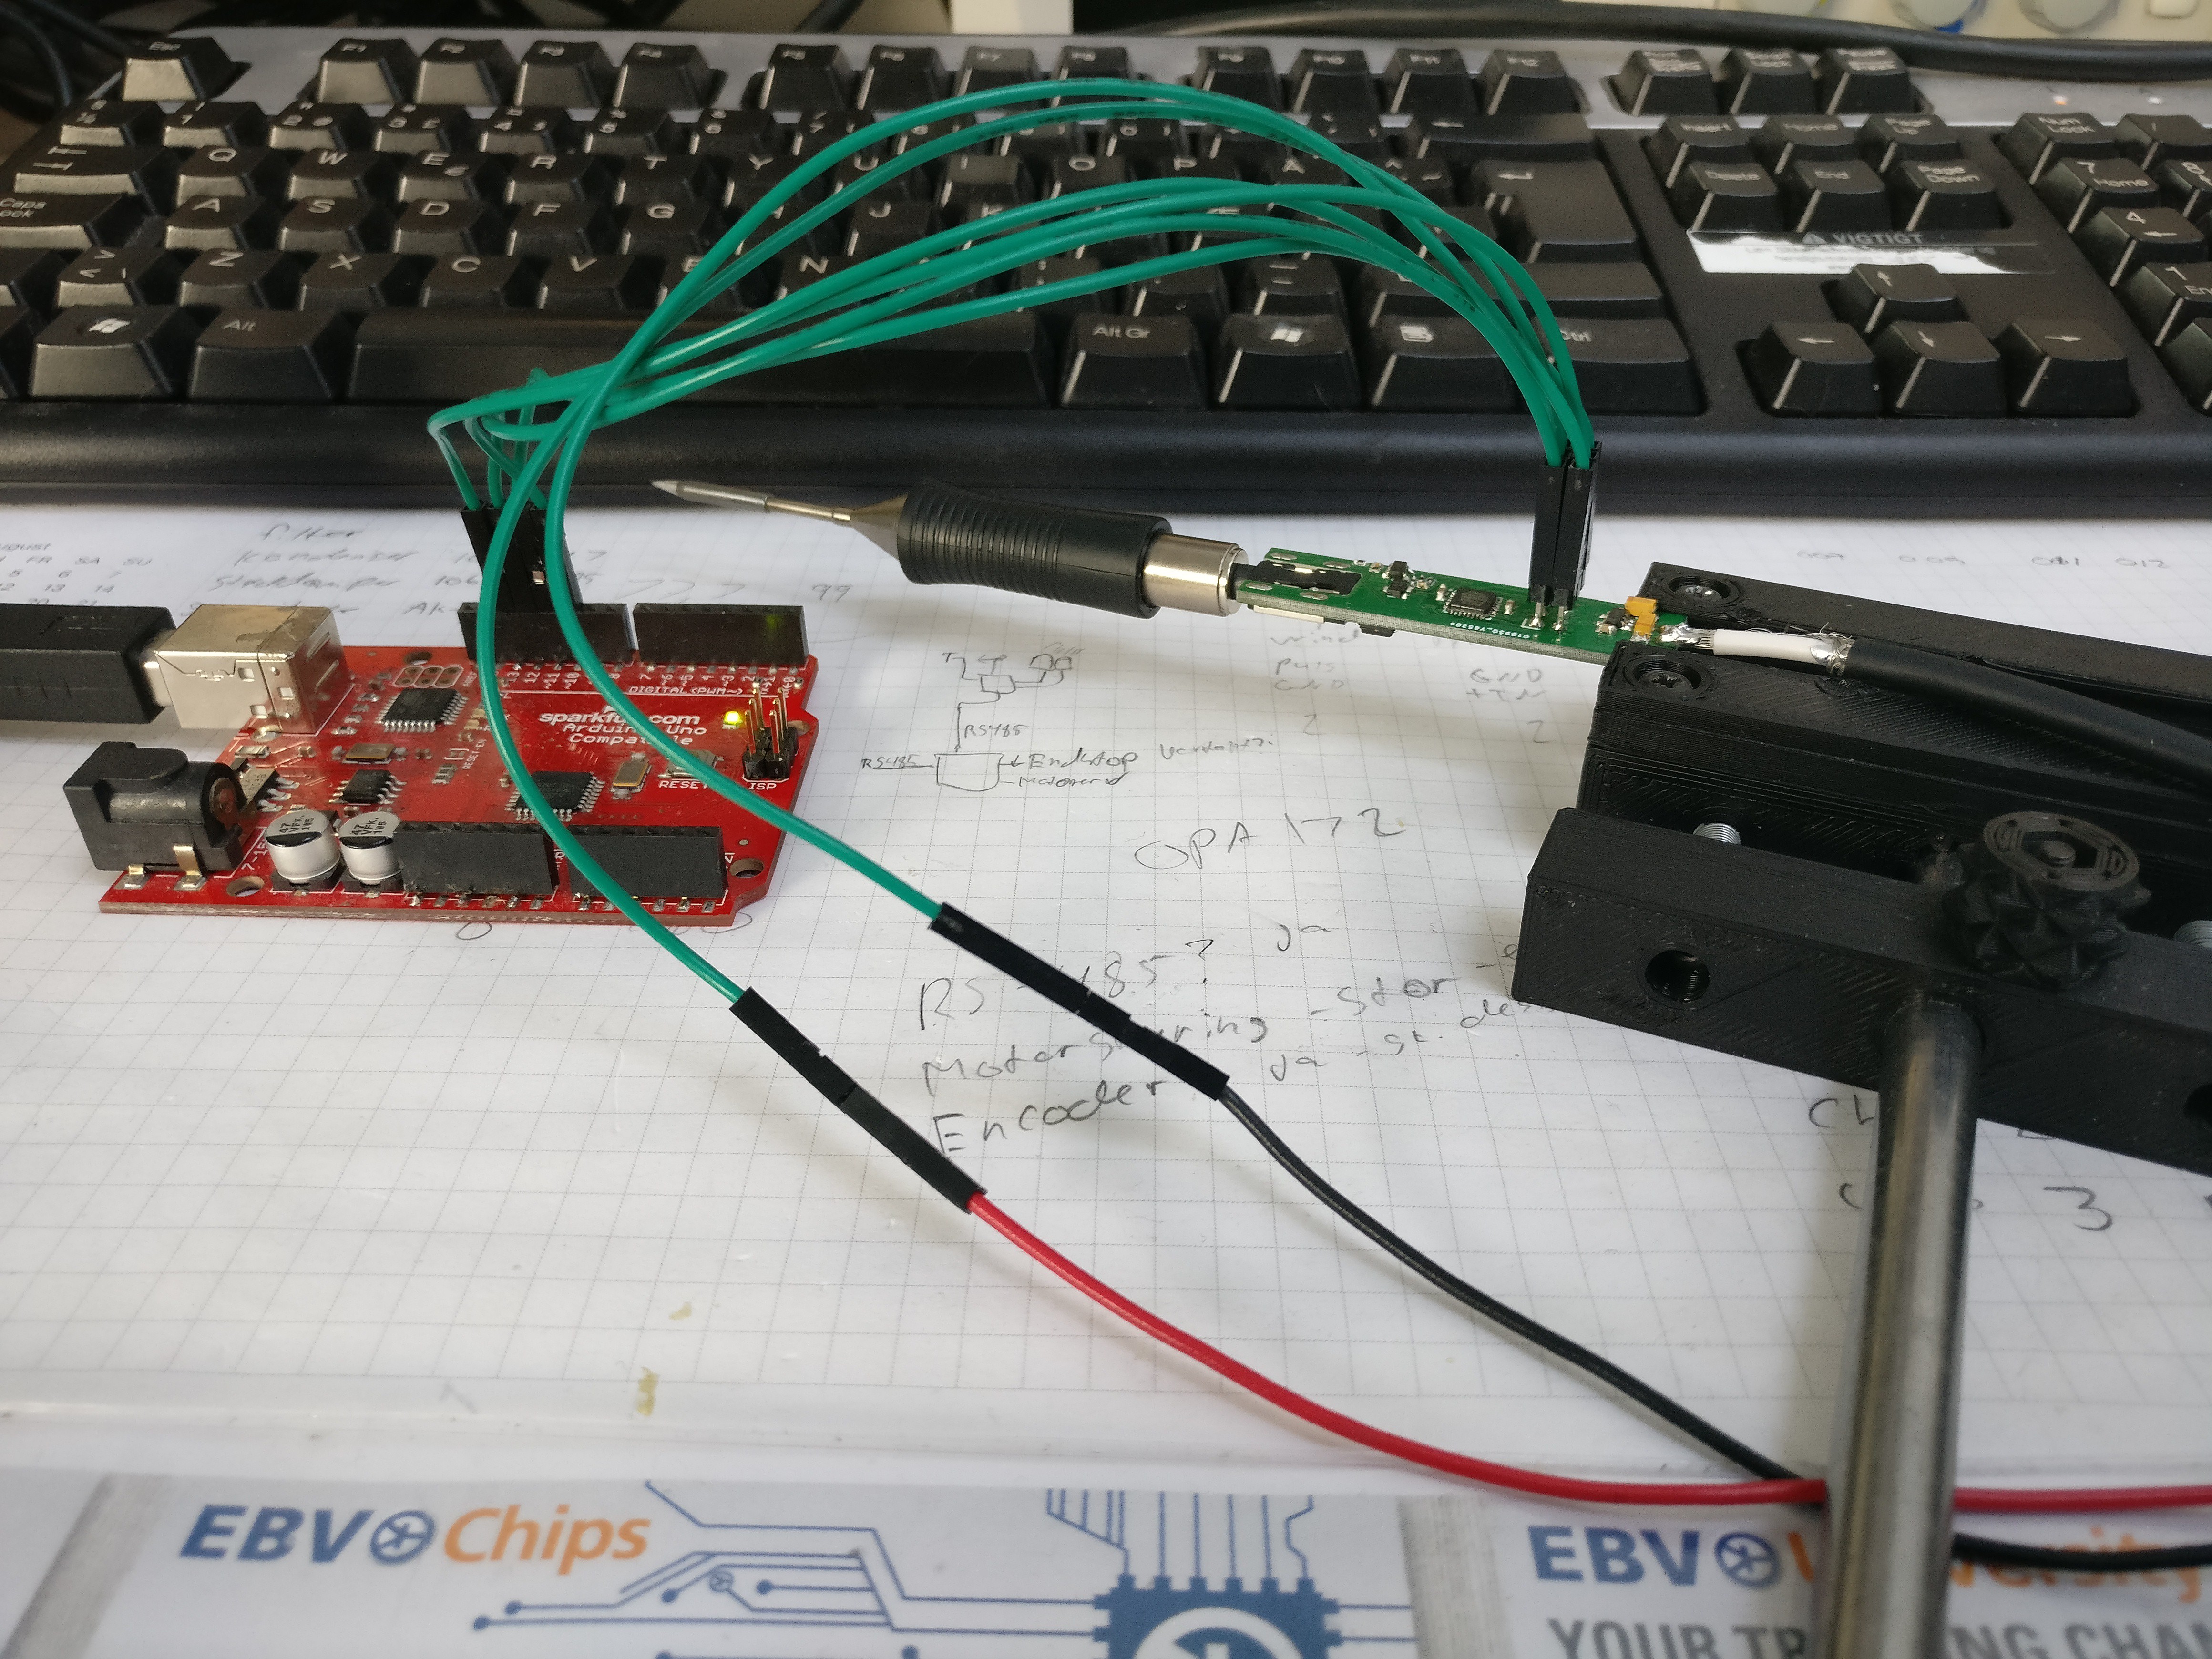
Now, since you've read so far, some pictures:

The pen from the top side. The SOIC is the P-Mos for power to the tip. The RGB LED is right next to the lowest button.

Close-up of the top-side of the PCB.

Bottom-side. Those 0402 parts are tiny! I will change them for 0603 parts and add a barrel-jack (low profile?) for the power connector.

Another full-system view. The arduino-as-ISP is shown for completeness. the voltmeter connections are the black and red wires going to the right.
 HP (@banjohat)
Discussions
Become a Hackaday.io Member
Create an account to leave a comment. Already have an account? Log In.
Congratulations to you and your beloved one about marriage @HP (@banjohat). Family is always first priority.
Are you sure? yes | no
Thank you very much!!
Are you sure? yes | no
Wow, that's great news to hear, all of it! Congratulations on your marriage! I almost thought you'd have given up, but this is awesome :-D
Are you sure? yes | no
Thank you very much :)
I'm still very much busy with other (hopefully paying) projects but having a working pen to develop on really helps a lot!
Are you sure? yes | no
Getting stuff to work as intended at least provides new spirit (sadly only the virtual one) to continue your quest to continue the project :-) Keep us posted, we enjoy reading your progress!
Are you sure? yes | no
This is excellent news! Sometimes you just have to give yourself some time when you hit a wall like that. Can't wait to see how it will look like with an enclosure.
Are you sure? yes | no
Excactly! I have been revisiting the project from time to time but each time I hit a dead end I used less time on it. I'm very happy to have confirmed that everything is working just as I wanted.
I should add that I just found out that I'm missing pull-ups for the accelerometer so putting that on and trying it out will be a stupid idea.
I will try to make an enclosure to see if my ideas for that work out.
Are you sure? yes | no