Close
0%
0%

CM3 Board + Backend-Library + Bee Hive Monitor

An open solution enabling everone to build and maintain a IoT enabled sensor network.

BeeStalker is the reference for you project!

Similar projects worth following


see https://hackaday.io/project/21970-beestalker-usblog


-------------------------------------------------------------

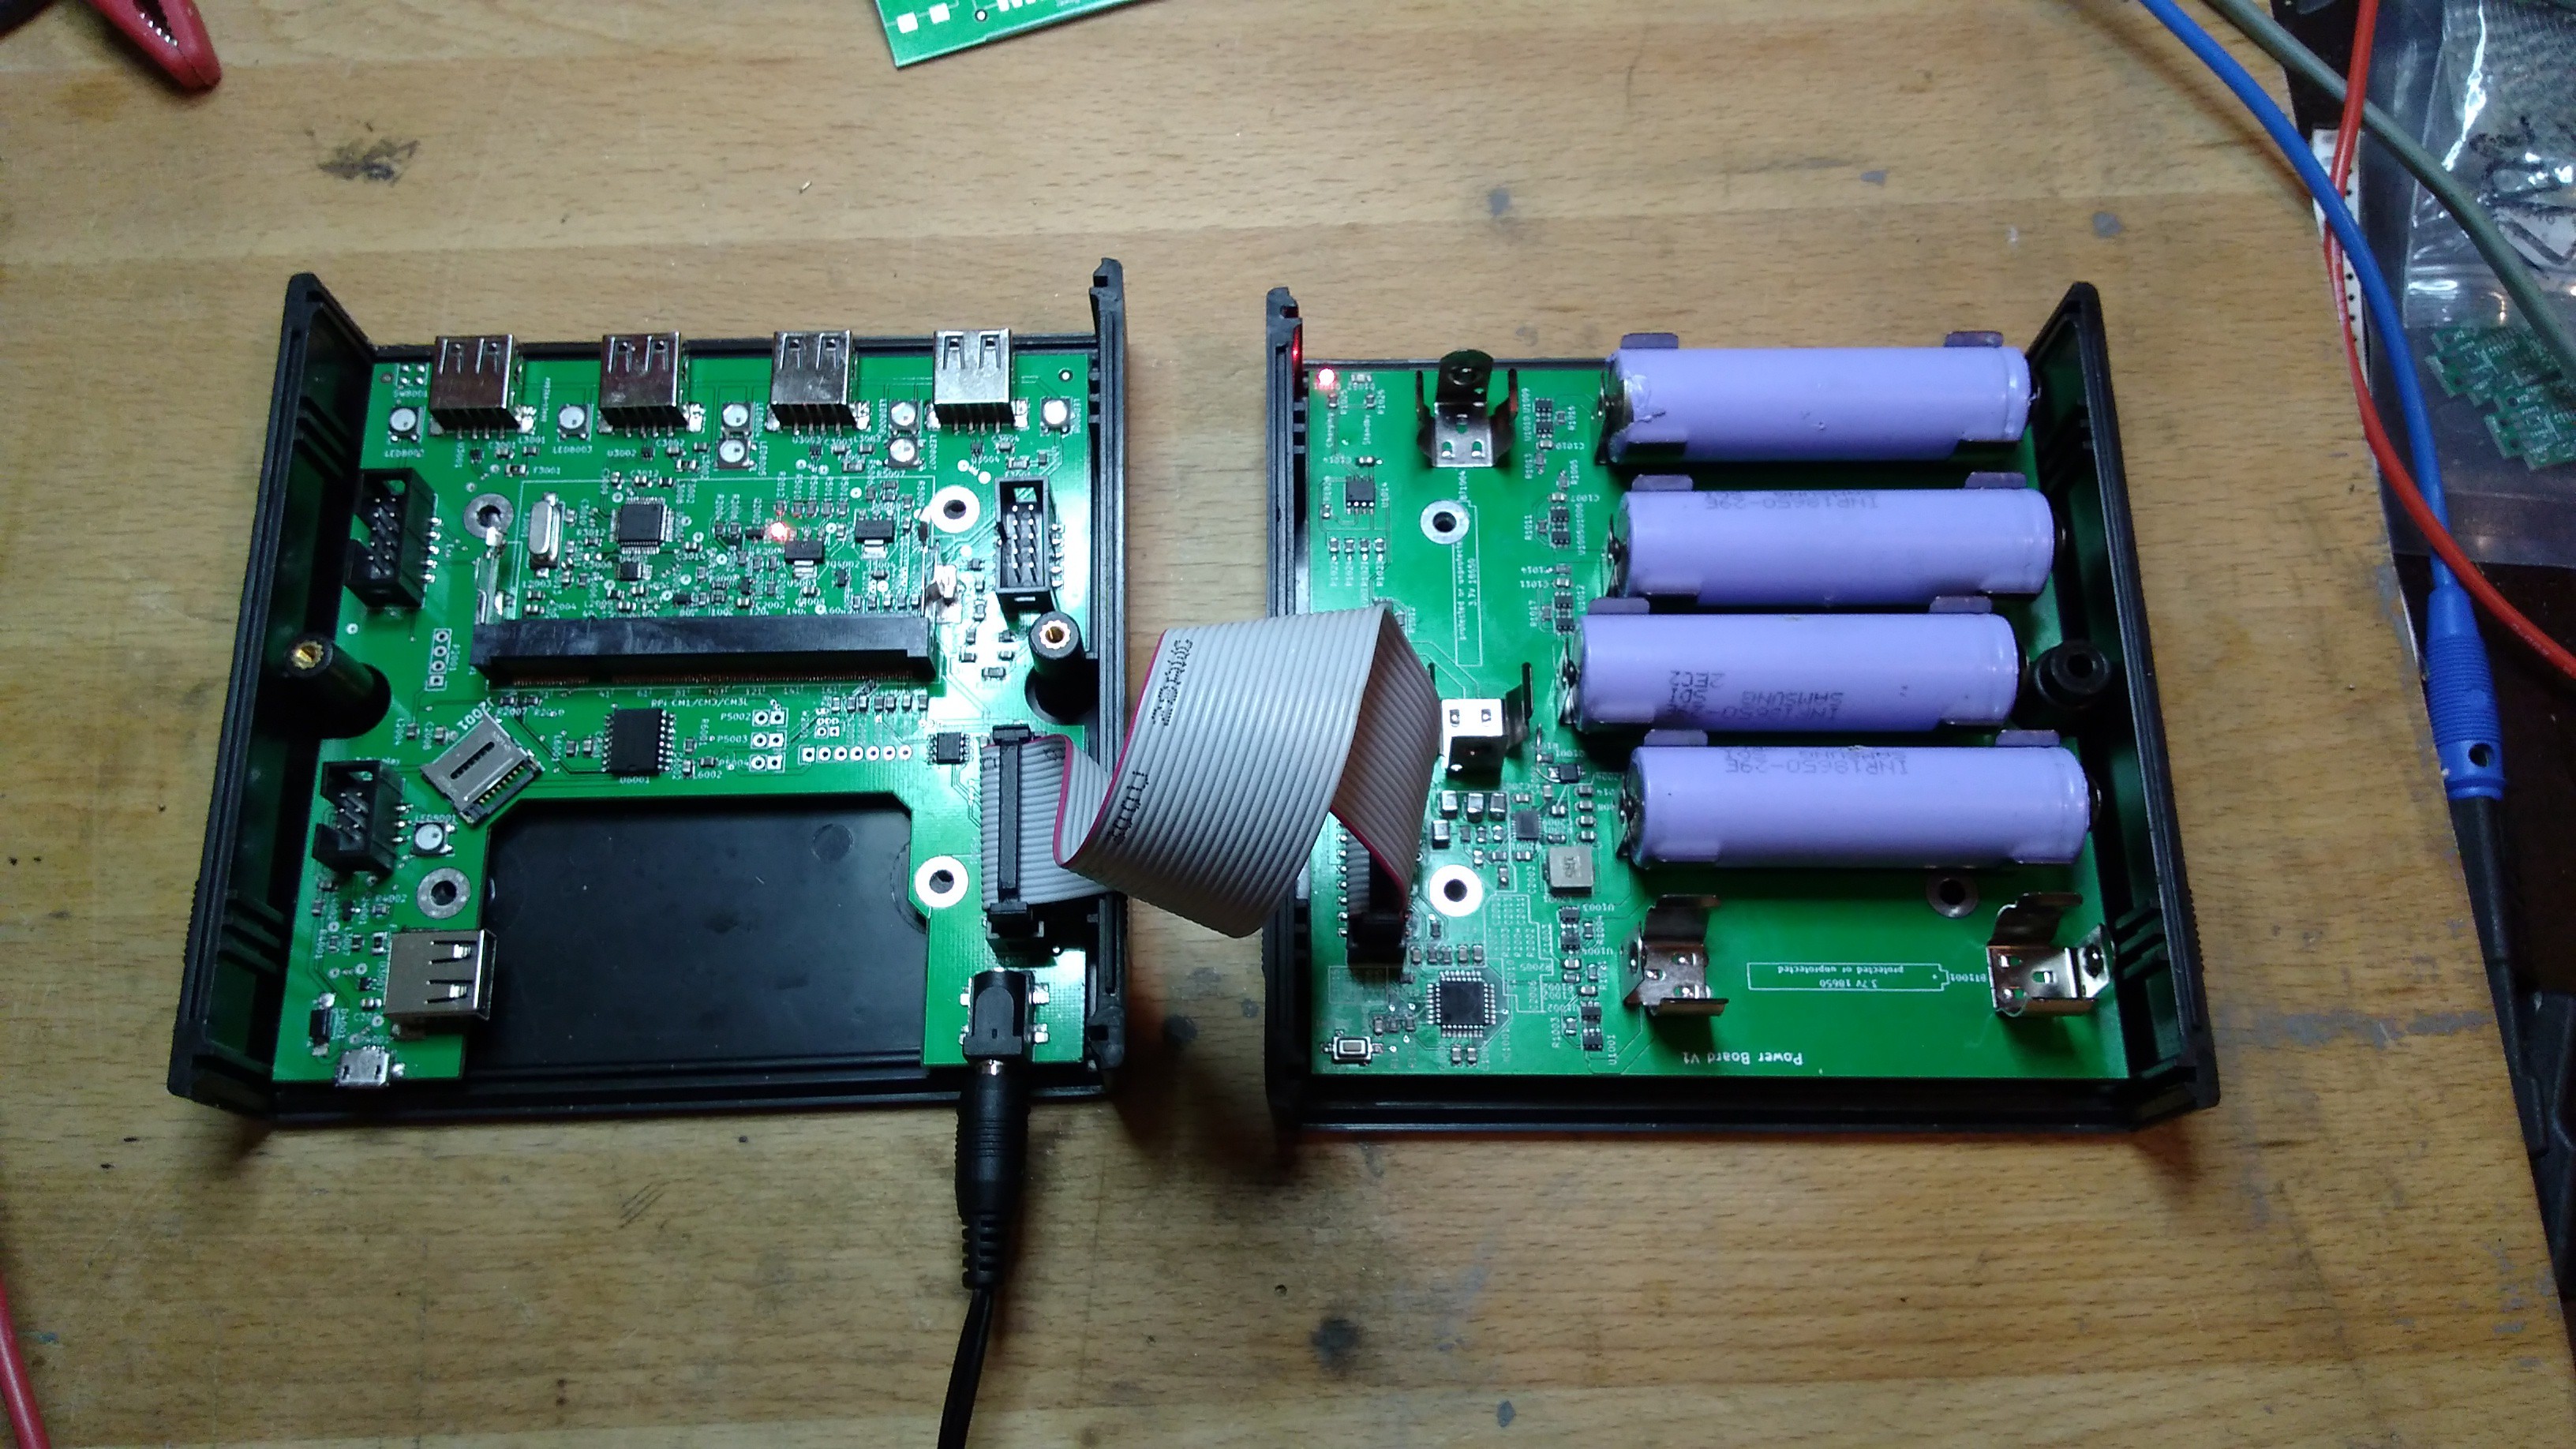
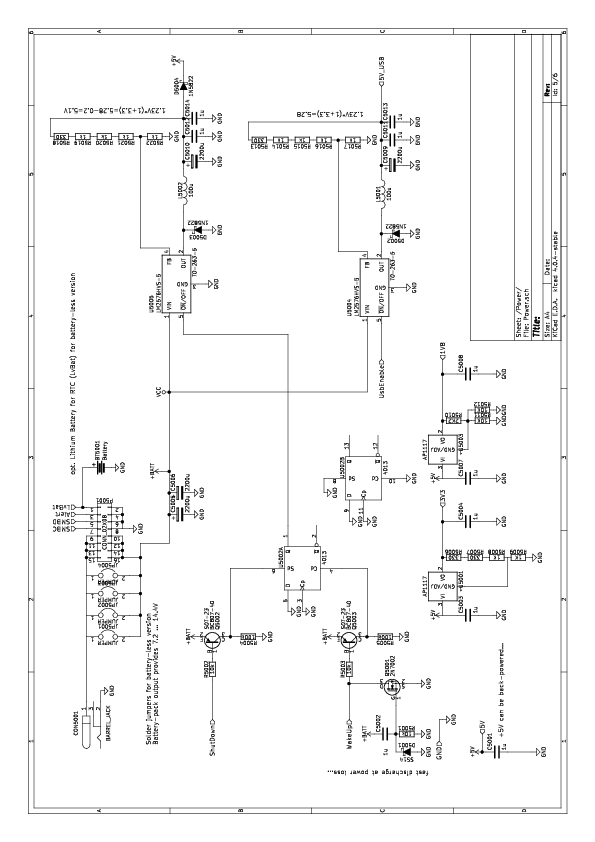
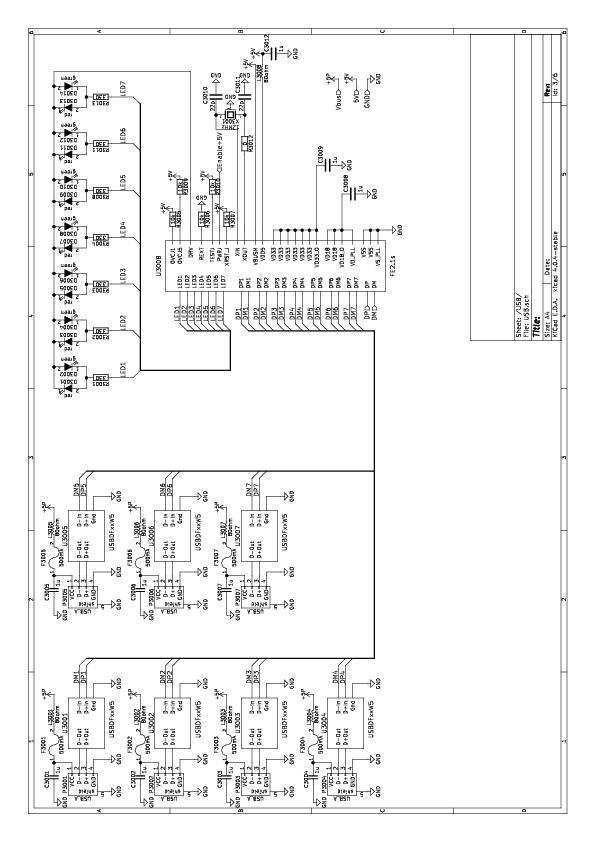
Now we have a full fleged Rpi CM3 base-board with 7(!) USB Ports powered from 6x 18650 cells!

Old info's right blow... new docu is coming soon... USB sensors are also ready... just need some time for taking photos :)

-------------------------------------------------------------

IoT is everwhere but backend libraries allowing you to create applications using the ceated information are basically non existing (or at least not open source).

This project aims to give you a ready to use application framework helping with the major problem of IoT: safe, secure and simple management of all nodes and their data.

You ask how this will work? Have a read on SSL and its very nice client-authentication feature using client certificates ;)

The first IoT-Sensor-Client (B

It seems there's a little configuration problem with "http://beestalker.eu";.

Please use http://www.beestalker.eu to avoid this problems!


So how is it planned to work? Well, it's simpler than you might think. Look at the great work the guys over at Let's Encrypt have done. Basically this will be the same but in a very small and confined space.

You'll set-up a server with SSL. So your nodes are able to verify that it is you. On deployment of your node, you'll give them an own client certificate. Using this, you can always authorize each and every node with ease.

This project will come up with all needed parts to quickly bring your devices online.

First will be a node... in my case it will be BeeStalker, a nice Raspberry Pi powered bee-hive monitoring (actually it's all about the weight) thing which urges to be part of the internet.

Second will be the basic script-set for key-generation and all the wired and wonderfull stuff needed to get everything working.

Third is a integrated, turn-key solution.


Where are we now? Well, you can see a live-demo on https://stalker.beestalker.eu/

We have Mk2 of the sensor PCB ready to order.

What is now needed: SSL is missing... well, the key-chain has been created but no certificates for the nodes were generated.

But that's only half of the story. The server has his SSL certificate and the binary packages are PGP signed for secure updates. The node does check both so what's missing is the auth part :)

To be honest, I believe a lot of people will be happy with this because it enables you to run everything from a very basic (PHP + SQLite) shared hosting plan... even the cheapest ones should do!
  • 1 × Raspberry Pi 1 A+ / 1 B+ / 2 / 3 SSL needs some power. Linux gives you all the libs and the RPi is our workhorse
  • 1 × 3g/4g dongle using ethernet is nice but cellular is the key tech for the IoT
  • 1 × ATmega 168p/328p The RPi needs way to much power. This small uC helps us with this...
  • 2 × HX711 Just a cheap little 24bit ADC designed to read weight-scales

  • ...not totally there...

    johann.wilhelm04/13/2017 at 09:44 0 comments

    Maybe another little update....

    A off-the-shelf RPi3 is running BeeStalker nicly for some days now.

    The data is locally cached (if the internet connection disappears for some reason), then transfered to my home-server (another caching instance of the database disappears) and finally pushed to a couchdb-database. Everything is TLS 1.2 secured (no fall-back for security reasons) with both, client and server authentication!

    So all the security stuff is working nicely!

    The nicer BeeStalker with custom boards,... is makeing also progress.

    Shutdown/Wakeup works. So the current draw is around 400mA with USB/Ethernet connected. In shutdown-mode it's 16.8uA! Both numbers measured at the termnials of a 18650 Lipo @ 3.3V

    I do have problems so far with my CNC router... so the frontpanel is not yet ready...

    Finally I'l contribute to the Hackaday Price when I can make nice finished photos and when I get quotation for M2M plans from an provider offering local-roaming... BeeStalker should work on every network to maximize the usefulness :)

  • maybe last log before I join the Hackaday Price 2017...

    johann.wilhelm03/29/2017 at 20:14 0 comments

    I think I'll join the Hackaday Price 2017 once again.. actually there are only very few similarities between my last entry and this one... but this means I will need to make a new project :(

    One is the use of JSON for the data handling. This is due to the fact that I'm a pretty lazy guy :)

    Down below is the lastest commit to the local cache database... as you see I have my USB sensors well working :)

    The web-part will come next... I do not really expect too much troubles there because I now (in contrast to the last beestalker revision) have an RTC, and possibly GPS available. That means I can do a "getLatestDataSampleTime" request on the client and after that just a "pushSample" for all new items.

    Btw, time-values are valid below as well as temperatures. The HX711 has floating inputs... Latitude, Longitude and Altitude are maked :)

    If you have comments to this structure - drop me a comment ...

    [
      {
        "Id": "{d098fa5e-ebc0-4d56-b19e-d5417343c8e3}",
        "Provider": "LocalRtcTimeSource",
        "Time": {
          "Time": 1490817657817,
          "TimeUtc": 1490817657817
        }
      },
      {
        "Id": "{f484c1db-ad1c-4d1a-94c5-730176eff2ff}",
        "Measurement": {
          "Altitude": 1234.56789,
          "GpsTime": 1490817658000,
          "Latitude": 1234.56789,
          "LocalTimeOffset": -222,
          "Longitude": 1234.56789
        },
        "Provider": "Gpsd"
      },
      {
        "BeeStalkerUsb": {
          "DeviceId": "222100",
          "HardwareVersion": 1,
          "MaxProtocolVersion": 0,
          "MinProtocolVersion": 0,
          "ProductId": "bee",
          "SerialNumber": " 0 0 0 0 0 1 ce1",
          "SoftwareVersion": 1,
          "USBPath": 1.8375812379578e+19
        },
        "Id": "{40d8b8cc-ddb2-4277-b4c7-7088904a5270}",
        "Measurement": {
          "Humidity": 26.9462890625,
          "Pressure": 985.750625,
          "Temperature": 29.840000152588
        },
        "Provider": "Usb2221-Bme280"
      },
      {
        "BeeStalkerUsb": {
          "DeviceId": "71100",
          "HardwareVersion": 1,
          "MaxProtocolVersion": 0,
          "MinProtocolVersion": 0,
          "ProductId": "bee",
          "SerialNumber": " 0 0 0 0 0 0 0 1",
          "SoftwareVersion": 2,
          "USBPath": 1.8378345654369e+19
        },
        "Id": "{94f87402-121e-4d16-9ef6-b33feab73eff}",
        "Measurement": {
          "Calibration": {
            "CalibrationScale1": {
              "Alpha1": 1,
              "Alpha2": 1.1000000238419,
              "Offset": 1.2999999523163,
              "Tref": 1.3999999761581,
              "k": 1.2000000476837,
              "useScaleTempSensor": 15
            },
            "CalibrationScale2": {
              "Alpha1": 2,
              "Alpha2": 2.0999999046326,
              "Offset": 2.2999999523163,
              "Tref": 2.4000000953674,
              "k": 2.2000000476837,
              "useScaleTempSensor": 25
            },
            "Hx711Averaging": 16,
            "Hx711isGain128": 0,
            "OneWire18s20ParasiticPower": 0
          },
          "Results": {
            "TempInternal": 24.5,
            "TempInternalValid": 1,
            "TempScale1": 26.125,
            "TempScale2": 26.0625,
            "TempScalesValid": 1,
            "WeightScale1": -40483472,
            "WeightScale1Raw": -1311419,
            "WeightScale2": -5976594.5,
            "WeightScale2Raw": -56217,
            "WeightValid": 1
          },
          "Status": {
            "Checkpoint": 6,
            "Function": 0,
            "Lm75Timeout": 0,
            "Value": 0
          }
        },
        "Provider": "UsbHx711"
      }
    ]

  • USB Bootloader and USB HID works...

    johann.wilhelm03/12/2017 at 19:33 0 comments

    ...after spending a whole day on it... in the end the only error was neglecting these tiny bits moving the interrupt table to the bootloader region.

    But now it finally works. I modified USBaspLoader (https://www.obdev.at/products/vusb/usbasploader.html ) to wait 2 seconds for new firmware and read the serial-string from eeprom. After applying some of my favourite voodoo forces, this fits inside the 2kb bootloader portion of the flash :) (just 2042 bytes)

    I updated my USB spec (https://sites.google.com/a/beestalker.eu/beestalker/hardware/hardware/usb-spec) to something more serious...

    [138600.097617] usb 1-4: USB disconnect, device number 8
    [138602.066146] usb 1-4: new low-speed USB device number 9 using xhci_hcd
    [138602.297004] usb 1-4: New USB device found, idVendor=16d0, idProduct=0cb9
    [138602.297012] usb 1-4: New USB device strings: Mfr=1, Product=2, SerialNumber=3
    [138602.297016] usb 1-4: Product: AAAAAAAAC+4ABxEB
    [138602.297020] usb 1-4: Manufacturer: BeeStalker.eu
    [138602.297024] usb 1-4: SerialNumber: 4QcDDAEAAAAAAAAA
    [138605.355129] usb 1-4: USB disconnect, device number 9
    [138610.614279] usb 1-4: new low-speed USB device number 10 using xhci_hcd
    [138610.787694] usb 1-4: New USB device found, idVendor=16d0, idProduct=0cb9
    [138610.787702] usb 1-4: New USB device strings: Mfr=1, Product=2, SerialNumber=3
    [138610.787707] usb 1-4: Product: AAAAAAAAC+4ABxEA
    [138610.787712] usb 1-4: Manufacturer: BeeStalker.eu
    [138610.787716] usb 1-4: SerialNumber: 4QcDDAEAAAAAAAAA
    
    You might notice these strange looking SerialNumber and Product strings...

    These are BASE64 encoded binary strings. You can decode them using online tools like https://conv.darkbyte.ru/

    So "4QcDDAEAAAAAAAAA" is actually "00 00 00 00 00 00 0b ee 00 07 11 01" where "00 00 00 00 00 00 0b ee" is my personal identifier and "00 07 11 01" is the bootloader of the UsbHx711 sensor. The "other" device ("AAAAAAAAC+4ABxEA") is the actual application part of the sensors software.

    The serial is a bit more complicated: "4QcDDAEAAAAAAAAA" gives "e1 07 03 0c 01 00 00 00 00 00 00 00".

    This is a serial number + compatibility flags.

    I will need to tidy up everything befor I upload this to my gogs (I don't like github for some reasons... gogs is like github but you host your data yourself) server...

    BTW idVendor=16d0, idProduct=0cb9 belong to me... MCS (www.mcselec.com) sells single PIDs for reasonable money. I'm going to use a single PID for all sensors... see the spec mentioned above how I want to do this.

    73

  • Some sensors are coming...

    johann.wilhelm03/11/2017 at 16:42 0 comments

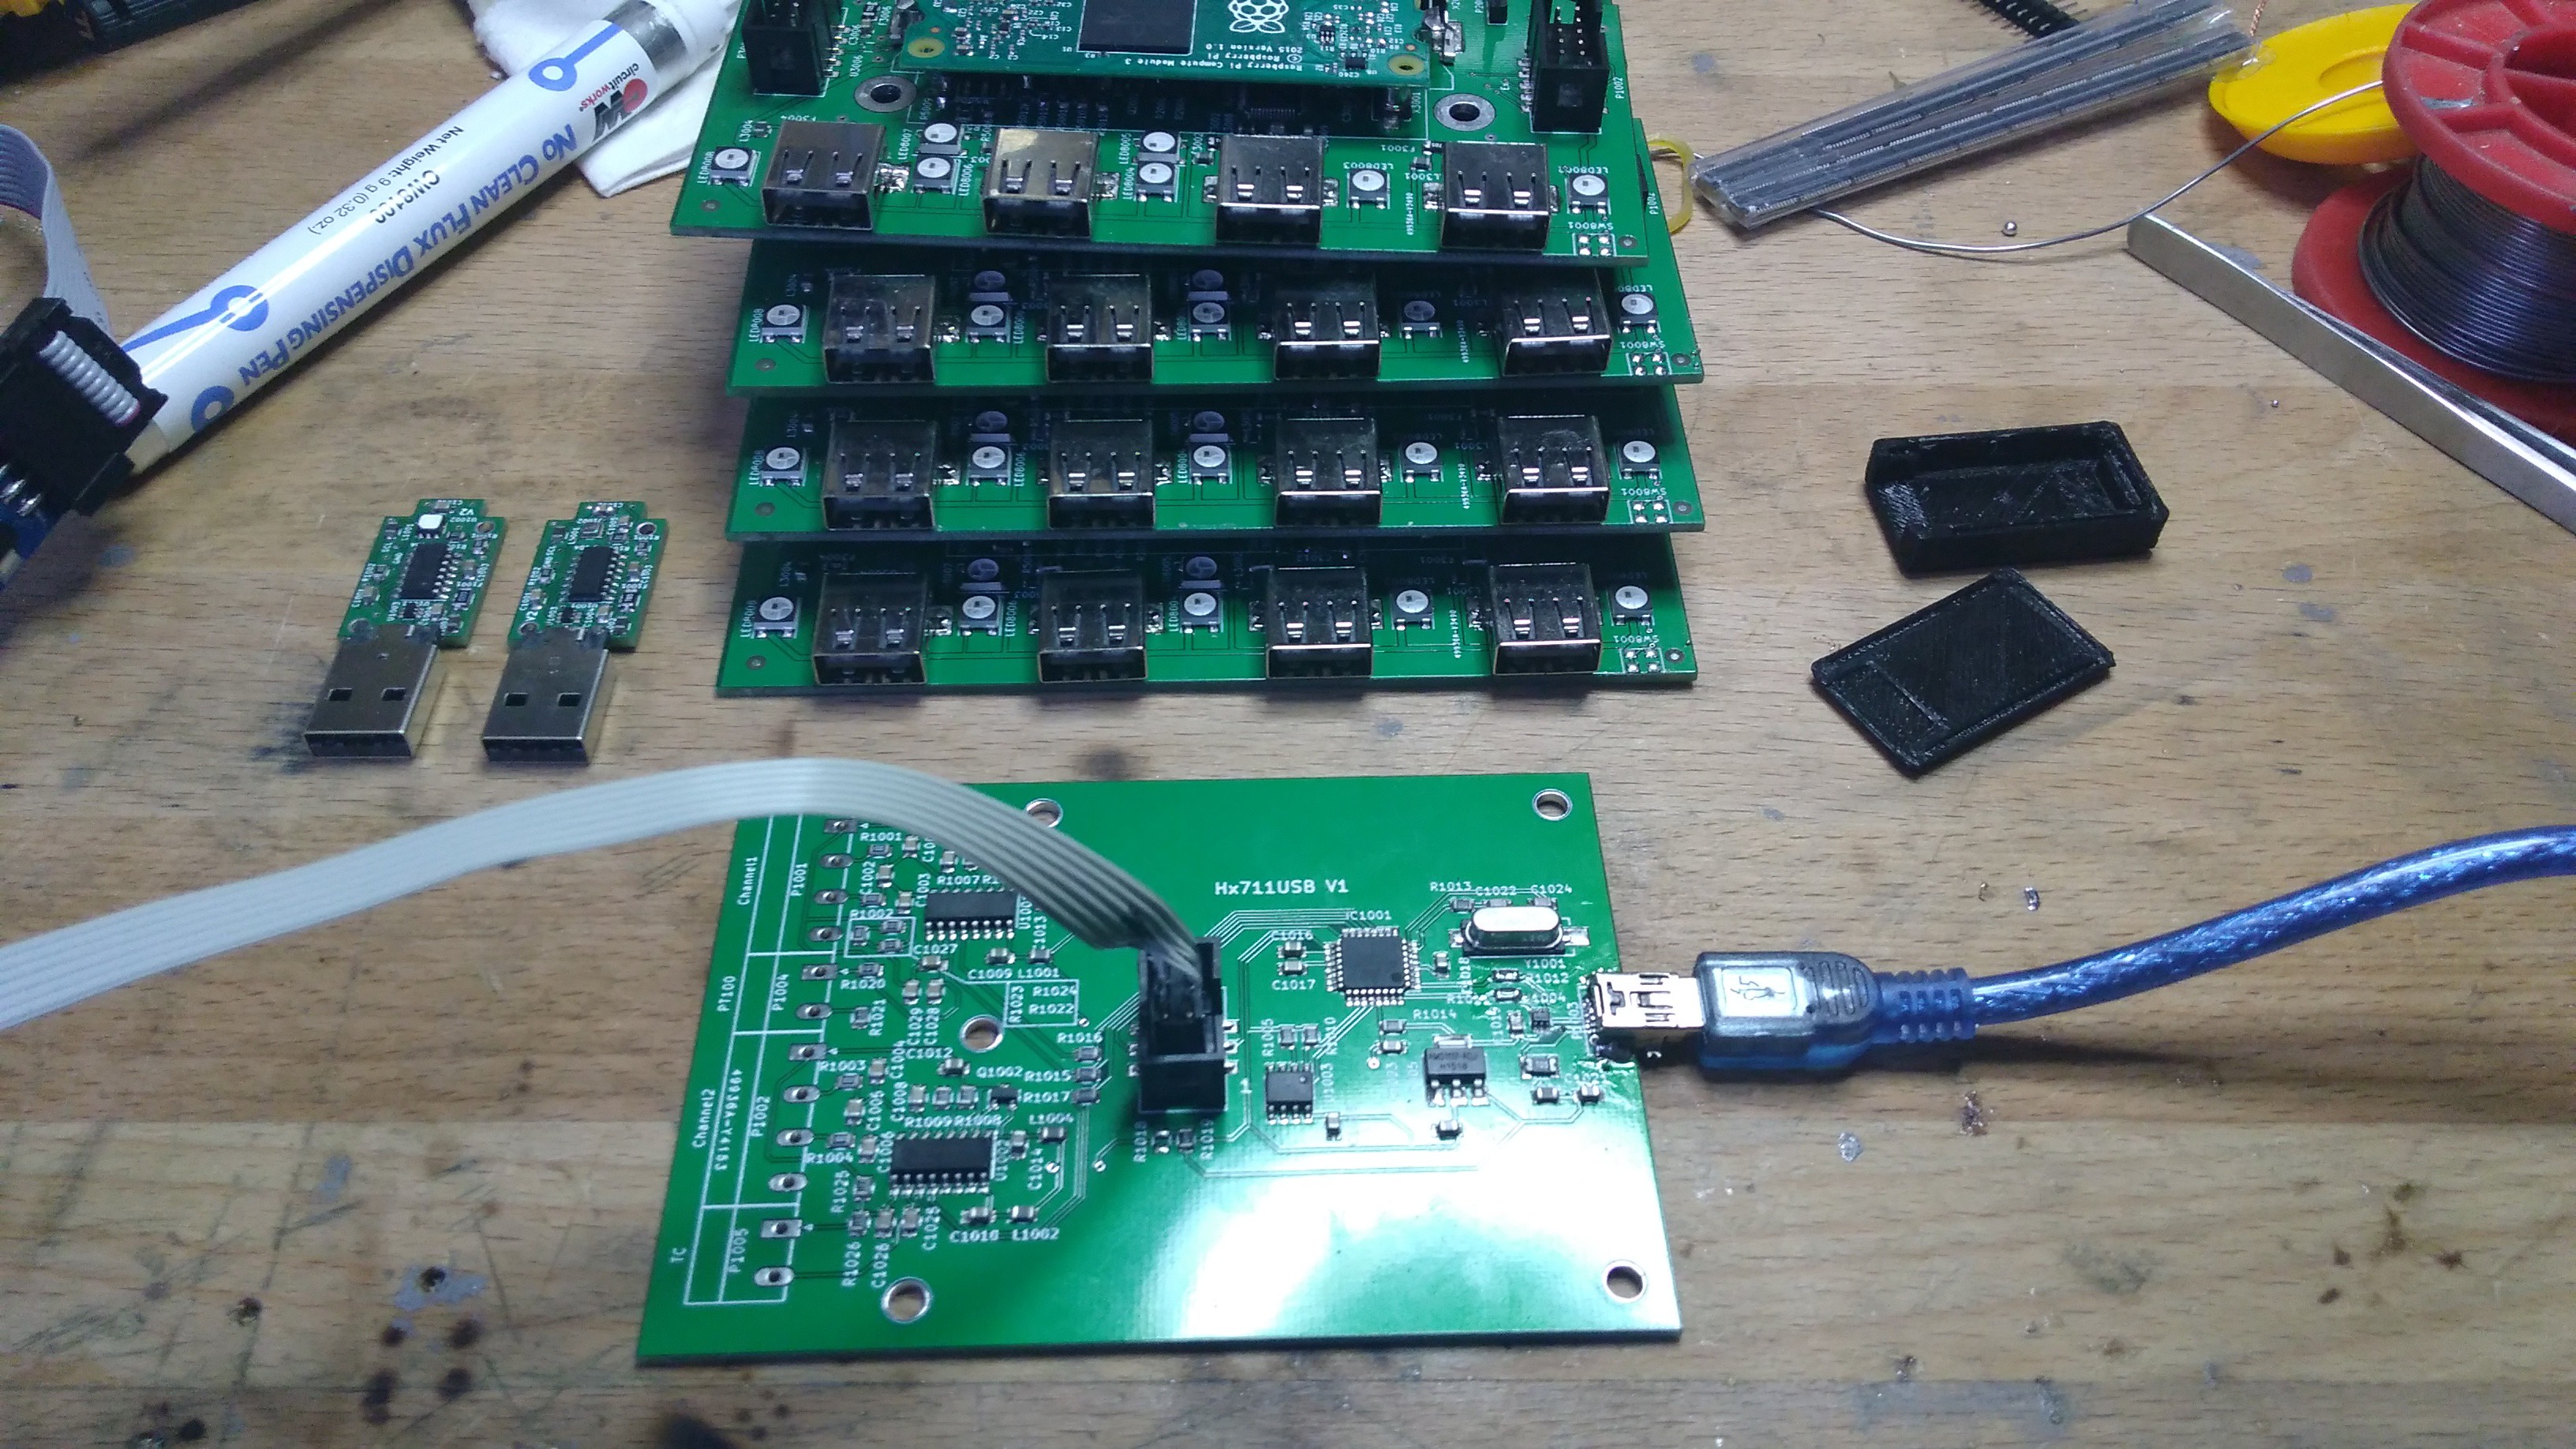
    4 prototype pcbs are ready for the fields... it's time to unveil the sensor-pcbs :)

    Actually I've finished these in early december... you can see them on the left down below...

    One is equiped with a Si7021 (the very left on) and the other is a BME280. Both have I2C-USB bridges on the board to easily interface to the rest of the system.

    In front you see to not yet completly populated HX711-to-USB board...but it actually already talks USB :)

  • piCore 9.0 runs and most of the design is verified...

    johann.wilhelm03/07/2017 at 22:15 0 comments

    Well beside USB, everything works!

    Down below is little picture of the test of the rpi_ws281x library...

    The only real issue I see with this design is the USB portion.

    Maybe I'll opt for a non-chinese usb-hub IC in the next prototype...

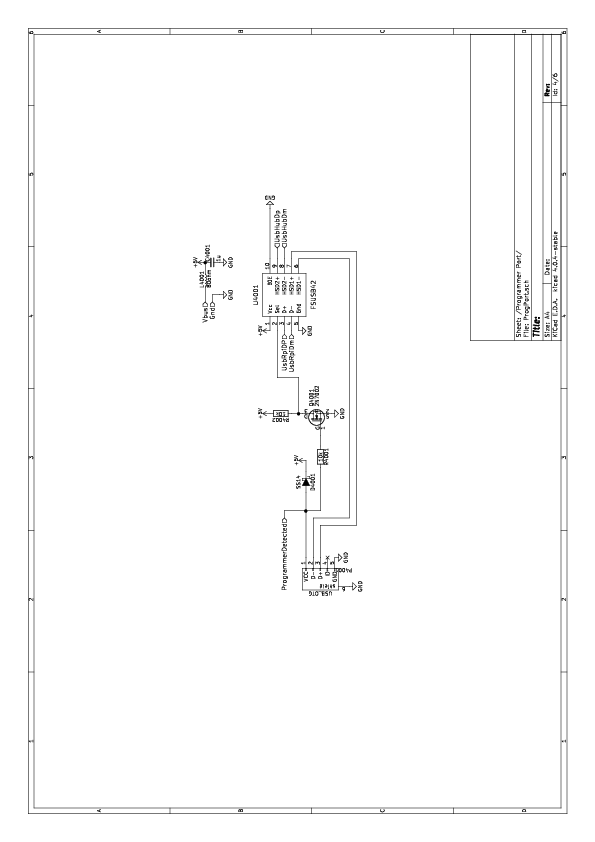
    Speaking of that - I'll kill that programming USB port... when I did the design, the CM3L was not even announced. Now the CM3L is at the same price-level as the CM1 before (at Farnell) and the CM1 is not really available anymore (huge lead-time). The CM3 is 5€ more expensive and since you can get micro sd-cards for 4€ it makes sense to kick the usb-programmer (some 3€/20 parts on the BOM) and think of an better usb hub...

    At least I need to change my ESD protection solution to something more modern... the USB drive you see below is actually an USB 3.0 one and refuses to enumerate on this USB 1.1 protection ICs...

    73

  • It boots!

    johann.wilhelm03/05/2017 at 21:20 0 comments

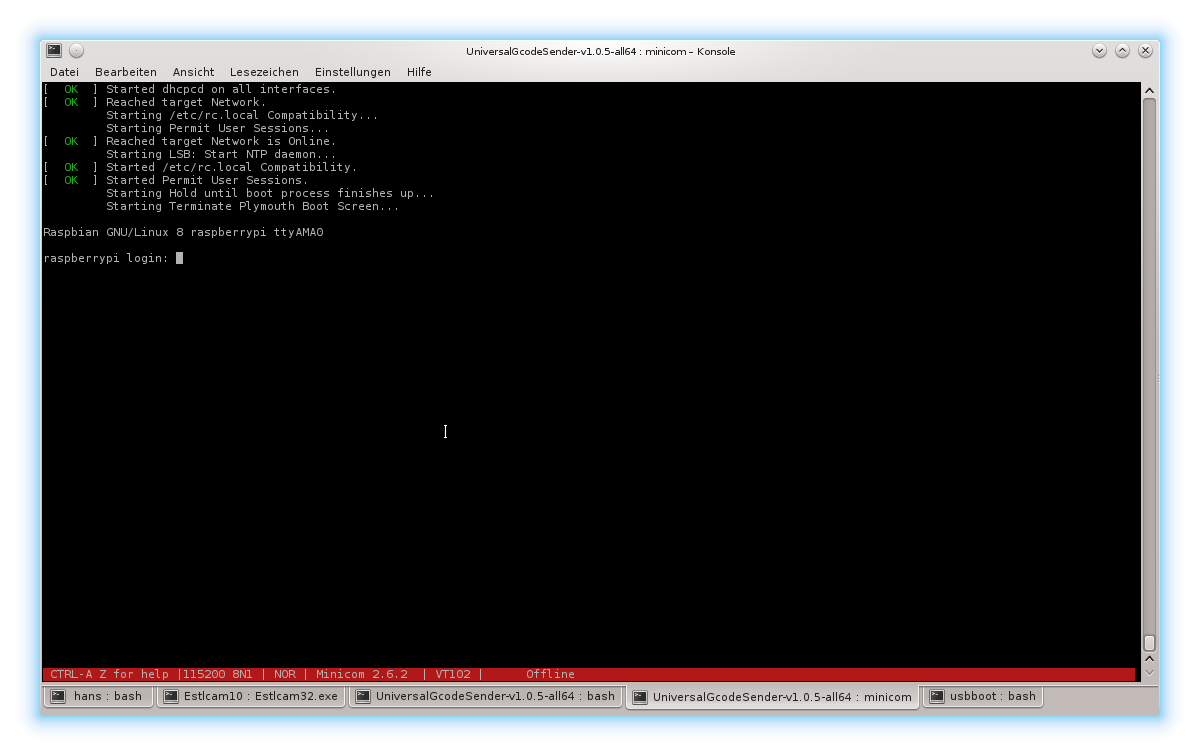
    Well it took me some time, but now Raspbian boots... I want to use TinyCore for obvious reasons (§%$§%$§%%§$%§$% systemd and stuff!) but this seems to need some more reading...

    Btw, some minor bugs are in this design...

    The feedback for the 1.8V and 3.3V regulators need to be xchanged and D1 and D0 pins on the SD-Card as well... 1 ferrite bead got shorted (I should trust the DRC results!)... and that's it (for now)

    The power board will also get some changes.

    There's 1 footprint error, but this is a doable rework thing. When I tested the charger-part of the power-board I found that I really need to add a buck-converter... 5V max on a hollow-plug is no good idea... so an ADP2301 will find its way on the board in the next rev...

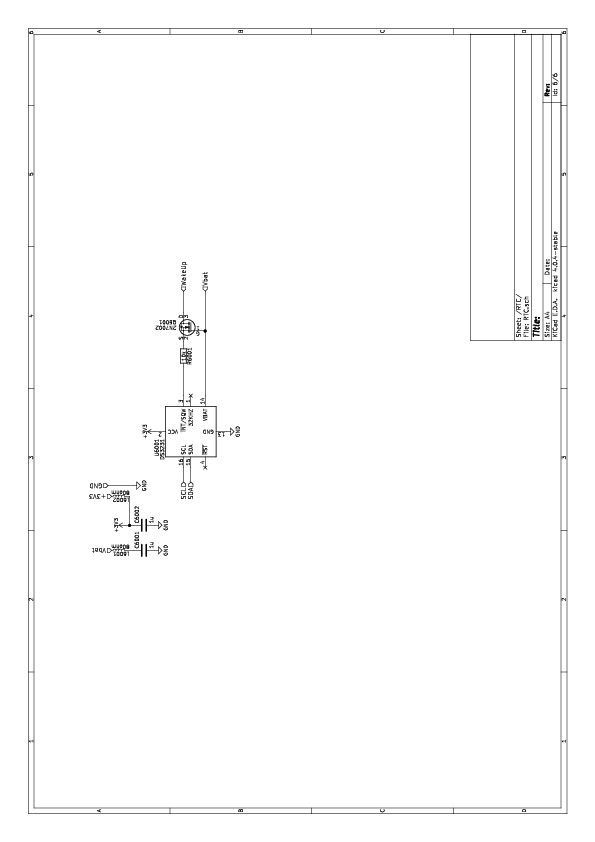
    All in all no really big problems so far... now the RTC, the LEDs and the USB hub needs to be tested :)

    73

  • The new hardware seems to work...

    johann.wilhelm02/24/2017 at 01:39 0 comments

    ... but still a lot to test...

    Some minor bugs are in the power-board design... but nothing really bad :)

    btw 5V@2A were no problem... I need a new load for full 5V@5A... and some more batteries... only have 4 identical ones so far :)

    So far the charger works and the protection circuits for the batteries seem to work fine...

    73

  • 1st Prototype soldered...

    johann.wilhelm02/22/2017 at 17:18 2 comments

    ... quite some shorts, but manageable :)

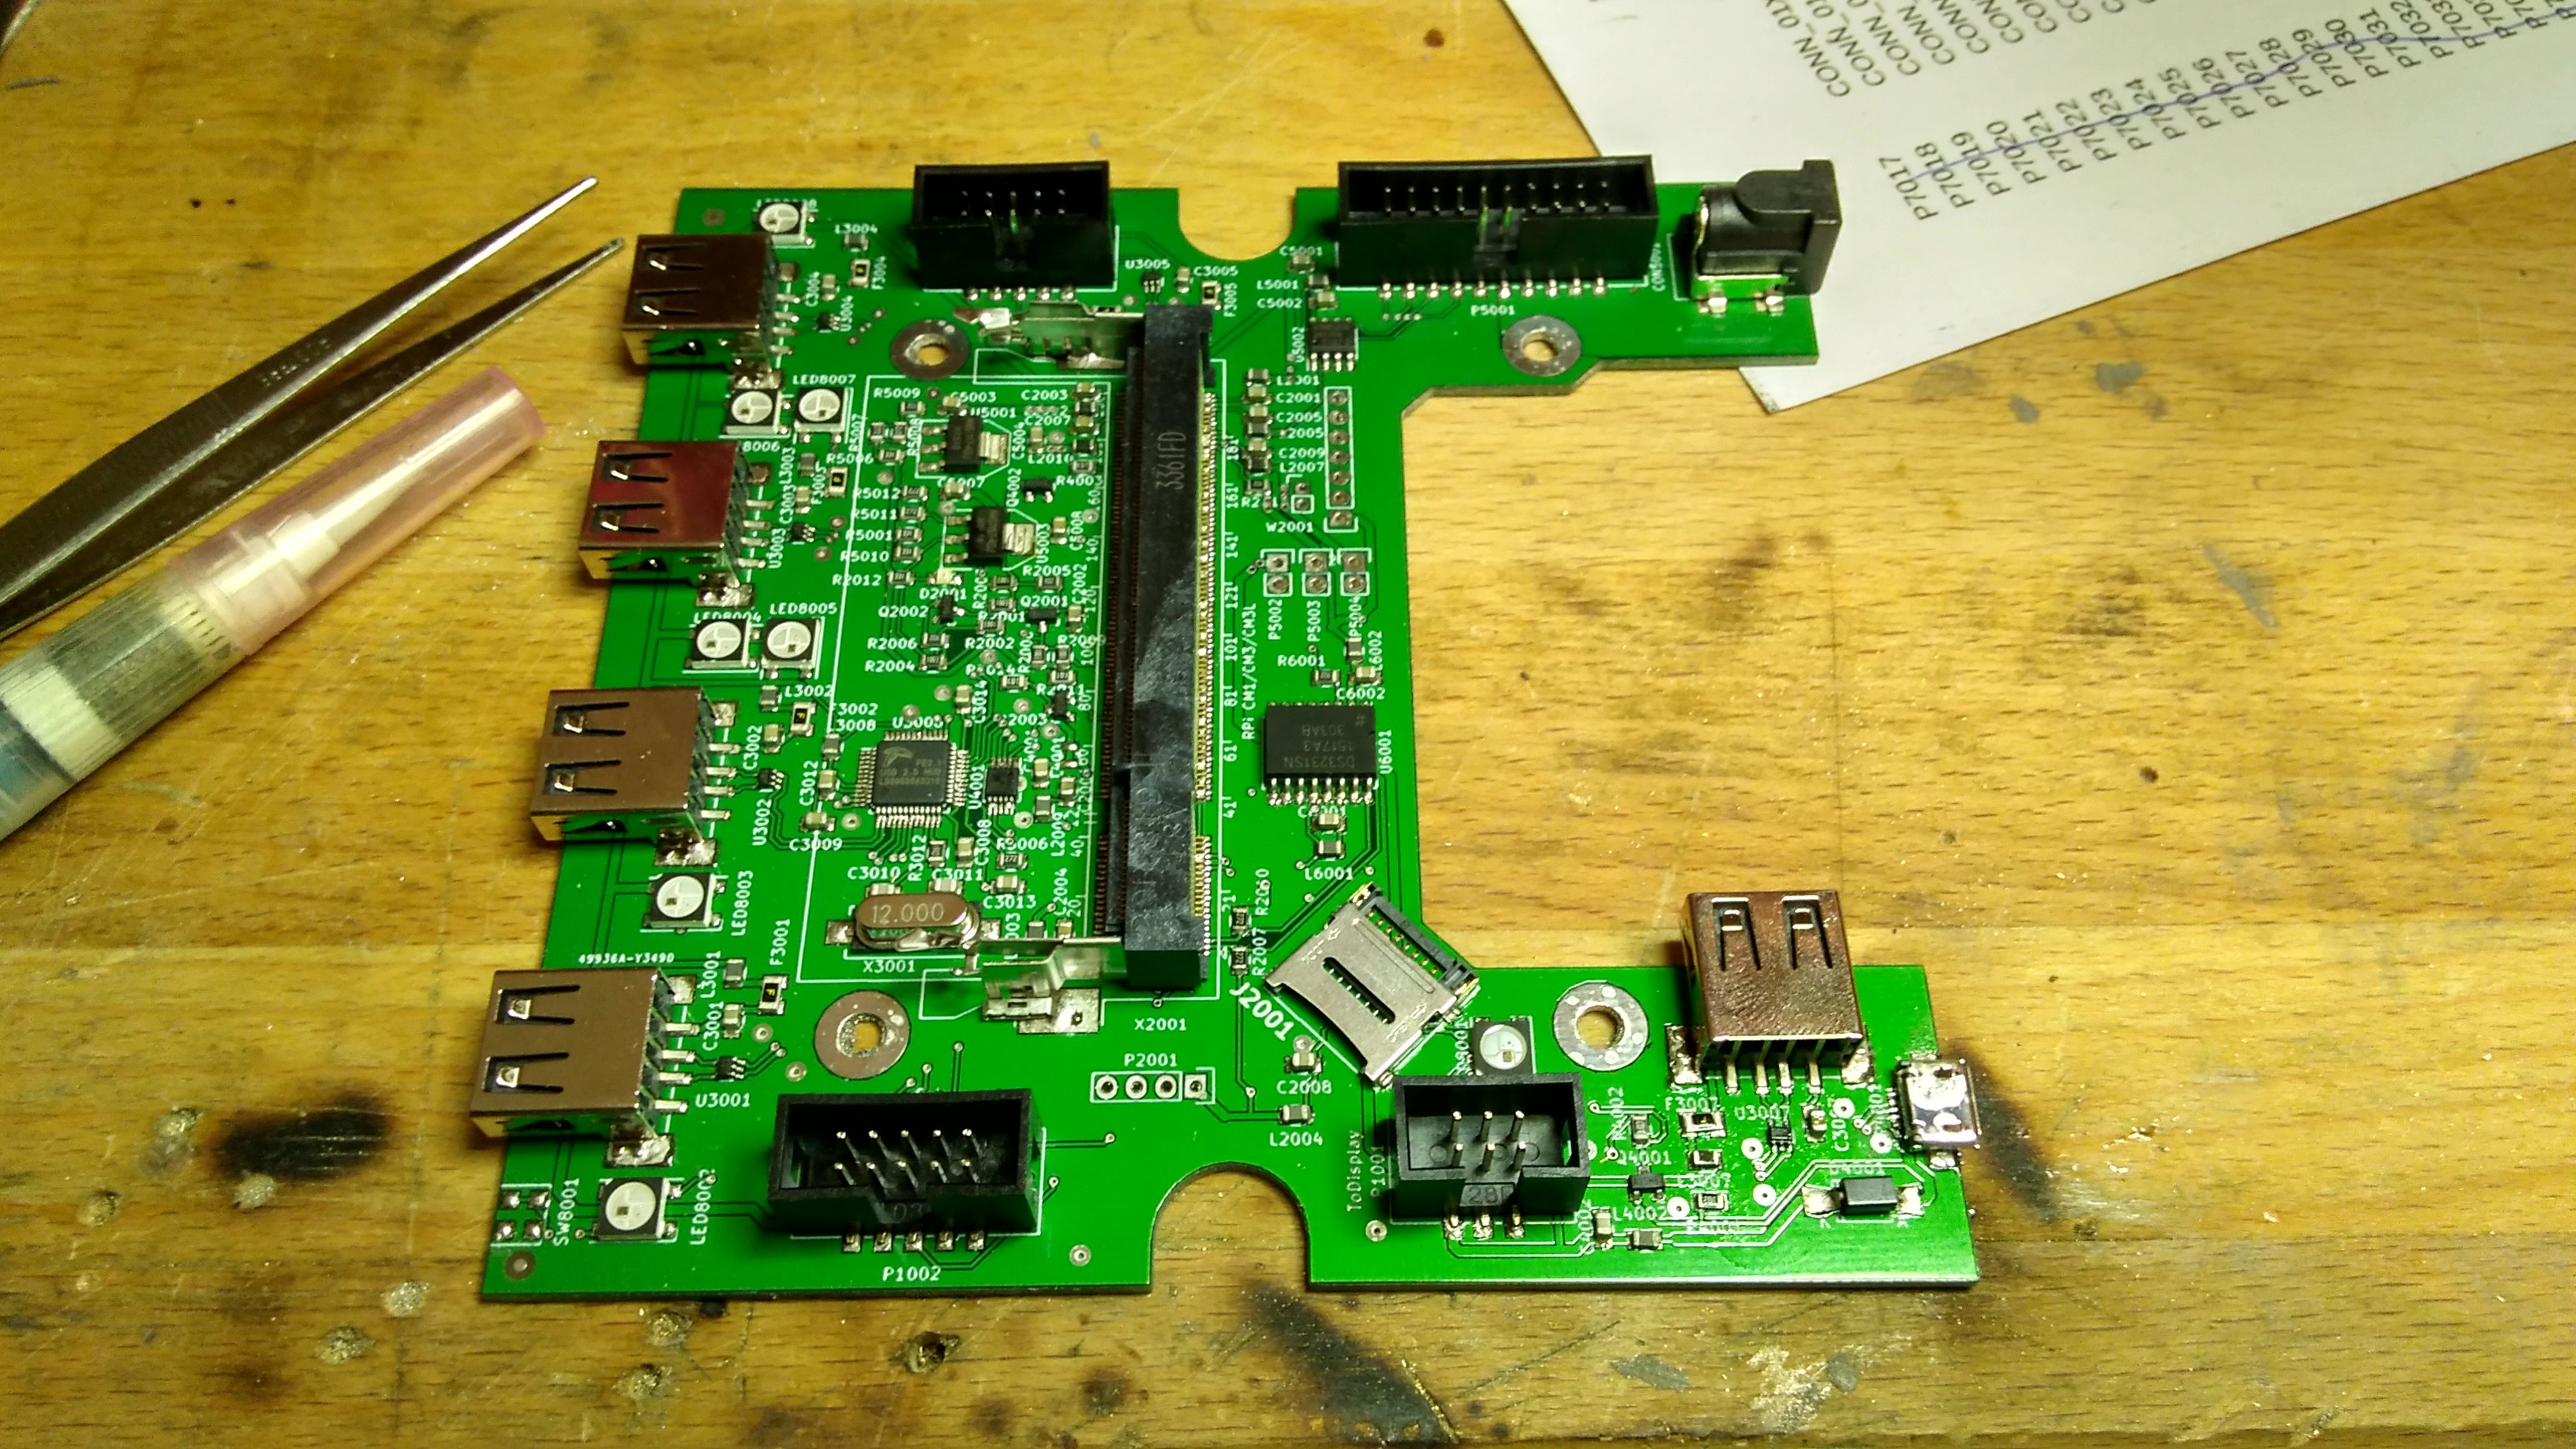
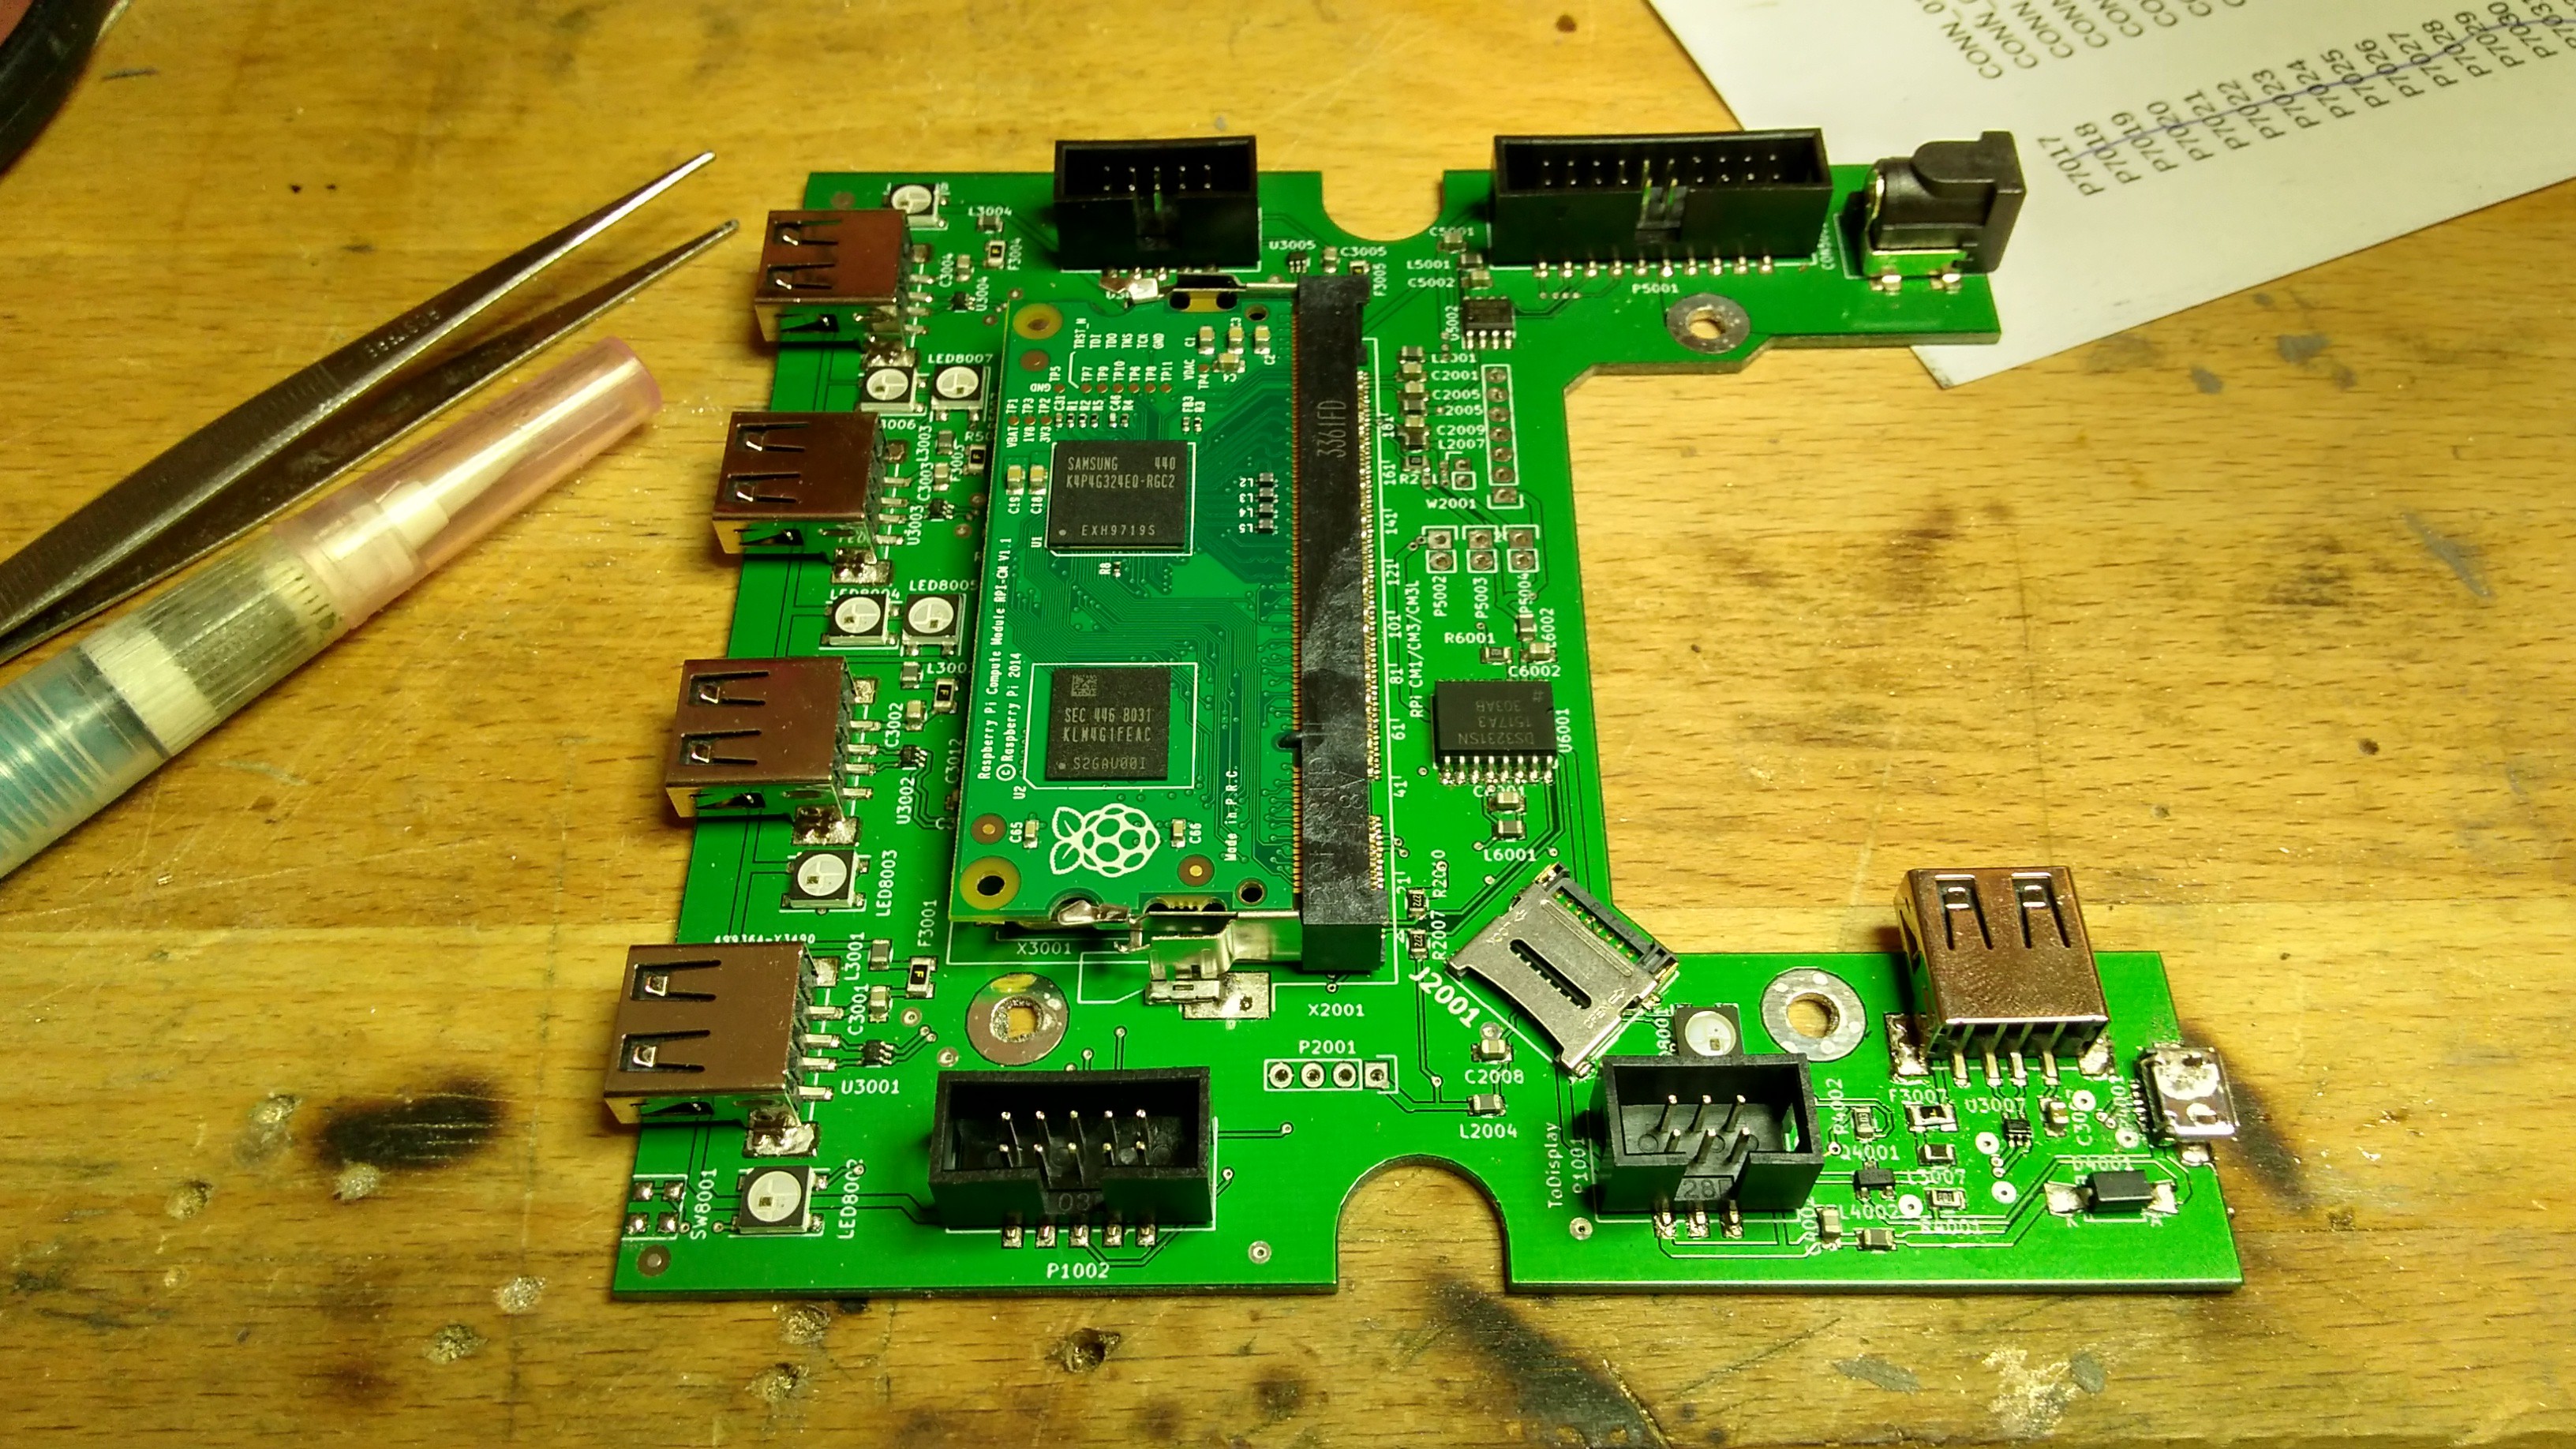
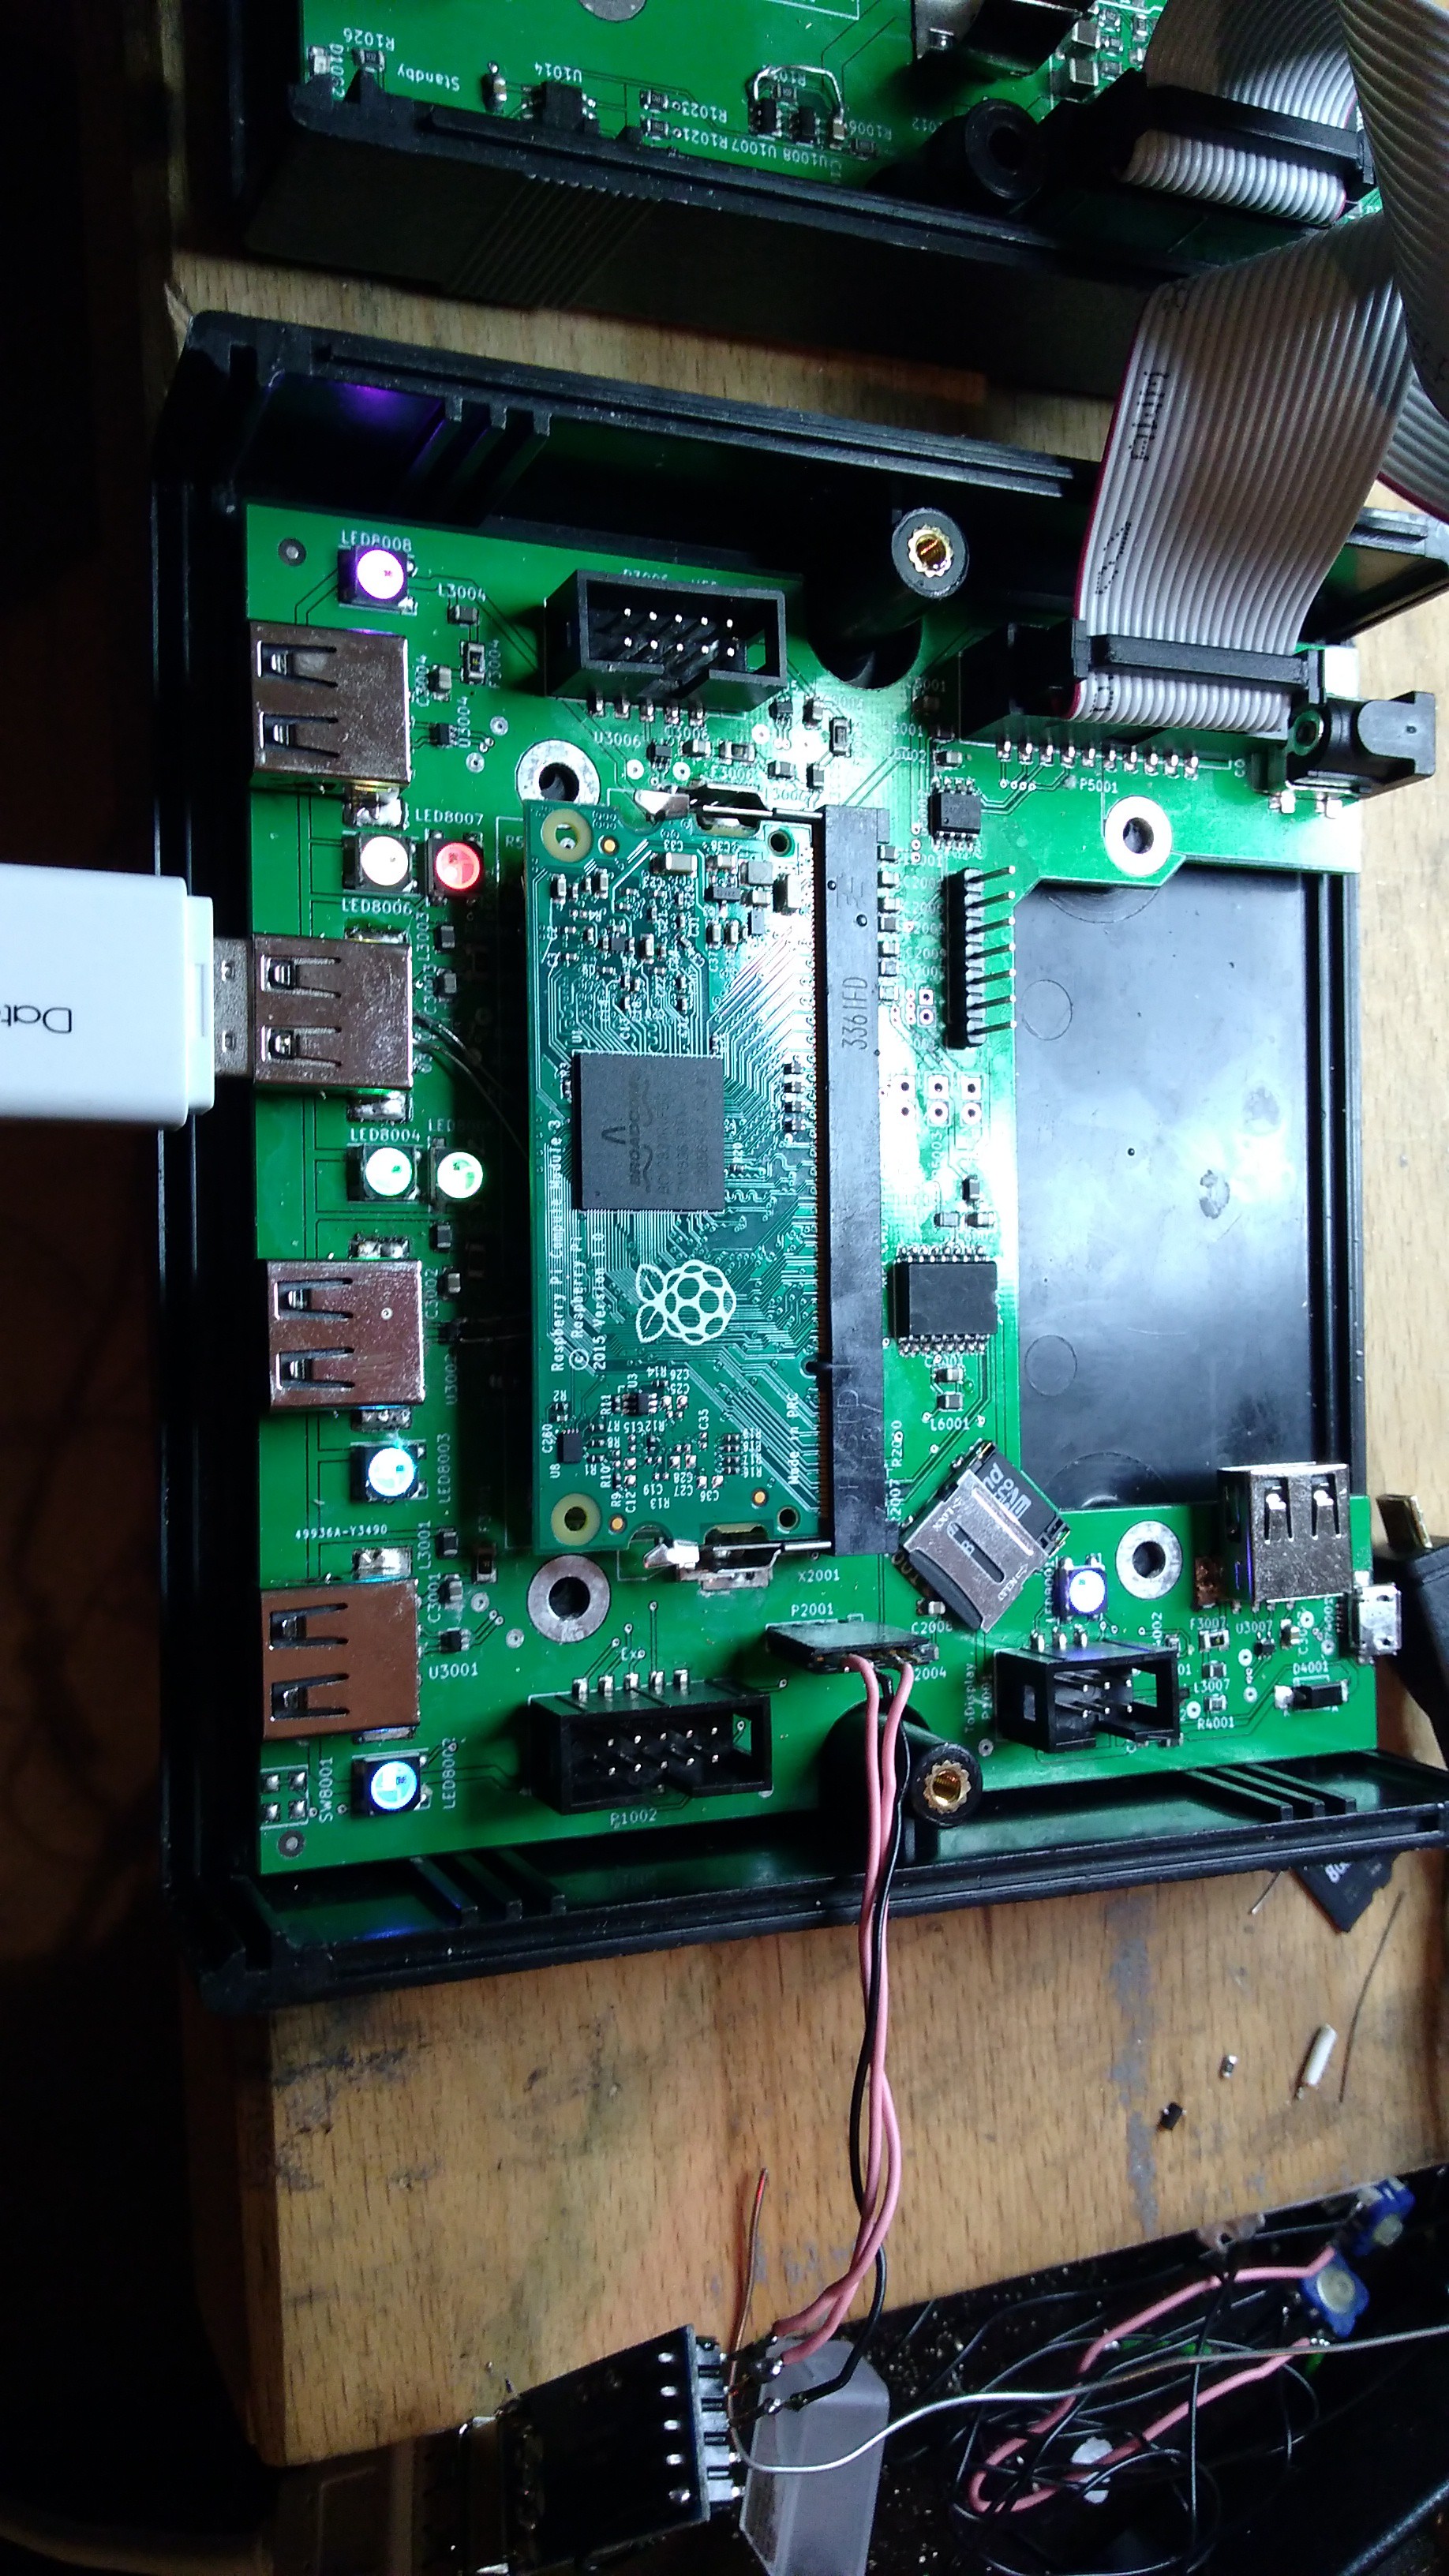
    So this is a PI3 with 7(!) USB Ports (4x Front, 1x internal, 2x on top-left headers)!!!

    One without CM3....

    ... and one with CM3 :)

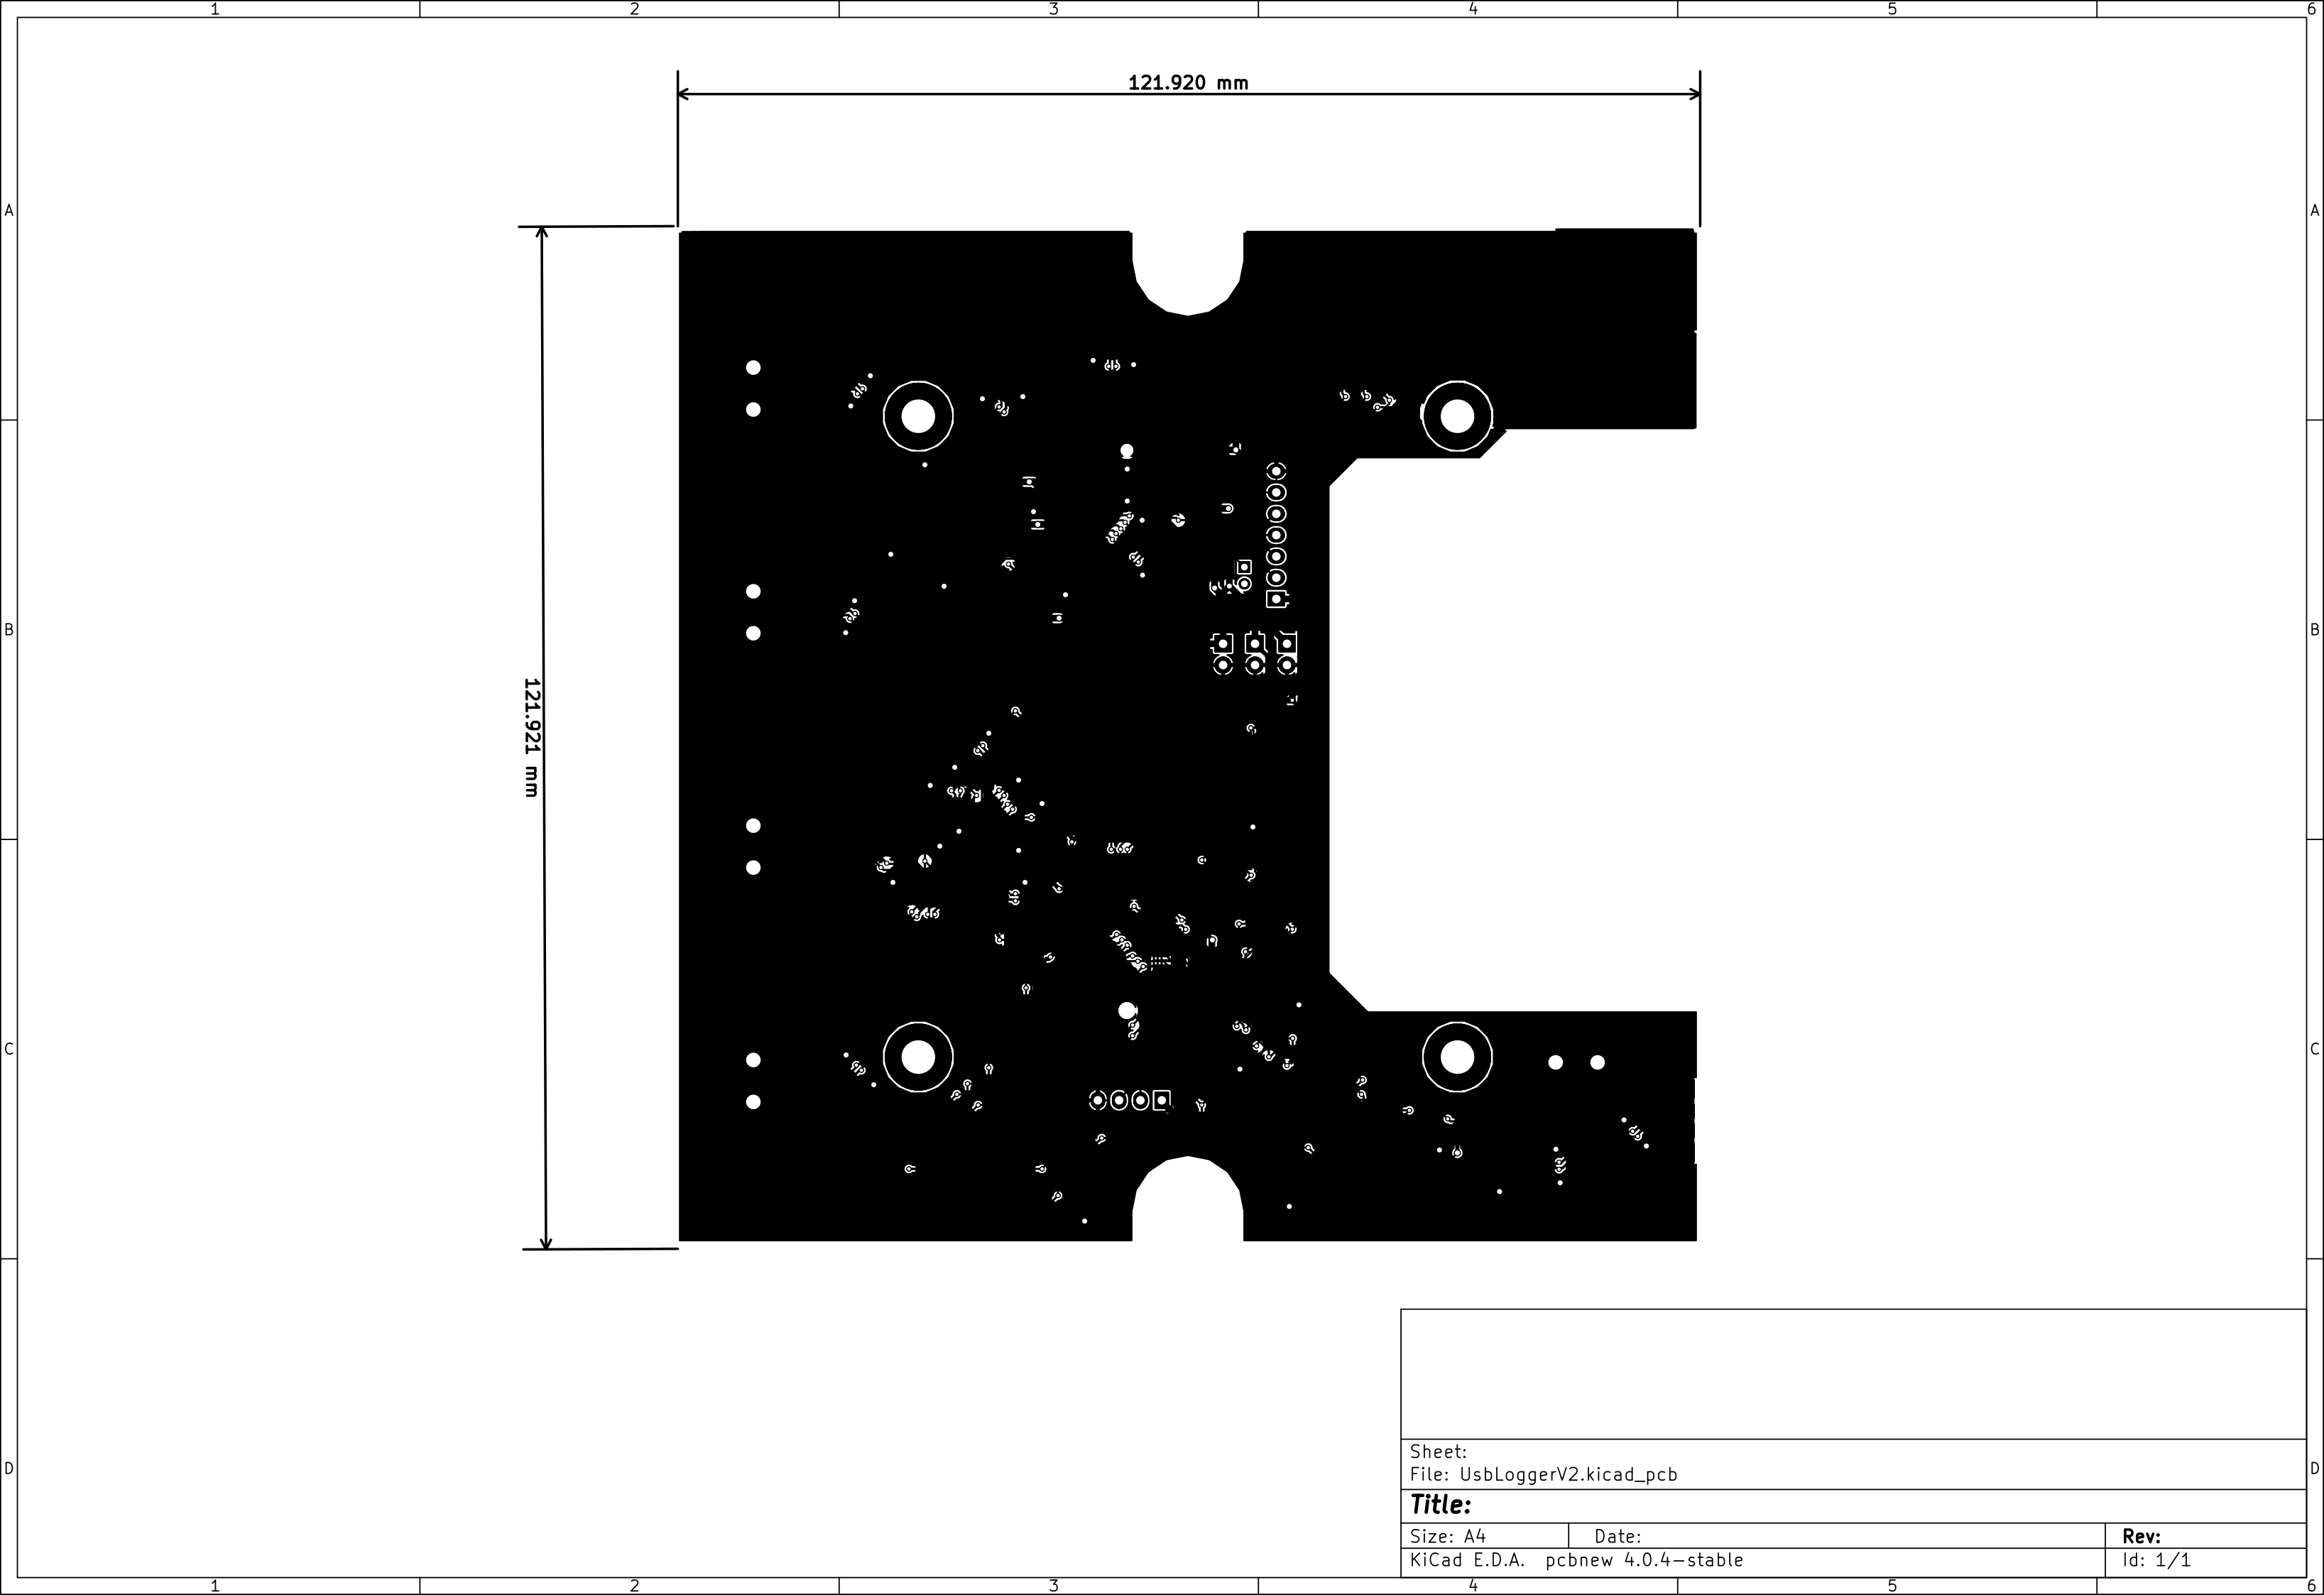
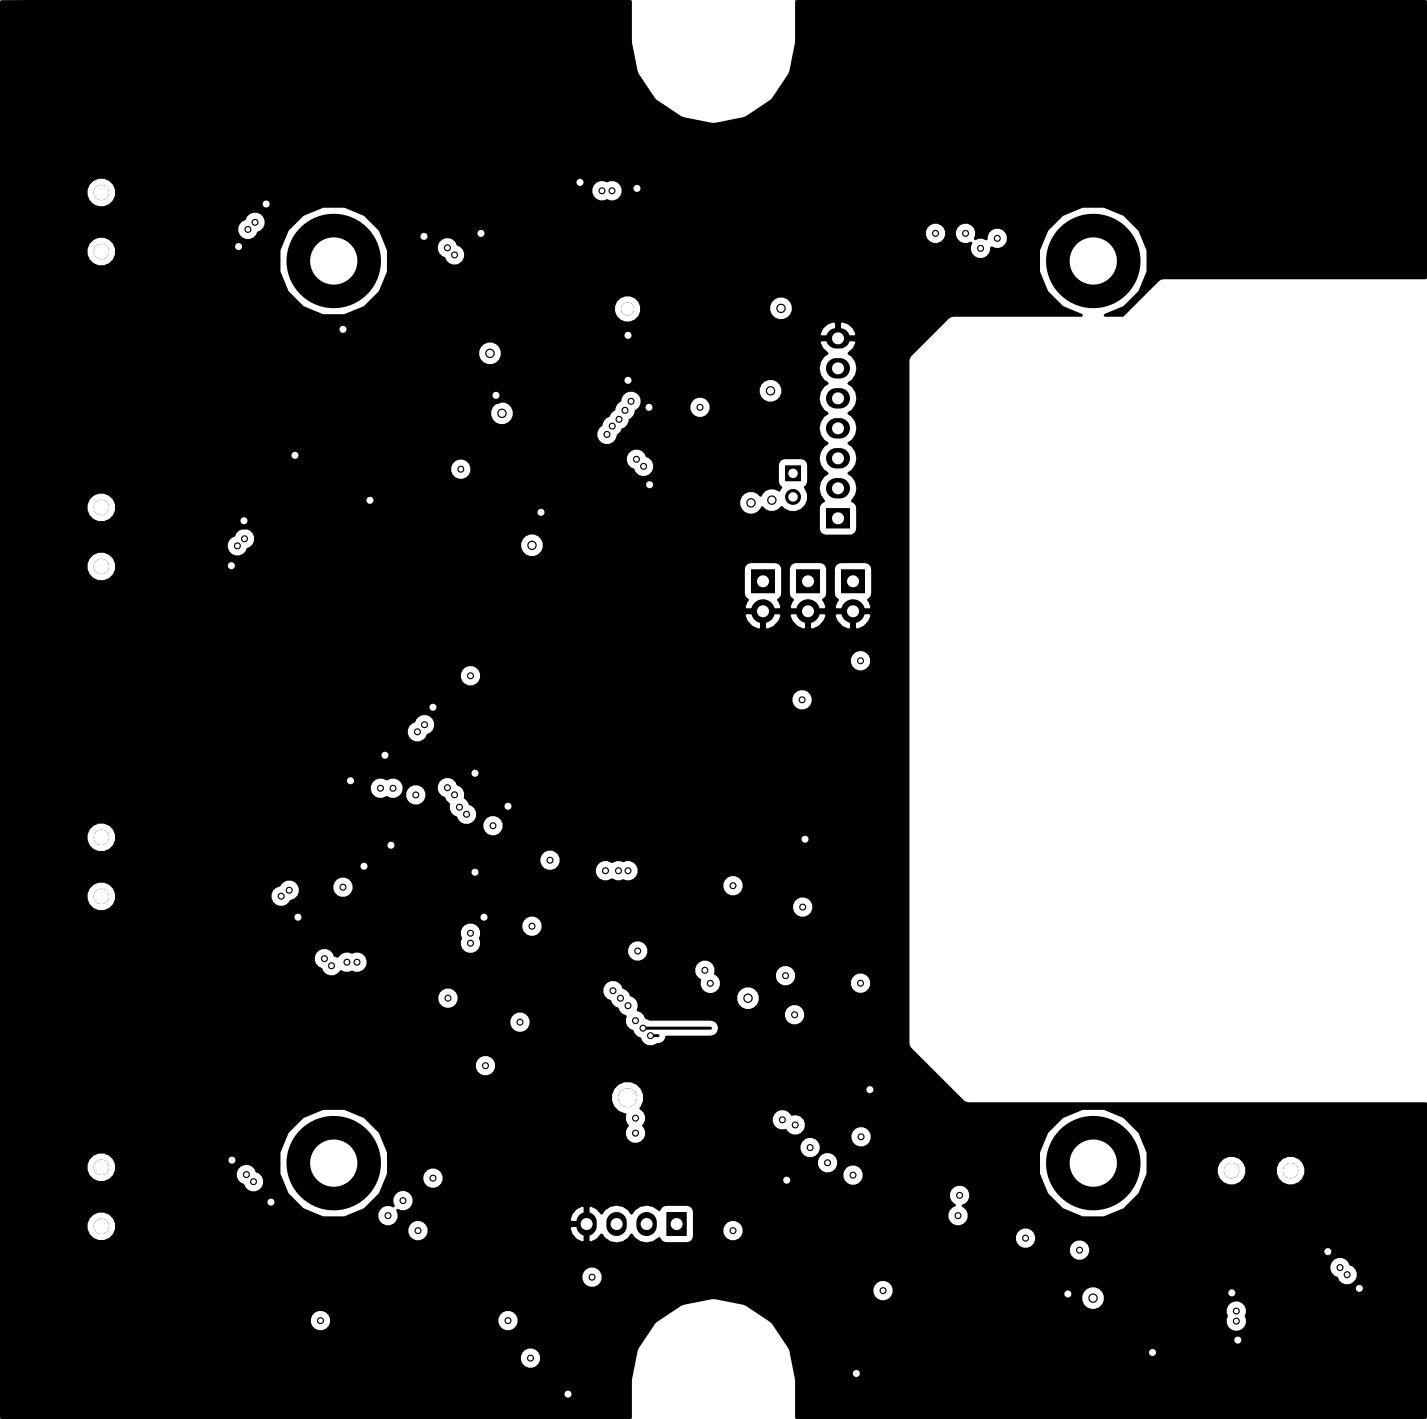
  • Layout is ready... some proof "reading" and off it goes...

    johann.wilhelm11/15/2016 at 20:06 0 comments

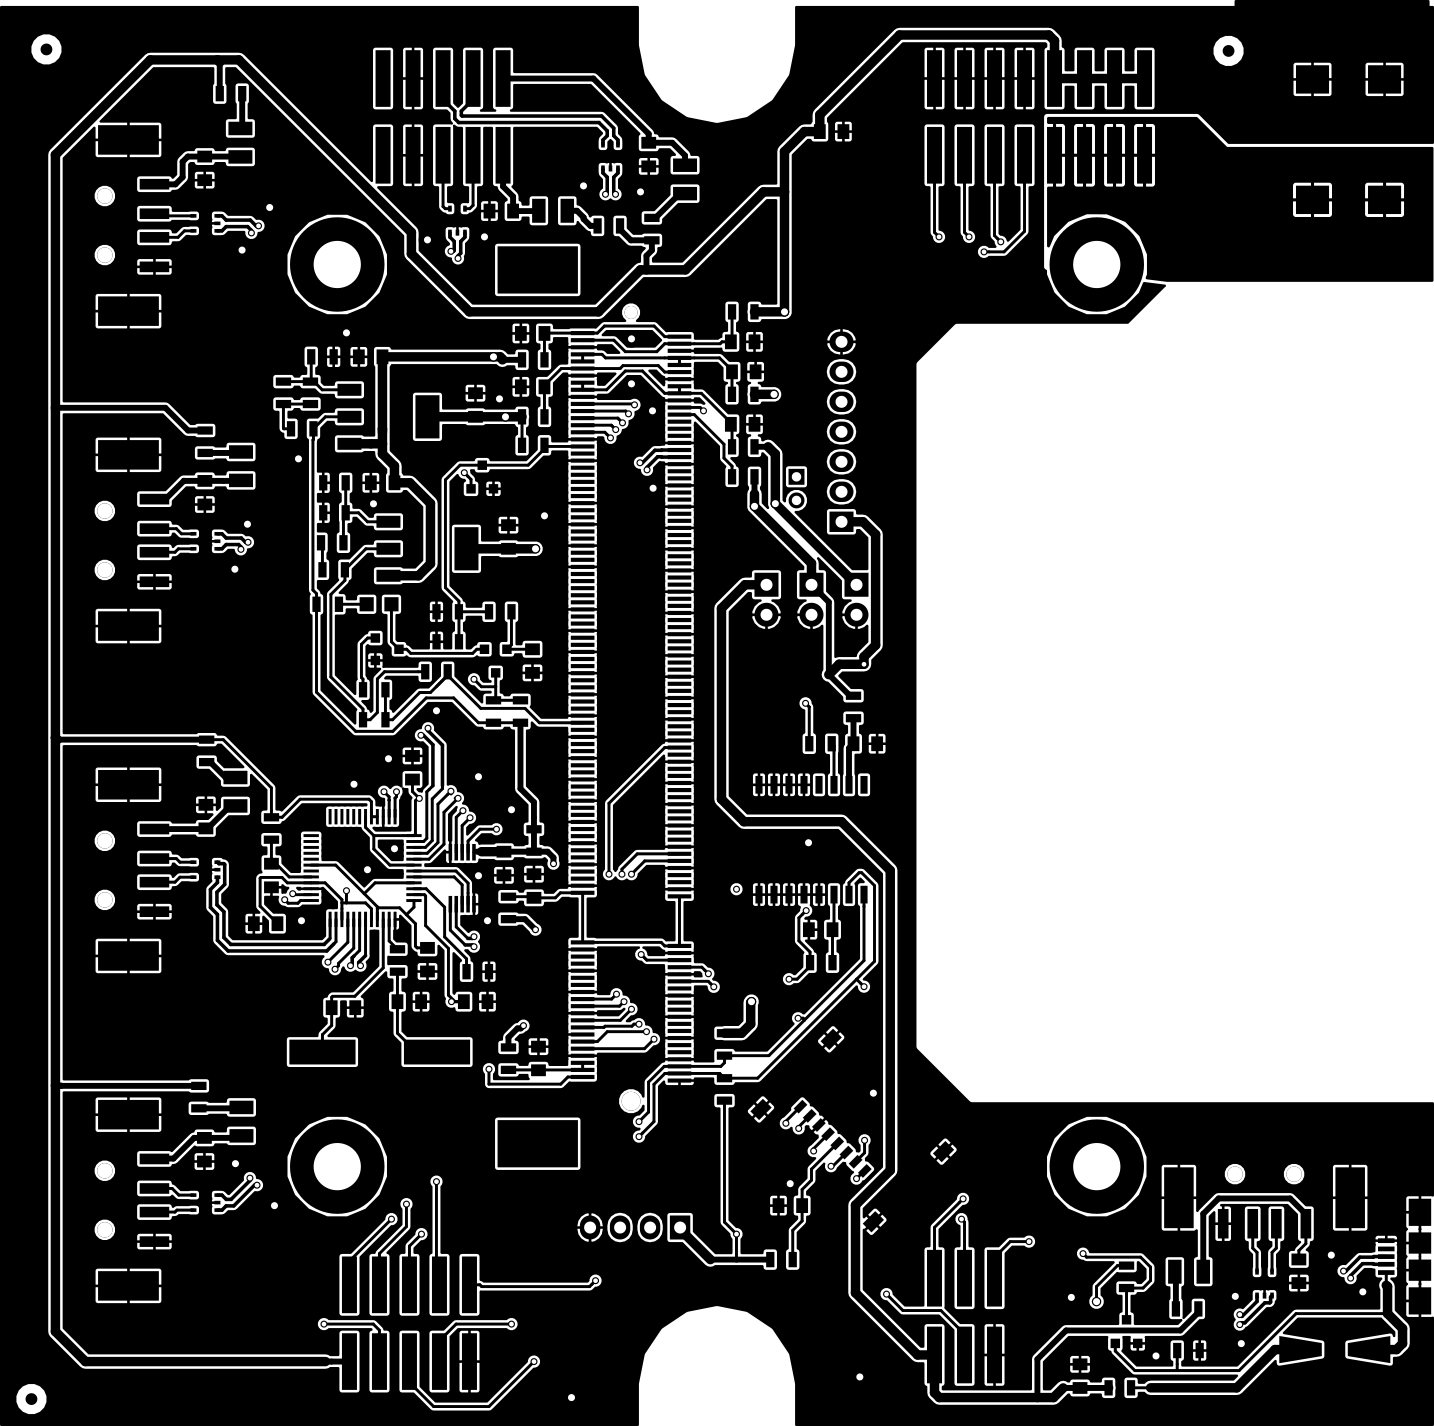
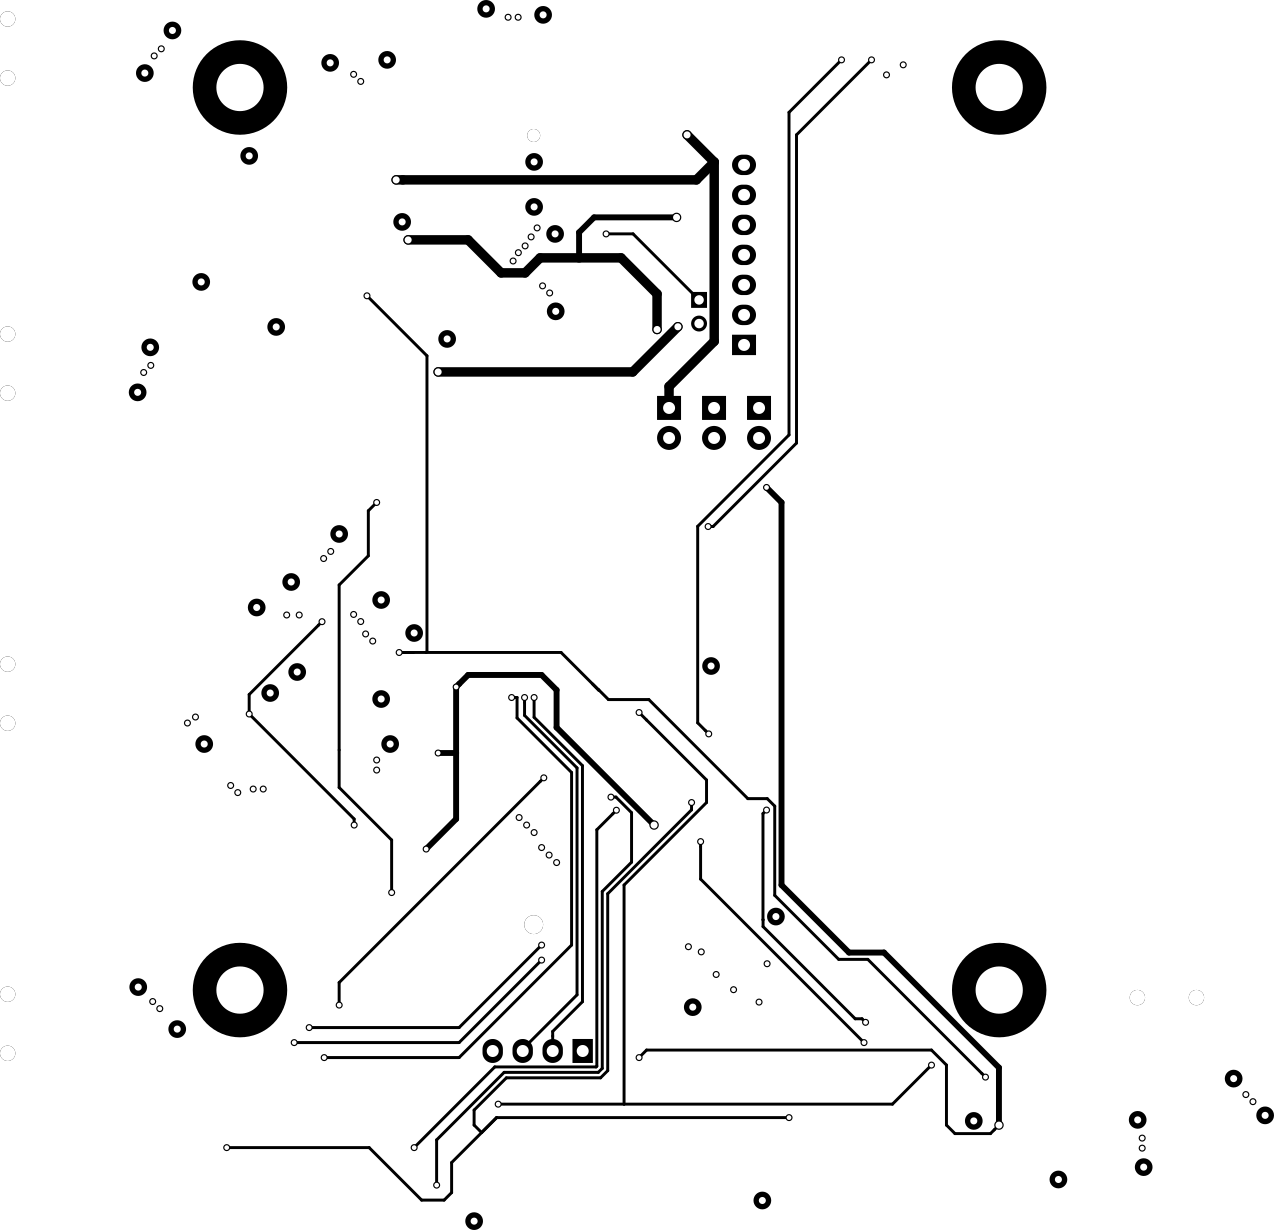
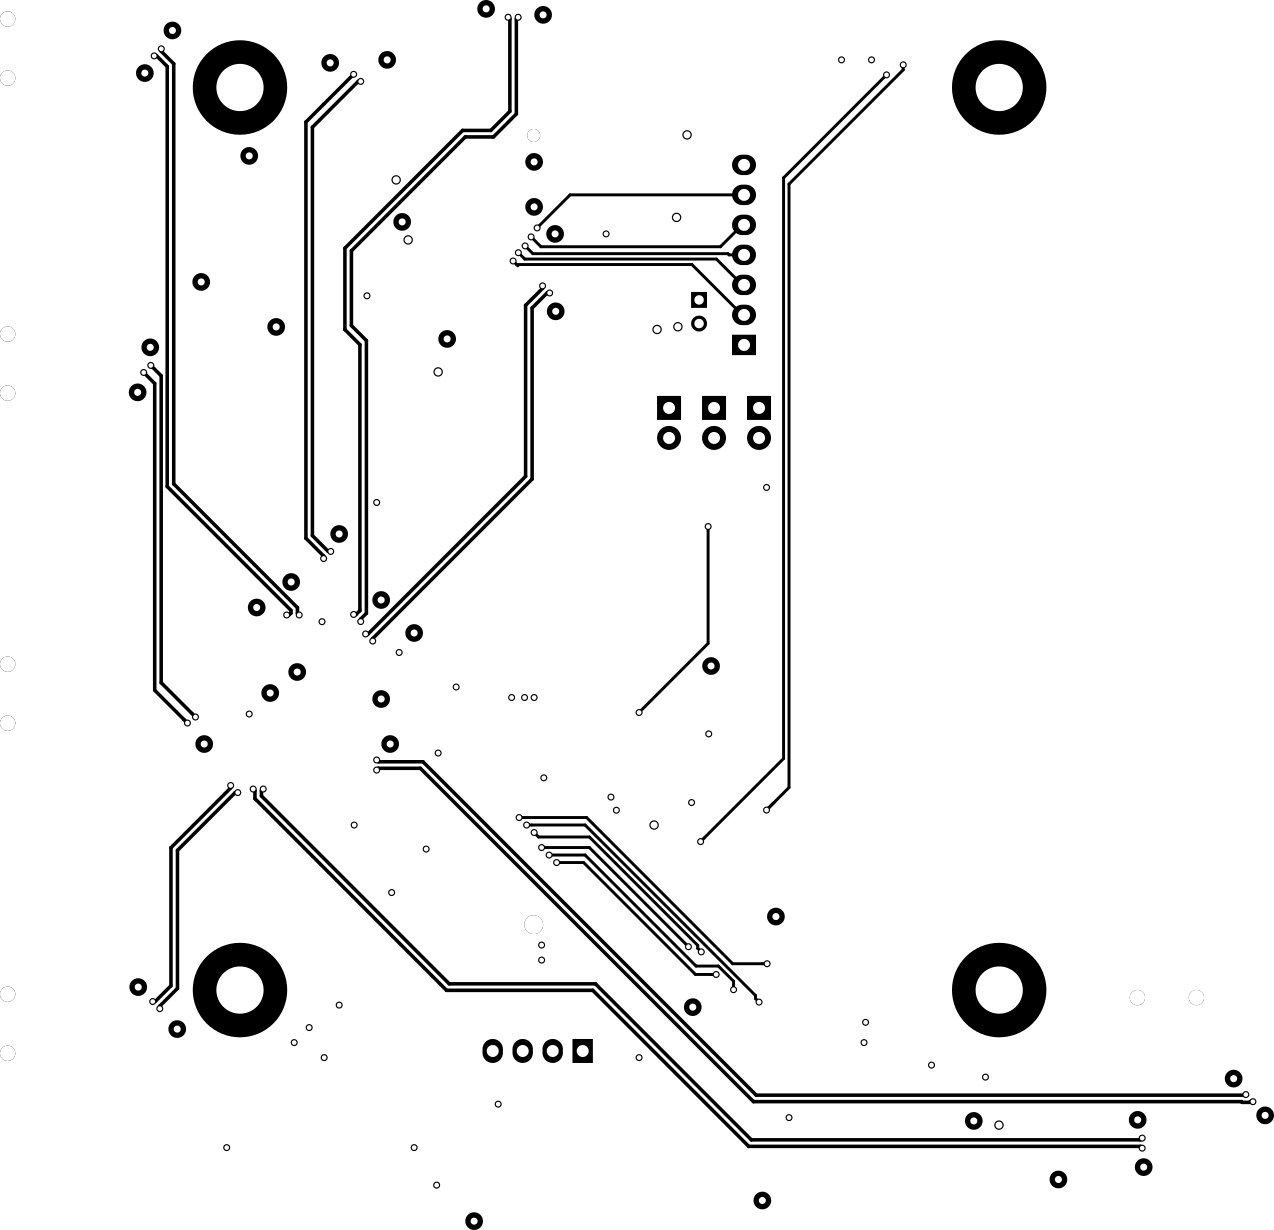
    So, the layout seems ready... 3 days kicad and love it :)

    Well, it got a 4 layer design which fits in a the smallest Hammond 1598 series enclosure.

    So the cheap 1598BSGYPBK as well as the more expensive, flame retardant 1598BBK should fit.

    The schematic changed dramatically... all that 5V generation stuff did not fit since I wanted to have room to have the cellular stick mounted inside the chasing. On the other side, I would have needed a second PCB for the batteries in any way. Now this will have to hold some 5V generation stuff and the lithium battery as well...

    I'm not totally sure if I will opt for parallel or series battery connection. If I go for the parallel connection, there's no need for the lithium batt but that high currents bother me...

    This thing has 7(!) USB port + maybe a RPi3... so that's 3.5A for USB + another 1A for the Pi at least... so 5A@5V makes roughly 10A at 3V (including the efficiency of the converter)... well maybe it was a good idea to split these problems ... at some point a charging circuit would be very nice...

    Top

    In1

    In2

    Bottom

  • First Version of the new, modular BeeStalker

    johann.wilhelm11/12/2016 at 15:21 0 comments

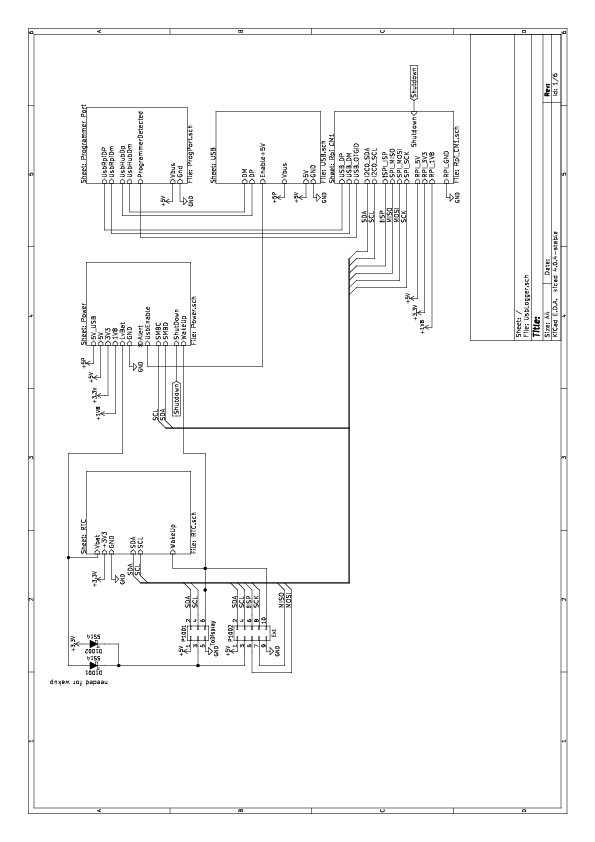
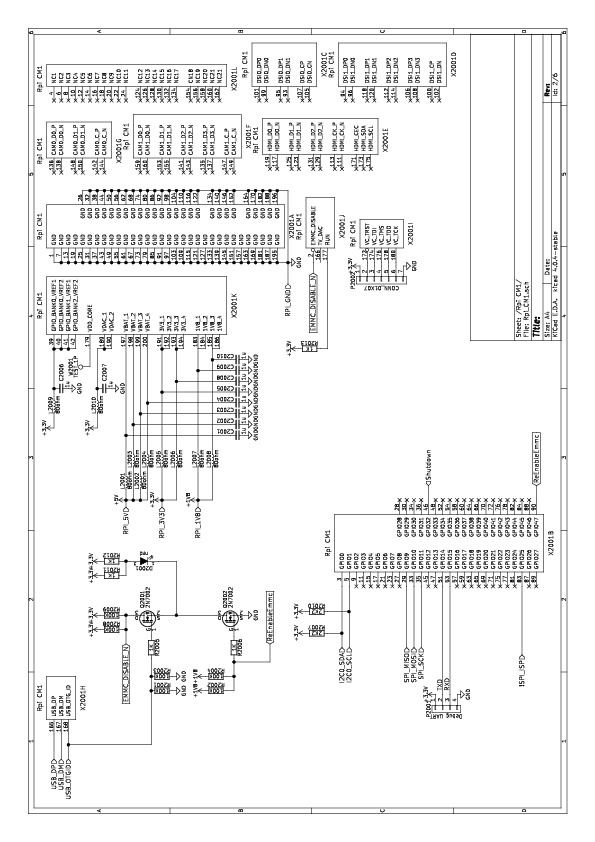
    Time's going on, so the BeeStalker-Logger gets a new schematic...

    Now everything is based around a RPi Compute Module.

    This is only the main-board. A battery-board and the actual weight scale is coming soon...

    73

View all 26 project logs

Enjoy this project?

Share

Discussions

Similar Projects

Does this project spark your interest?

Become a member to follow this project and never miss any updates