DeepSOIC
-
Another try, another fail. Serious this time.
04/08/2016 at 20:08 • 0 commentsSo, I made new corona wires (straight, this time). To make corona even more favored, I added a second grounded mesh on the other side.
![]()
It helped with corona. It worked quite good, requiring voltage of 4-6 kV and could sustain a corona current of a little above 1 mA.
![]()
So I've put it onto the blower, and fired it up.
![]()
Results. Disappointed.
It works, but veery slightly. It can charge me up so that a spark can go from me to ground via a gap of about 1 mm, and the charging is quite slow.
It cannot make sheets of paper stick to something, either.
And it is remarkably good at making ozone. It smells crazy.
Another thing I noticed, is that when I put my hand close to the nozzle, the air feels warm. This is quite strange. I'm pumping about 6W of high voltage in there, and that shouldn't be enough to significantly heat up the intense flow of air.
-
progress
03/26/2016 at 18:40 • 0 commentsPieces to be tested:
![]()
![]()
Update:
FAIL. This corona discharge thing does not work. After I have increased separation from 1 mm to 3 mm, and chopped off half of the corona wires, it kinda started to work. But not good enough.
Looks like my corona wires are too thick, corrugation may have been a bad idea (effectively makes them even thicker), and the mesh is too coarse (the only one I have).
Most of the time, it arcs or sparks instead of corona.
-
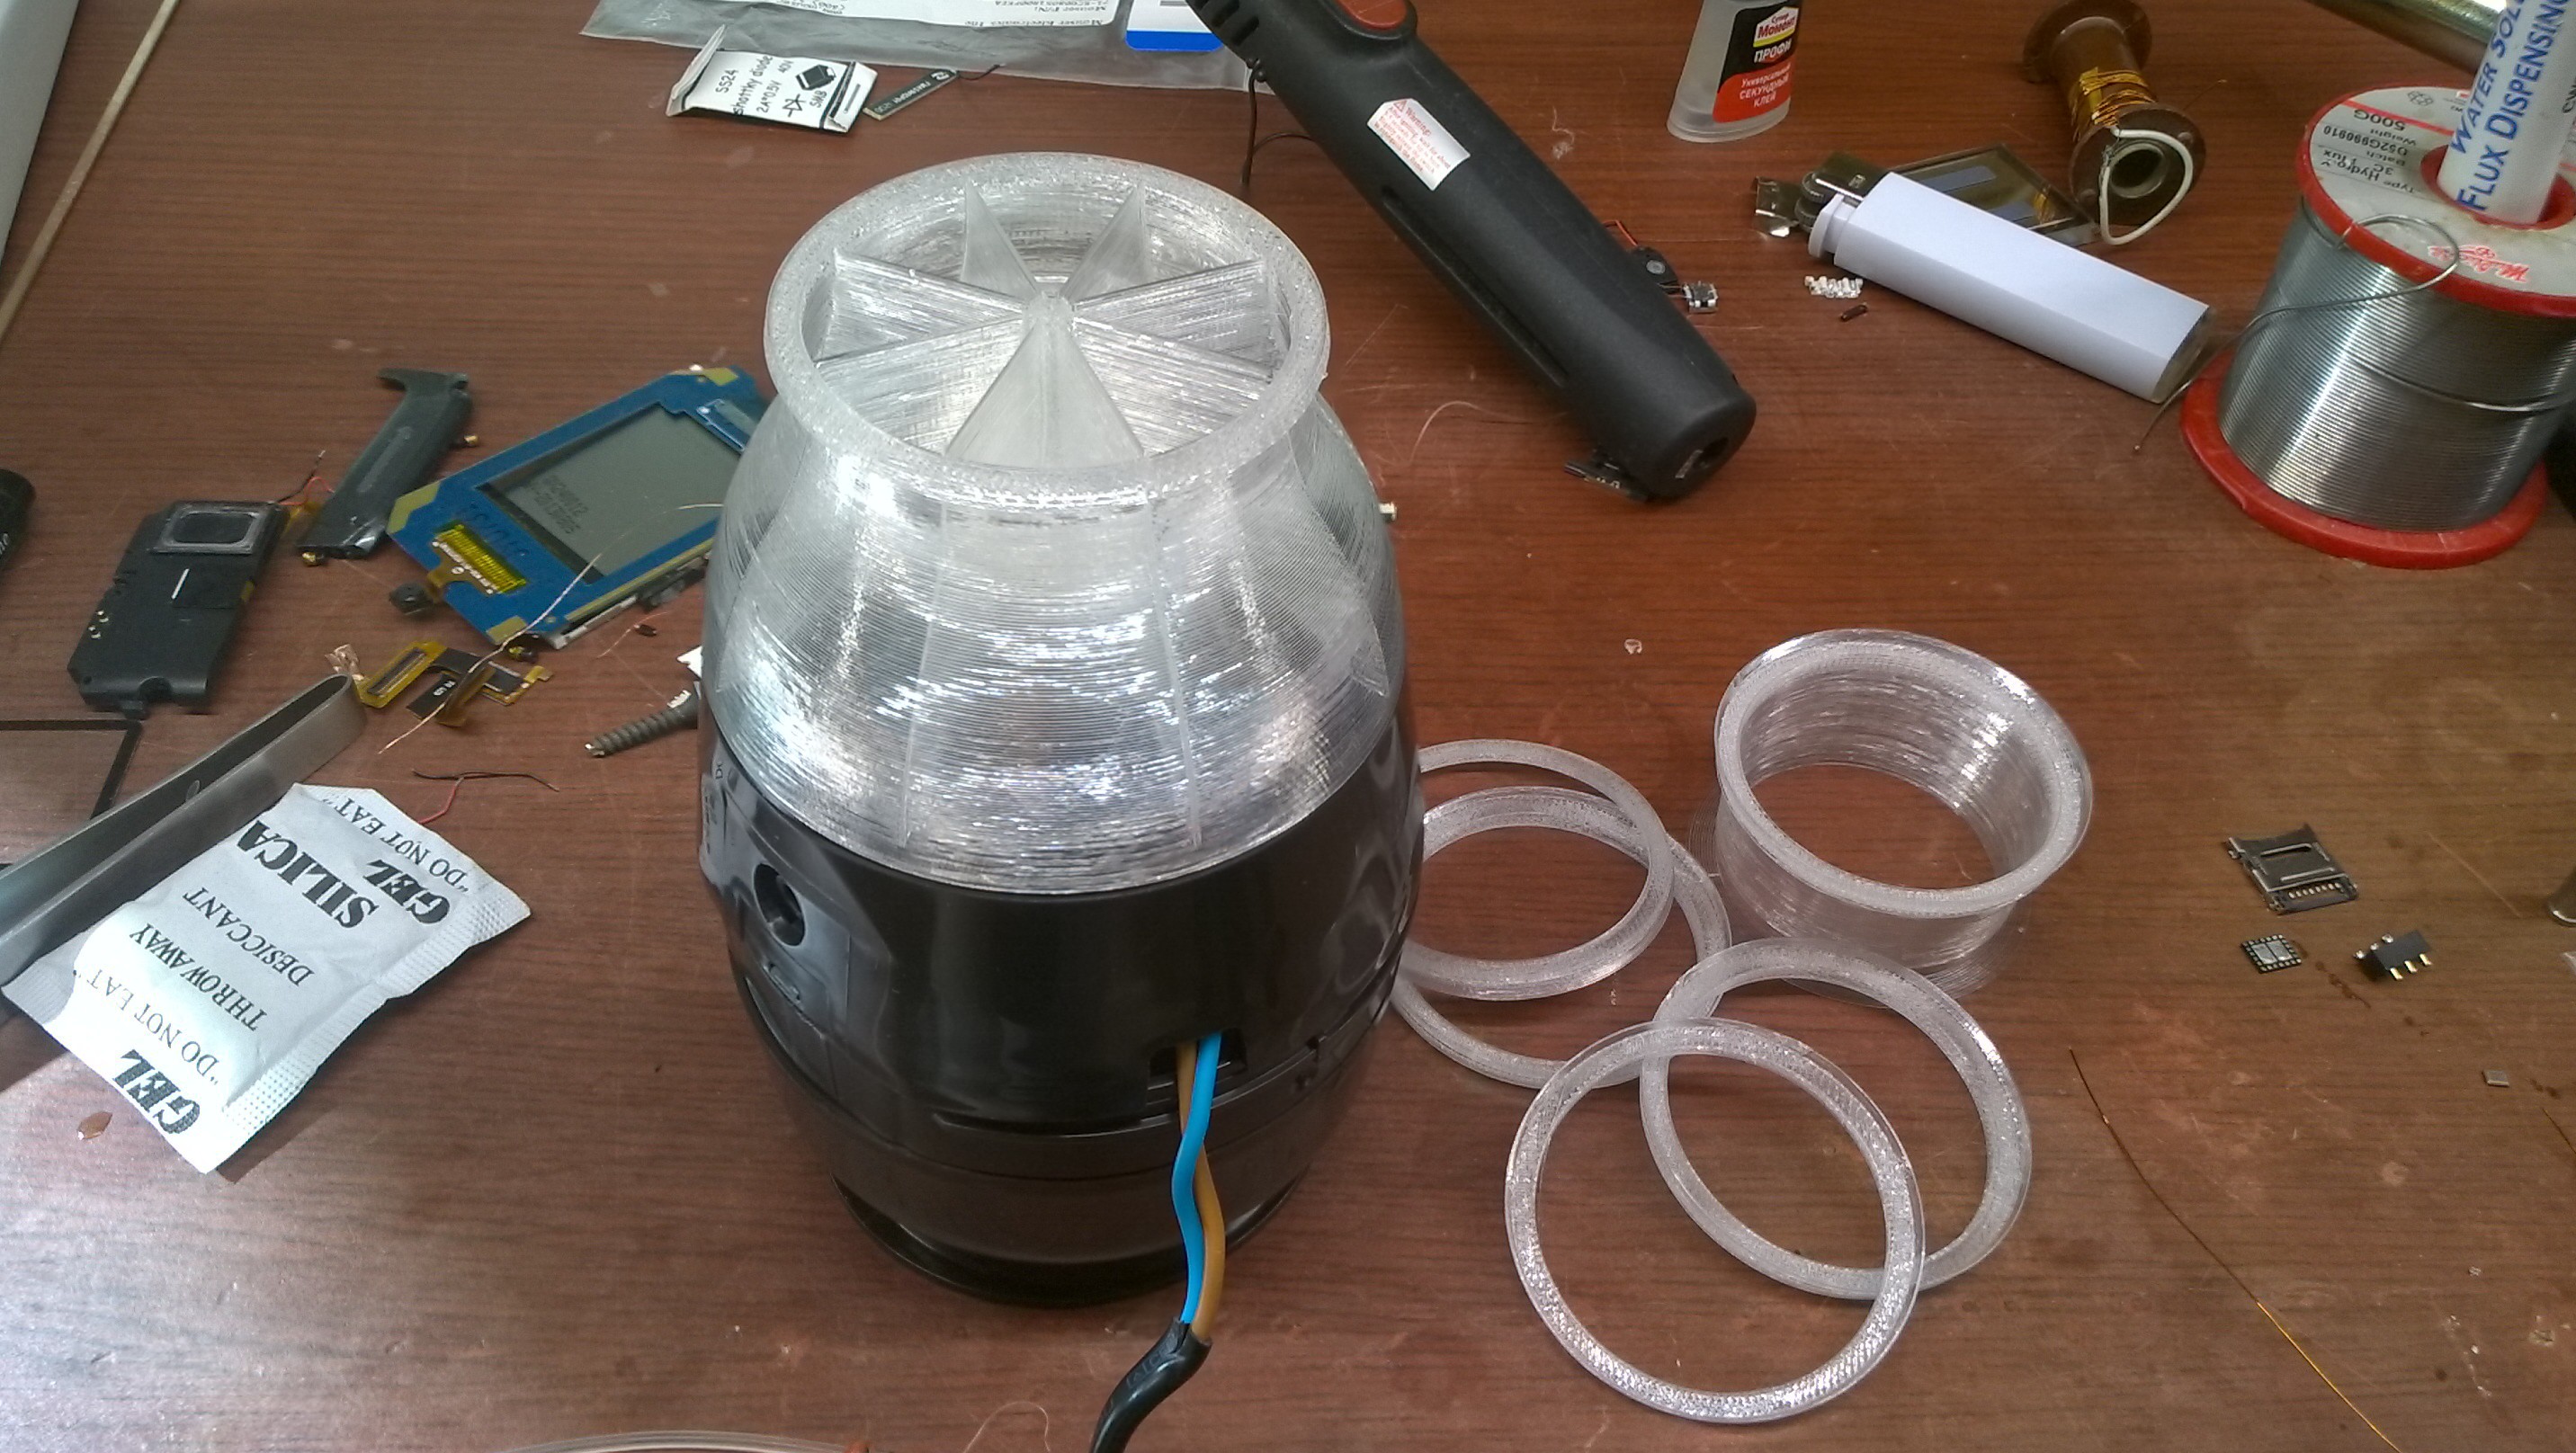
Progress
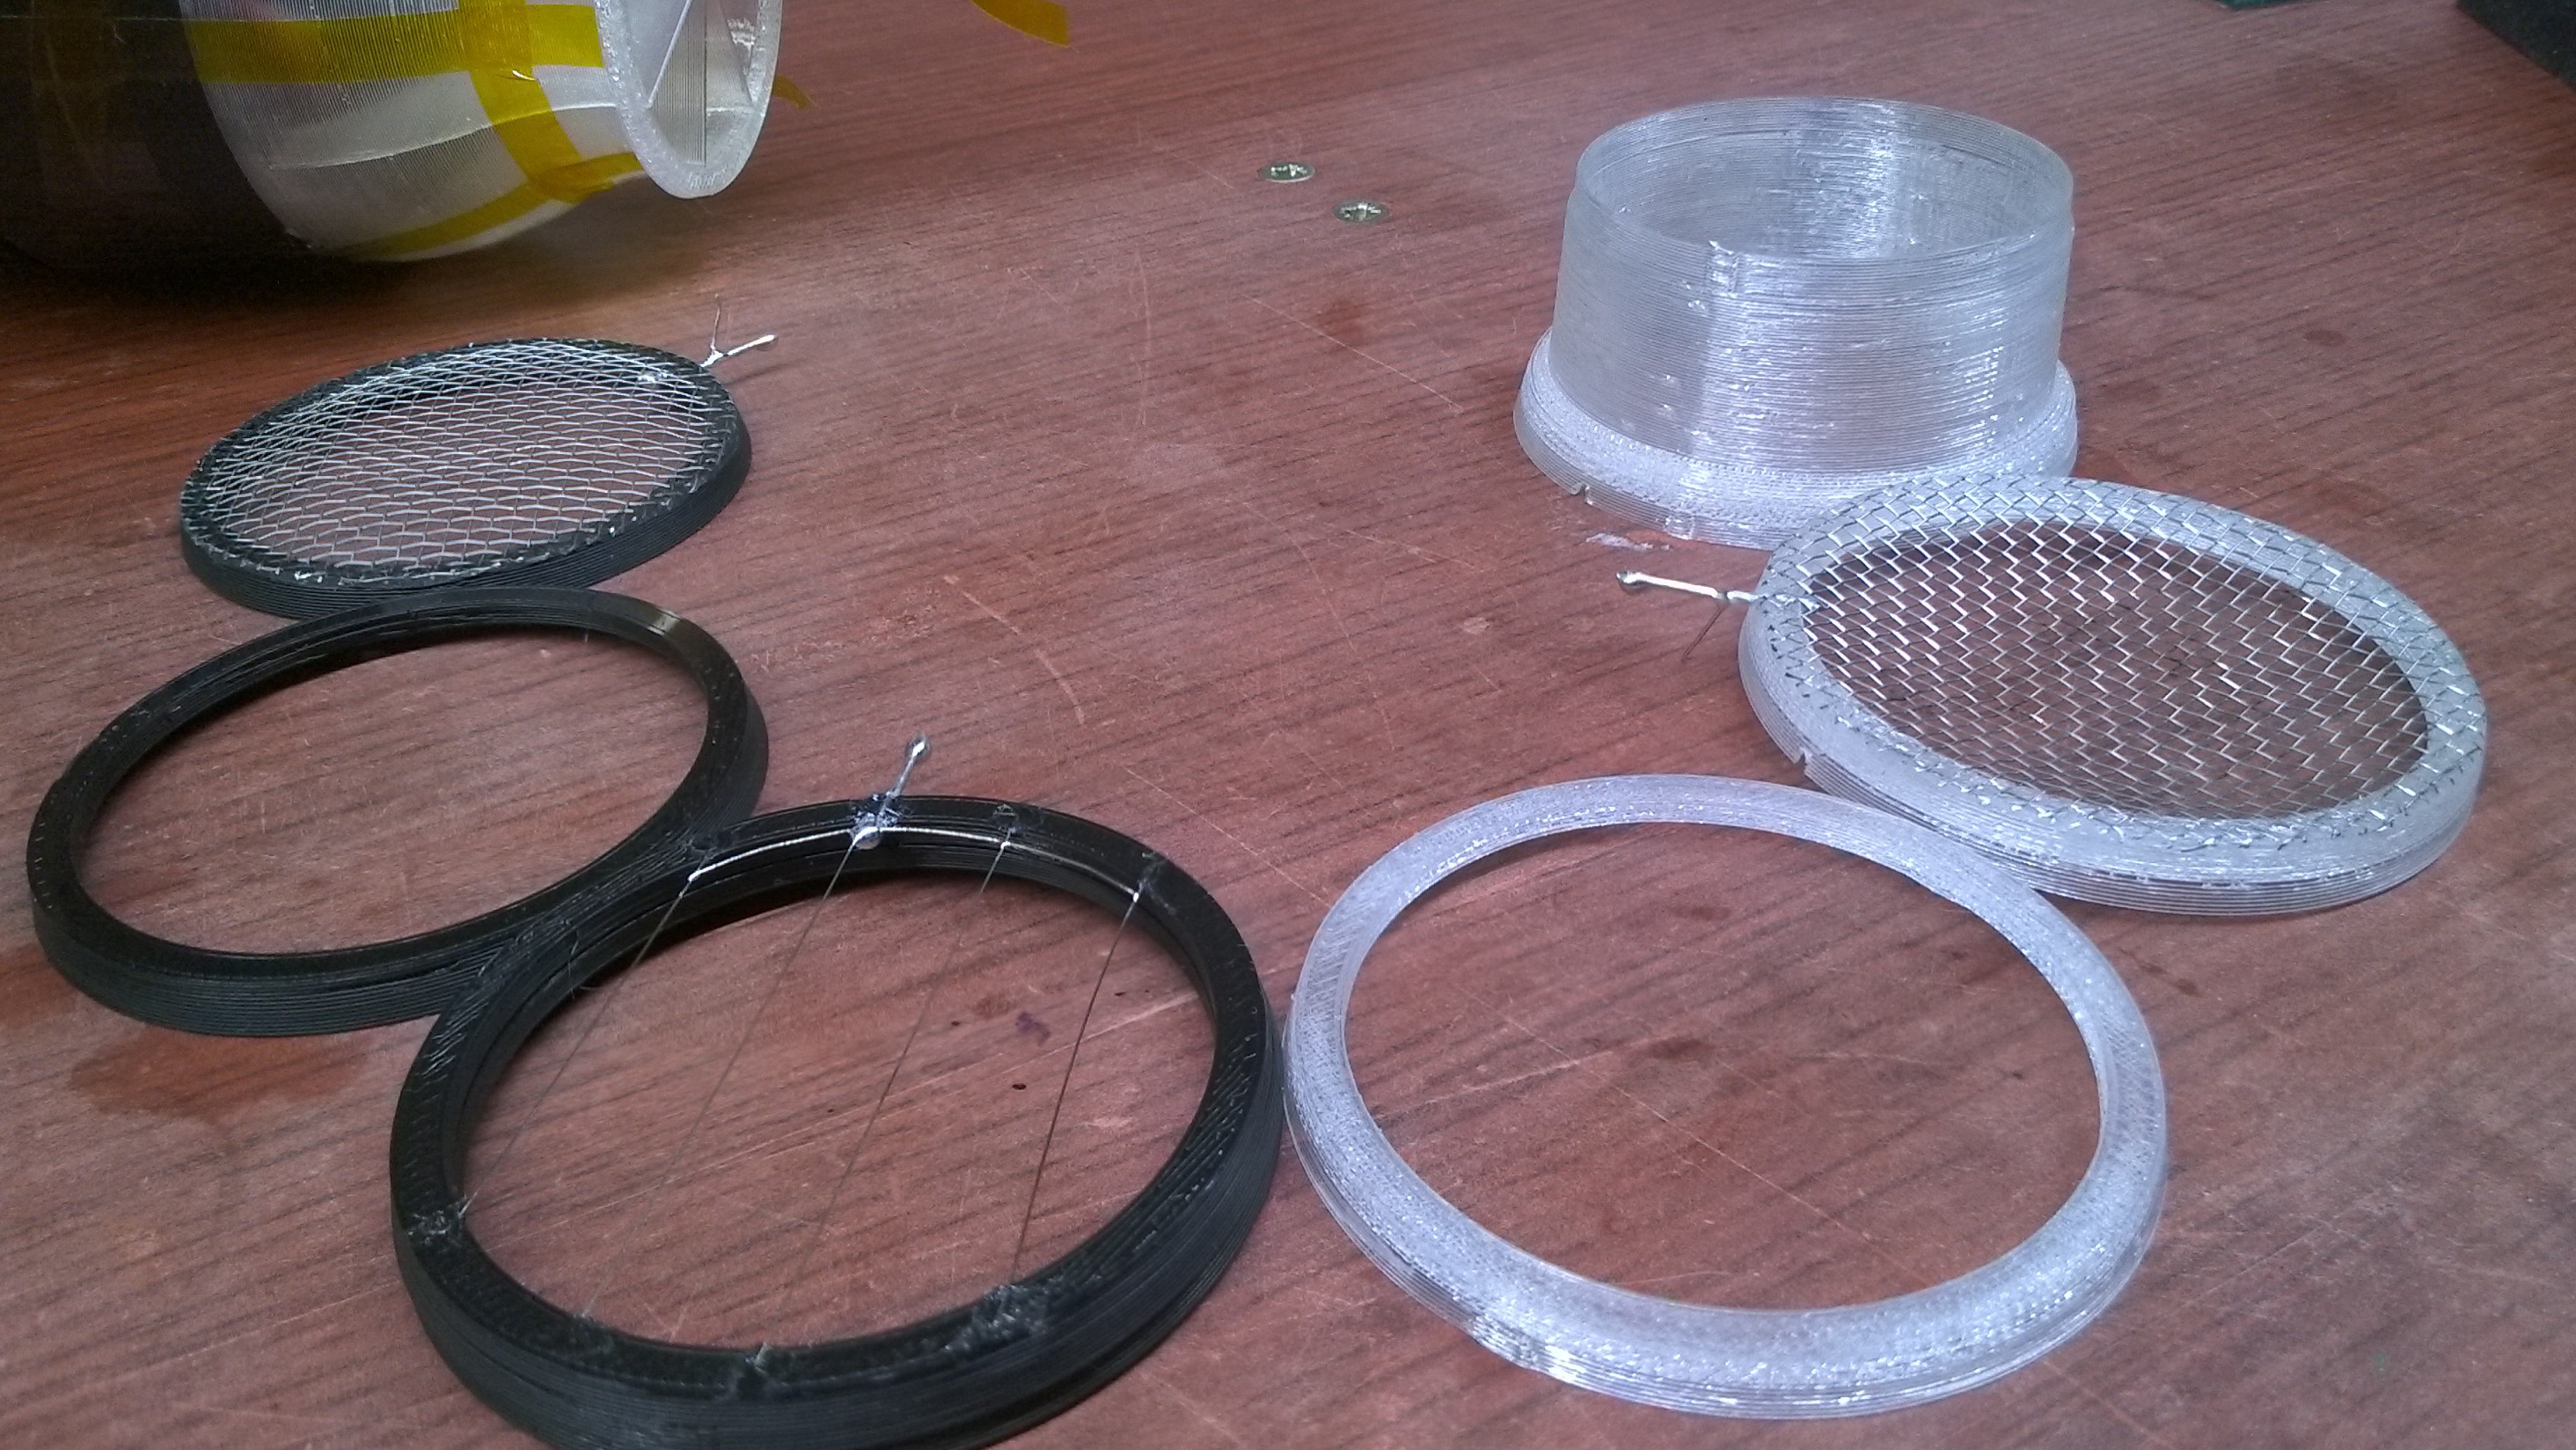
03/24/2016 at 23:34 • 0 commentsInitially I wanted to put an ionizer into the hair dryer. But I ended up using the nice blower module of the dryer, and I designed some simple stack of pieces.
![]()
![]()
I am going to put some wire meshes and corona wires onto these rings, then assemble the stack for testing.
3D printer is a fantastic helper! Without it, the project would have been impossible, I think.
-
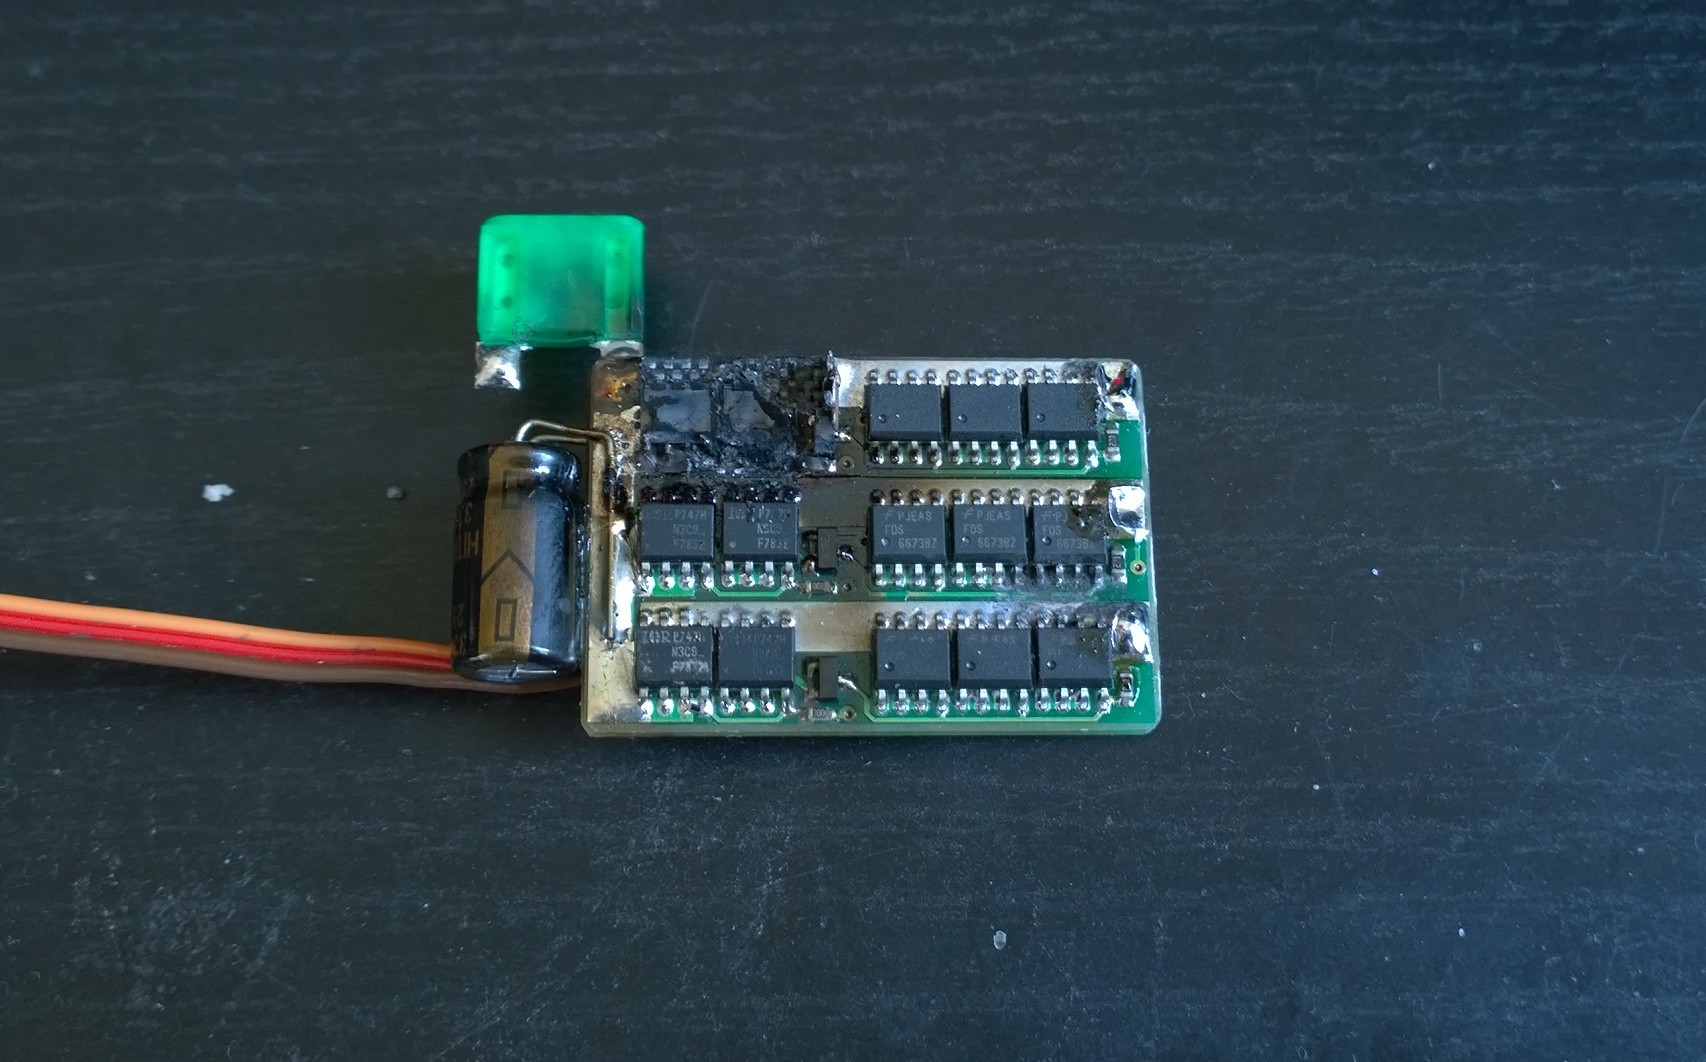
magic smoke
03/18/2016 at 09:32 • 0 commentsYesterday I bought a brushless motor and a controller. It was fun to play with. But at some point the controller burst into flames. Oops =) looks like I need another controller.
![]()
Note the fuse I had soldered to it. The fuse is intact. "A $3000 Picture Tube Will Will Protect A 10 cent Fuse By Blowing First" (c) Murphy's law
-
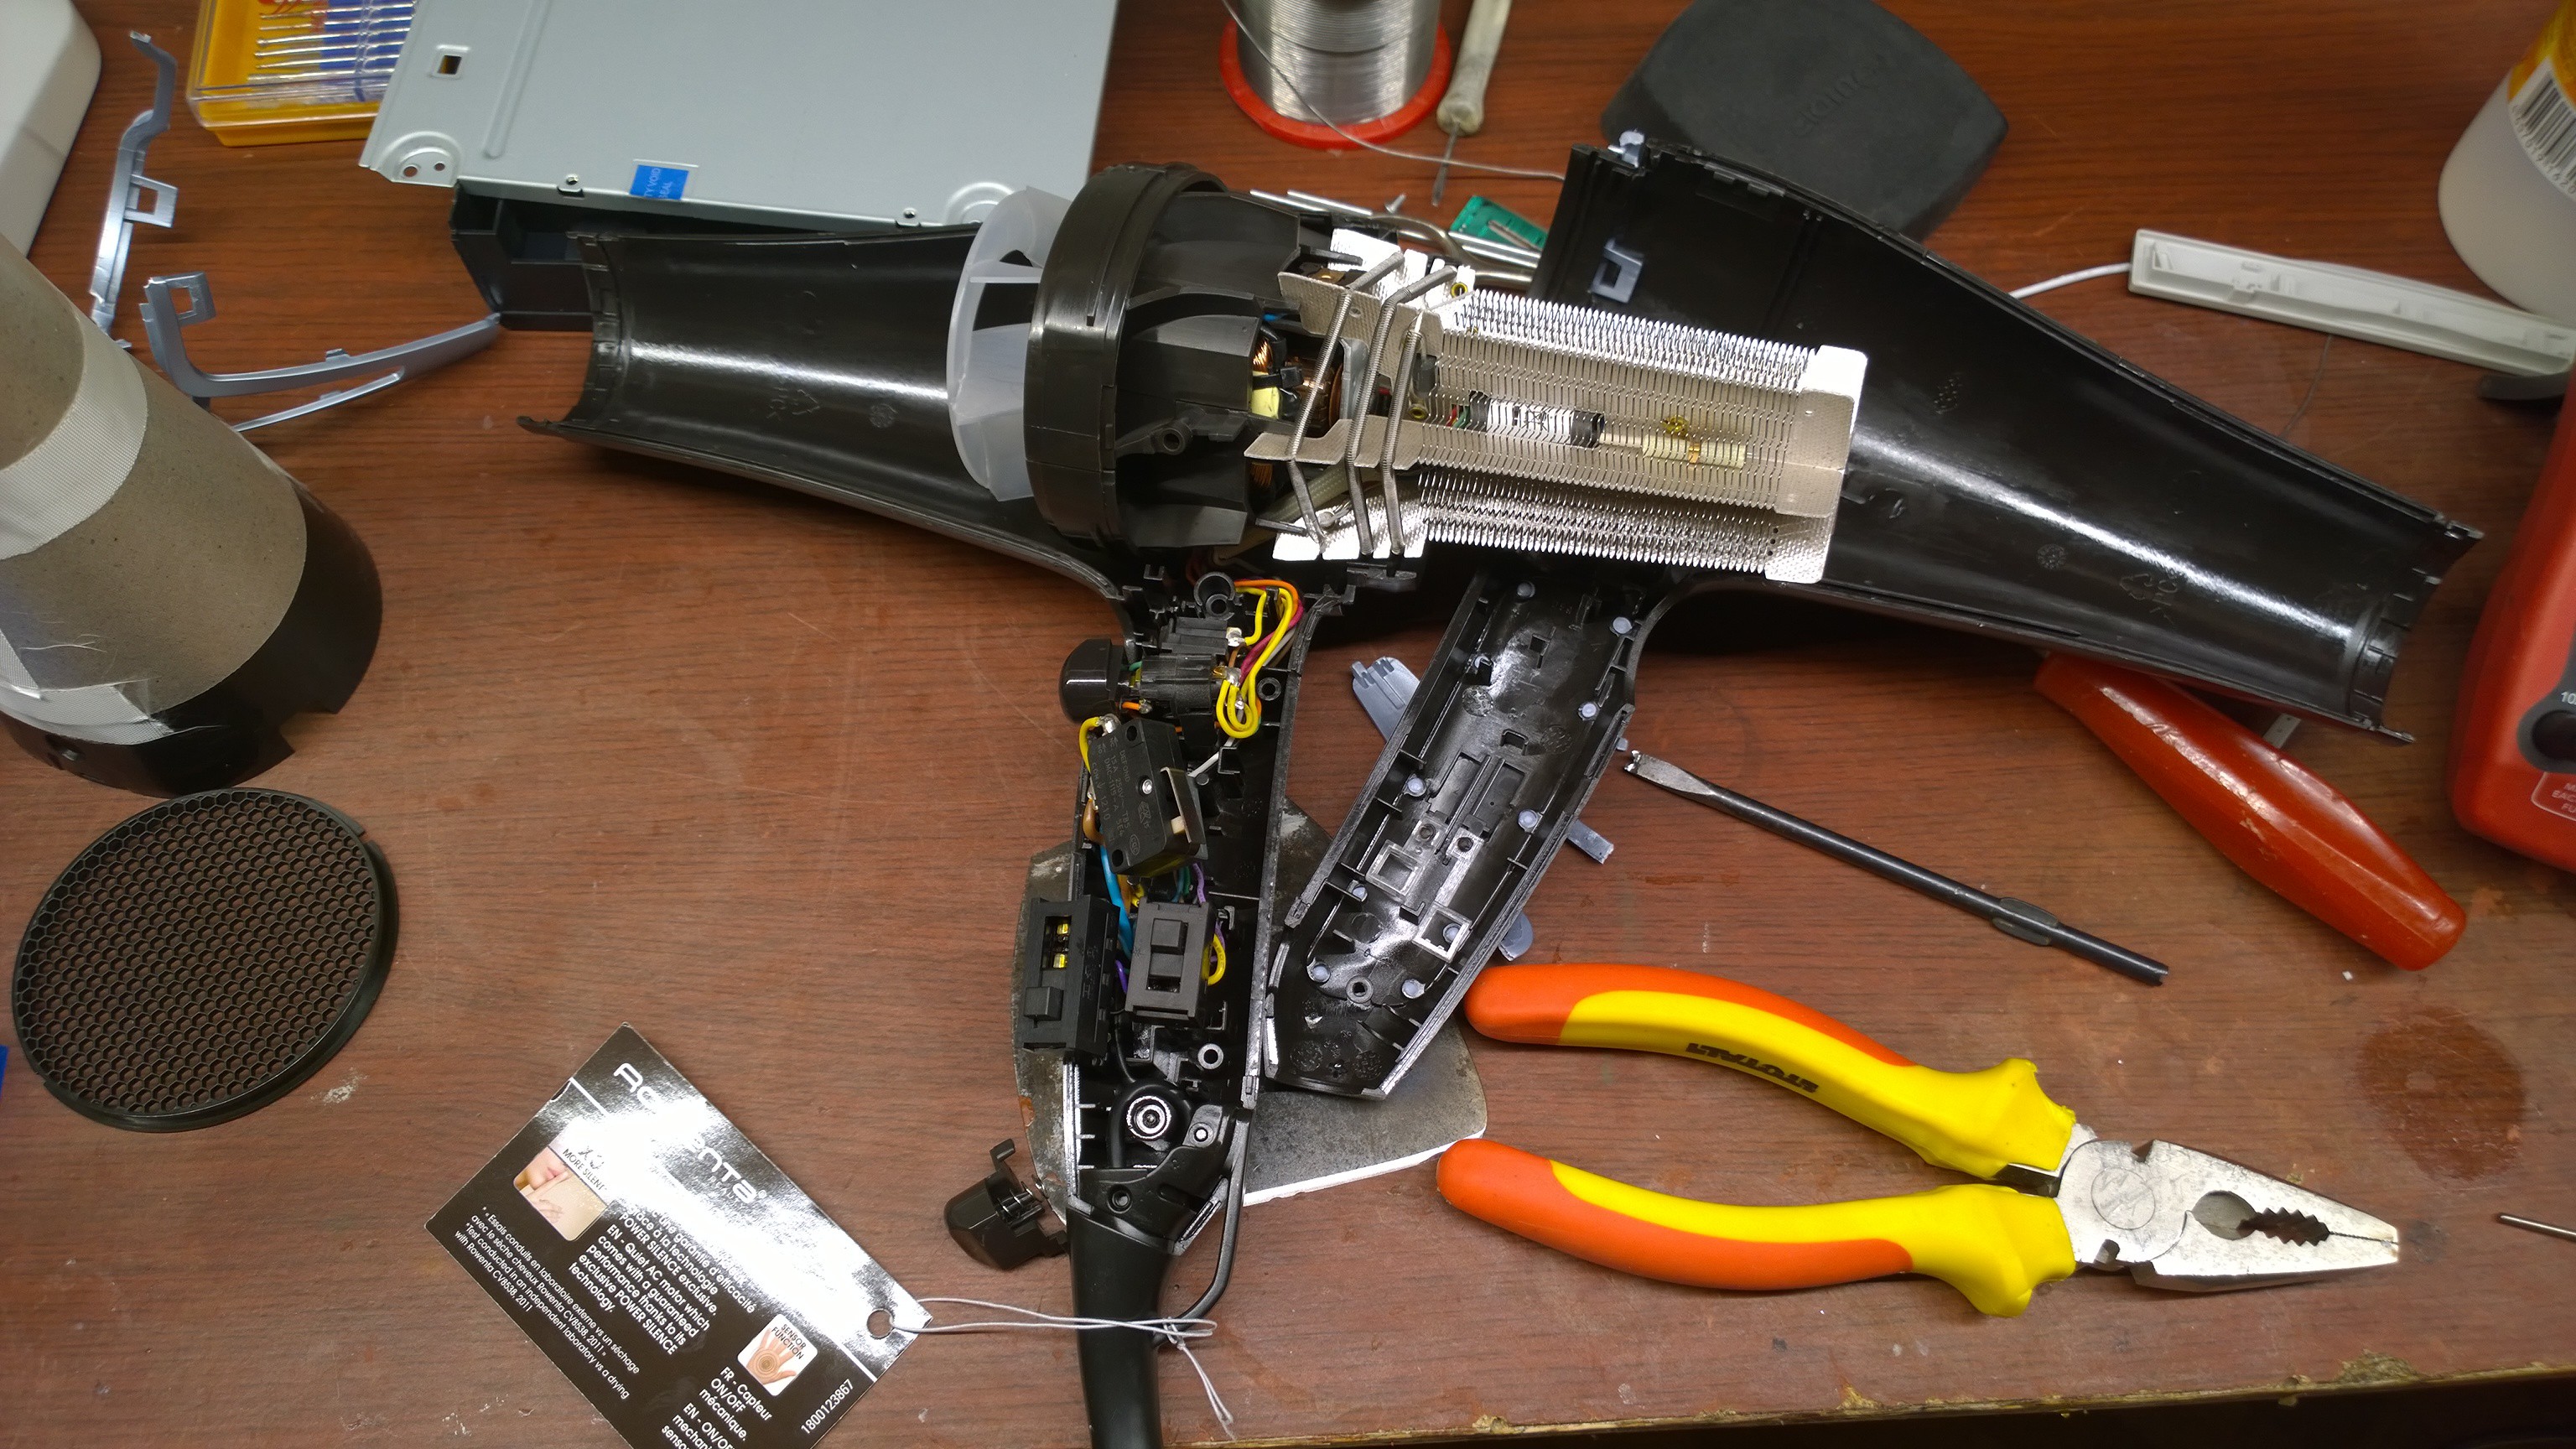
hair dryer with ionizer teardown
03/16/2016 at 20:01 • 0 commentsBought a new hair dryer. Don't turn it on - take it apaaaart!
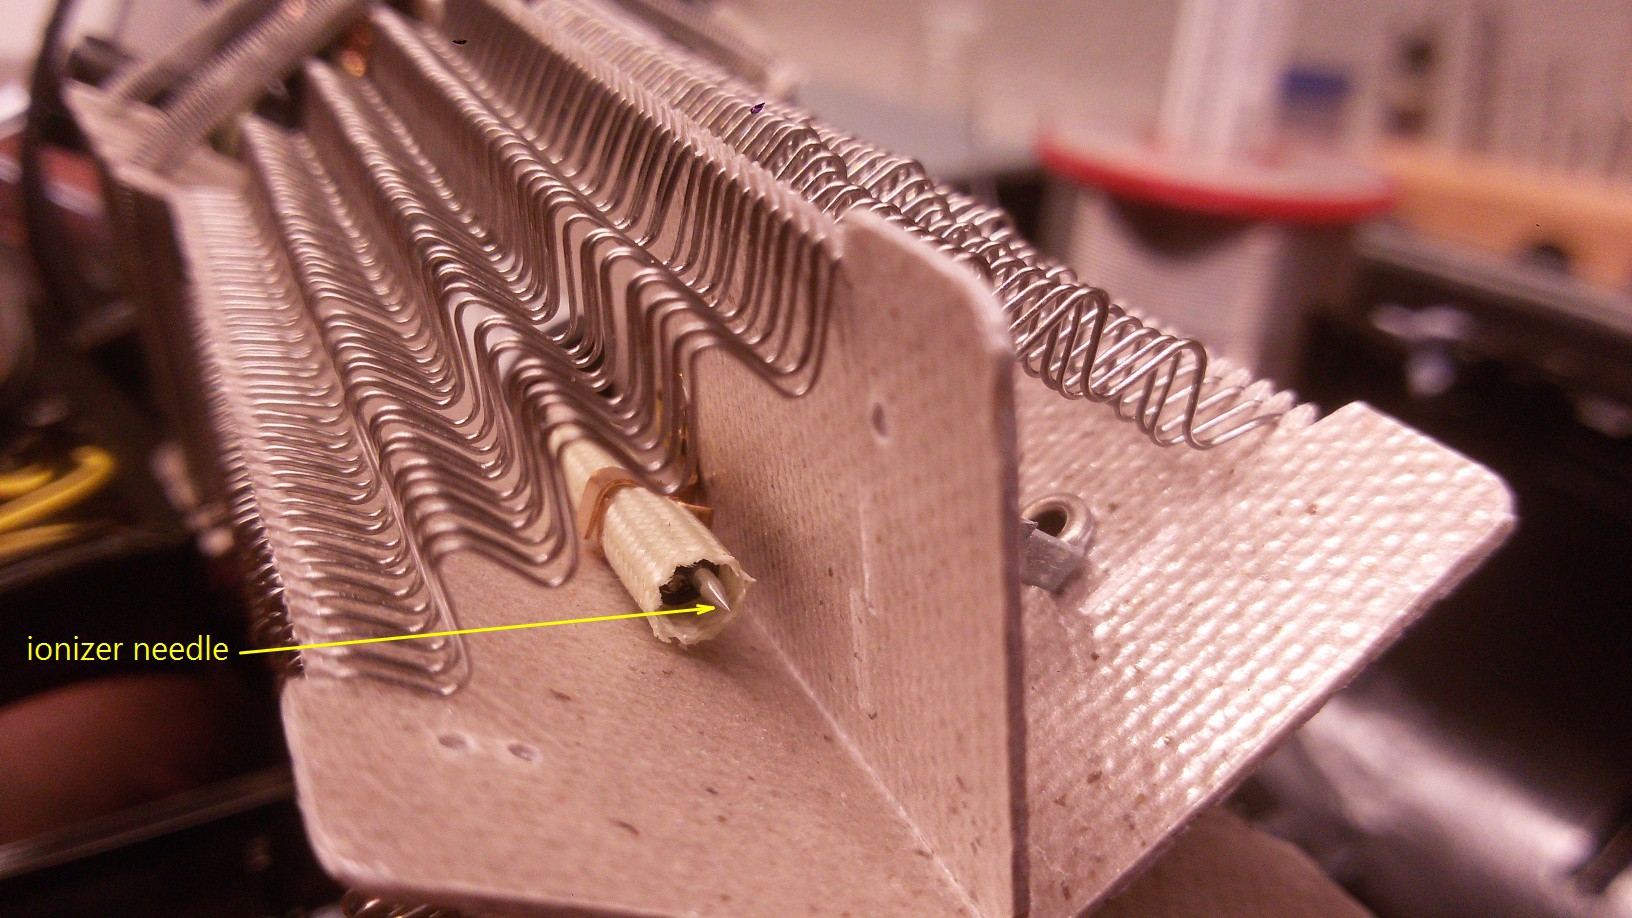
![]() Inside, there is a small high-voltage power supply, with a needle.
Inside, there is a small high-voltage power supply, with a needle.![]()
![]()
I can't seem to get any high voltage from that power supply.
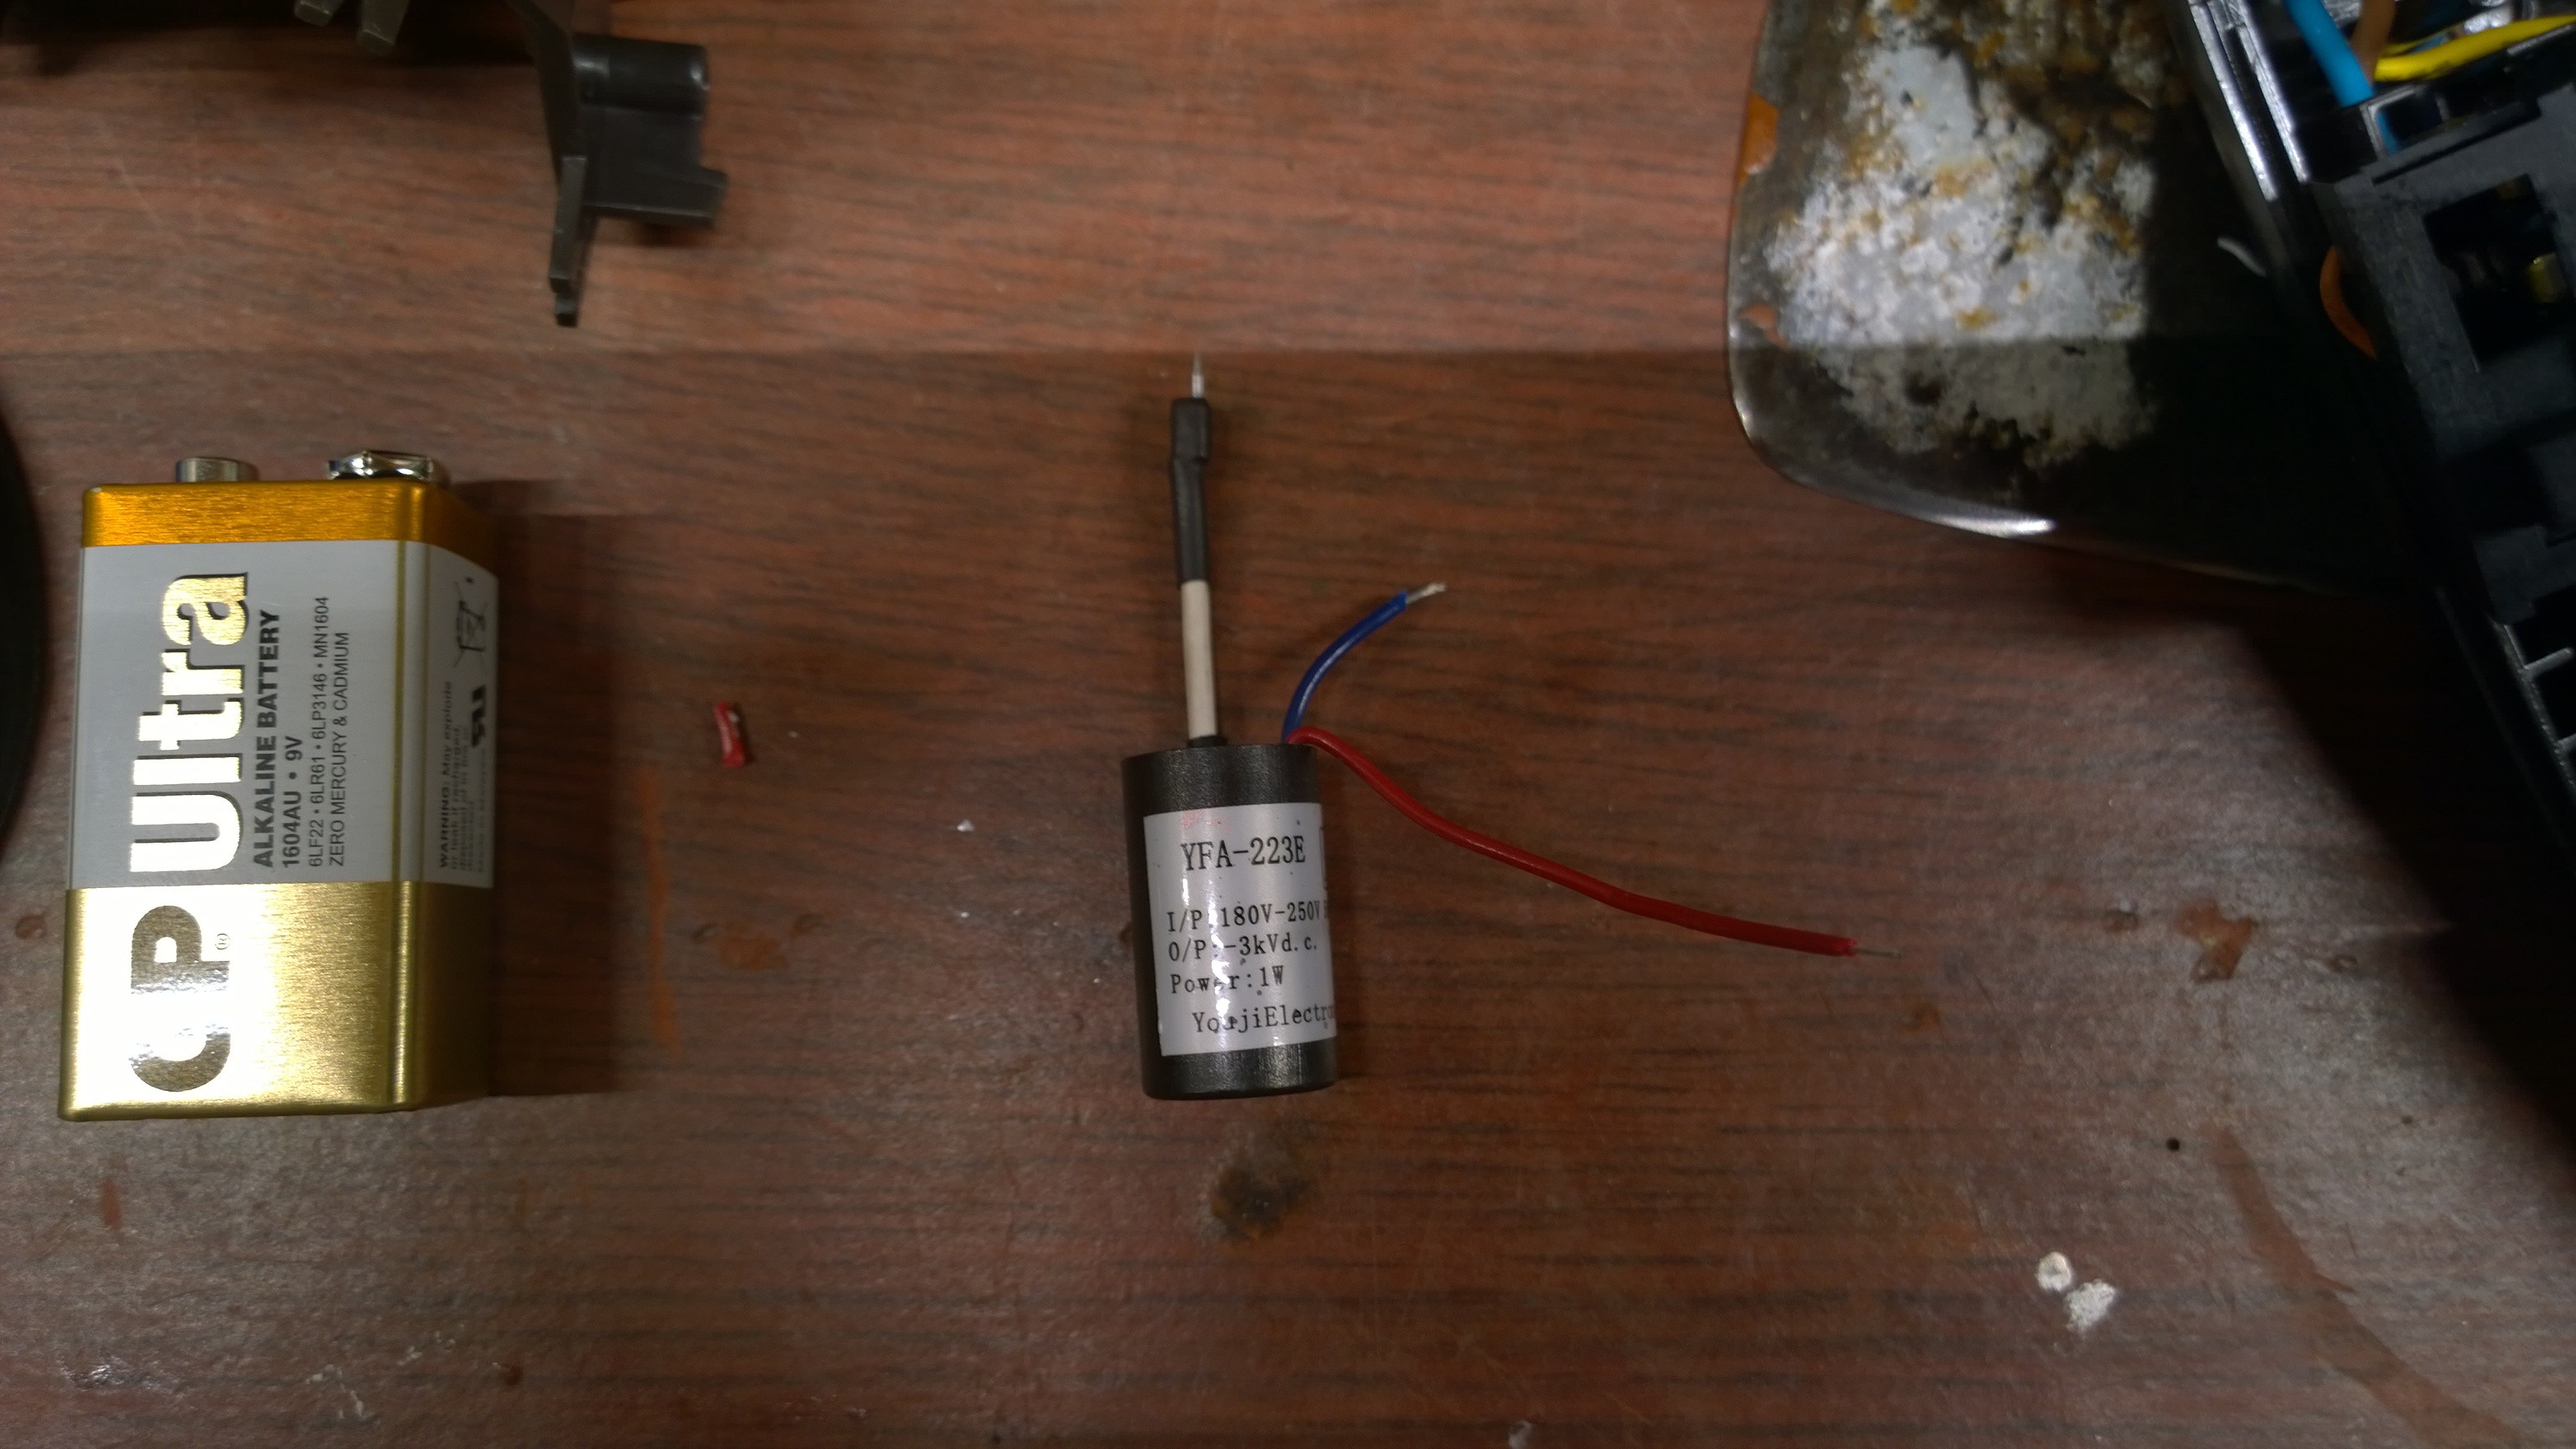
The HV thing says:
YFA-223E
input: 180-240V 50/60Hz
output: negative 3kV dc
power: 1W1W means that at 3kV, I may be able to get 0.3 mA of current at best (unlikely!). That's waaay to tiny, so the supply doesn't look like something useful. I'm curious to know, what's inside, and can I boost its power somehow (e.g. if it's a charge pump, I can get more power by feeding higher frequency).
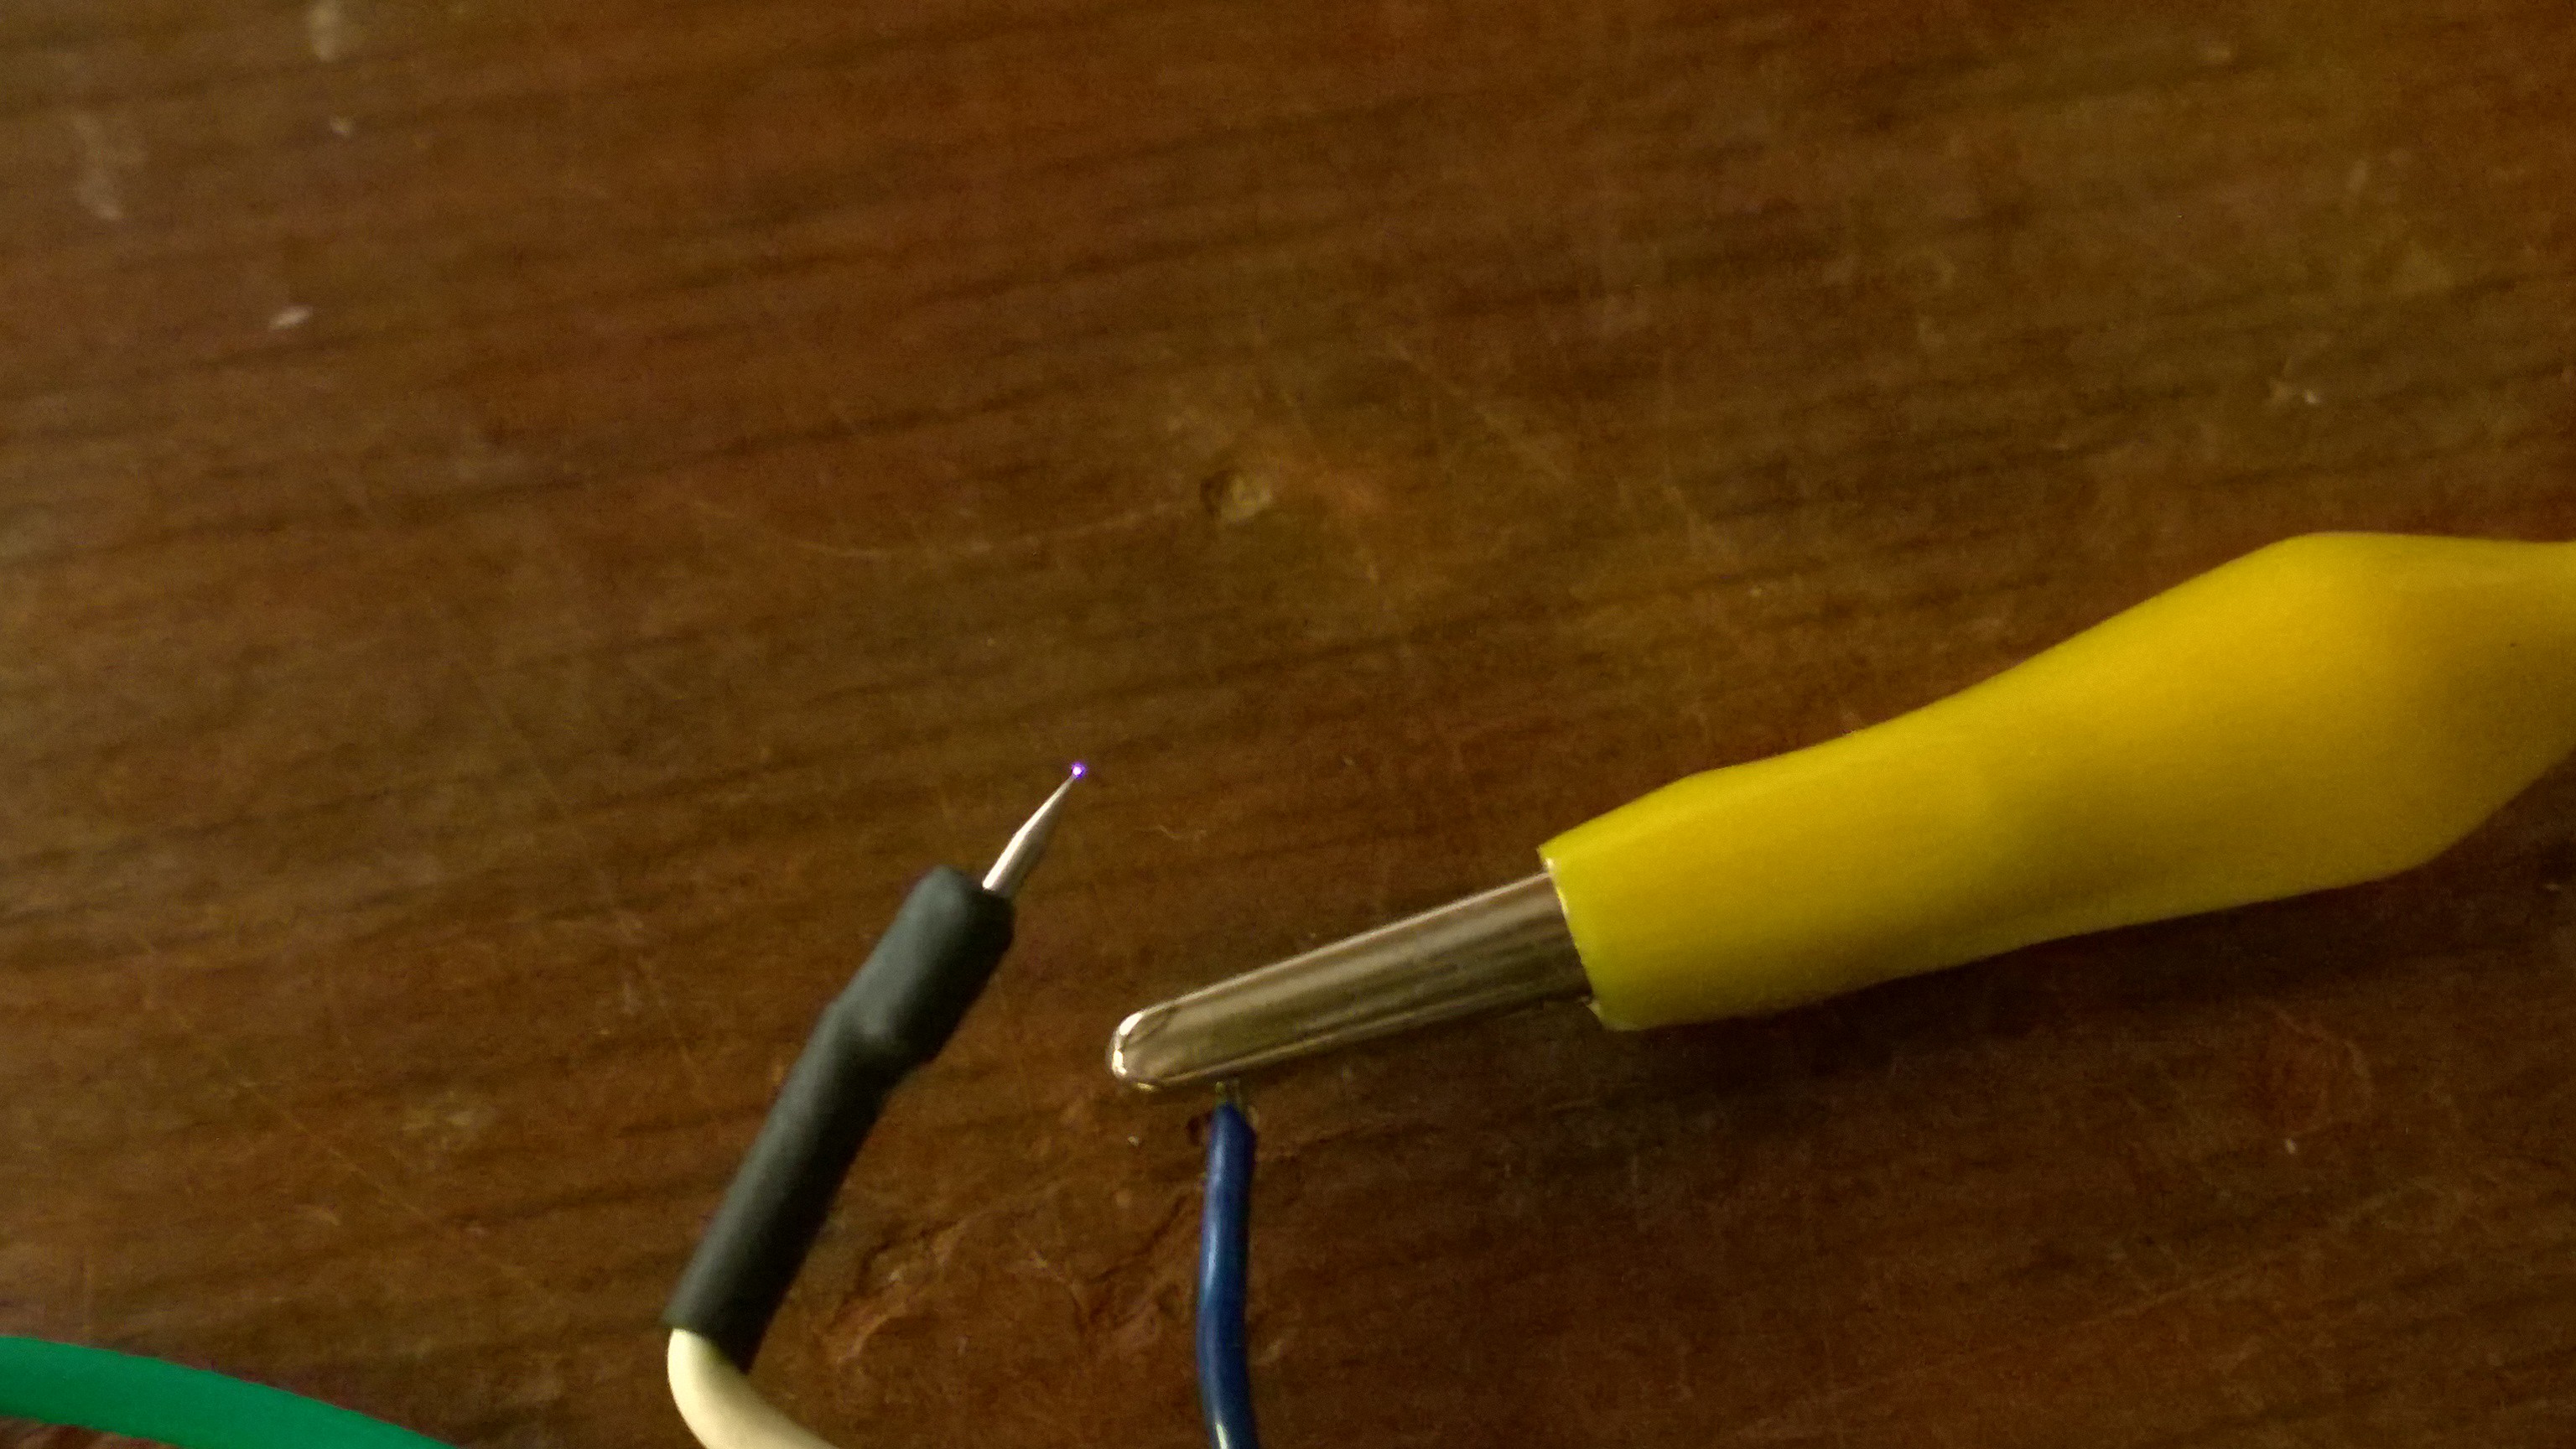
EDIT: it works. It was tricky to get a shot of the corona glow - 4s exposure time, very low illumination. Eyes need time to adapt to see this glow.
![]()
-
change direction
03/16/2016 at 13:50 • 0 commentsThere is a real-world device that is exactly what I'm trying to build: a hair dryer with ionization. So I change the direction of prototype. I'm buying a new hair dryer, take it apart, insert a powerful ionizer, and off we go!!
-
stuff to build
03/15/2016 at 11:57 • 0 commentsSo, a quick glance at what needs to be made for this project.
I plan to make the system modular.
1. a powerful 3d-printed fan-blower (I need to visit RC store to get a good efficient motor for this)
2. ionizer attachment.
Next, try it out with stationary high-voltage power supply, that I have already. That will give me the idea if it is worth to continue the project, and the target specs of high voltage for ionizer.
3. make a compact battery-powered high-voltage supply for ionizer. The main evil plan here is to use backlight inverter module salvaged from an LCD monitor of a laptop.
4. design and 3d-print the case to enclose the whole unit.

 Inside, there is a small high-voltage power supply, with a needle.