Mathias Sundgren
-
I ran into a problem...
04/21/2016 at 20:06 • 0 commentsHey guys!
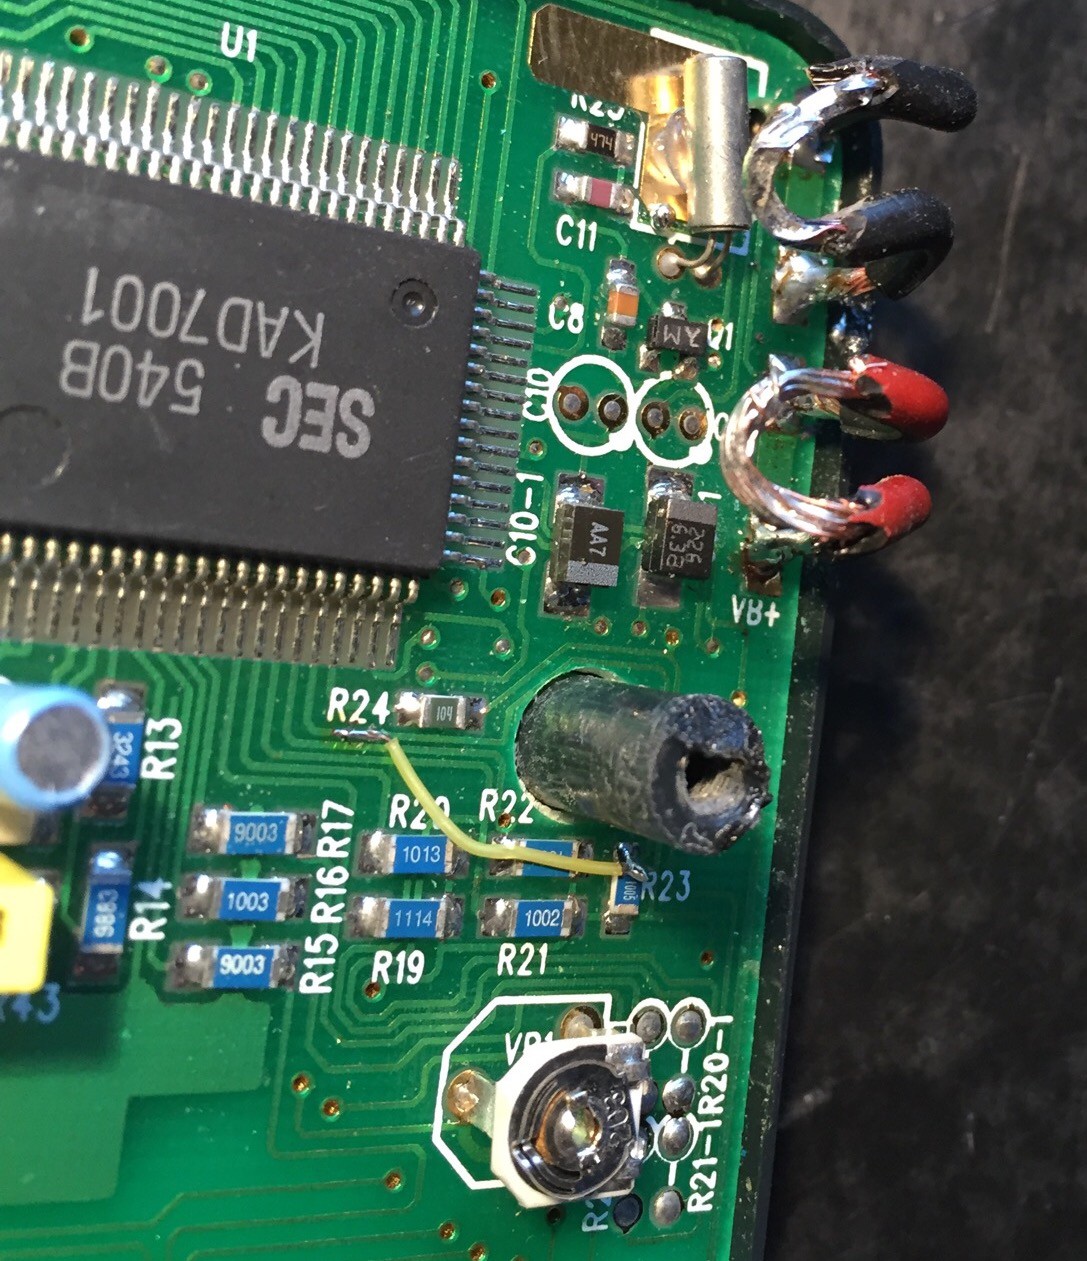
I had two weeks of holiday so that's why I haven't updated the project for some time. But I'm back now and during the holidays I found a simple multi-meter that will come in handy and I've used it quite a lot now. When I found it the battery connector was completely rusty so I had to replace that first.
![]()
Don't get mad at me for not having a multi-meter before, I've only been doing this hobby for about three years now and I just didn't feel the need to get one before.
Thanks to my multi-meter I found a few smaller problems so that's good.
Never the less, as I came back from my semester I immediately started building and finishing my project. I'm almost done, all I have left is the LED's and the Stereo-jack to solder on to it. I did some testing and everything seemed fine until after I soldered the potentiometers. The current flows thru all of the potentiometers and in to the 555-timer but the current can also flow the other way, thru one potentiometer and back thru another potentiometer. So the only thing I'm getting is one single note that goes on and off and not eight. I believe I can fix this problem with some diodes. You might think that "oh but that's because you haven't put the LED's on"! I don't think that soldering the LED's will solve the problem since the current is divided before the LED's. I hope you understand, if not then you might want to look at my schematic.
Soon I'll put a video on this log and show you the problem. I will also update the schematic.
See you soon ;)
-
Making the enclosure
03/29/2016 at 21:46 • 0 commentsDesigning:
I would like to make the enclosure in plexiglass in that way you will be able to see all the electronics inside. I'm aslo gonna leave it open because it will be easyer to fix and change things if I mess up.
Making the enclosure:
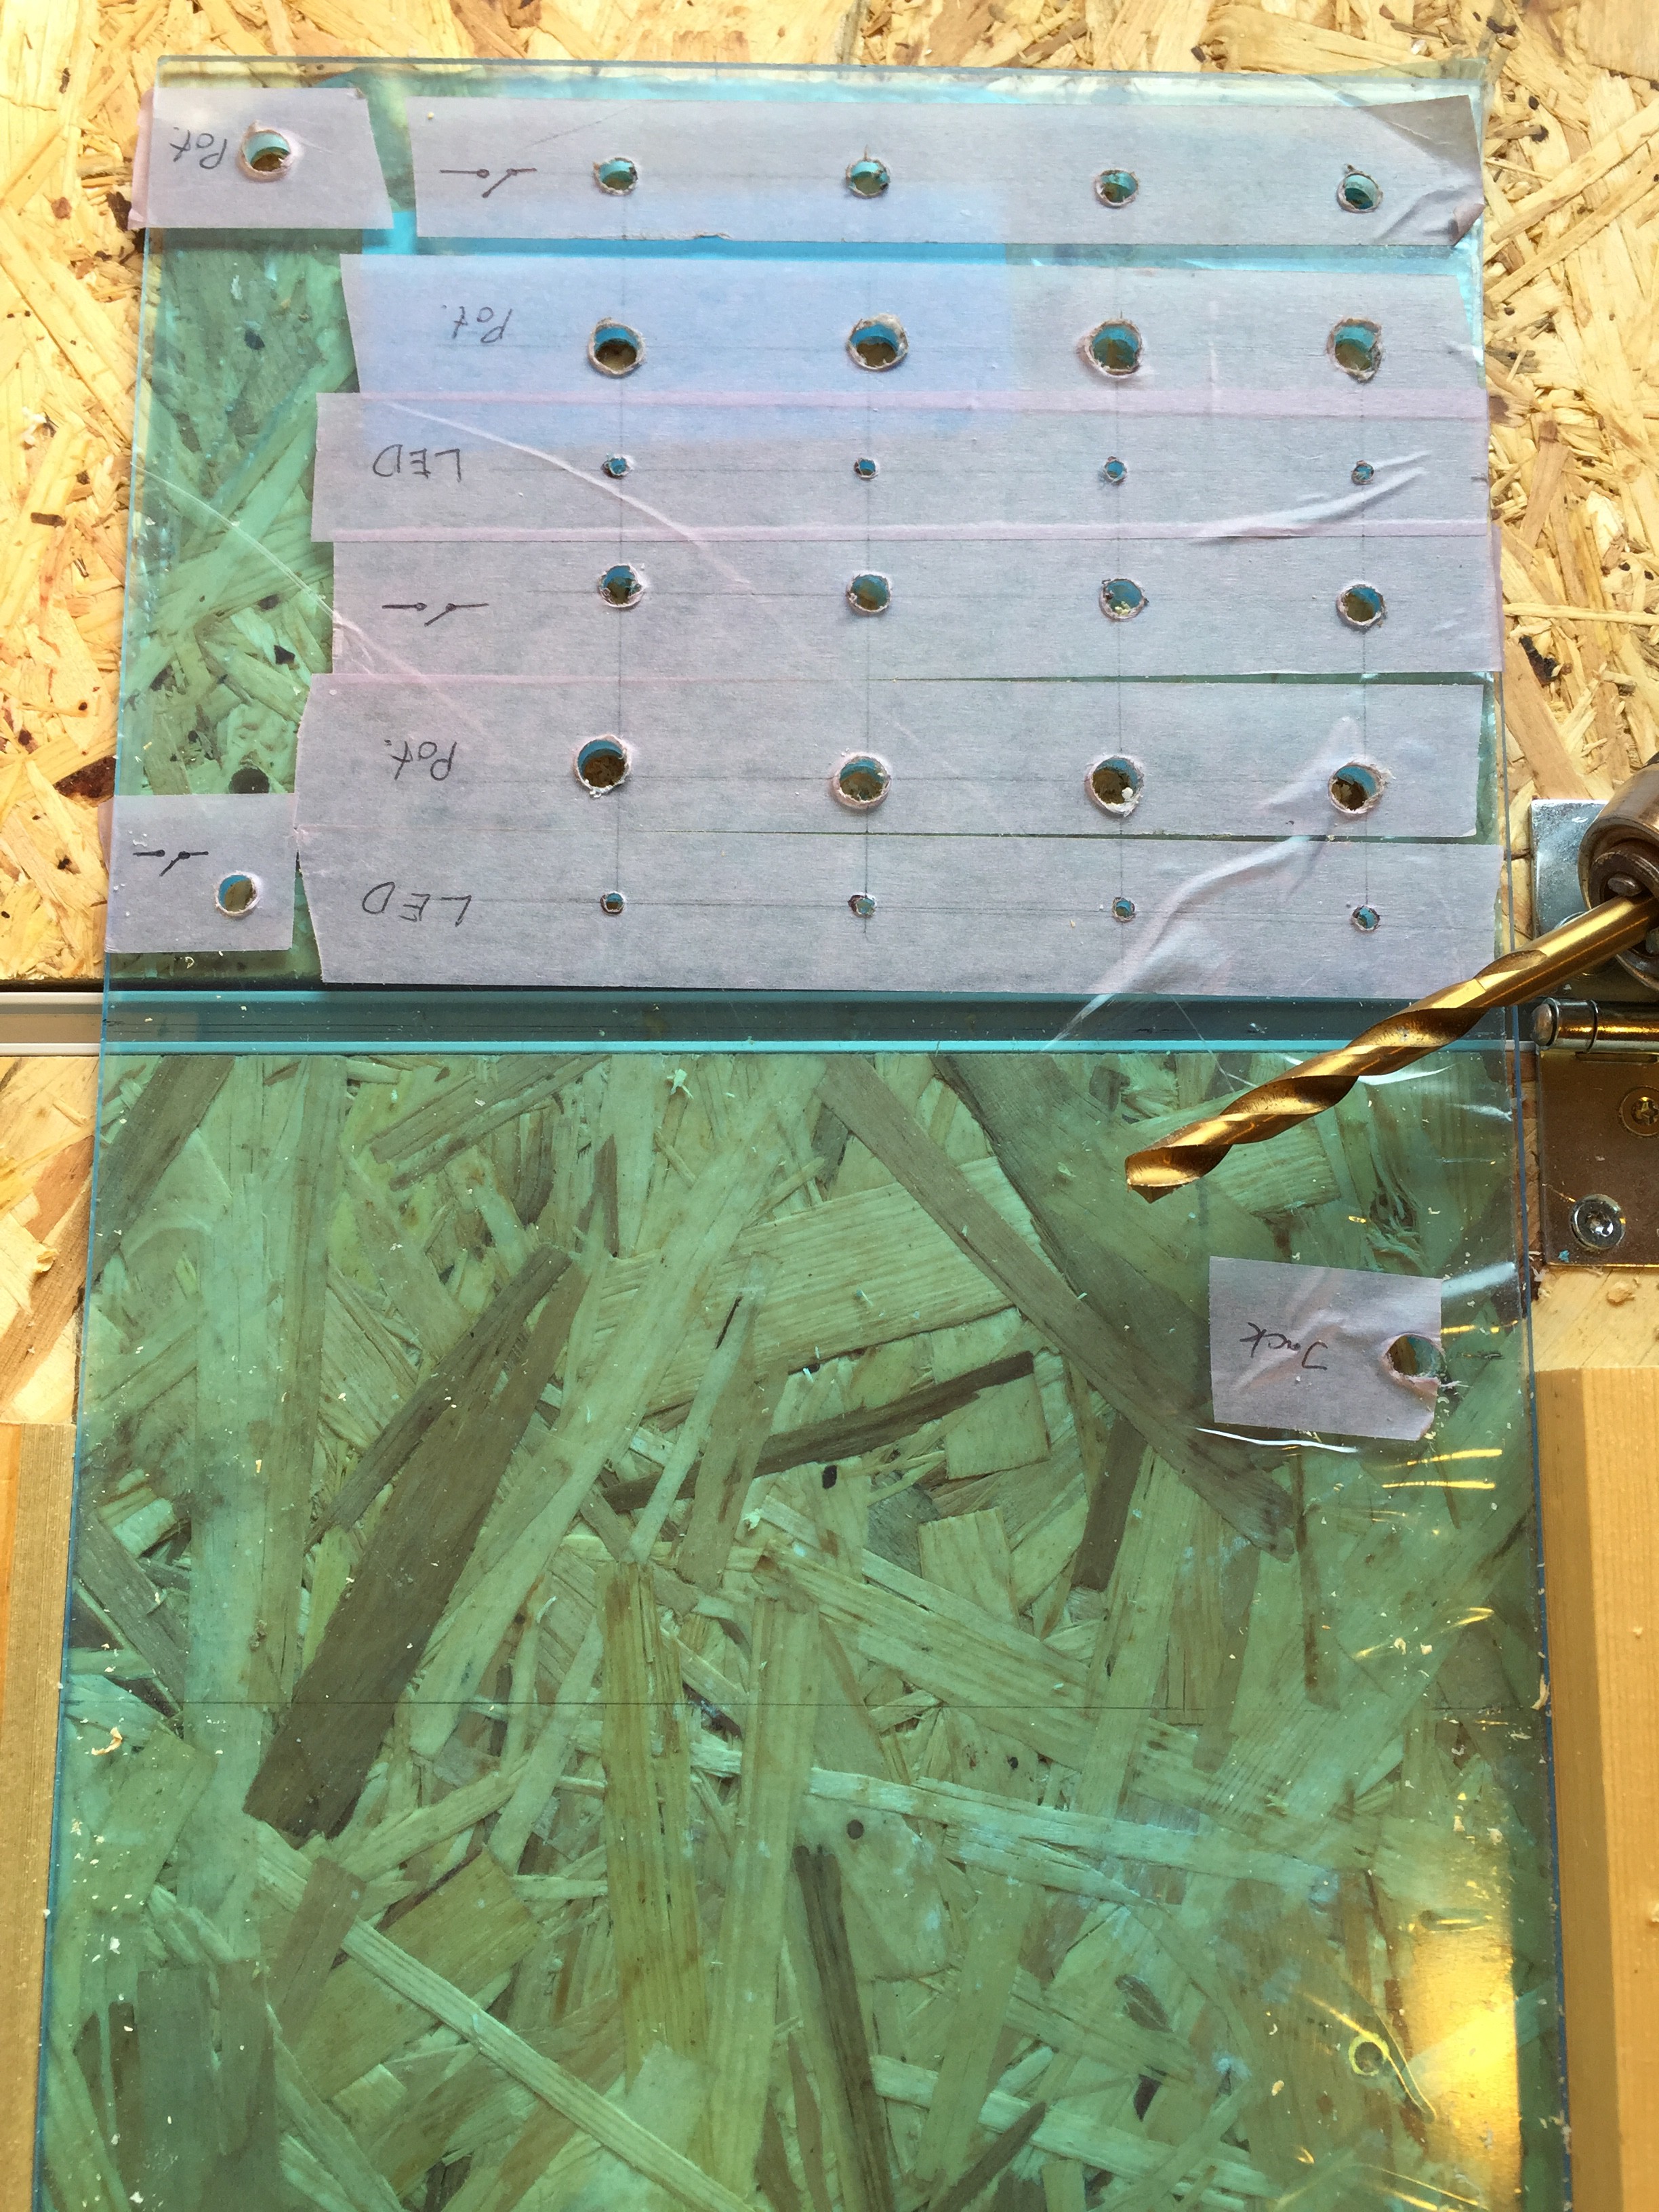
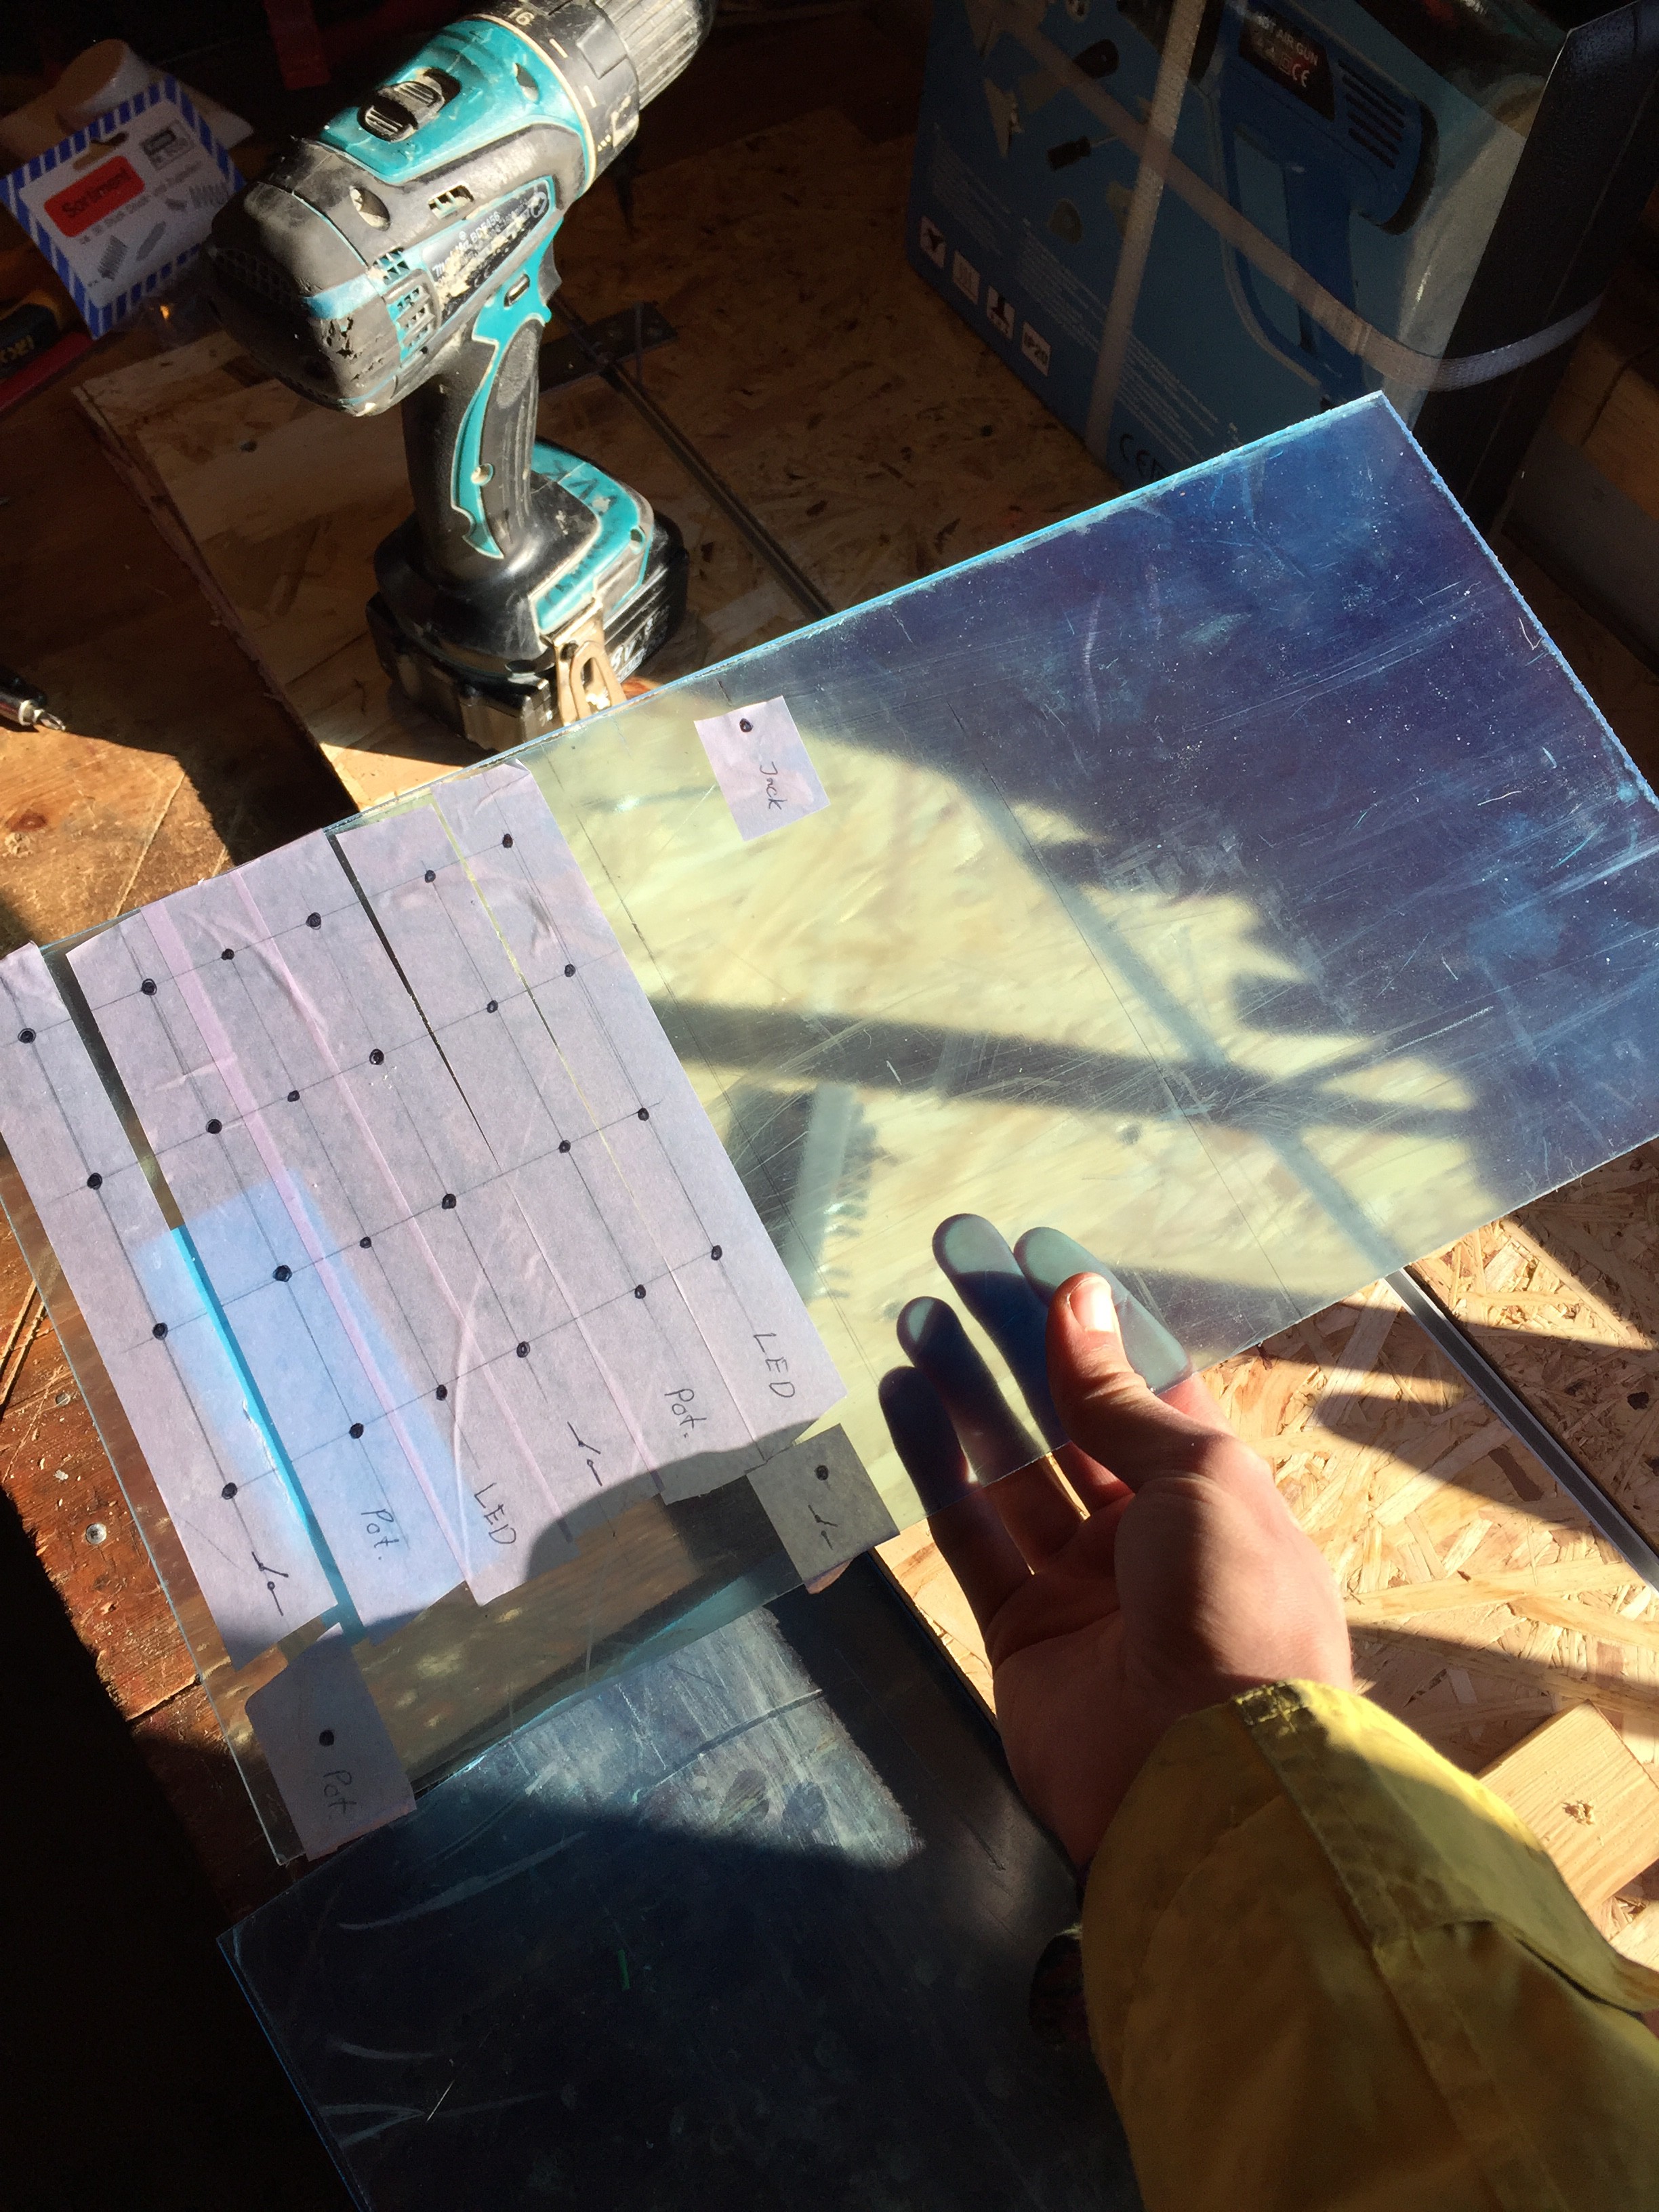
So I got this piece of plexiglass and now I just need to mark where I'm going to put the holes and drill.
![]()
![]()
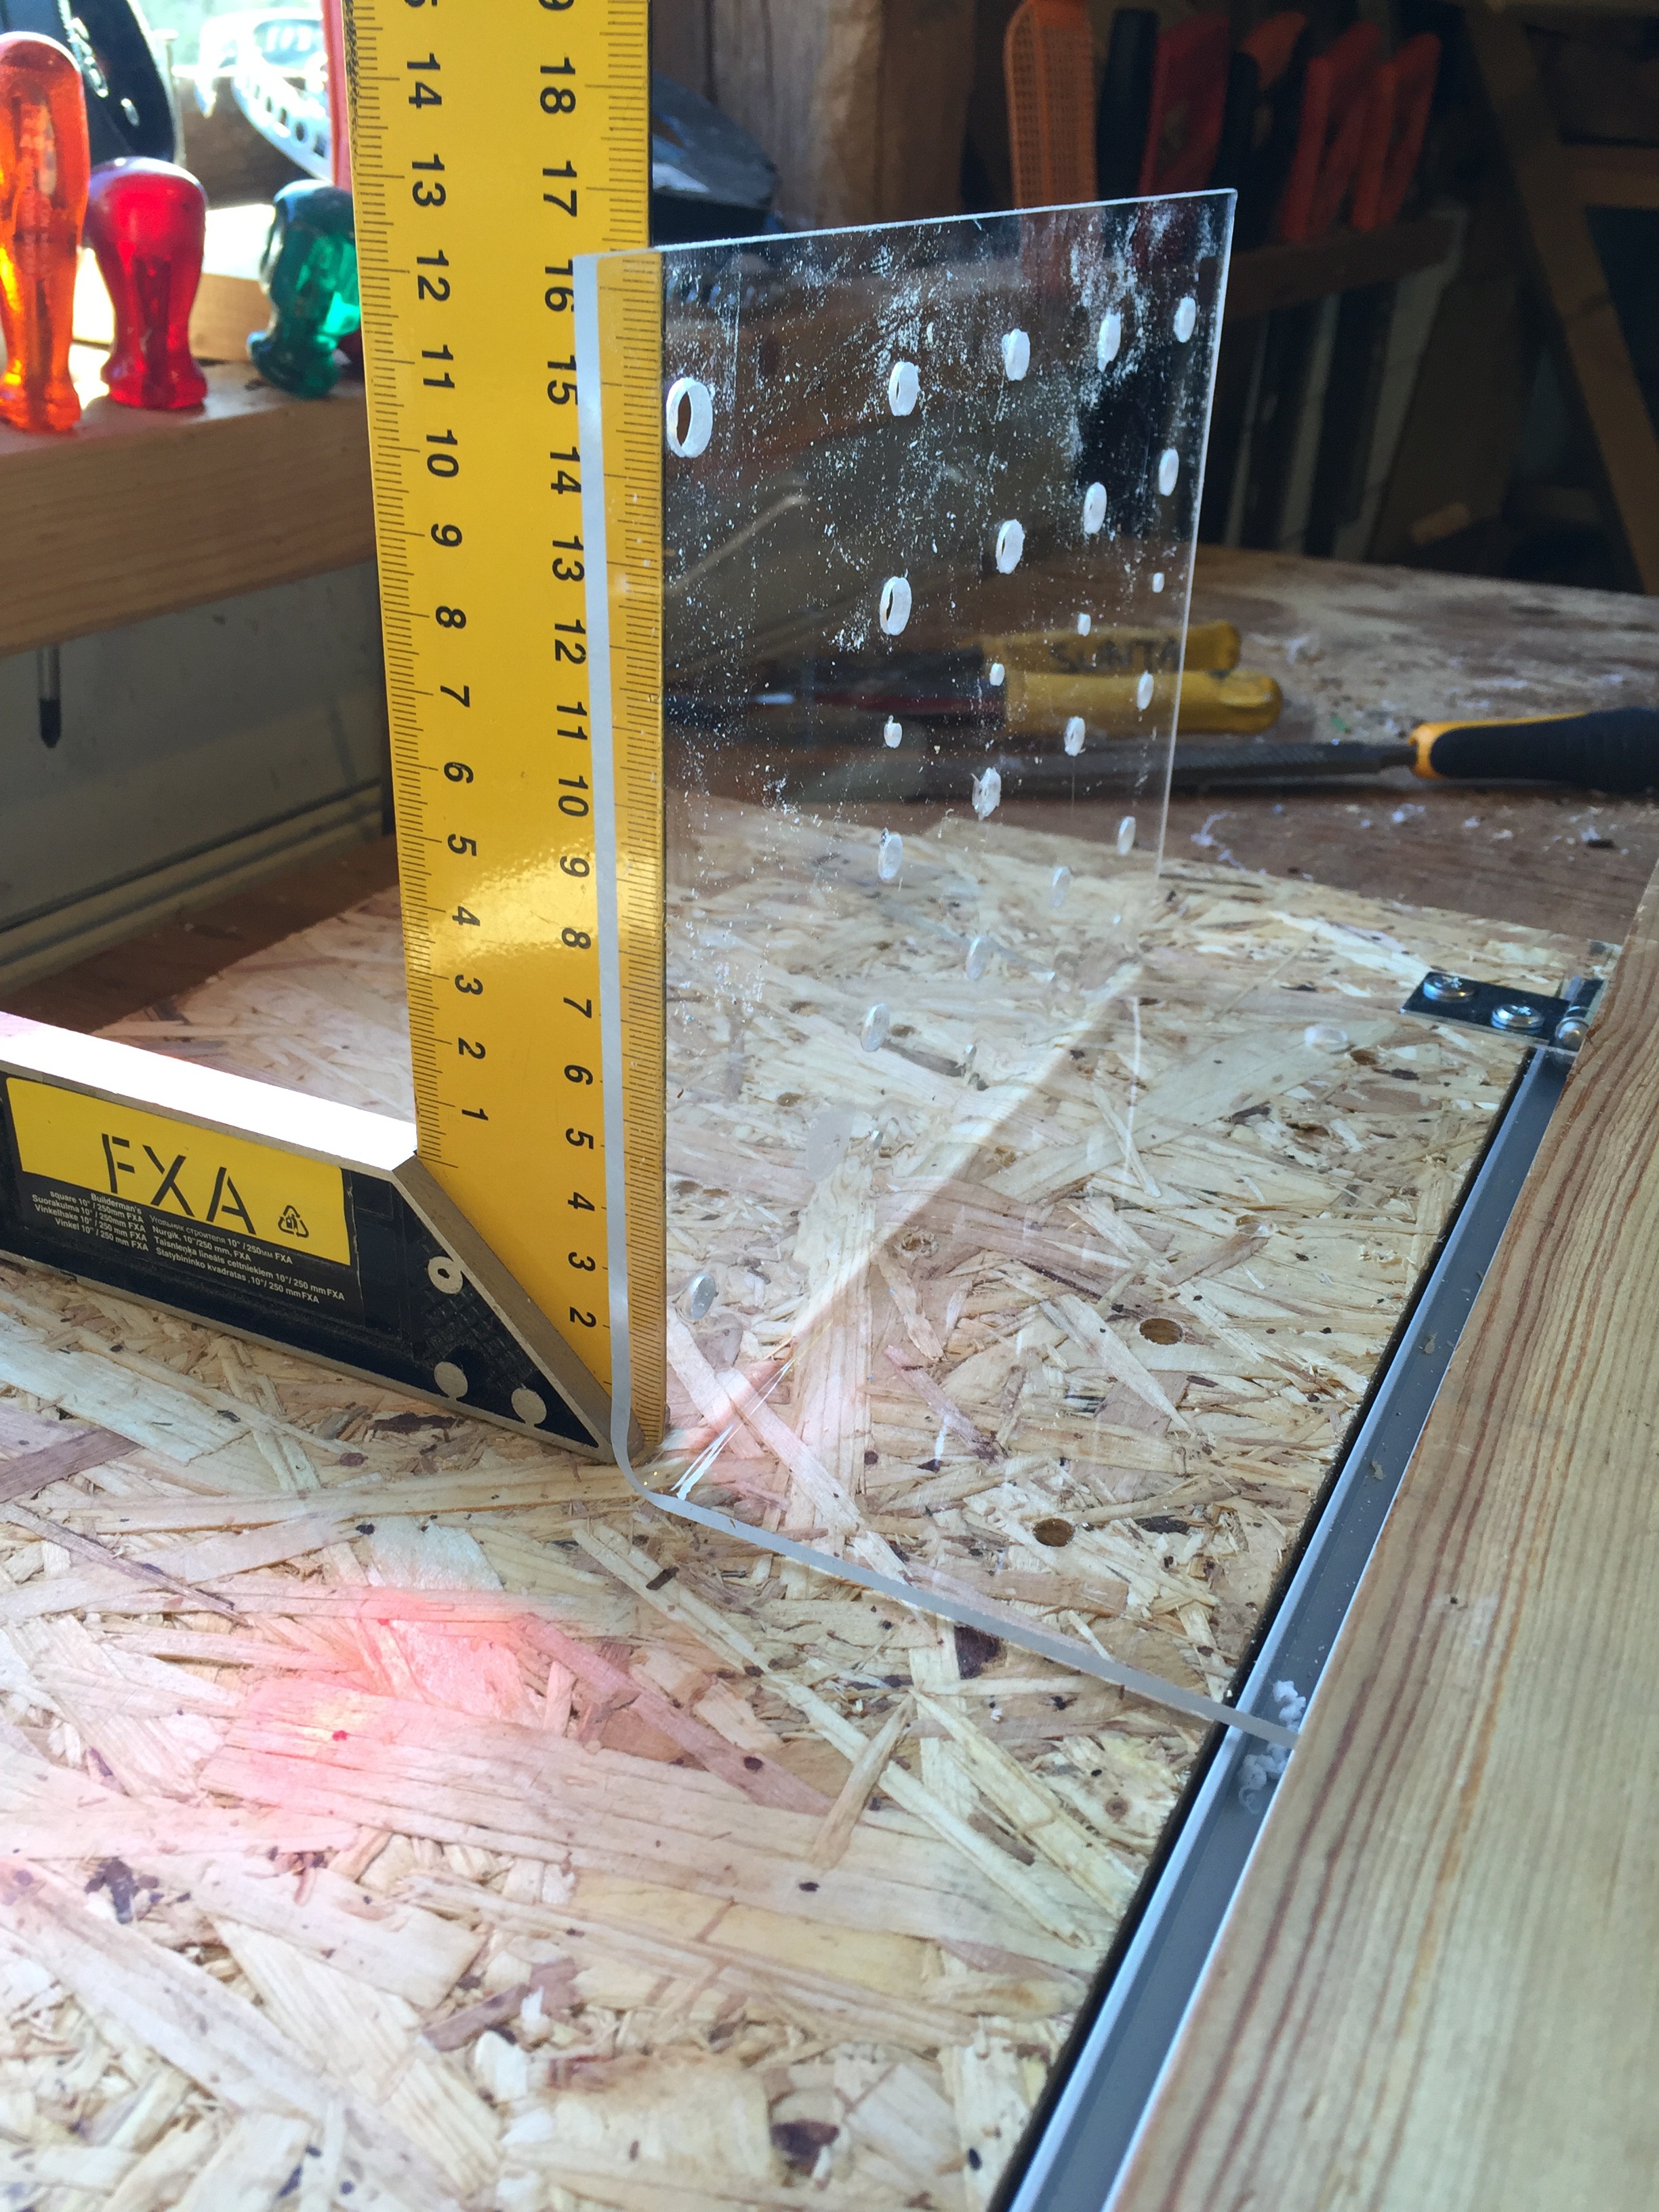
After the drilling is don I bent it! That means I need to make a plexiglass bender! To make a plexiglass bender you need 3pc of wood, 1 aluminum U-shaped strip, 1 nichrome wire (you can also use a hot air gun) and 2 hinges. But I'm not goning go into how to make a plexiglass bender in this project.
![]()
Ok! So now I've finnished making my plexiglass-bender and I bent my piece of plexi already! It's a clean bend as you can see (90°
I forgot to take a picture of the second bend. The second bend didn't go so well because I went to fast and the plexiglass started to crack in the corner but for me it's not a problem.
-
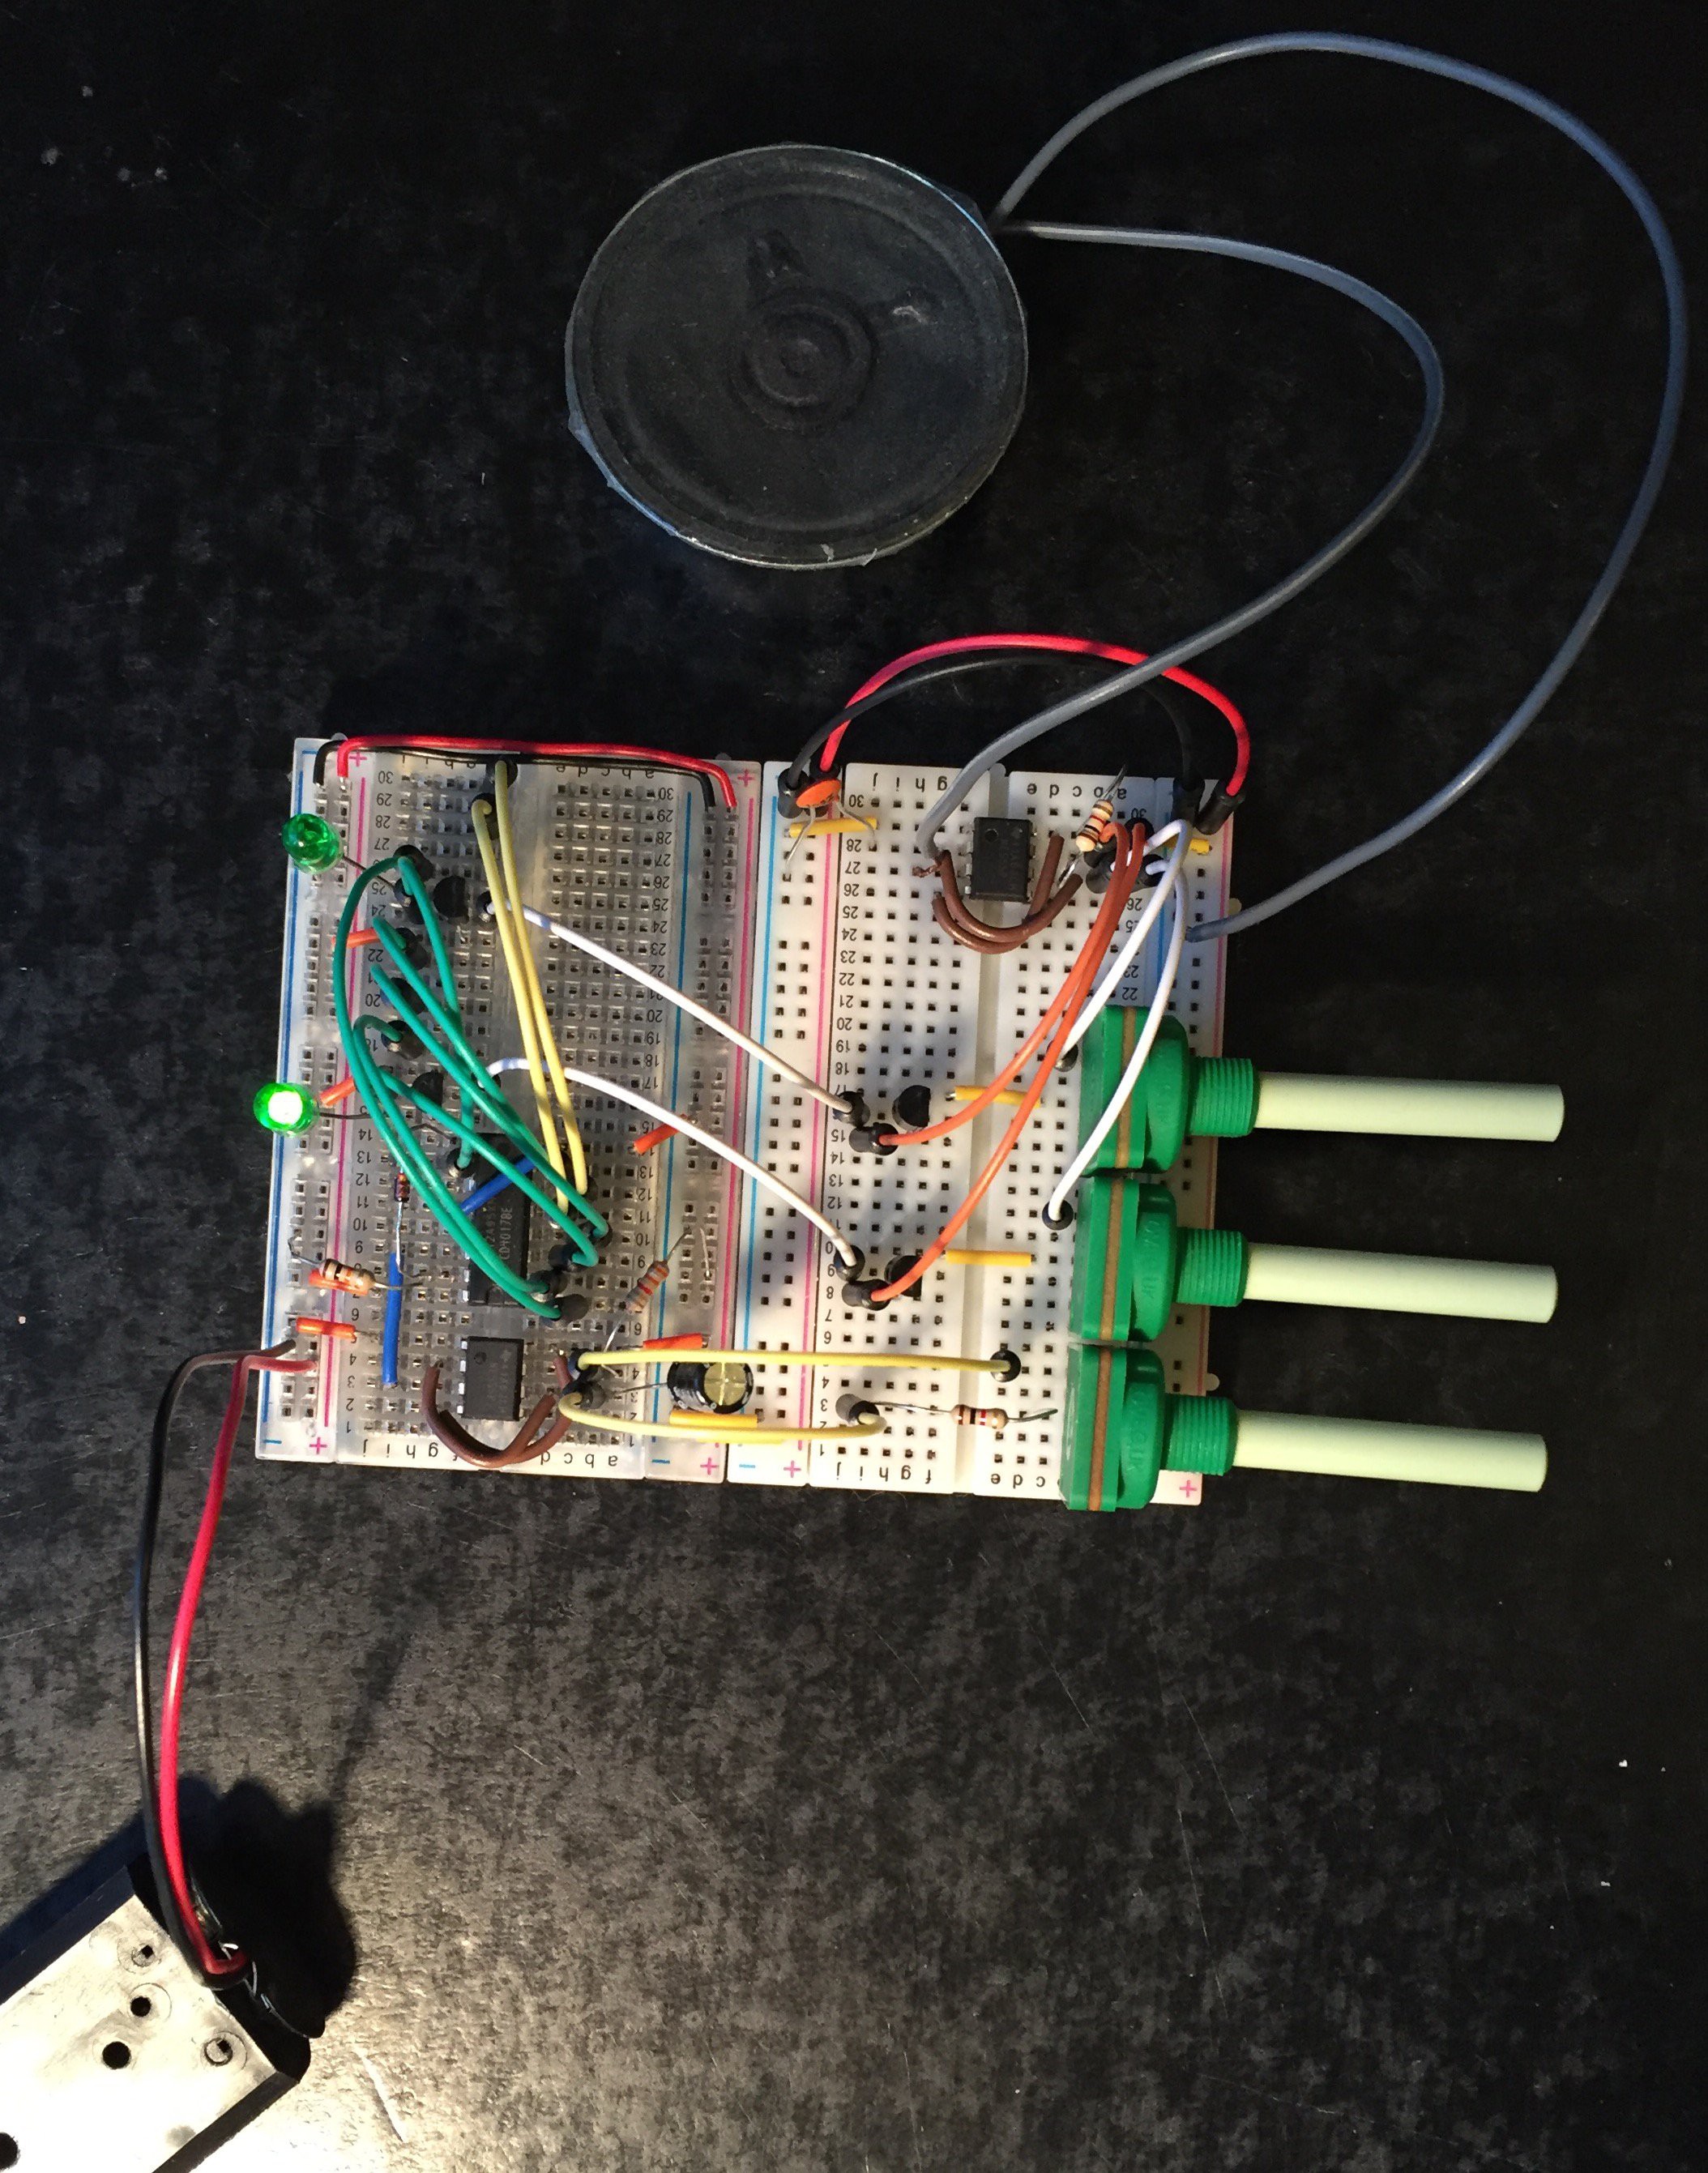
Testing the different parts for the synth on Breadboard
03/17/2016 at 11:17 • 0 commentsBreadboard test
I started experimenting on the breadboard. I tried different capacitors for the 555-timers and picked the ones that suited my project. When I was testing the synth I didn't use all the potentiometers, LED's and transistors. I only used 2 potentiometers, 2 LED's and 4 NPN transistors because I didn't have enough space so I could only hear two notes, witch makes it harder to choose the right capacitors for the IC's. Why? Well, because I can't tell how fast the loop will run at when I connect all the components so I can hear all the notes one after the other. The combination of the potentiometer and the capacitor affects the speed of the loop. I hope you understand, if not ask a question in the comments!
After I made the Synthezeiser I made th schematic.
I came to the conclusion that a small capacitor should be used for the sound-producing 555-timer and that a bigger electrolytic capacitor is better for the speed controlling 555-timer
Here is the full breadboard test online ( with 8 notes: https://123d.circuits.io/circuits/1933783-8-note-stepsequencer
![]()
8 note Step Sequencer
This is a synth that produces squarewaves in different frequencies. You can use it to make a pattern of maximum 8 notes.