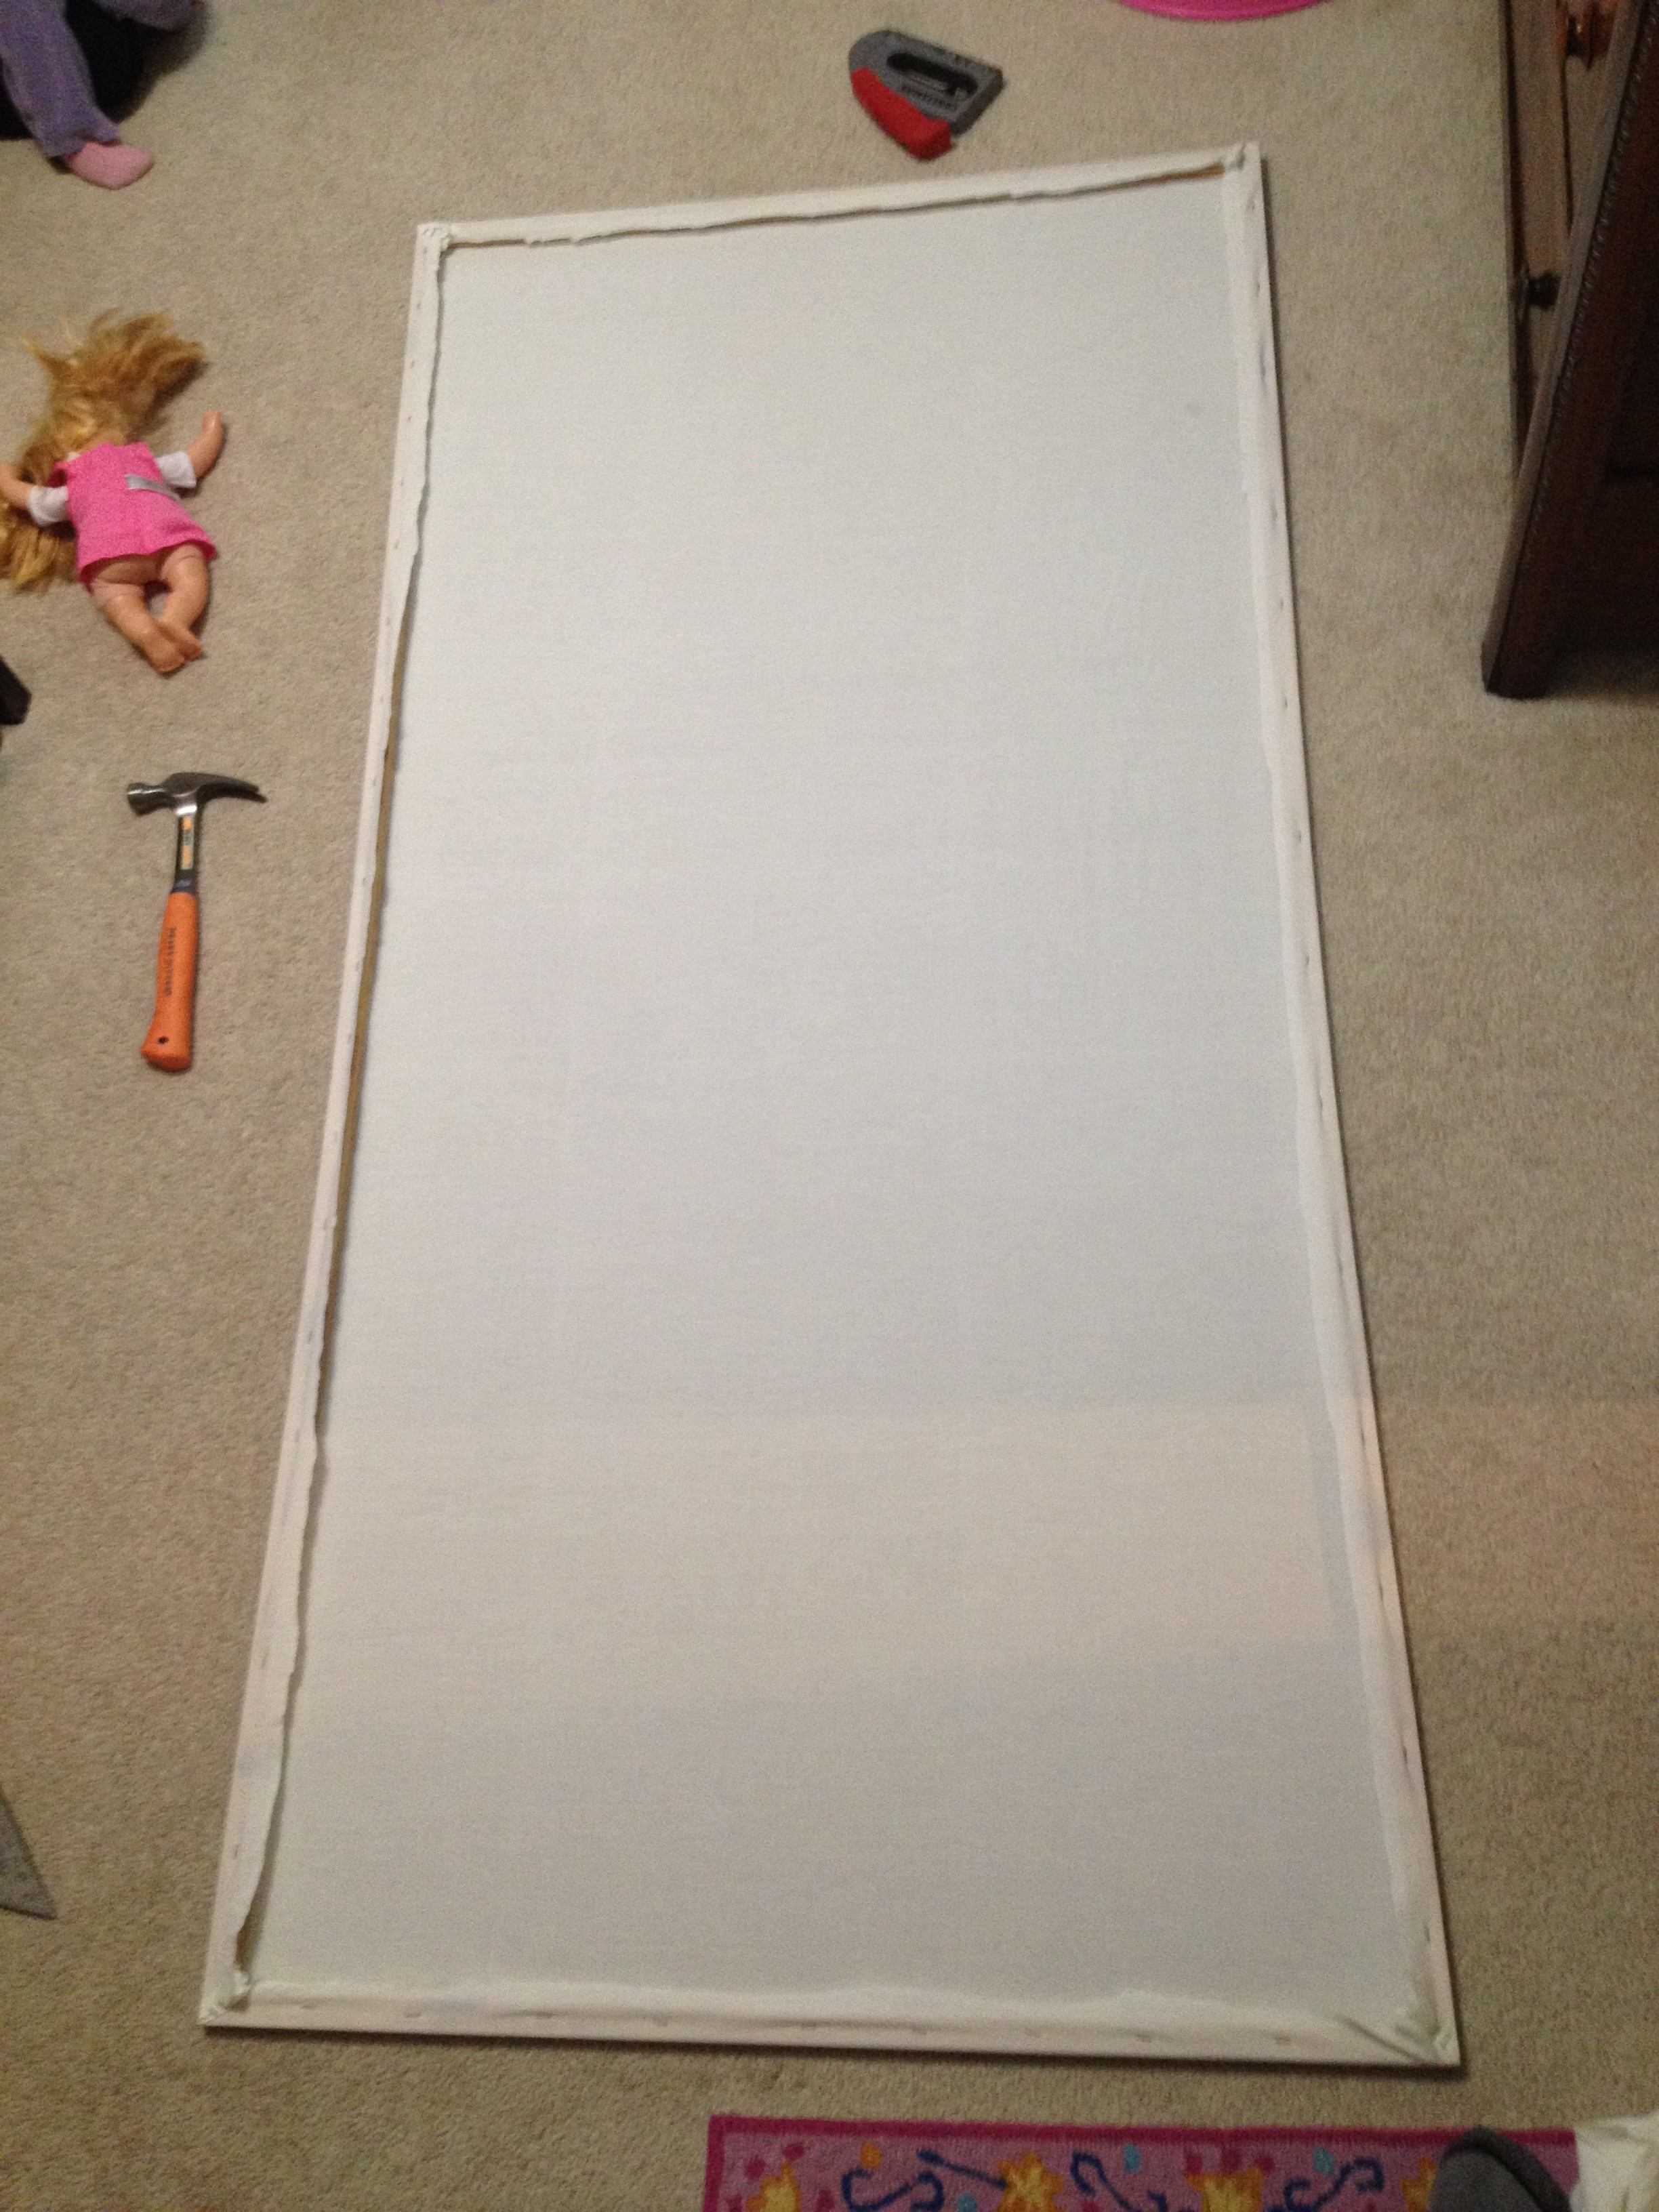
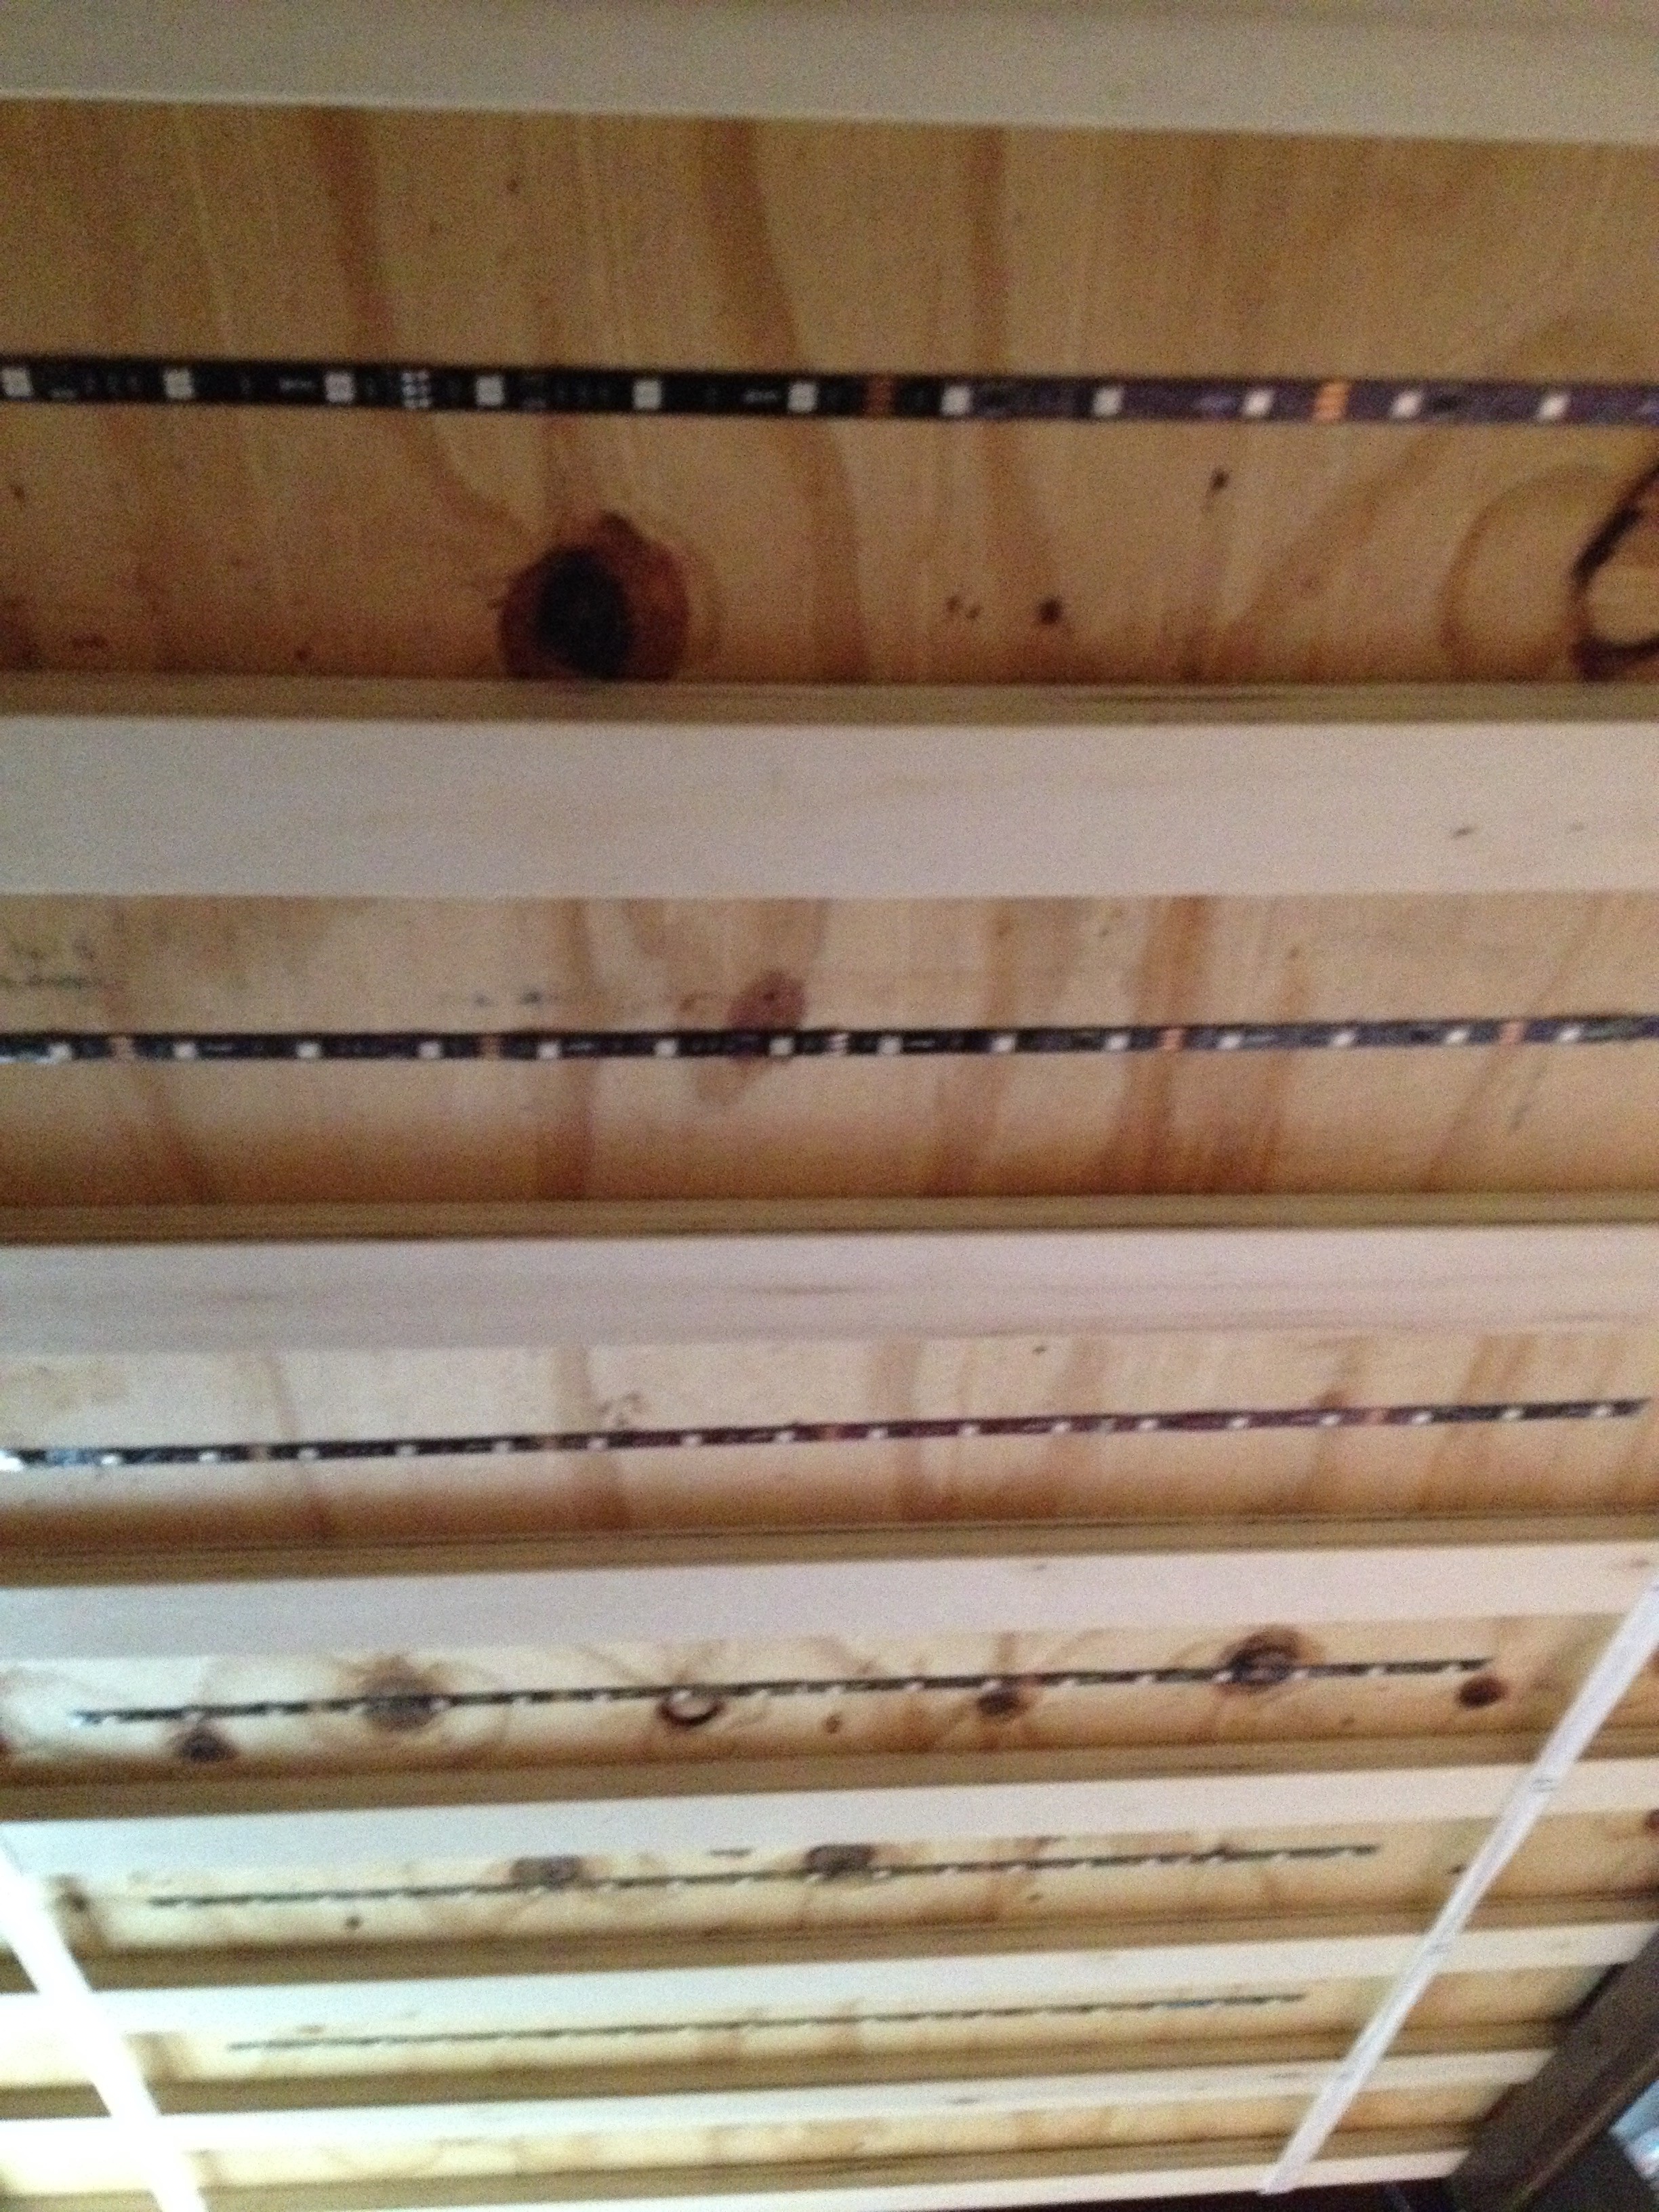
The example installation is close enough to call it complete. The Controls and power supply are in place in a little box I made out of plywood. The lights are installed under the top bunk and the light diffuser is installed. That was a simple rectangle frame I made out of plywood with a sheet stretched over it and stapled upholstery style.
These are the things that I have left to do:
- remove the duct tape that fell off that is currently under the diffuser.
- replace the arduino uno with an arduino pro mini.
I made a few mistakes along the way:
- stretched the sheet too tight in the middle of my rectangle frame. It is slightly concave. You can probably see it in the video above.
- taped the ends of my LED strips to add some more support. Now that the tape has fallen off, I have to remove it.
- I split some wood in the control box, and the plywood was slightly bowed before I put it together. It all still works fine, but next time I will use a drill before I screw it in (I usually don't cut that corner) and I'll start with wood that isn't bowed.
Diffuser frame with sheet:

LEDs without the diffuser:

Discussions
Become a Hackaday.io Member
Create an account to leave a comment. Already have an account? Log In.