Close
0%
0%

CORTANA BAND

This is a gesture and voice recognition based device.

Similar projects worth following
The main objective of this project is to help out the people who are suffering from hand paralytic diseases like Rheumatic Arthritics, Median Nerve Palsy and Leprosy. A Gesture Controller is developed in this project enabling the people with disability to control their Personnel Computer. The Gesture Controller works based on the principle of Hand Orientation on the three Cartesian Axis’s. Depending on the Orientation, the Computer has two features. One feature is Gmail facility and the other feature is a Personal Assistant Software which works based on Artificial Intelligence. Thus the project bridges the gap between paralyzed people and their ability to control their Personal Computer. This device can also be called as a Internet On Hands device.The Band can answer asked.
The Internet on Hands device bridges the gap between the internet and connectivity through a new protocol of Gestures and Voice recognition. This might seem a little similar to google voice recognition

Idea:

The main objective of this project is to help out the people who are suffering from hand paralytic diseases like Rheumatic Arthritics, Median Nerve Palsy and Leprosy.


What is The disease being targeted:
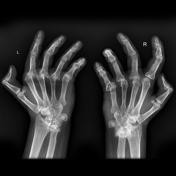
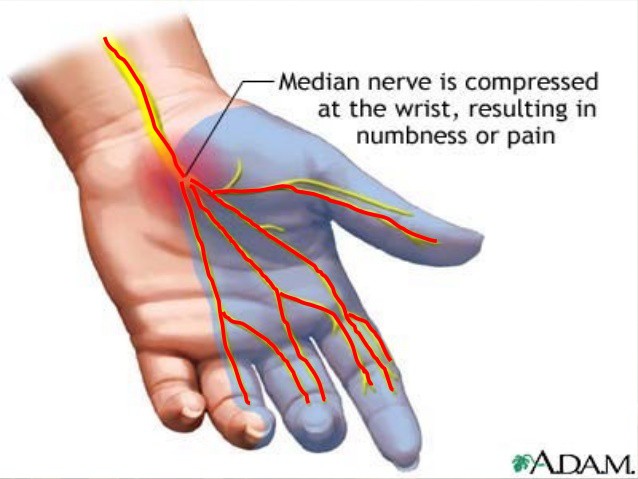
People with these kind of disease have a normal operation of the forearm and arm, but their fingers don't support the functions. They have joint inflammations. Hence these kind of people will not be able to touch the electronic gadgets and access the functionality. But these people tend to have all other operations like twisting their hand, moving the elbows working normally. Some mean solutions can be brought out of these results thereby bridging the gap between their disability and access to the devices.

Solution:

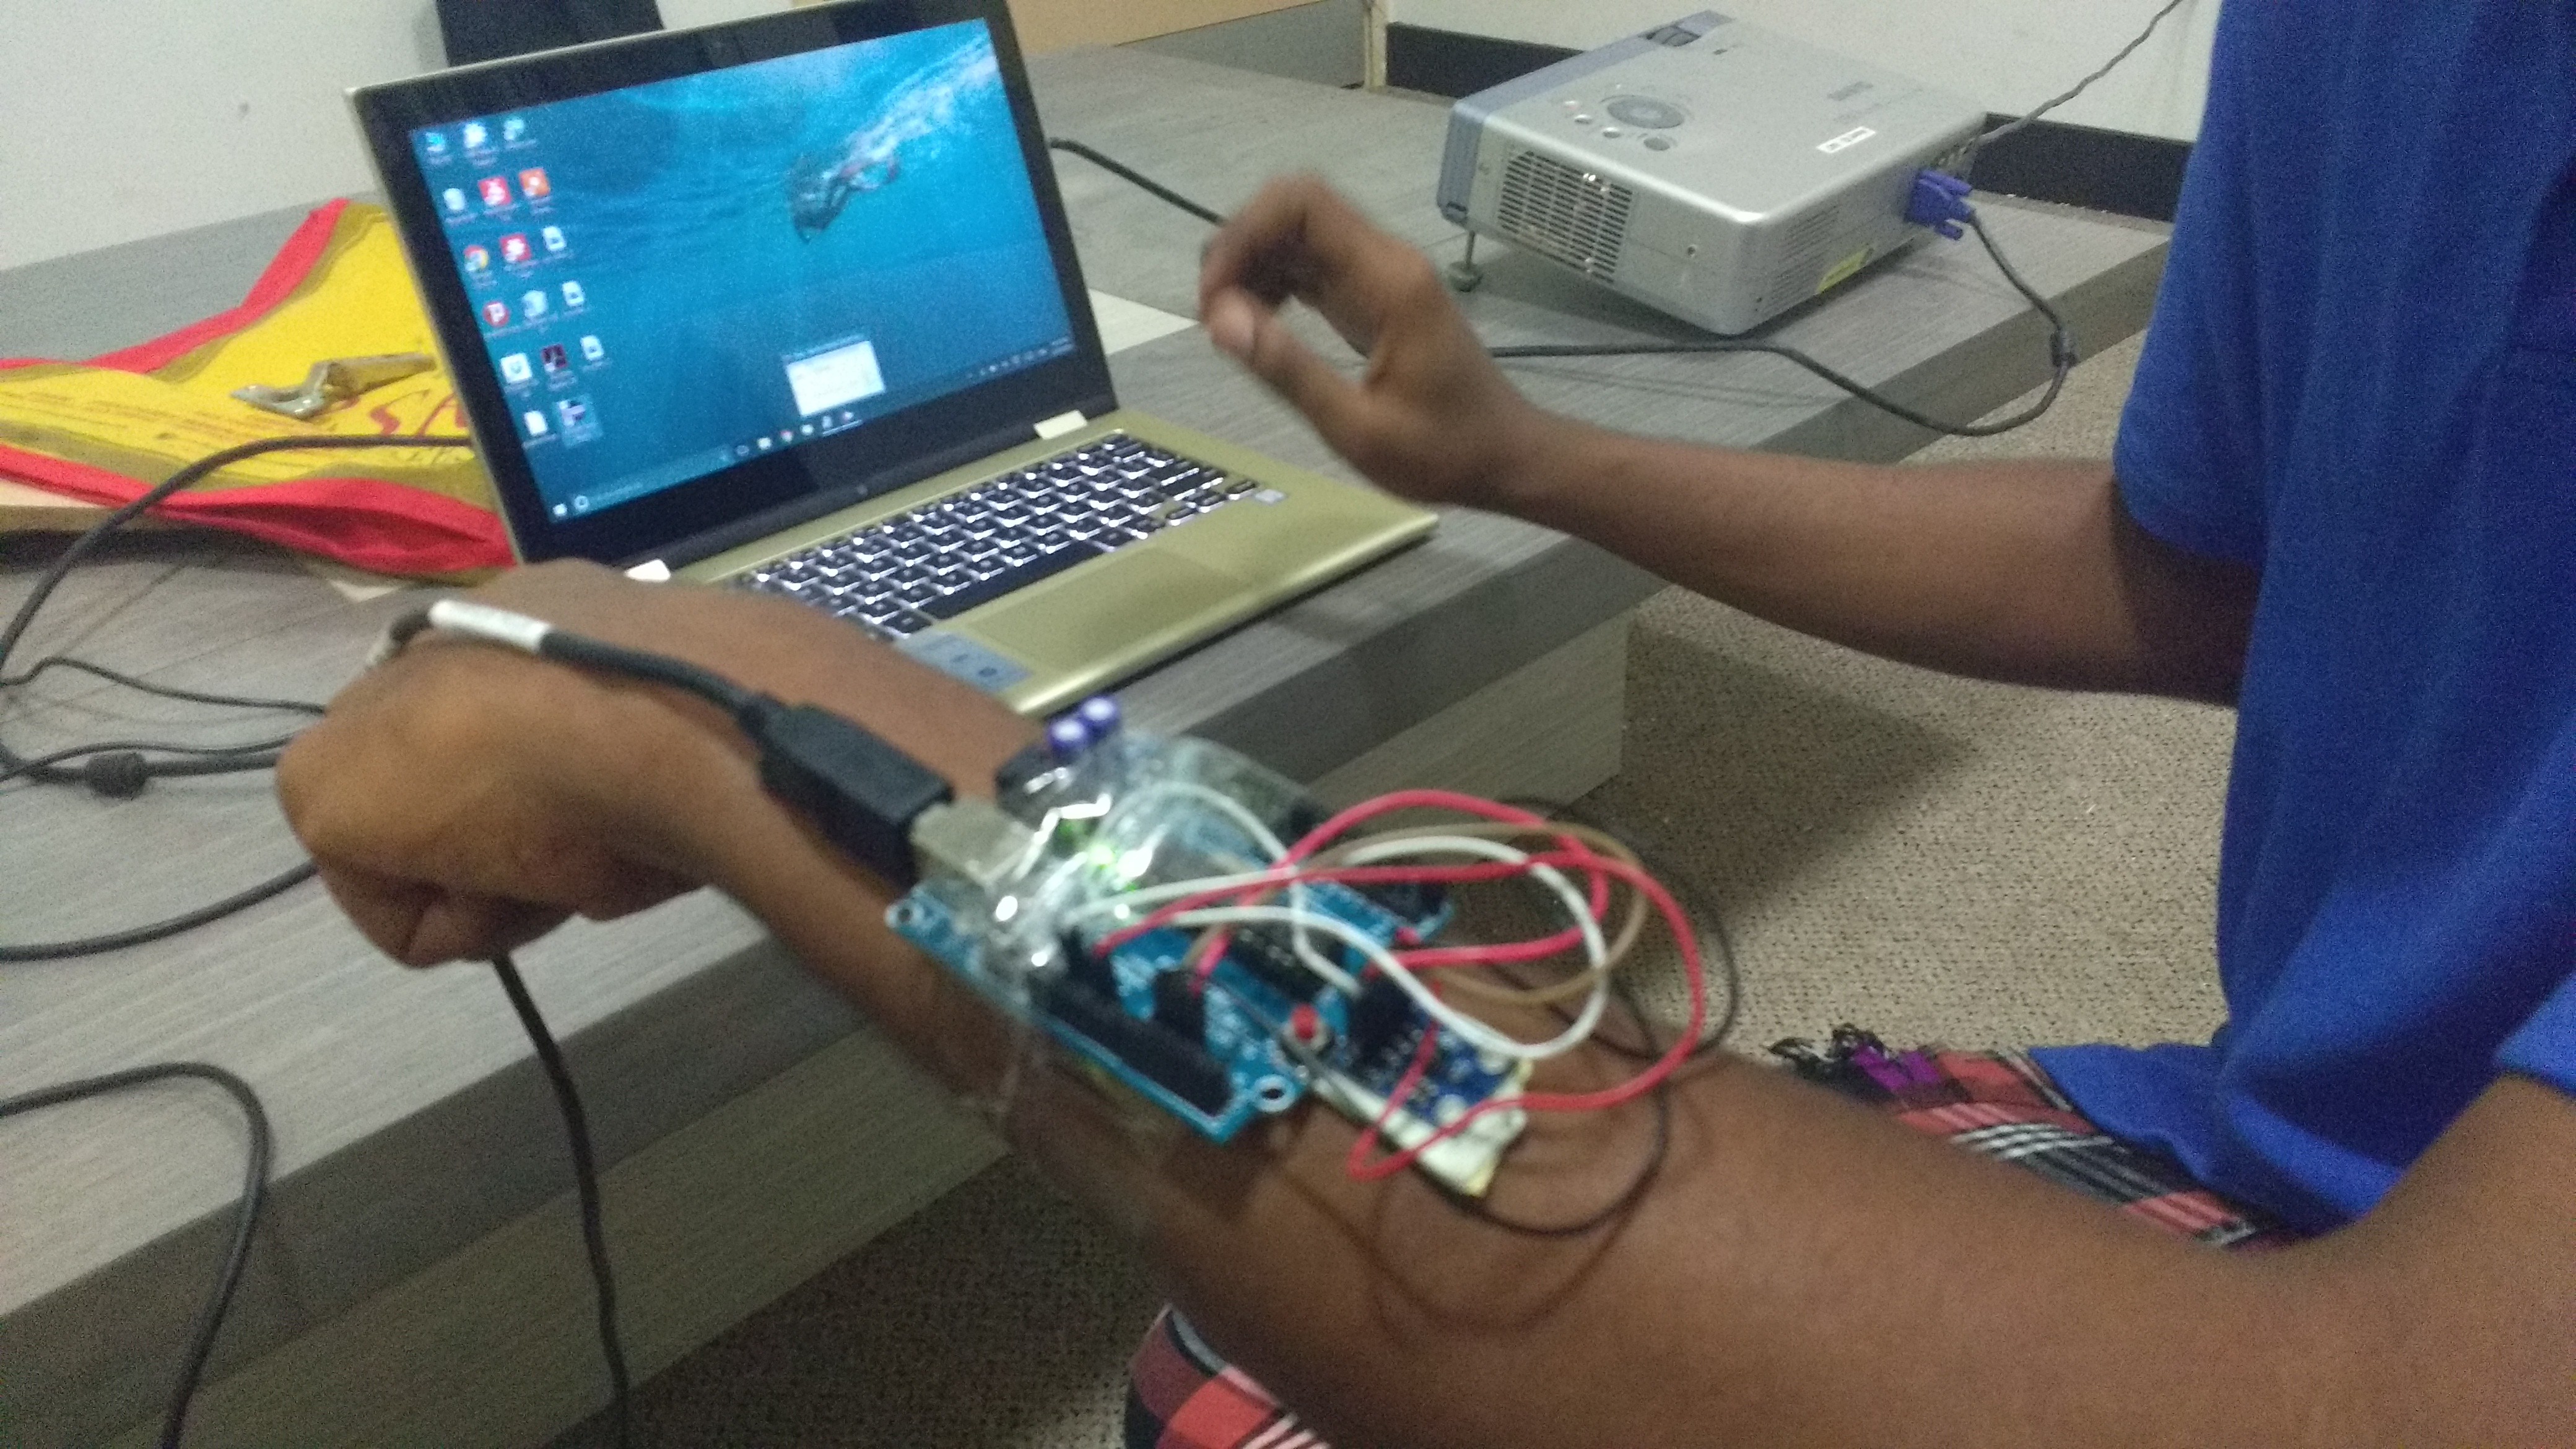
A Gesture Controller is developed in this project enabling the people with disability to control their Personnel Computer.The Gesture Controller works based on the principle of Hand Orientation on the three Cartesian Axis’s. Depending on the Orientation, the Computer has two features.

Features:

One feature is Gmail facility and the other feature is a Personal Assistant Software which works based on Artificial Intelligence.

Conclusion:

Thus the project bridges the gap between paralyzed people and their ability to control their Personal Computer. This device can also be called as a Internet On Hands device.The Internet on Hands device bridges the gap between the internet and connectivity through a new protocol by combination of Gestures and Voice recognition.


Descriptions:

The band works based on the two platforms.

1) Arduino

2) Java

The hardware Components used:

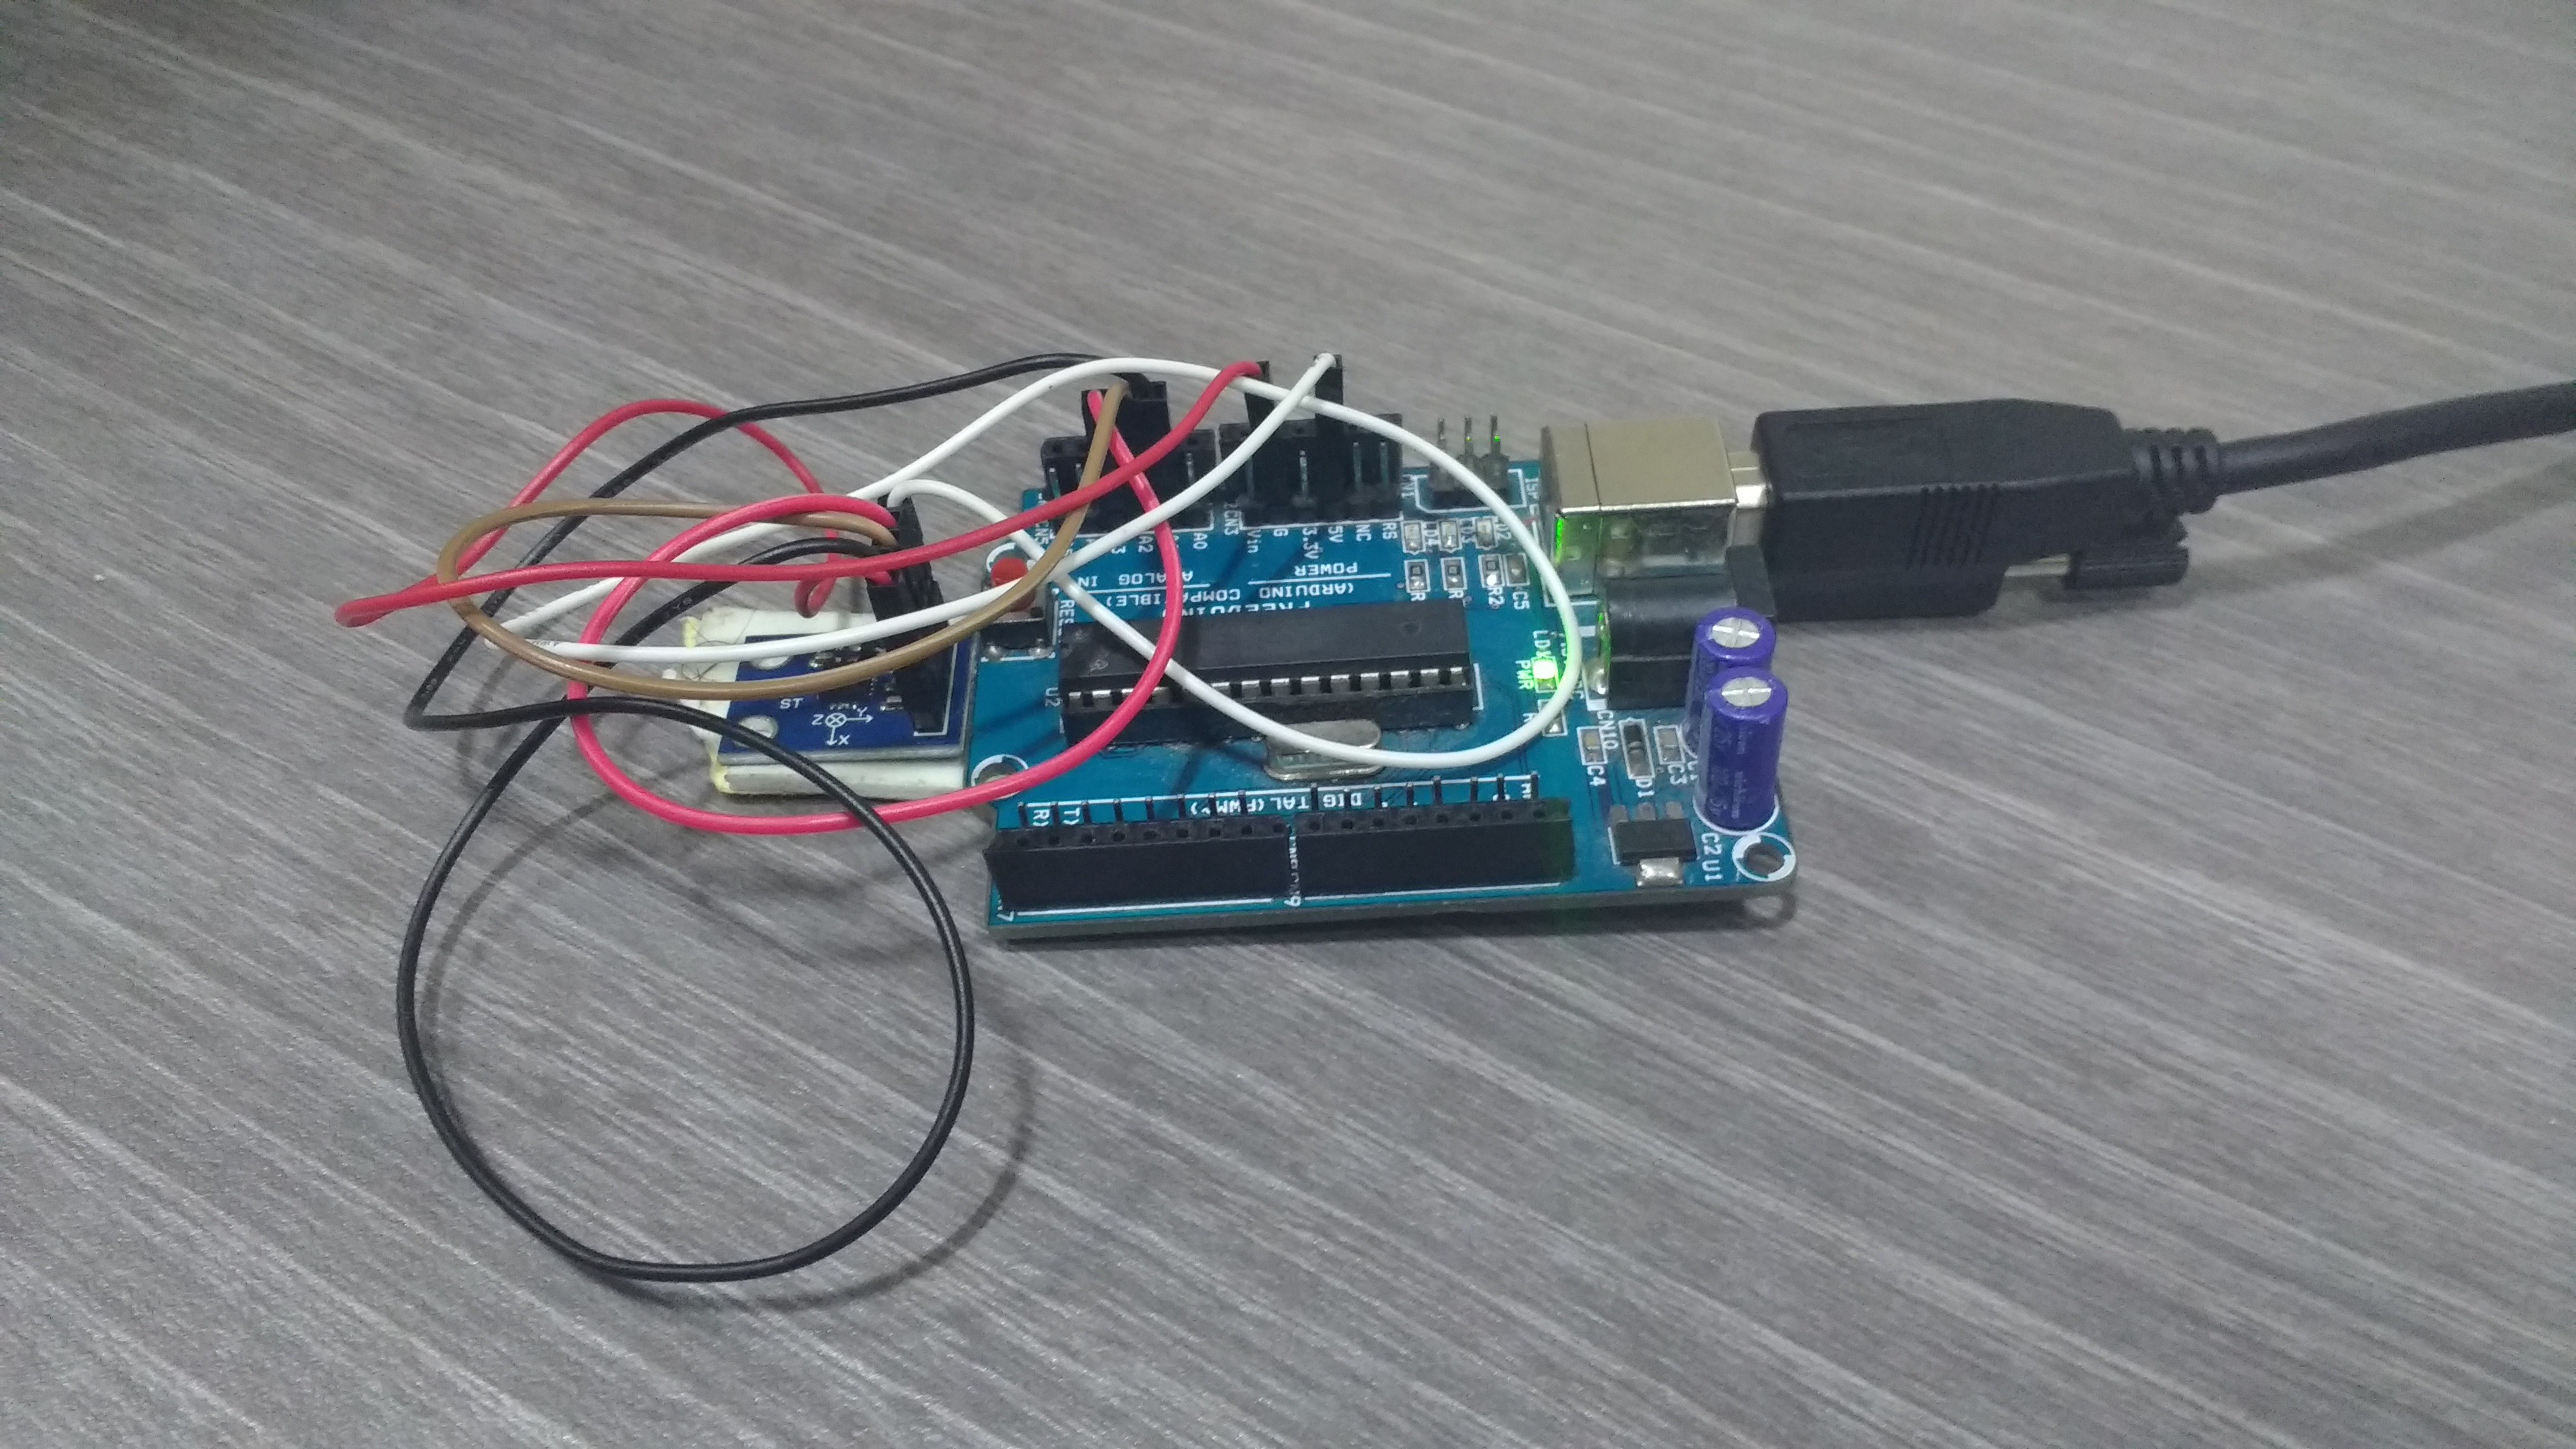
1) ArduinoUno

2) Accelerometer ADxl335

1) Acceleromter Purpose:

To receive the orientation of the hand with regards to the three cartesian axises

Hence the raw values from this device can be used to process the information later

2) Arduino Uno Purpose:

1) This device can be used to get the voltage values from mthe accelerometer and convert them into cartesian values, in the form of X,Y,Z

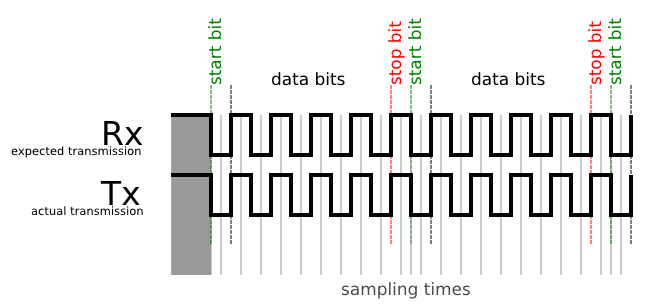
2) The arduino Uno communicates to the personal computer serially. this is done by making UART communication

Java Purpose:

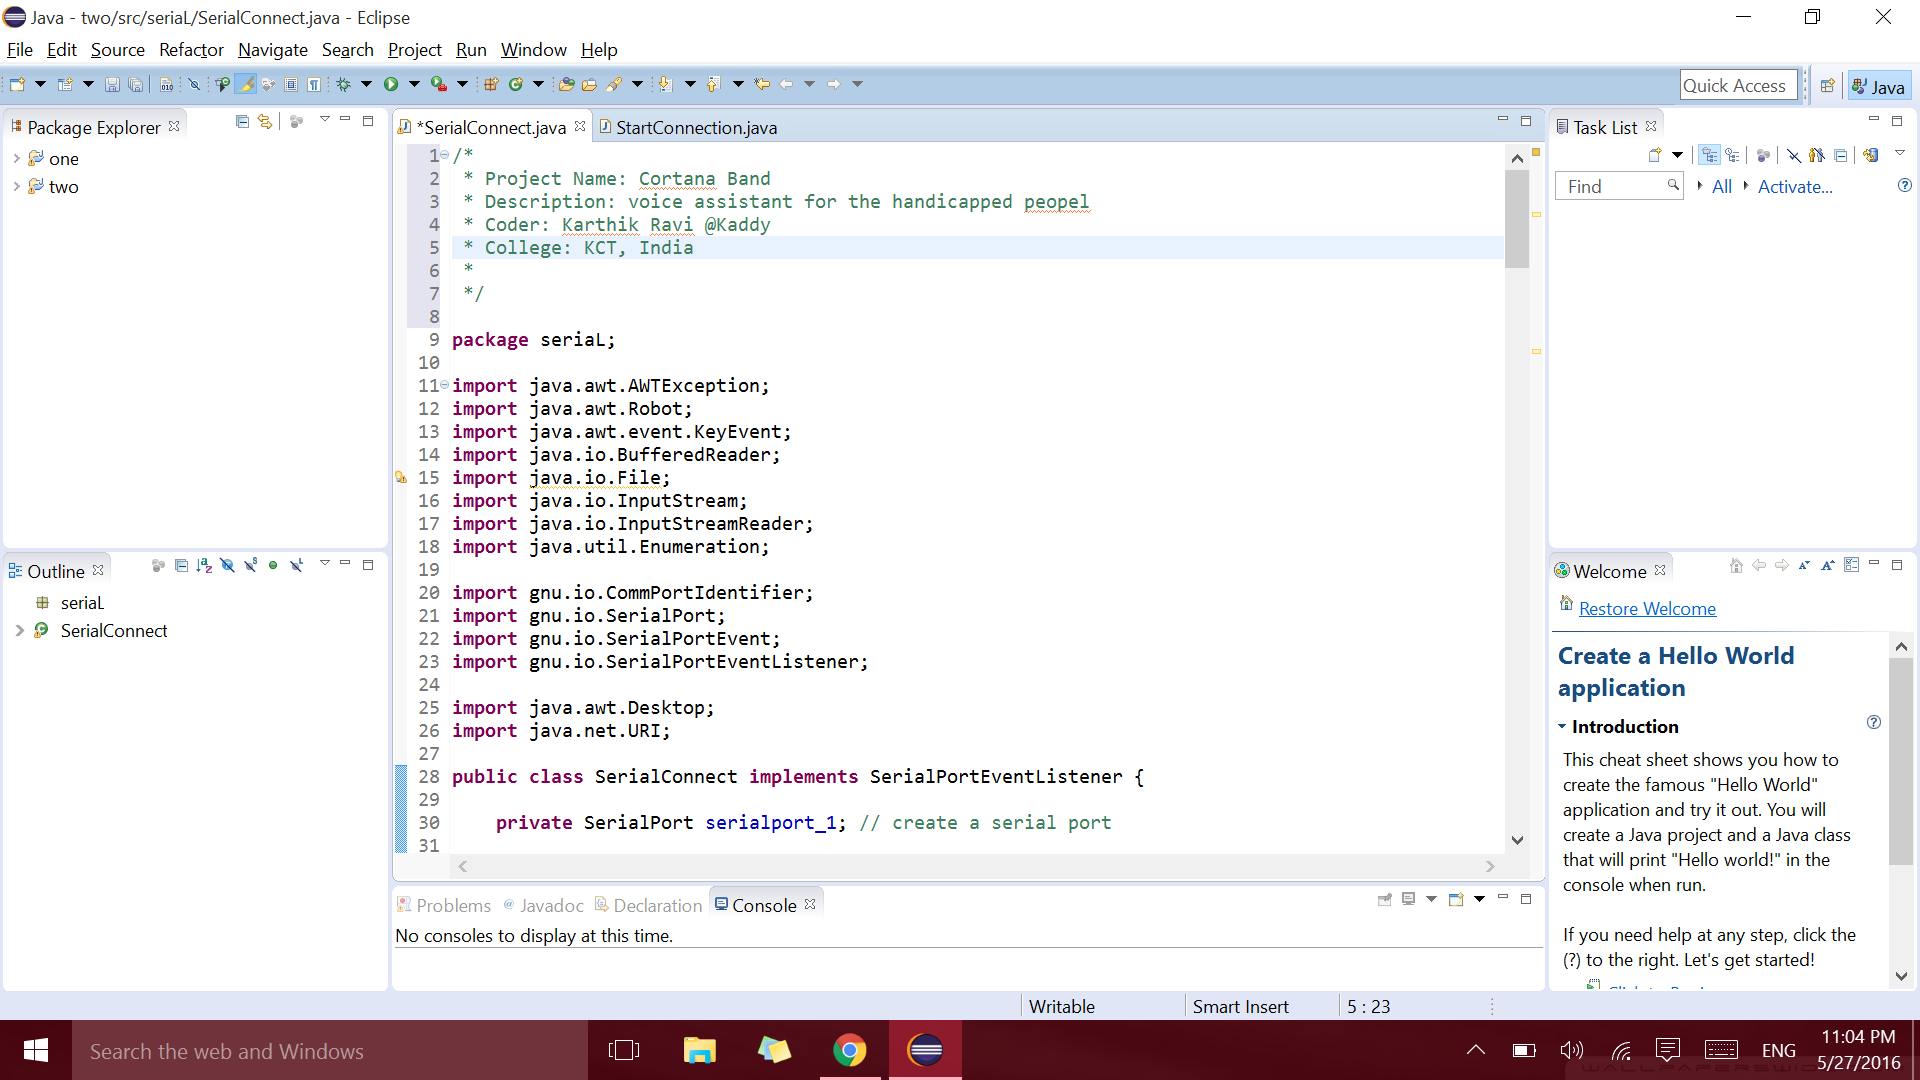
The java code acts as the prime source. The java code makes use of the package called RXTX. This package will do the UART communication with the arduino device serially. The Java will perform key strokes corresponding to the informations received.


Action Performed:

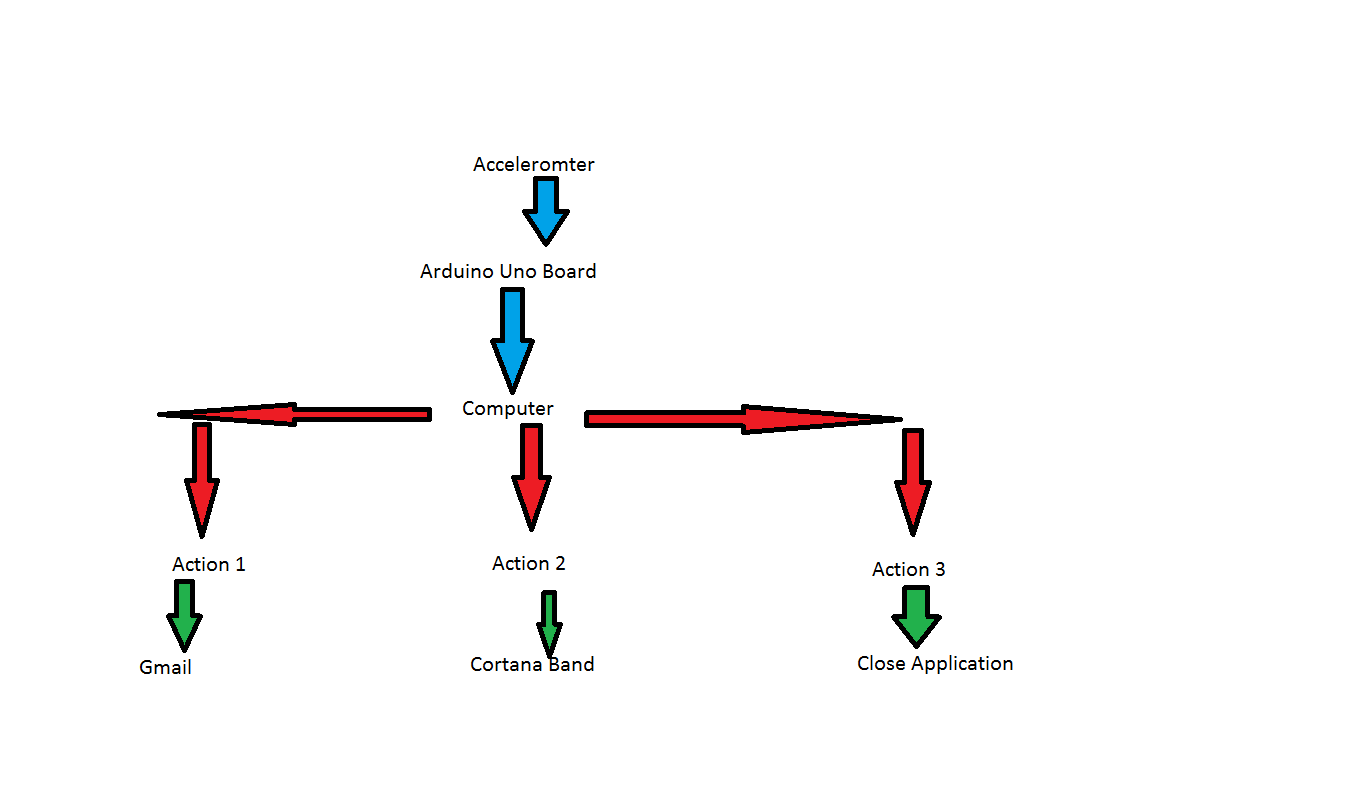
1) When the hand is oriented towards the LEFT Direction, then the XYZ co ordinate values change correspondingly and required action is performed. Which is opening up a G-Mail Inbox.Provided the Gmail has to be already signed up by the user. By using this option the inbox can be veiwed. In further developments, feaatures can be nested accordingly to control the action performed. For example, after performing Gmail, next Down Shift can be nested to scroll over the mail.

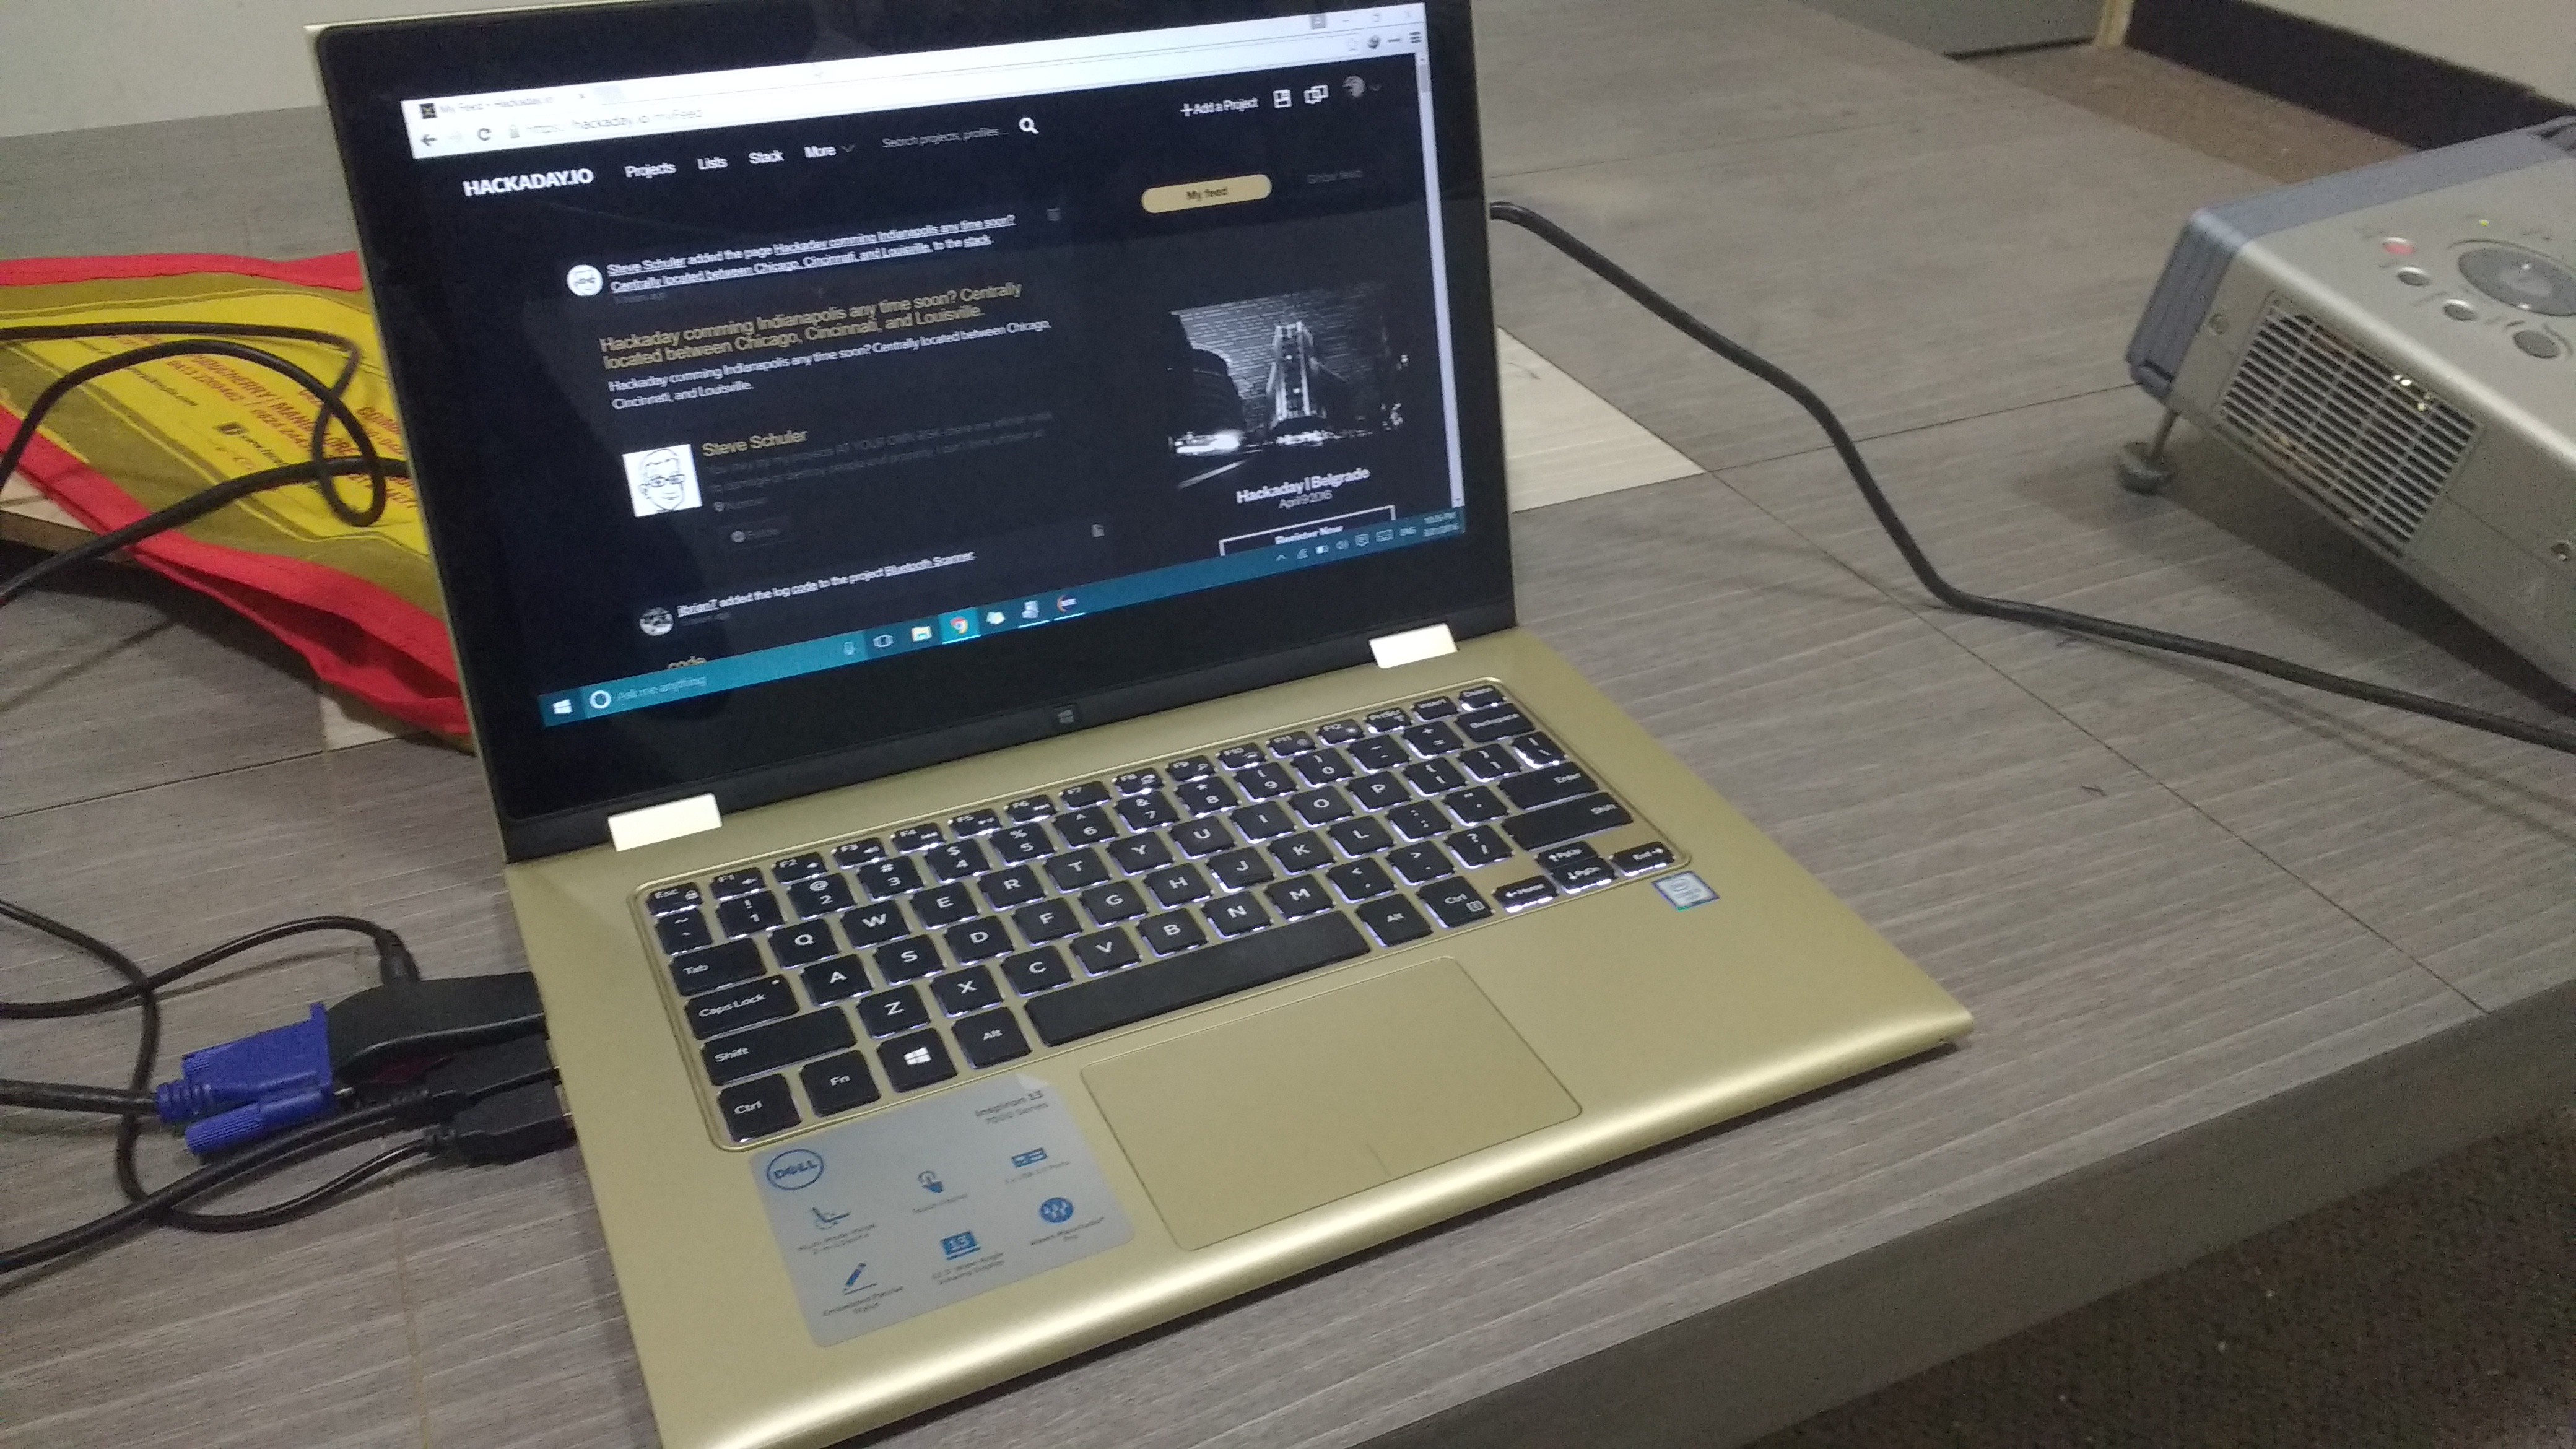
2) When the hand is oriented towards the RIGHT Direction, then the XYZ co ordinate values change correspondingly and required action is performed.This request will trigger the CORTANA ASSISTANT which is inbuilt in Windows 10 versions now a days. By using this option, a person's voice can be voice recognised and be processed meaningfully to some extent based on CORTANA features.


Future Developments:

Currently, the project in the form of a Prototype. In the forth coming stages, the prototype can me modified to a product. The product will contain a PCB that contains hardware required for the operations. The link between the BAND and the Computer can be made wireless, thus providing ease in distance and occupying less space.


schematic.png

Portable Network Graphics (PNG) - 68.95 kB - 05/27/2016 at 17:01

Preview

screenshot1.png

Portable Network Graphics (PNG) - 368.37 kB - 05/27/2016 at 17:01

Preview

Cortana UI.png

Portable Network Graphics (PNG) - 368.15 kB - 05/27/2016 at 17:01

Preview

circuit diagram.png

Portable Network Graphics (PNG) - 123.32 kB - 05/27/2016 at 17:01

Preview

Block Diagram.png

Portable Network Graphics (PNG) - 17.94 kB - 05/27/2016 at 17:01

Preview

View all 7 files

  • 1 × Arduino Uno This device can be used to get the voltage values from mthe accelerometer and convert them into cartesian values, in the form of X,Y,Z
  • 1 × Acceleromter To receive the orientation of the hand with regards to the three cartesian axises Hence the raw values from this device can be used to process the information later
  • 1 × A to B Cable To connect the arduino board serially to the computer.

  • Prototype Development - 2

    KARTHIK RAVI05/27/2016 at 16:55 0 comments

    Bridging the directions with the application using java codes and checking responses.


    The baud rate of arduino uno is checked and used in the java code. the uart communication is established in the COM port to receive the data serially.

  • Prototype Development - 1

    KARTHIK RAVI05/27/2016 at 16:49 0 comments

    In this stage the reading are linked together and they are checked for direction responses

    DirectionResponse
    LeftGmail
    TopCortana
    RightClose current Application

  • ::Building The Java Codes::

    KARTHIK RAVI05/27/2016 at 16:46 0 comments

    Java coding using the package RxTx has to be done. These packages are available open source and they are downloaded. The function of the library are checked through online and serial communication examples and they are built.


    Basic serial communication code is run and check for any errors prones.

    (The complete java code has not been linked)

  • :: Interfacing Accelerometer:: ​

    KARTHIK RAVI05/27/2016 at 16:45 0 comments

    To connect the accelerometer and receive the reading in the computer and calibrate correspondingly.

    Arduino Code:

    // In the below code 1 2 3 4 mention the directions respectively.

    /* analog 0: accelerometer self test

    analog 1: z-axis

    analog 2: y-axis

    analog 3: x-axis

    analog 4: ground

    analog 5: vcc

    */

    const int groundpin = 18; // analog input pin 4 -- ground

    const int powerpin = 19; // analog input pin 5 -- voltage

    const int xpin = A3; // x-axis of the accelerometer

    const int ypin = A2; // y-axis

    const int zpin = A1; // z-axis (only on 3-axis models)

    void setup()

    {

    // initialize the serial communications:

    Serial.begin(9600);

    // Provide ground and power by using the analog inputs as normal

    // digital pins. This makes it possible to directly connect the

    // breakout board to the Arduino. If you use the normal 5V and

    // GND pins on the Arduino, you can remove these lines.

    pinMode(groundpin, OUTPUT);

    pinMode(powerpin, OUTPUT);

    digitalWrite(groundpin, LOW);

    digitalWrite(powerpin, HIGH);

    }

    void loop()

    {

    int x = analogRead(xpin)-350;

    int y = analogRead(ypin)-350;

    // Serial.print(x);

    // Serial.print("\t");

    // Serial.print(y);

    // Serial.print("\t");

    // Serial.print(analogRead(zpin)-350);

    // Serial.println();

    if(x>40)

    {

    // Serial.print("Left");

    Serial.print("1");

    Serial.println();

    }

    else if(x<-40)

    {

    //Serial.print("Right");

    Serial.print("2");

    Serial.println();

    }

    else if(y>50)

    {

    //Serial.print("Top");

    Serial.print("3");

    Serial.println();

    }

    else if(y<-50)

    {

    //Serial.print("Bottom");

    Serial.print("4");

    Serial.println();

    }

    delay(500);

    }

  • Block Design

    KARTHIK RAVI05/27/2016 at 16:23 0 comments

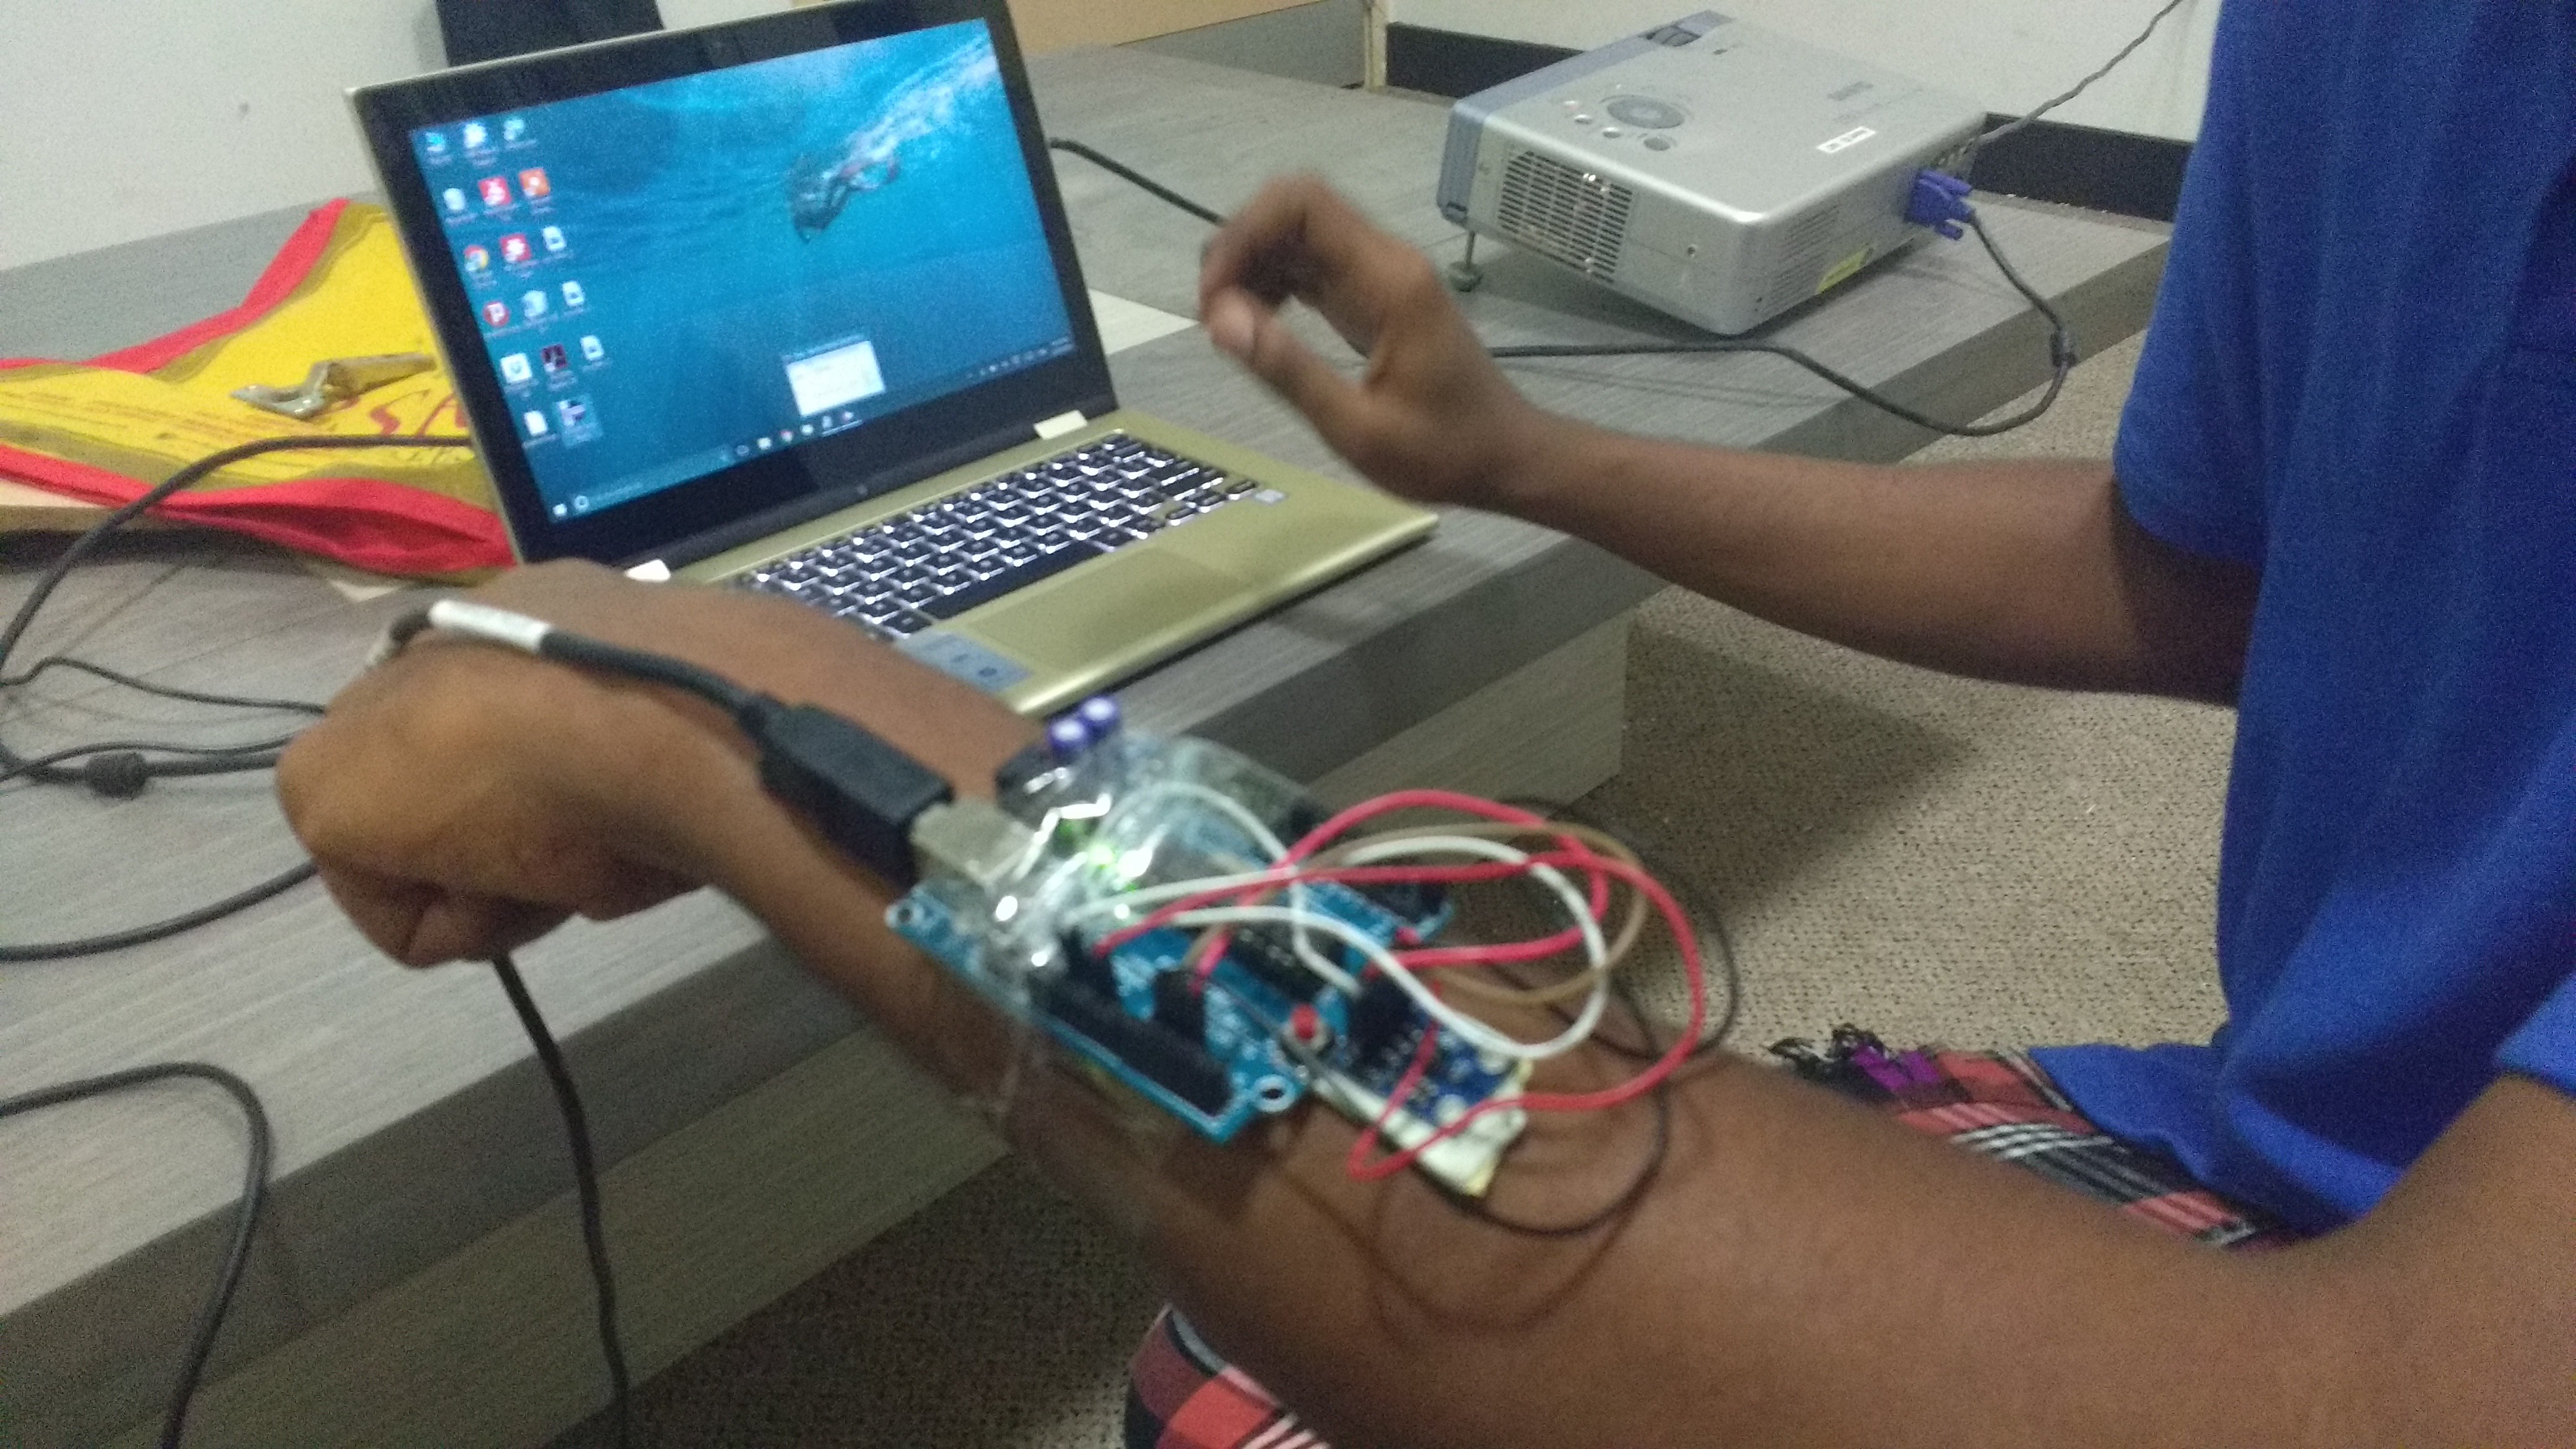
    The prototype model has been designed.

View all 5 project logs

  • 1
    Step 1

    Mountings:

    This is an important factor that needs to be considered while building this prototype. If the gesture controller is not mounted properly, then desired readings are not obtained from the device leading to improper results.

  • 2
    Step 2

    Baud Rate:

    Note the baud rate of different arduino changes according to the processor or controller present within the development board. Hence it is necessary to make a detailed study regarding the baud rate of the board being used. These values needs to be used in the Java program.


View all instructions

Enjoy this project?

Share

Discussions

Mahil Arasu wrote 03/22/2016 at 15:32 point

wonderful project , i would like to know when you will launch the real product , i want a bulk order.

  Are you sure? yes | no

Similar Projects

Does this project spark your interest?

Become a member to follow this project and never miss any updates