fbrktr
-
Motors !
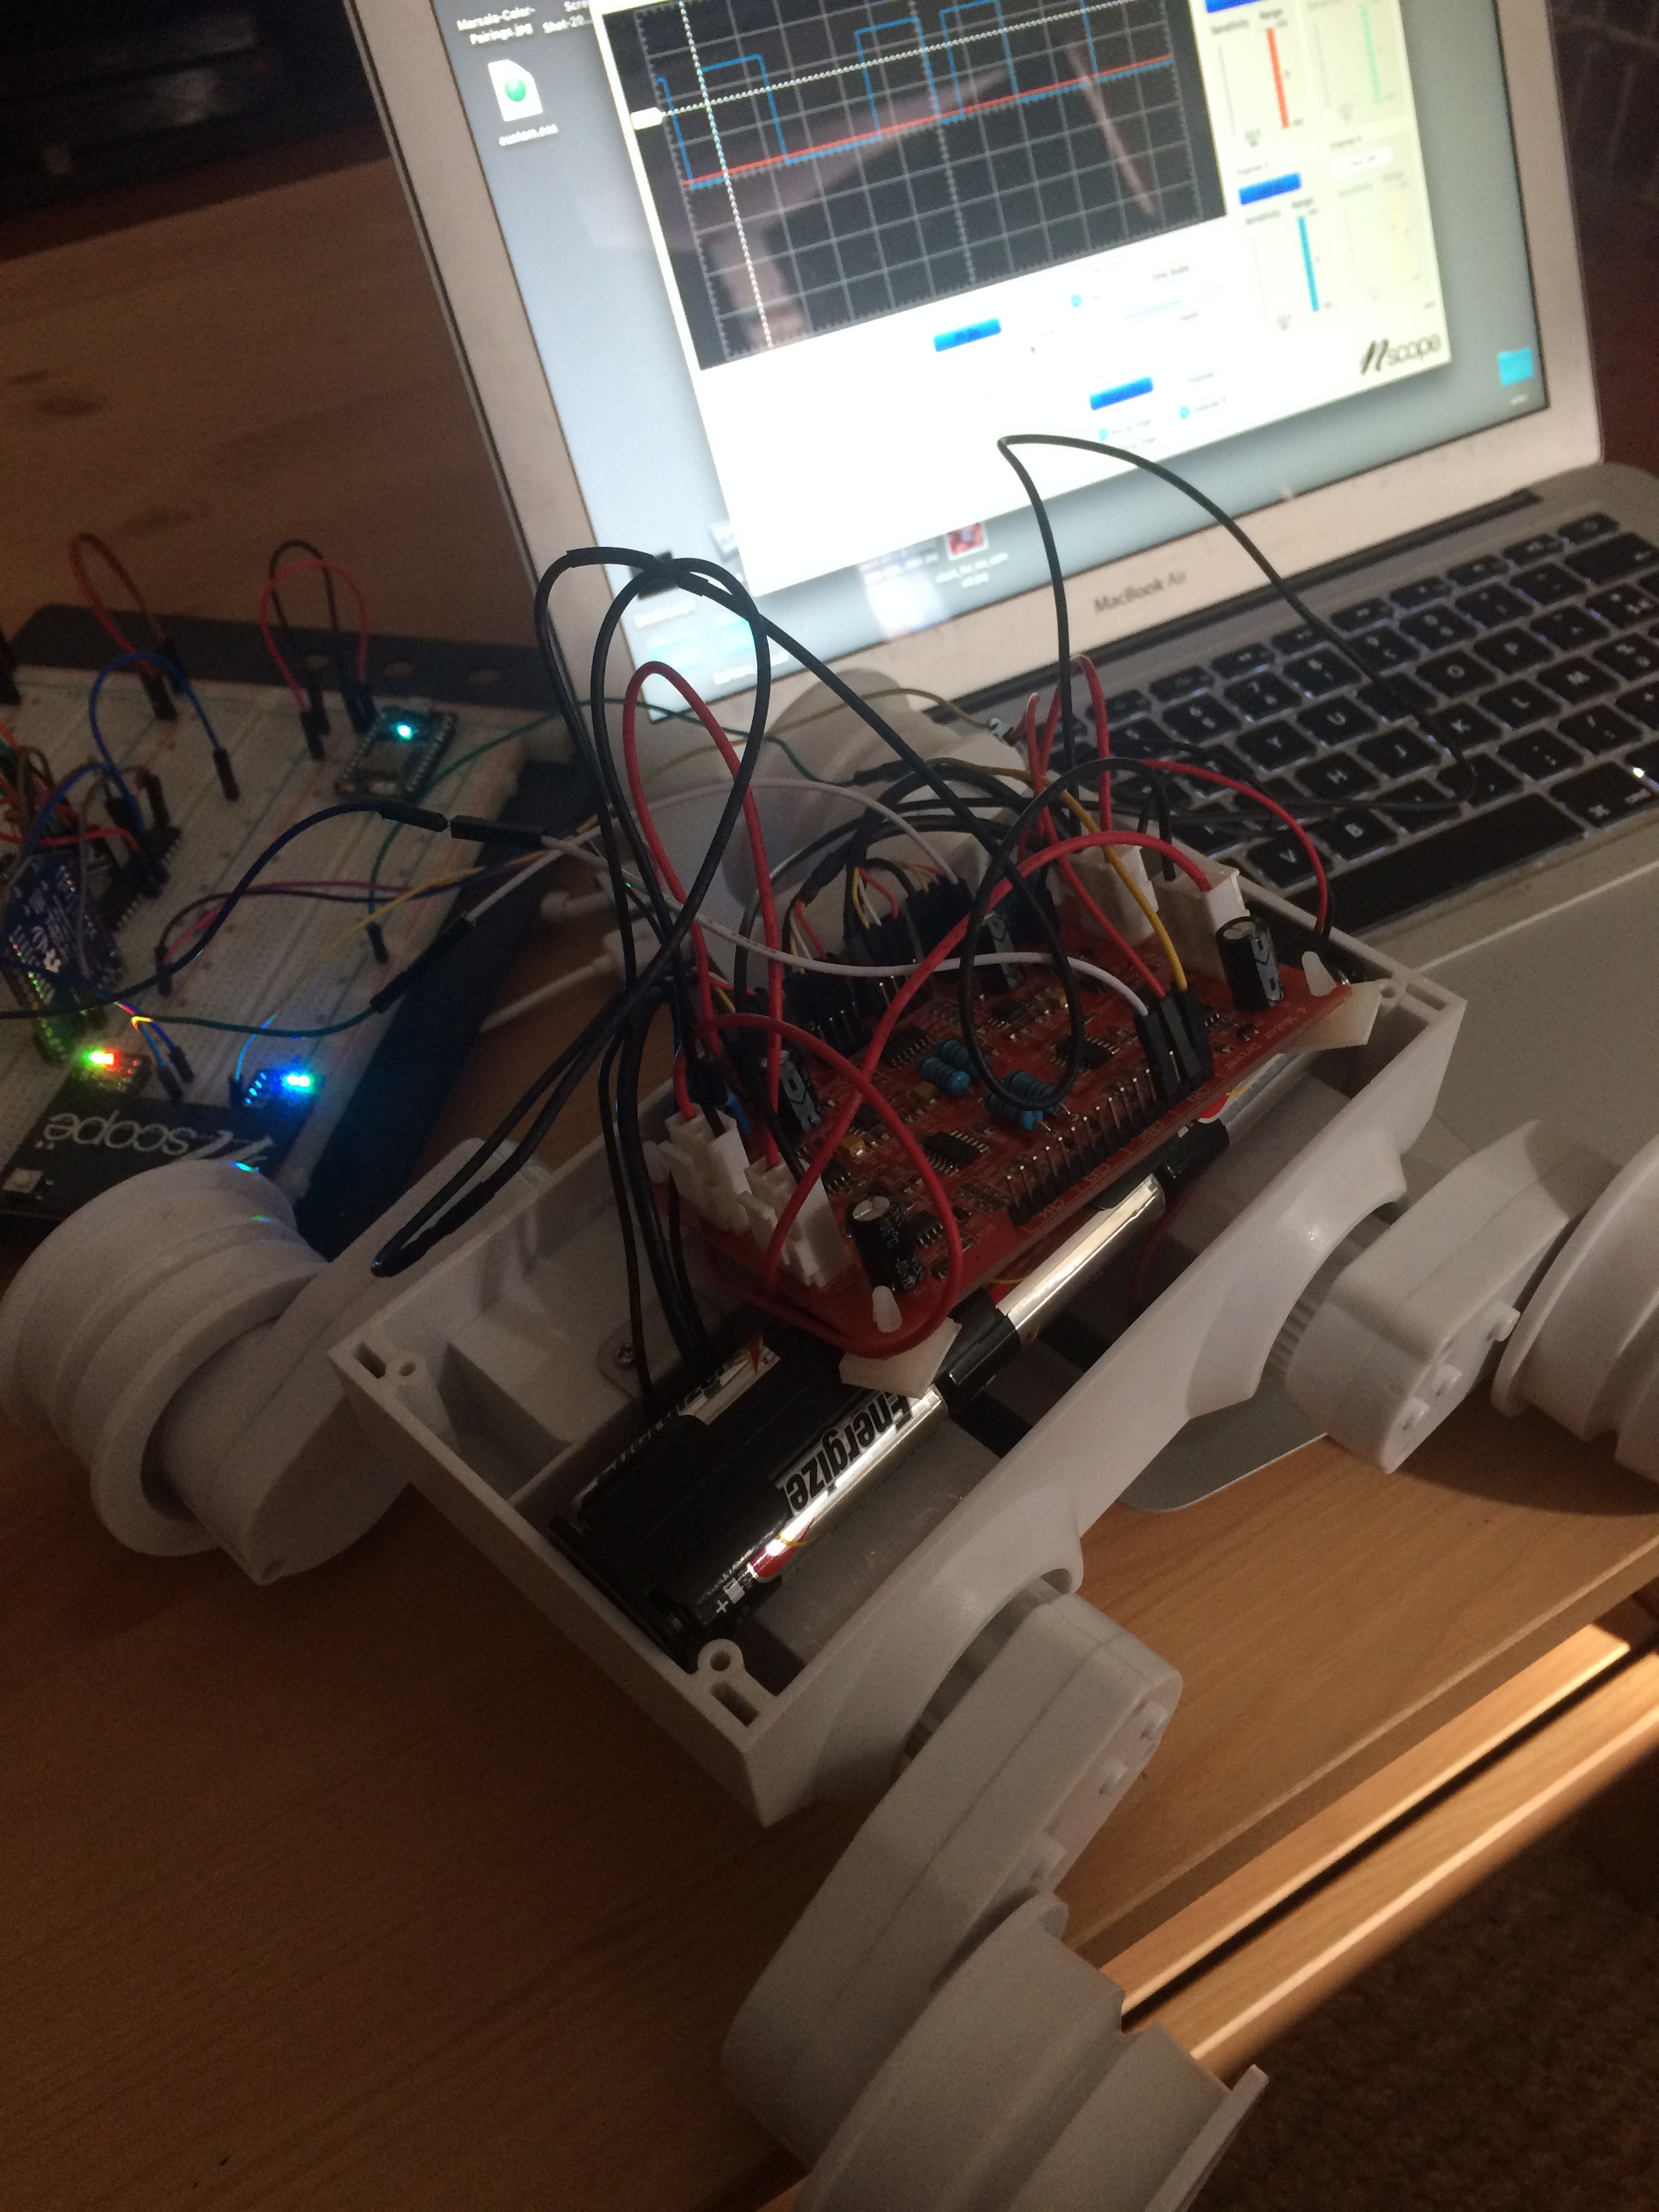
04/17/2016 at 08:43 • 0 commentsToday was a great day, just a simple motor test but I'm very happy, all 4 channels are working fine and it's nice to have a laptop making something move.
Used nScope to generate pwm and to check the encoders and the current sense output.
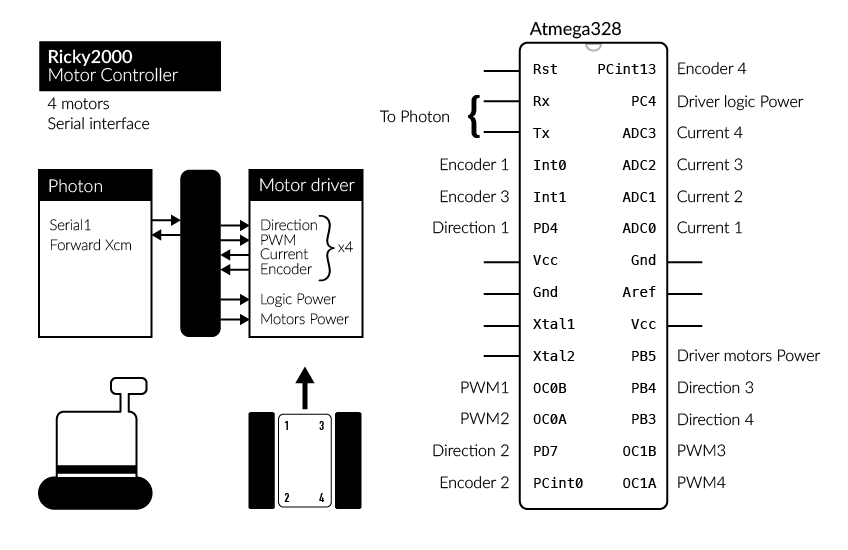
Each channel will need :![]()
- 1 interrupt pin (mixed encoders)
- 1 analog input pin (motor current)
- 1 pwm out pin (motor speed)
- 1 output pin (direction)
That's 16 pins for the motor driver only, and I have other sensors (distance, compass...) and motors (pan/tilt,...) to connect. So the motor driver need it's own µcontroller with a serial interface connected to the Photon, using only two pins.
I've found Marco Forgione, position PID controller project will be a great starting point. He has the 2 channels version of the chassis, so I'll have to synchronize the two motors for each side. The nice feature here is to send a command like "Forward 10cm" over serial and have the dedicated µC handle the rest.![]()
Using two more pins for powering the driver board logic side and the driver power side trough relays, an Atmega328 will have no pins unused !
That will be a mess of cables too, I'll try to put a first layer on the chassis with the batteries, driver board and the motor controller.
-
Processing UI bootstrap
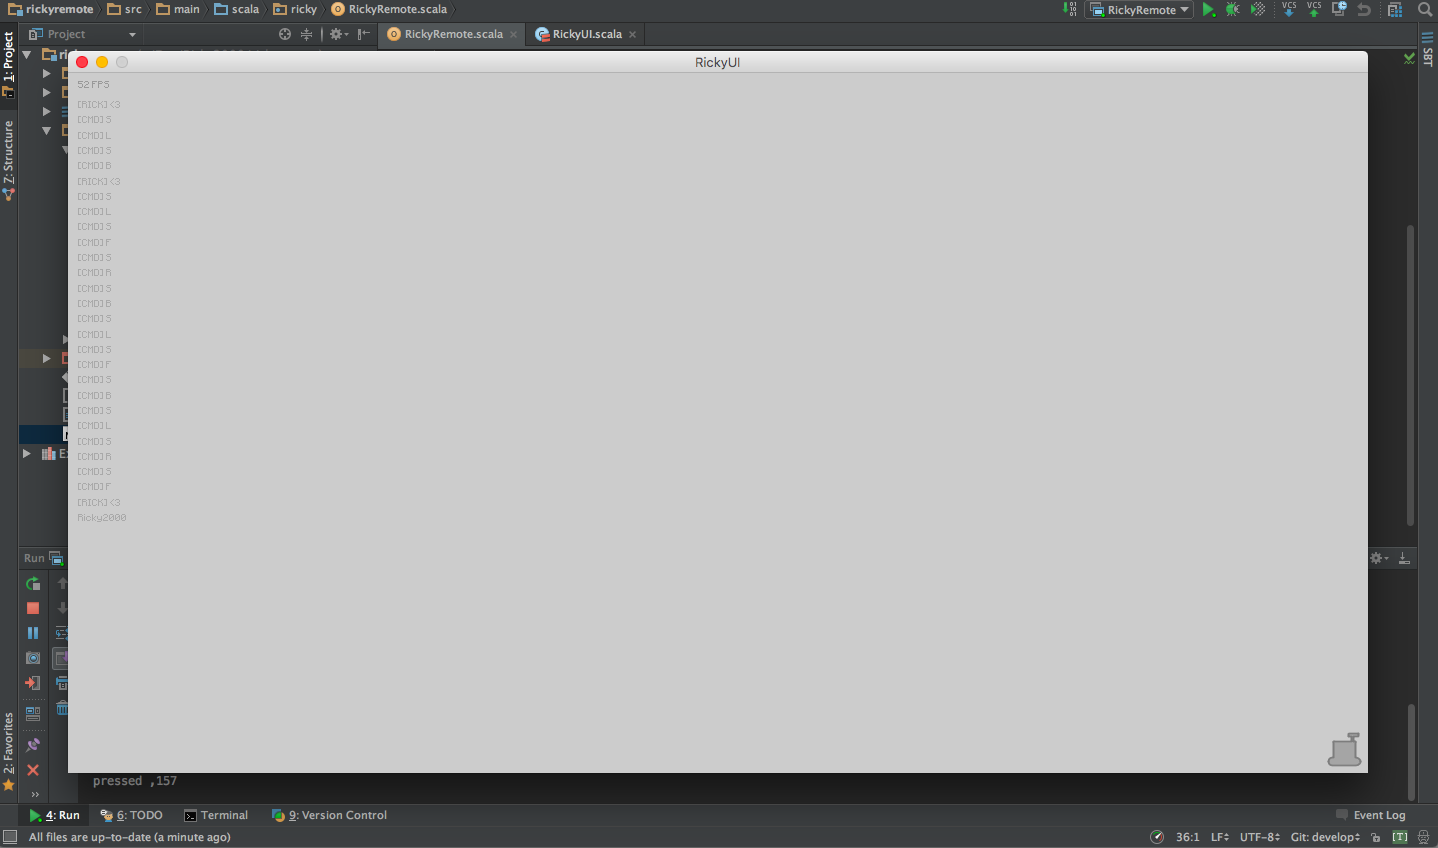
04/04/2016 at 01:22 • 0 comments![]()
Ricky remote now has an UI, it just displays the heartbeat and a basic log yet.
Presses and releases of up / left / down / right arrows are sent to the photon through the UDP channel, they will be interpreted later as move commands.
It would be nice to display the latency too, code is messy but more insights on the hardware part should help cleaning.
Integrating processing is straightforward, just add
libraryDependencies += "org.processing" % "core" % "3.0.1"to your build.sbt.
Then you just have to create a class like
class RickyUI extends PApplet{}to code the UI, and use
PApplet.main(Array("ricky.ui.RickyUI"))to start it.
Integration is very basic yet, i'll may try to make the PApplet an Akka actor later.
Now it's time to move forward the hardware to use the commands sent by the UI.
-
Basic communications
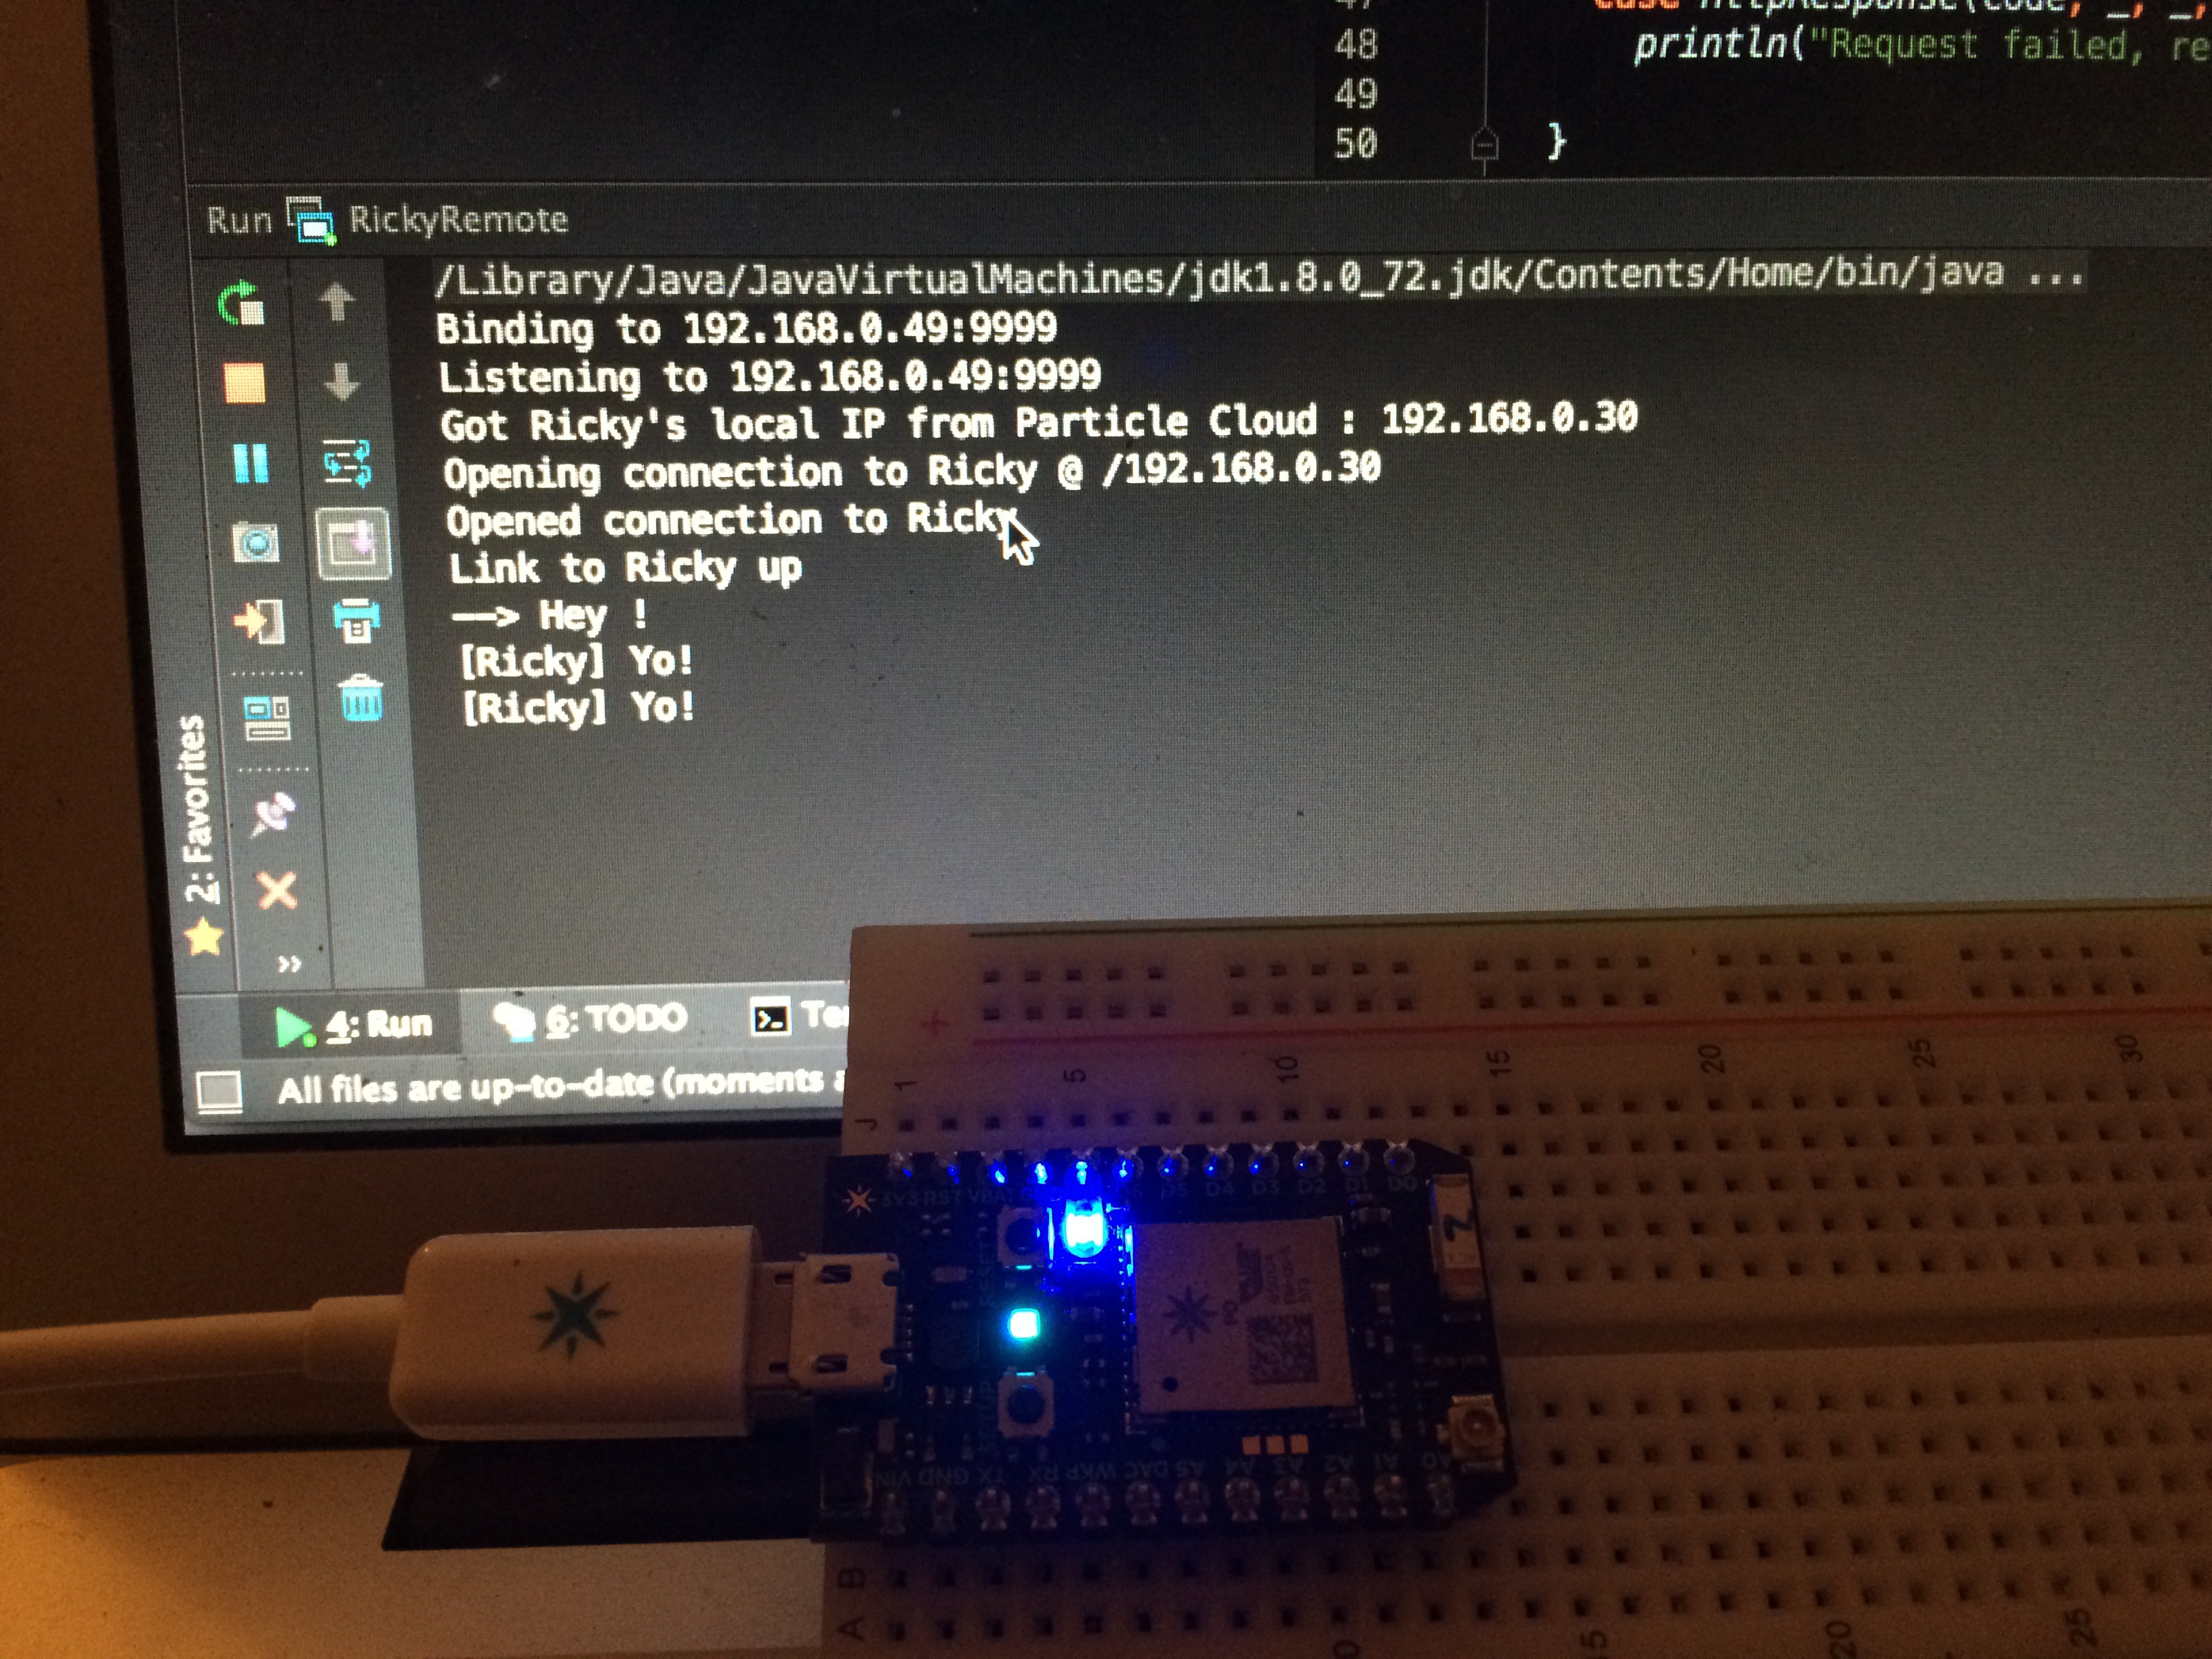
04/02/2016 at 18:33 • 0 commentsPhoton <-> UDP <-> Akka
![]()
To make something easier to to start with, this robot will be remote controlled.
Instead of using particle cloud pub/sub feature I'll use a direct Udp link between the photon and the remote controller. It should be faster, and won't suffer the one publish/second limitation.
Particle firmware is hosted here
Remote controller code is here
The connection process starts with the photon publishing it's local IP to the particle cloud on setup.
The controller checks that variable on startup and sends an hello message to the photon.
The photon keeps the hello message sender IP for later use and starts sending an heartbeat to the controller.
For the controller to work you'll have to define two environment variables :
PARTICLE_TOKEN
PARTICLE_DEVICE_ID
Now that Ricky has a remote controller, it's time to go wireless and assemble somehow the particle to the chassis, an UI will also be useful.