Close
0%
0%

ledkt_v1

A custom and expandable computer interior lighting system.

Similar projects worth following
My SO wanted some LED lighting for her new Corsair 760T computer case. The ledkt_v1 is where I overdo this request, because no existing products are detailed or inexpensive enough for my standards. The main goal for this project is to make something that looks cool, is fully customizable, and doesn't cost as much as already complete lighting systems.

The widely available, individually addressable WS2812 strips, and analog 5050 RGB LED strips are the main focus of this project. The device is able to individually control multiple WS2812 strip segments, and a single 12 volt RGB LED strip. It can be commanded by an IR remote control and by the host computer over USB serial with a CP2102, while an ATmega328P runs the whole operation. While this project is being tested on a layout meant for a Corsair 760T, it is designed to be completely customizable and adaptable regardless of computer case. Heck, you don't even have to put this thing inside a computer. As long as you have a way to power and control, you're good.

Features:

  • Individual control of multiple WS2812 strip segments
  • Control of a single, large 12 volt 5050 RGB LED strip
  • Fully customizable LED strip layout
  • Control over IR and USB serial
  • Built-in lighting and animation presets, host computer program is optional (after initial setup)
  • Powered directly by the computer's PSU with a molex compatible connector

  • 3 × IRFZ44N Mosfets
  • 3 × 1x4 0.1" male header
  • 12 × 1x3 0.1" male header
  • 1 × Female micro USB port
  • 1 × TQFP32 ATmega328P

View all 21 components

  • Demo

    HybridAir04/10/2016 at 19:33 0 comments

  • Next steps

    HybridAir04/09/2016 at 18:55 0 comments

    As of now, the hardware design phase for this project is complete. I will continue working on adapting this project to my specific needs, and continue documenting my progress with that to use as an example. The remaining programming will be continued starting late next month, for reasons explained in a previous log.

    I have posted the current hardware design and schematics to this project's github repository. You can also find this project's PCB shared on OSH Park too. Some basic, working, but incomplete example code will be uploaded once I clean it up. I would also like to thank OSH Park for featuring this project on their Twitter!

  • Soldering complete

    HybridAir04/09/2016 at 04:27 0 comments

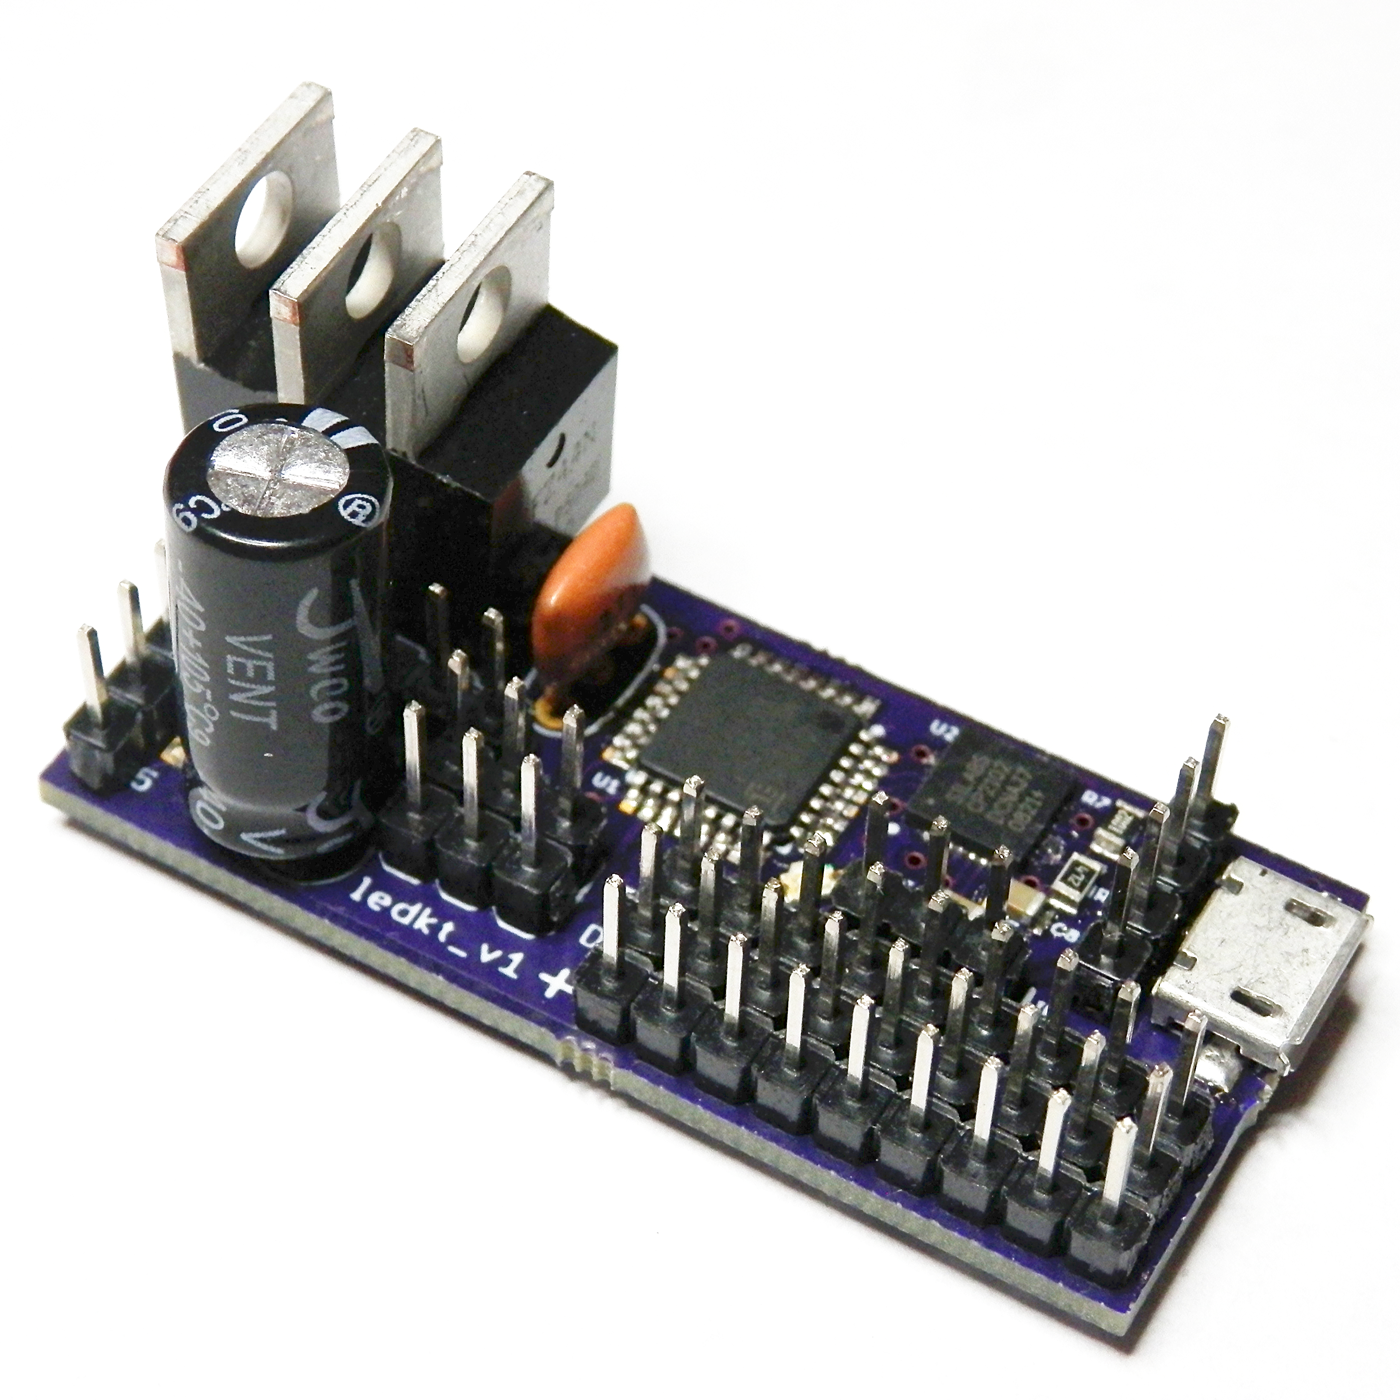
    I have finished soldering the device, and everything appears to work! This was my first time ever hand-soldering a QFN with a hot-air tool, but everything went smoothly. See below and in this project's gallery for some decent pictures of the final result, and for a video of a very basic test. There are many things that could be improved, like capacitor, mosfet, and header placement. However, this is still perfectly fine for my current needs.

  • Ready to solder

    HybridAir04/07/2016 at 23:11 0 comments

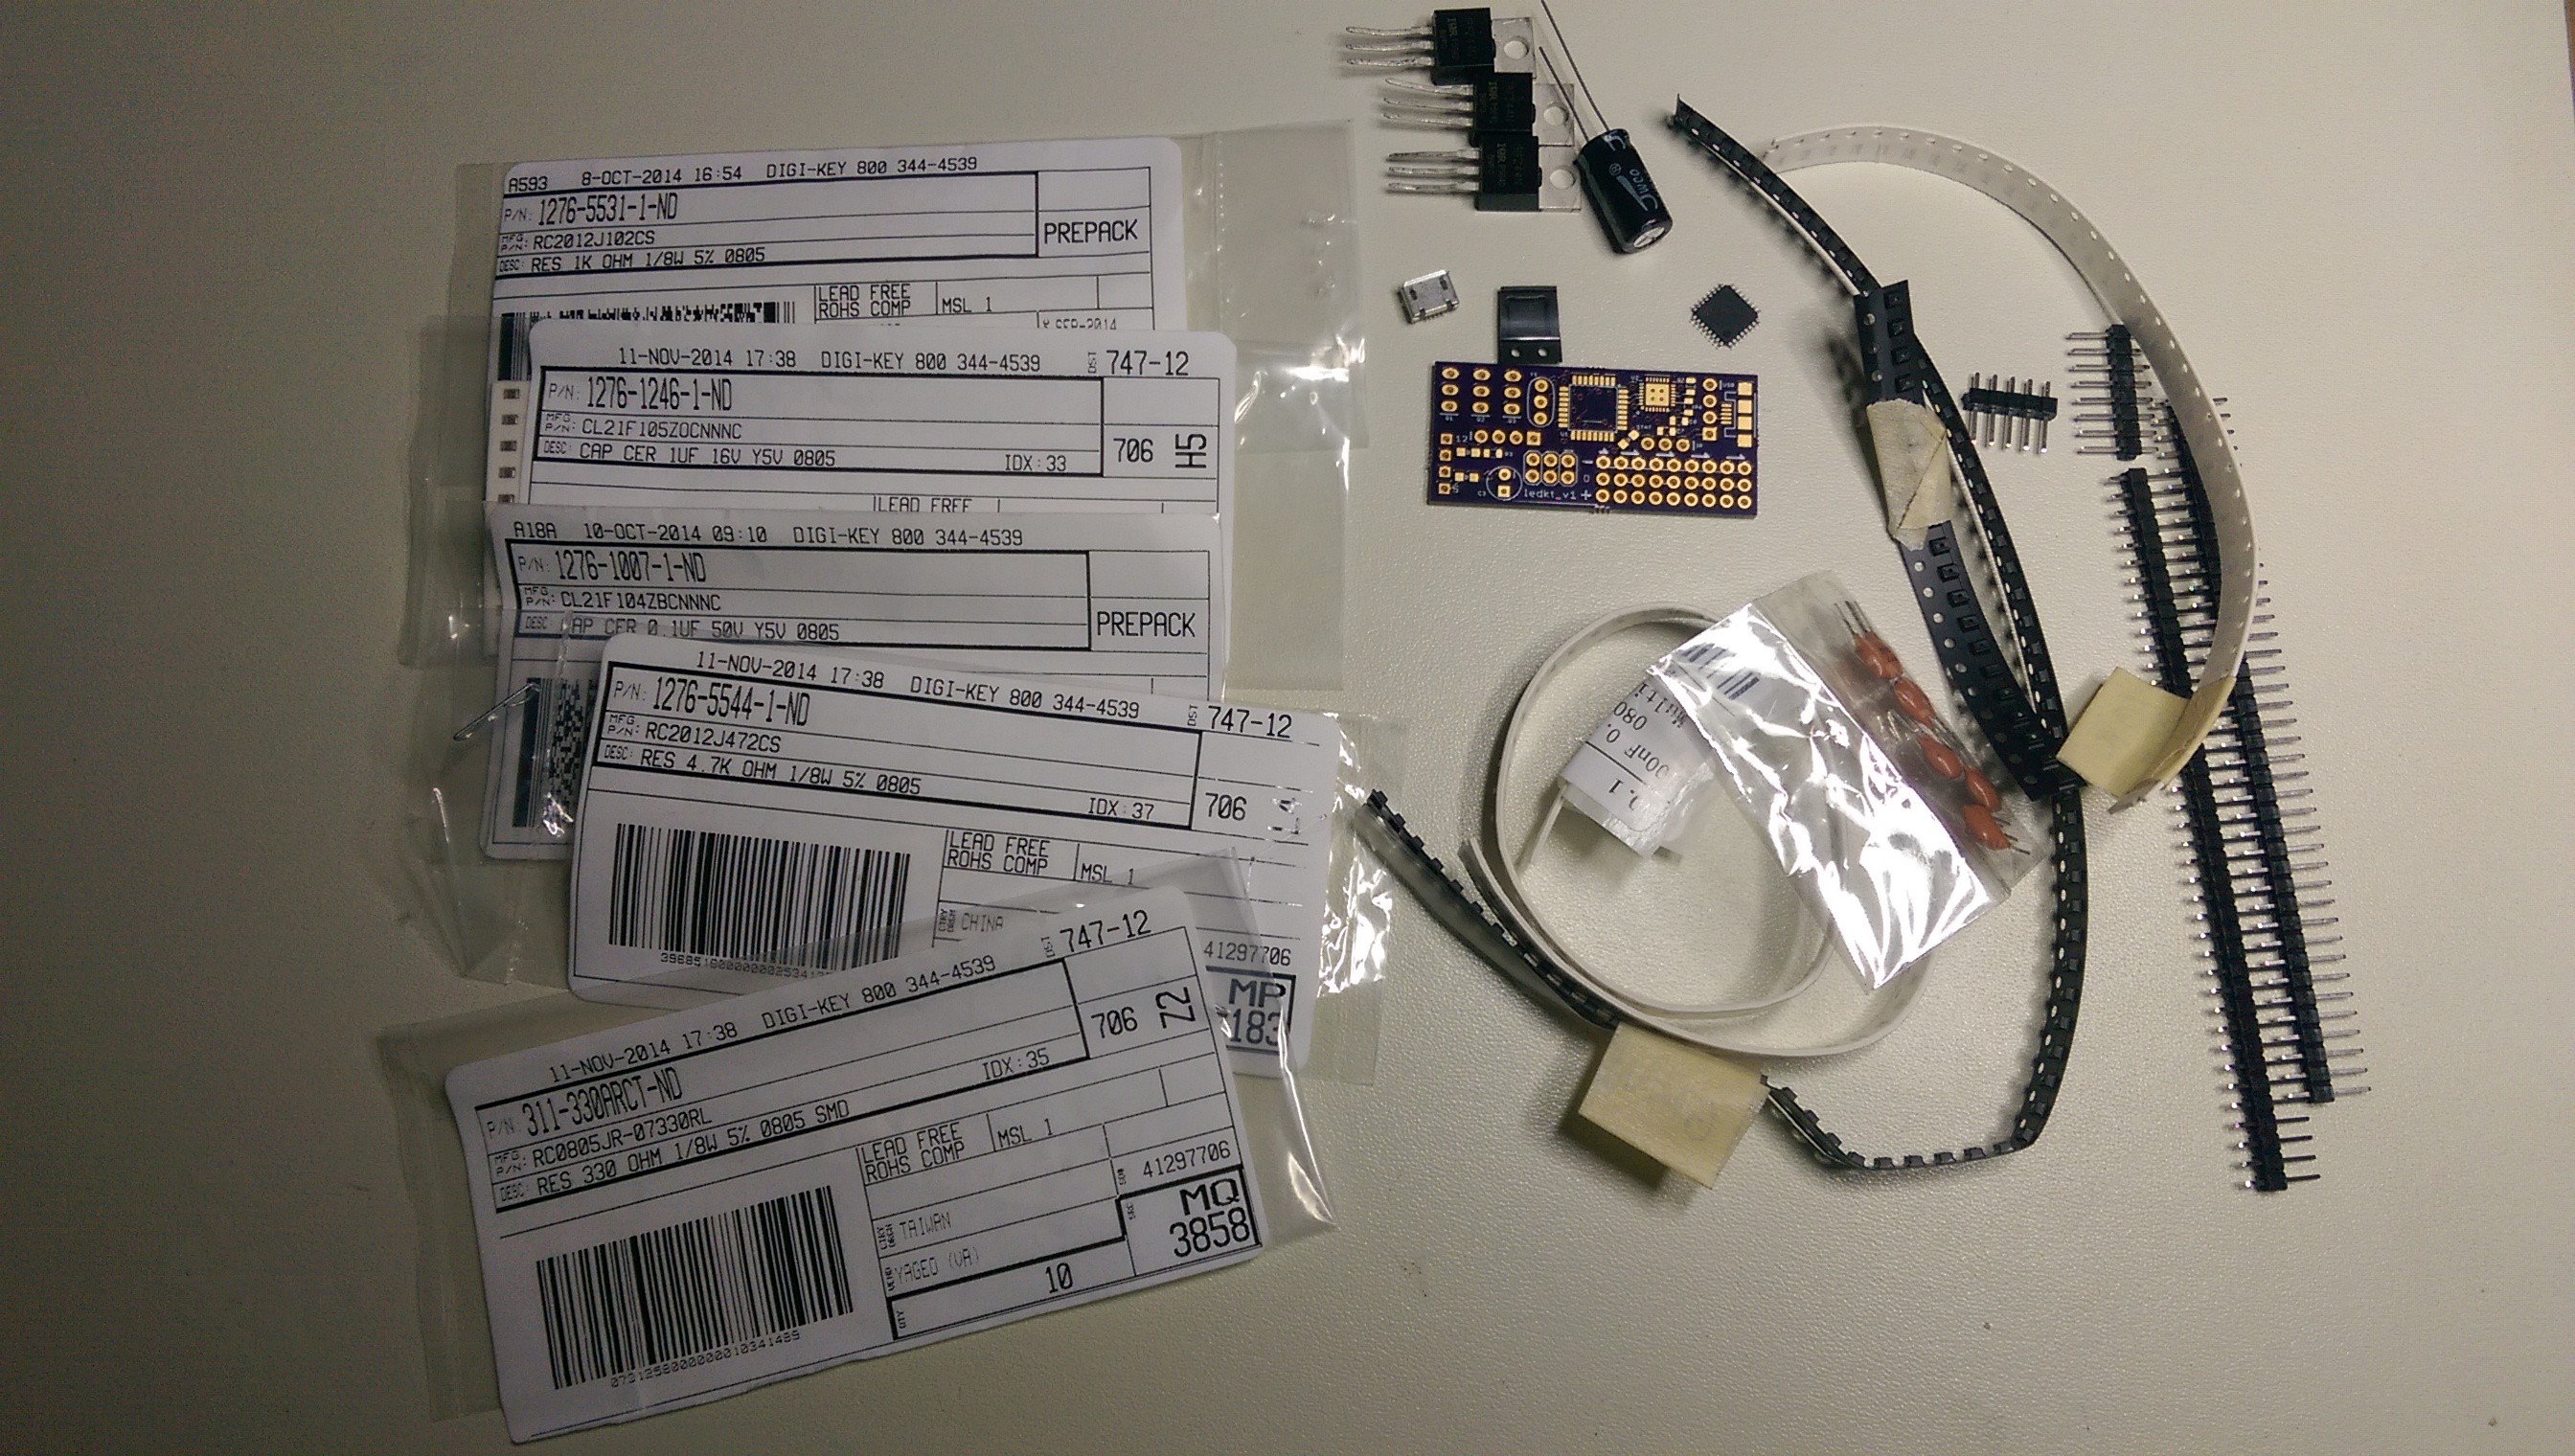
    I got the last of the parts I still needed in the mail today! Going to start soldering later tonight, and I'll post another update once I'm done.

  • ​Initial creation

    HybridAir04/06/2016 at 19:54 0 comments

    I have finally gotten the time to create a page for this project! The project's core hardware phase development is essentially complete at the time of writing this. I am waiting for a few more parts to arrive before I can continue with assembling the PCB. After that, I will continue with adapting it for the Corsair 760T and develop the host program.

    As for software, I have only completed the most basic things to ensure that everything works. I am planning on doing most of the programming starting late next month, and to use the time now for hardware stuff. I will be away in Canada for 4 months after, so I will not have any of my tools besides the basics.

    So far, I have implemented the built-in color and light animation presets, and basic IR and serial control. Some animation presets have a simple "selection menu", where the user can select three colors that they want to be shown in the animation. See the video links below for some examples of the completed presets!

    https://twitter.com/Blake380/status/703669192696811520

    https://twitter.com/Blake380/status/703681836690505734

    https://twitter.com/Blake380/status/708741009774018560

    https://twitter.com/Blake380/status/709173087472726016

View all 5 project logs

  • 1
    Step 1

    NOTE: These instructions only go over the basic connections to and from the device. LED layout stuff is your problem. Please also note that these instructions are currently INCOMPLETE.

  • 2
    Step 2

    Assemble the device using the parts listed in the component list and the schematic.

  • 3
    Step 3

    Program the device

View all 11 instructions

Enjoy this project?

Share

Discussions

Drew Fustini wrote 04/09/2016 at 06:18 point

  Are you sure? yes | no

spiritsai wrote 04/07/2016 at 23:18 point

I'm spoiled. <3

  Are you sure? yes | no

Similar Projects

Does this project spark your interest?

Become a member to follow this project and never miss any updates