Finally found some time to check out the donor devices I bought. Decided that I will be using the one that is having problems with the screen to be the designated mule for the project.

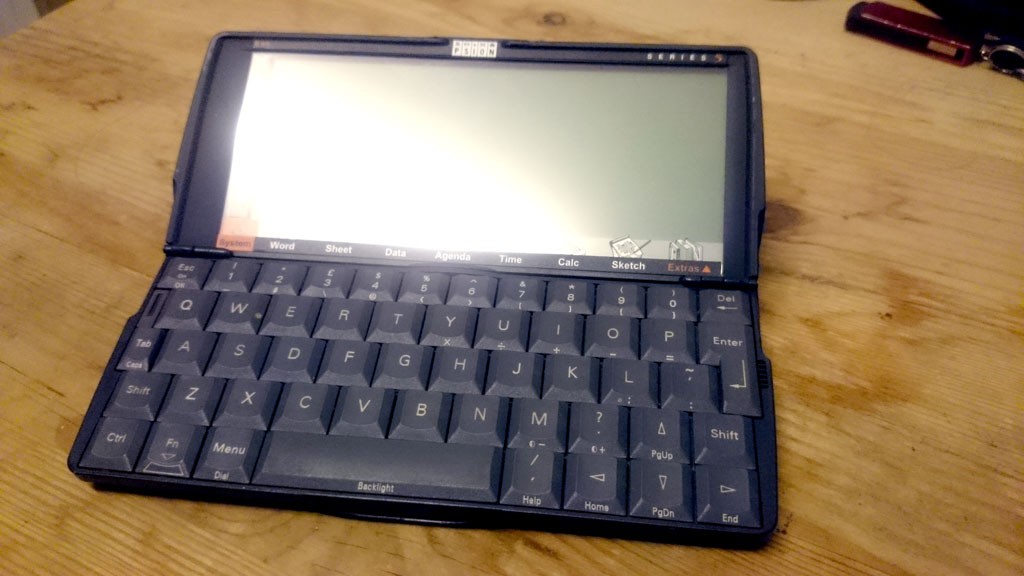
Pretty ain't she?
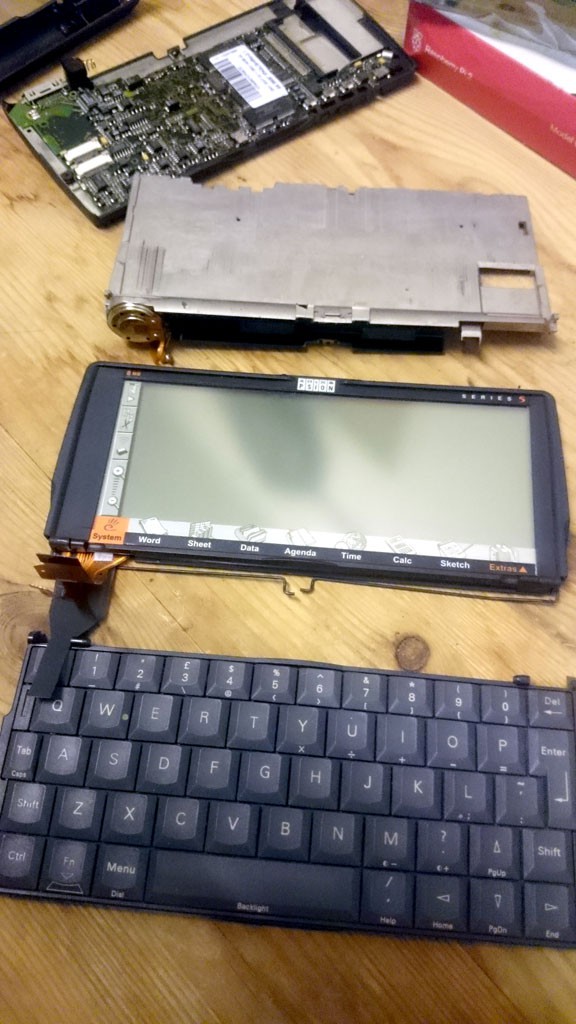
So i broke out the screwdriver and went to town to break it down (hey that rhymes). Thanks to the many teardown guides online, it wasn't that hard to figure out what steps to take to disassemble the Psion 5.

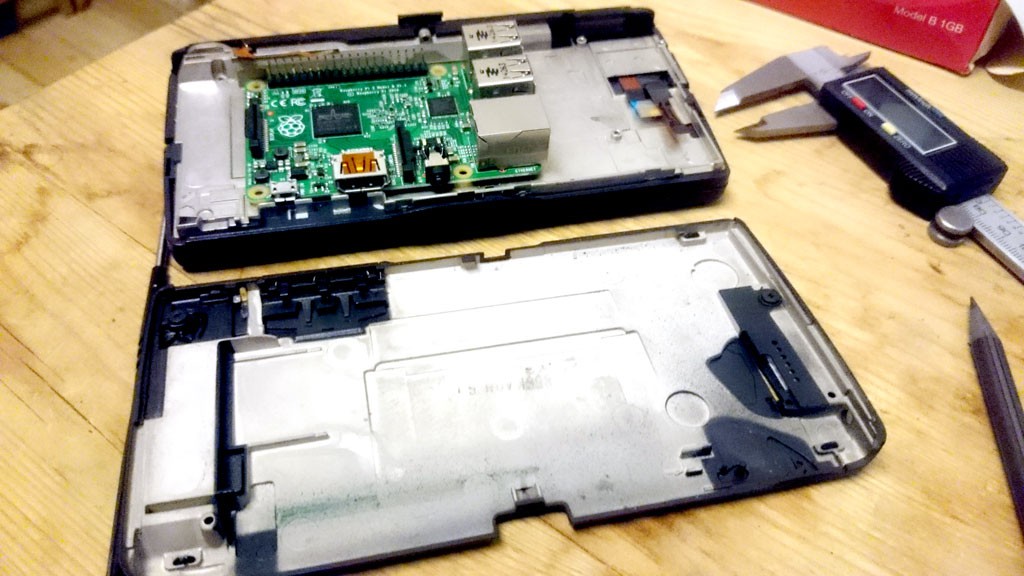
After taking it apart, it was time to see what I can fit into the body and to figure out what would and should go where. I have a Pi 2 on hand as a guide as I am not sure at this point of time what to use as the brain of the project.

As you can see the Pi 2 takes a bit of space in the chassis of the Psion 5. I also took some measurements and got the following:
- Total X Axis - max 145mm
- Total Y Axis - max 60mm
- Total Z Axis - max 7mm
I do plan to take out the Ethernet and USB ports from whatever board i will be getting to save some height, but as it is, I may just go with the Raspberry Pi Zero so that I have more space to work with, or try to fit in a Raspberry Pi 3 to get better performance.
I am also thinking of just reprinting the bottom half of the case in a 3D Printer so I have more space to work with - I don't really need the doors to the backup battery and CF card to be in the way, and I can claim more space at the same time.
Time to have a chat with someone with a 3D printer.
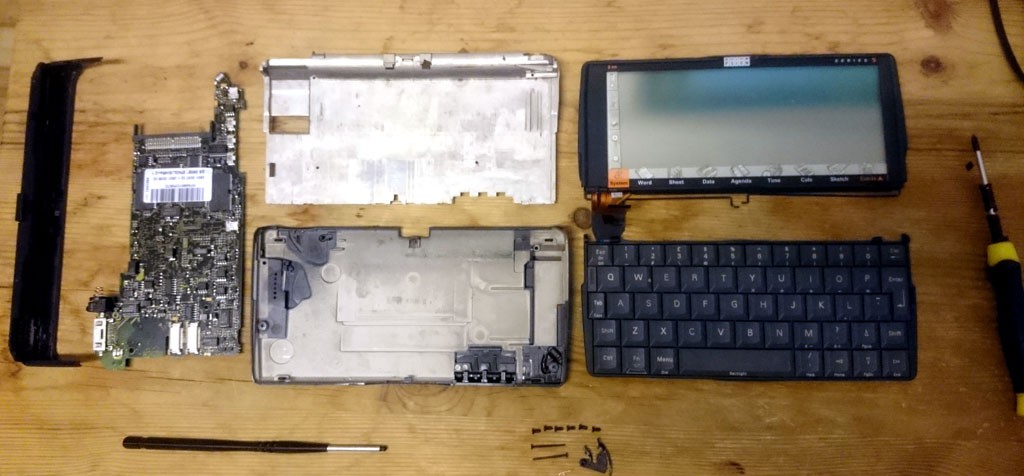
As a bonus, have a knolled image of the parts and screws for the Psion 5.

Discussions
Become a Hackaday.io Member
Create an account to leave a comment. Already have an account? Log In.
I also have it :)
Are you sure? yes | no
That keyboard looks so delicious...
Are you sure? yes | no
This is a great idea for a portable Pi, using one of these mini laptops. Are you planning on using the keyboard it came with? And if so, what's the interface look like?
Are you sure? yes | no
The goal is to use that awesome-looking keyboard + the clamshell design of the Psion 5 as part of the build.
The keyboard uses a 20pin FPC connector, which you can see on the second photo, near the top on the mainboard. I am still unsure on how to connect the keyboard - most likely I will follow https://hackaday.io/project/4042-psio for the keyboard, and use an Adruino Tiny to make things easier.
Are you sure? yes | no
Thanks for that link, I had not seen that either. I was thinking that would be the hard bit, but it seems like some of the work is done for you!
Are you sure? yes | no