Close
0%
0%

Mighty Lighty

If you can change a light bulb.... You can install this security camera

Similar projects worth following
The problem -
Security cameras are still complicated to install, setup, and use.

The Solution –
An indoor/outdoor security camera that you can plug into any light socket and remote control from any phone, tablet, or laptop.

What if there was already a convenient but over looked power source in all the locations you would want to place a security camera around a house?
Enter the humble light bulb socket… There is at least one in every room, by the front door and the back door, even in front of the garage.
The security camera form factor just needs adapted to take advantage these locations…


The problem -

Security cameras are still complicated to install, setup, and use. Most require a technician or a handful of frustrating calls to various tech support places. And the average person may still not be able to see a video feed outside of their local home network.

2 primary components that all video cameras require are power and data. For medium to higher end setups this means running cables. Even cams that have Wi-Fi still require a power source that better be somewhat close to an outlet unless you want to change batteries (wireless power hasn’t hit the big time yet).This could get even more complicated if you want to put this security cam outside. Now it needs to be weather proof, within Wi-Fi range, and power source.

The Solution –

What if there was already a convenient but over looked power source in all the locations you would want to place a security camera around a house?

Enter the humble light bulb socket… There is at least one in every room, by the front door and the back door, even in front of the garage.

The security camera form factor just needs adapted to take advantage these locations…

An indoor/outdoor security camera that you can plug into any light socket and remote control from any phone, tablet, or laptop.

Ideally it would have no moving parts… if the wide lens camera sensor does provide the best viewing angle the enclosure may have to be slightly flexible or have 2 image sensors

Concept for Alpha version or proof of concept parts list …

  • Light socket to 2 prong plugin adapter
  • 120v to 5v 2.1amp adapter to power raspberry pi
  • Raspberry pi 3 board for Bluetooth/Wi-Fi
  • Wide angle 180 degree camera or raspberry camera module
  • Led light or small led panel
  • Back up battery
  • 3d printed enclosure for modern light fixture
  • For location outside of Wi-Fi coverage an Ethernet over power line option could be included
  • For outdoor models weather sensors could be included
  • Day or night vision

*Obliviously with a proper pcb layout much of this could be combined and reduced

*Heat dissipation could be a problem enclosure may have double duty of heat sink functionality

Software…

Android and ios apps and internal web accessible menu

Painless pairing … connect to a mighty lightyjust like you connect a phone with a new chrome cast.

Remove old light bulb … screw in might lighty … download /open app … add camera to app with painless pairing… and you have just installed a smart security camera in less than 5 minutes

Raspberry pi could run either linux or windows 10 IOT ….

Would need video server functionality

Light web server functionality …

possibly node.js

H264 streaming

Upnp networking

And opencv for people and pet detection or googles new image detection ai service

Video and image capture would not be locked down to any one destination…

Save video or images to your cloud storage of choice… box… drive… s3 … or local nas on network

Put video on any tv in house via dlna or chrome cast

Even set the video of a might lighty to your choice of streaming services… youtube etc

Get notifications from the apps… object detection emails, texts or twitter

Notification if someone inevitably turns that light switch off .. warning running on battery power

Also works with nest or other smart home hubs

We can’t forget the light source… configure light timer … dusk to dawn … motion activated … etc

  • Thoughts on Version 2.0

    kelley 05/30/2016 at 04:25 0 comments

    While I was sourcing parts for this build the pi foundation released an updated version of the pi zero that now includes a ribbon connector for the pi camera. They also updated the pi camera to an 8 mega pixel Sony. I still went with the older version because it was cheaper and worked just fine. The only thing I didn't like about the camera was the ribbon cable. For a project like this the ribbon cable doesn't offer much in the area of flexible positioning. Its kinda stiff and doesn't like being twisted. Fixed camera placement could be an issue. The next version could get around that by having 2 cameras ... one that points out and another that looks down.

    The pi 3 worked very well its just a matter of size and that many of the features it has just aren't necessary. I do like that it has wifi built in though. For the next build I will go with either the new pi zero or the chip if it actually starts shipping.

    With a version 2 I will probably spend more time on the power supply. It would work out better and save space to have an adapter that goes straight from the light socket to usb. This way it wouldn't require 2 adapters near the socket where space is the most limited.

    I would also like to spend more time on the software even though MotionEyeOS is very capable as far as camera functionality goes it doesn't do much beyond that at this point. While it is basically just a gui for the underlying motion software that does the actual image manipulation. I would like to have something that is node / javascript based and more versatile web app where you can control everything in a more seamless experience and offer compatibility with things like push notifications, IFTTT , and Openhab.

  • Sample Images

    kelley 05/30/2016 at 03:54 0 comments

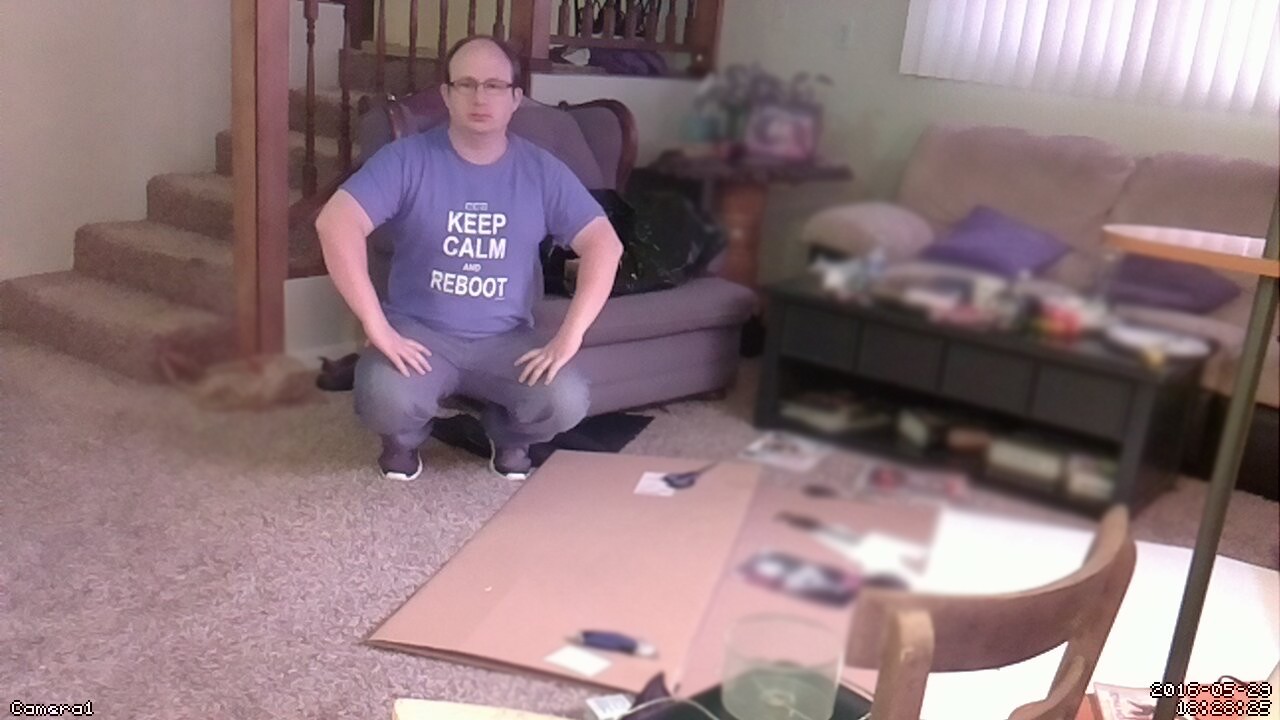
    2 images captured with the motion detection ( I blurred out parts of my mess). Both of these were taken inside as it was raining at the time so I didn't have the option to install it to my outdoor light fixture. Also the color looks a little off because this is the no ir version of the pi camera because its better for night vision

  • Finishing up

    kelley 05/30/2016 at 03:10 0 comments

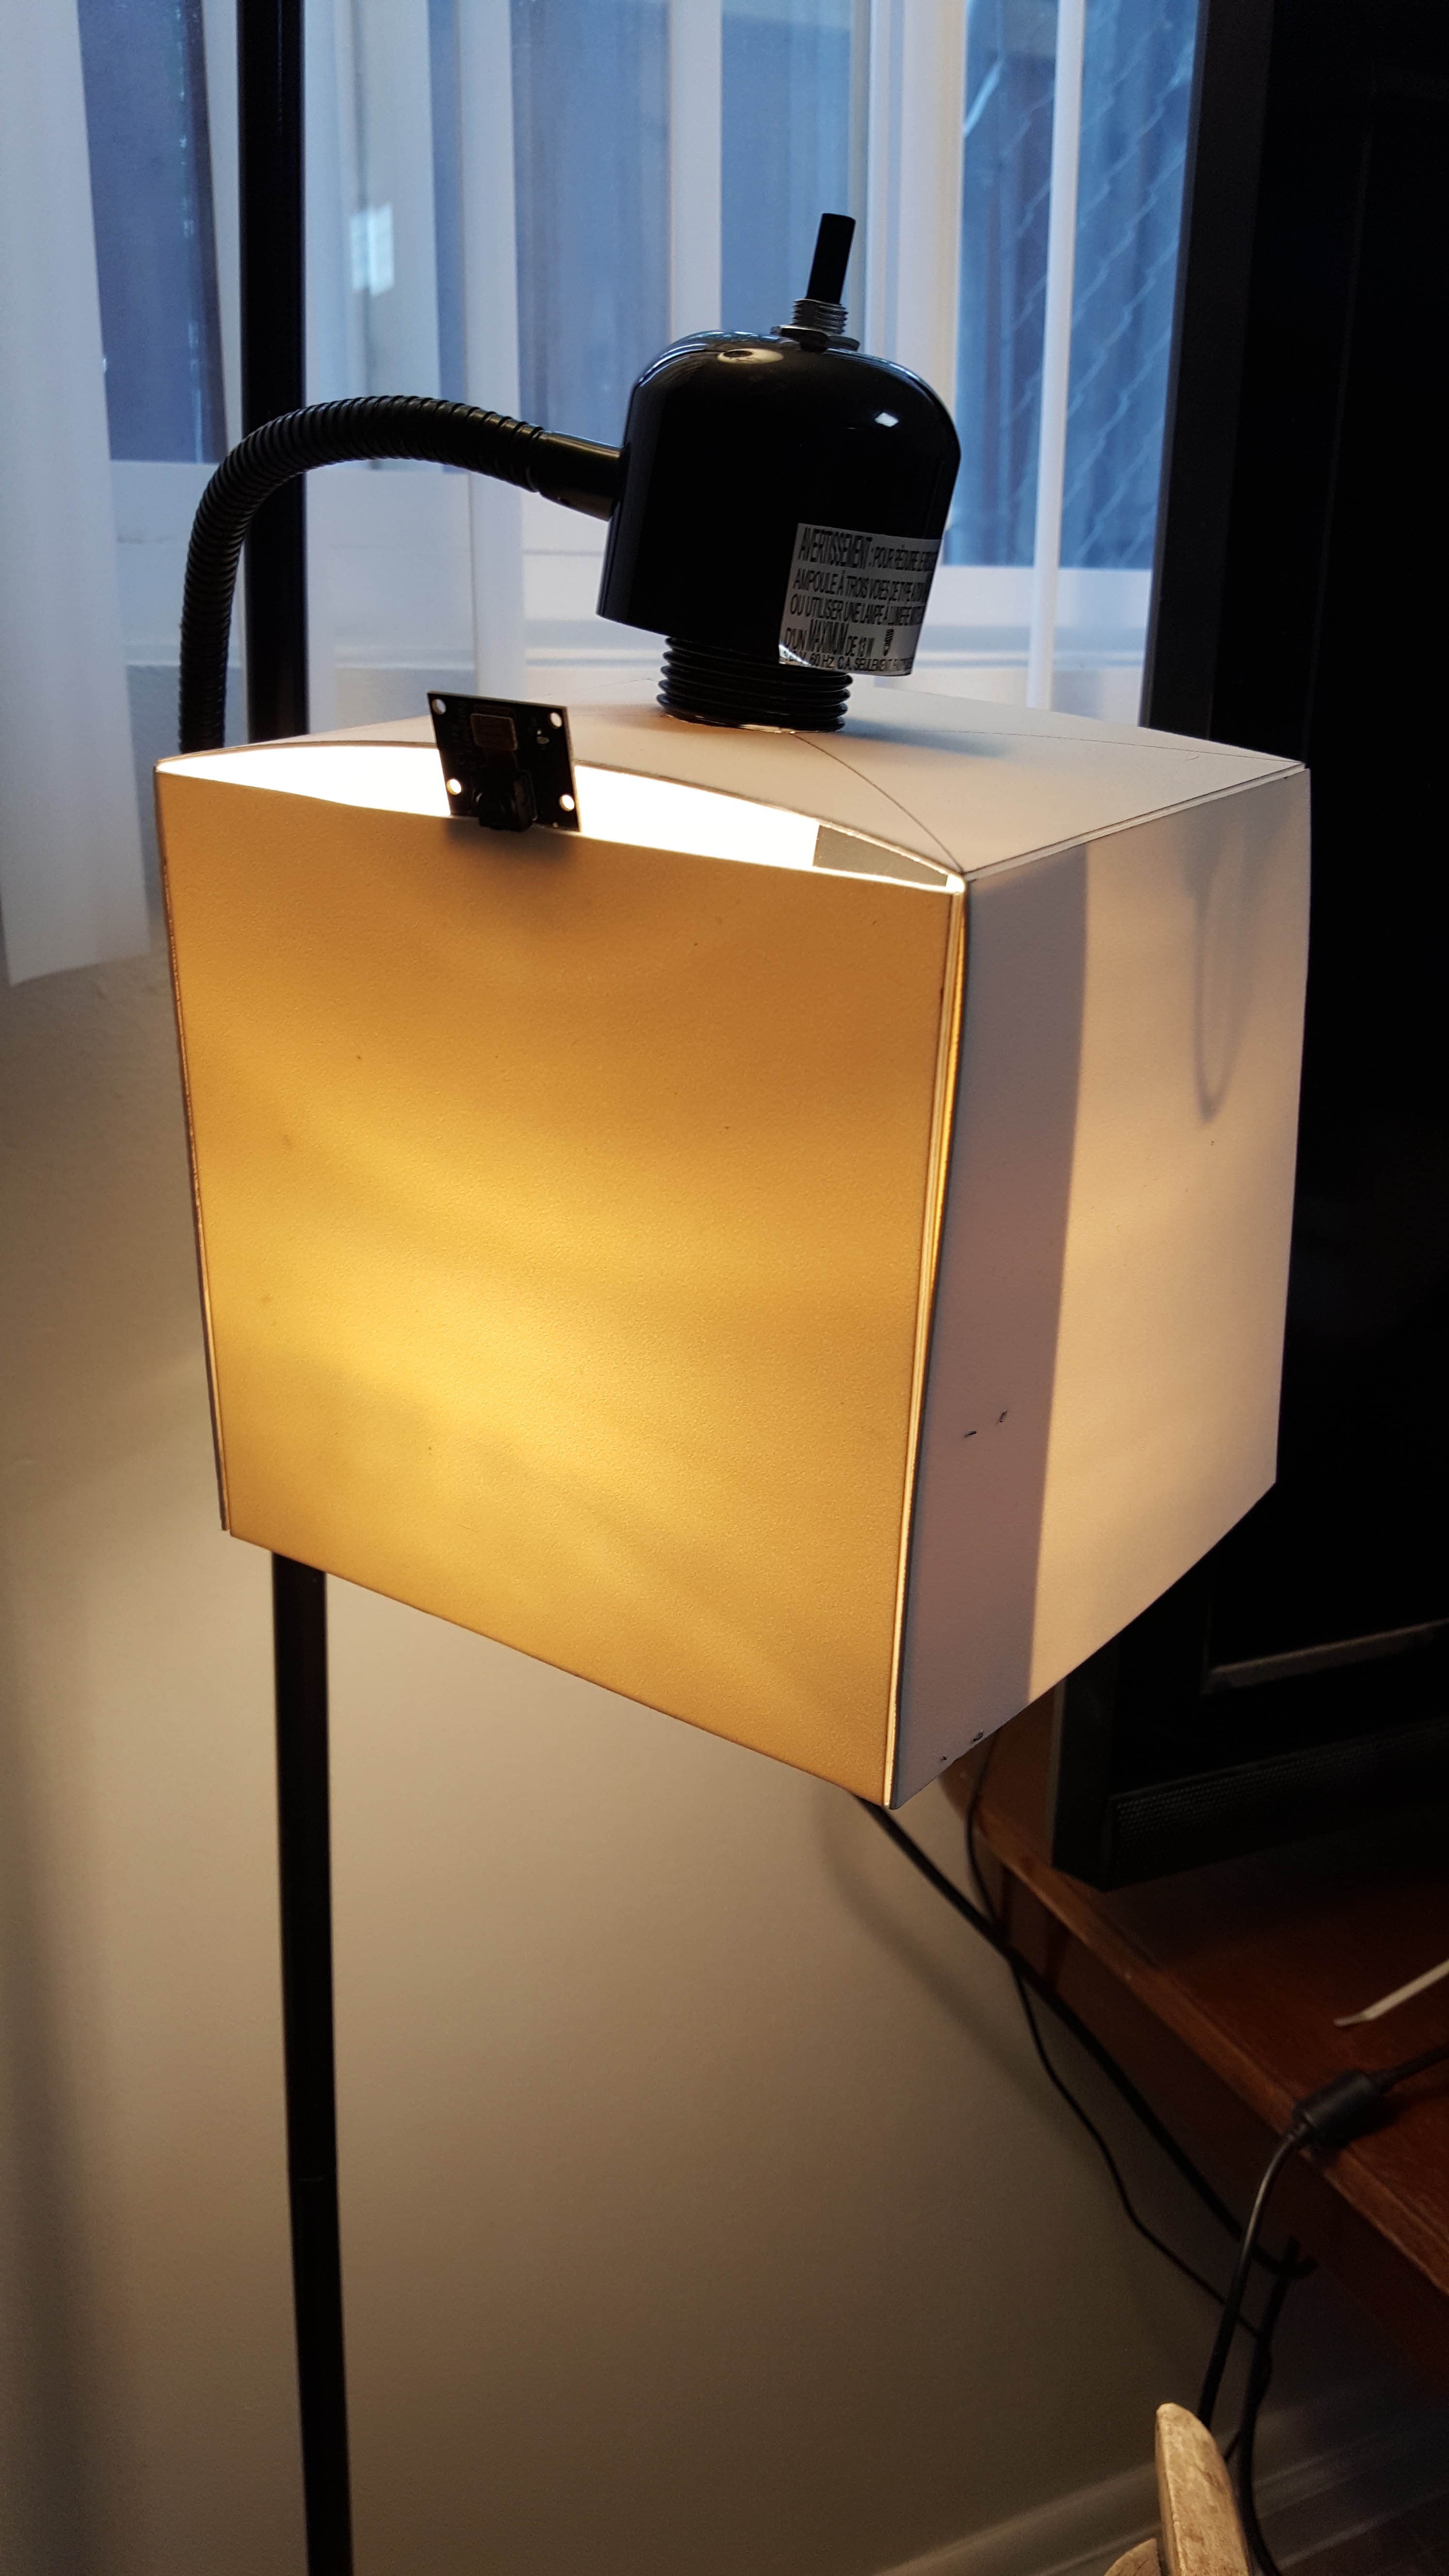
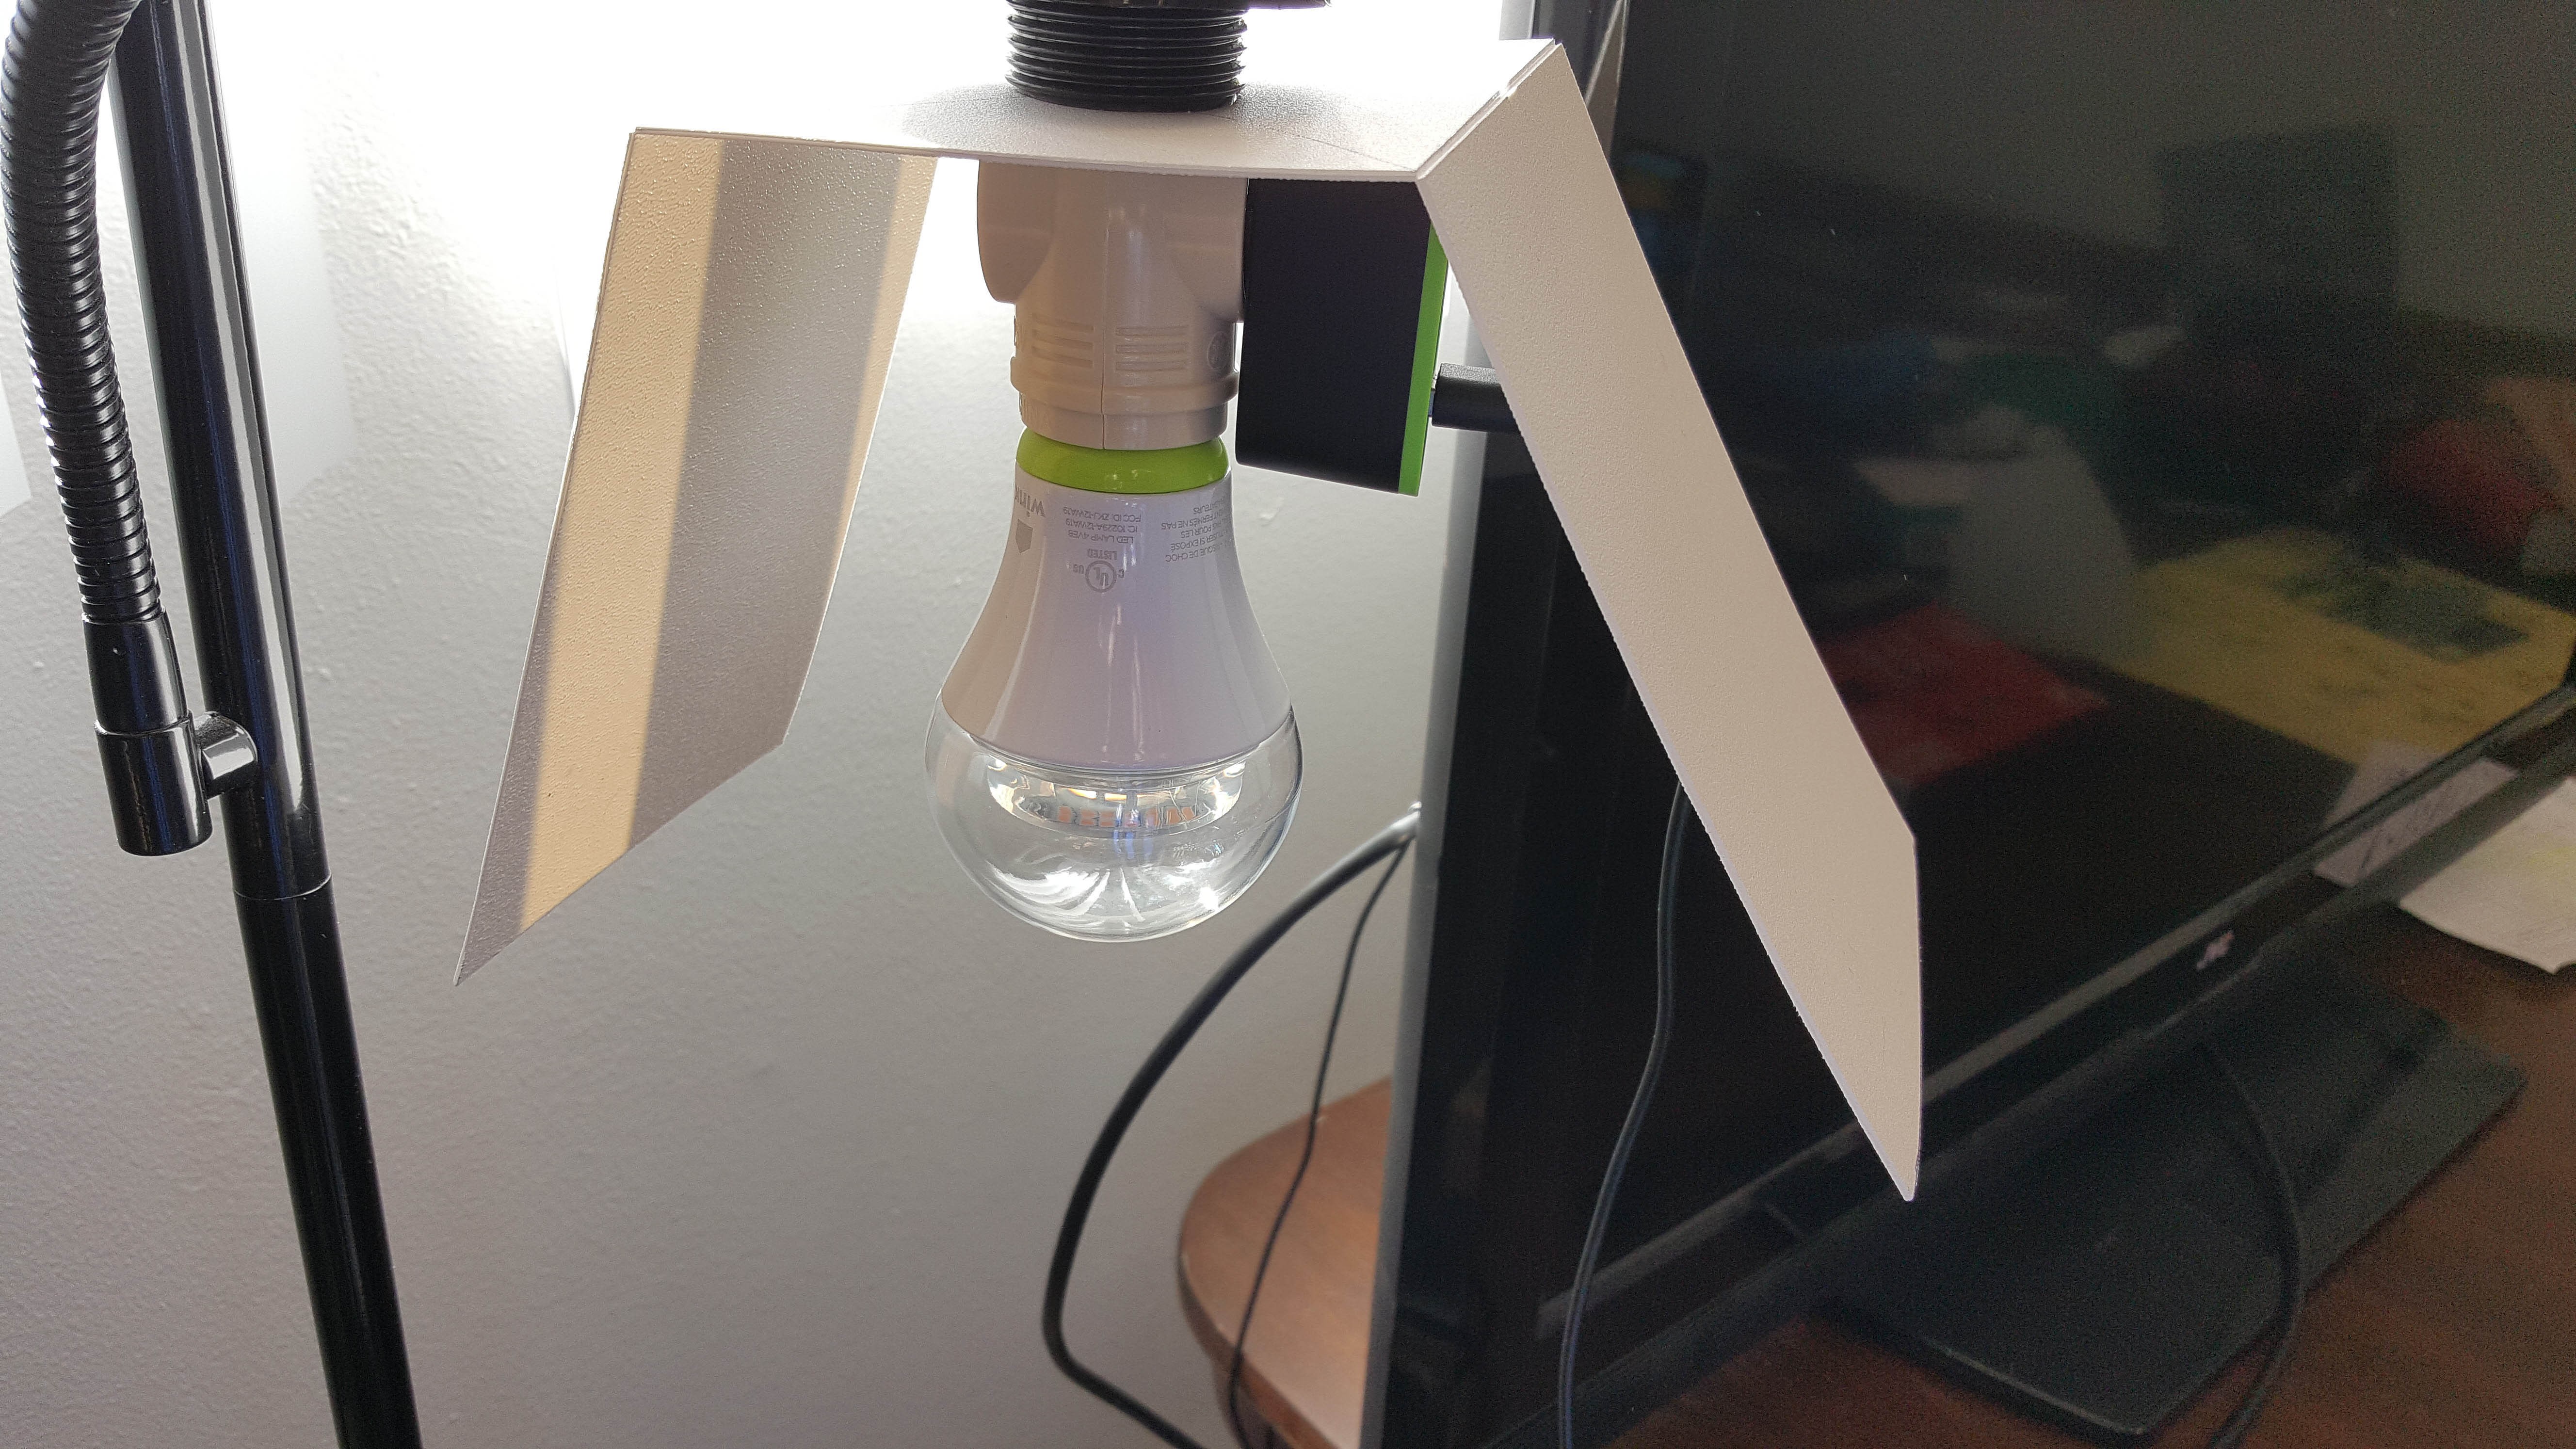
    The other thing that is missing from this prototype is a weather proof enclosure. The original plan was to 3d print or vacuum form one but mostly due to time constraints I was not able to get the far. 3D printing one 6 inches high would have taken about 8 hours on my printer. The other thing working against me with the enclosure is the components in this build are very large for something replacing a light bulb and fixture. I did attempt to make temporary enclosure with some plastic board and it turned out looking more like a lamp shad haha.

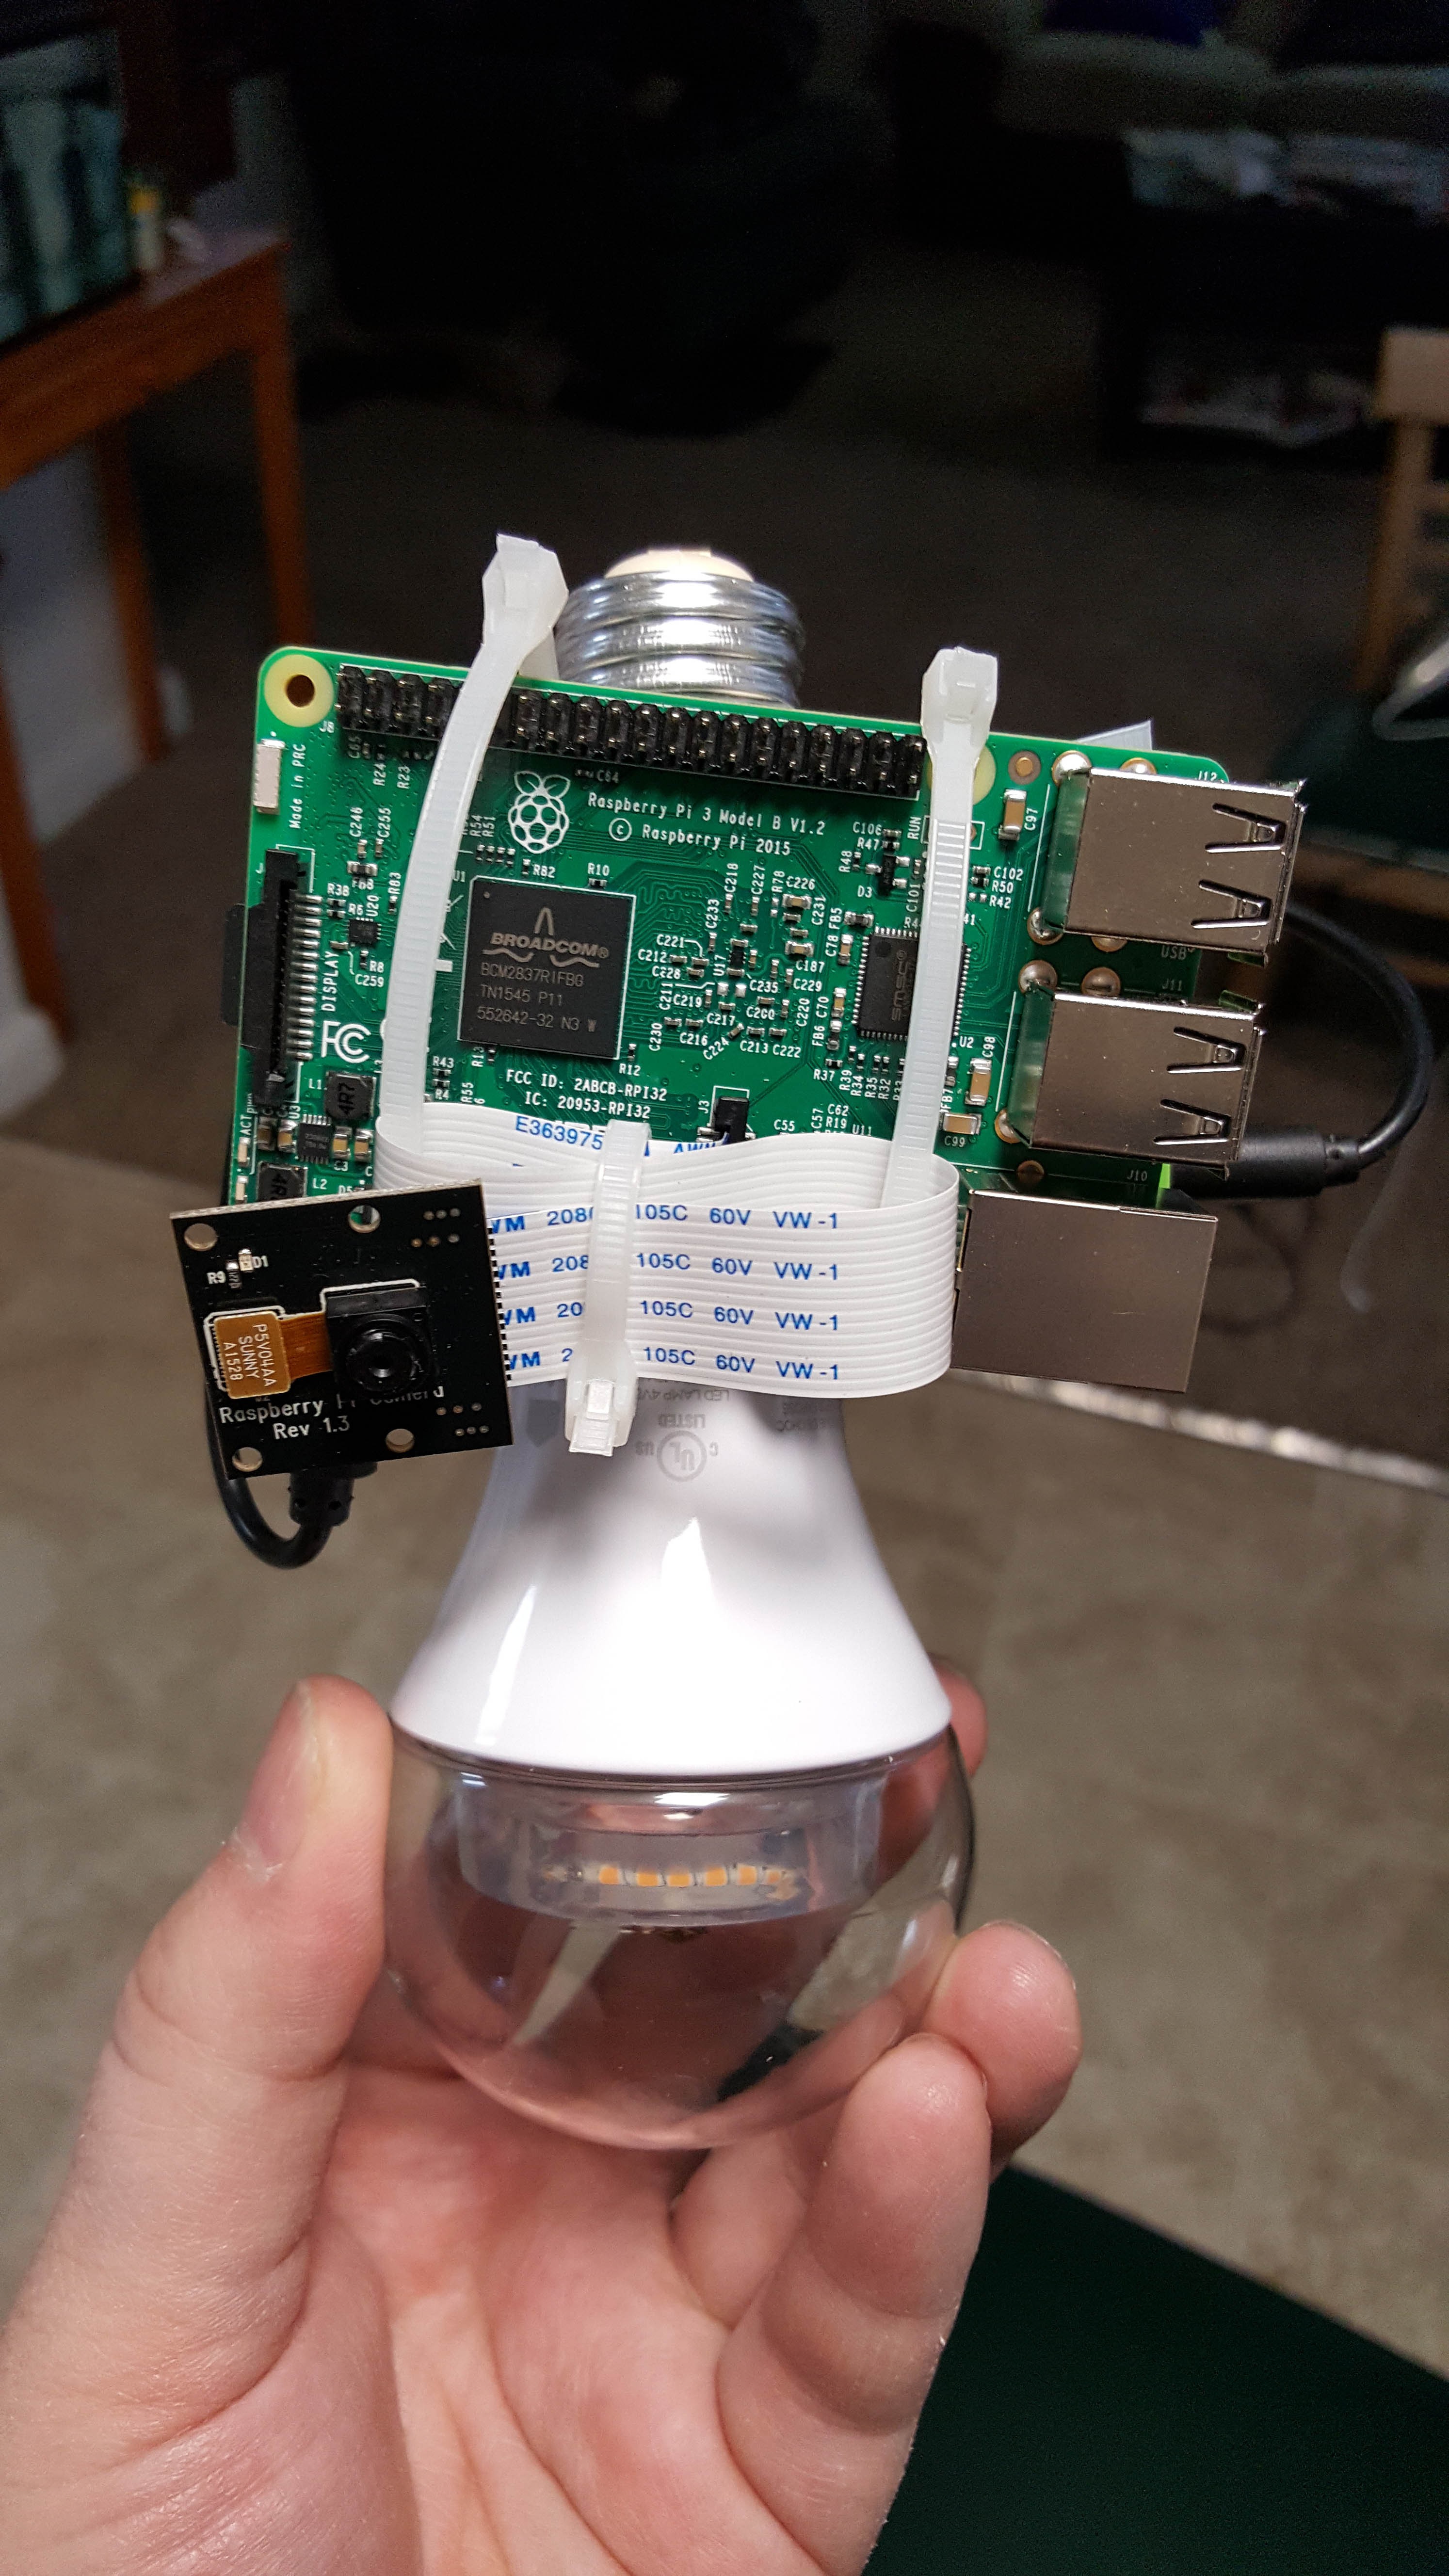
    The zip ties are also just a temporary place holder so I could measure and print a proper bracket

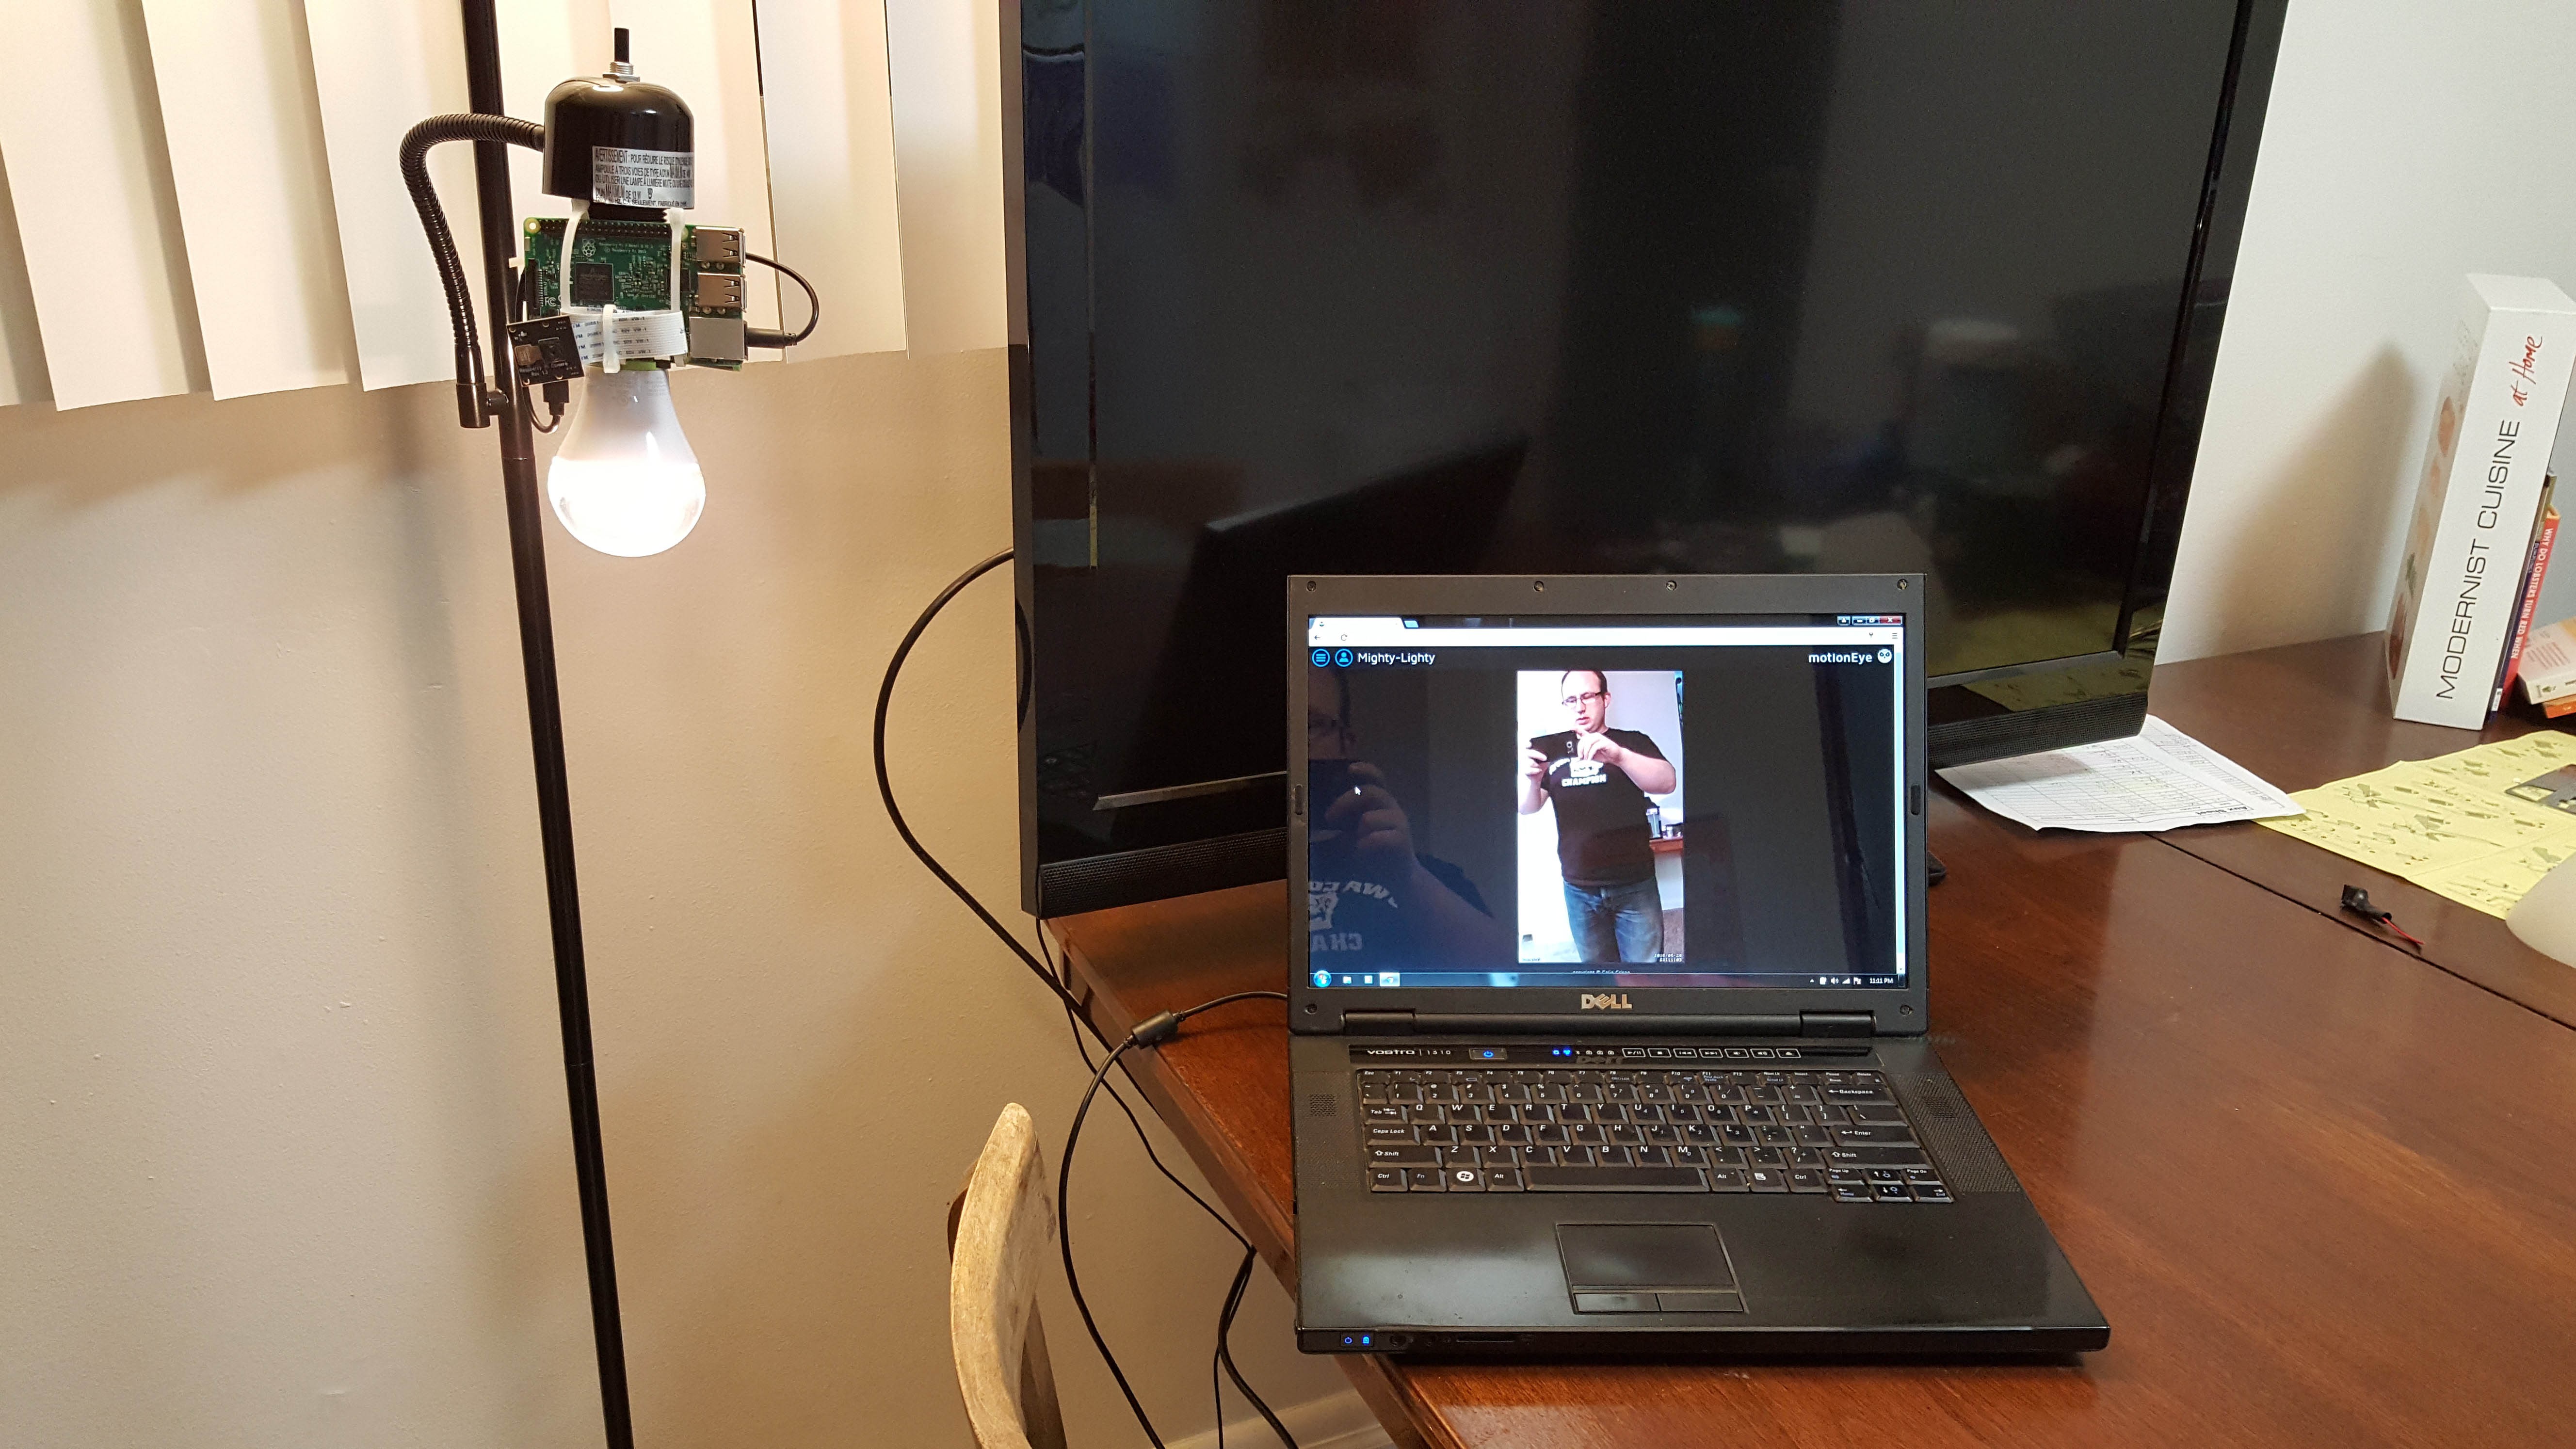
    light is on and video is streaming

  • Putting it all together

    kelley 05/30/2016 at 02:40 0 comments

    After switching to the alternative lighting with the smart bulb I was able to put it together pretty quickly.

    I installed MotioneyeOS and took the stock raspbian off. Out of the box it is very functional for this particular case but for a production model or consumer version the software would have to be even more user friendly for non tech people. Which is the whole point of this project.

    Switching to the smart bulb also meant switching to a slightly different light socket adapter with a 2 prong outlet on the side.

    This version of the prototype achieved the following things:

    • App controlled lighting through the wink app
      • turn on/off ,
      • dimmable
      • scheduling
    • Web controlled security camera made possible by MotionEyeOS
      • Motion detection
      • image capture and save
      • video capture and save
      • save data to google drive or dropbox
      • view video away from the house
      • email notifications of motion detections
    • Hardware
      • pi 3 with integrated wifi
      • pi camera 5 mega pixel
      • GE A19 smart bulb
      • usb charger

  • LED lights?

    kelley 05/30/2016 at 01:53 0 comments

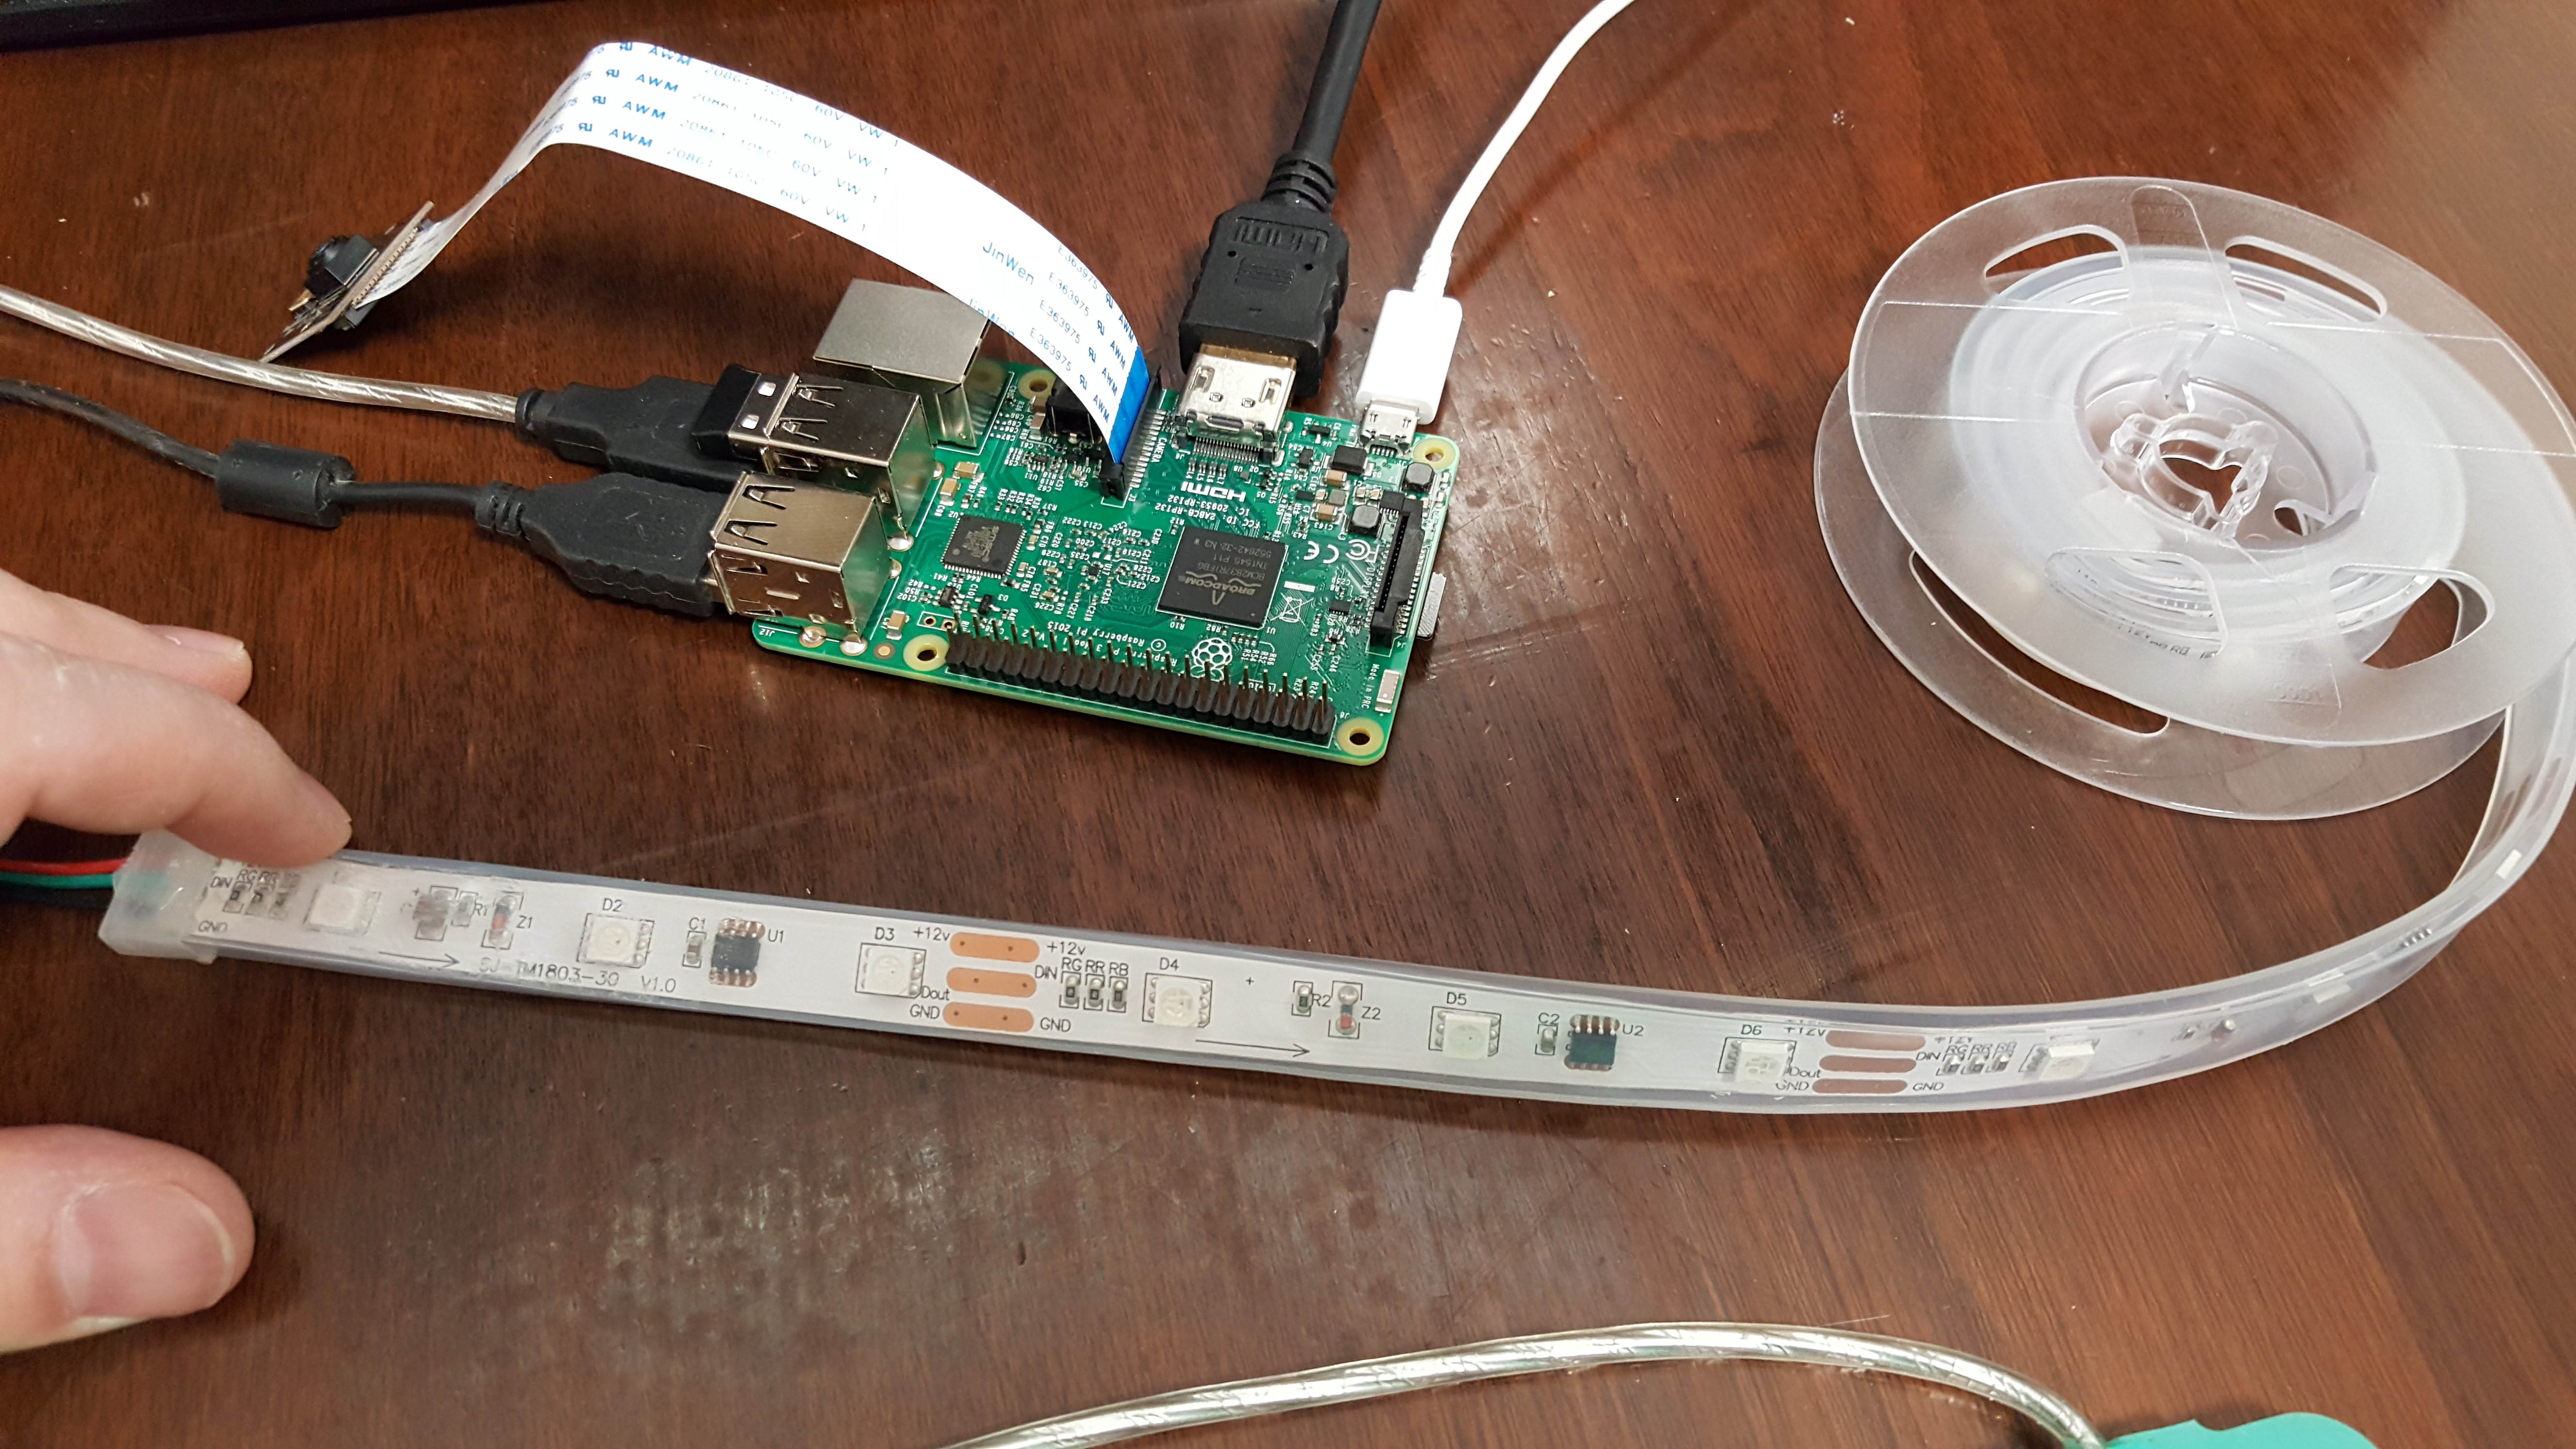
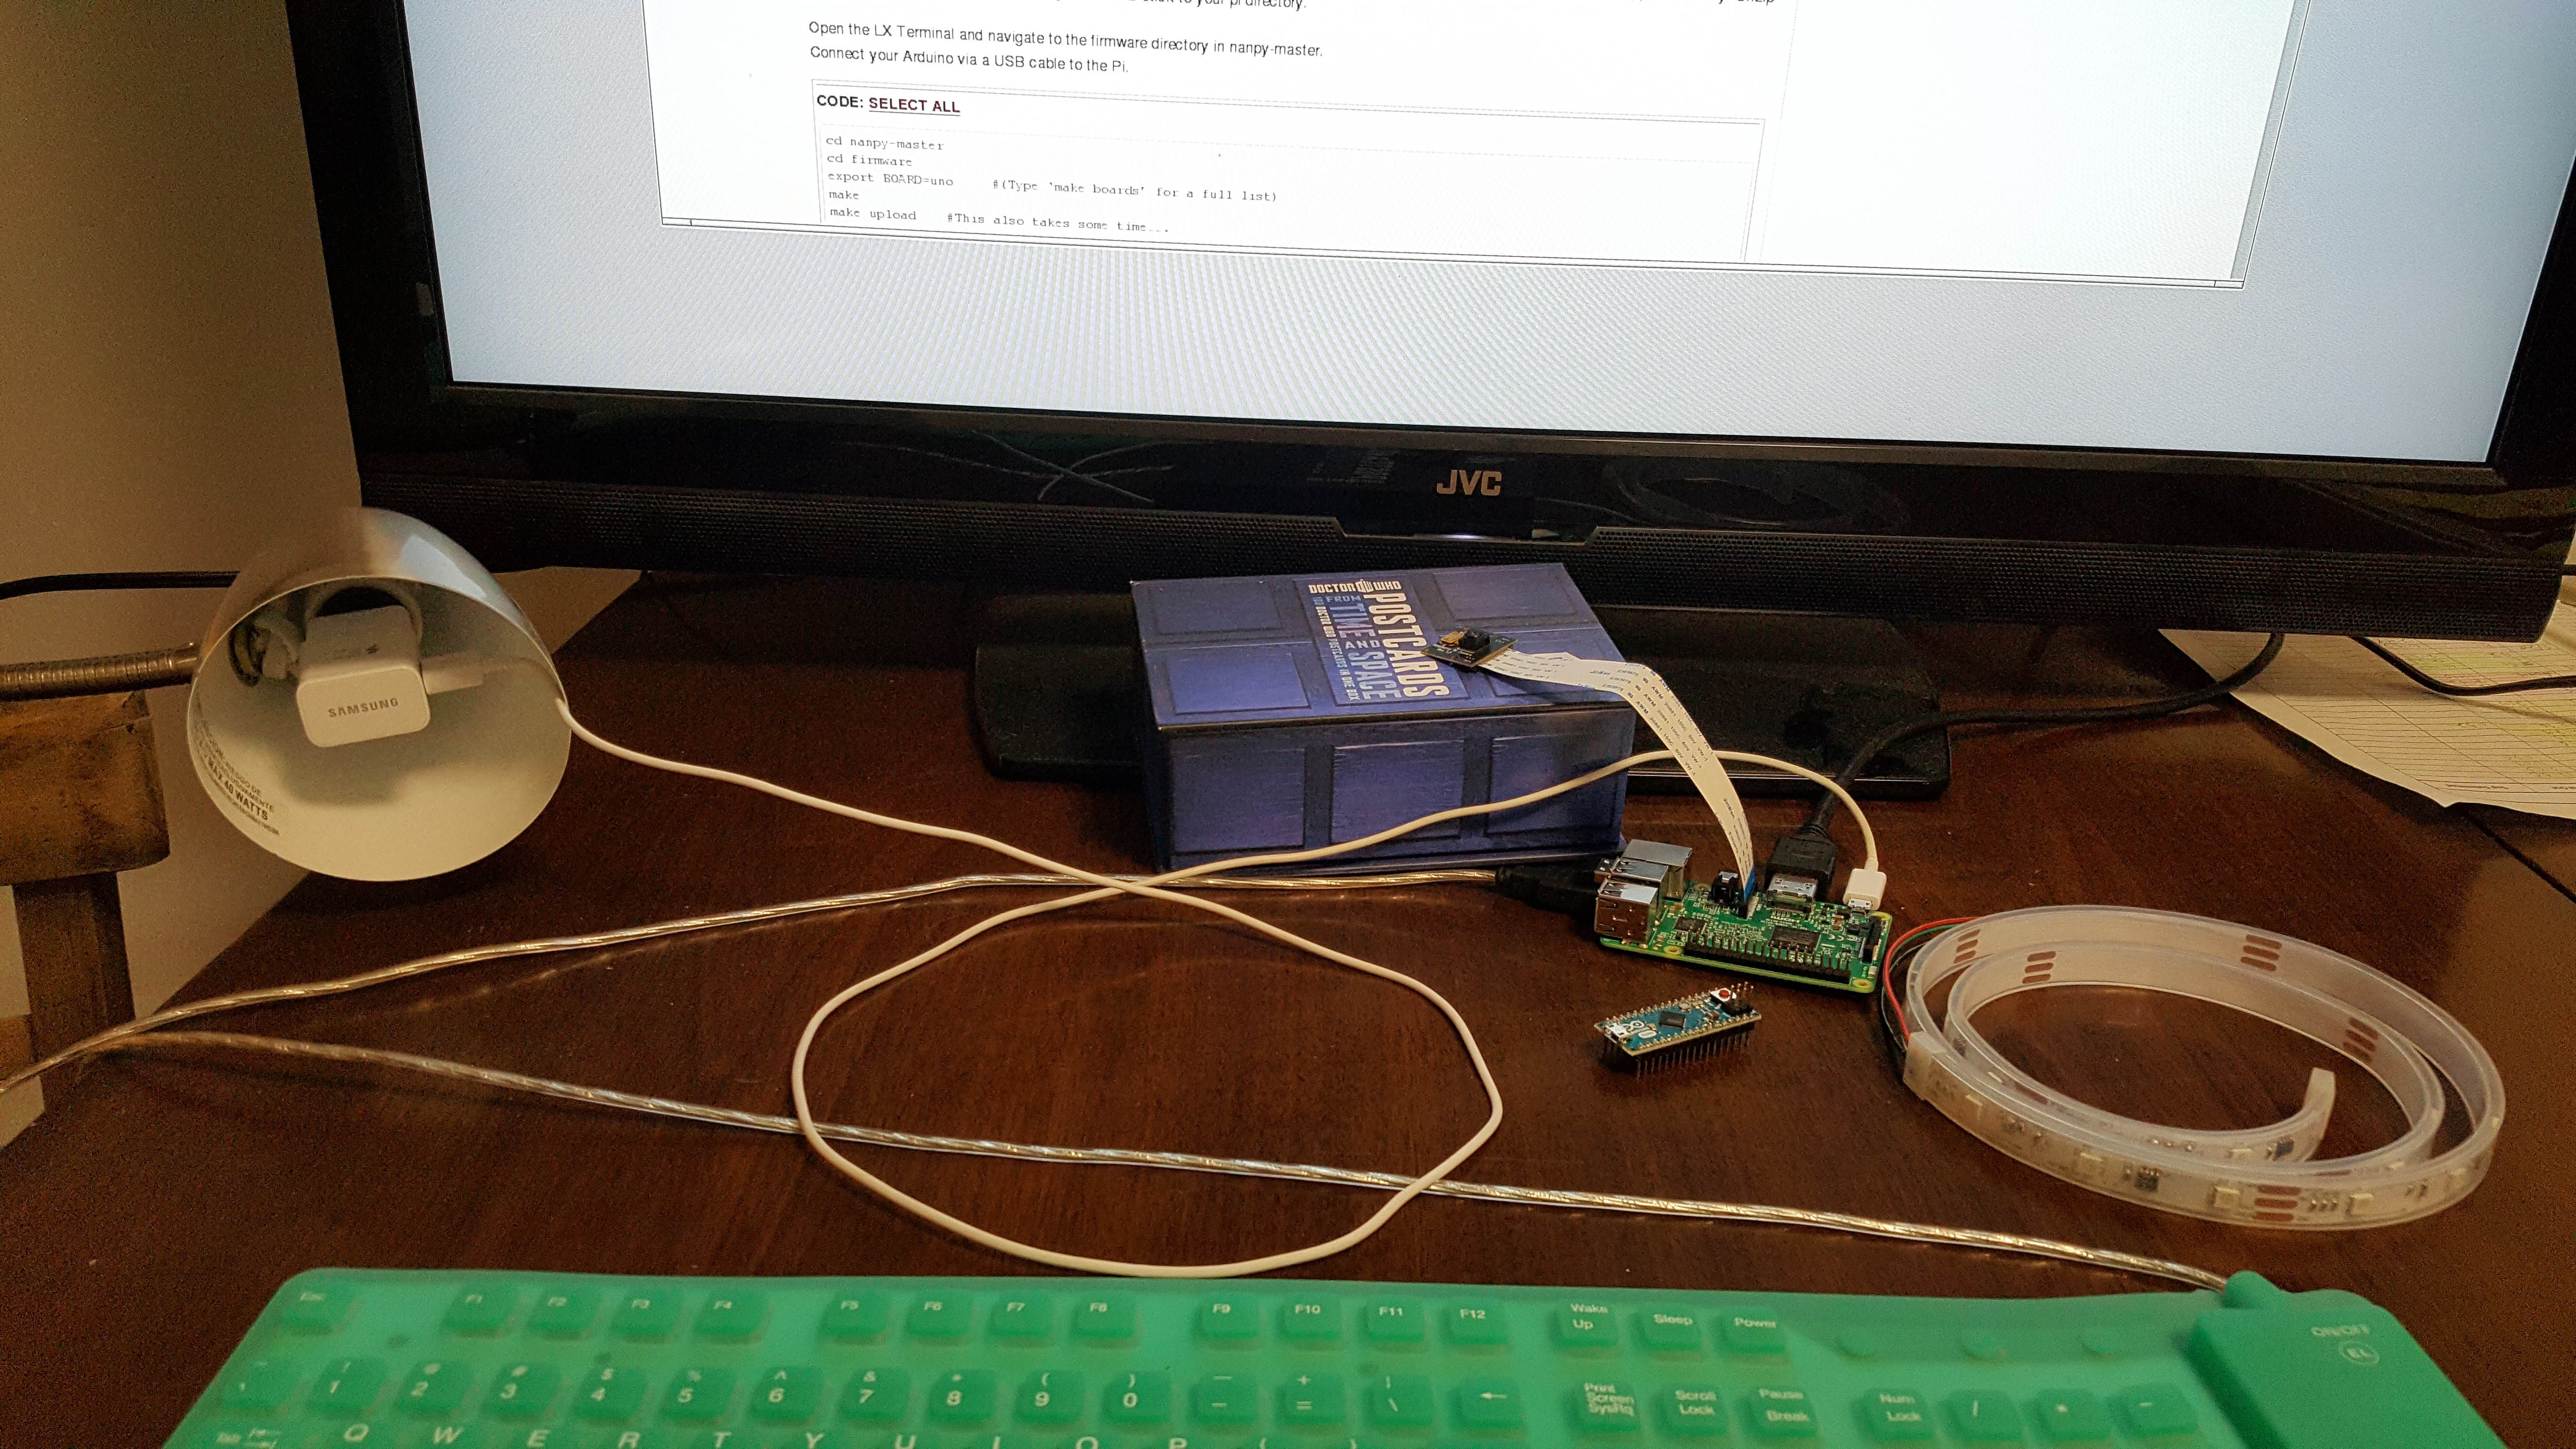
    This is where the project started to go sideways from what the original idea was. To have both the camera and lighting controlled from the same app. I didn't think want to waste a whole day waiting on an led strip from amazon so I picked up one I found in town. But the led strip I ended up with turned out be analog and not digital. Meaning it would have required a separate arduino board to control and a separate 12vdc power source.

    Had it been a digital 4 wire led strip I would not have had the problems getting it to work.

    So the work around to get something functional by the end of this phase of the contest was to switch the light to a GE-A19 smart bulb. It filled the need of having a light source that can be controlled from an app.

  • Testing Software

    kelley 05/30/2016 at 01:36 0 comments

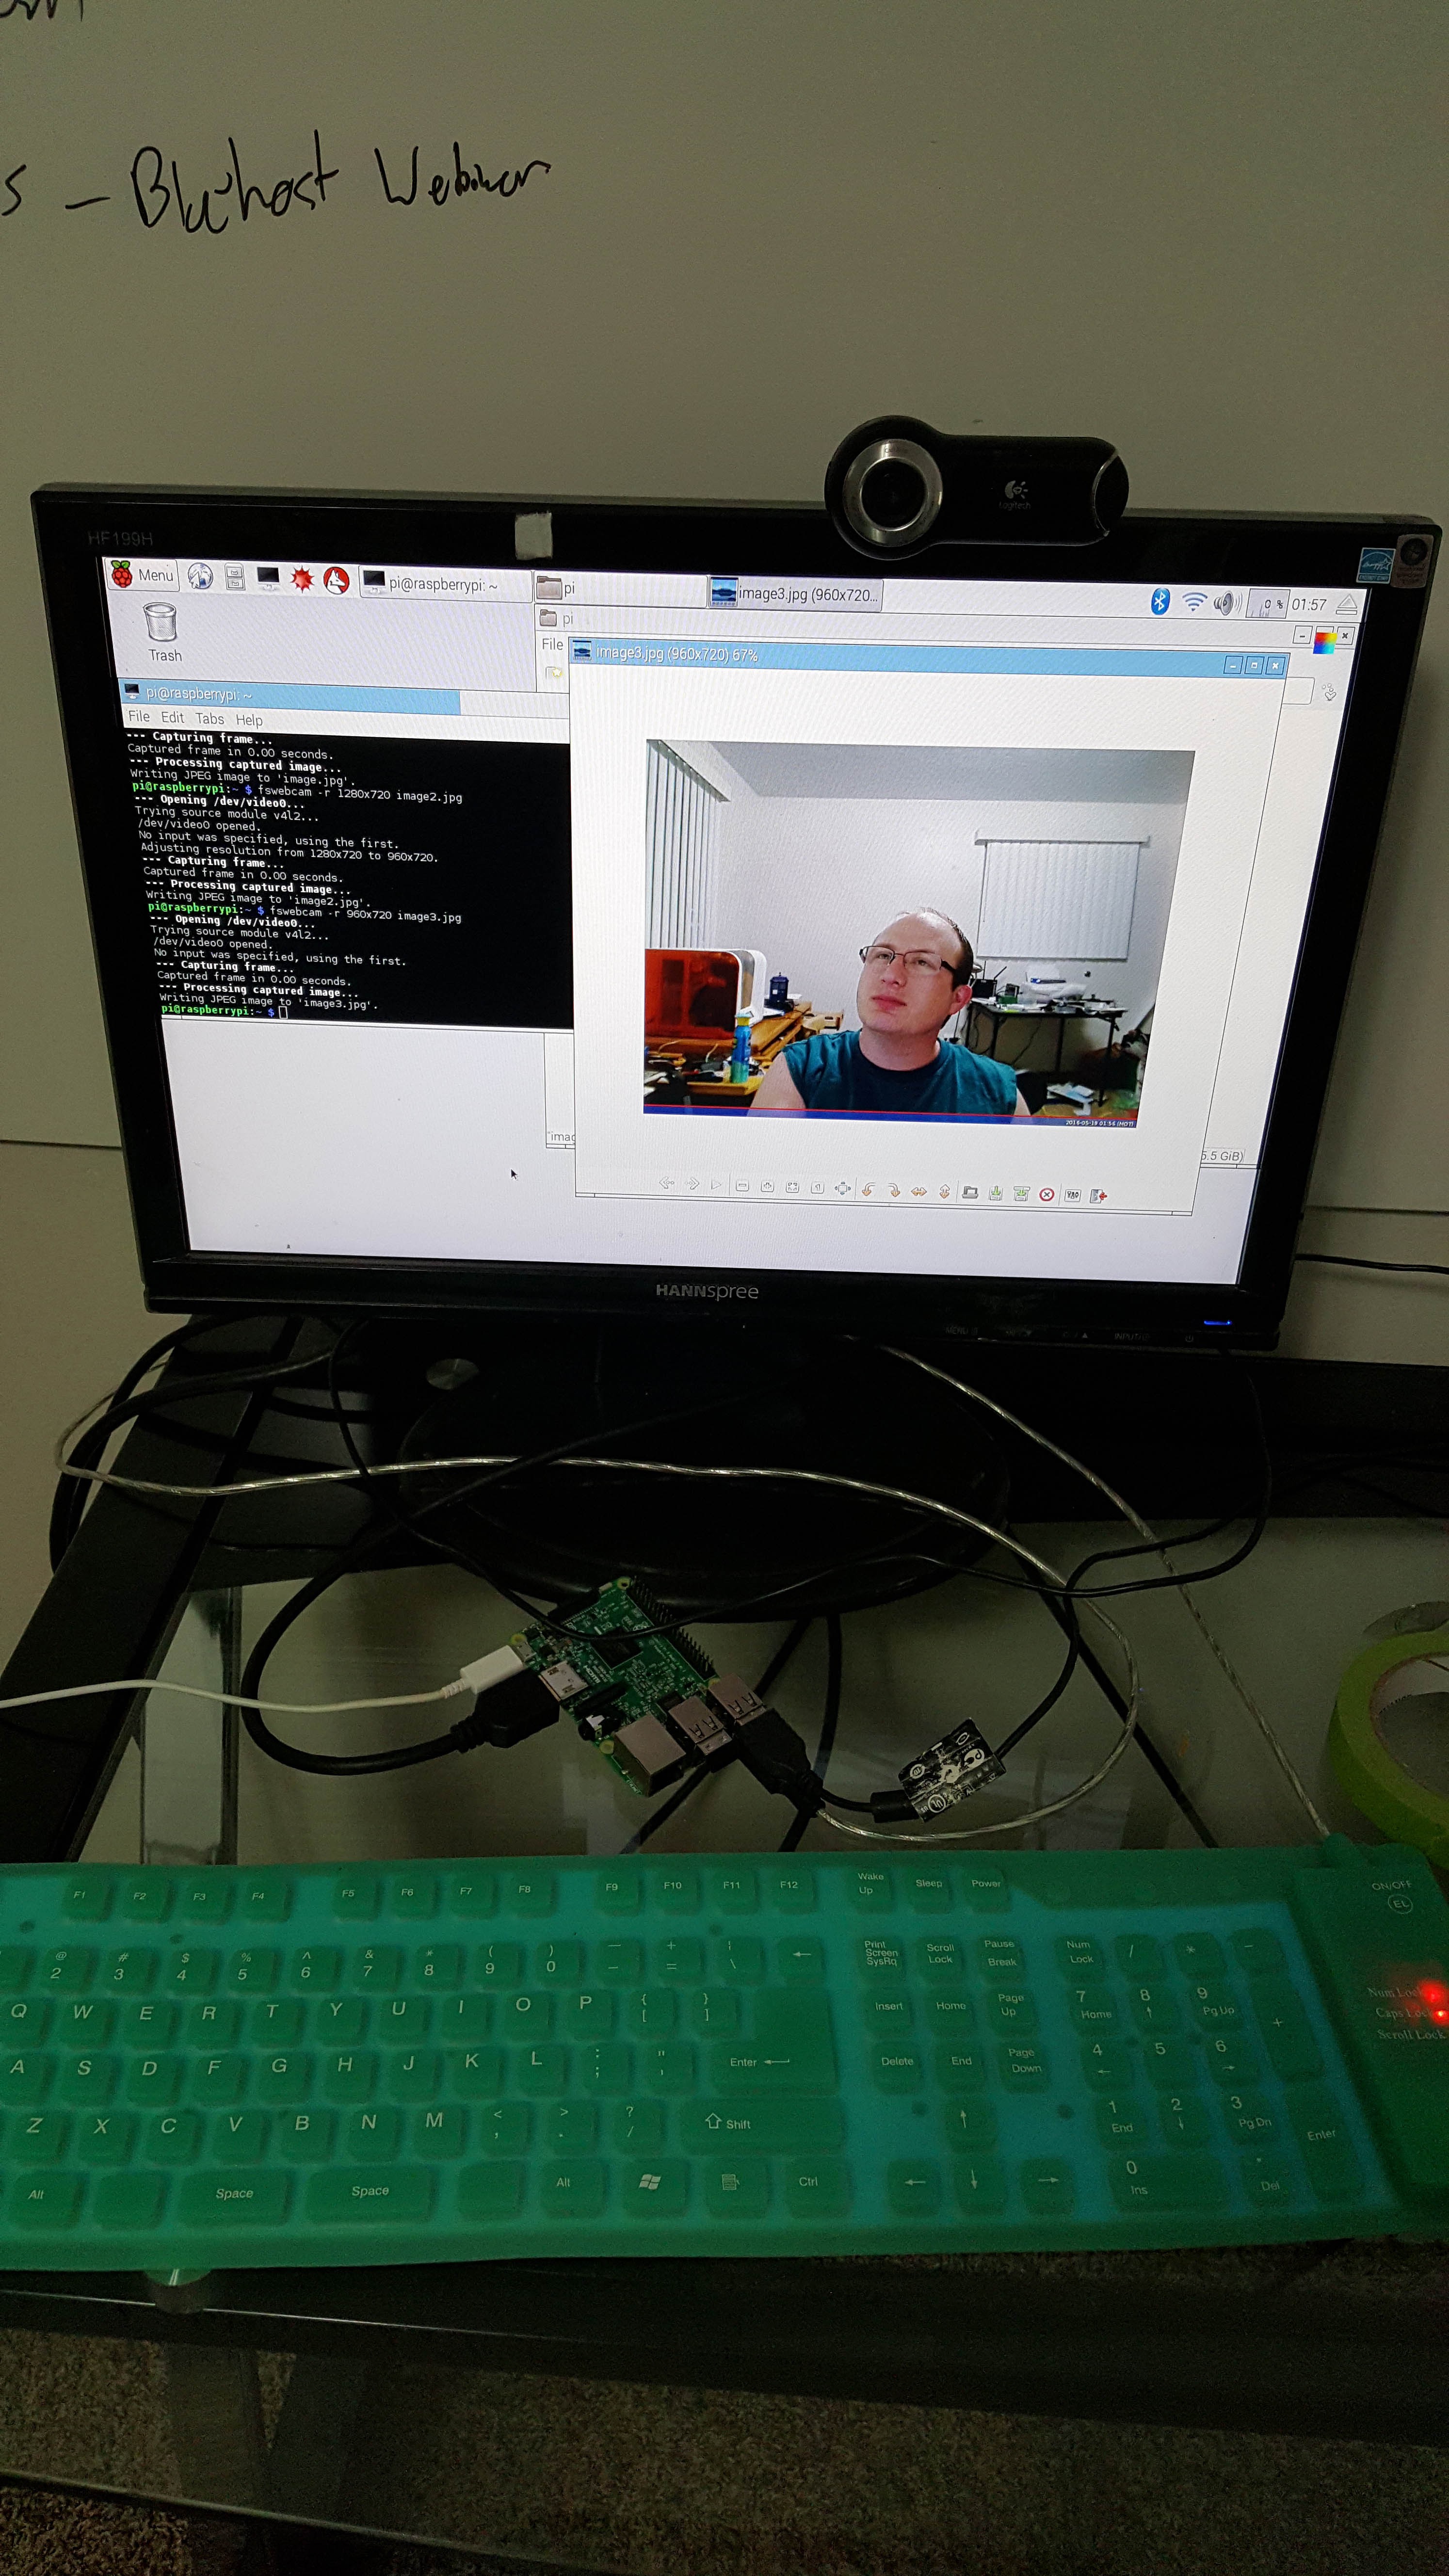
    Then I got the raspberry pi going and started researching the camera functionality. I needed to know what the state was for security camera programs or was I going to have to write one.

  • Gathering Parts

    kelley 05/30/2016 at 01:32 0 comments

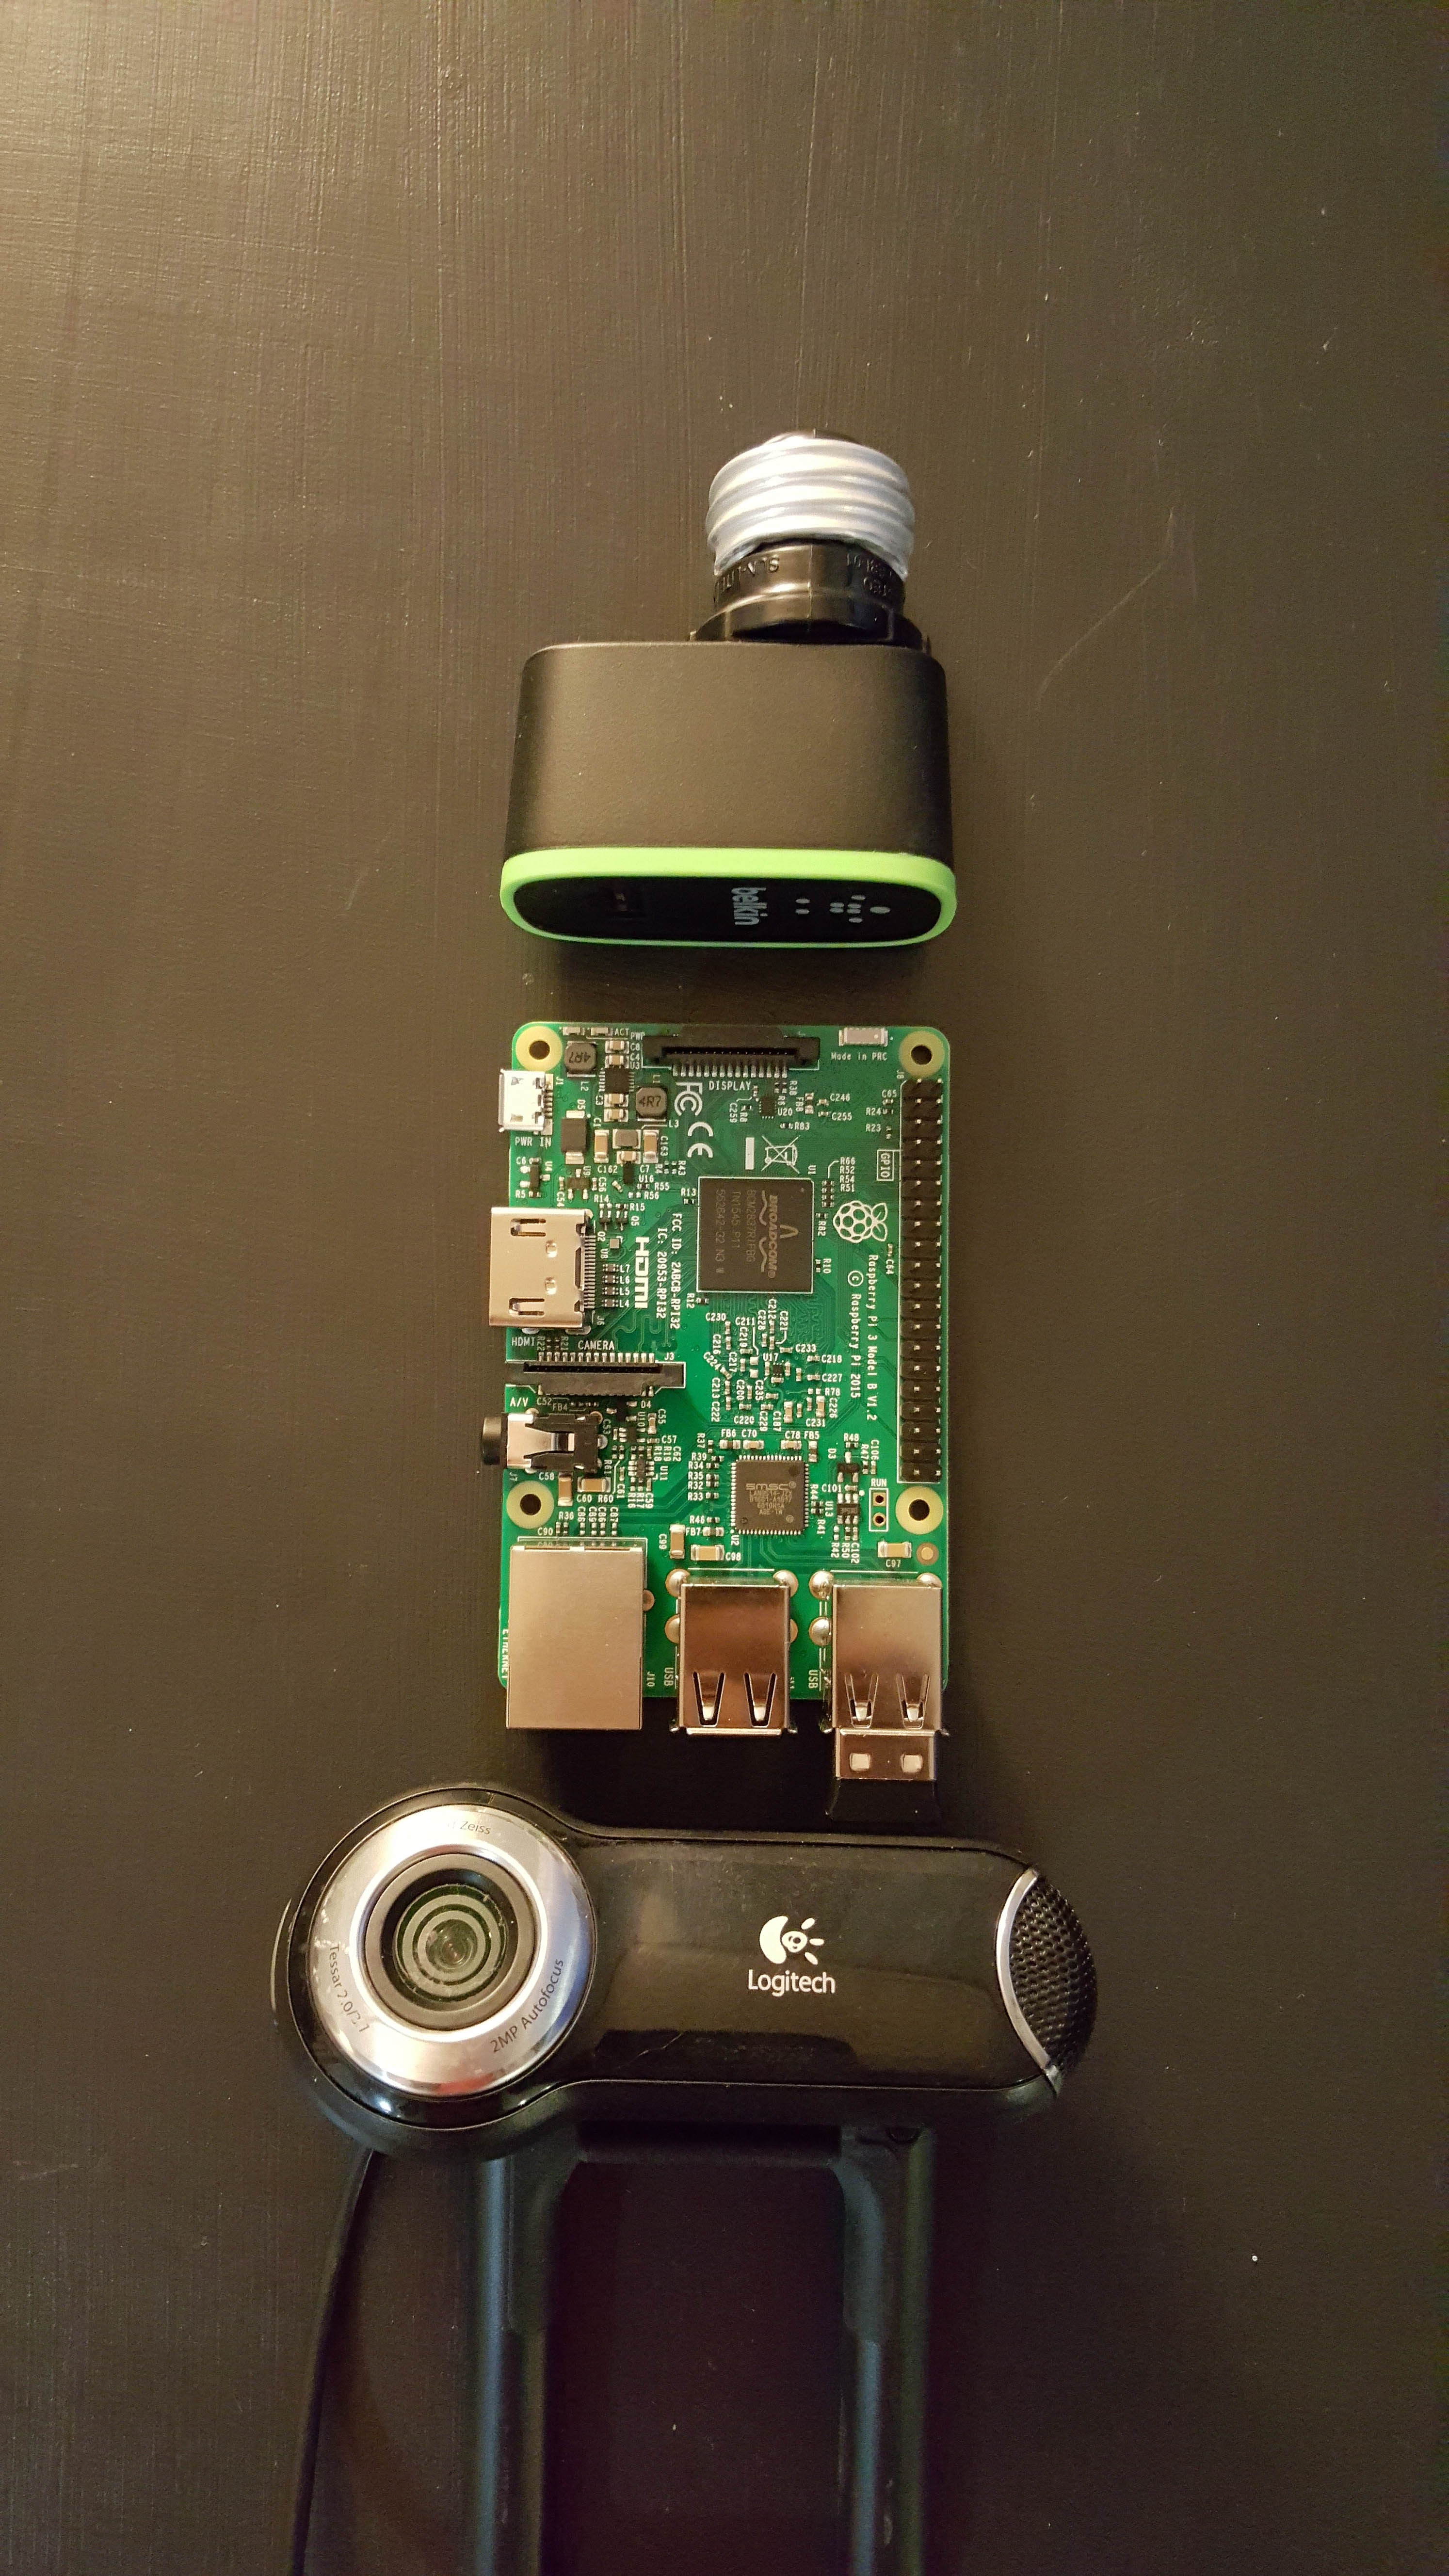
    The first phase after I submitted the idea was to start gathering some parts together. The layout below was the basic idea I was going for. A pi simply powered by a light socket.

View all 7 project logs

Enjoy this project?

Share

Discussions

Similar Projects

Does this project spark your interest?

Become a member to follow this project and never miss any updates