kelley
 -
Thoughts on Version 2.0
05/30/2016 at 04:25 • 0 commentsWhile I was sourcing parts for this build the pi foundation released an updated version of the pi zero that now includes a ribbon connector for the pi camera. They also updated the pi camera to an 8 mega pixel Sony. I still went with the older version because it was cheaper and worked just fine. The only thing I didn't like about the camera was the ribbon cable. For a project like this the ribbon cable doesn't offer much in the area of flexible positioning. Its kinda stiff and doesn't like being twisted. Fixed camera placement could be an issue. The next version could get around that by having 2 cameras ... one that points out and another that looks down.
The pi 3 worked very well its just a matter of size and that many of the features it has just aren't necessary. I do like that it has wifi built in though. For the next build I will go with either the new pi zero or the chip if it actually starts shipping.
With a version 2 I will probably spend more time on the power supply. It would work out better and save space to have an adapter that goes straight from the light socket to usb. This way it wouldn't require 2 adapters near the socket where space is the most limited.
I would also like to spend more time on the software even though MotionEyeOS is very capable as far as camera functionality goes it doesn't do much beyond that at this point. While it is basically just a gui for the underlying motion software that does the actual image manipulation. I would like to have something that is node / javascript based and more versatile web app where you can control everything in a more seamless experience and offer compatibility with things like push notifications, IFTTT , and Openhab.
-
Sample Images
05/30/2016 at 03:54 • 0 comments2 images captured with the motion detection ( I blurred out parts of my mess). Both of these were taken inside as it was raining at the time so I didn't have the option to install it to my outdoor light fixture. Also the color looks a little off because this is the no ir version of the pi camera because its better for night vision
![]()
![]()
-
Finishing up
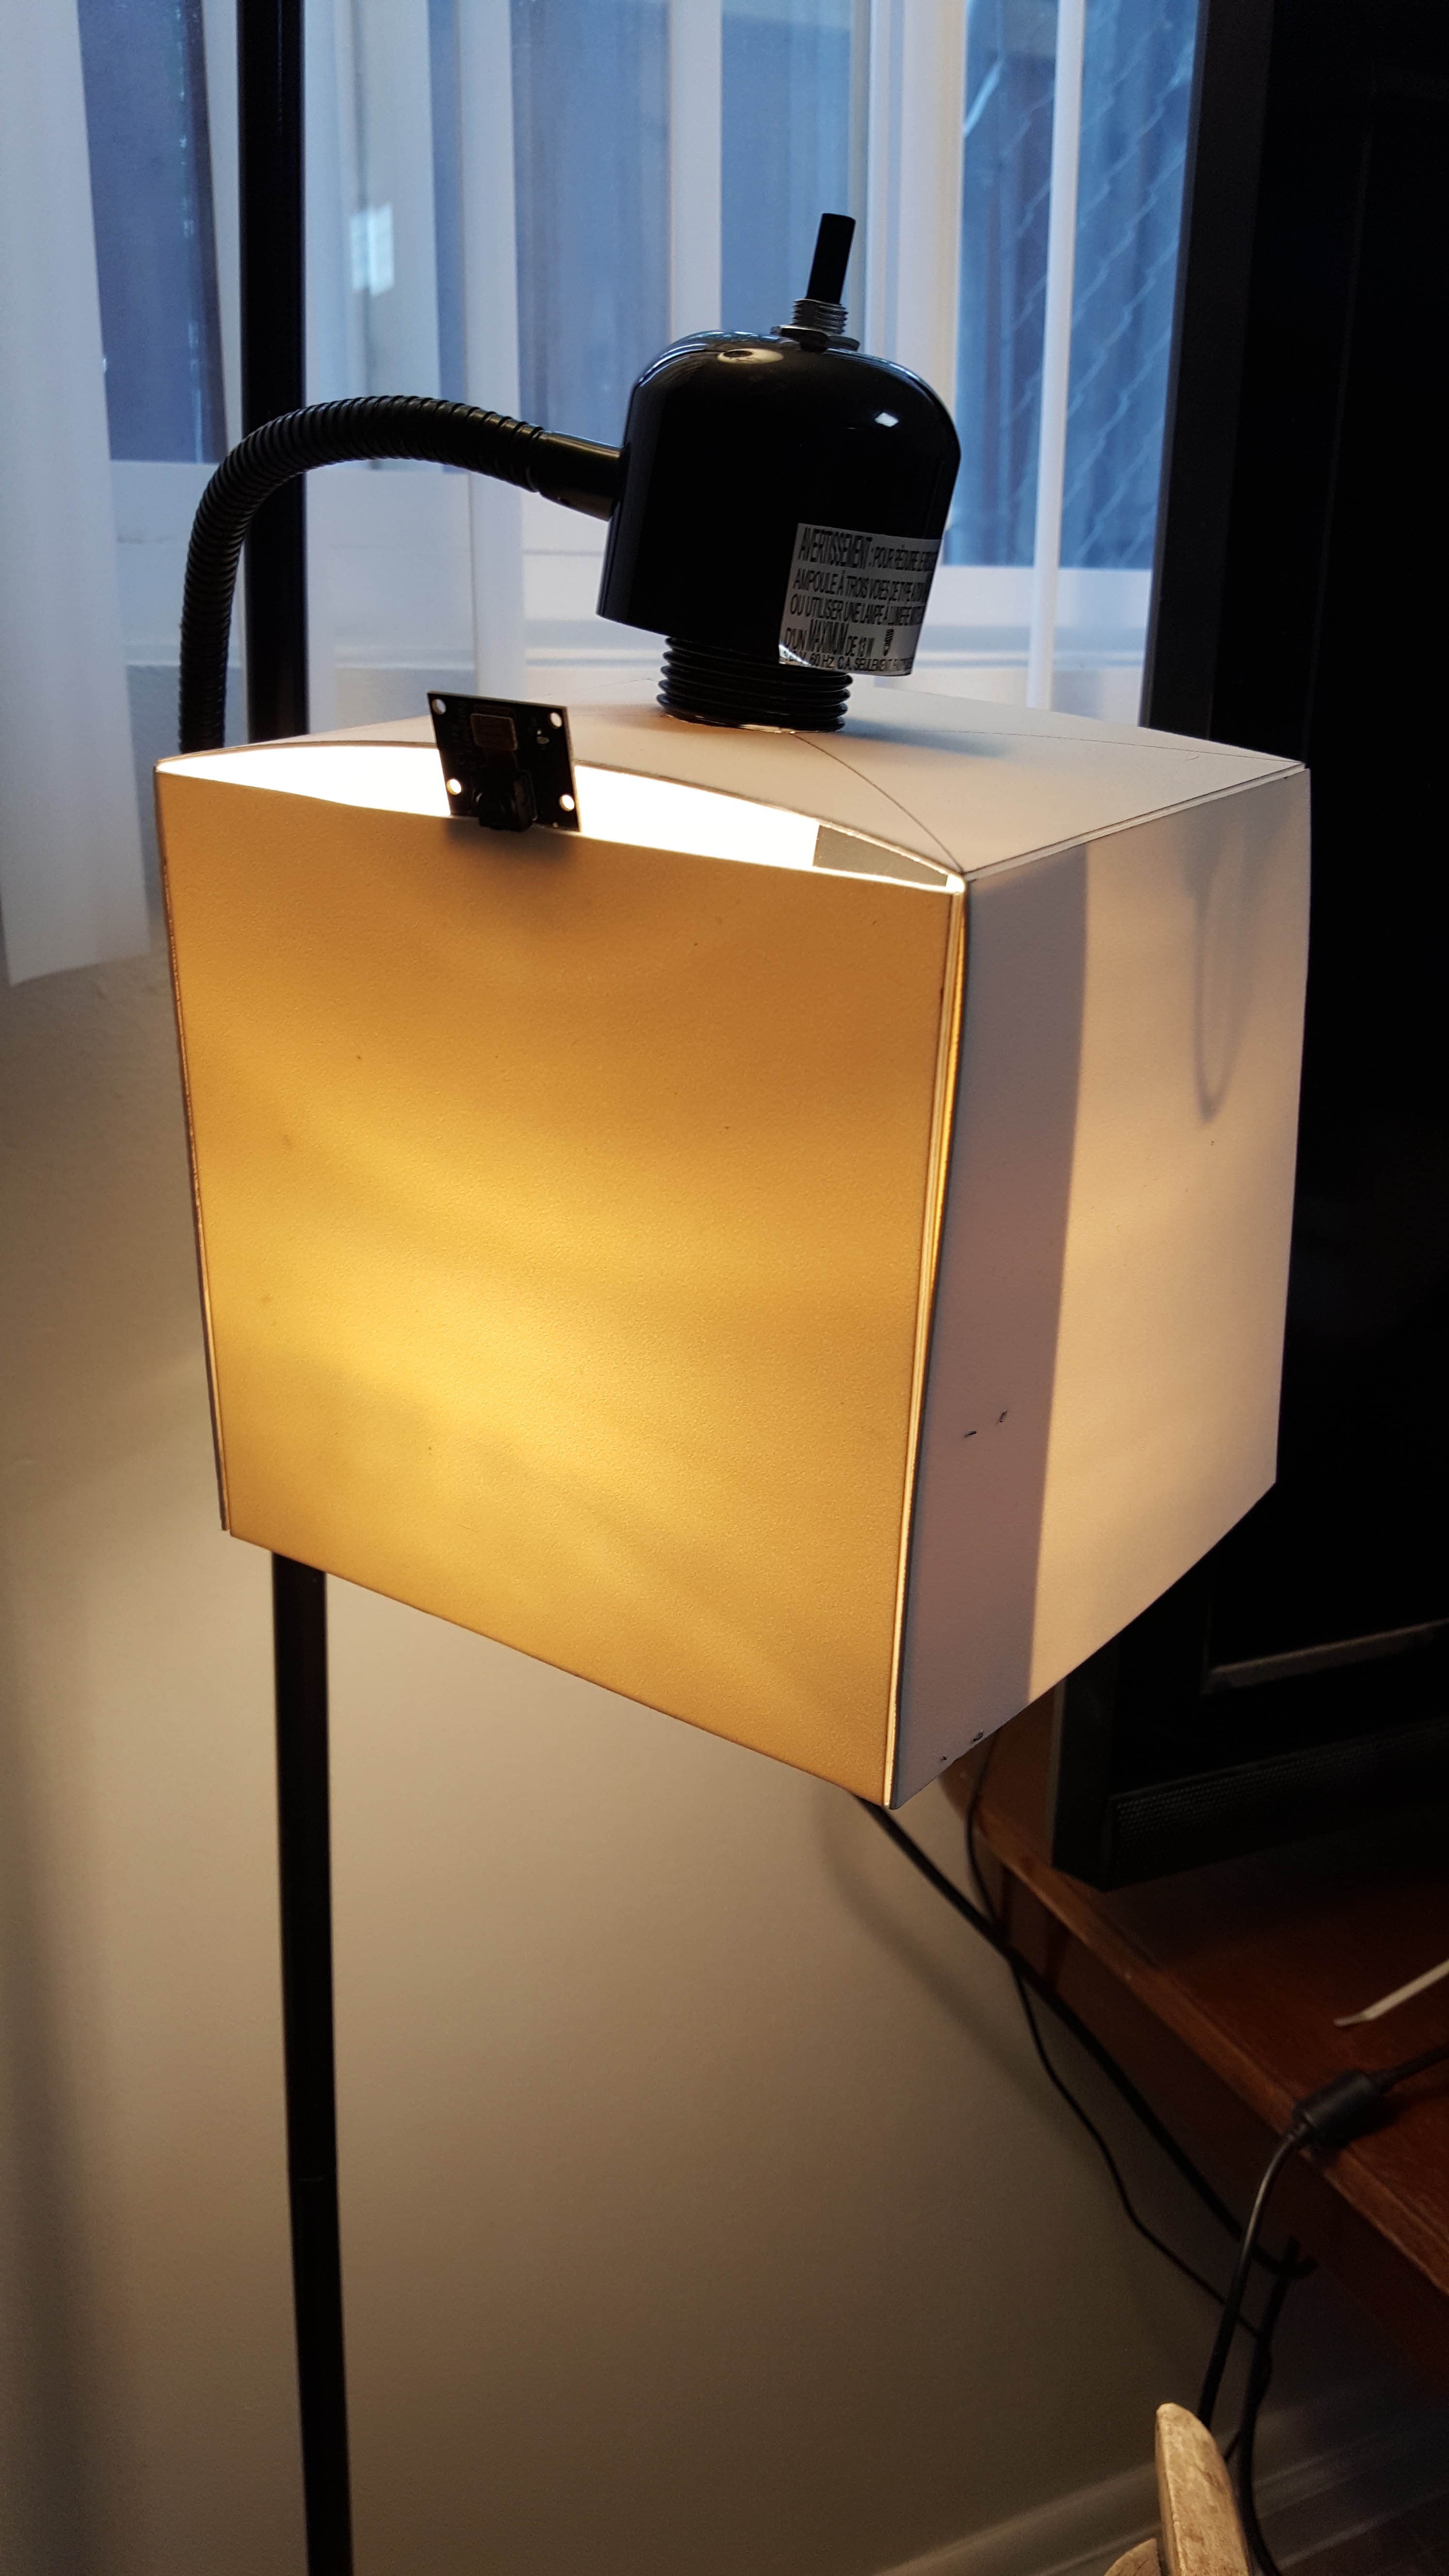
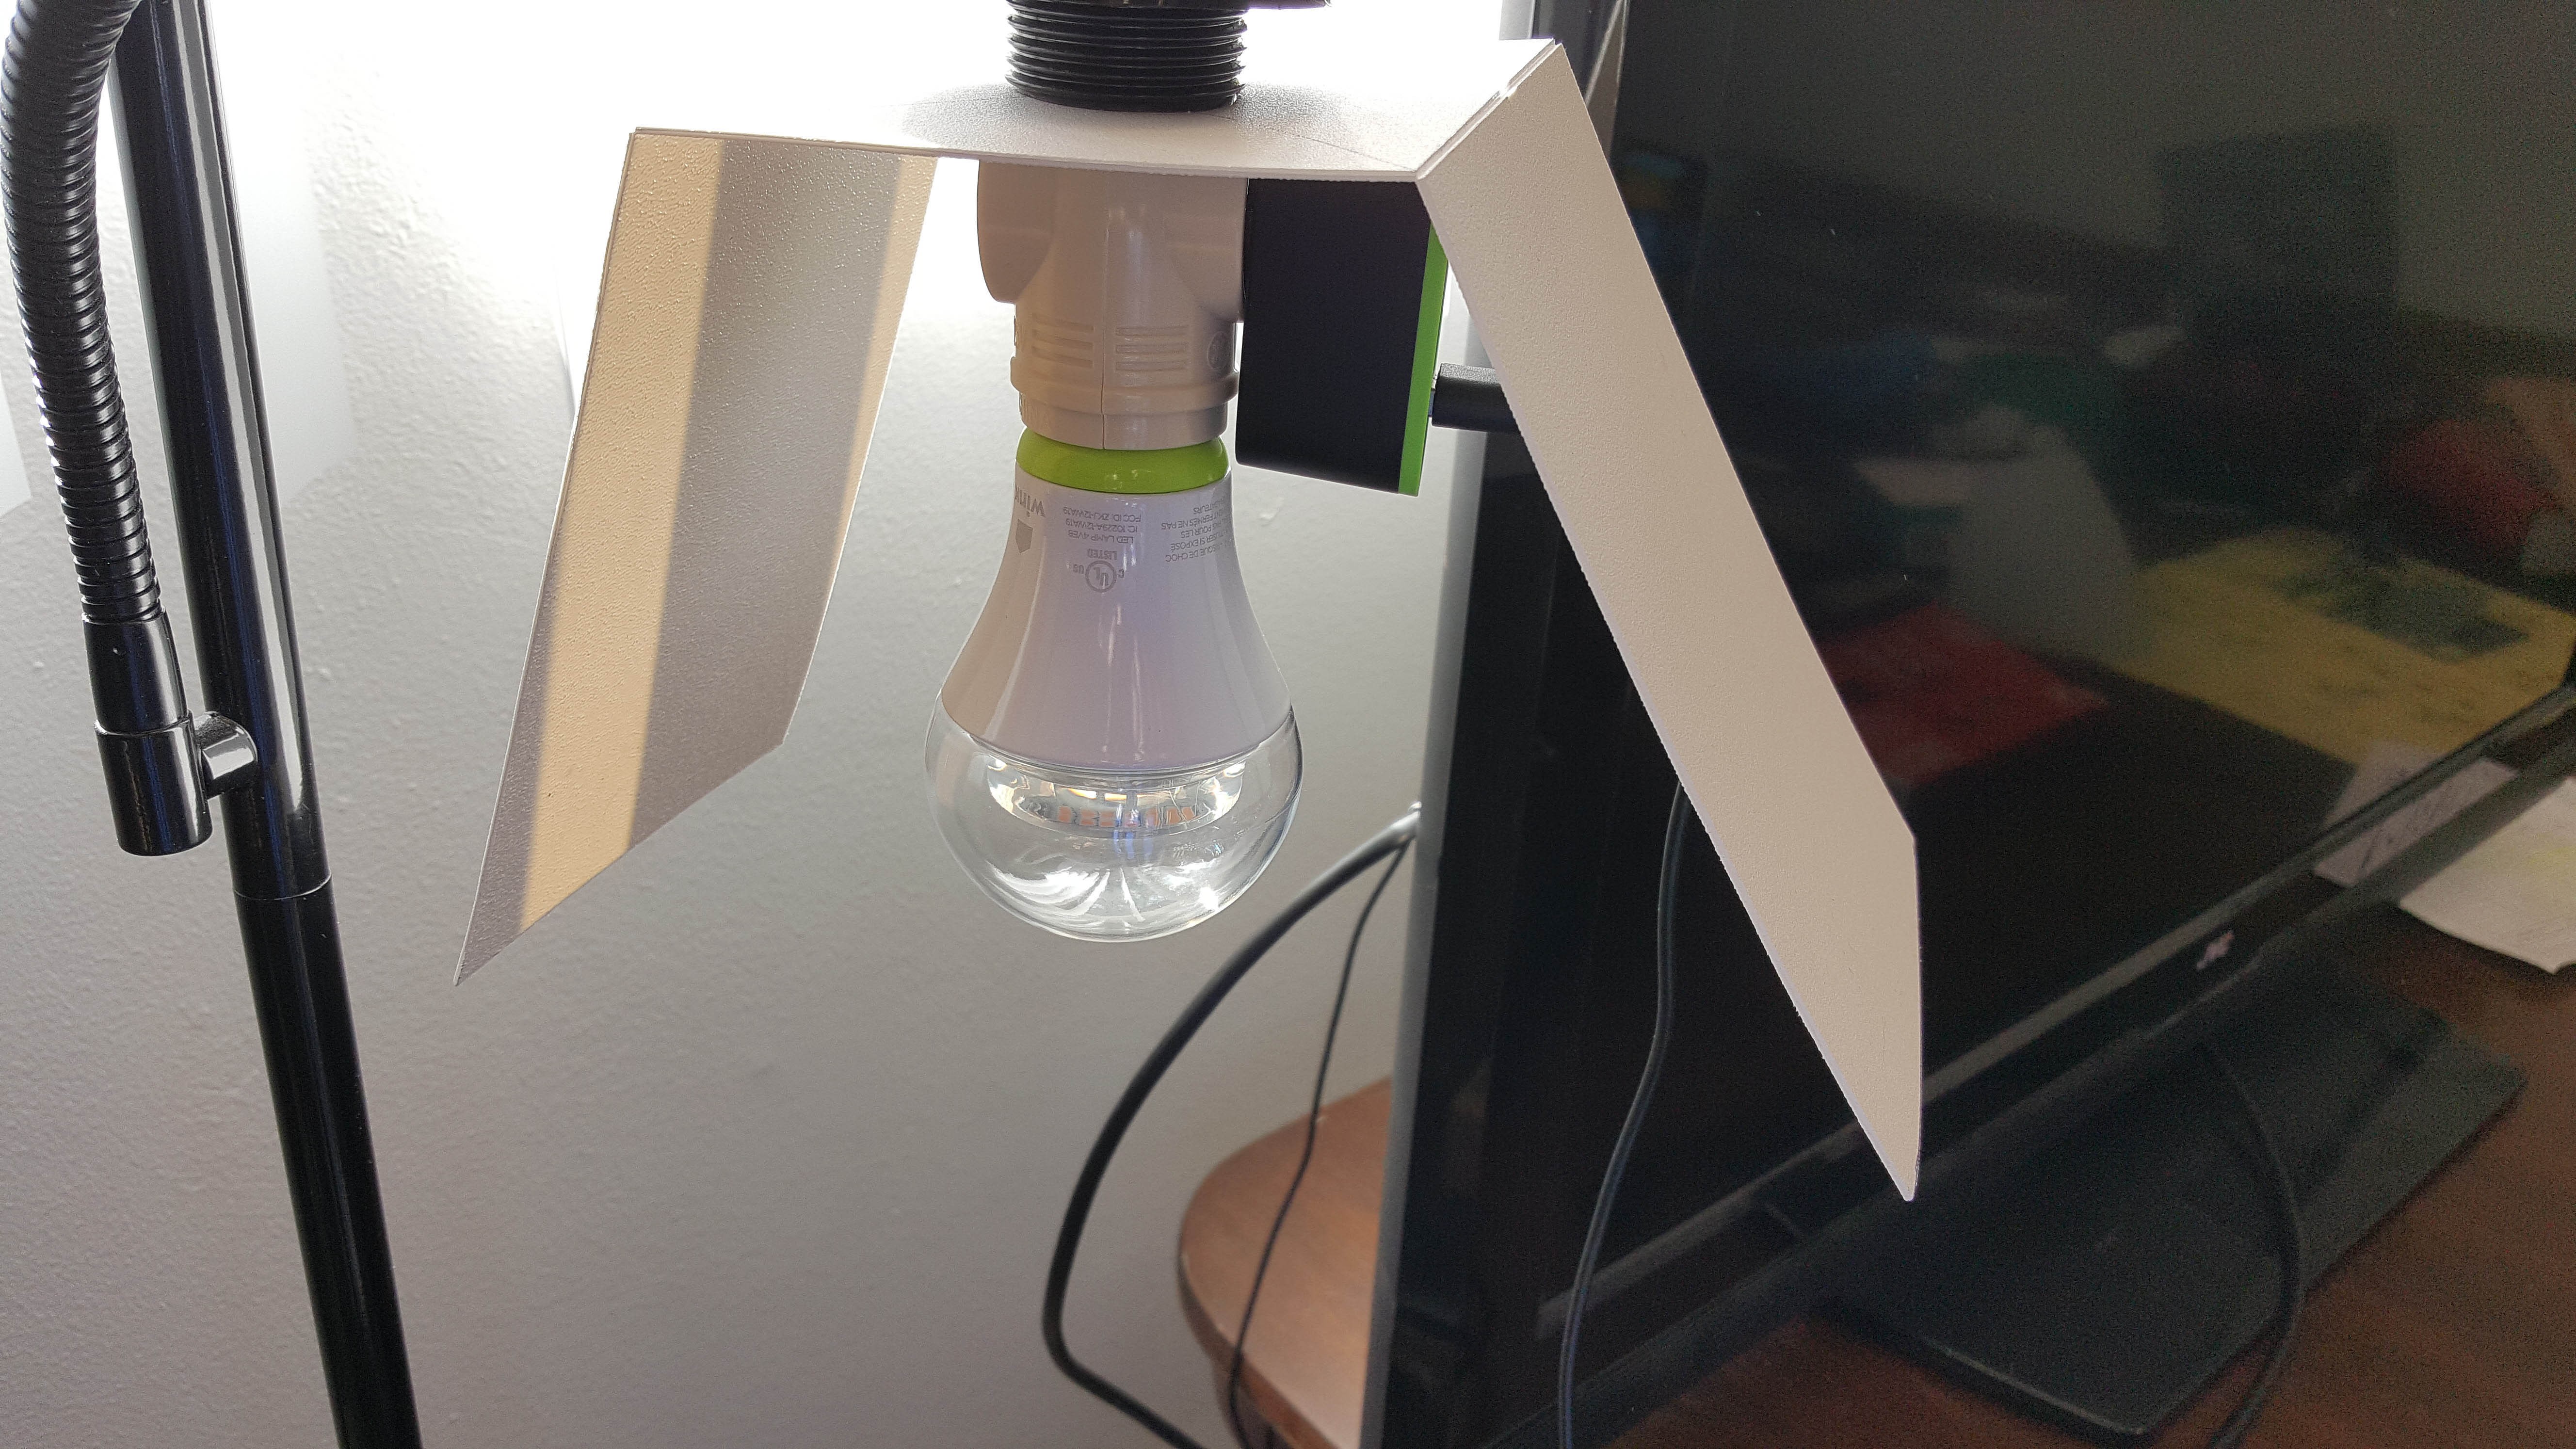
05/30/2016 at 03:10 • 0 commentsThe other thing that is missing from this prototype is a weather proof enclosure. The original plan was to 3d print or vacuum form one but mostly due to time constraints I was not able to get the far. 3D printing one 6 inches high would have taken about 8 hours on my printer. The other thing working against me with the enclosure is the components in this build are very large for something replacing a light bulb and fixture. I did attempt to make temporary enclosure with some plastic board and it turned out looking more like a lamp shad haha.
![]()
![]()
The zip ties are also just a temporary place holder so I could measure and print a proper bracket
![]()
light is on and video is streaming
![]()
-
Putting it all together
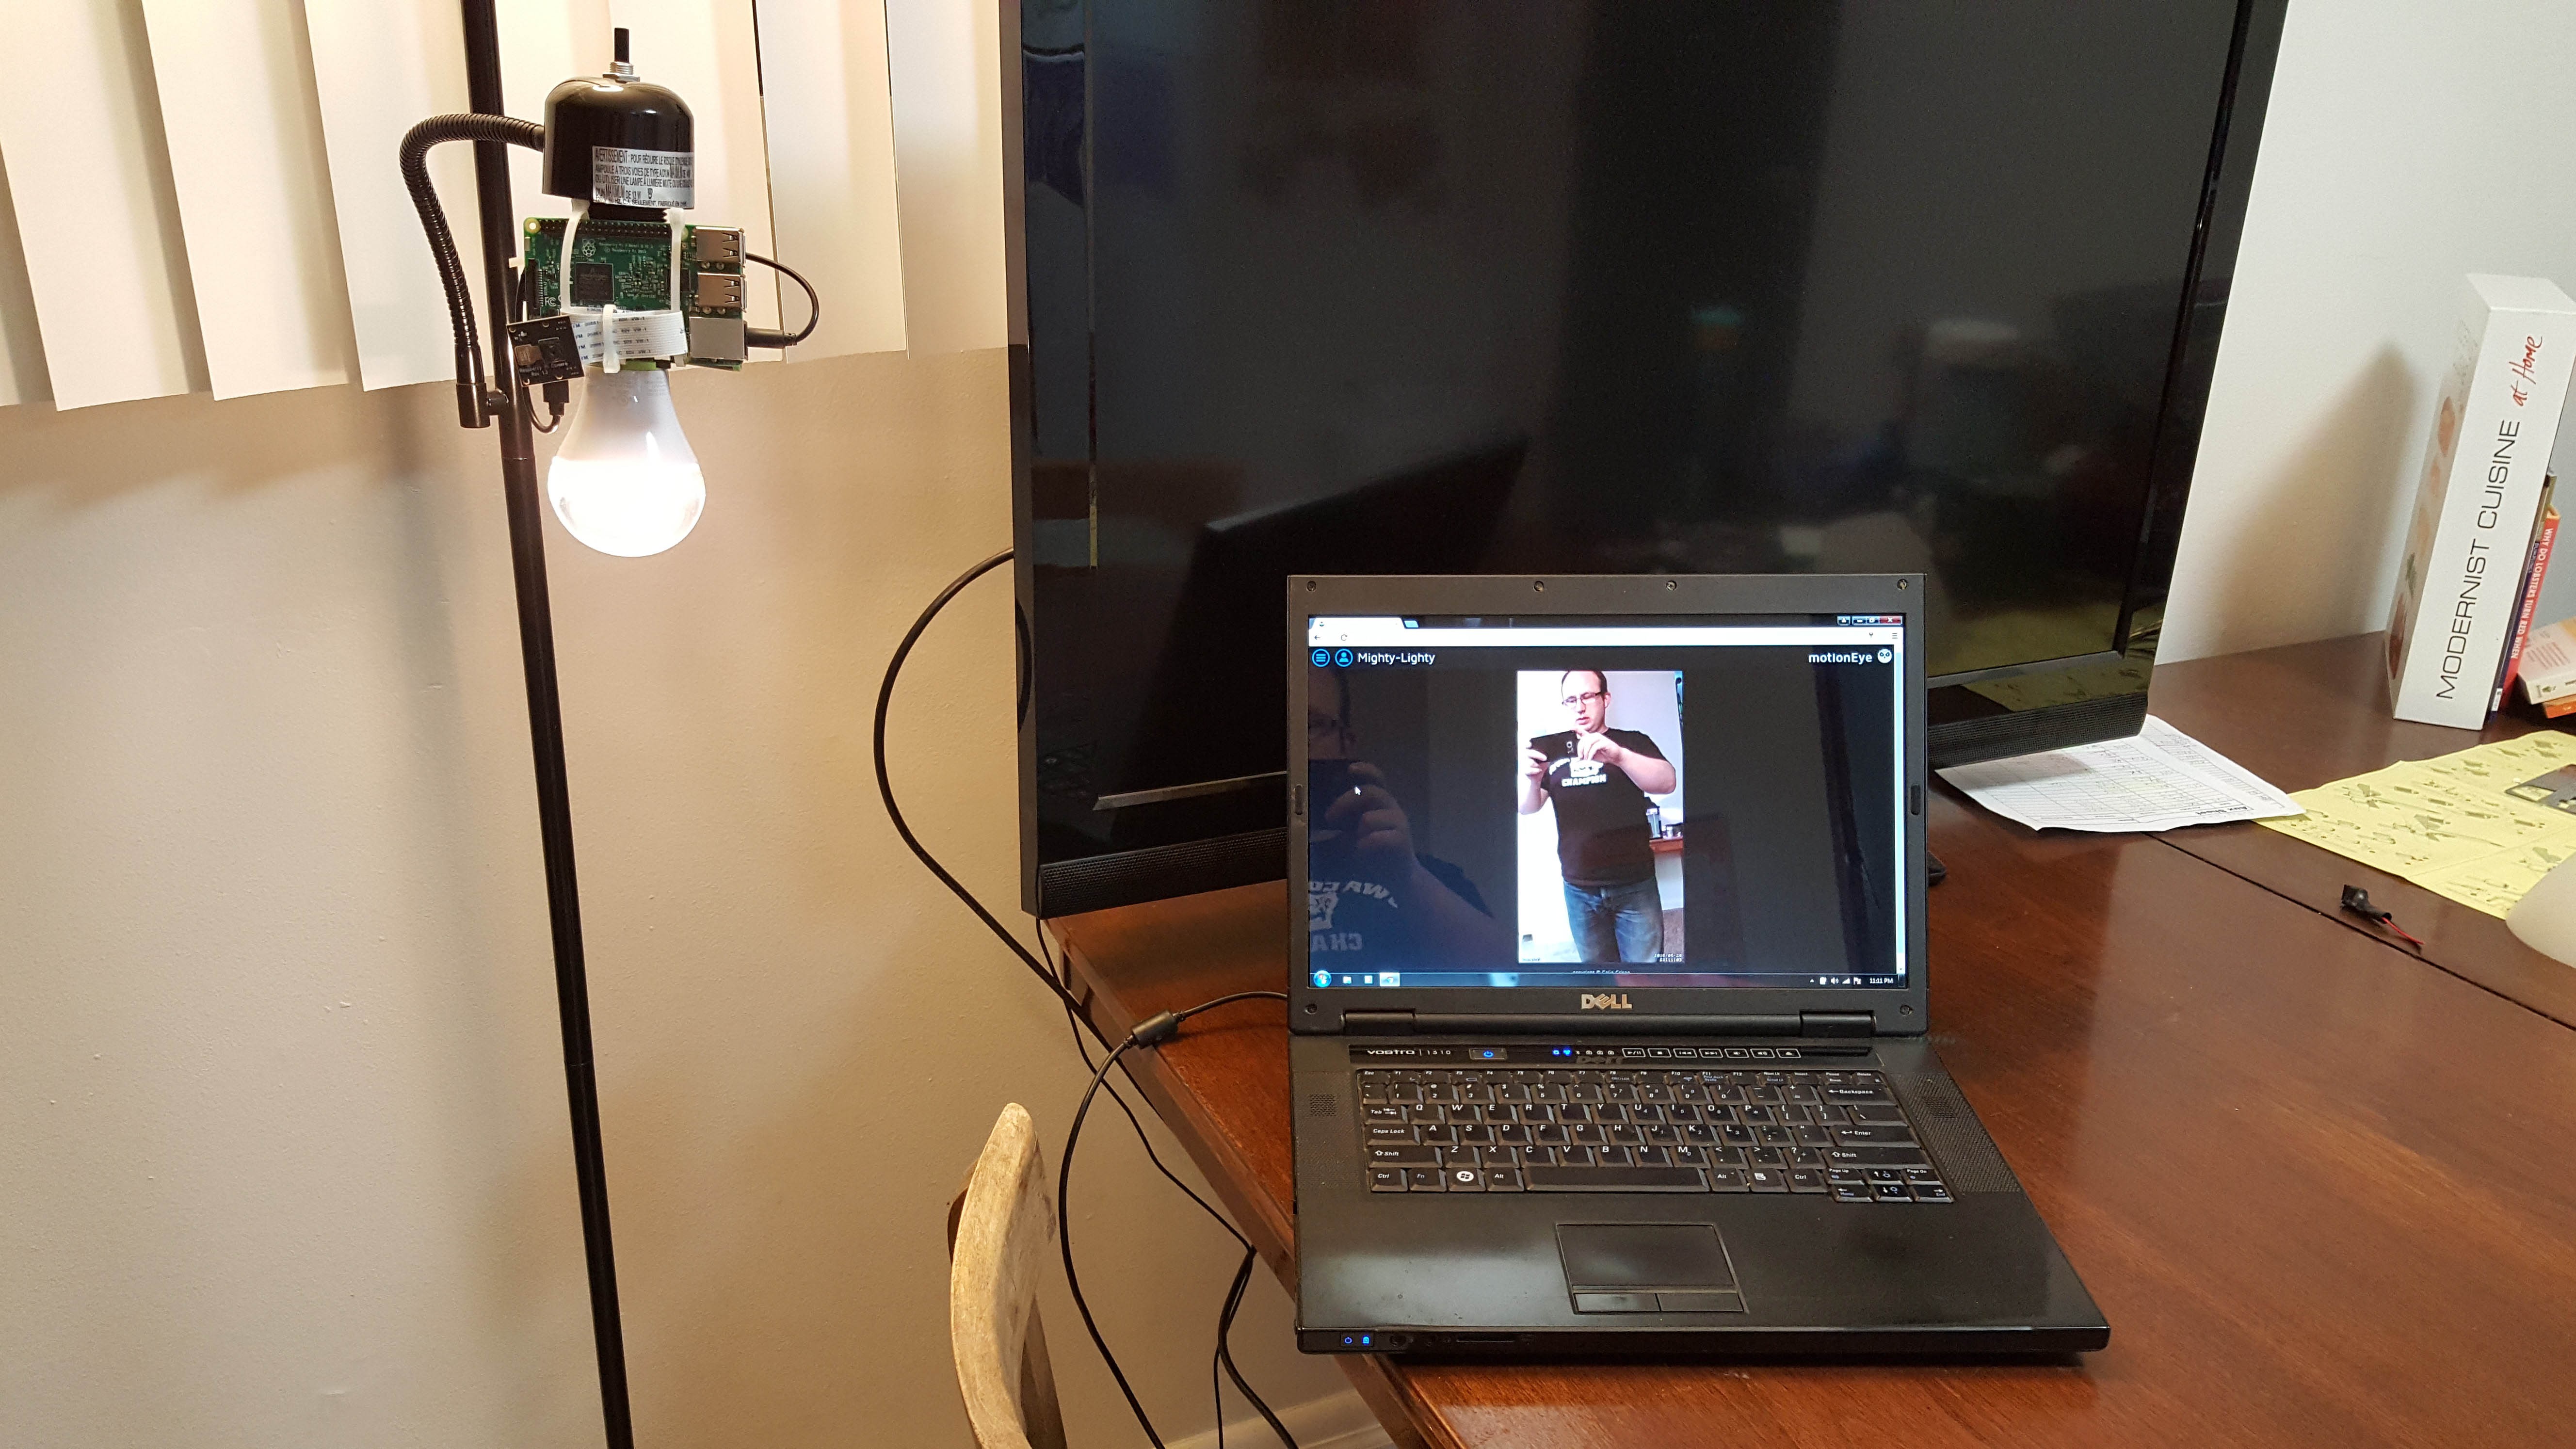
05/30/2016 at 02:40 • 0 commentsAfter switching to the alternative lighting with the smart bulb I was able to put it together pretty quickly.
I installed MotioneyeOS and took the stock raspbian off. Out of the box it is very functional for this particular case but for a production model or consumer version the software would have to be even more user friendly for non tech people. Which is the whole point of this project.
Switching to the smart bulb also meant switching to a slightly different light socket adapter with a 2 prong outlet on the side.
This version of the prototype achieved the following things:
- App controlled lighting through the wink app
- turn on/off ,
- dimmable
- scheduling
- Web controlled security camera made possible by MotionEyeOS
- Motion detection
- image capture and save
- video capture and save
- save data to google drive or dropbox
- view video away from the house
- email notifications of motion detections
- Hardware
- pi 3 with integrated wifi
- pi camera 5 mega pixel
- GE A19 smart bulb
- usb charger
- App controlled lighting through the wink app
-
LED lights?
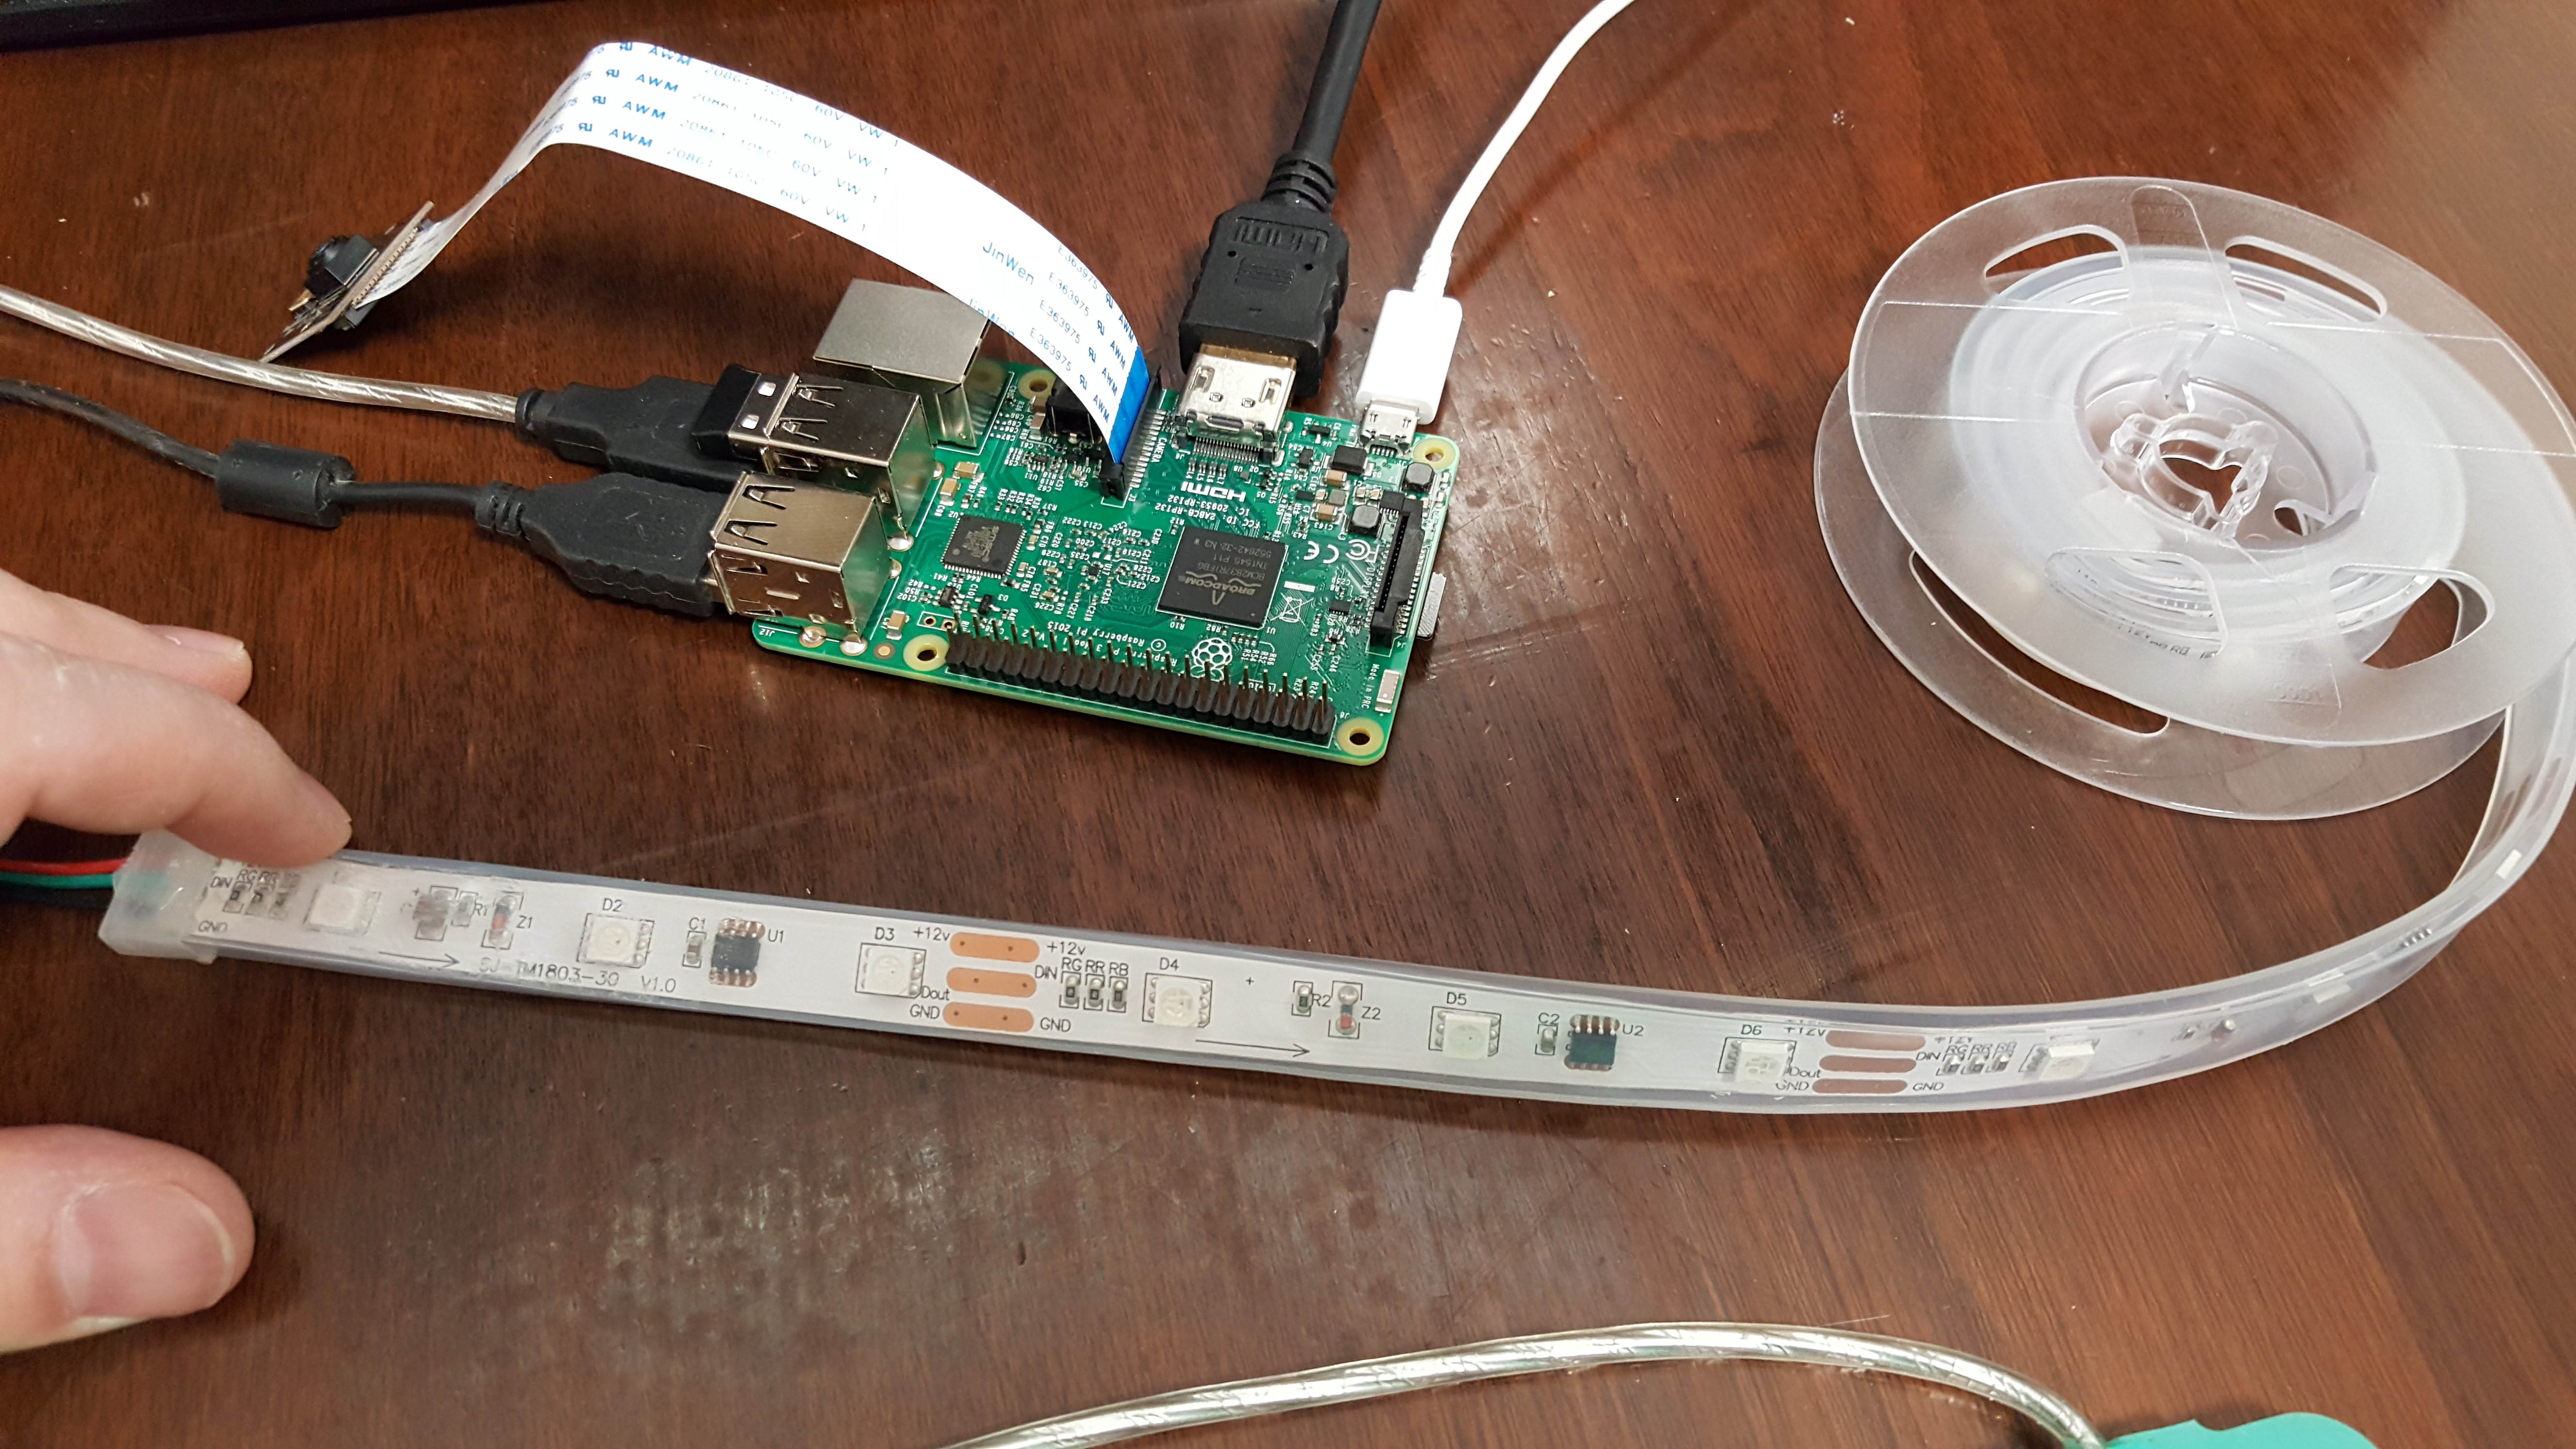
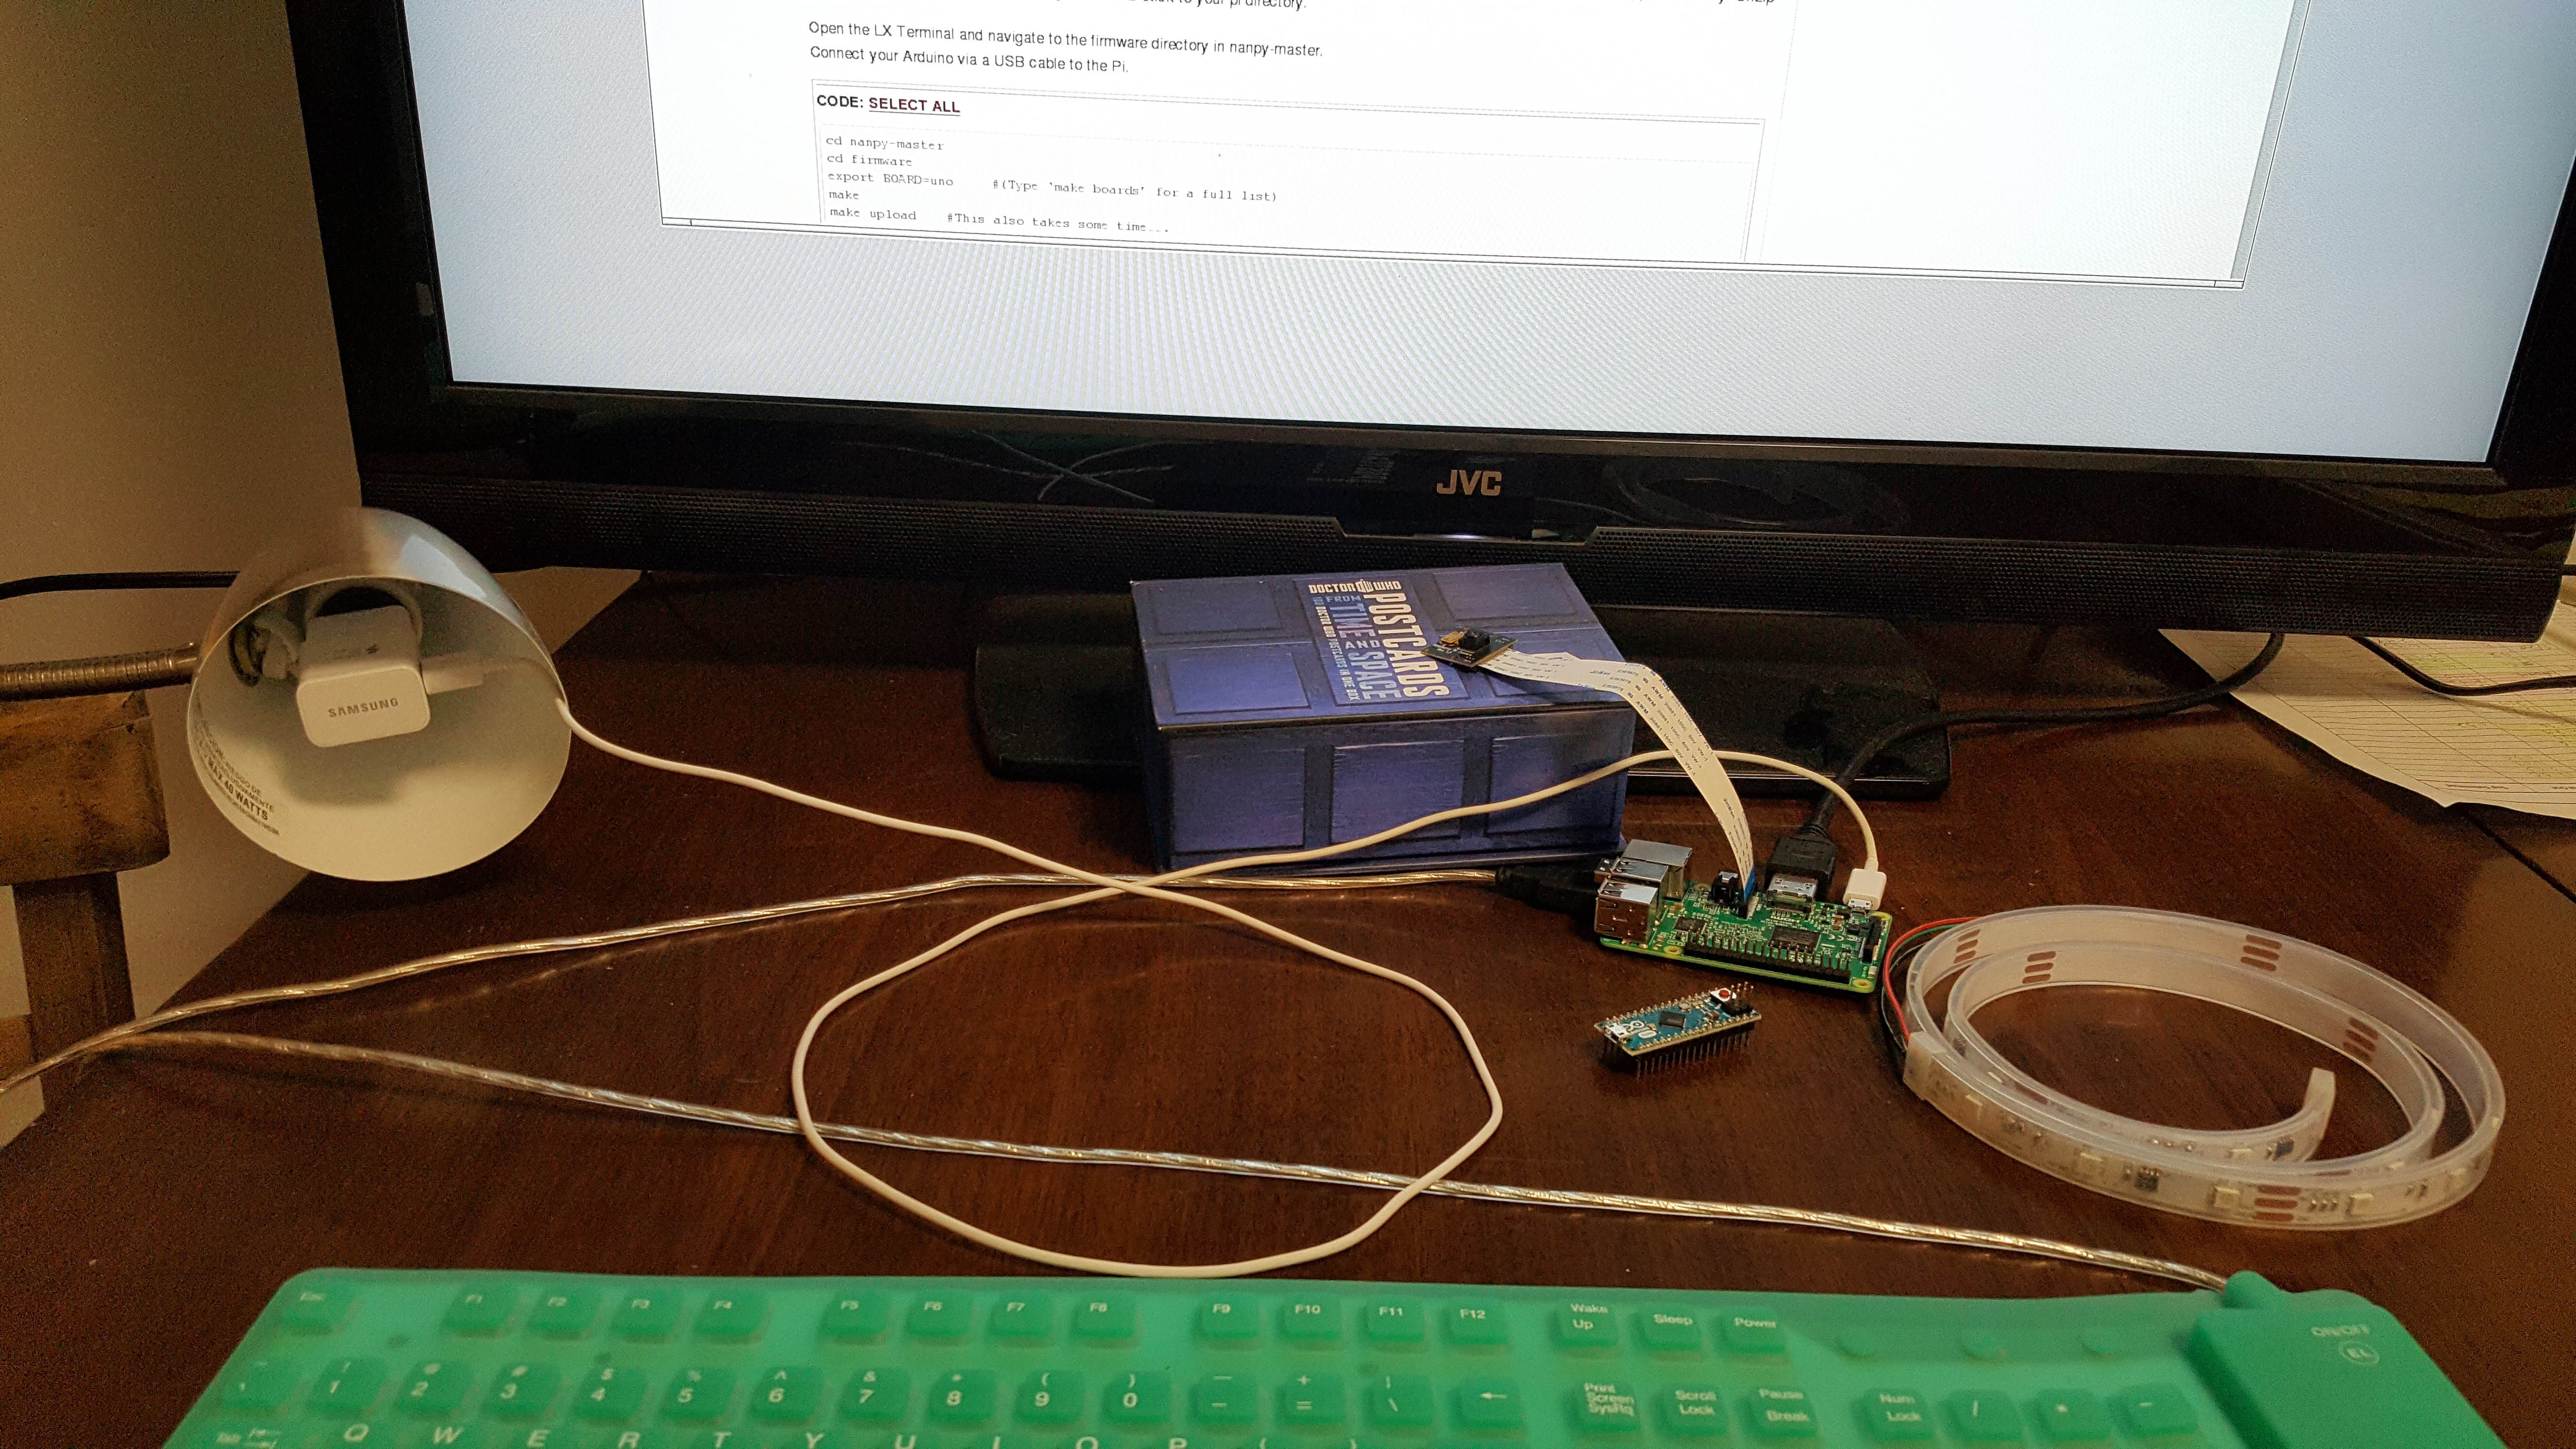
05/30/2016 at 01:53 • 0 commentsThis is where the project started to go sideways from what the original idea was. To have both the camera and lighting controlled from the same app. I didn't think want to waste a whole day waiting on an led strip from amazon so I picked up one I found in town. But the led strip I ended up with turned out be analog and not digital. Meaning it would have required a separate arduino board to control and a separate 12vdc power source.
Had it been a digital 4 wire led strip I would not have had the problems getting it to work.
![]()
So the work around to get something functional by the end of this phase of the contest was to switch the light to a GE-A19 smart bulb. It filled the need of having a light source that can be controlled from an app.
![]()
-
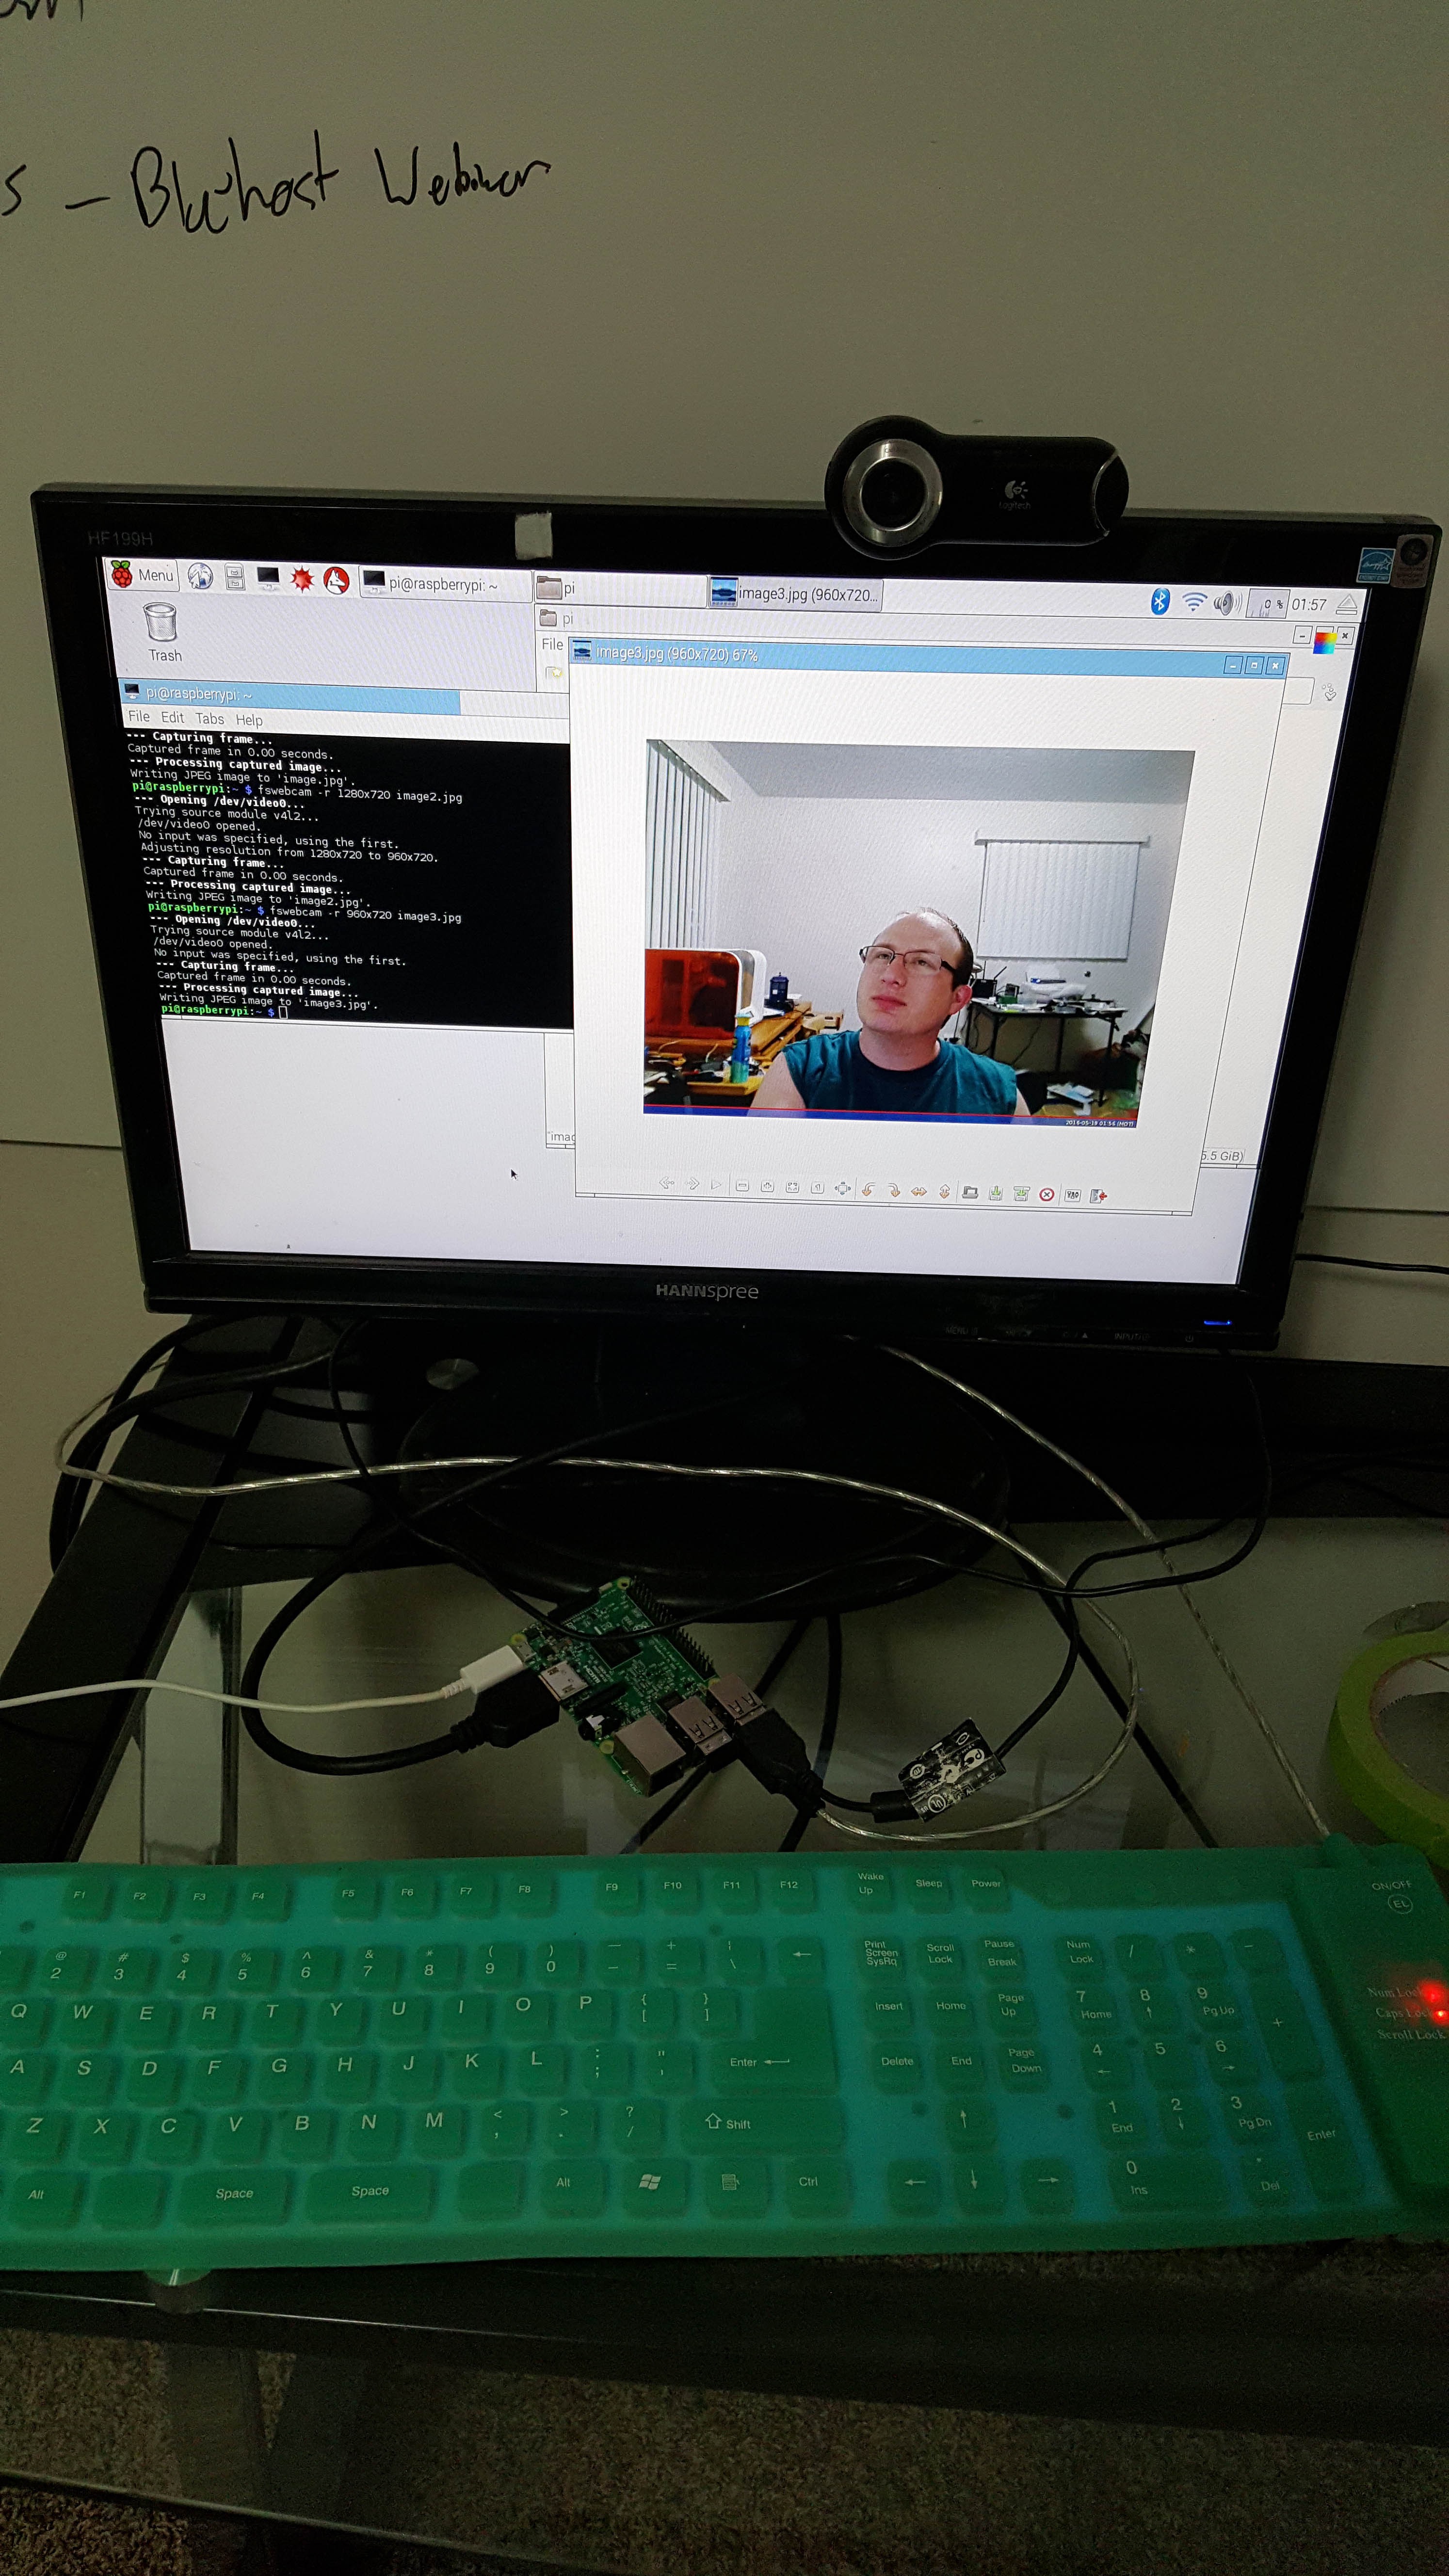
Testing Software
05/30/2016 at 01:36 • 0 commentsThen I got the raspberry pi going and started researching the camera functionality. I needed to know what the state was for security camera programs or was I going to have to write one.
![]()
-
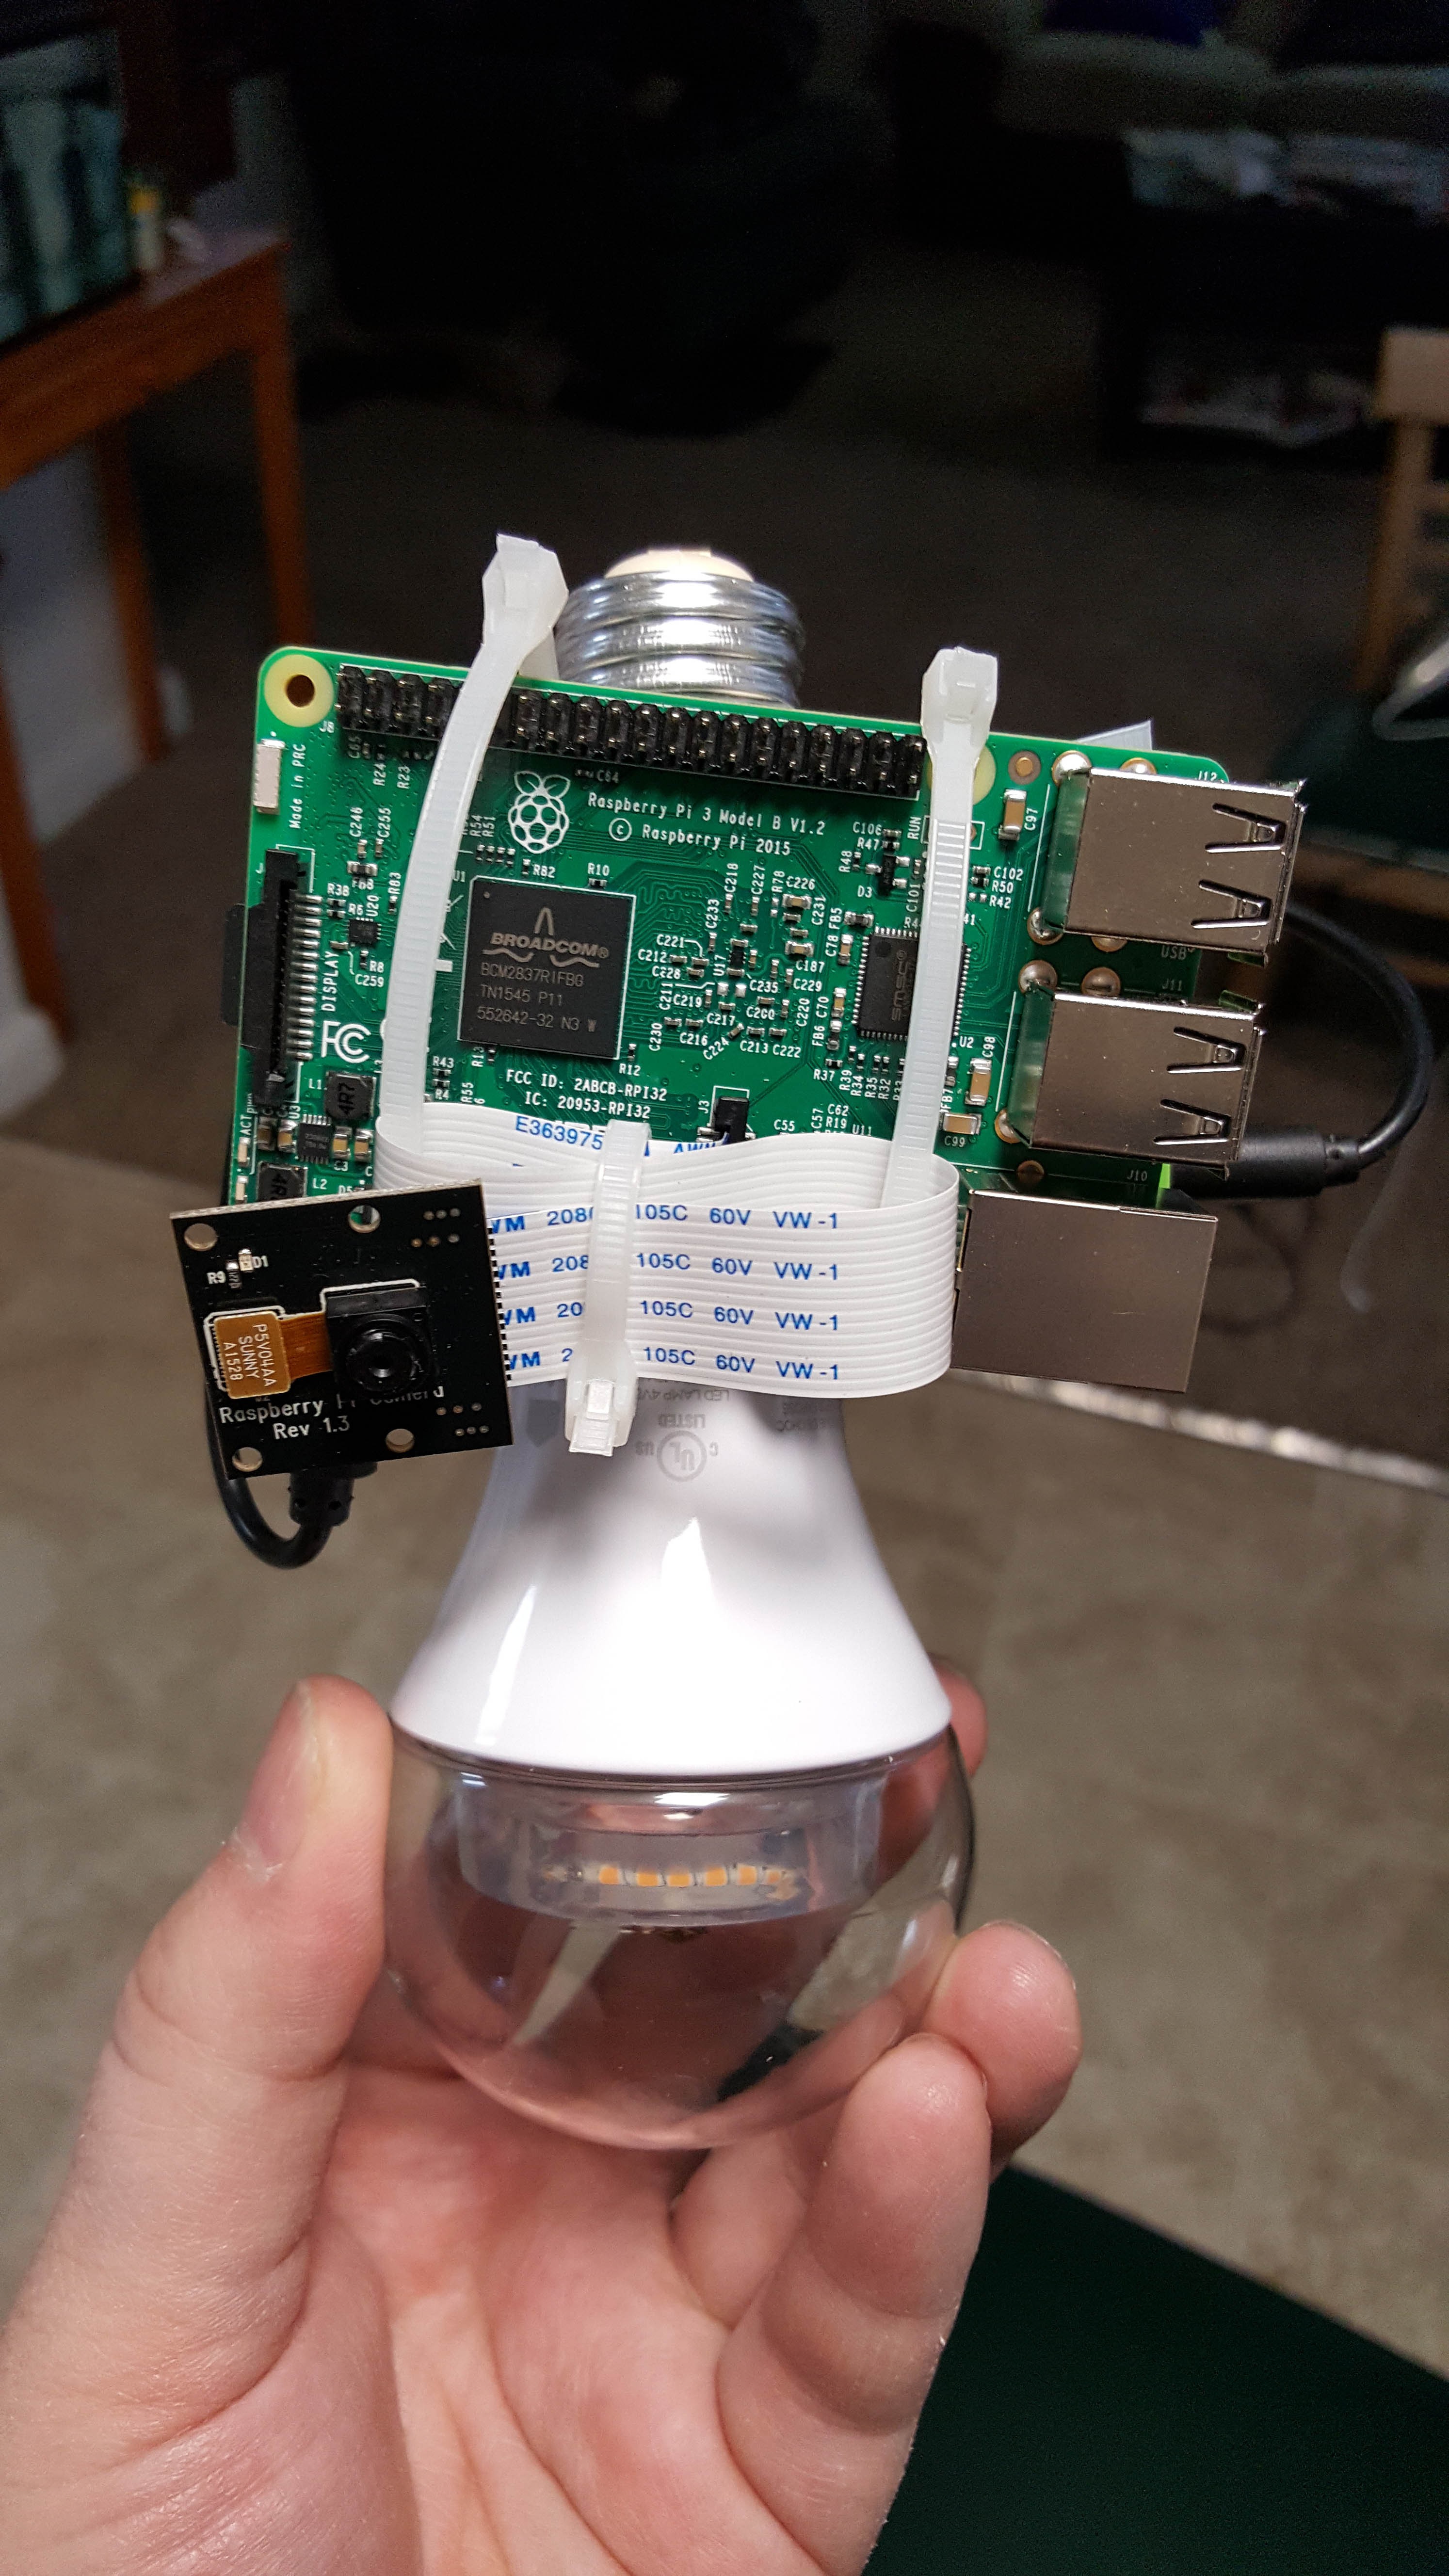
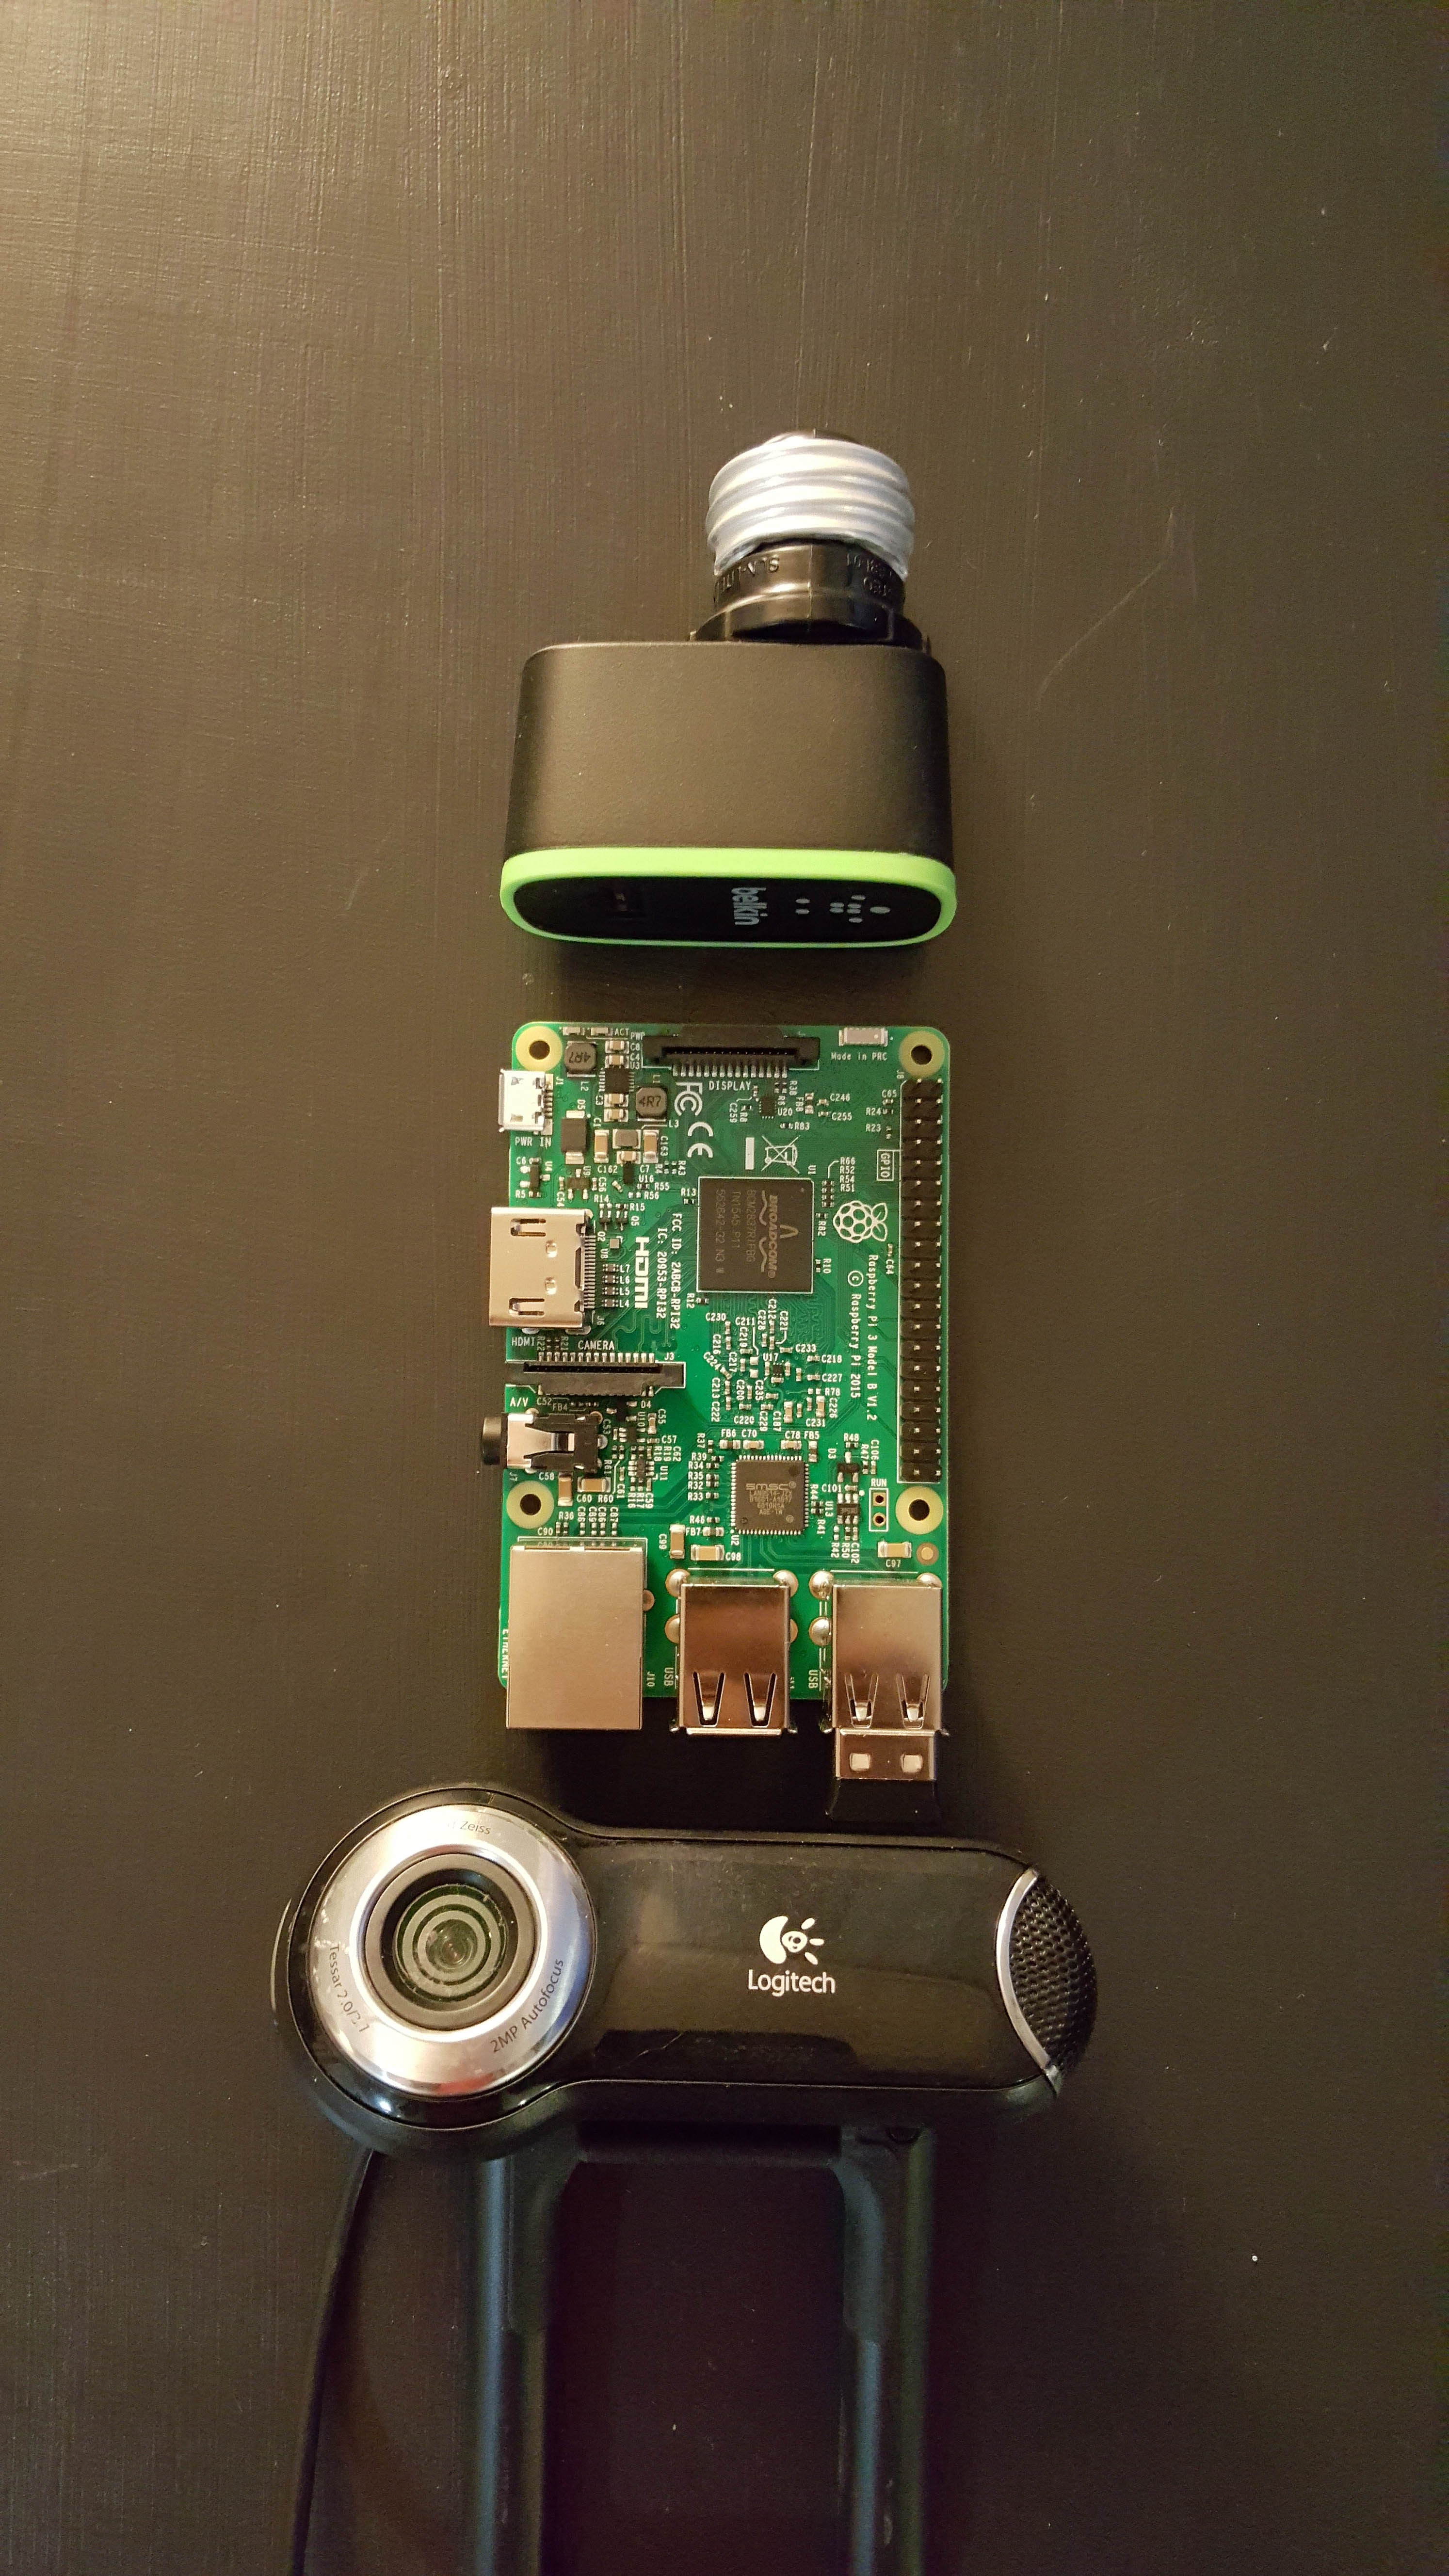
Gathering Parts
05/30/2016 at 01:32 • 0 commentsThe first phase after I submitted the idea was to start gathering some parts together. The layout below was the basic idea I was going for. A pi simply powered by a light socket.
![]()
Mighty Lighty
If you can change a light bulb.... You can install this security camera