-
1Step 1
Electrical circuit
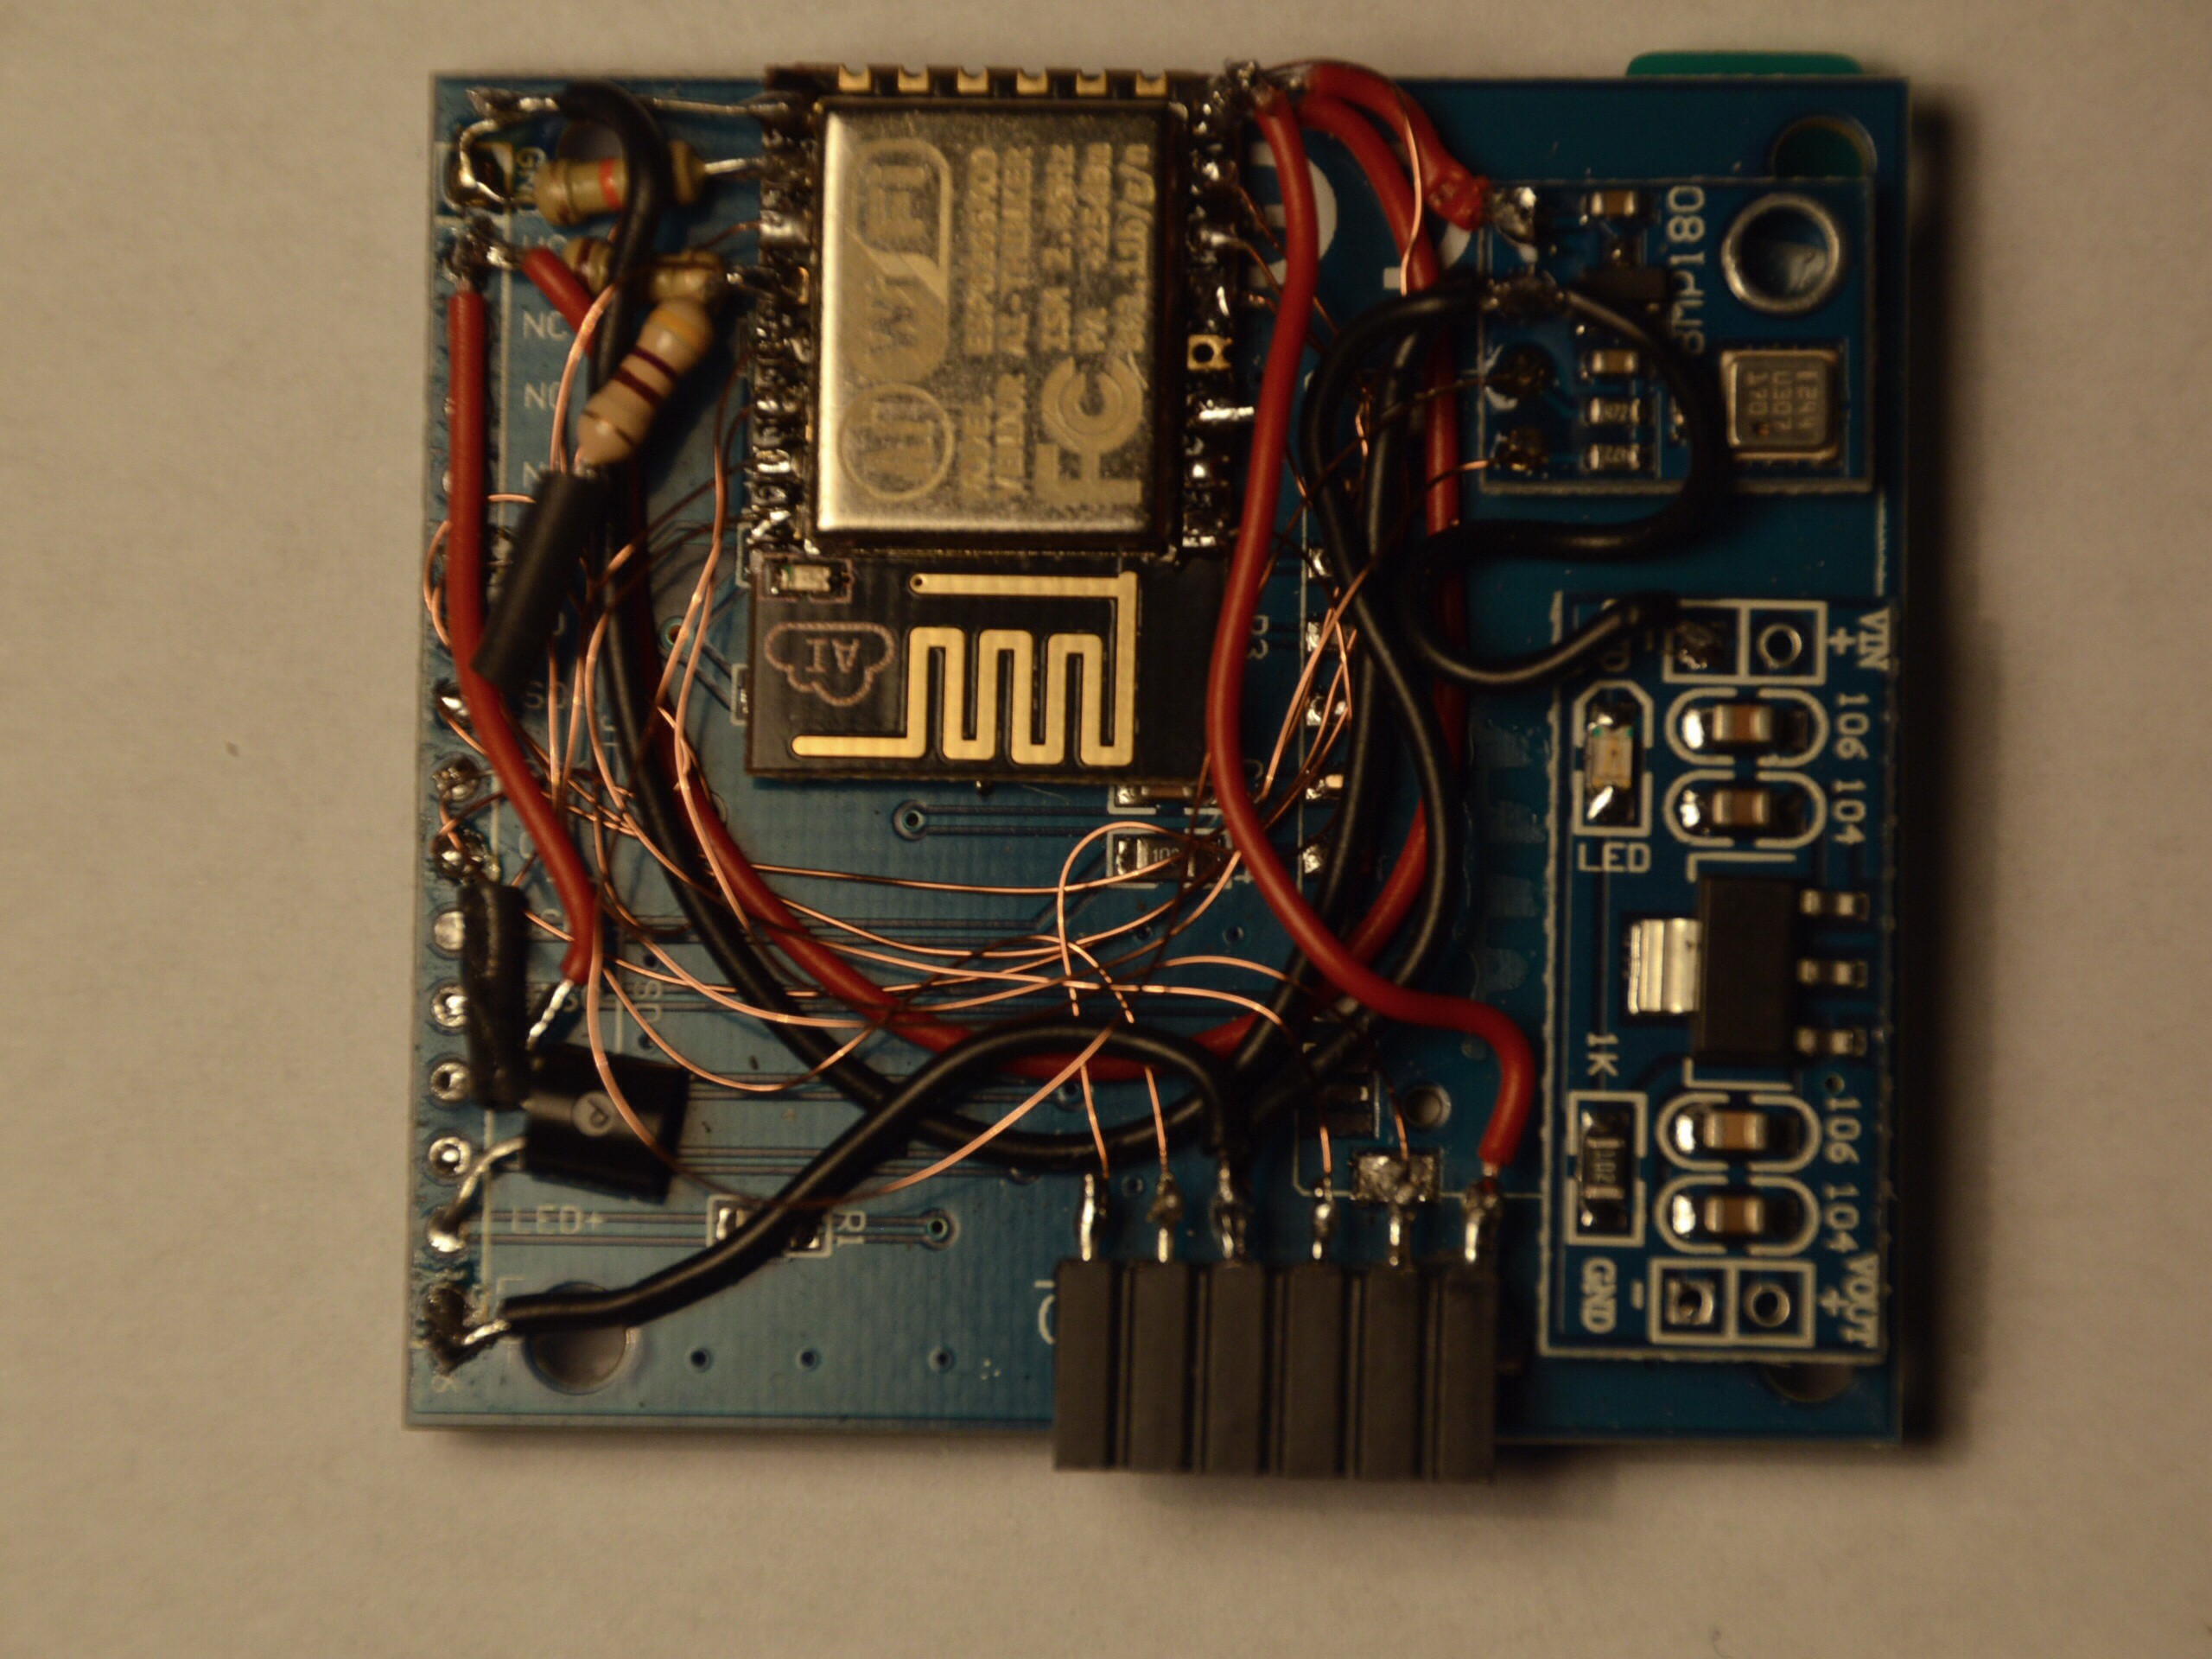
All together is built together according the attached circuit diagram. If no brightness control is implemented the LED+ of the TFT must be connected to the VCC.
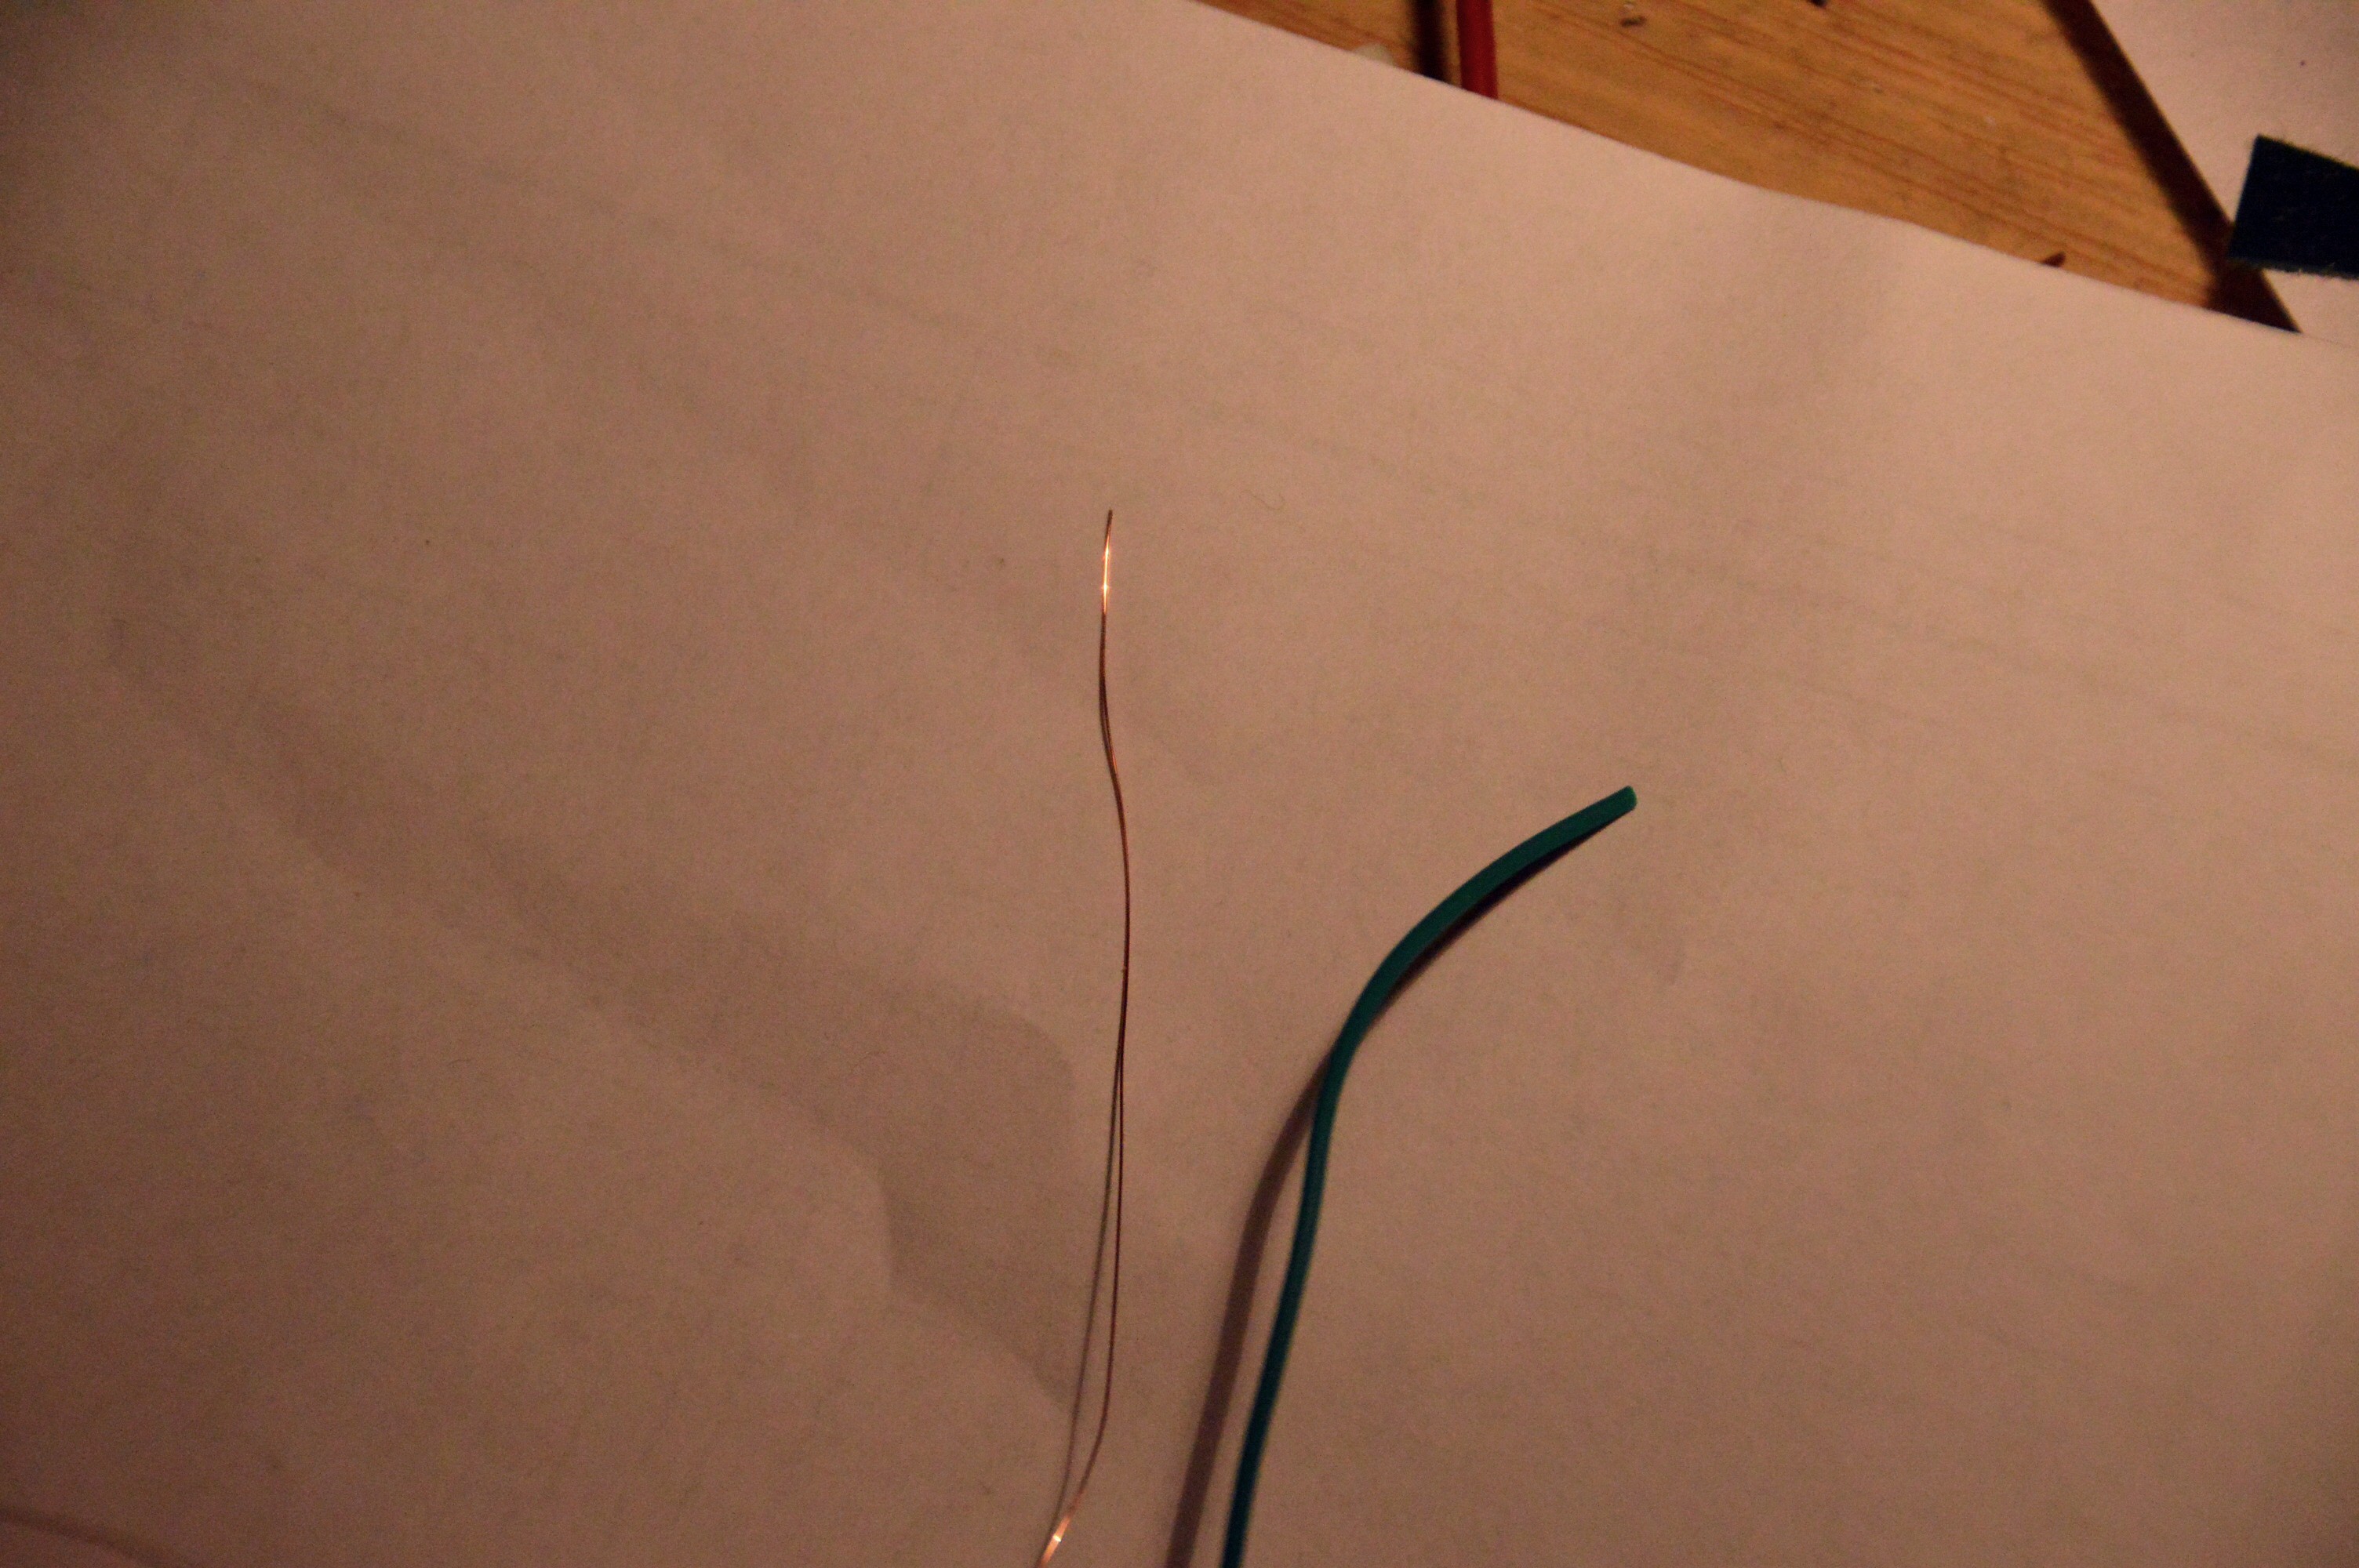
As building platform the TFT is used. I removed to connector for the SD card, as this isn’t required, and fixed the ESP8266 as the DC/DC converter print (and in my case a BMP180) with double sided adhesive tape to the TFT and sold it together. I general I used two types of wires. For all signal lines a 0,2mm polyurethane enamelled wire. This wire is really thin and allows a high packaging density. The isolation can be “burned” with the soldering iron. On the other hand require the lines with power as GND and VCC a larger diameter because of the current. For them I used standard 0.14mm2 wires.
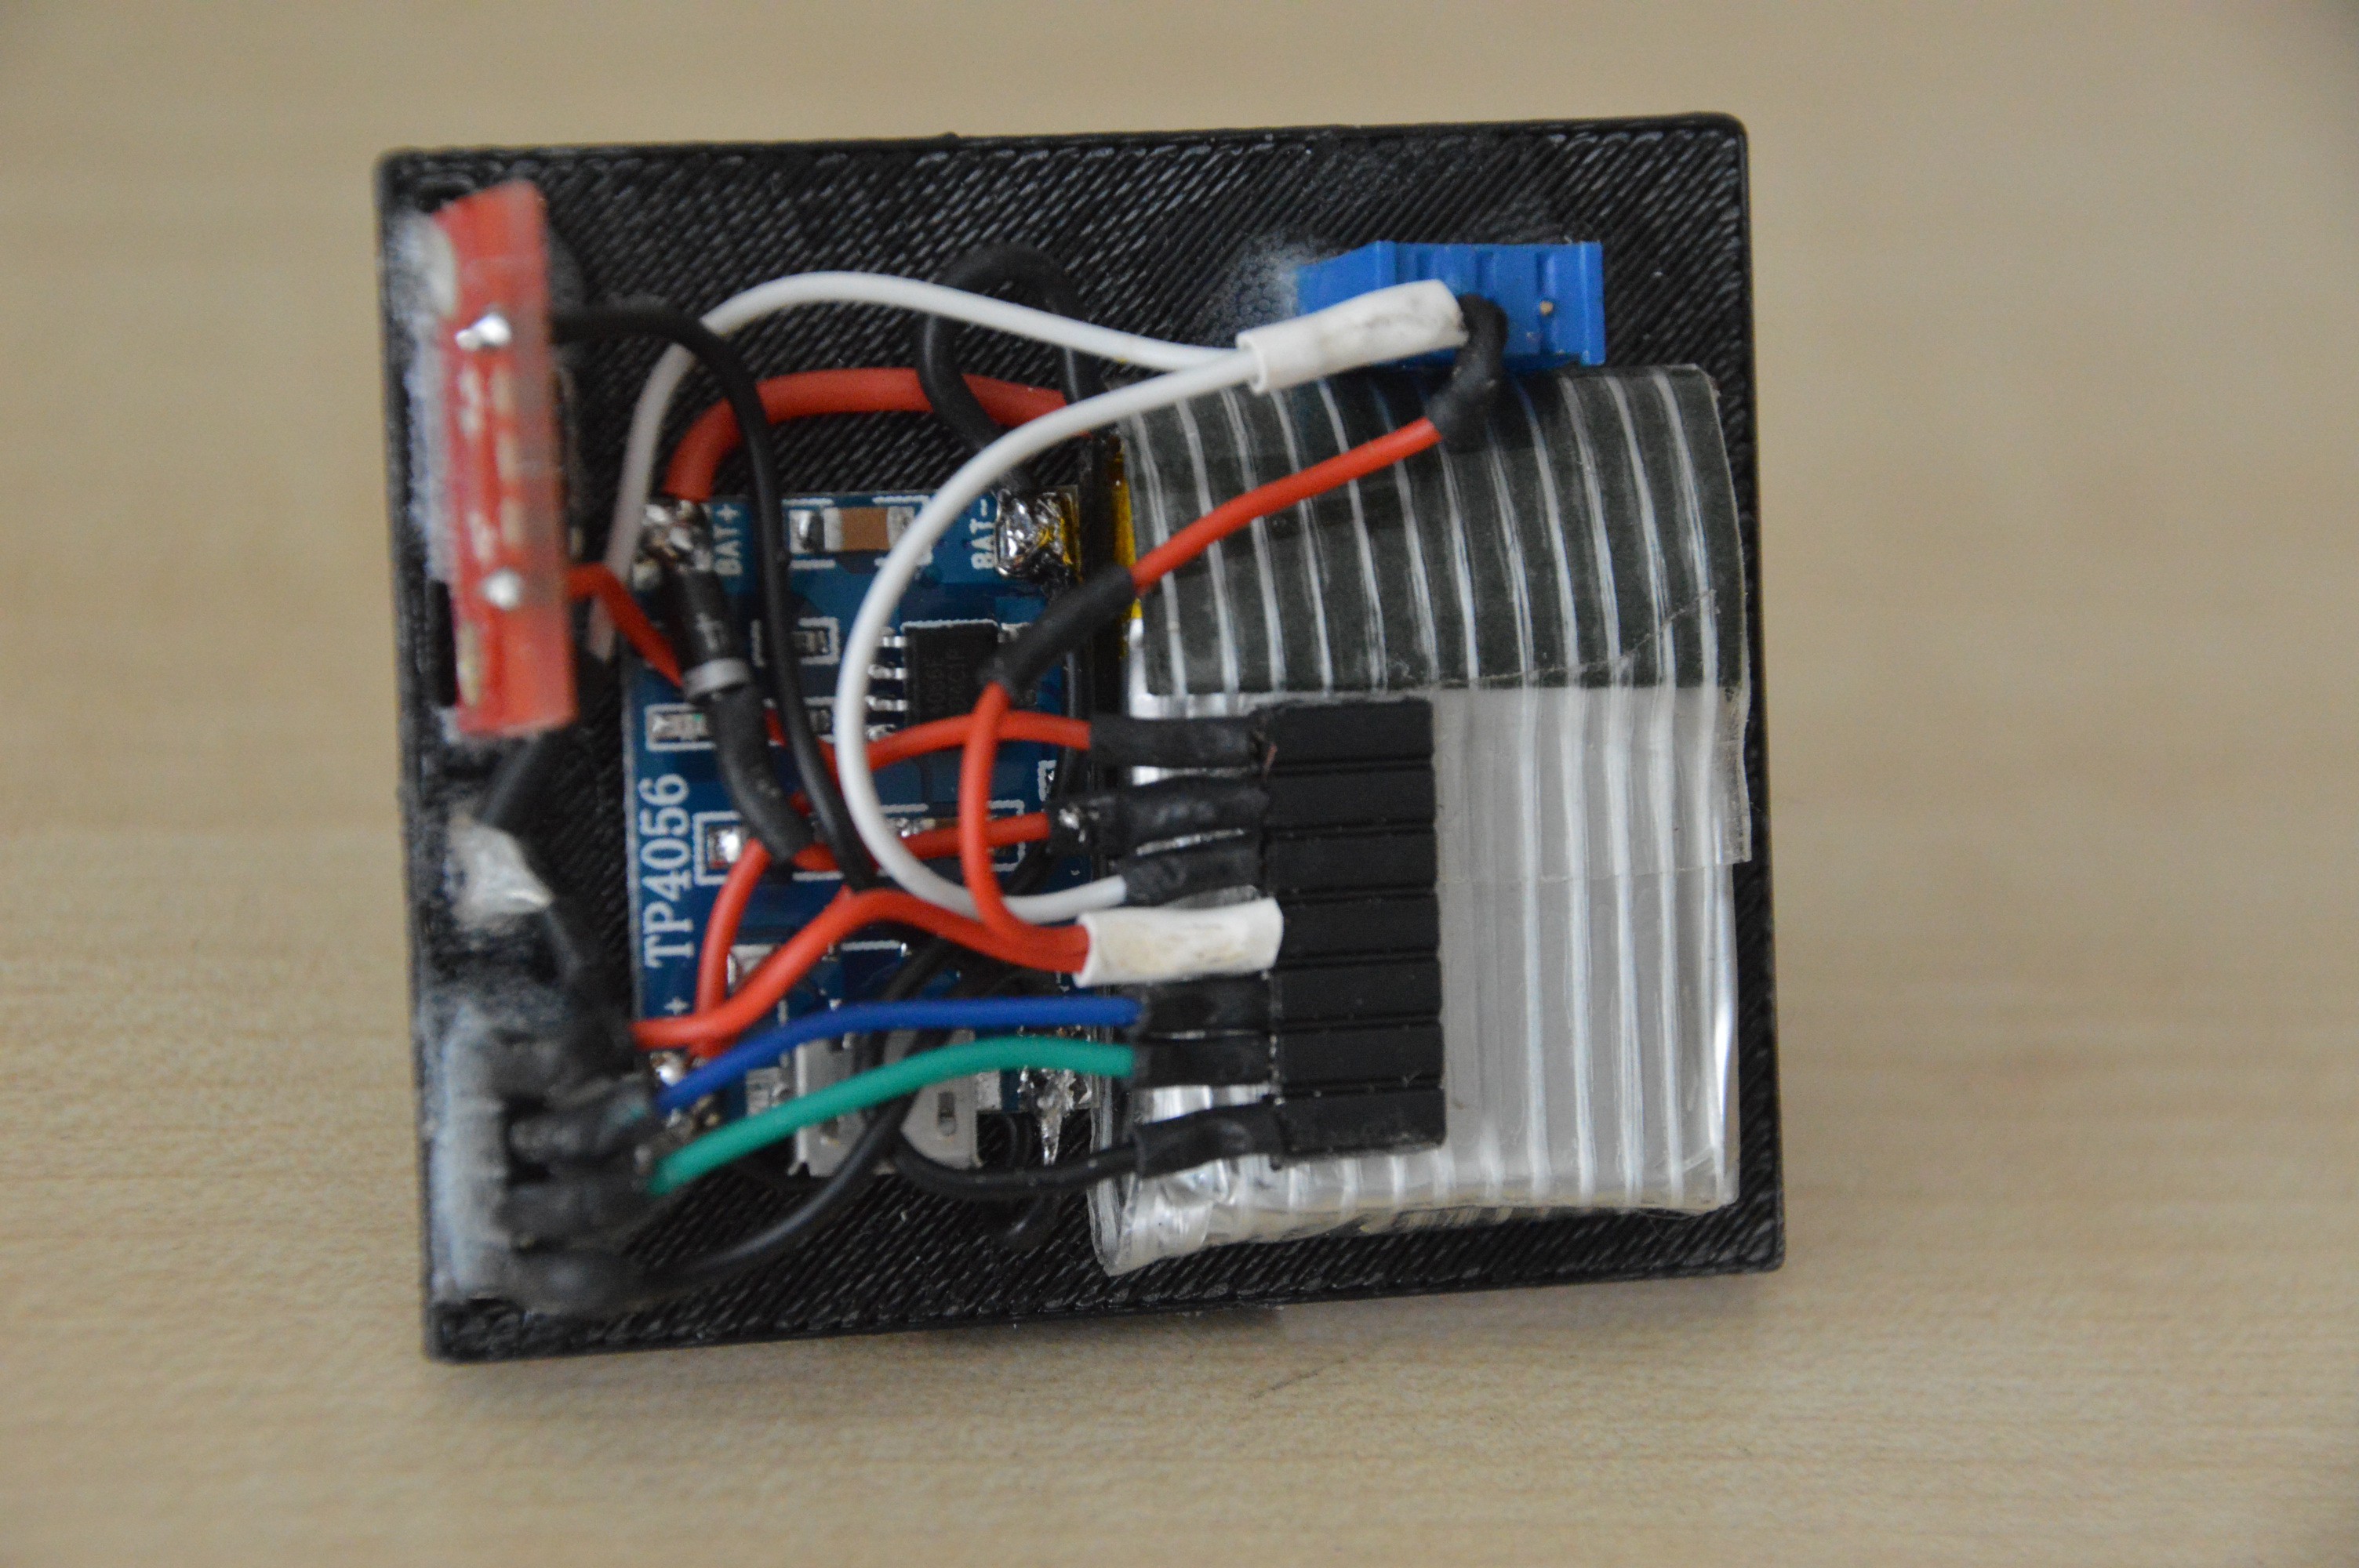
In case an optional battery is used, the back side of the housing can be used as building platform in the same as the display. As connector for the programing (and I2C) soldering pins can be used the housing contains slots in which they can be glued in.
The freehand wiring works well but some experience in soldering is probably required as the pitching of the ESP8266 is pretty narrow.
-
2Step 2
Housing
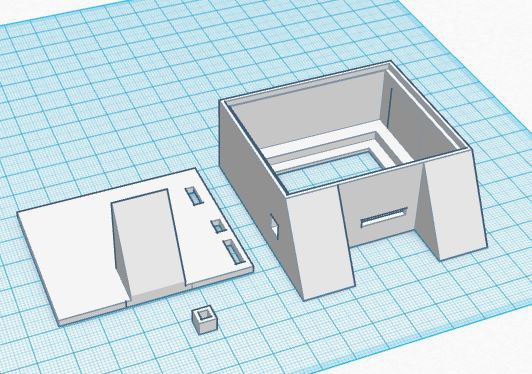
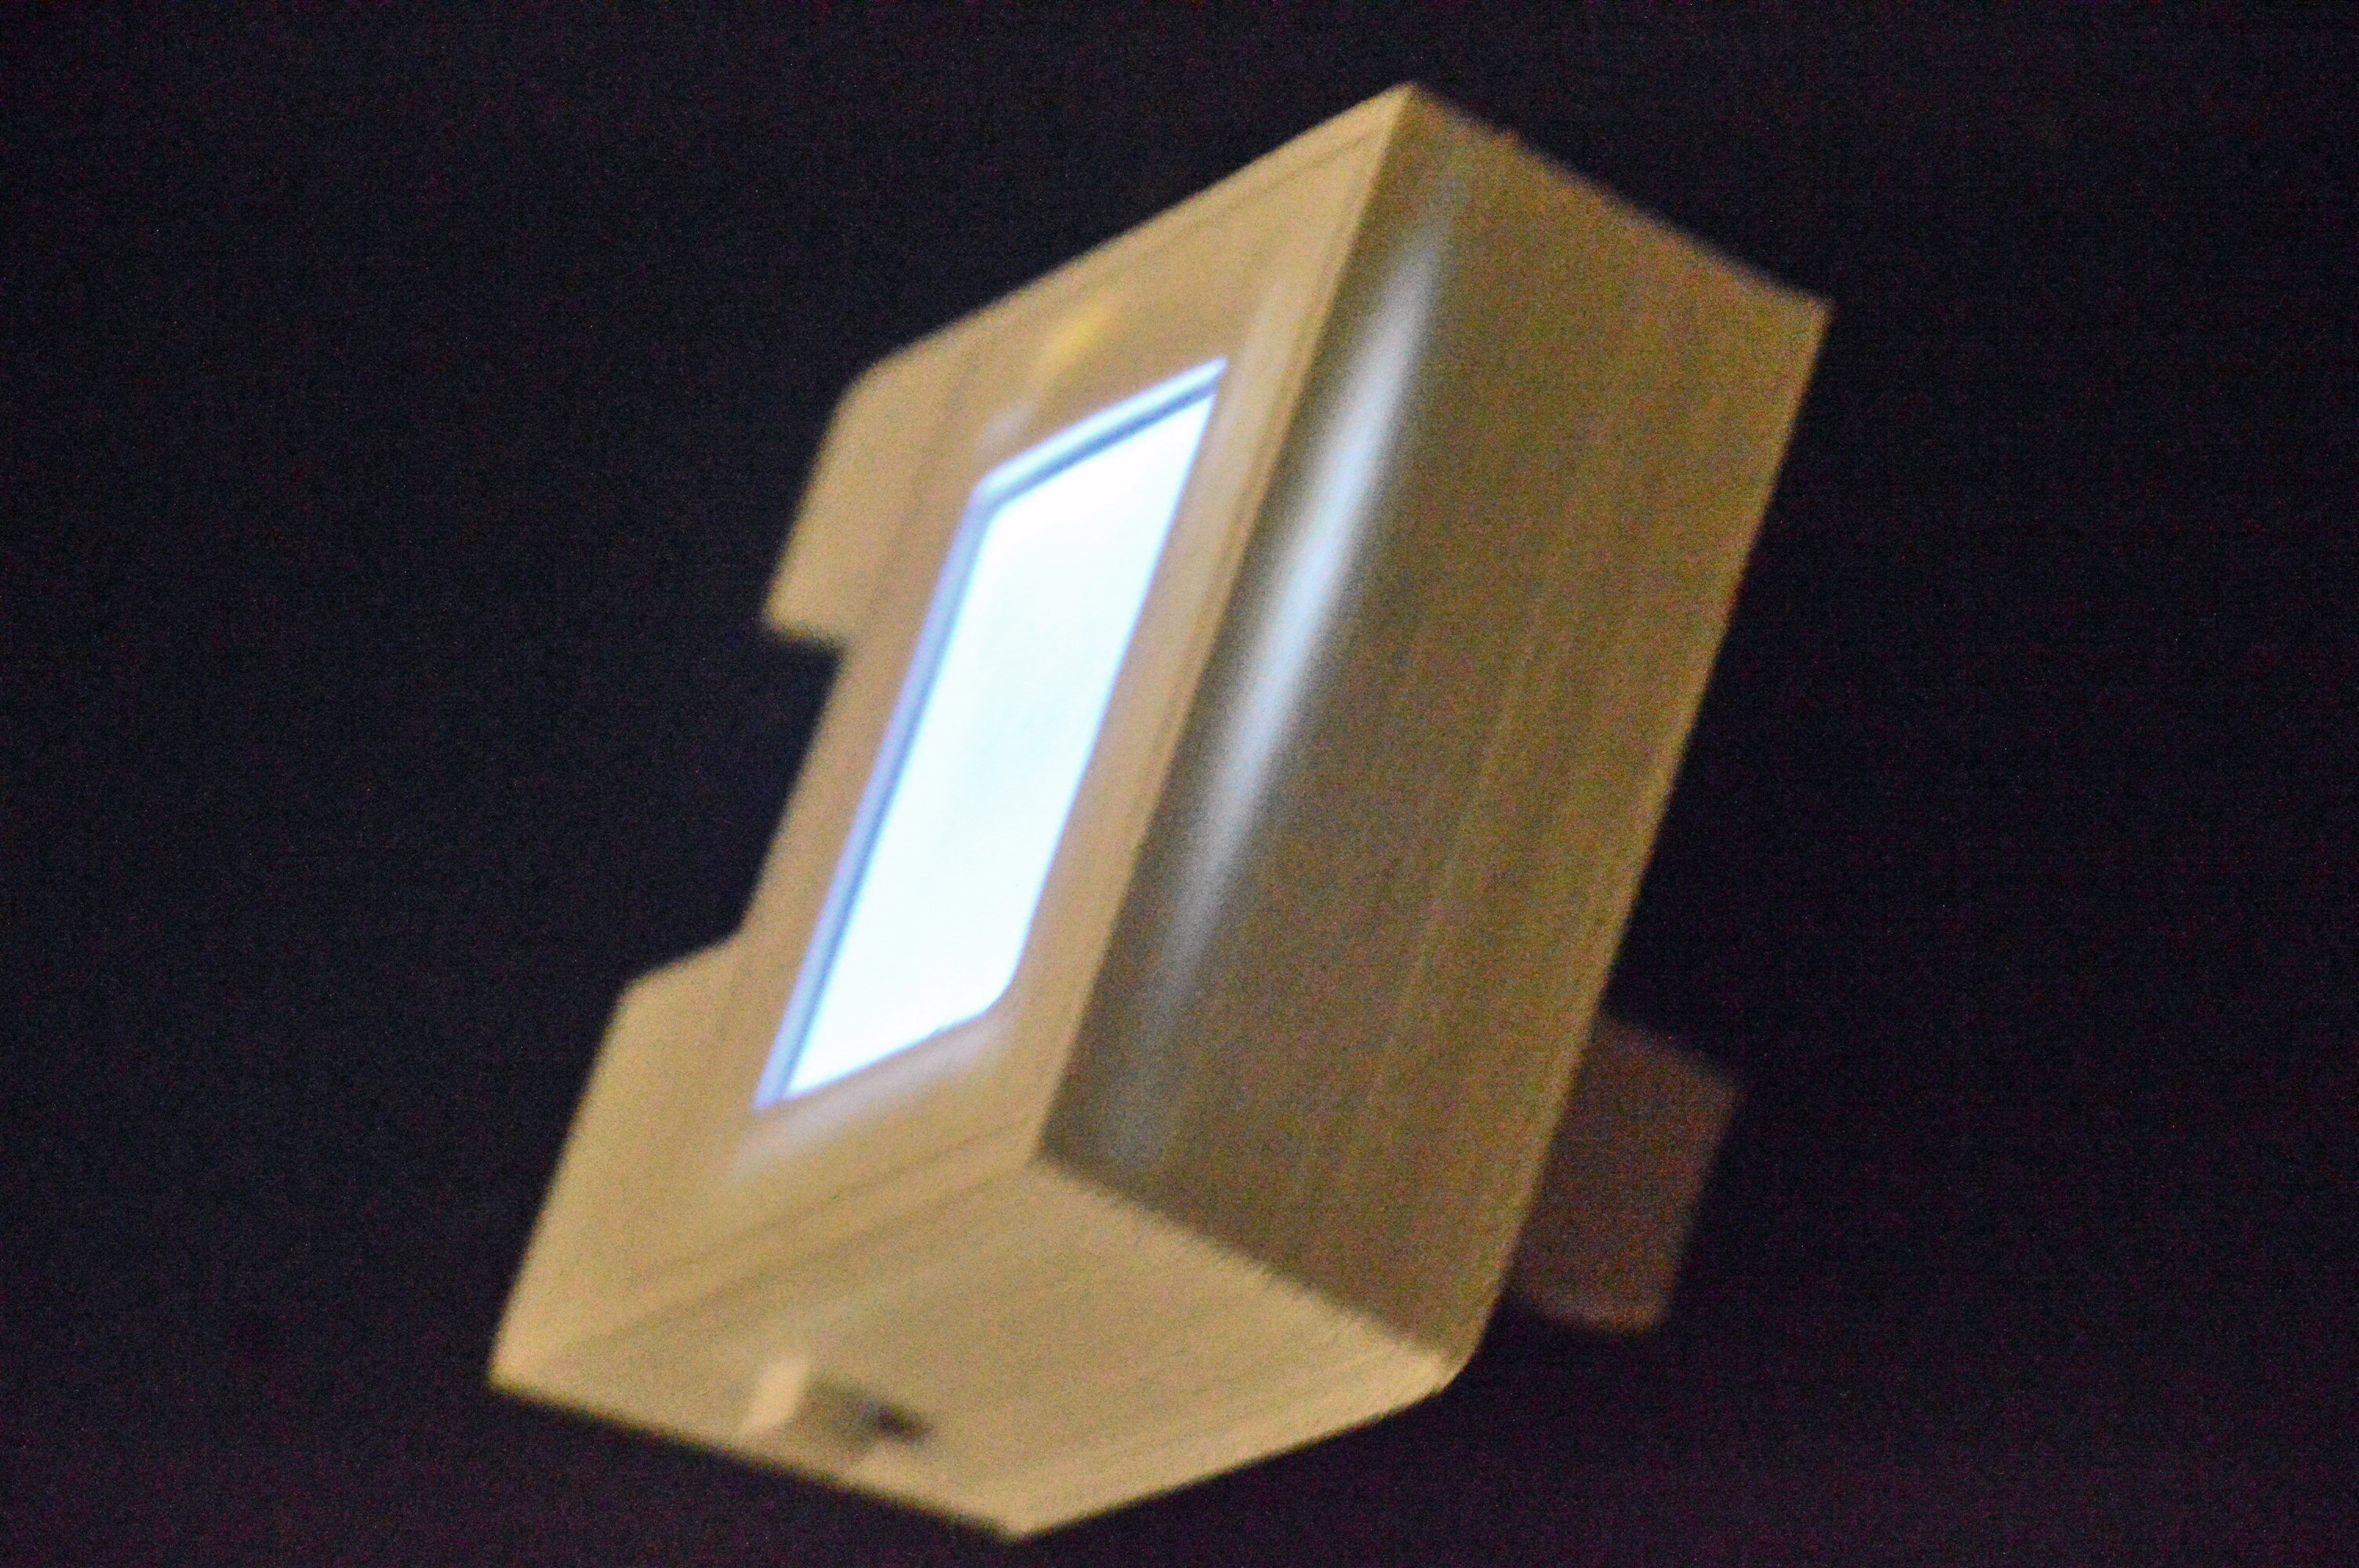
The housing of the ForEx display consists of two halves and one knob. All printing can be done without support in the finest resolution. After printing some fine sanding is recommended. This works best if ABS is used. After sanding fine painting with an airbrush gun provide a proper finish.
When you print without a raft the window for the display becomes a bit too small. This is necessary as a too wide window will lead to an ugly appearance as the frame of the TFT becomes visible. As a help to sand the window to the right size the test mode of the program can be used. This test mode draws a frame which makes easy to recognize whether the whole scree is visible.
If the white plastic for the housing is chosen, it might be necessary to paint the inside of the housing black. This is because the cheap TFT scatter some light around the frame which might become visible.
-
3Step 3
Program
The ES8266 is programmed with the Arduino IDE (https://github.com/esp8266/Arduino), the Adafruit TFT libraries (https://github.com/adafruit/Adafruit-GFX-Library and https://github.com/adafruit/Adafruit-ST7735-Library) as the TimeLib- and Textfinder-Libraries as referred in Arduino playground.
An UDP get the actual UTC time from a NTP server. This time synchronisation could be done with the timeLib but this is left out as the time zone references and the exchange rates must be requested anyway periodically, so the NTP request can be included in the periodical cycle as well.
The time zone references are fetched a bit complicated but this method works and deliver accurate results. Further it allows using the effective name of the city which makes easier to use. In a first step the coordinates of the desired city are evaluated using the API of openweathermap.org. This works by sending the name of the city in a format like “Sydney,au” to the API which will response with its coordinates. In the second step the momentary offset to UTC of this coordinates is calculated. This can be done by sending those coordinates to the worldweatheronline.com API.
With this UTC offset information the time at the current location and the time on the defined cities is calculated and displayed. The advantage of this slightly complicated method is the always respected day light saving state at any place including the actual location.
For the evaluation of the currency exchange rate the fixer.io API is used. There are forex API’s offering much more currencies with a shorter update cycle. But this API is simple to use, doesn’t require an API Key and can easily provide the exchange rate to a chosen reference currency.
All in all is my code for sure to the most elegant and not completely cleaned but it works and this is what matters.
-
4Step 4
Setup / Operation
For to setup the program the following information’s must be defined:
SSID, WLAN password
There are two sets and the program toggles between those two until one of them allows access
Openweather.org API-KEY
When registering with Openwaethermap.org such a key will be provided
worldweatheronline.com API-KEY
When registering with worldweatheronline.com such a key will be provided
The name of the current location
This name is set to location[0] in the setup routine
The name of the 6 cities of which the time shall be displayed
This cities are set to location[1-6] in the setup routine. As the Names are too long to display I use the 3 letter short cut of the airport name. I didn’t found a API for this so the abbreviations are defined also in the setup routine in airCode[1-6]
The reference currency
The 3 letter of the corresponding abbreviation is set to fxSym[0] in the setup routine
The 3 exchange rates to display
The 3 letter abbreviation of those currencies are set to fxSym[1-3] also in the setup routine
ForEx display
A stylish desktop widget shows you the actual foreign exchange rates and the time of different locations
Discussions
Become a Hackaday.io Member
Create an account to leave a comment. Already have an account? Log In.
please check, there is a link to Github along the project were you should finde the code
Are you sure? yes | no
Nice project, I`just missing your code...
Are you sure? yes | no