-
Using Karma Go Hotspot
04/18/2016 at 00:33 • 0 commentsJust wanted to post a quick note on how to get a device like the esp8266 to work with a hotspot that requires sign in to work. There is the hard way to have the esp8266 actually do a sign in which would be required for public hotspots. If you are not familiar with the Karma Go, it's a prepaid hotspot and your data never expires. Great for projects on the go. The coolest part is if other people sign up via your hotspot you get 100MB, hence the name Karma. To accomplish this you have to sign in to your account when you use the hotspot. Fear not! Karma allows you to add your MAC address to your account so that device doesn't have to sign in. Just contact support to get it added. I added both the nodeMCU and Oak from digiStump since I wasn't sure which I was going to use. At least for development I am using the nodeMCU since the SSID is easier to change back and forth for testing.
-
NodeMCU
04/18/2016 at 00:15 • 0 commentsThis month I decided to revive this project and bring it to the Maker Faire Bring-A-Hack. This time I have a bunch of the NodeMCU that I sell on our Tindie shop. This opened up the project with lots of options. The esp8266 is so much more powerful since I can connect to the internet, host a configuration page and scroll the LED's super fast.
<insert pic of nodeMCU build>
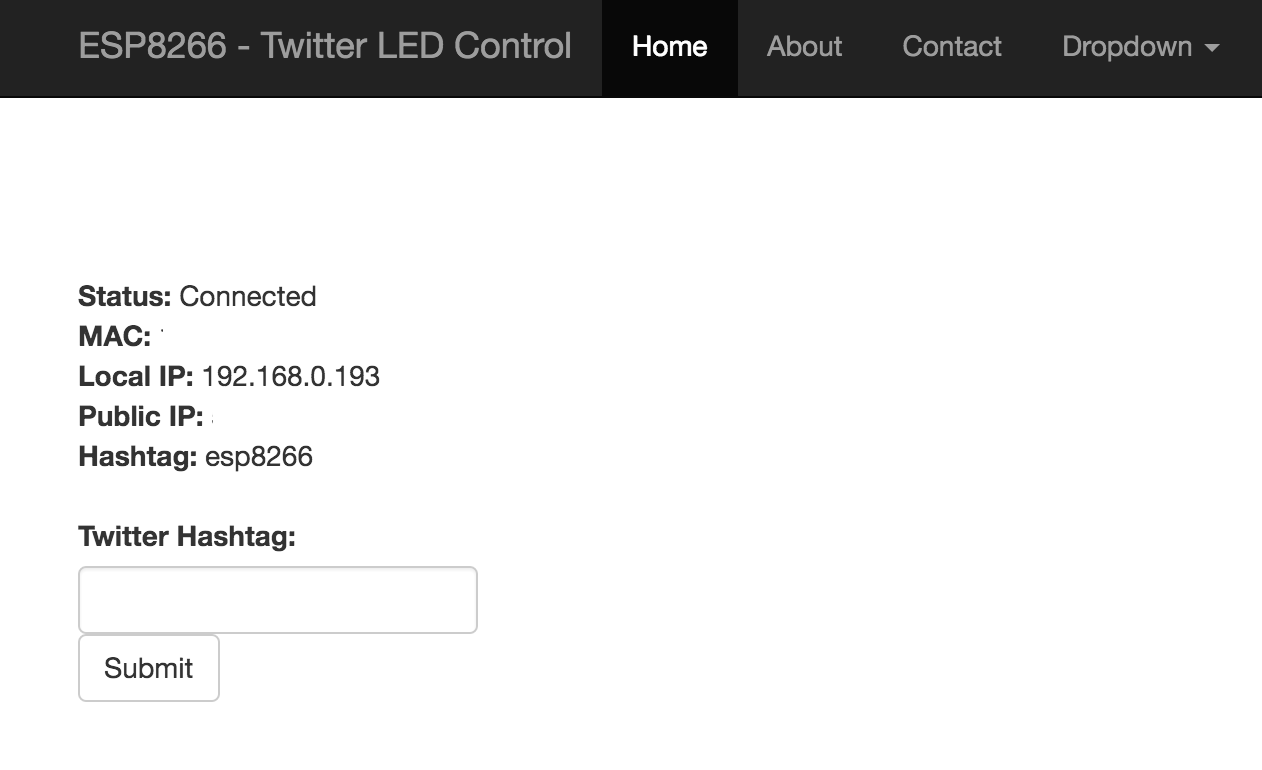
Currently I have ported the code to the nodeMCU and created a configuration page.
![]()
Now I need to add some more configuration options to set scroll speed and Twitter refresh time without having to recompile.
The only issue is I am using a CDN to get the Bootstrap/Javascript libraries which doesn't work over the AP unless you have visited the site previously had left the tab open. I was going to use the public IP to access it directly but the Karma Go hotspot acts as a route and therefore the nodeMCU isn't directly accessible. So I will probably move the libraries to be loaded directly from the nodeMCU. Heck there is plenty of space on it anyway.
-
DigiX
04/17/2016 at 23:49 • 0 commentsSometime after the wedding I decided to revisit this project. I had received the DigiX from Digistump. It was the first fit, fast Arduino Due and WiFi in one. It simplified the project greatly.
<Insert picture here>
-
First Iteration
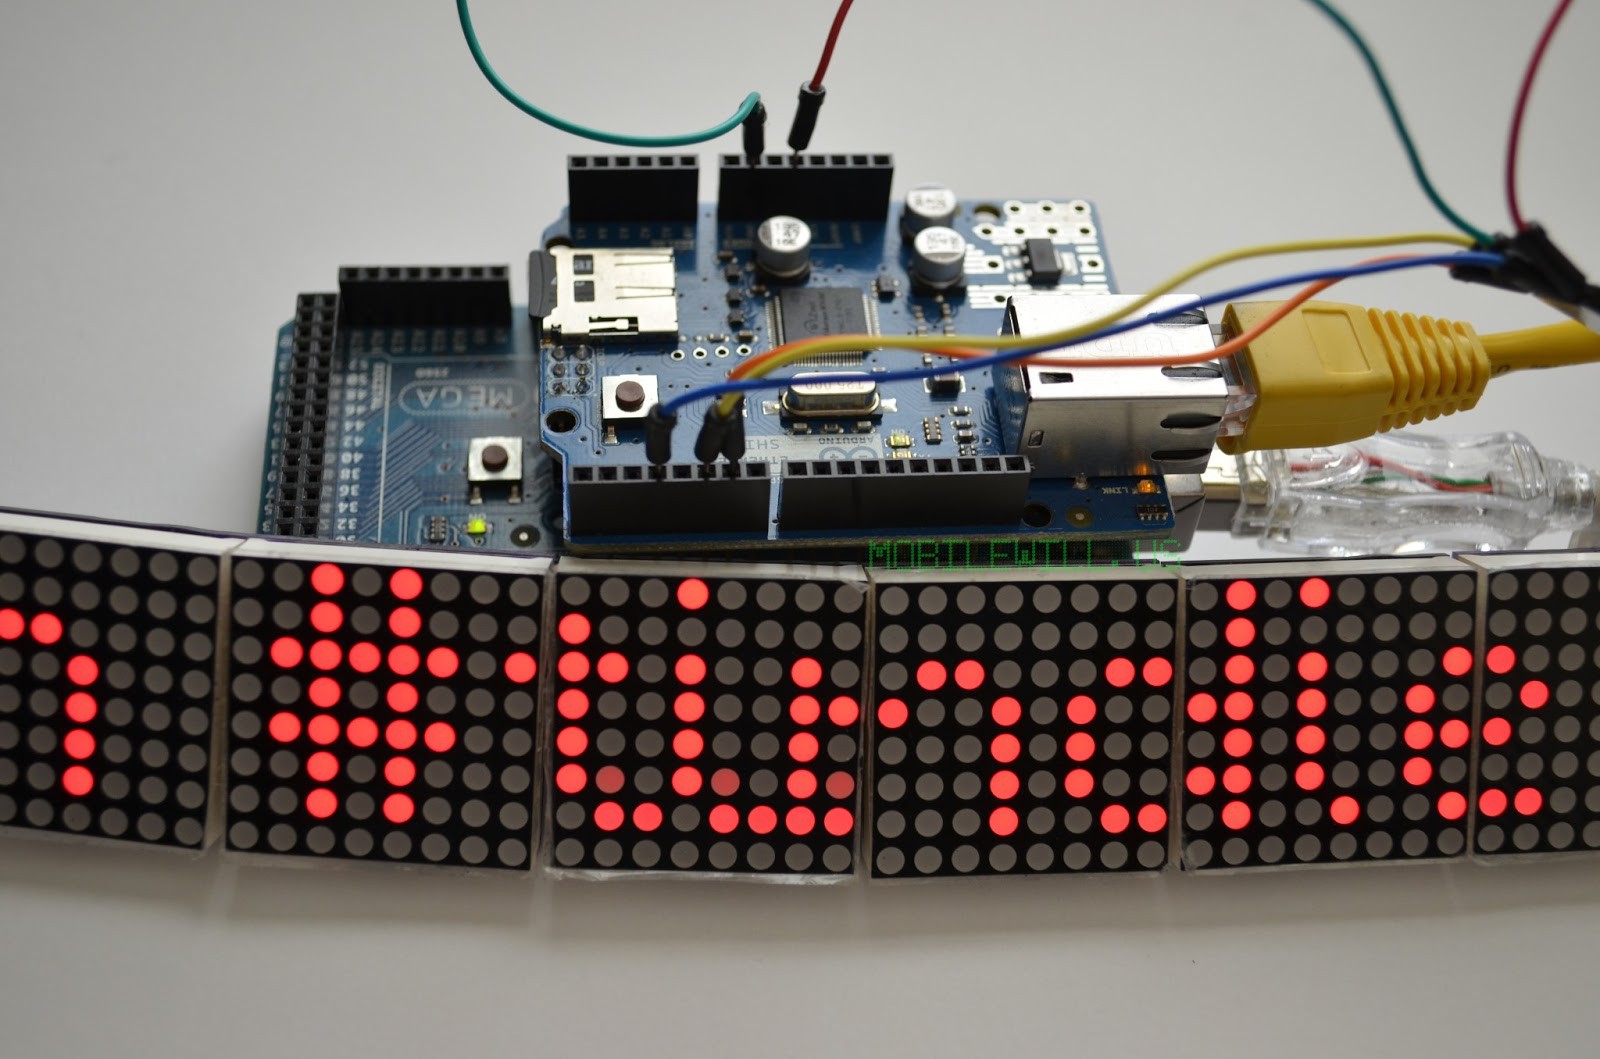
04/17/2016 at 23:44 • 0 commentsThis project originally started with 8x LED Matrix Links a Arduino Mega and the Arduino ethernet shield. This was just enough to get a prototype going as proof of concept so I could work on the code.
![]()
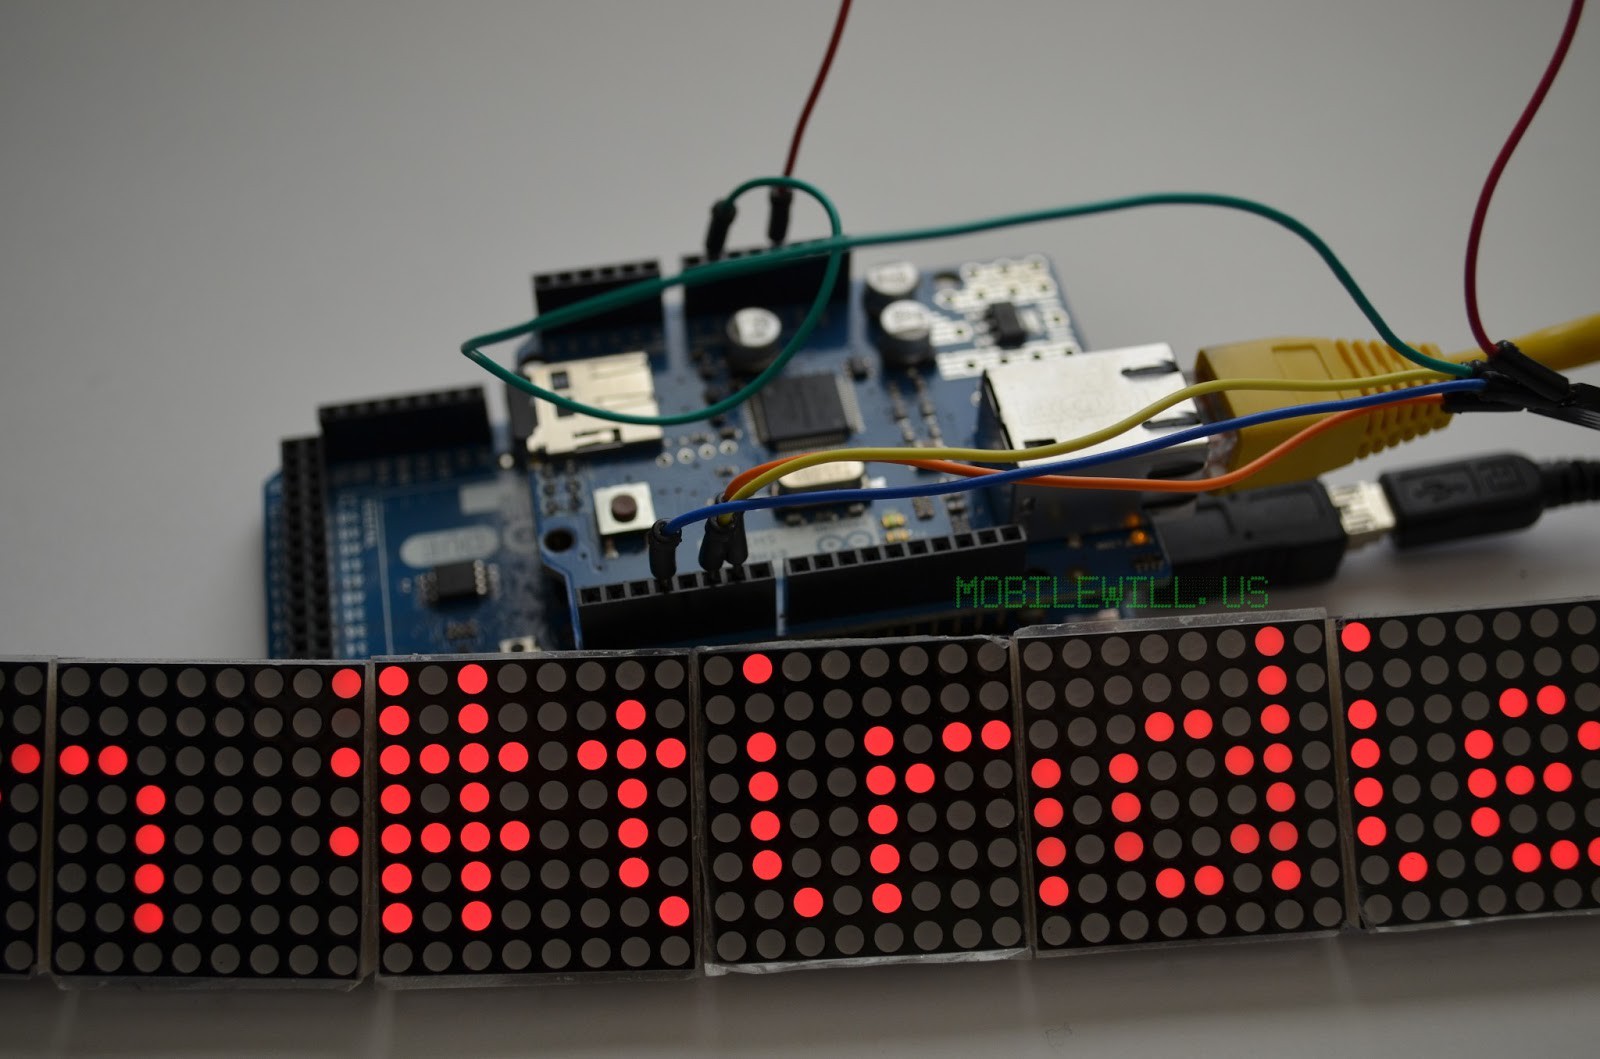
I quickly found that scrolling 8 LED Matrix Link and pushing all those pixels around was a bit much for the Arduino Mega. A few years ago I received a Arduino Due Beta unit to test with at the Maker Faire so it was time to put it to use. Much better for pixel pushing.
![]()
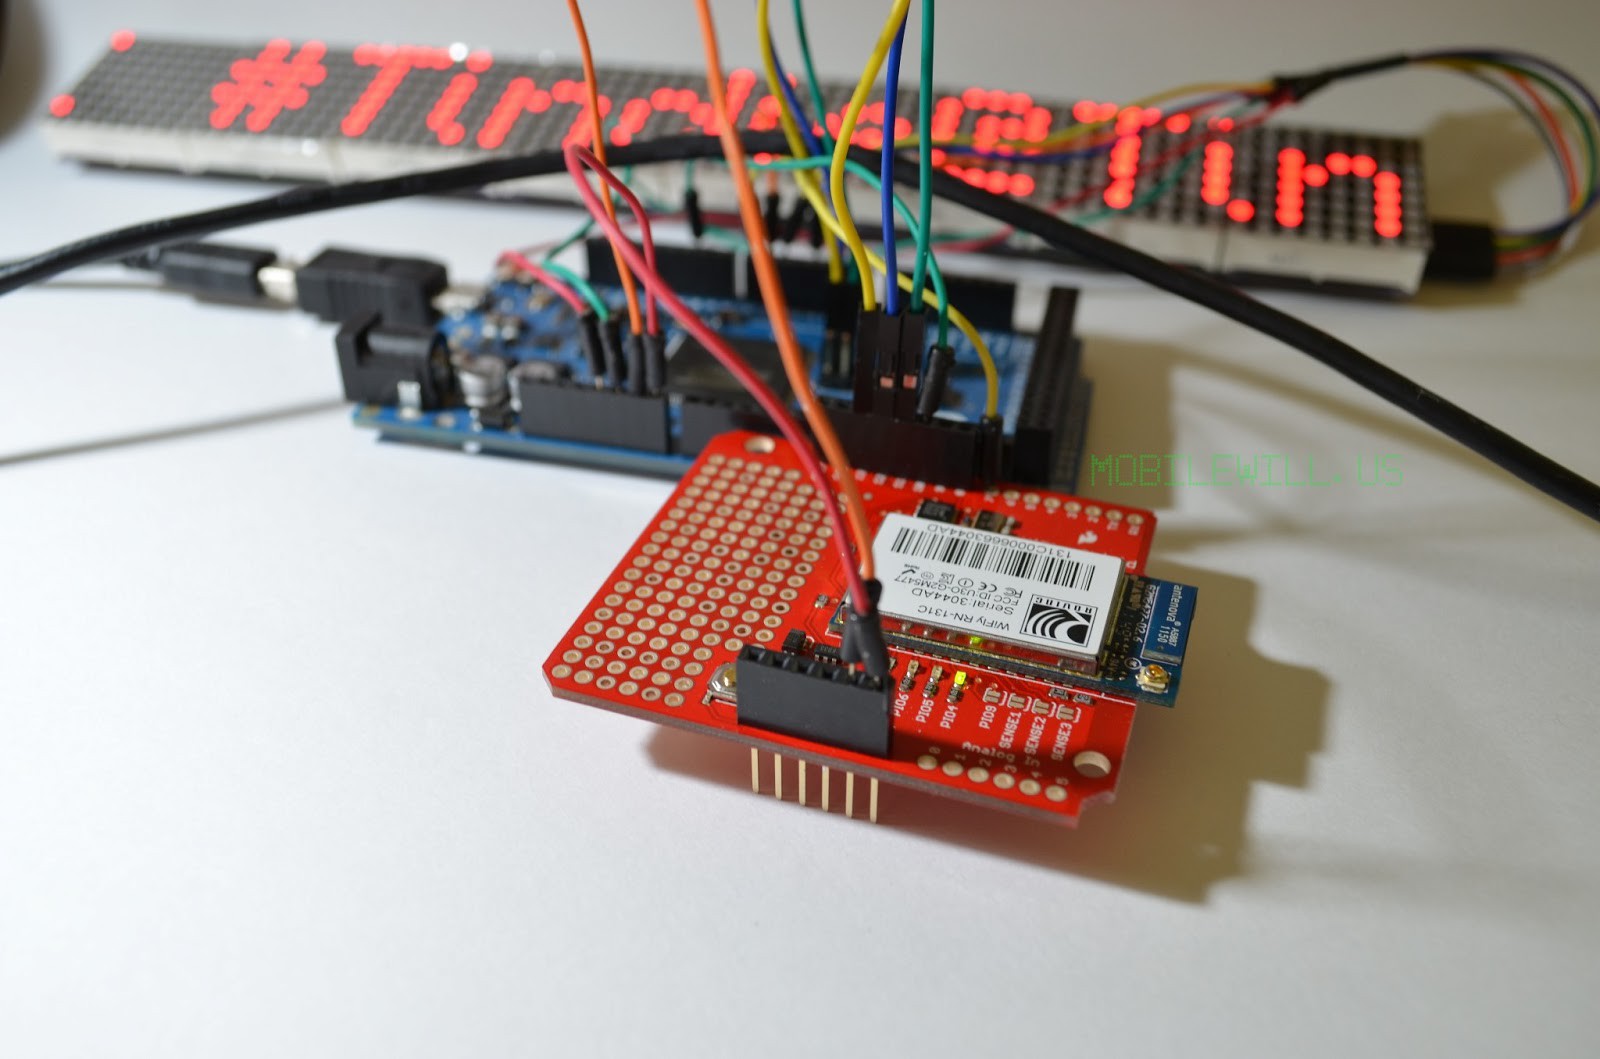
Much better. But I still need to make it wireless so at the time there wasn't the wonderful world of esp8266. Only the pricey WiFi shields. I settled on the Wifly shield which died shortly after, of course just in time for the wedding.
![]()
I made a short video comparing the difference in speed of the two. Big difference.
Twitter Matrix
Based on the LED Matrix Link's and NodeMCU Twitter Matrix is an 8x LED Matrices display to scroll tweets of your desired hashtag.
 MobileWill


