-
PROJECT END
12/17/2016 at 16:36 • 0 commentsI’M FORCED TO CLOSE THE PROJECT due to lack of interest by the school.
I kept it running in my bedroom for the last four and a half months, but no one seems interested to put it on the field and get it working properly.
I’m fed up, so I left it at school (they paid most of the parts so I can't keep it).
If you need further information do not hesitate to contact me.
THANK YOU GUYS FOR THE SUPPORT AND HELP.
Matteo Monsello
-
V 0.1
07/20/2016 at 09:38 • 0 commentsWith a couple of code fixes from the previous version we made everything working perfectly (or at least we hope so :) ). We have also modified the vertical mount of the solar shield, so that now fits perfectly among with the Sparkfun’s Weather Meters and created a mount for the dust sensor. Check on Github and Thingiverse for every detail.
Unfortunately our schools is closed until September, meaning that we are not able to install the weather station right now. In the meantime all our data is uploaded to two Thingspeak channels and we are doing further tests on the sensors. Our goal is to keep it online 24/7, but we are waiting for a special varnish that will waterproof all the electronics, so we won’t upload data for a day or two in the next few weeks.
Channel 1: https://thingspeak.com/channels/123339
Channel 2: https://thingspeak.com/channels/118240
-
V0.1 BETA
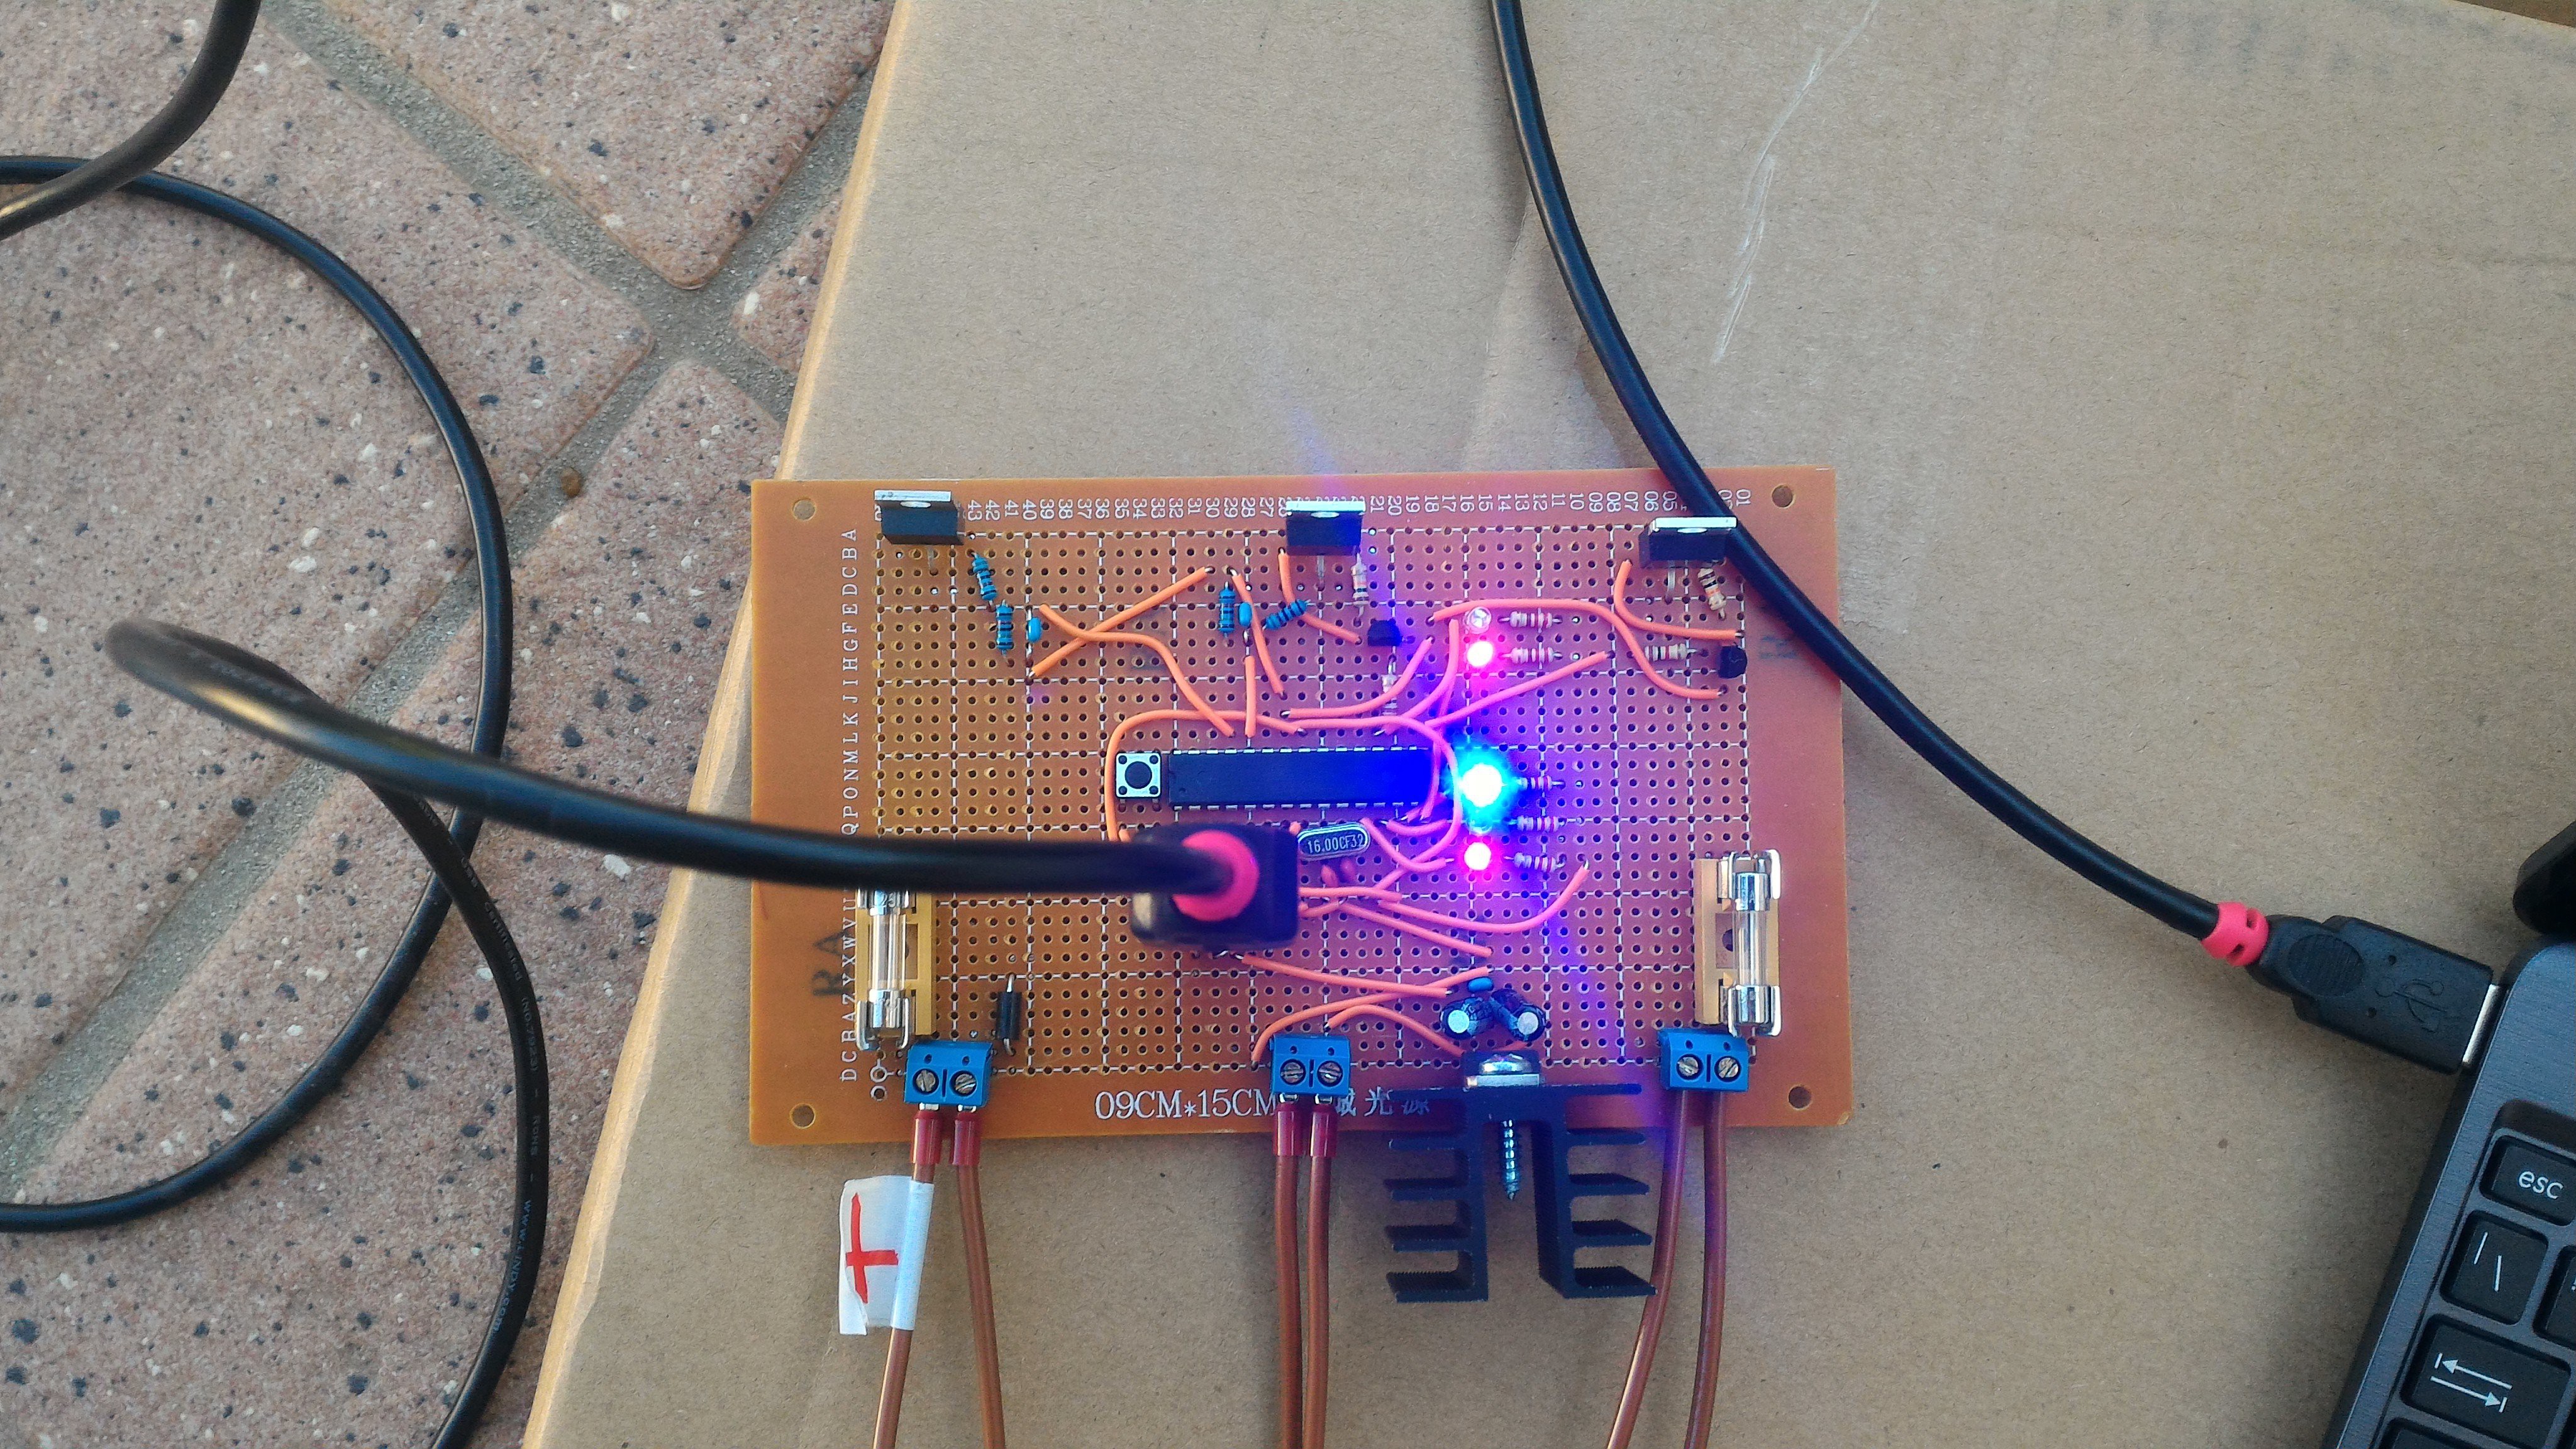
07/01/2016 at 16:41 • 0 comments![]()
Current version of the main board
We apologize for the long time taken to publish our schematics and code, but we are really busy with exams at schools, and left with less time to test our project.
The biggest problem of missing uploads has been solved and everything seems to work really well, but we need to improve current consumption (the main board drains about 0,3W during standby) and avoid some temperature errors. As anticipated we will probably switch to Julian Ilett’s PWM5 Charge controller, because it has lower current consumption than the one that we are currently using. It also uses an N-Channel Mosfet, which has a lower Drain-Source resistance, so more power from the solar panel will go to the battery instead of being wasted as heat.
![]()
Current solar charge controller, modified from http://www.instructables.com/id/ARDUINO-SOLAR-CHARGE-CONTROLLER-Version-20/
You can find our code on our github page HERE.
Here is the link to Julian Ilett’s site http://256.uk/?page_id=68
On the next update we will probably show an intensive test.
-
Project show
06/09/2016 at 17:16 • 0 comments![]()
Today we have shown our project at our school’s projects show, made after an Arduino course.
We have shown our prototype working and uploading data to ThingSpeak.
We have a lot of positive feedback from our mates and teachers and some tips for further improvements such as:
- make it smaller and portable (to take analysis on a field for a small amount of time);
- adding a light sensor, to count light hours during the day (we thought to analyze the voltage from the solar panel to do that);
- store data on a separate server (we already planned to do that in the summer holidays using a raspberry pi).
If you have any ideas please write a comment below!
![]()
-
Upload Test
05/29/2016 at 20:12 • 0 commentsYesterday we run a 7 hour test to check if everything works fine with the main board. We were at the same point excited and disappointed about the results: the hardware works without problems (wich was the main goal), but the station wasn’t able to upload data 8 times for about 15 minutes each.
We are putting all our efforts to solve that problem.
We made 3 hypothesis:
- The server could have been busy (but it could not have been for such a long time);
- There could have been problems in the serial communication between the ESP8266 and the ATMEGA328 (maybe because we used 115200 as baudrate)
- There could also have been problems between the ESP8266 and our modem, not allowing it to connect to the internet and so to perform the upload.
If you want to look at the results here is the link to our Thingspeak channel: https://thingspeak.com/channels/116312
-
Working on the code for the upload on Thingspeak
05/25/2016 at 18:47 • 0 comments![]()
We spent all the afternoon working on the piece of code for the upload on ThingSpeak. After struggling for a couple of hours we finally managed to upload pressure, temperature and humidity from the BMP280 and the AM2315 sensors.
We had problems with bad data and a faulty ESP8266 module.
In the next few days we are planning to do an “intensive” test, by uploading data continuously for at least 5-6 hours to see if something goes wrong.
-
Solar Charge Controller
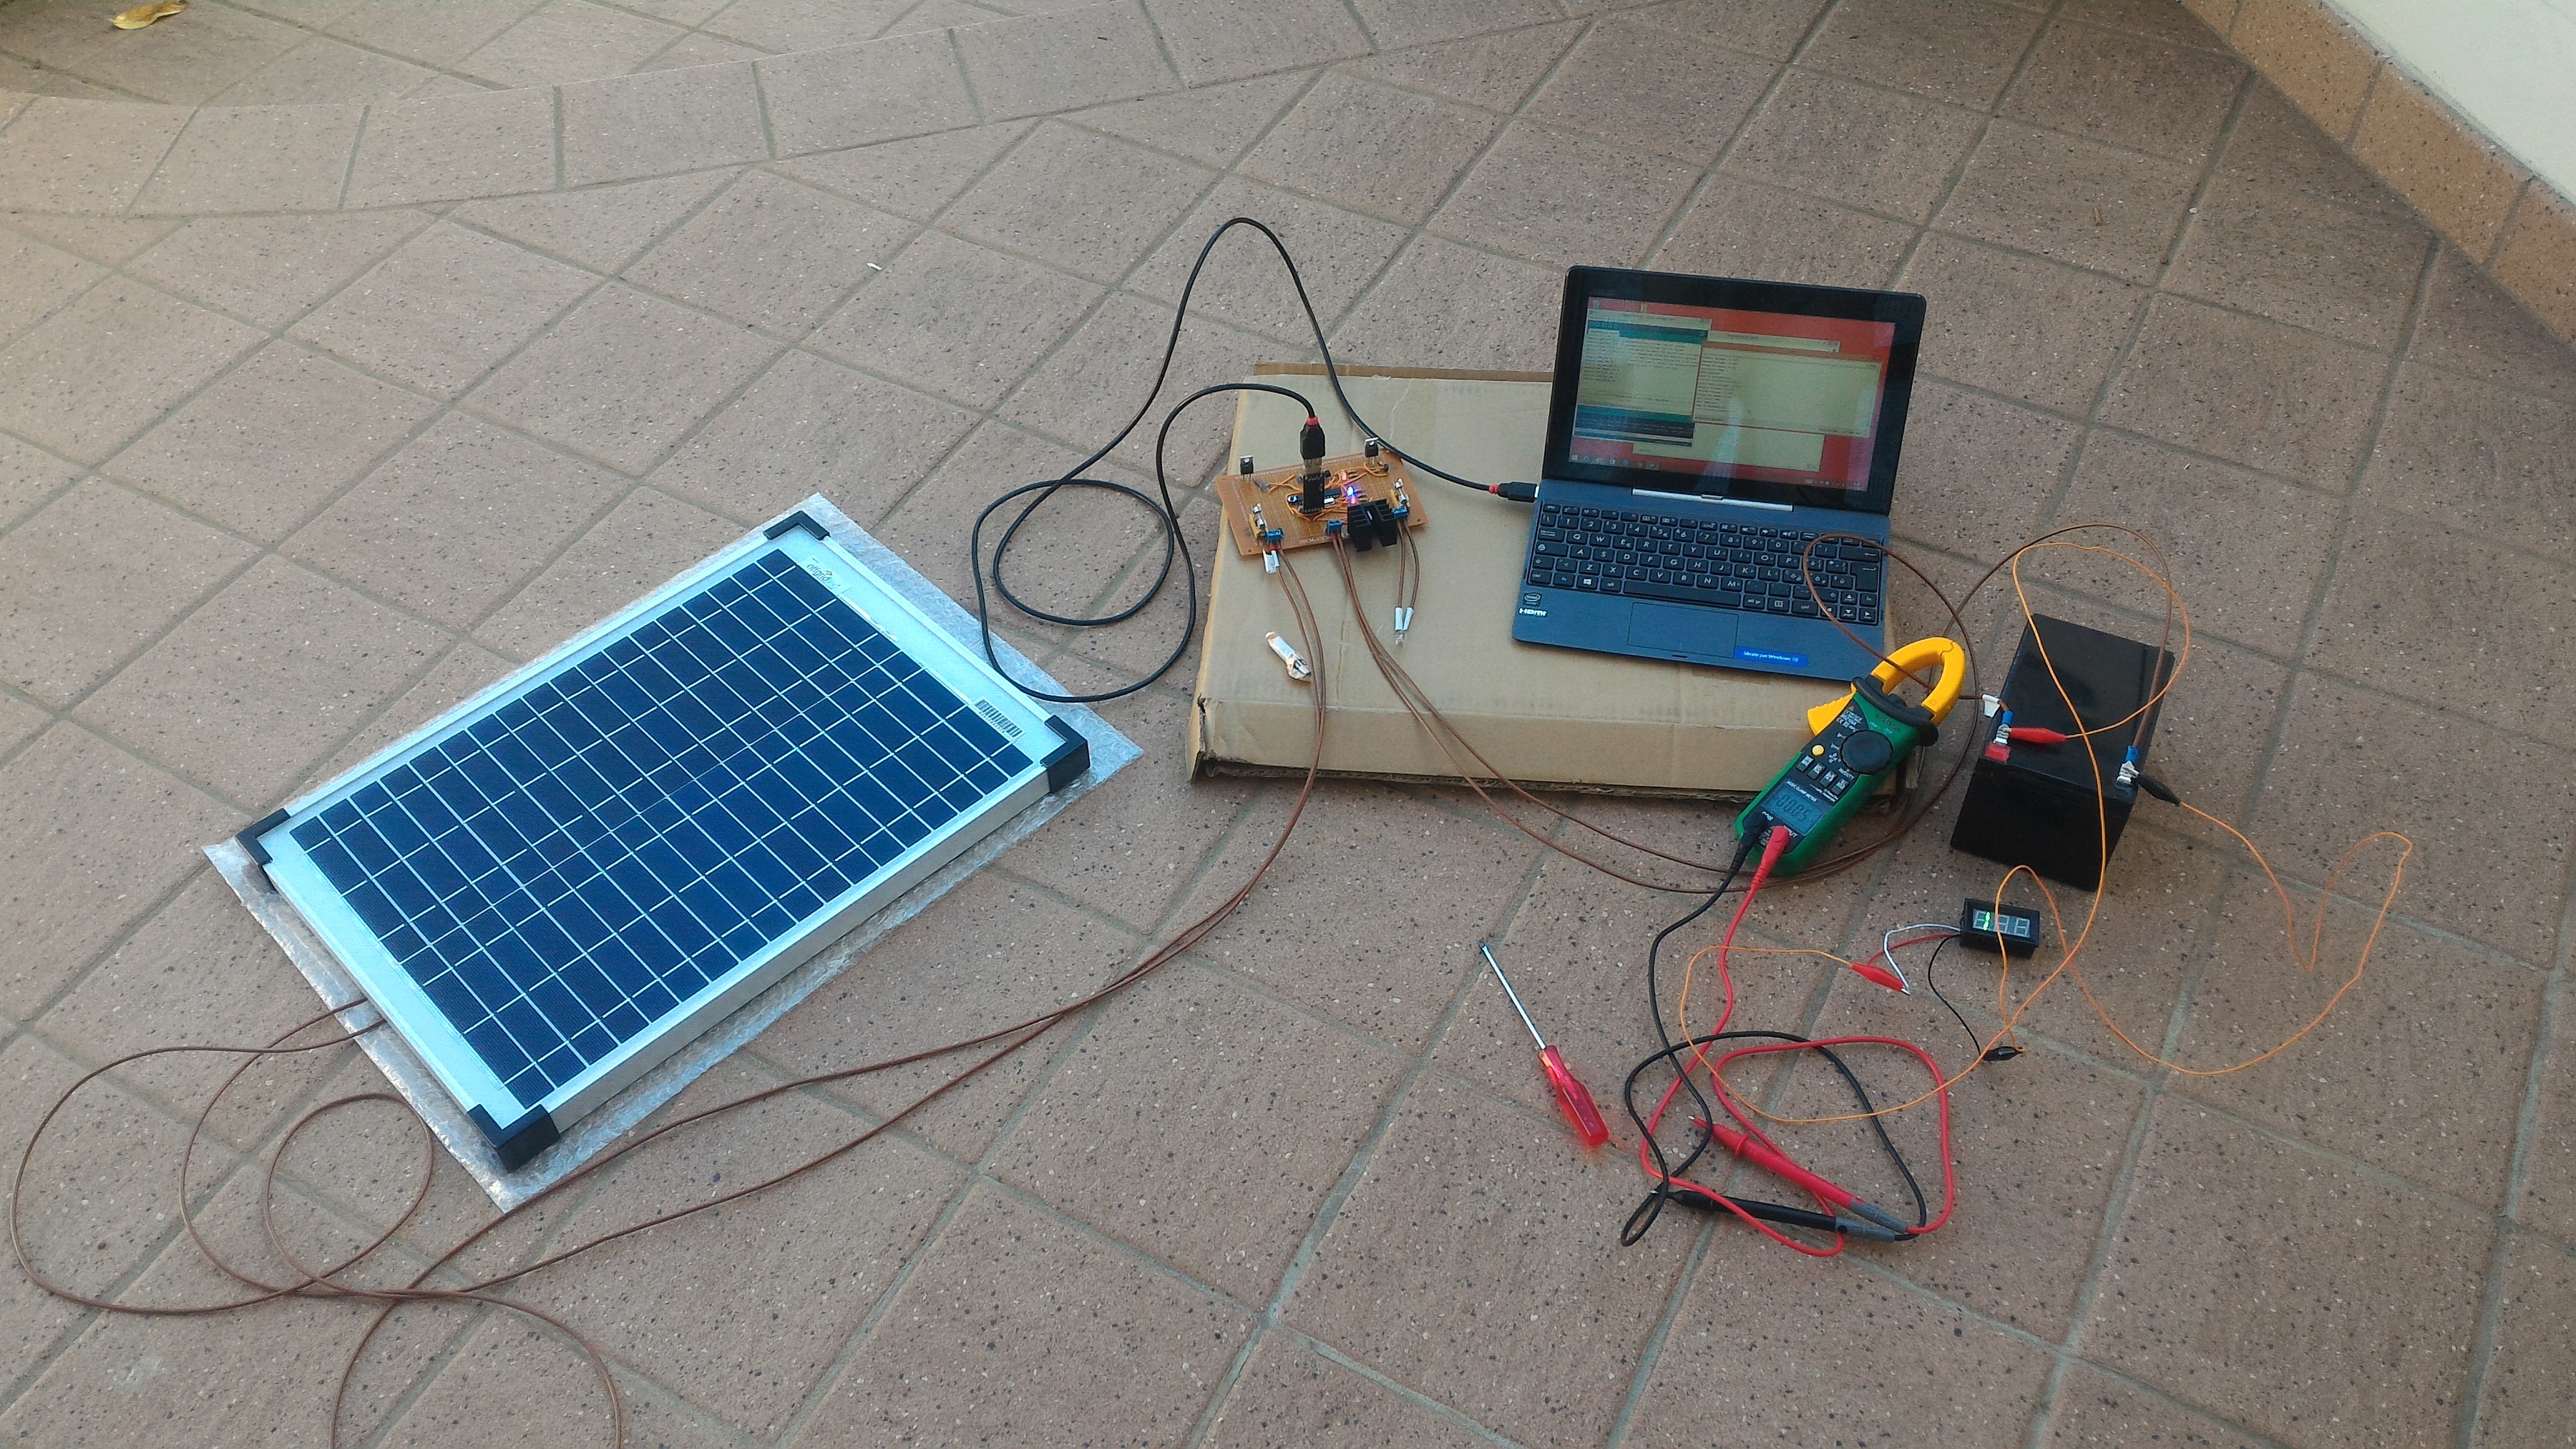
05/19/2016 at 18:58 • 0 comments![]()
First test of the solar charge controller. It seems to work pretty well, but it needs some improvements in the code as well in the hardware (the leds have to be removed to avoid waste of energy).
![]()
Checking the solar charge controller behaviour .
![]()
The solar panel has been turned upside down to make the system behave as night time, and so to turn on the load (in this case a light bulb).
-
The begin...
05/16/2016 at 19:04 • 0 comments
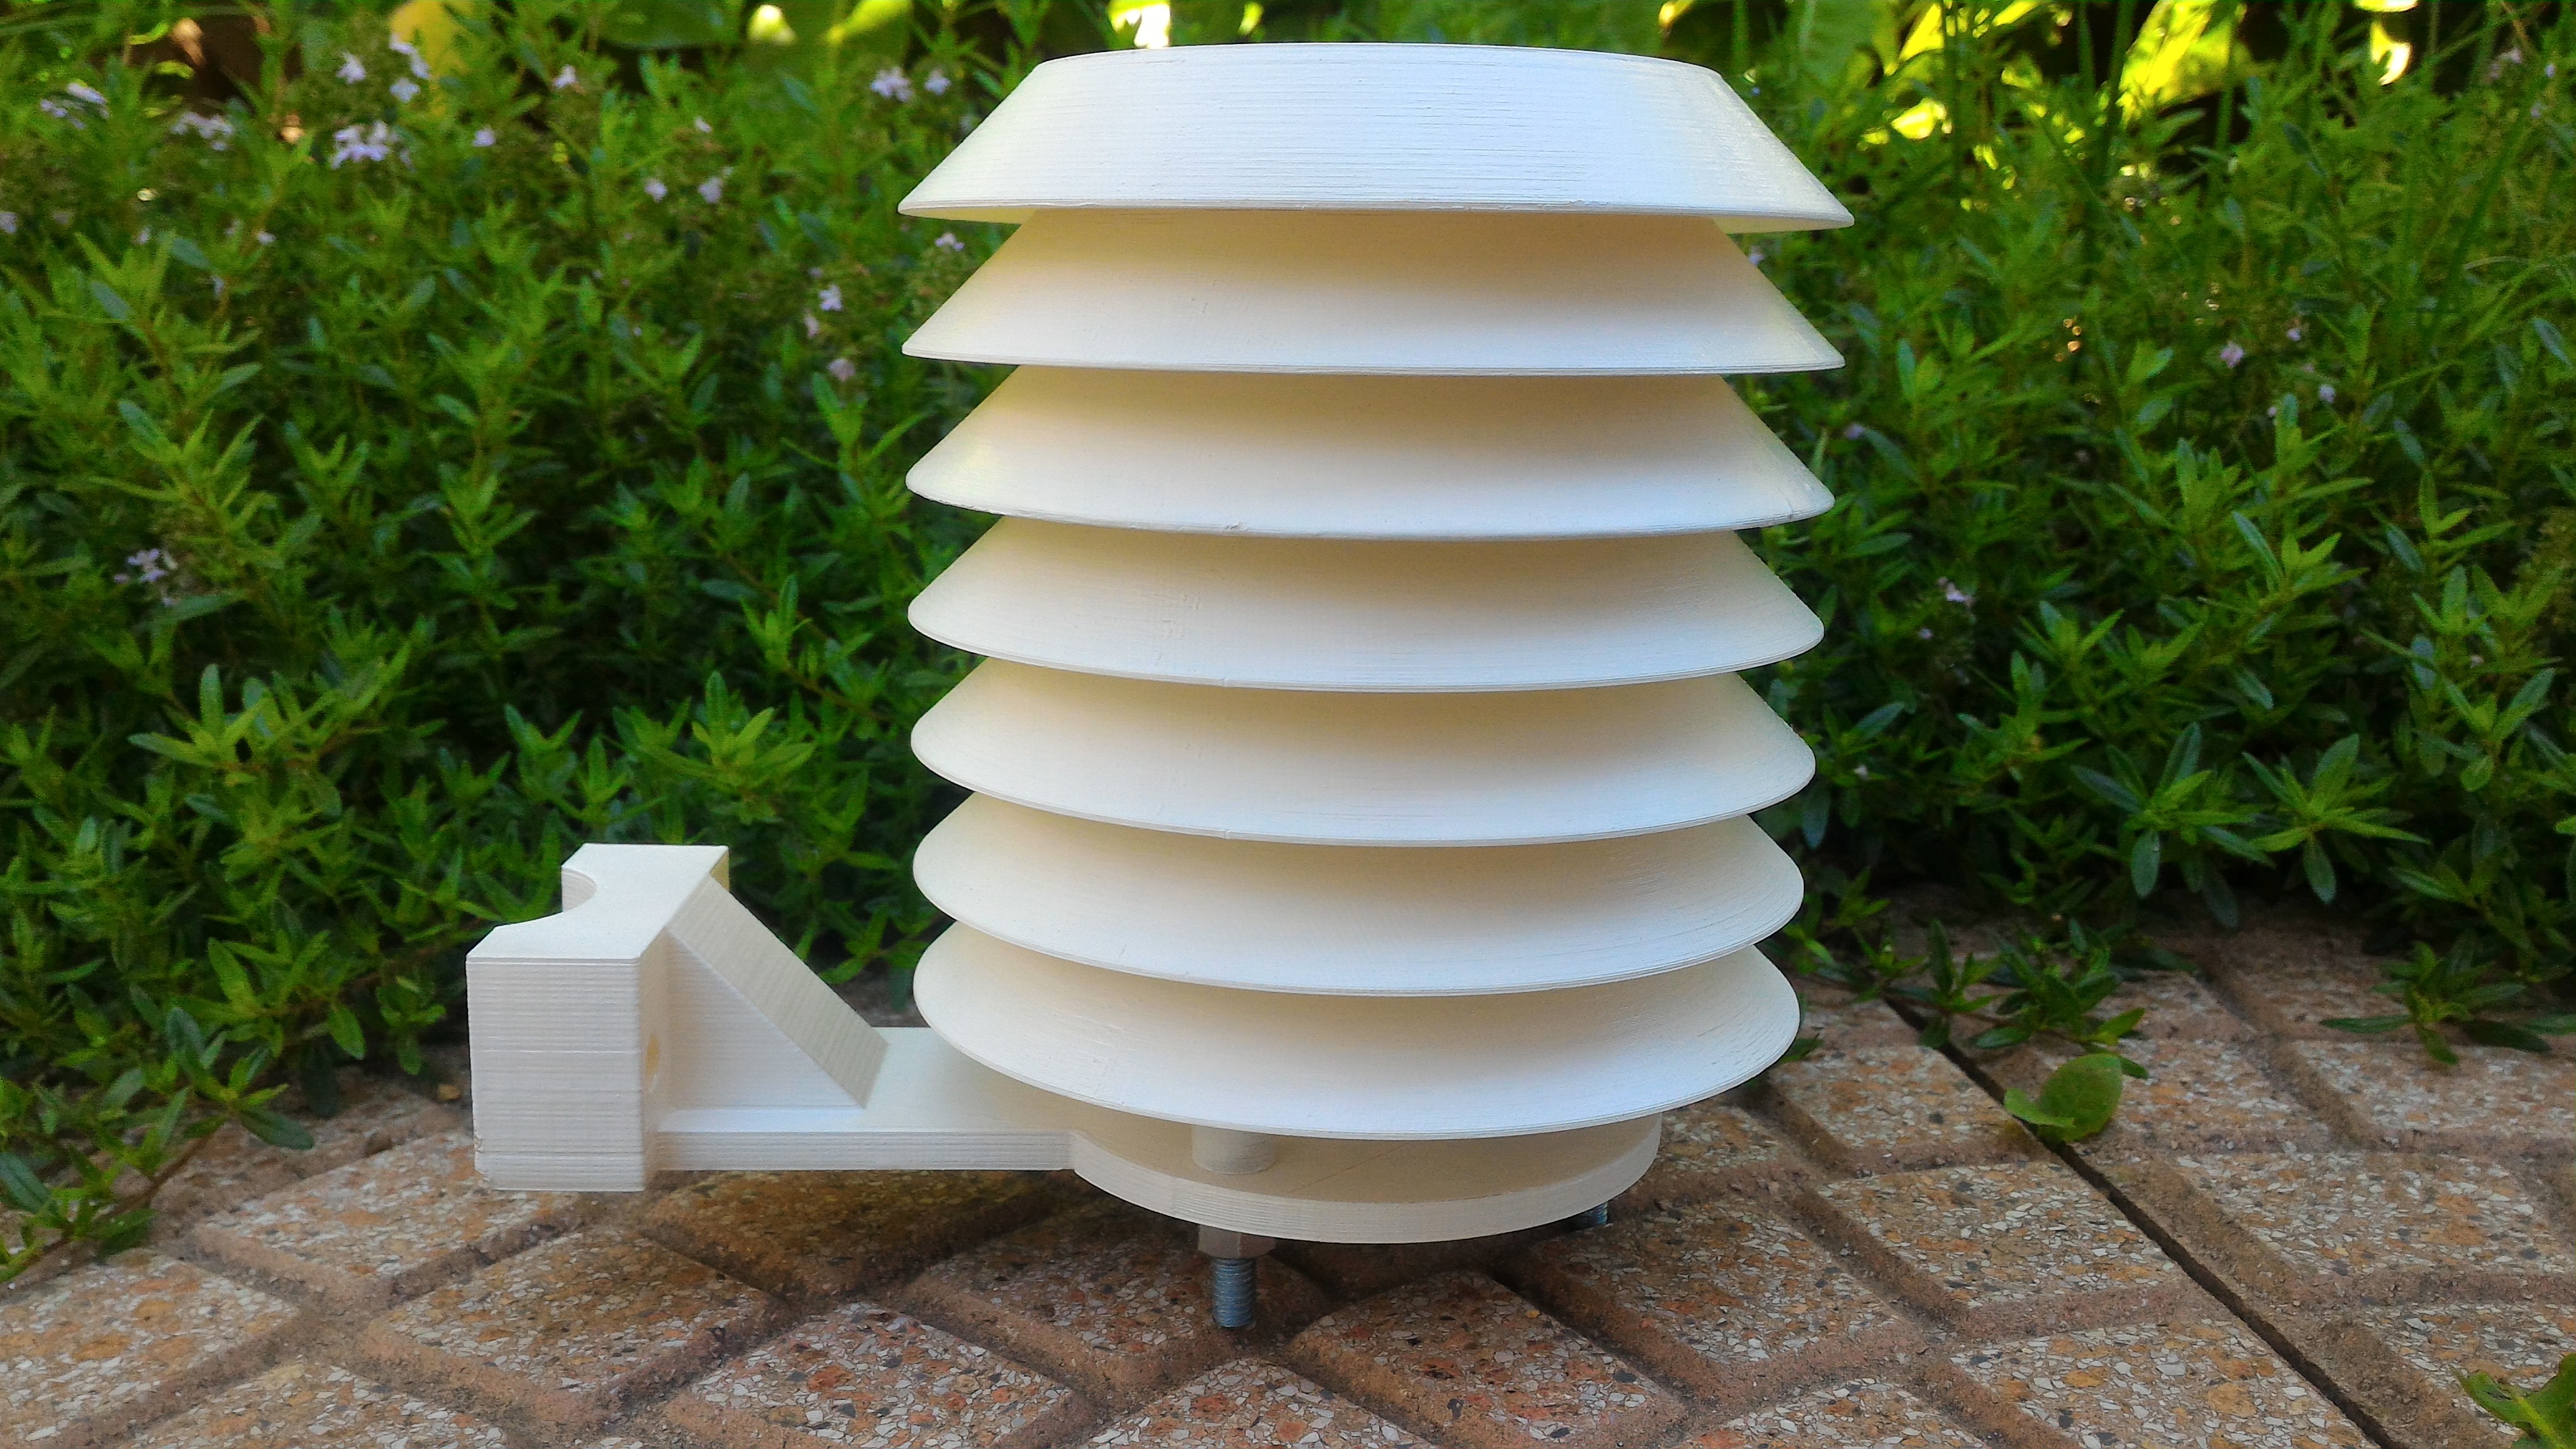
We've just built the solar shield!!![]()
That is one of the first steps for the final build. It took about 4 hours a piece on our slow 3d printer, so that's about 36 hours of total printing time :).
We're currently really busy with the school, so we are mainly focussing on the code to make the weather station working as soon as possible.
More info on how to build it will be available from the end of june/ beginning of july.
We have created a thing on Thingiverse where we will upload all 3D files.
First steps for the contruction of the solar shield are already available at this link:
COCITO WEATHER STATION
IOT Weather Station with Air Quality monitoring