 Koen van Vliet
Big update!
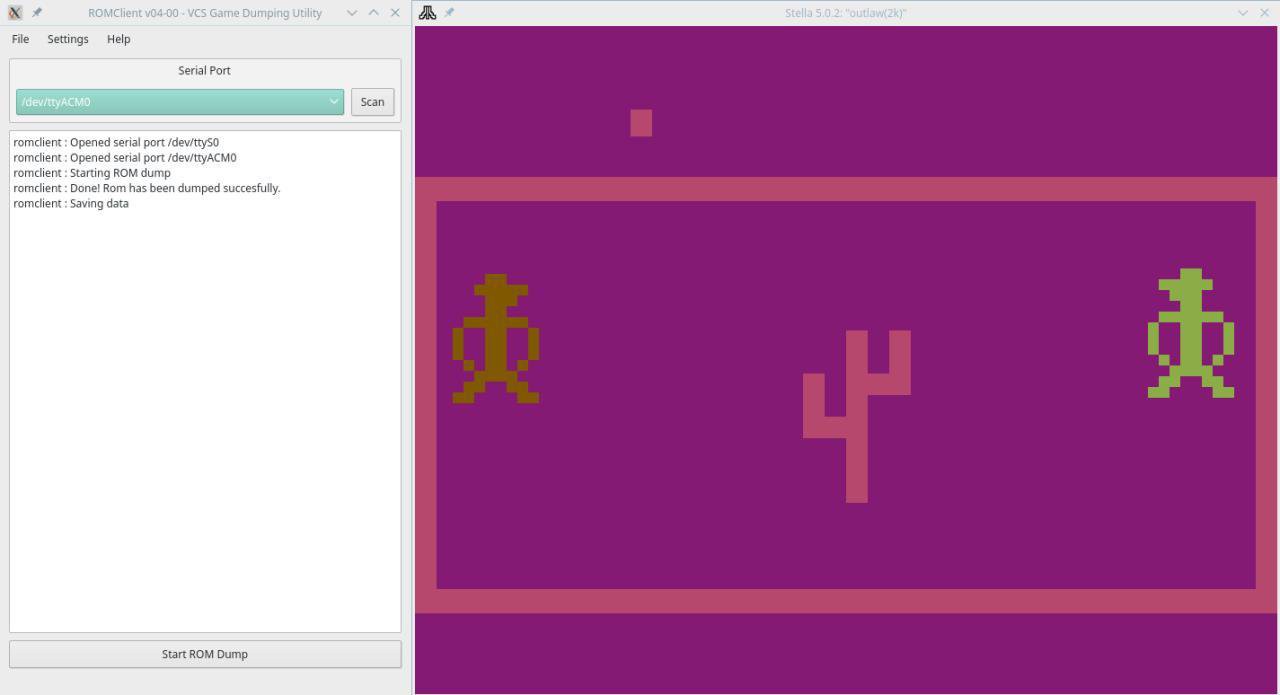
I managed to dump my first rom using this setup today. I made some good progress with the code for this project. You can follow the progress on my github page. The firmware just needs a command interpreter and perhaps some data integrity checks. The software needs some more work. This is my first serious attempt at making a GUI application and I am learning a lot!
I have constructed a prototype using a "Blue pill" STM32F103C8T6 development board. This is one of the cheapest USB enabled board you can get. The data and address bus of the cartridge are wired directly to the pins on the board. The STM32 communicates with the software on the PC over a USB virtual serial port. (I only use that USB to serial board for debug strings.)
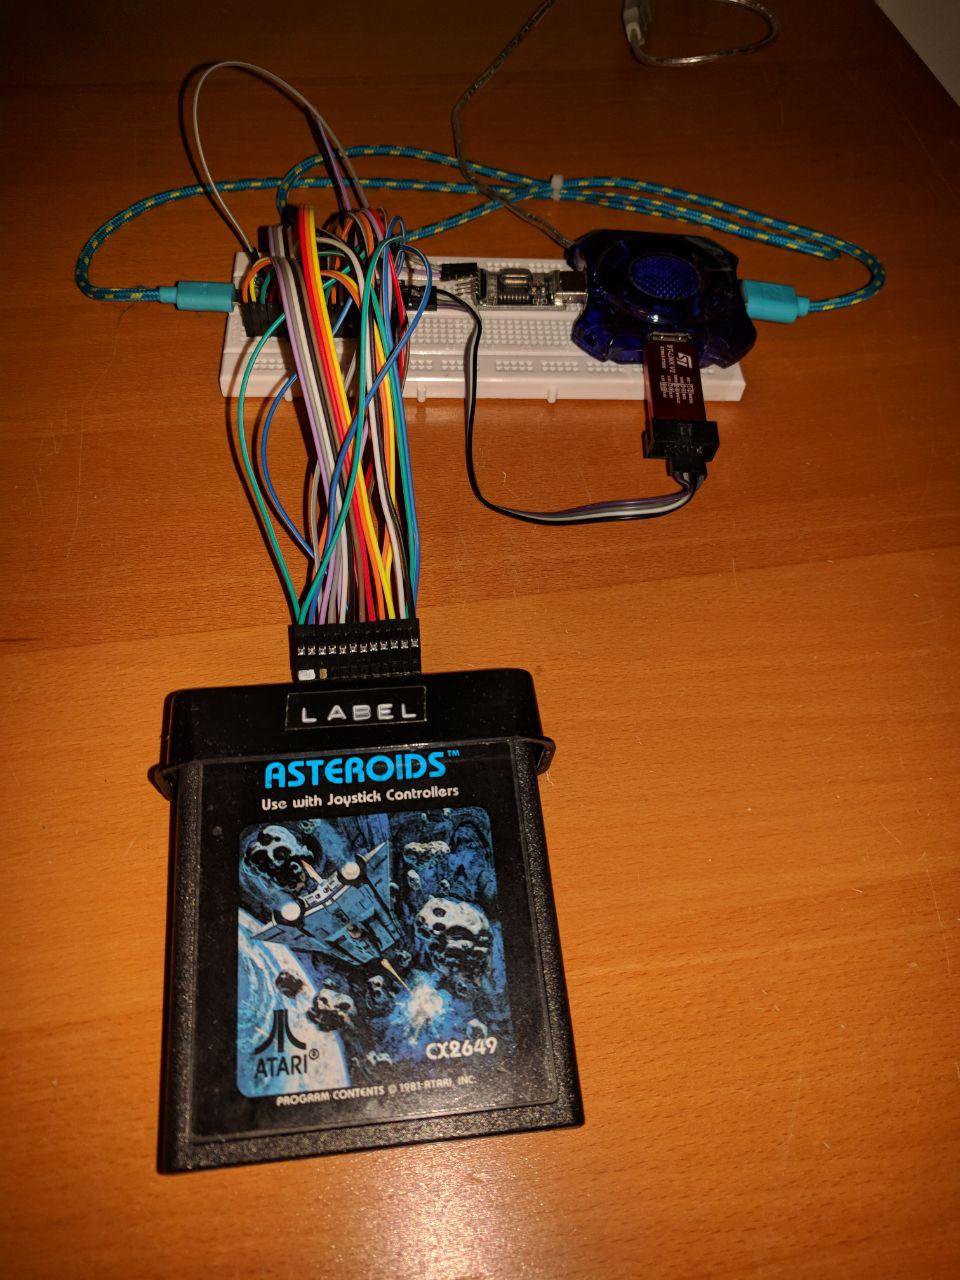
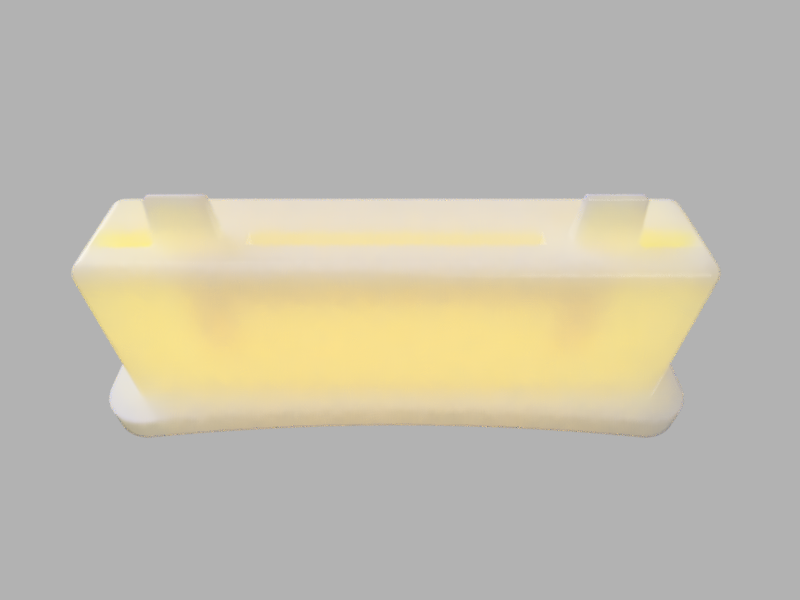
The cartridge connector and housing are taken from my broken woodgrain atari2600. I did some measurements and drew it in Fusion 360. For those who do not want to harvest parts from their precious game console, I plan to release STL files for this connector housing.
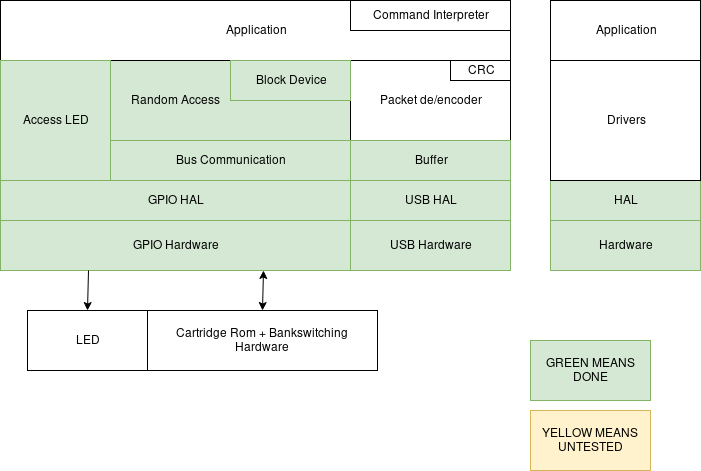
I made good progress on the cartridge reader firmware and the software for the PC. The figure below shows the progress on the firmware. The packet de/encoder might not be required.
The working title of the PC software is "romclient." Back in 2013 I made it using C and it was a commandline utility for win32. This time I made it in python complete with GUI wrapper using pyQt5 and qtDesigner. This is my first serious attempt at creating a GUI application.
Discussions
Become a Hackaday.io Member
Create an account to leave a comment. Already have an account? Log In.