Close
0%
0%

Particulate Matter Sensor Network

Gathering more data on PM in our environment

Similar projects worth following
Living in a city, there's a lot of traffic and industry around. And as it is, these create quite a bit of pollution. But how much "dirt" is really in the air that we breath

Now there is a bit of public data on pollution out there, but that is based off of only a hand full of measuring stations in a city, and most of the time, even that is hard to come by. So let's make our own measurements

In order to do that, the idea is to create a cheap sensor unit people can place outside on their balcony or just on their window ledge. The sensor unit will measure PM 2.5 and PM 1.0 values, as well as possibly some other things, and send them to a central service for people to track pollution all over their city.

The project is open source, both hard- and software, so people can build their own units or improve them as much as they like. At the same time, I'm hoping to produce a few runs of sensor units so people without all the necessary production means can get a unit or two.

Check out the GitHub repository for the source code. I'm using the Arduino IDE to program the ESP8266 WiFi microcontroller. The README is a bit out of date, and there aren't any hardware design files in the repo yet, as it's all still just put together on a WeMos D1 arduino compatible board.

  • 1 × ESP8266 Board (I use the Wemos D1) Processing and wifi connectivity are the key
  • 1 × Shinyei PPD42NS Particulate Matter sensor
  • 1 × DHT22 Temperature and humidity sensor

  • Software

    tiefpunkt11/20/2016 at 18:11 0 comments

    A big part of our project is to make the data we gather available to everyone. We plan to do that with a web portal. So how does it all work?

    The data of course starts out on the sensor itself. That sensor then makes an HTTP request to an API, written in Python. That API takes the data, and plugs it into an InfluxDB time series database.

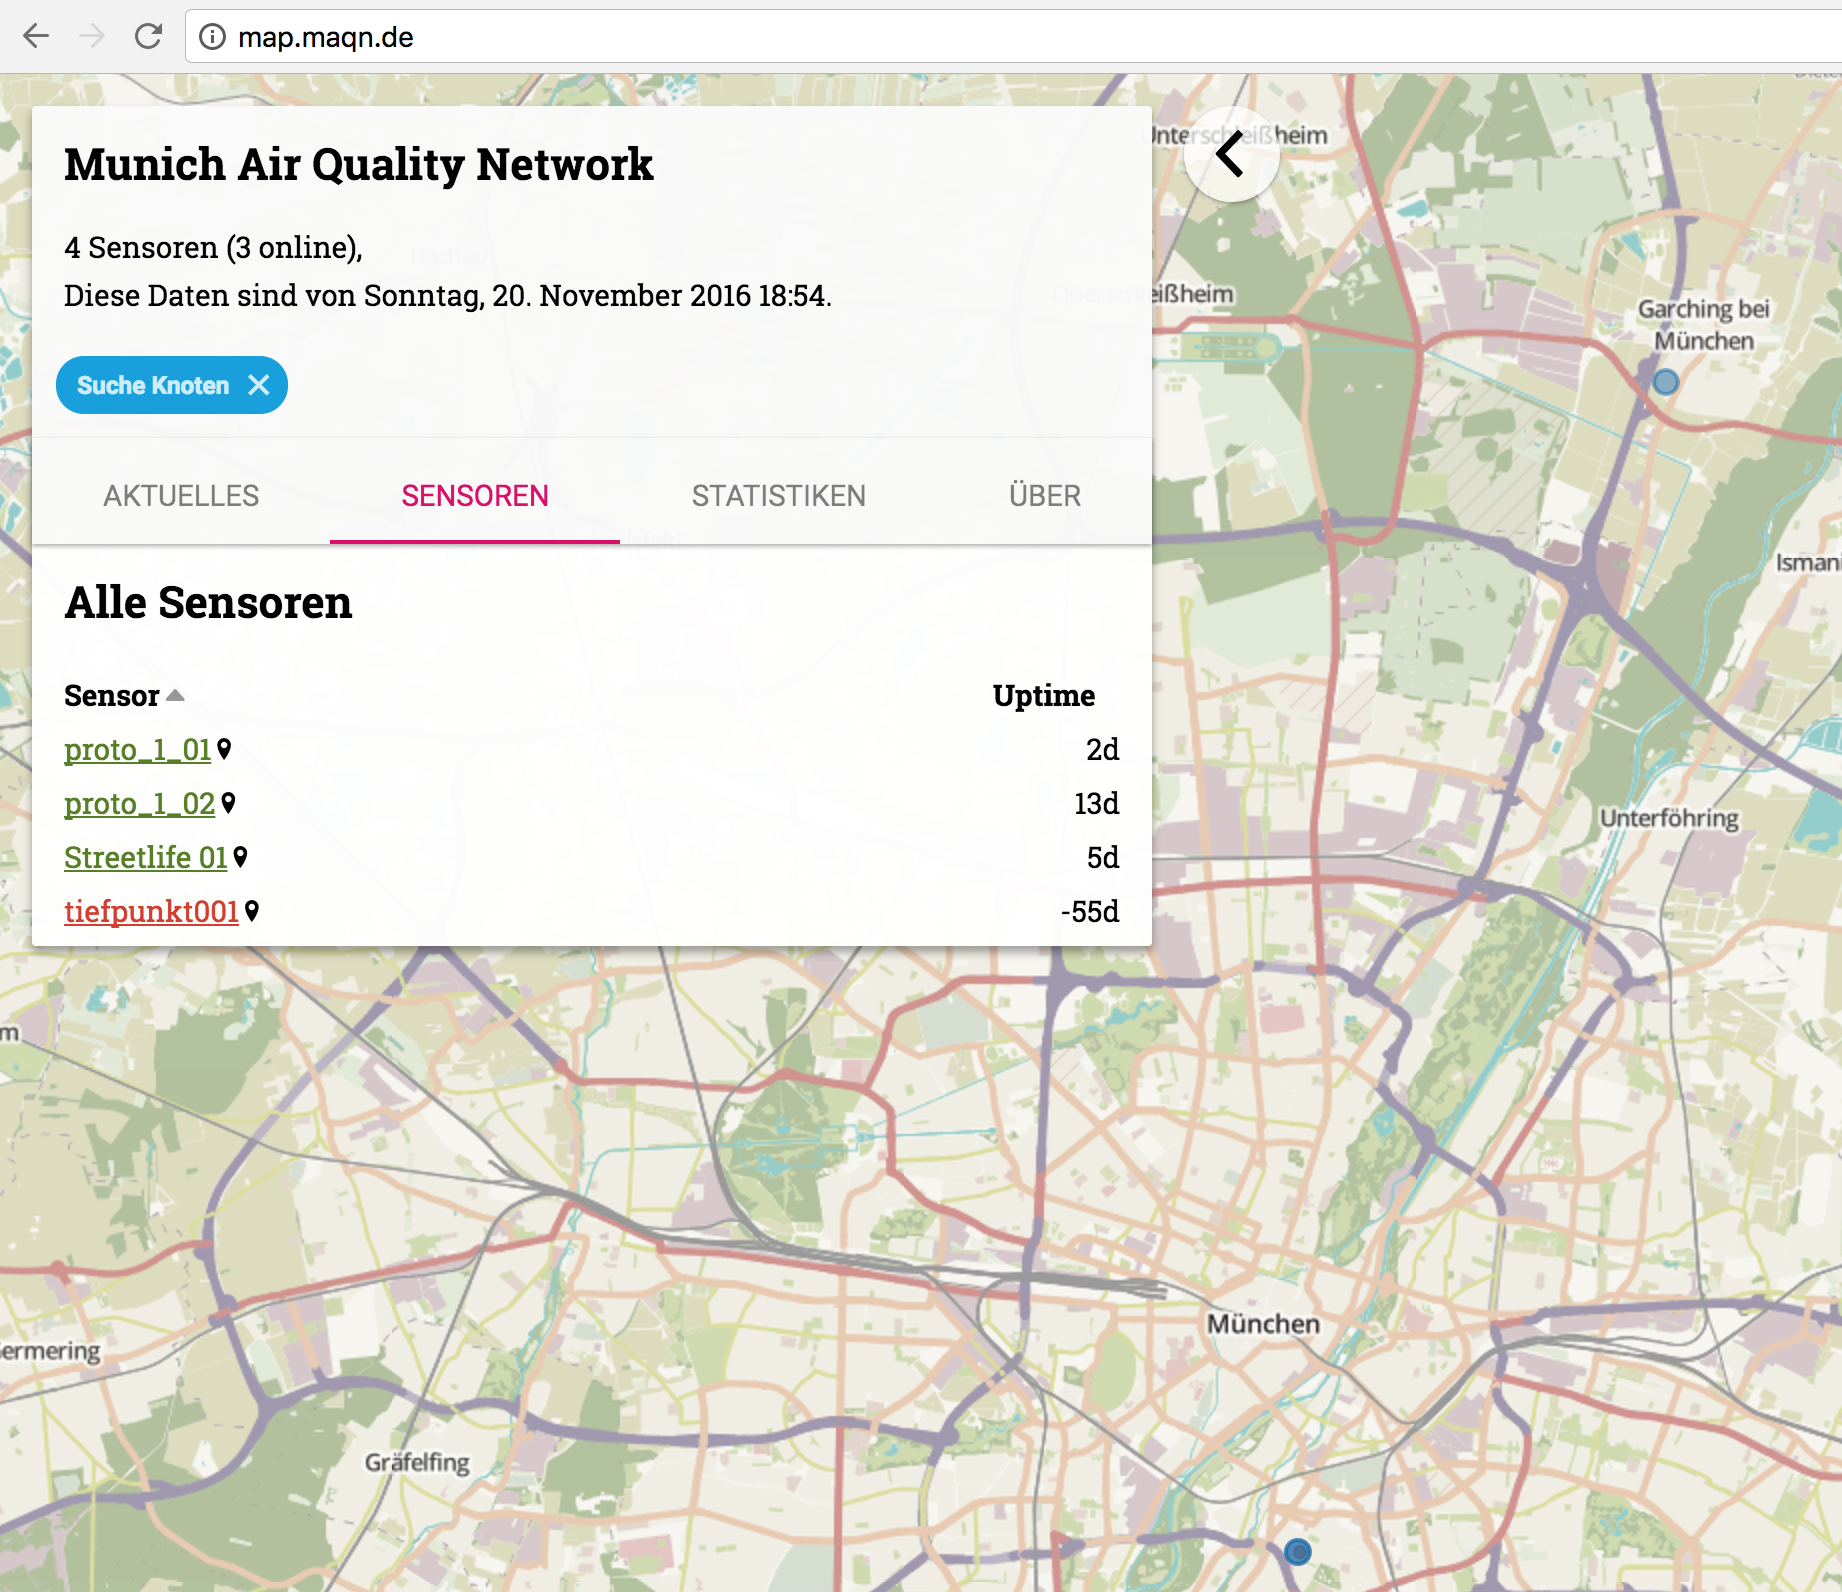
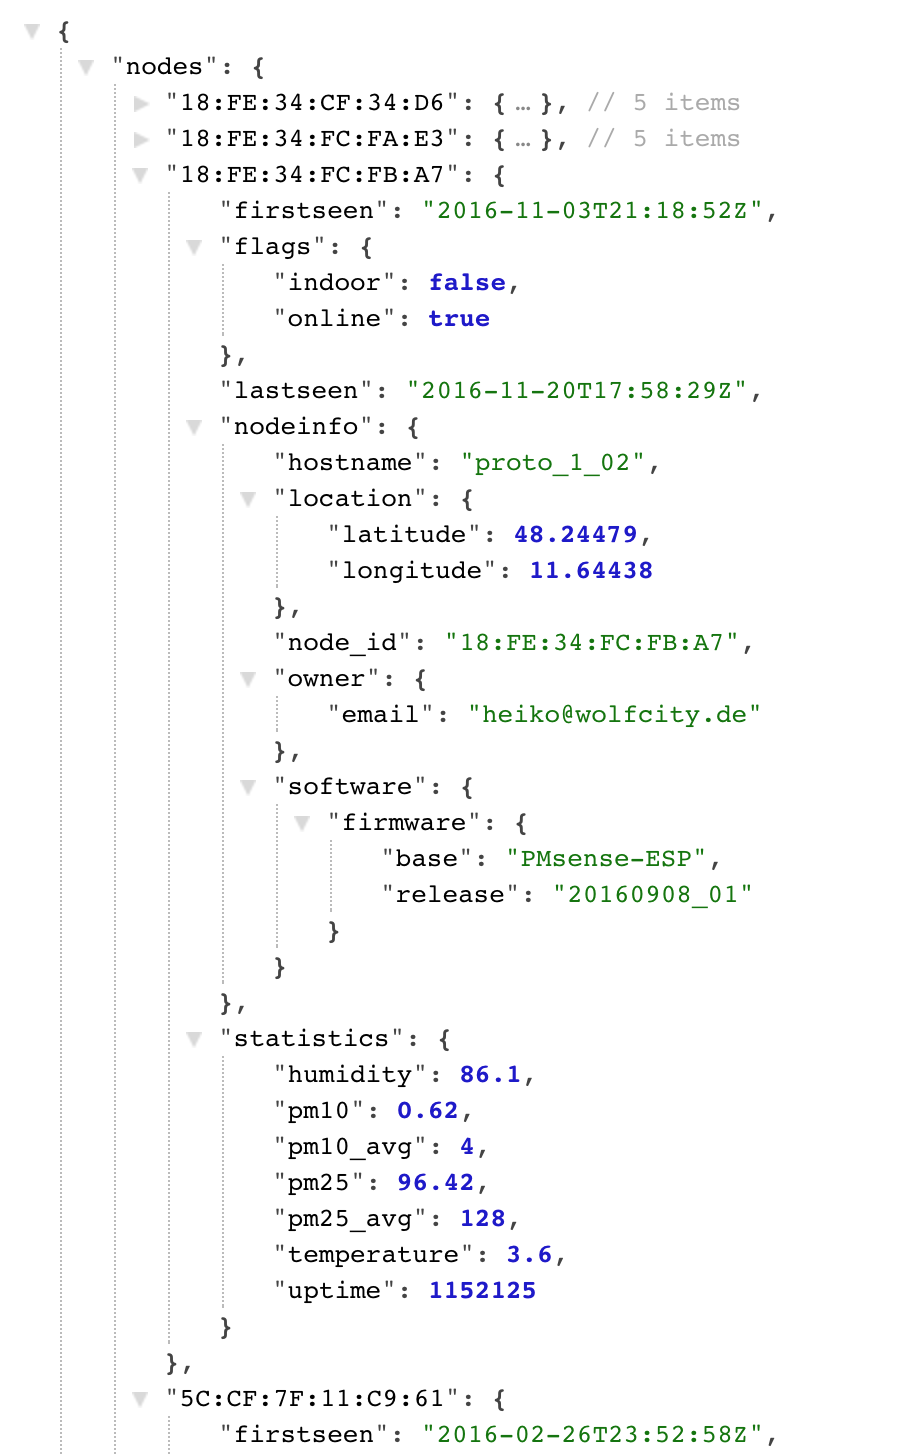
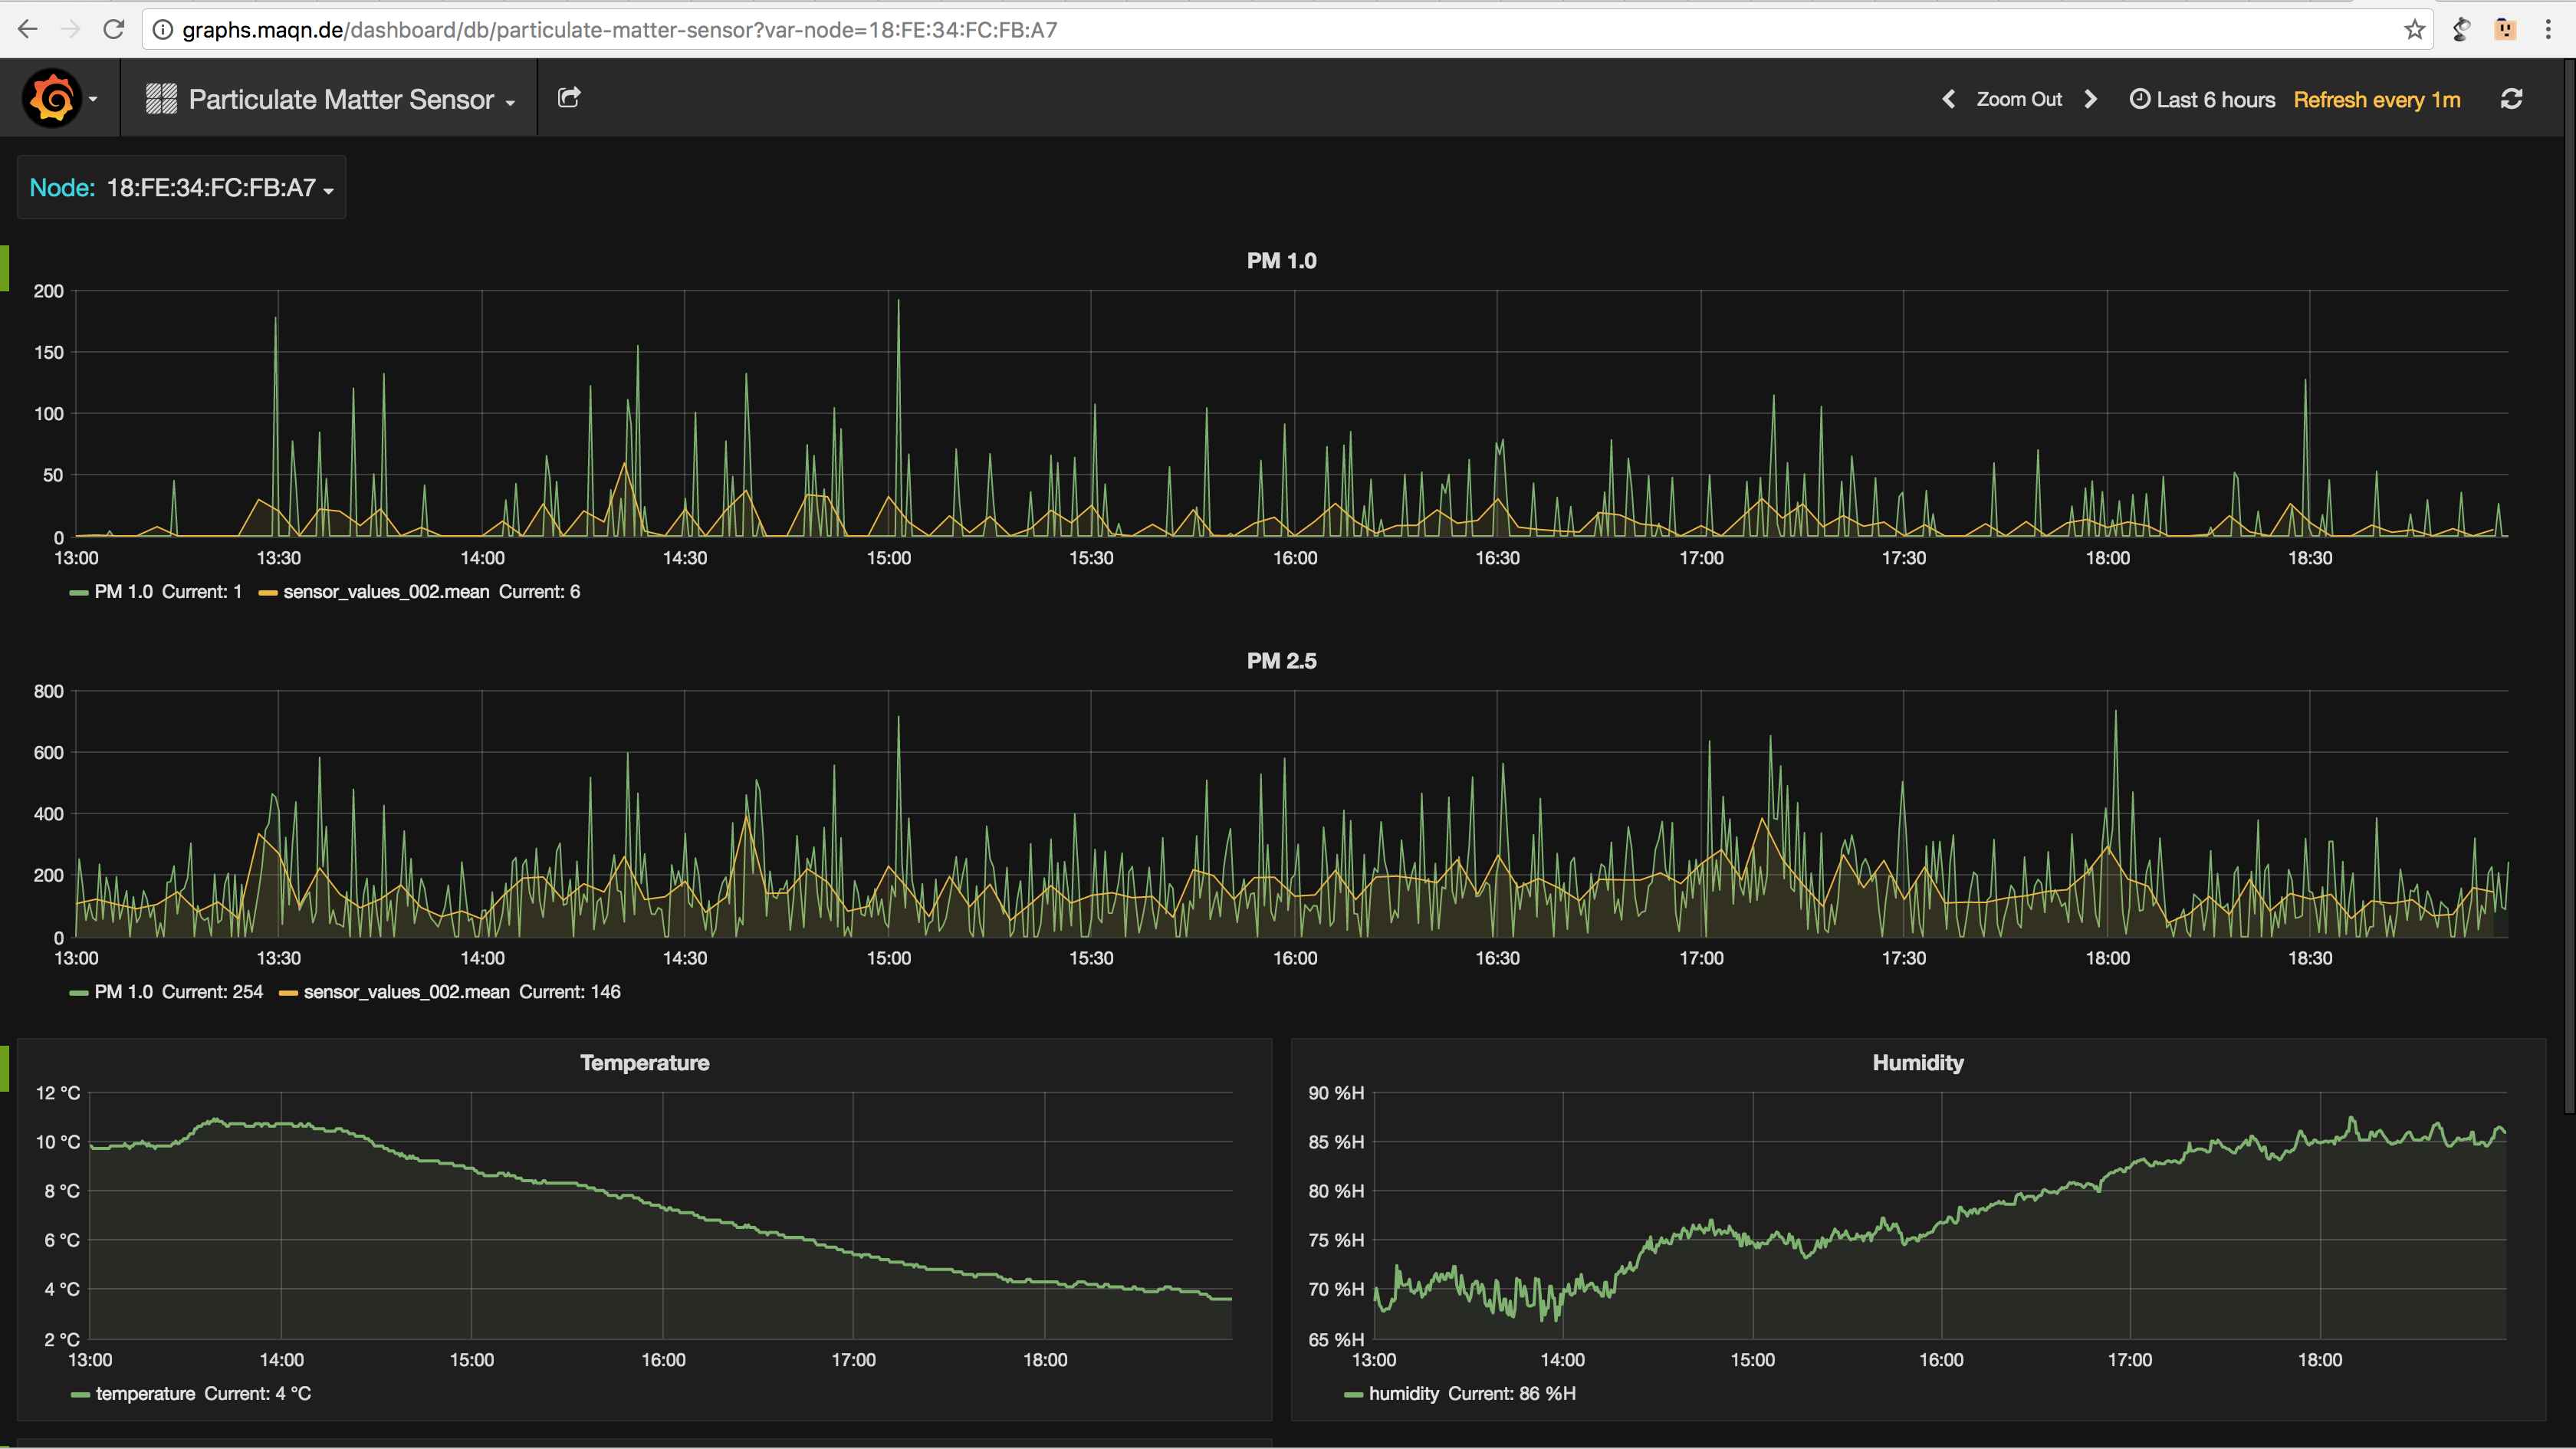
    To show the data, we primarily use a map, which is derived from the Freifunk project. It takes a description of all sensor nodes from the API, and displays them on an OSM map. The API therefor takes the latest data from the InfluxDB, gets some more static information on the sensor from another MySQL database, and creates a JSON file to be read by the map. On the map, we also show graphs of some of the sensor values. These graphs are created by Grafana, which allows for a deeper dive into the data each sensor generates. It's connected to the InfluxDB, but has no access to the additional information the MySQL database has in store.

    Now, if you want to see it live and in action, check out http://map.maqn.de/. We have all the source on GitHub, some on https://github.com/maqn, some still in my personal repository, https://github.com/tiefpunkt. But it'll eventually all be transferred to the MAQN (Munich Air Quality Network) organisation.

  • The first outdoor sensor

    tiefpunkt11/20/2016 at 17:44 0 comments

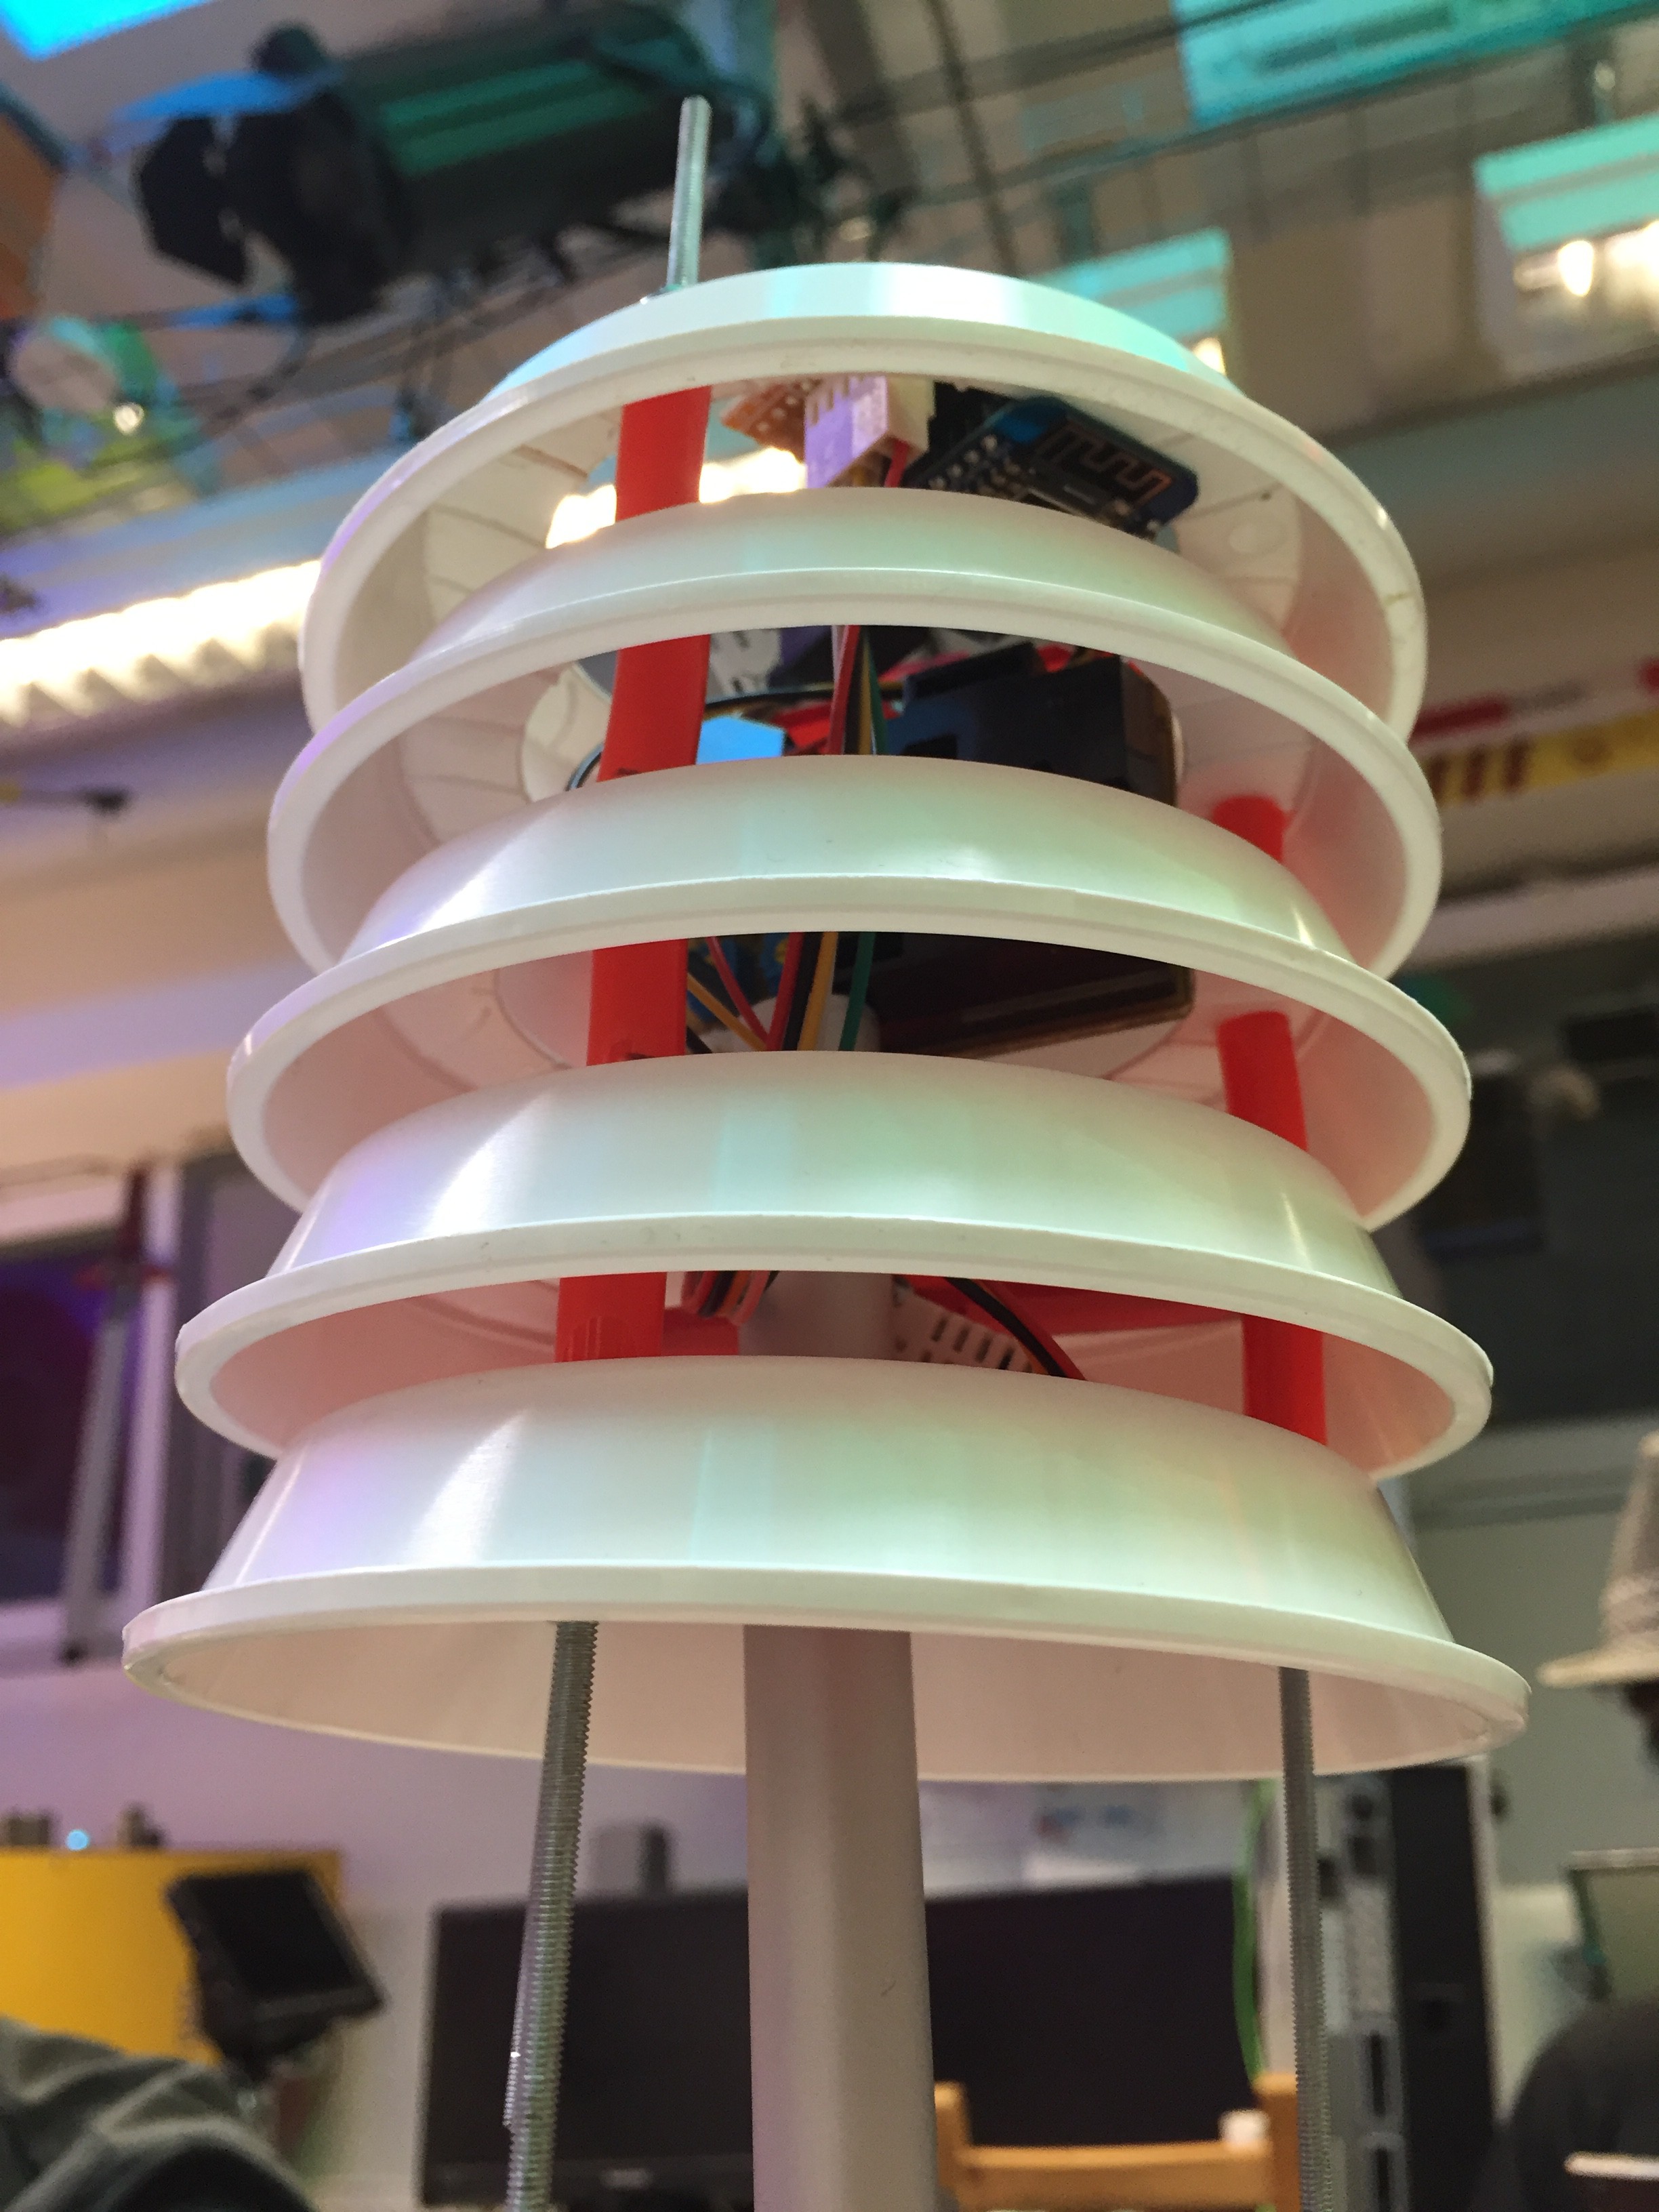
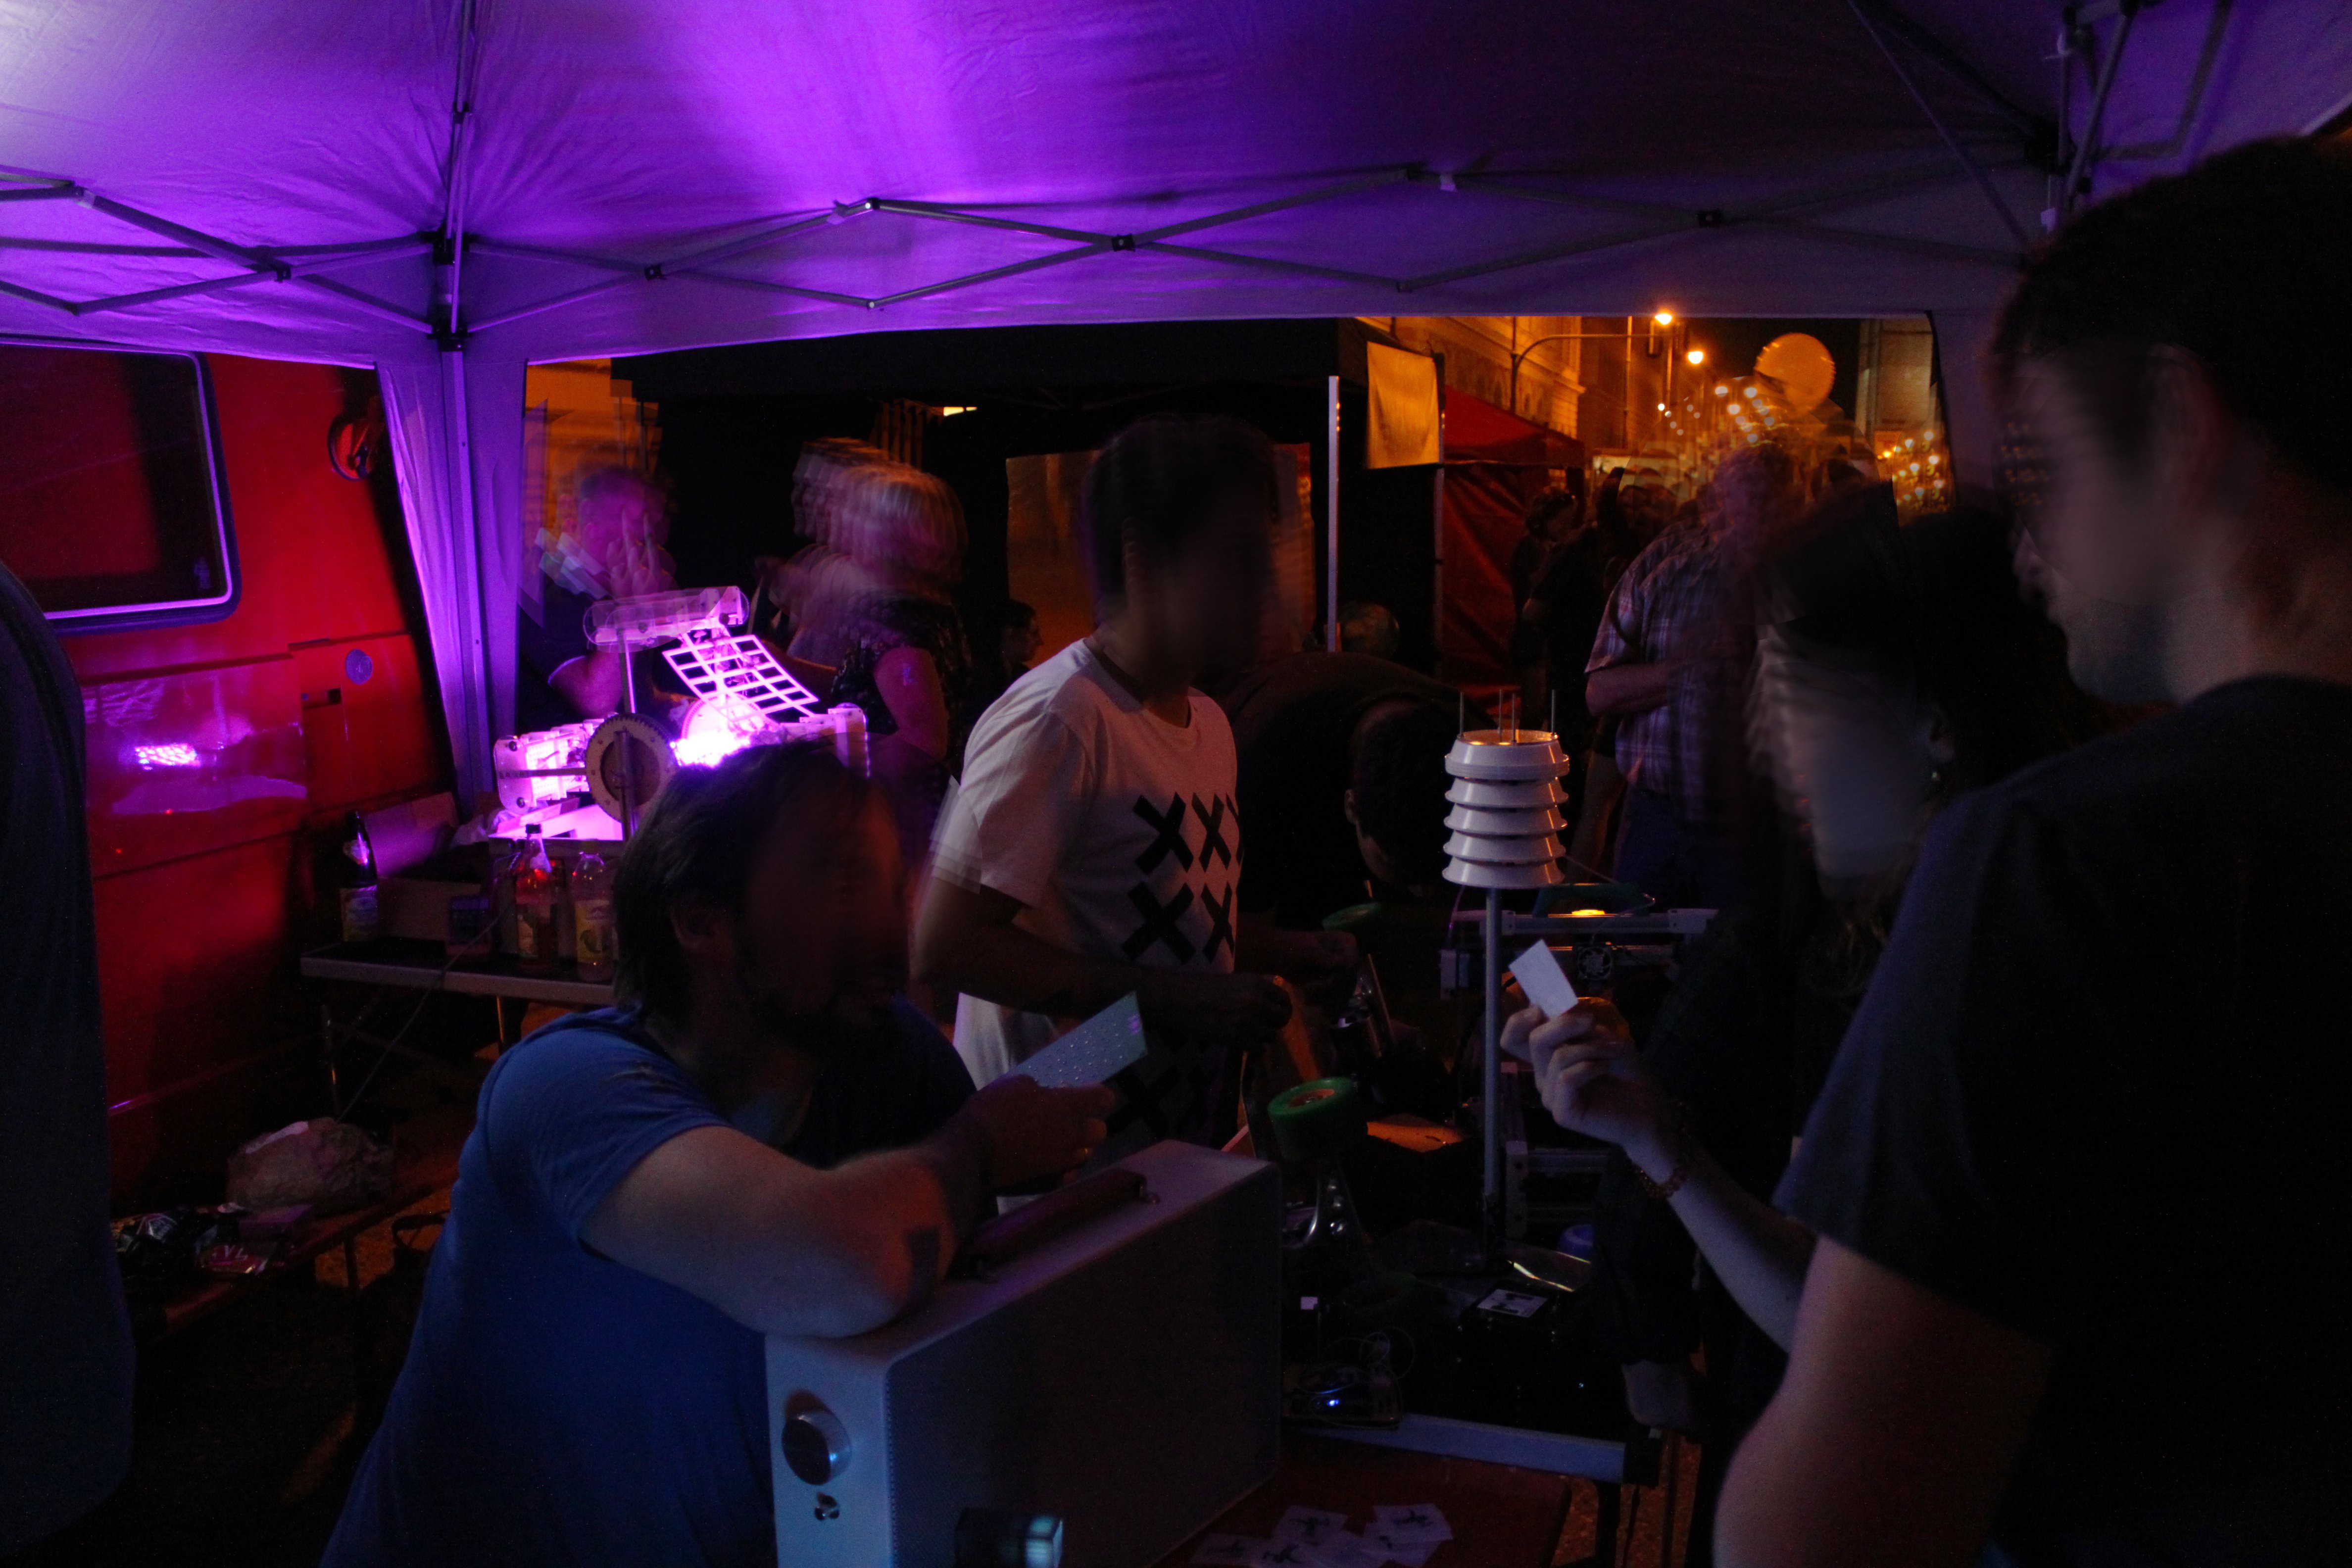
    Our maker space had a booth at a local street faire, so we decided to show off our project there as well. Since the aim is to place sensors outside, and we only had some indoor sensing units so far, it was time to build an outdoor version.

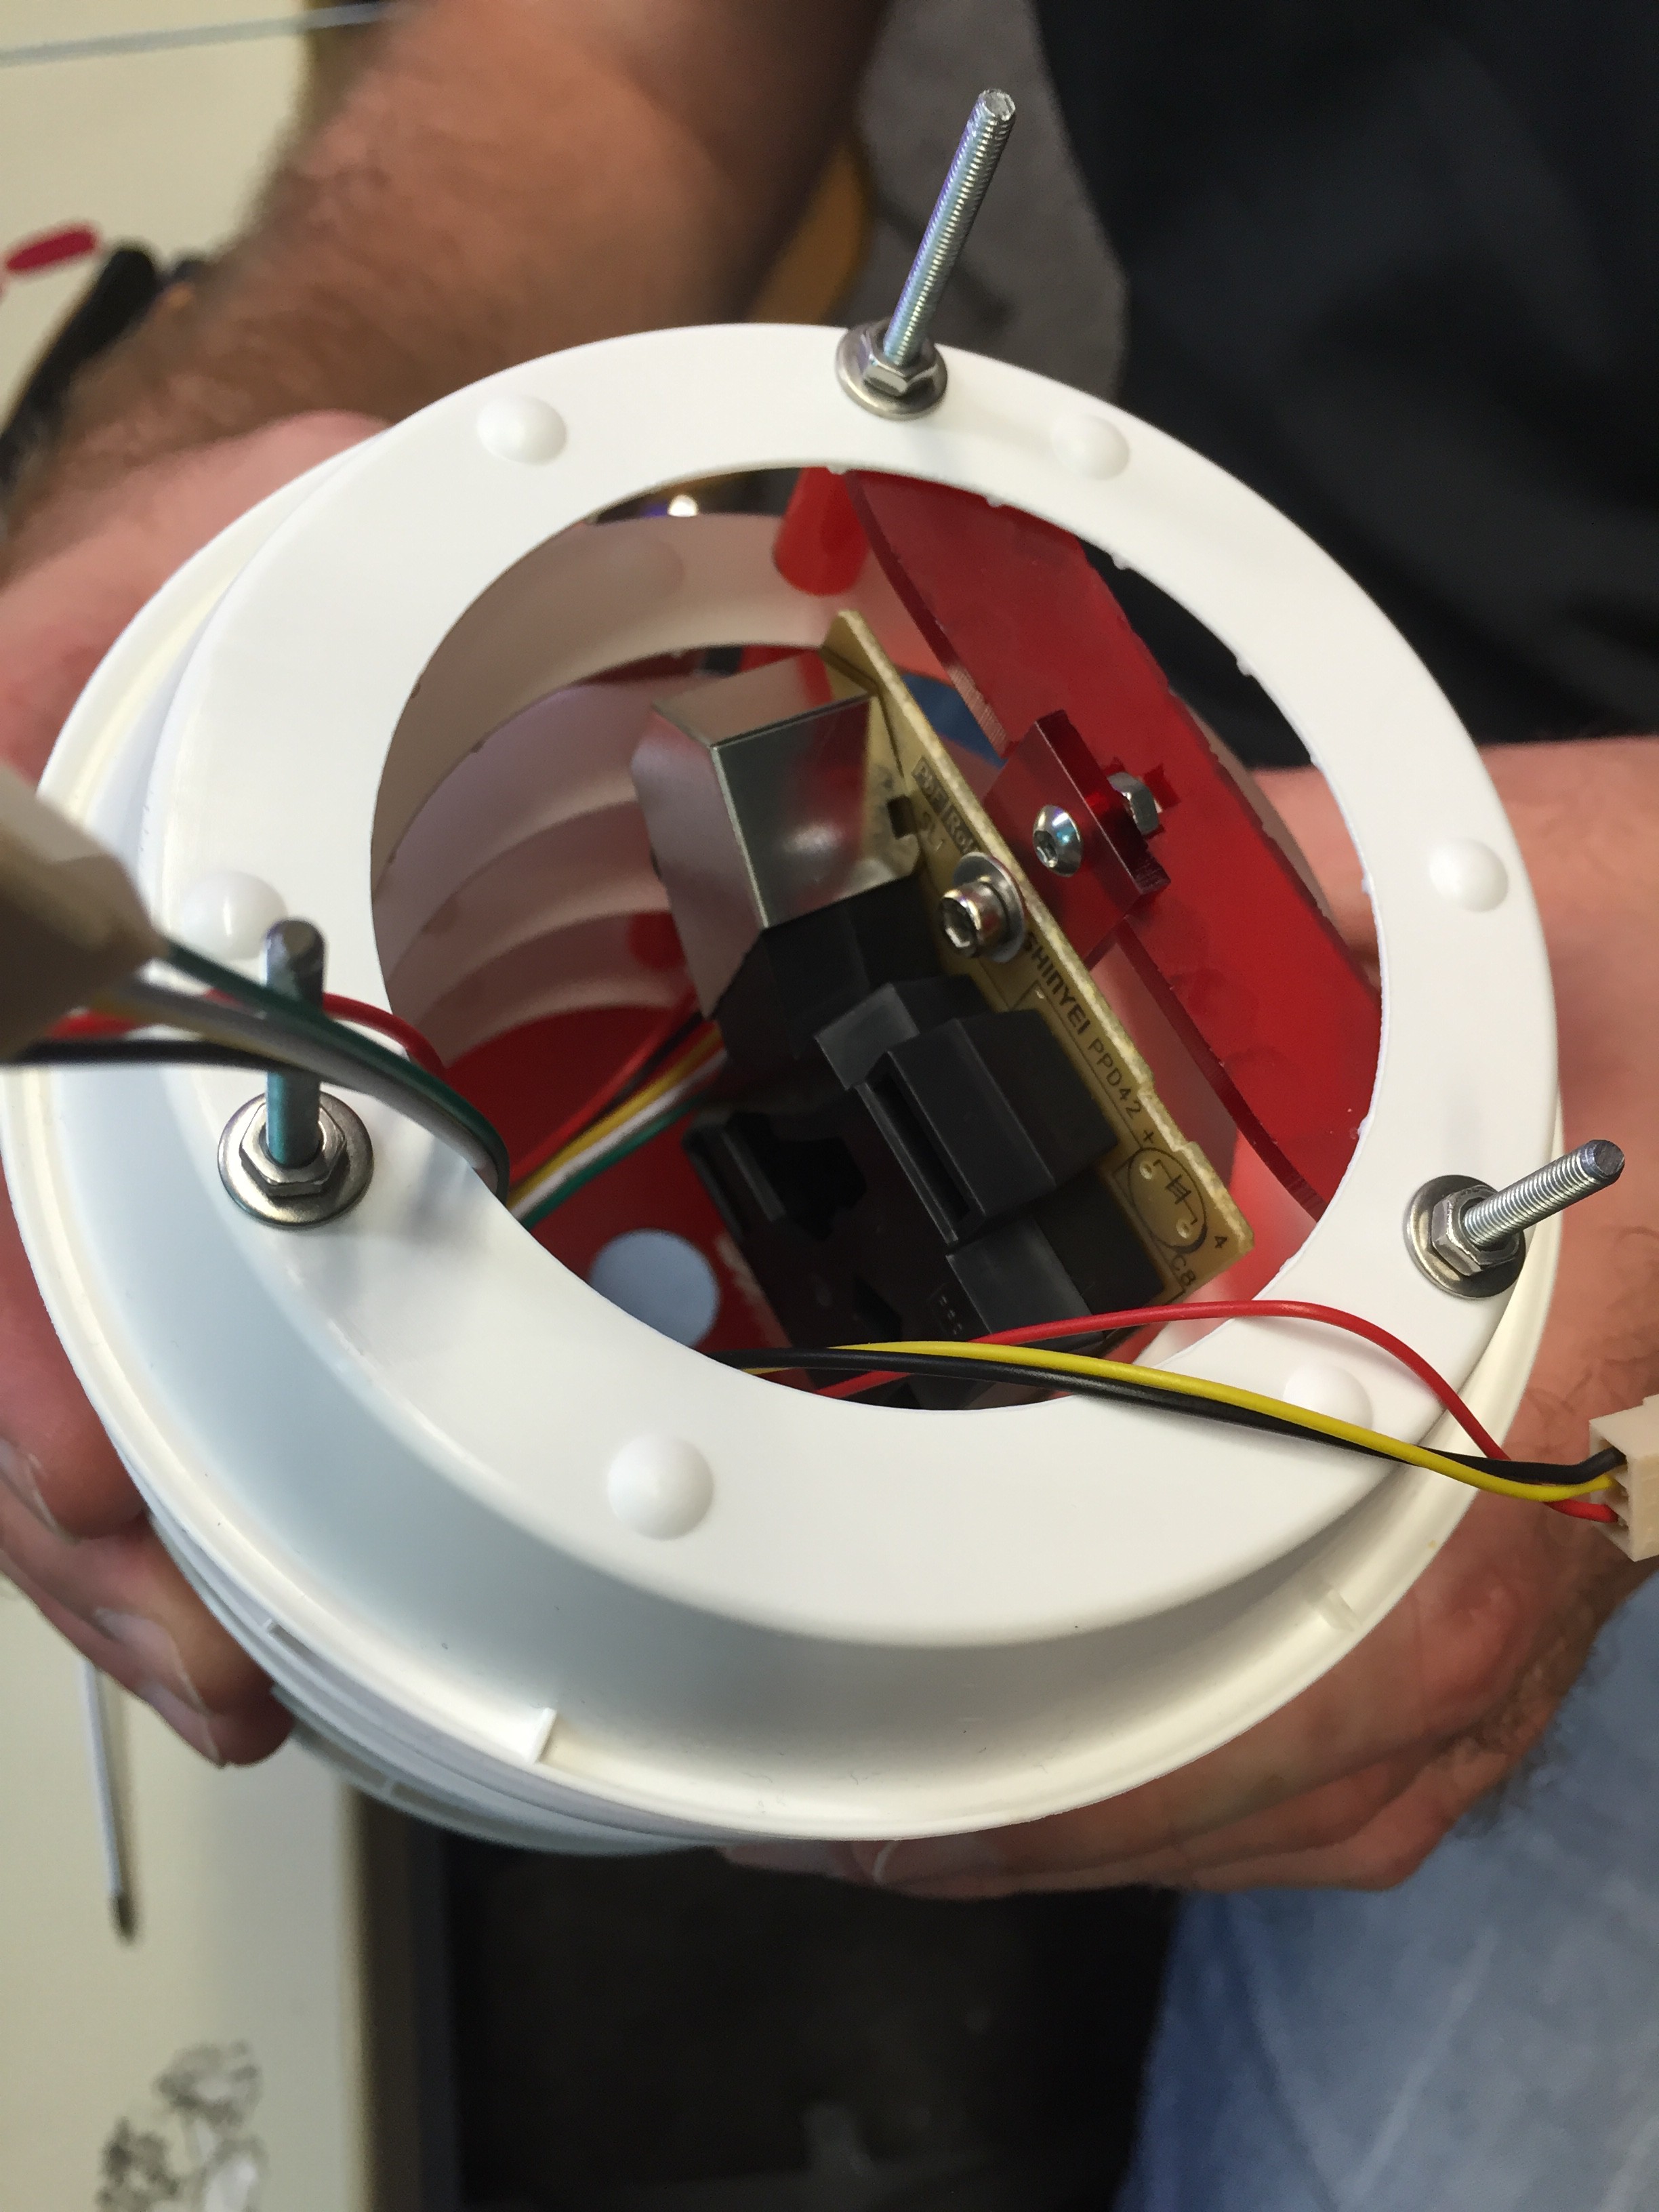
    The case is built using plant coasters. We lasercut a big hole in the middle, and some small mounting holes on the rim of each coaster, and assembled them using some threaded rods. There's an acrylic strip on the inside, onto which the sensors and the electronics are mounted. The whole thing is connected to an aluminium tube, which is used as a stand, and through which a cable for power runs.

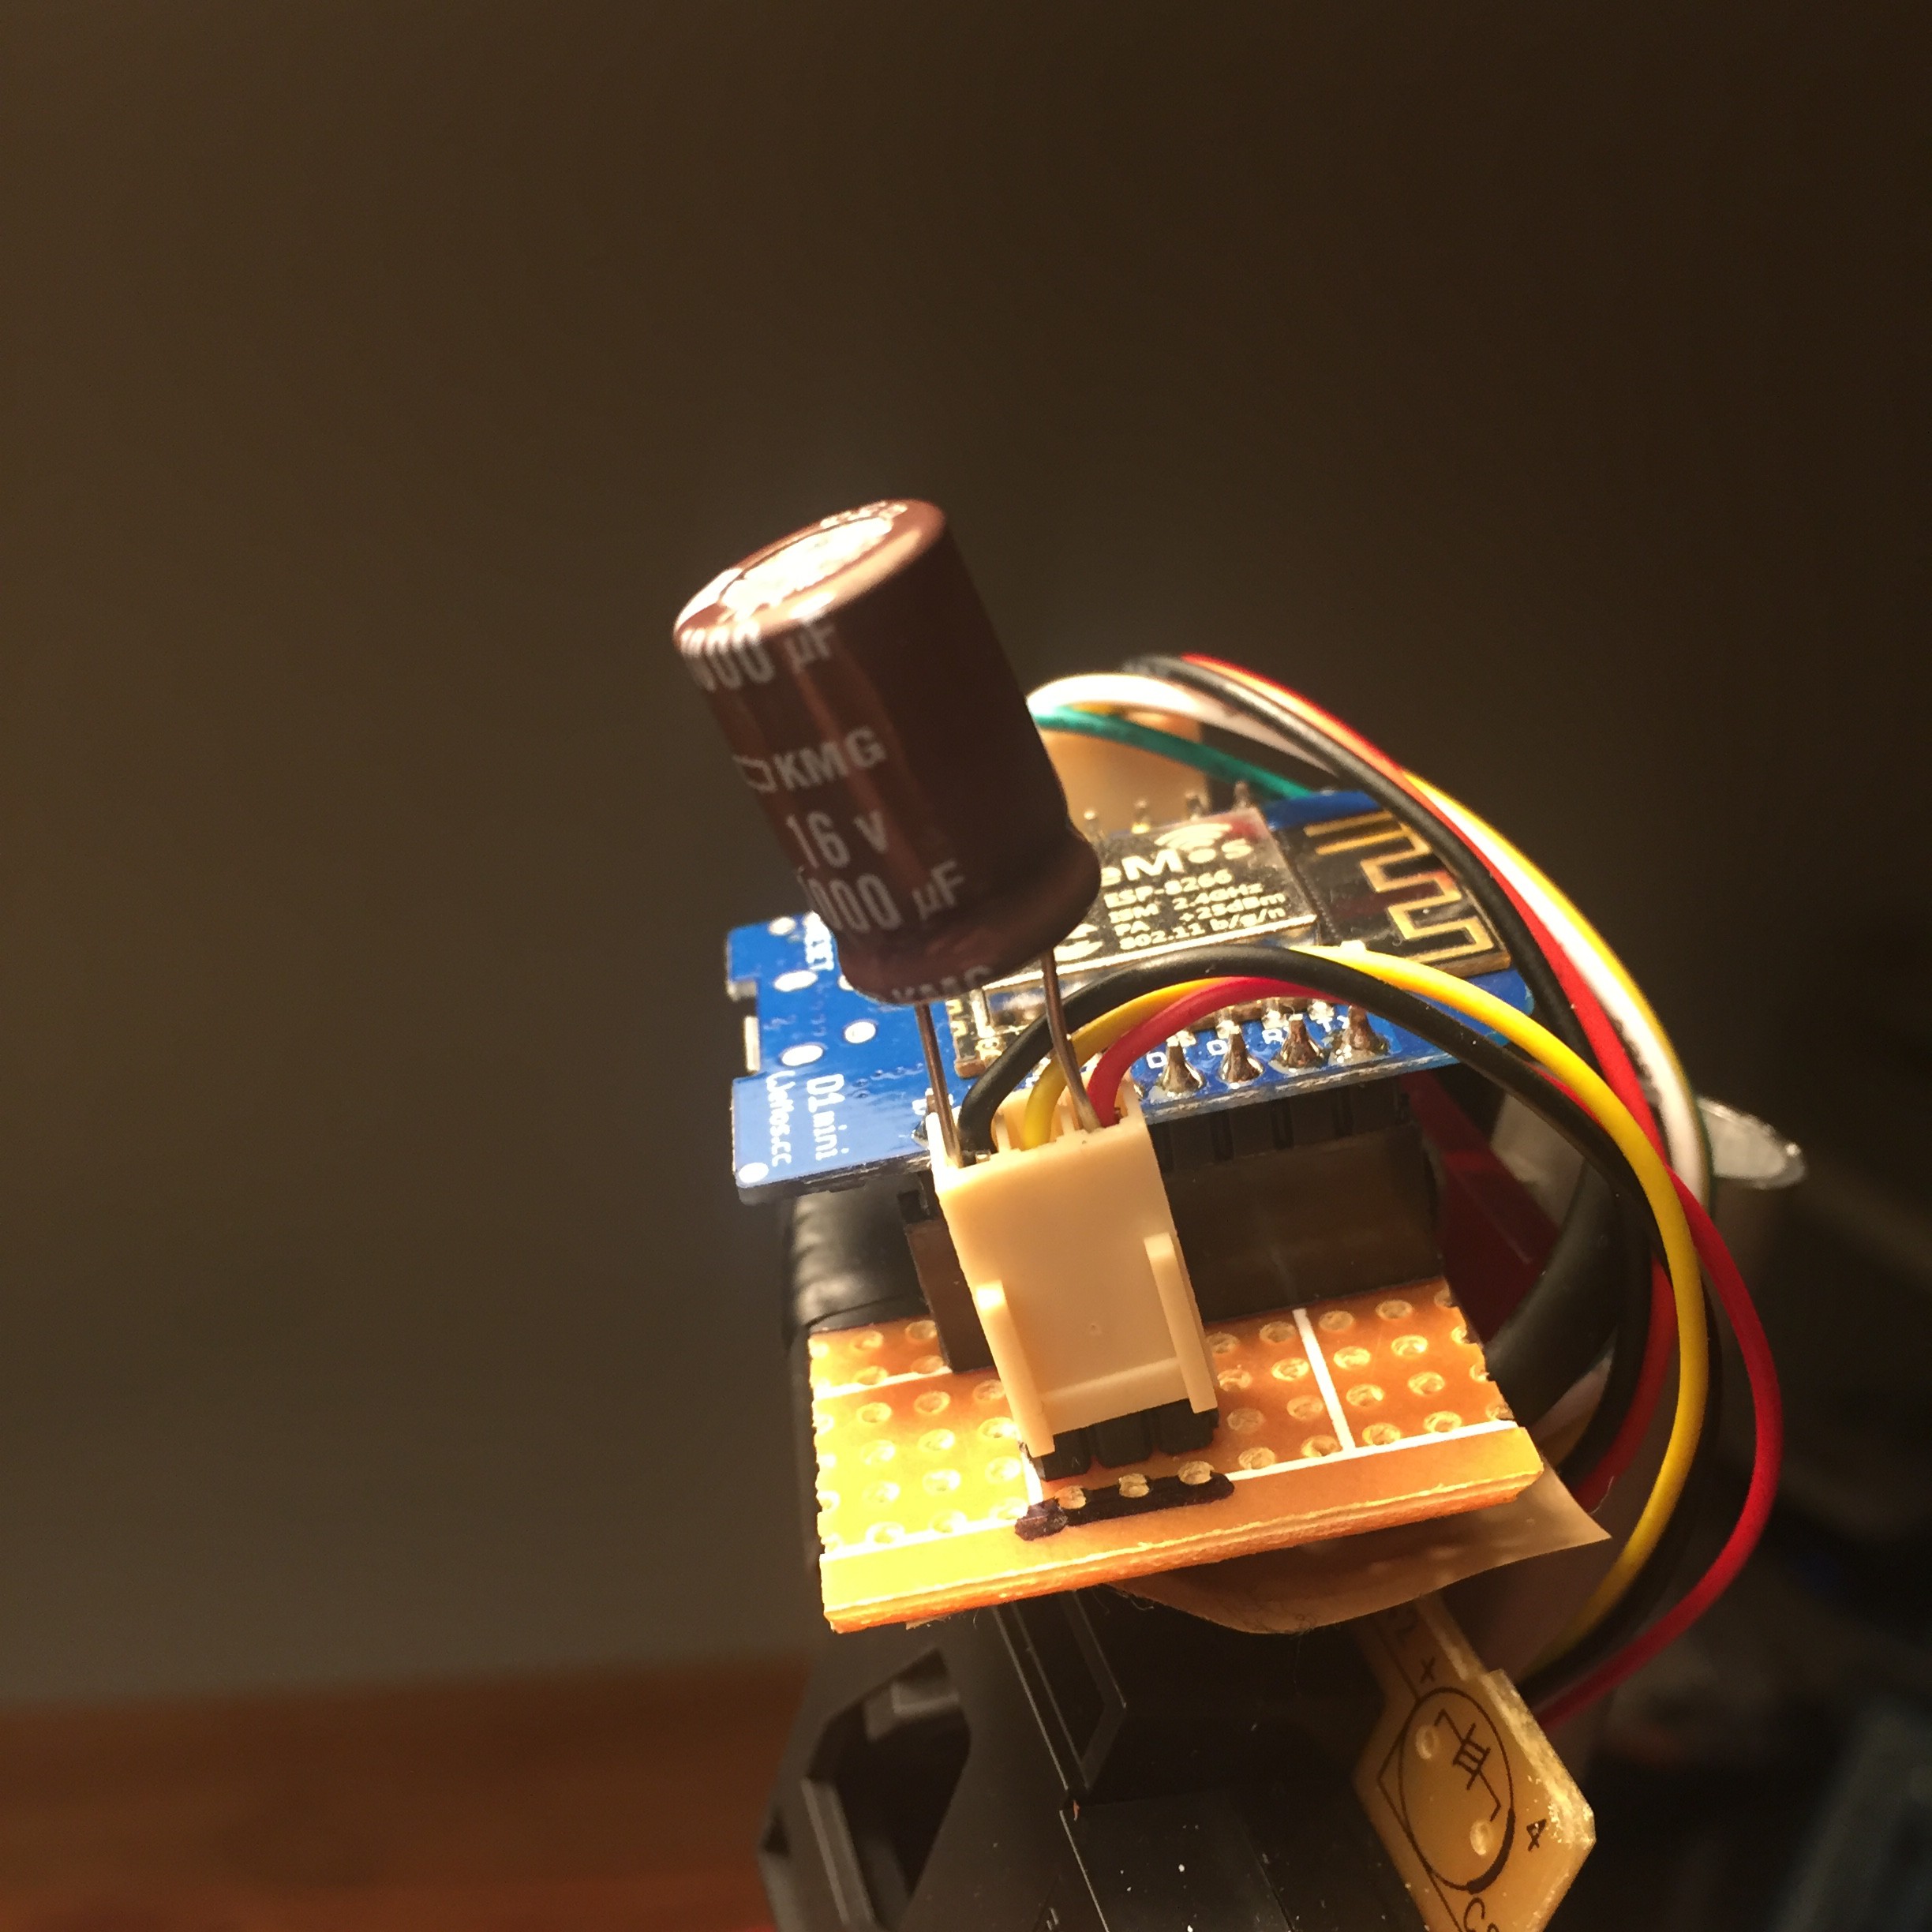
    We used one of those WeMos mini ESP boards, and connected the sensors using standard connectors, so we could later reuse them once we got proper PCBs. Some testing showed that we were having some power issues, probably because the cable was too long. We were able to address them for now with a big capacitor, that we pretty much just jammed into one of the connectors. Good enough for now, and we actually got quite a few people interested in our project at the fair.

  • Custom PCBs

    tiefpunkt11/20/2016 at 17:33 0 comments

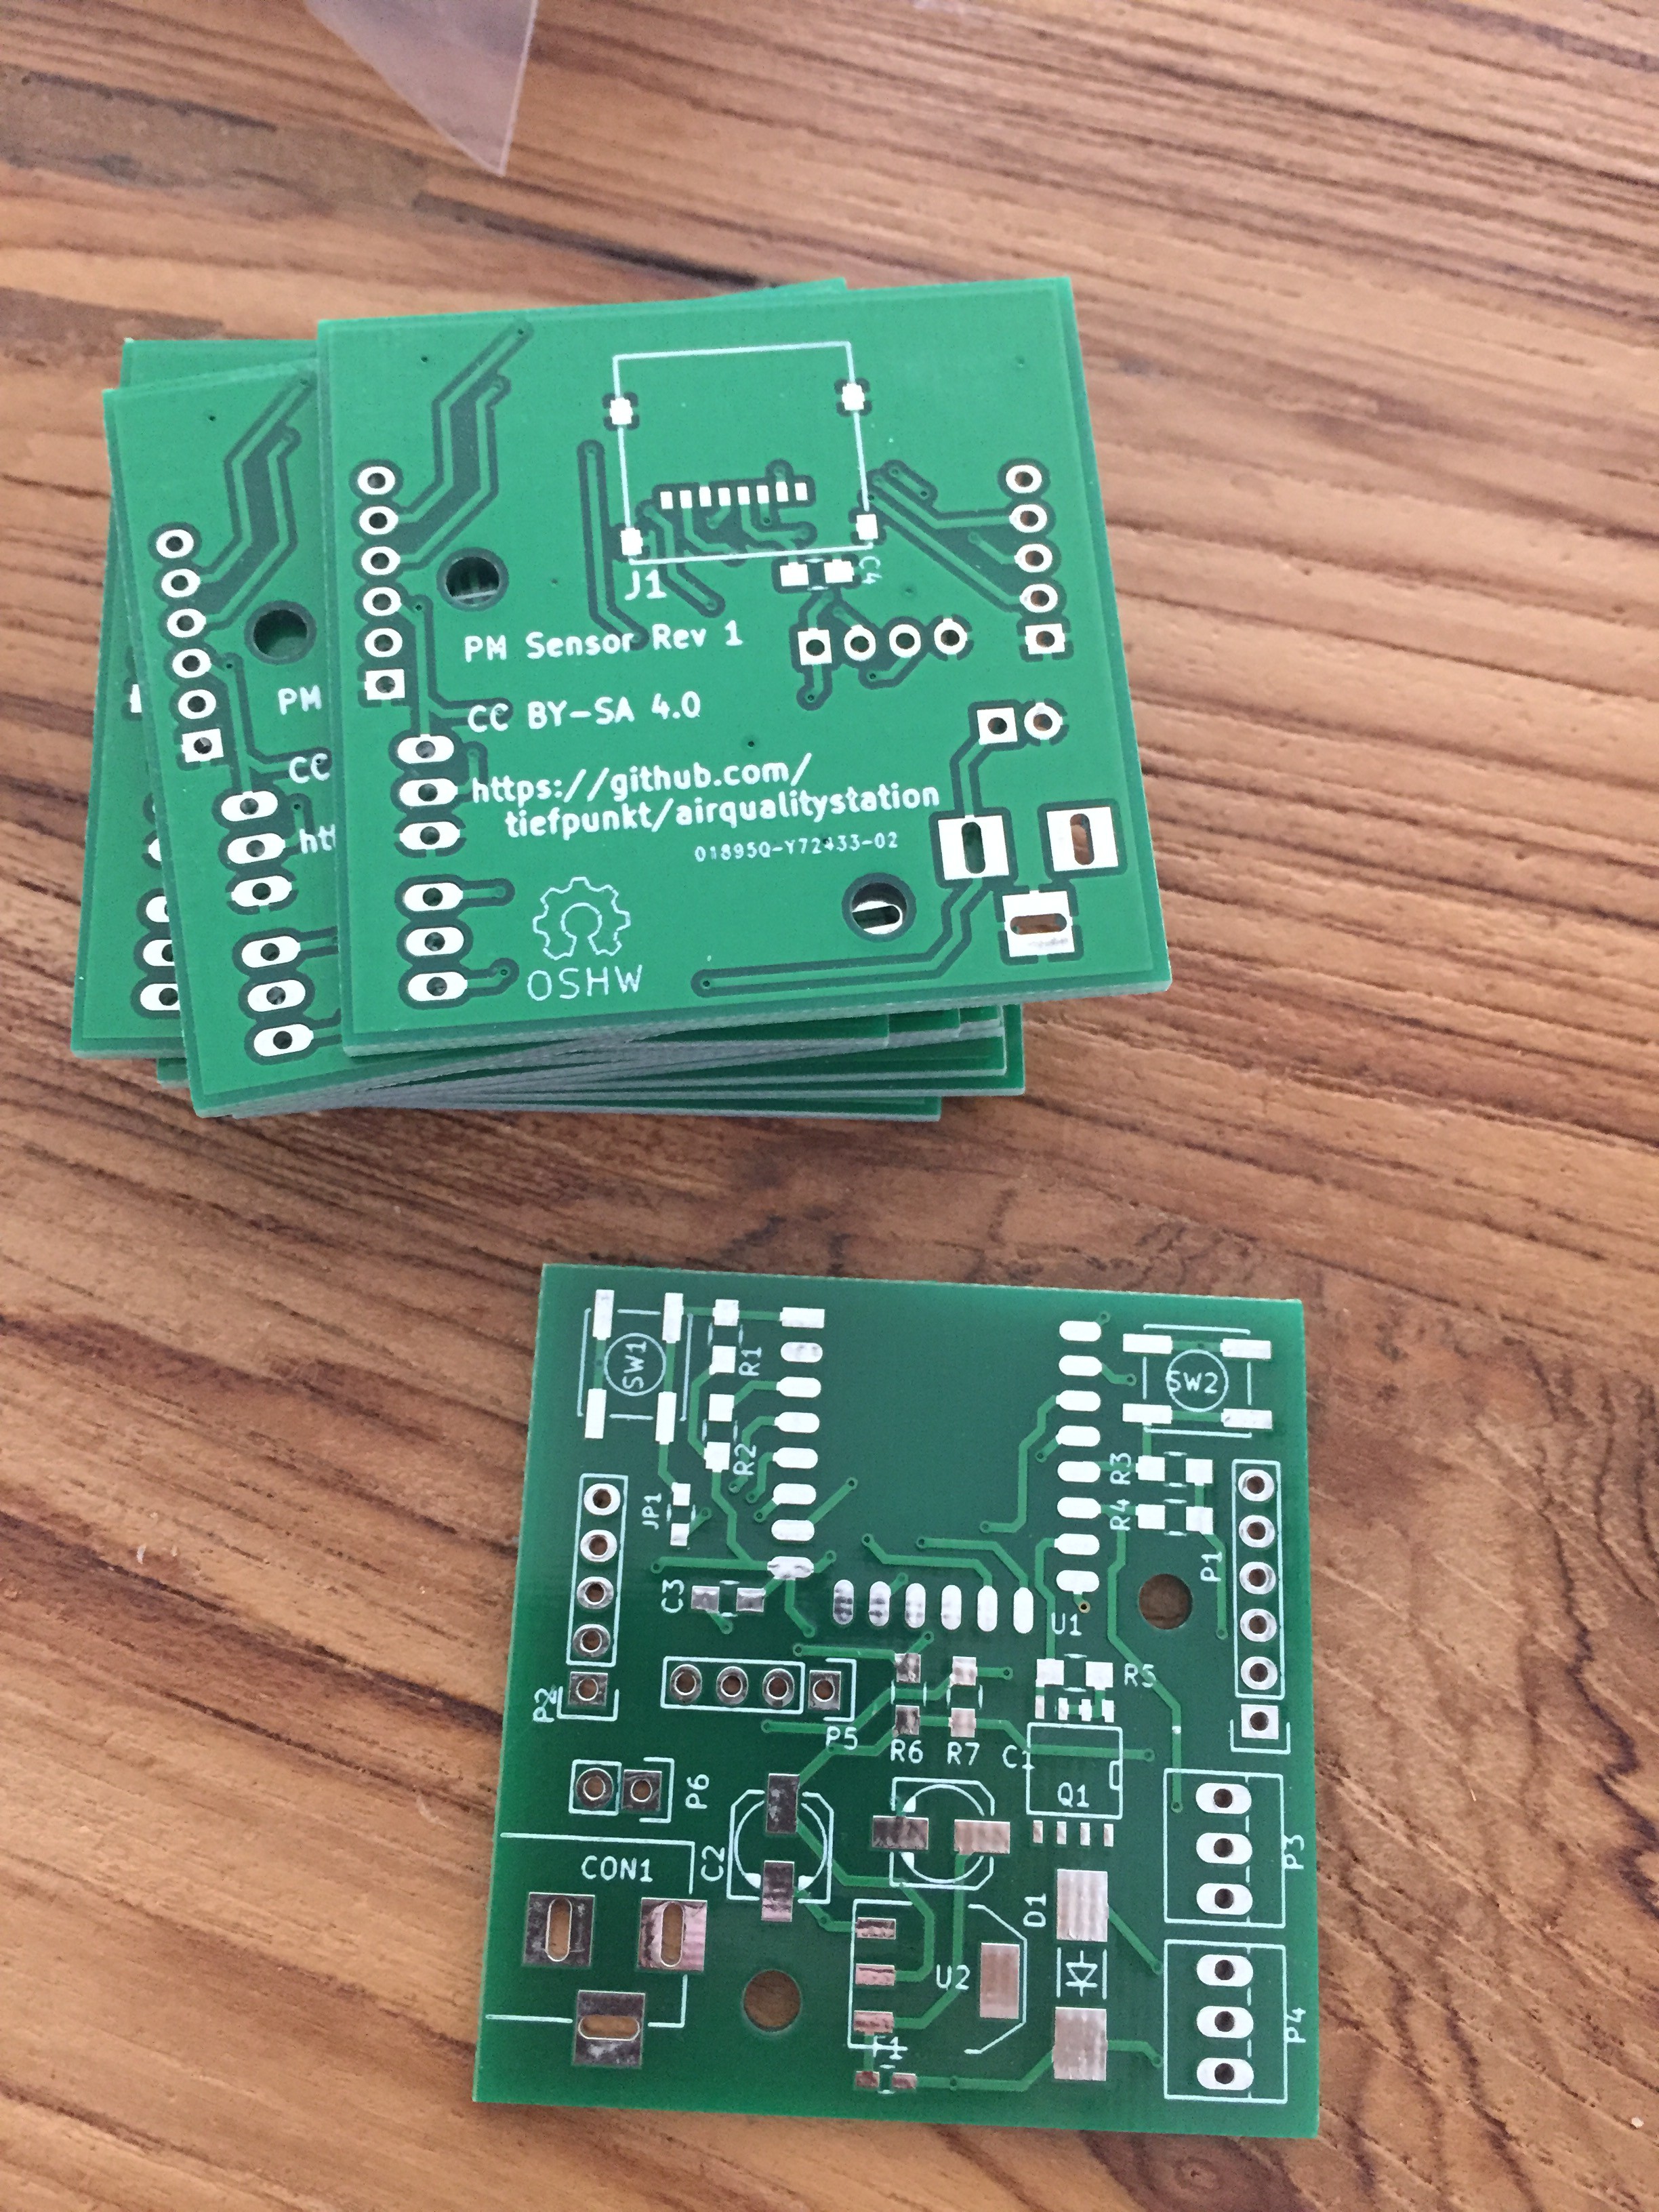
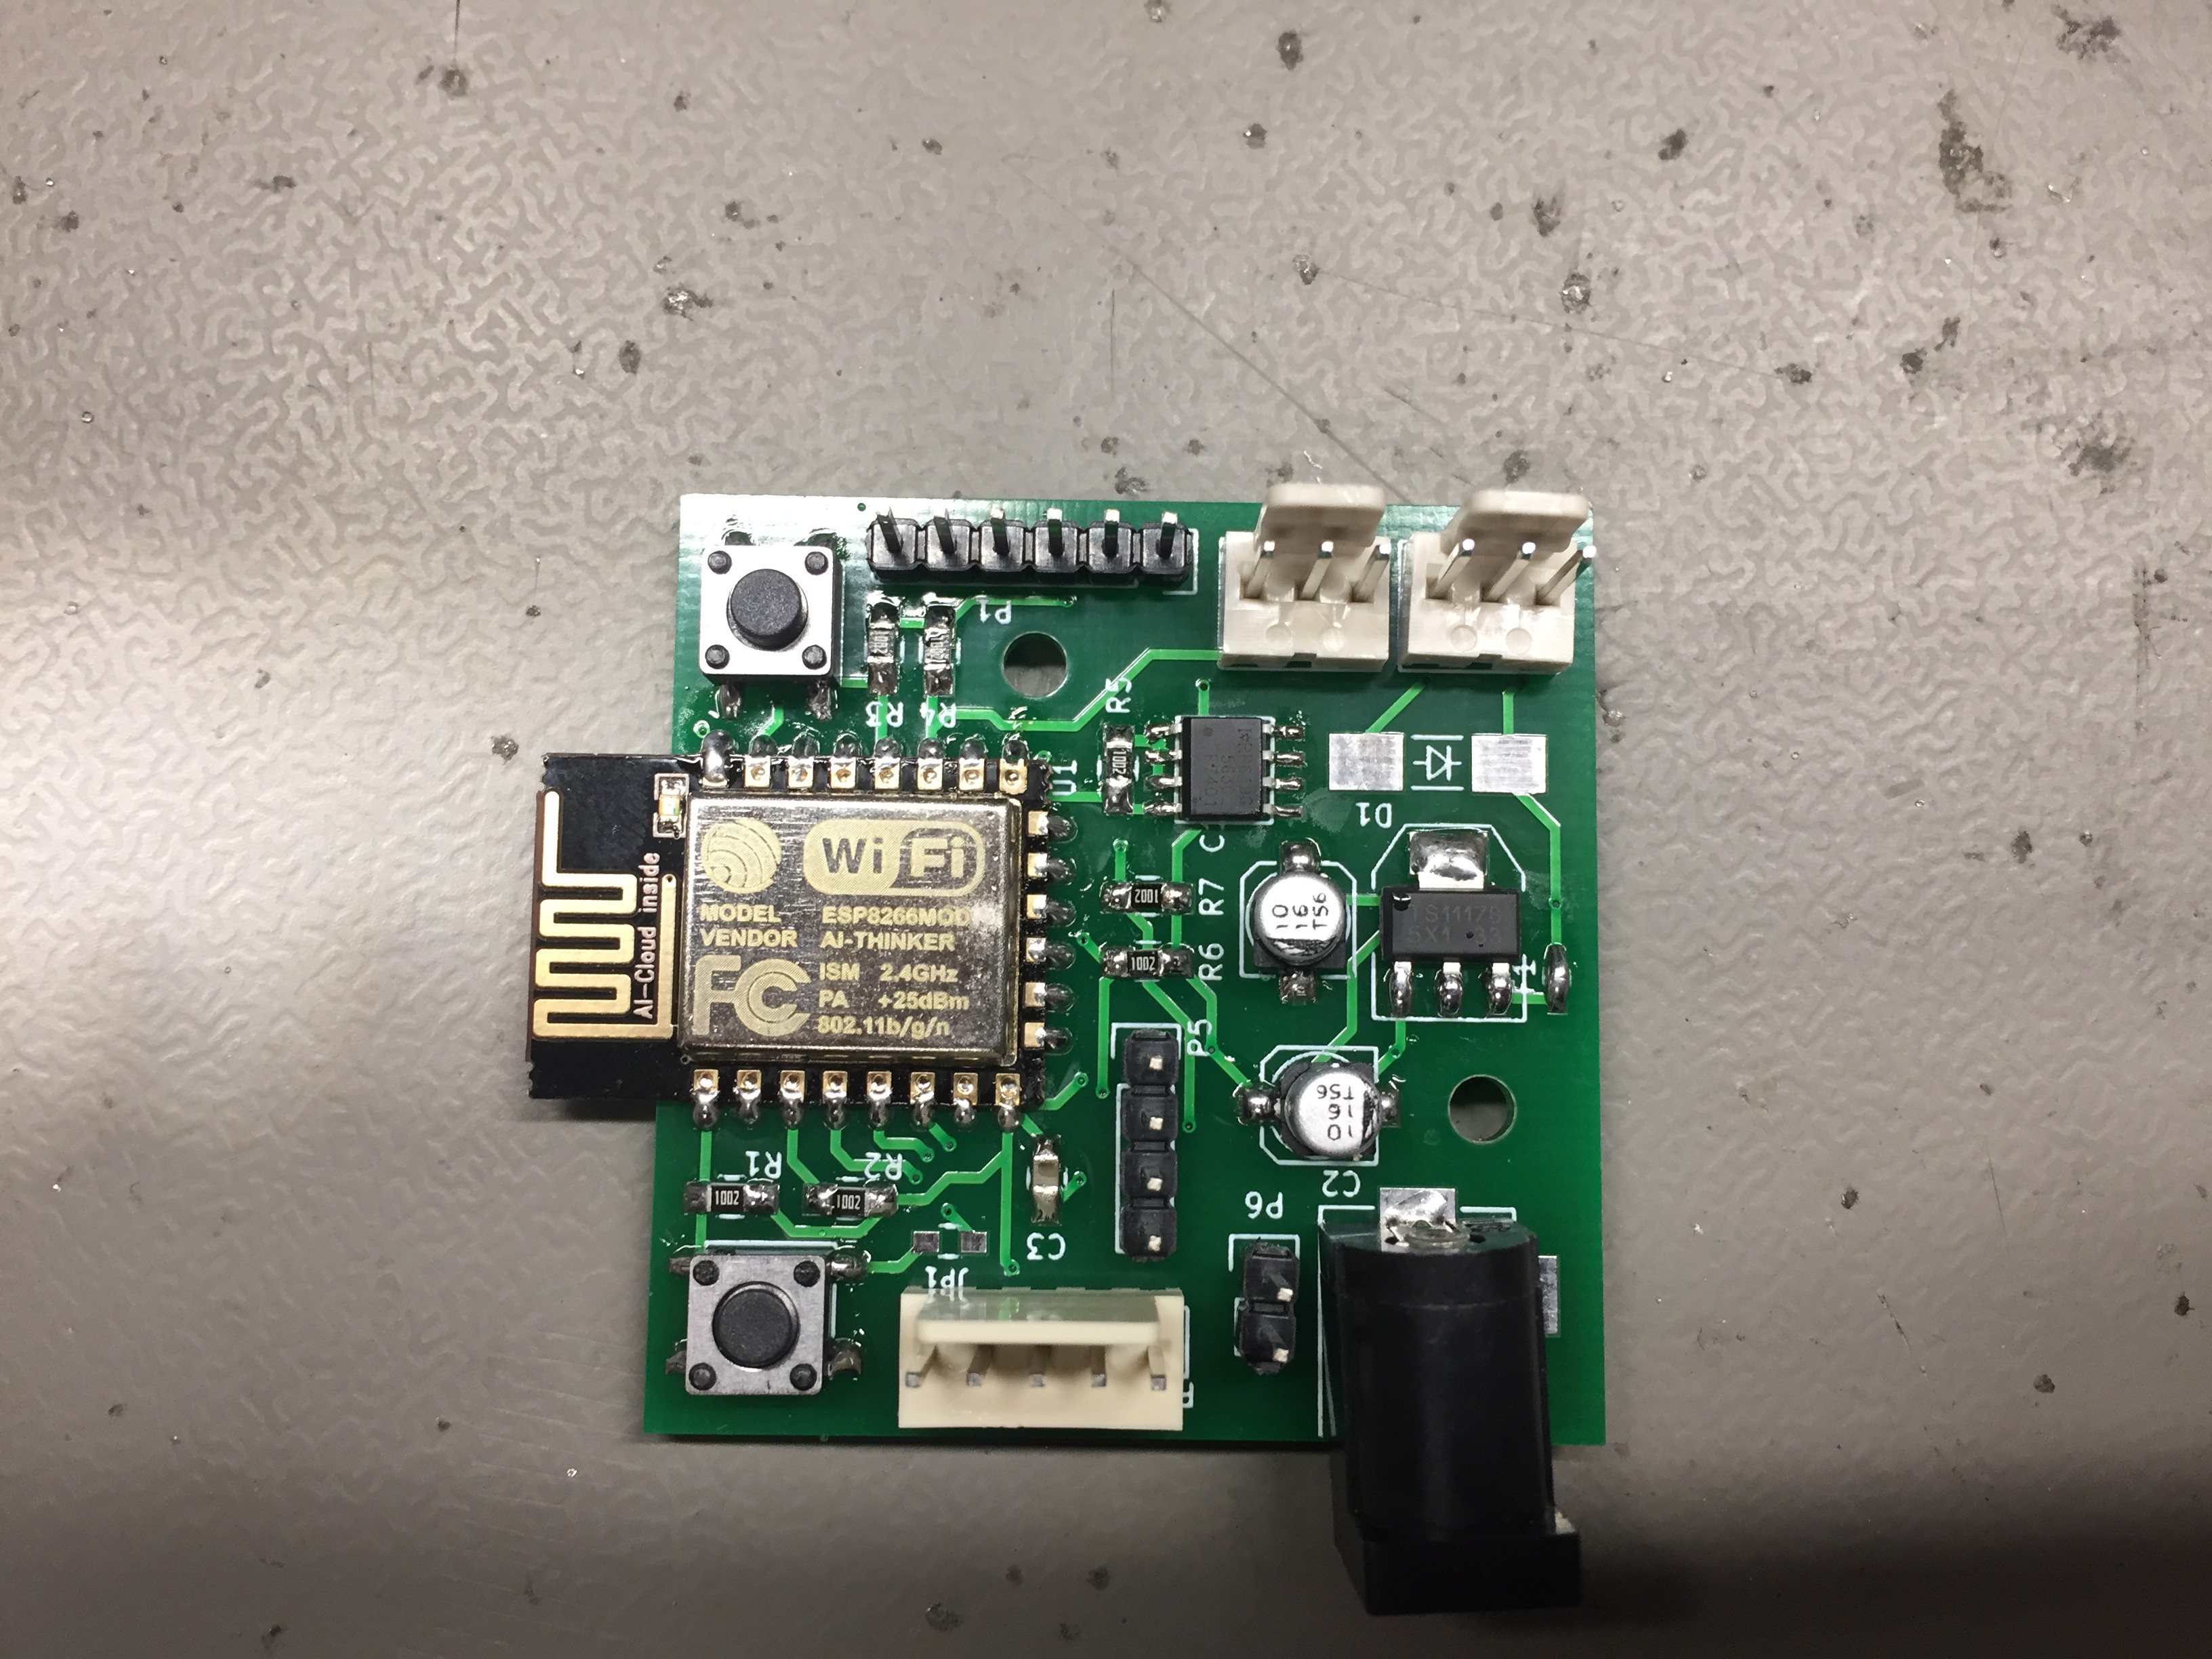
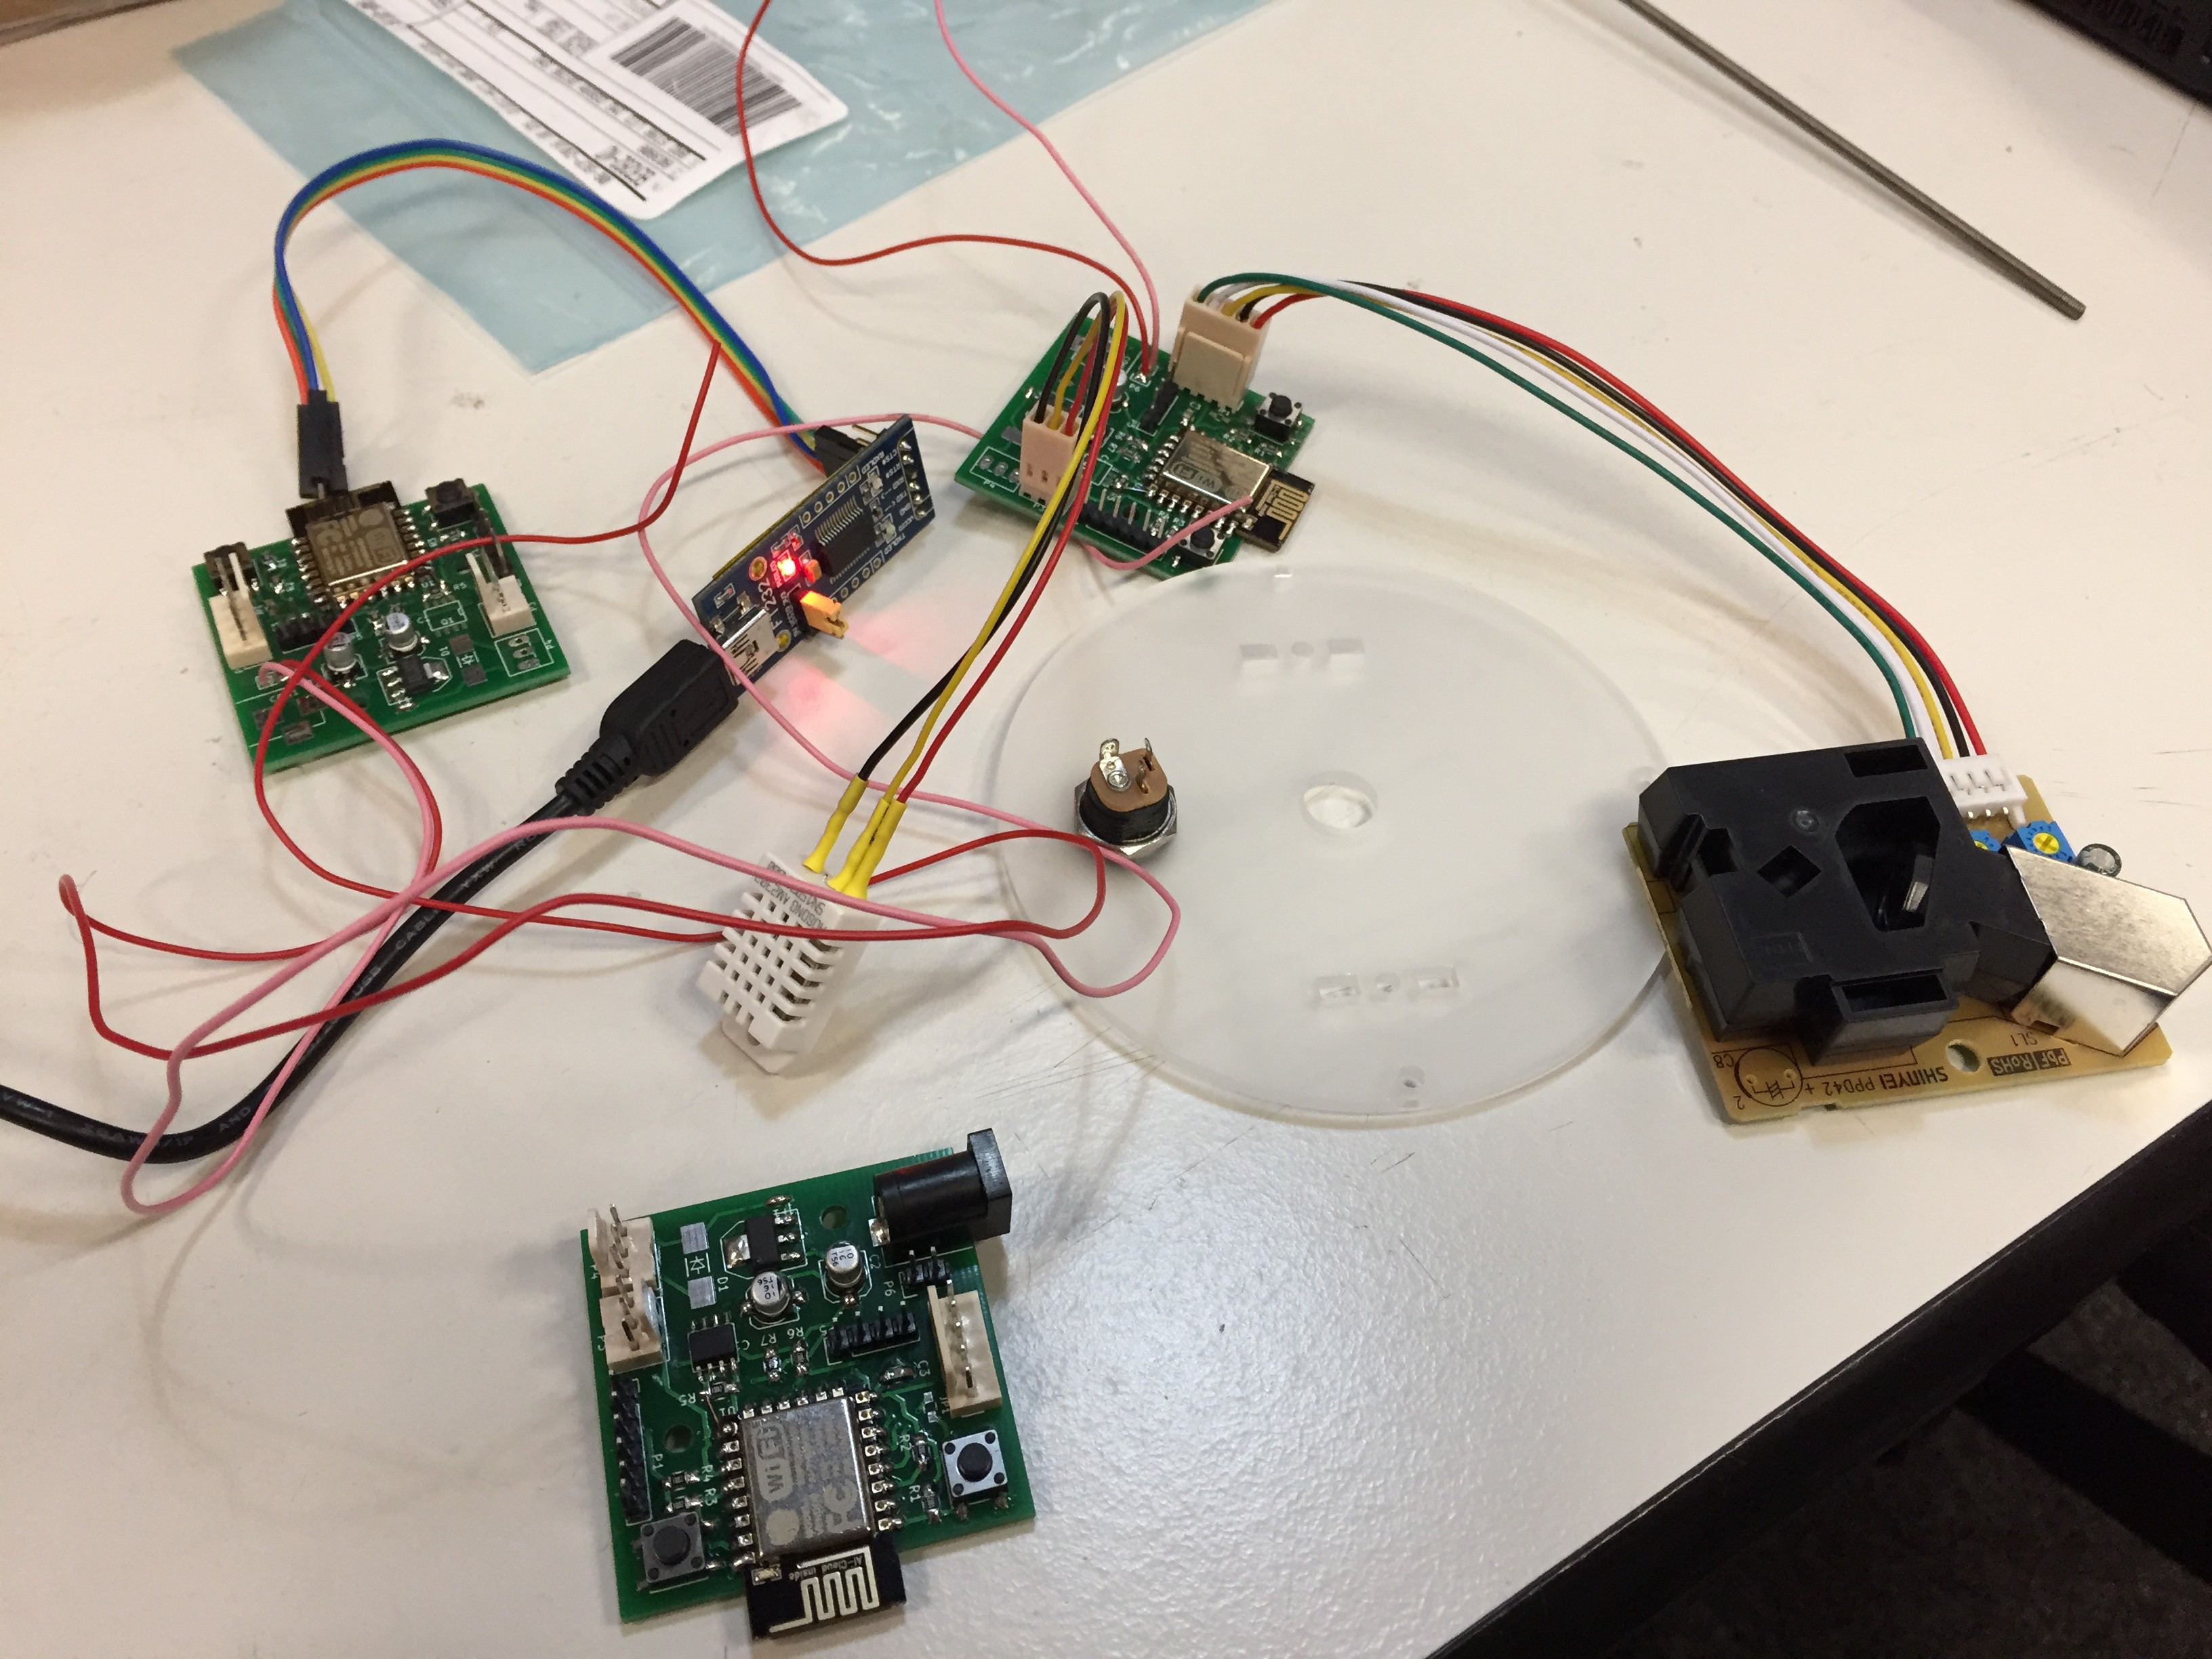
    Having settled on a sensor and gotten pretty much the data that we wanted, it was time to get some PCBs made. This isn't something I do regularly, so it took me quite a while (and quite a bit of kicking my own butt) to fire up KiCad, and make this PCB. I designed the circuit with a few extentions in mind, such as a MicroSD card slot, a MOSFET and connector to connect a fan, and an I2C connector. I got the board made alongside with another project at SeeedStudio. They had done another board for me quite a while ago, so they were my first choice. Fast forward 3 weeks, and I had 10 boards on my hand.

    Test assembling one board, the ESP did not start properly. It started up fine once I put it into flashing mode, then I could program it via the FTDI header, but right after it went back to not doing anything again. Resoldering the ESP didn't fix much, but after looking closer at the PCD design and poking around the board on the pins responsible for setting the boot mode, we figured out that I had missed a ground connection on one of the pull down resistors. That was a quick fix with a bit of bare wire, and everything was booting fine.

    I noticed two other mistakes. I had screwed up the pin order on the fan connector, and the silk screen for the connector of the DHT22 was the wrong way around. We didn't end up using the fan at all yet, so no harm on that side. And the DHT22 connector was quickly desoldered and turned around, so that didn't do much harm.

  • Getting more data from the PPD42NS

    tiefpunkt05/27/2016 at 06:09 0 comments

    Having decided on the Shinyei PM sensor, I took a closer look at the sensor. Turns out, the PPD42NS can differentiate between PM1.0 and PM2.5, but unfortunately, the version in the Grove kit only measures PM1.0. The sensor has two outputs, but the adapter cable that comes with the sensor only connects one of these outputs to the Grove connector, even though the connector allows for two digital pins to be connected (are you reading this, Seeed Studio?)

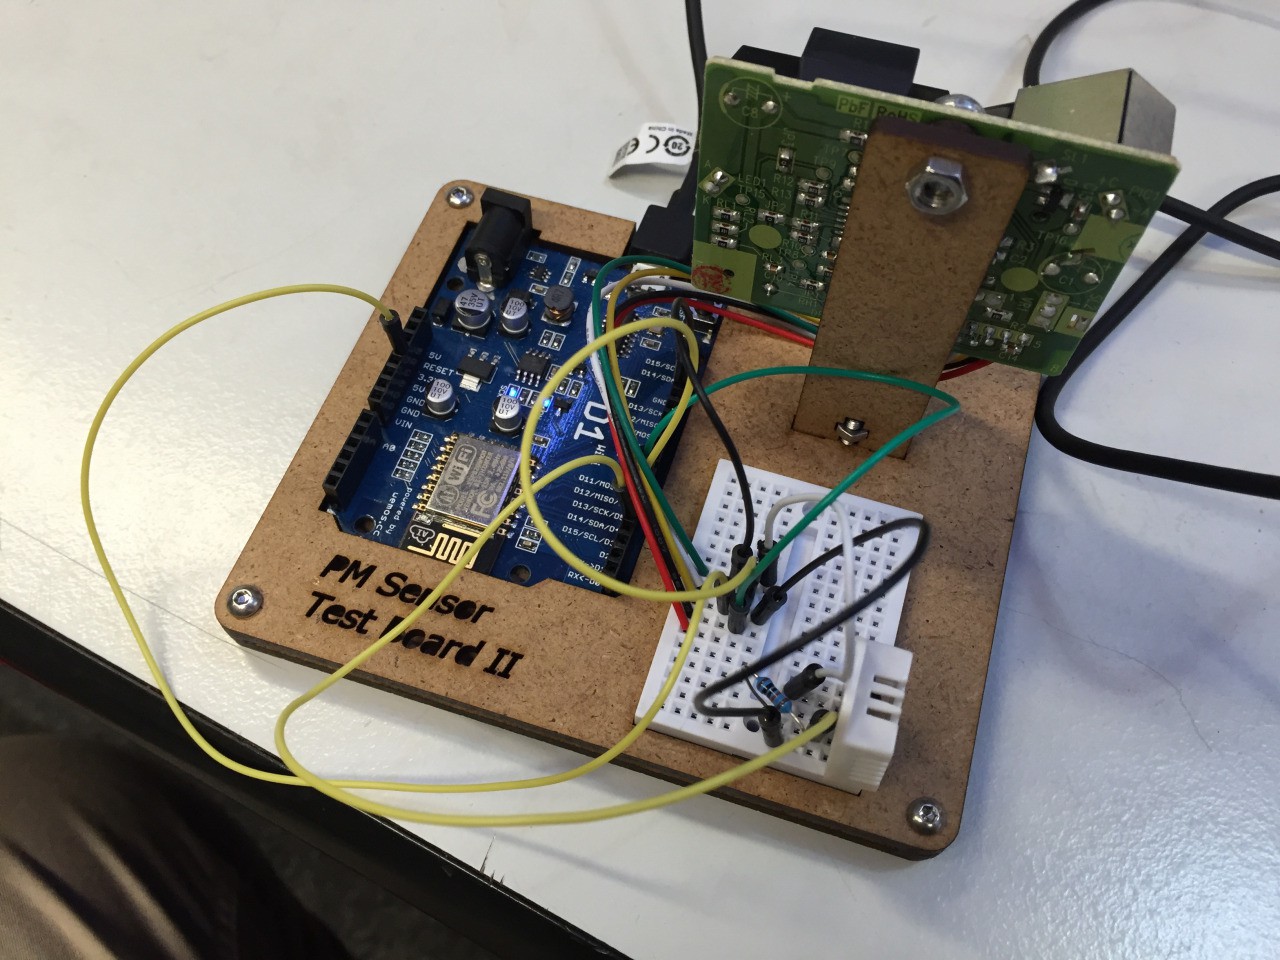
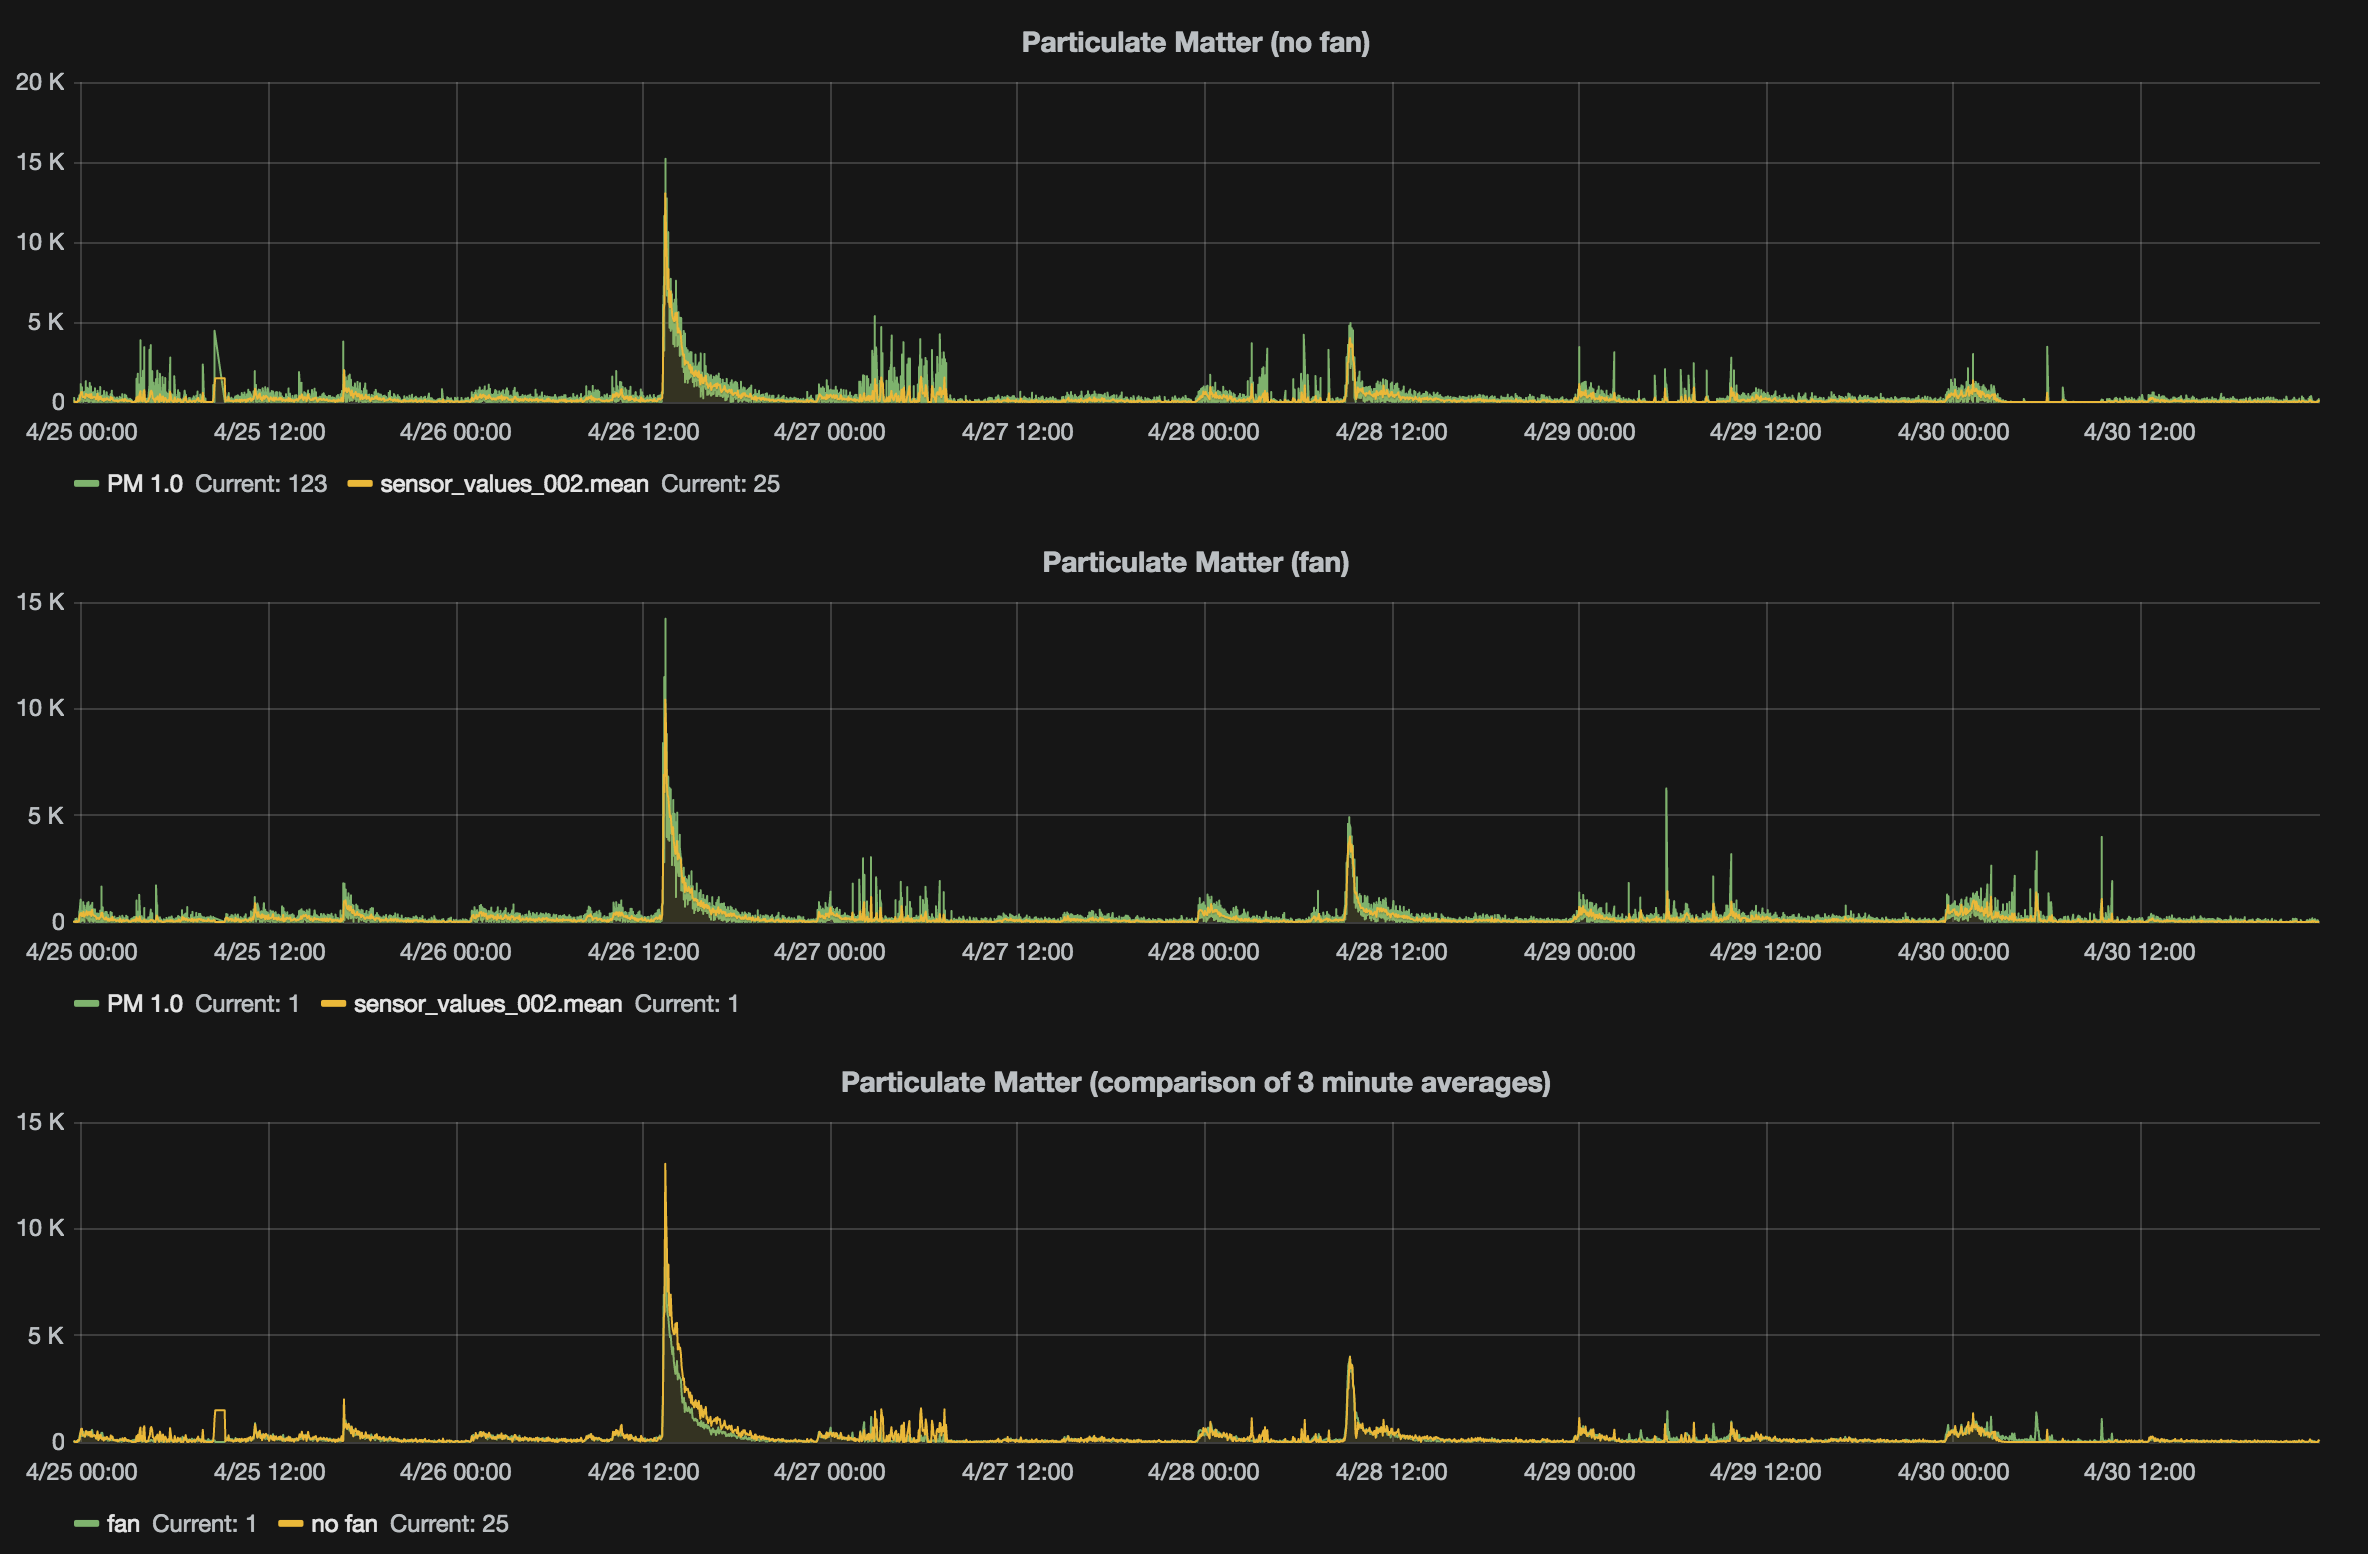
    Now I wanted to gather data from both outputs, so I decided to get the "normal" (non-Grove) version of the sensor. After receiving it, I built a similar platform as for the Sharp sensor and started collecting data again. Again, I'm using the same online platform to collect and display the data. I also added a DHT22 again, to figure out whether having a fan, as in the first prototype, or not, as this version, influences my measurements.

    Well, there doesn't seem to much difference between the fan and no-fan version for the PM1.0, which is a pretty neat finding.

    Temperature doesn't seem to be to much different, but the humidity readout is about 1-

    3 percentage points lower on the version with the fan than on the non-fan version. That makes sense, but could also just be an inaccuracy in the sensors.

    Finally, since the new sensor also has PM2.5, here's that (together with PM1.0 measurements):

    Now the two seem to be correlating, but does it have to? Not quite sure, but it does somewhat make sense to me, especially in the home environment that I currently have these two sensors set up in. Maybe it'll be different once they are in the outside world, but I guess it's time now to do a small batch of sensors and get them out into the world. But more on that later.

  • Different sensors?

    tiefpunkt05/23/2016 at 04:57 0 comments

    So far, I've used the Shinyei sensor for measuring PM. There are a bunch of other sensors out there, but most are fairly hard to get, at least if you're in Germany like I am. There's one other one that's fairly common and available, the Sharp GP2Y1010AU0F. It's in about the same price range as the Shinyei Sensor from the Grove Kit, so I decided to give this one a try as well.

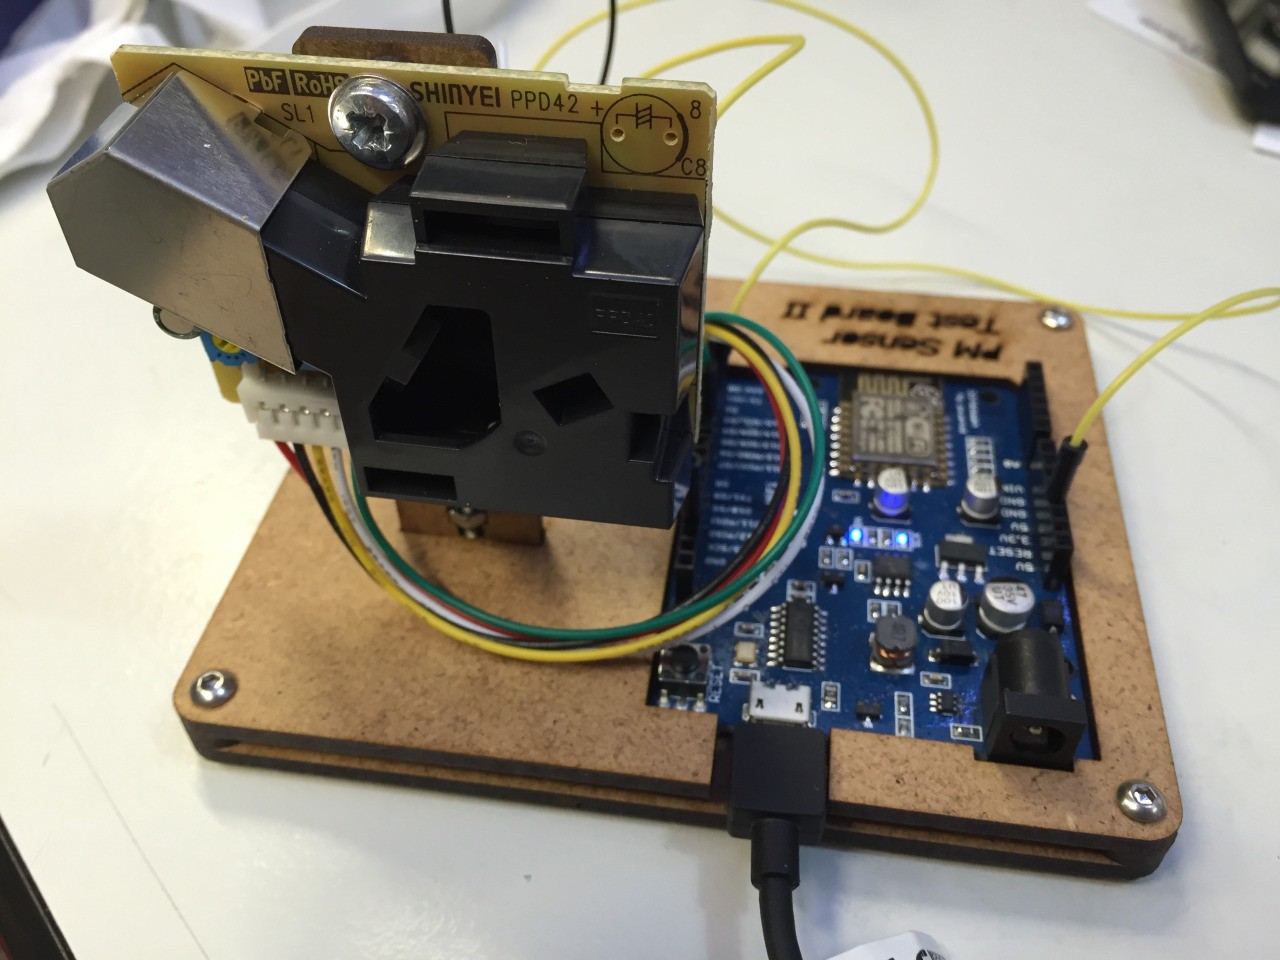
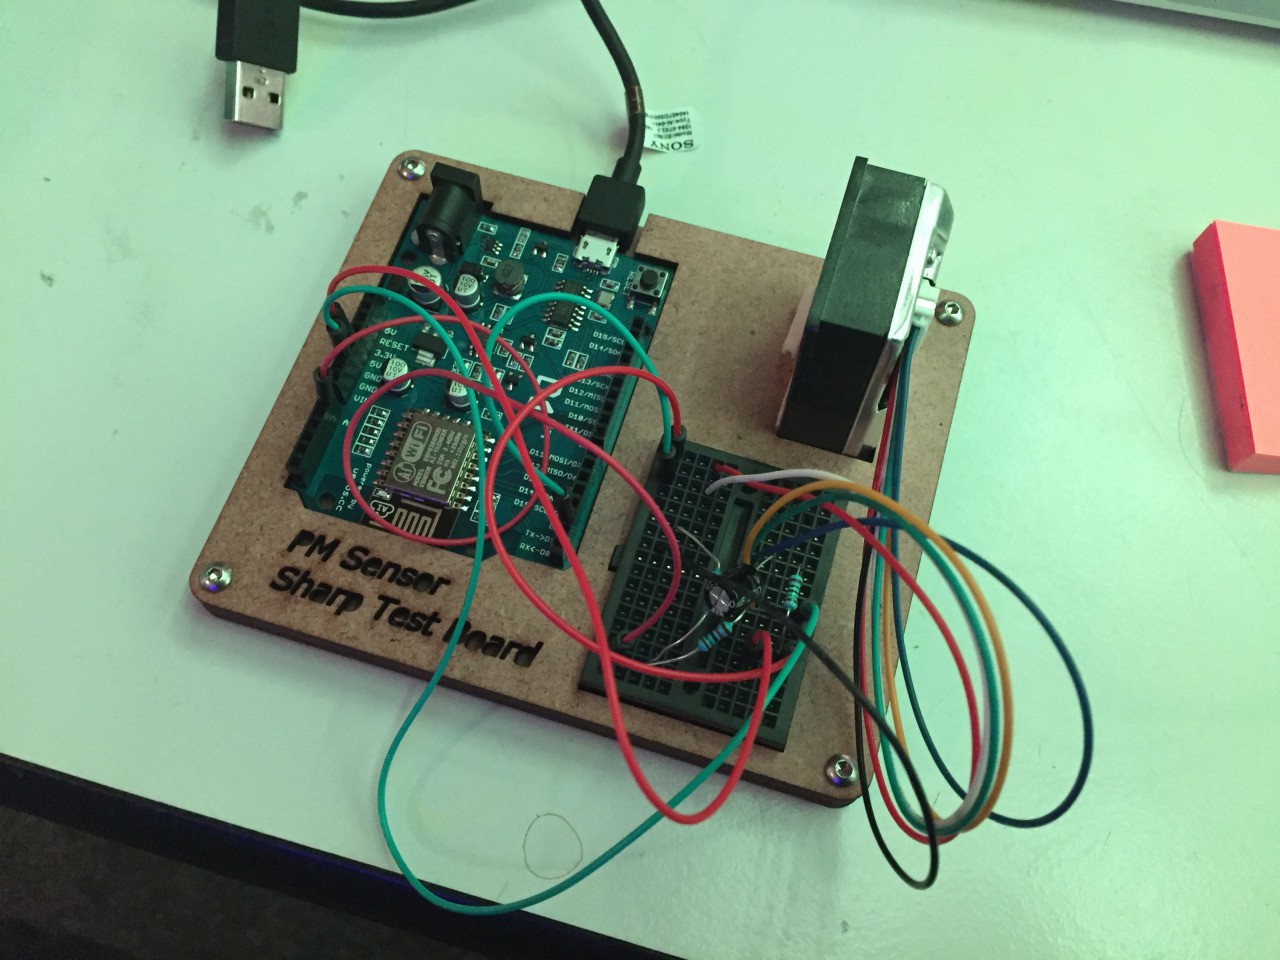
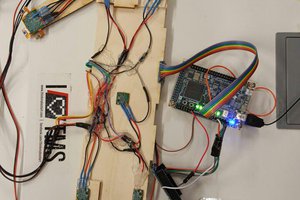
    I once again used a WeMo D1 ESP8266 board as microcontroller. The sensor needs some resistors and stuff, so I added a small breadboard, and lasercut a baseboard so it doesn't look like a bunch of tangled wires. The software setup was similar, the sensor gathered the data, and sent it over WiFi to a webservice.
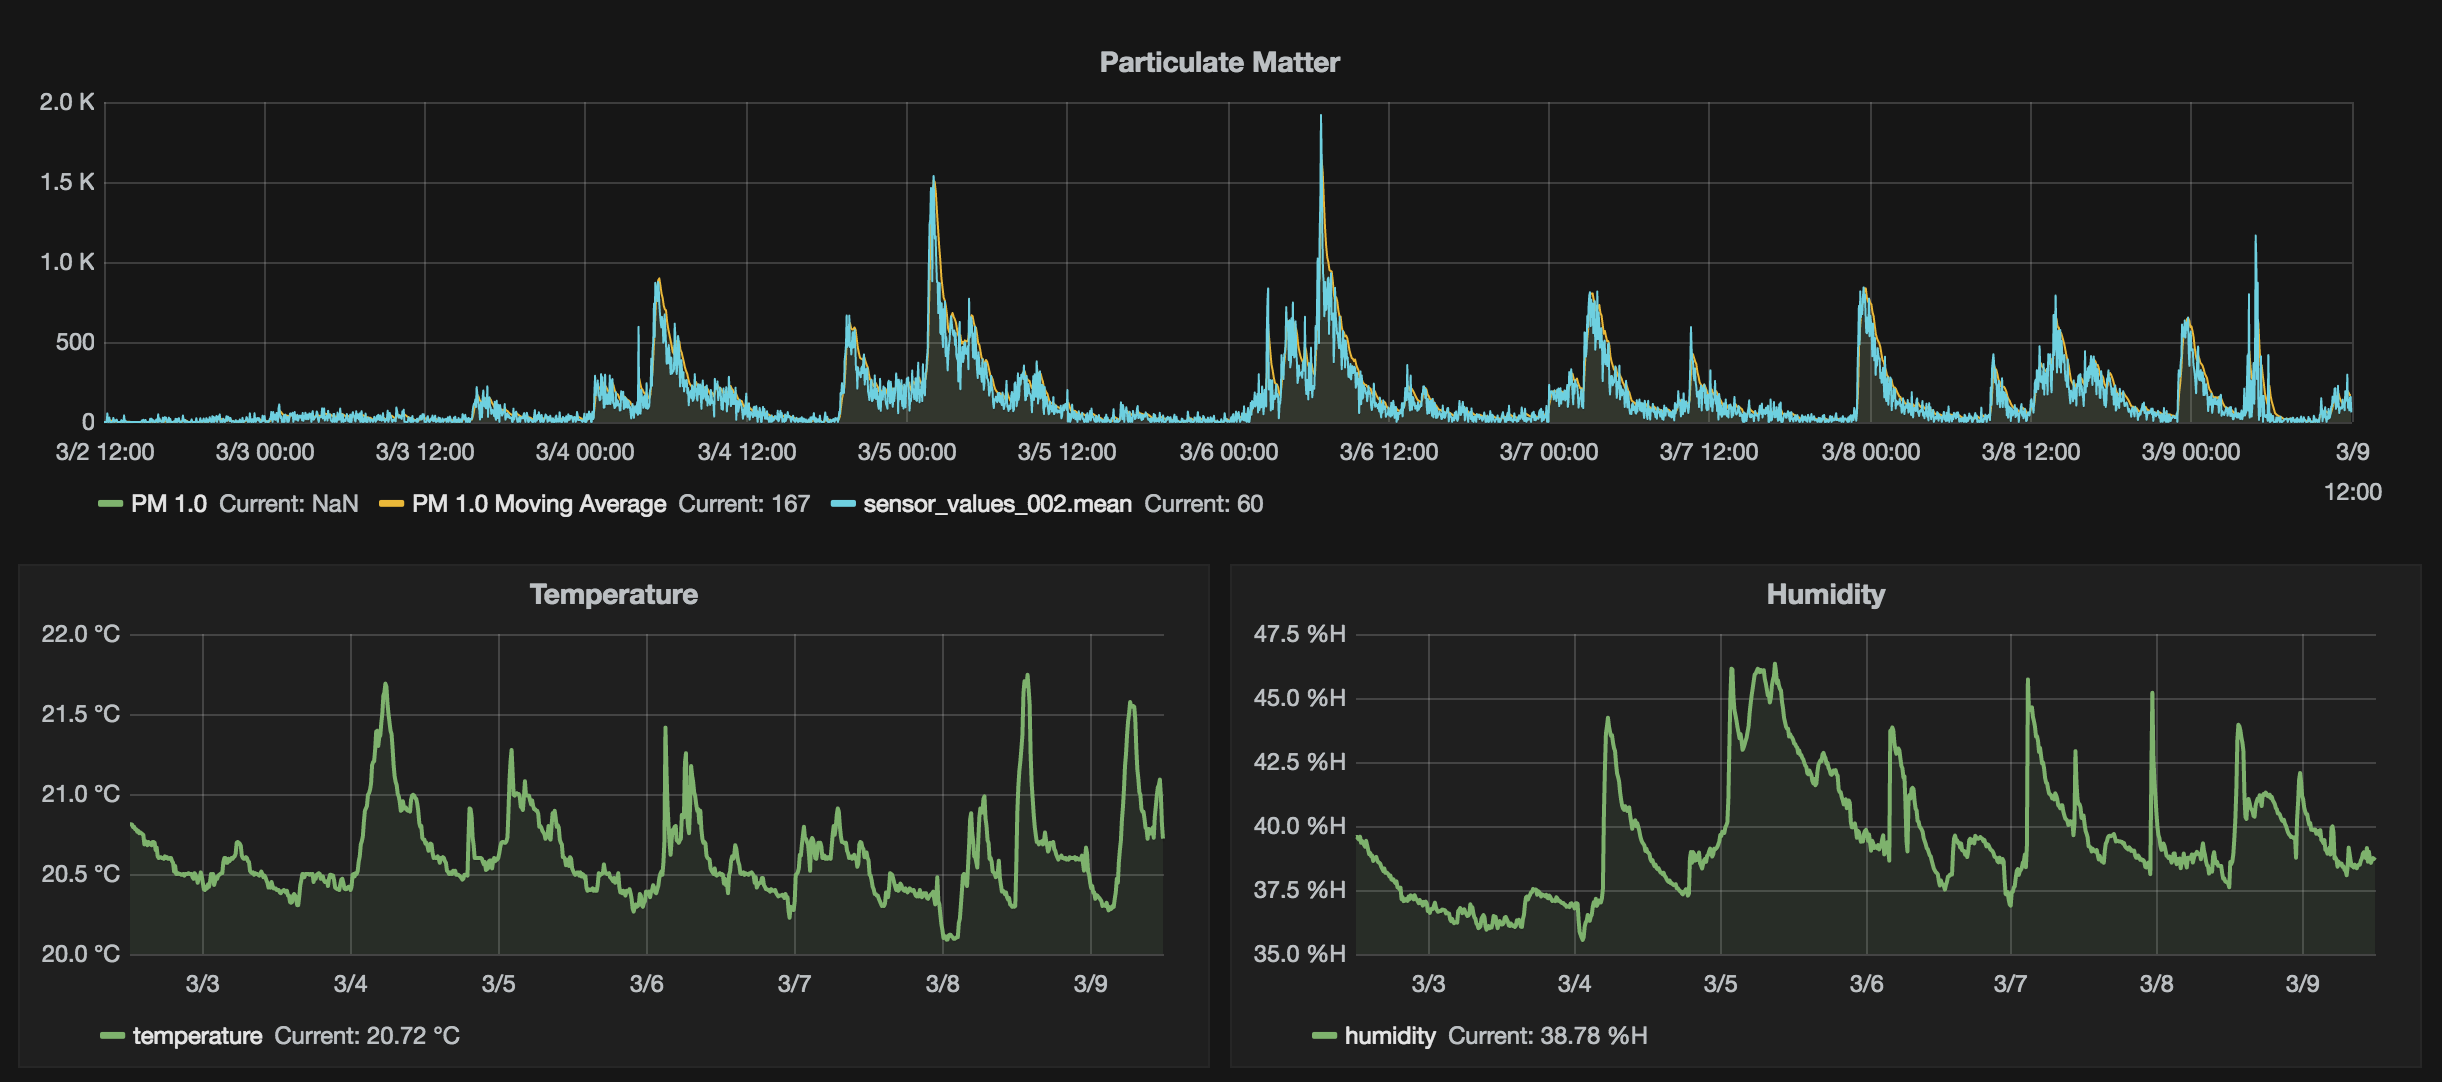
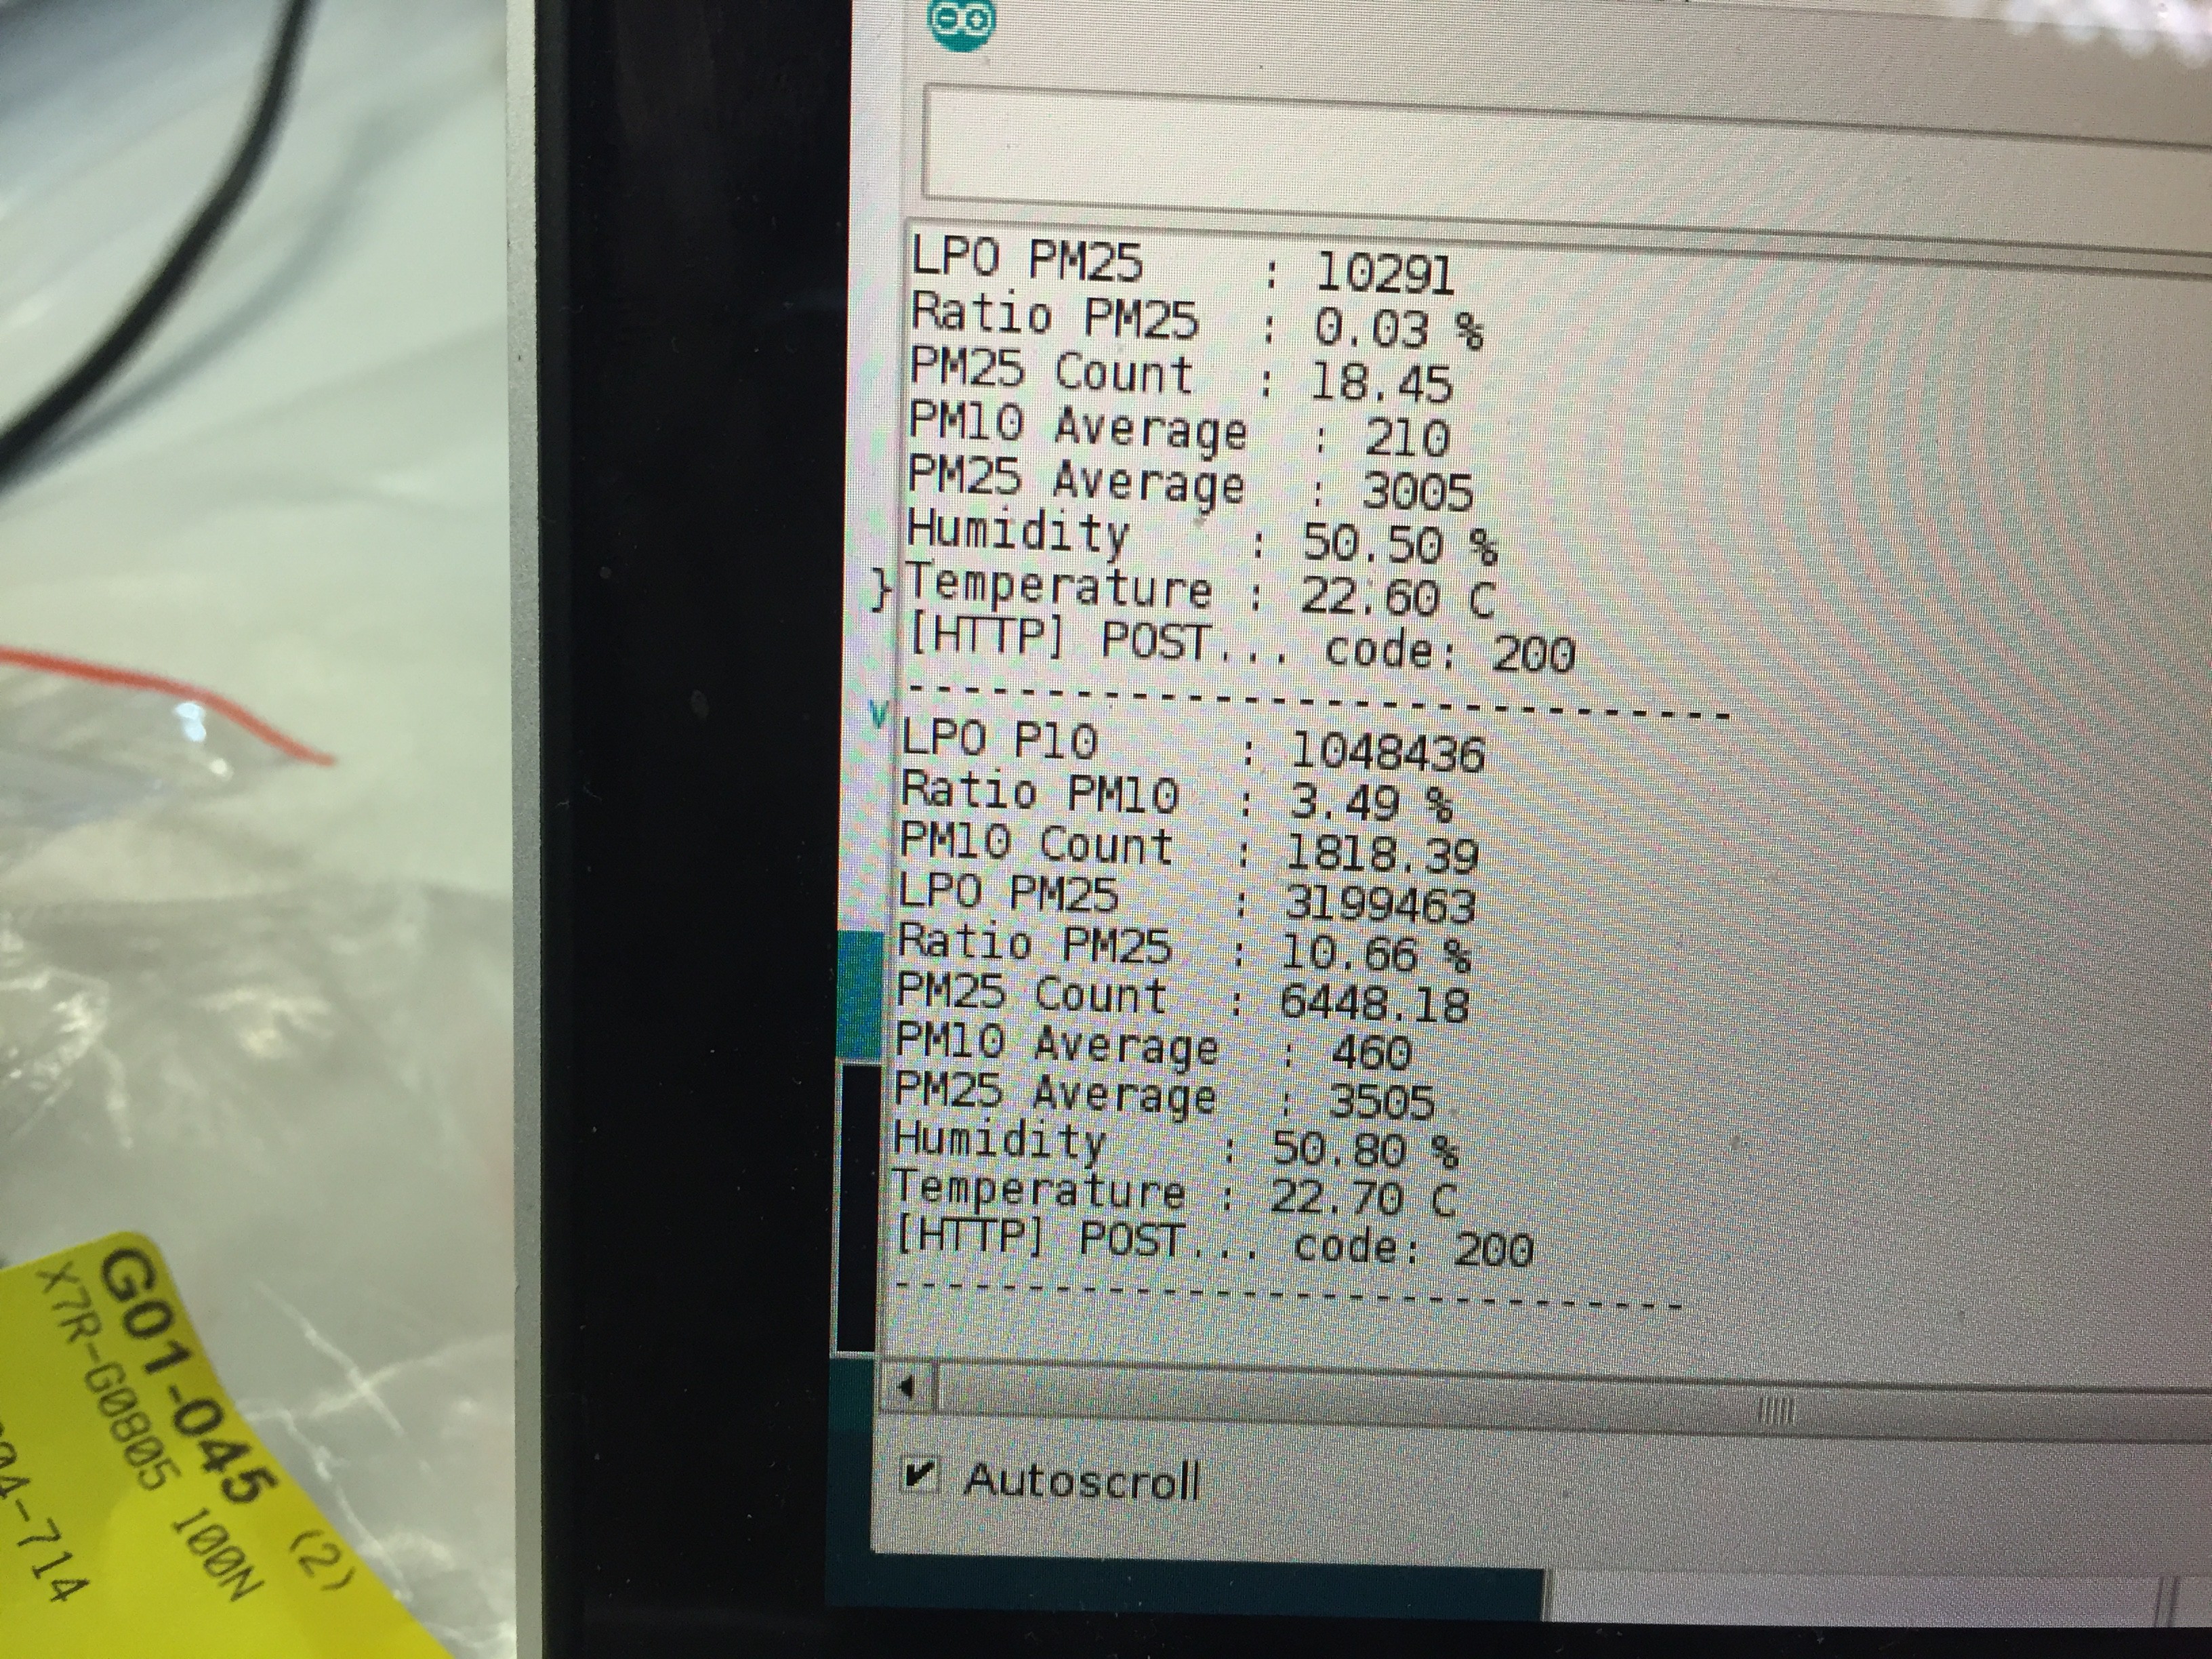
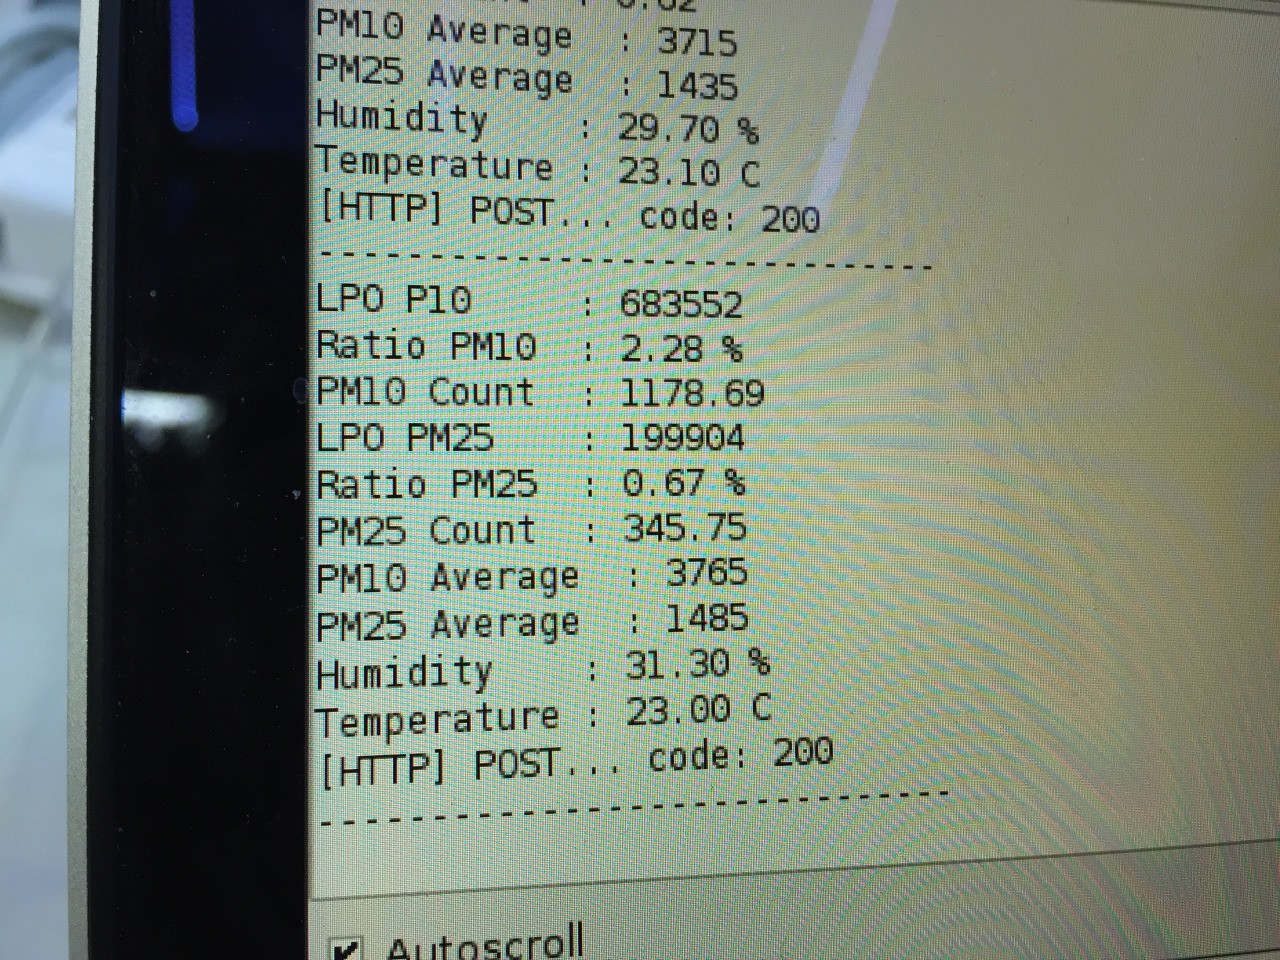
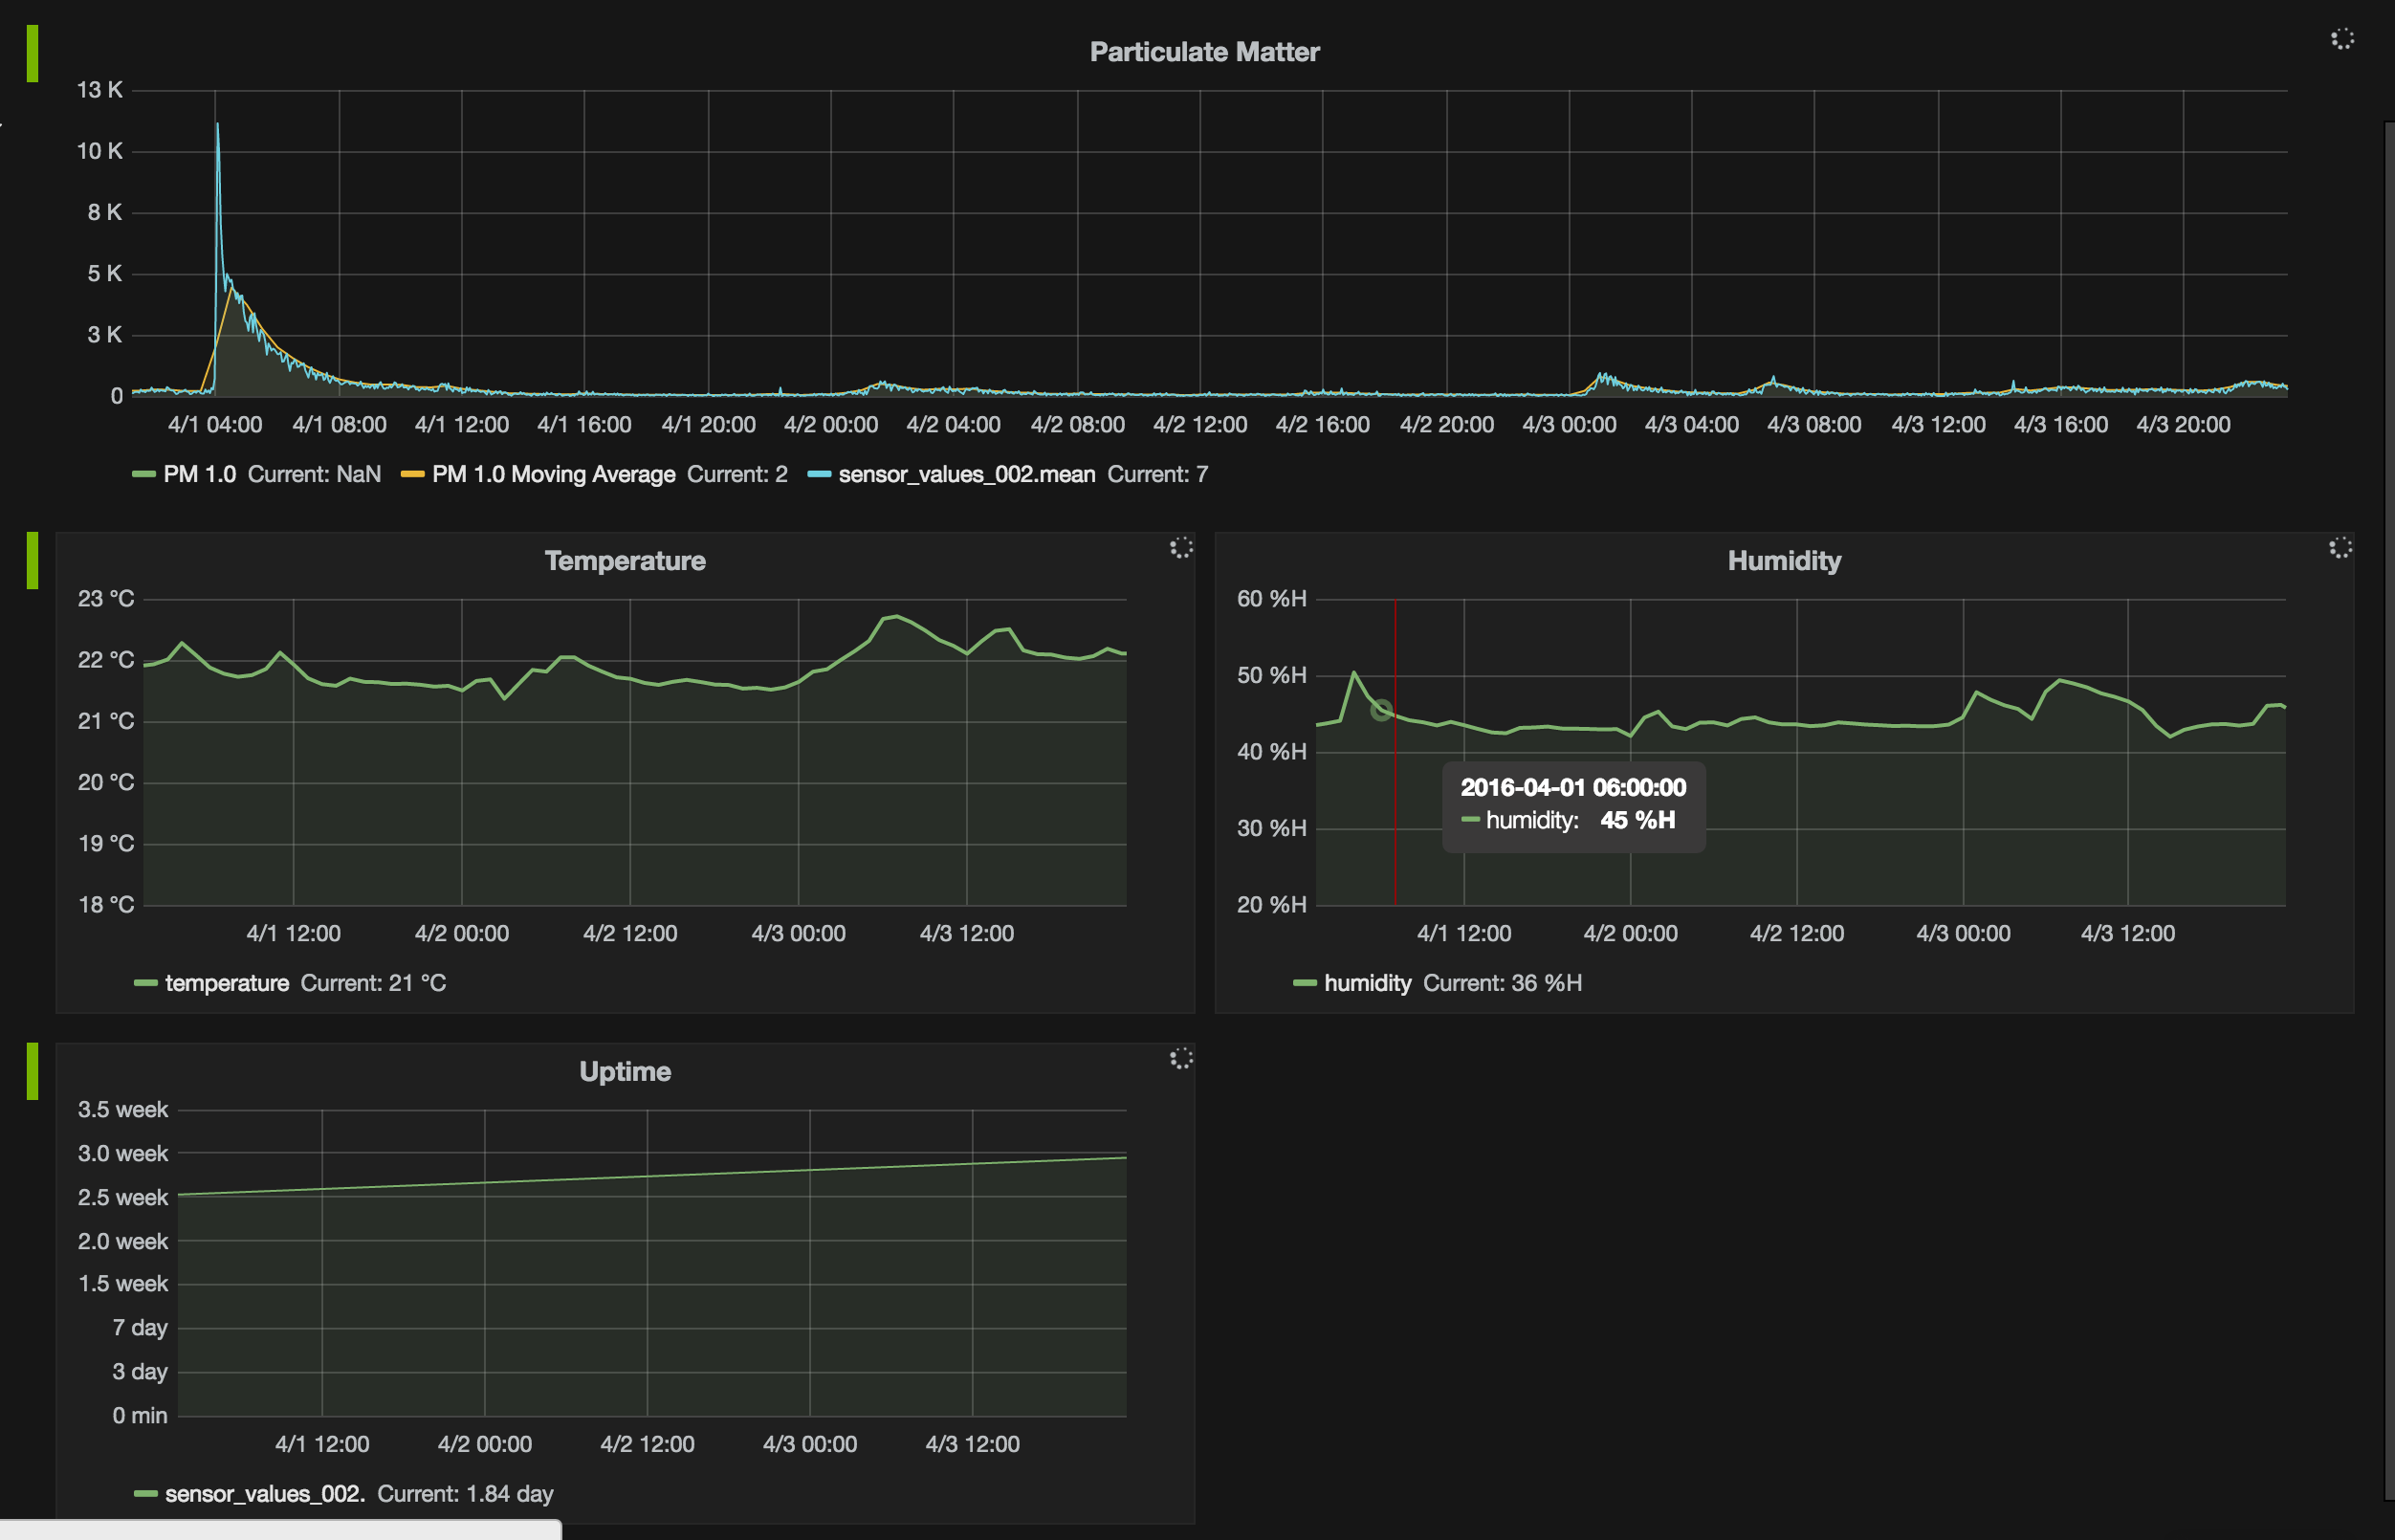
    Unfortunately, the measurements I got didn't really show anything meaningful. If you look at the screenshots above, the top shows the measurements of the Sharp sensor, while the bottom screenshot shows the measurements of the Shinyei sensor during the exact same timeframe. The bottom one also includes temperature and humidity measurements (the test board had no DHT22 on it). As you can see, there are quite a few big spikes in the bottom screenshot, which relate to things I did in the apartment during that time, such as cooking or vacuuming. The Sharp sensor did not show any of these spikes, which seemed unrealistic to me.

    Long story short, I decided to stay with the Shinyei sensor. On the long run, I will probably check out other sensors again, but for a first version, I'll just use that.

    (Edit: added measurements and some explanations)

  • Loosing the laptop

    tiefpunkt05/15/2016 at 18:22 0 comments

    The first prototype from CCCamp used a laptop to connect to the internet. Now that seemed like a bit too much to have for a sensor station, so that was the first thing to go.

    I went through a bit of iterations, trying out different hardware along the way. Since the PPD42NS (PM sensor) I had came as part of the LinkIt One Grove Kit, and I had gotten a free LinkIt One, I tried to set that up first, without any success. So it came down to using the ESP8266 for the job (using a WeMo board as an adapter).

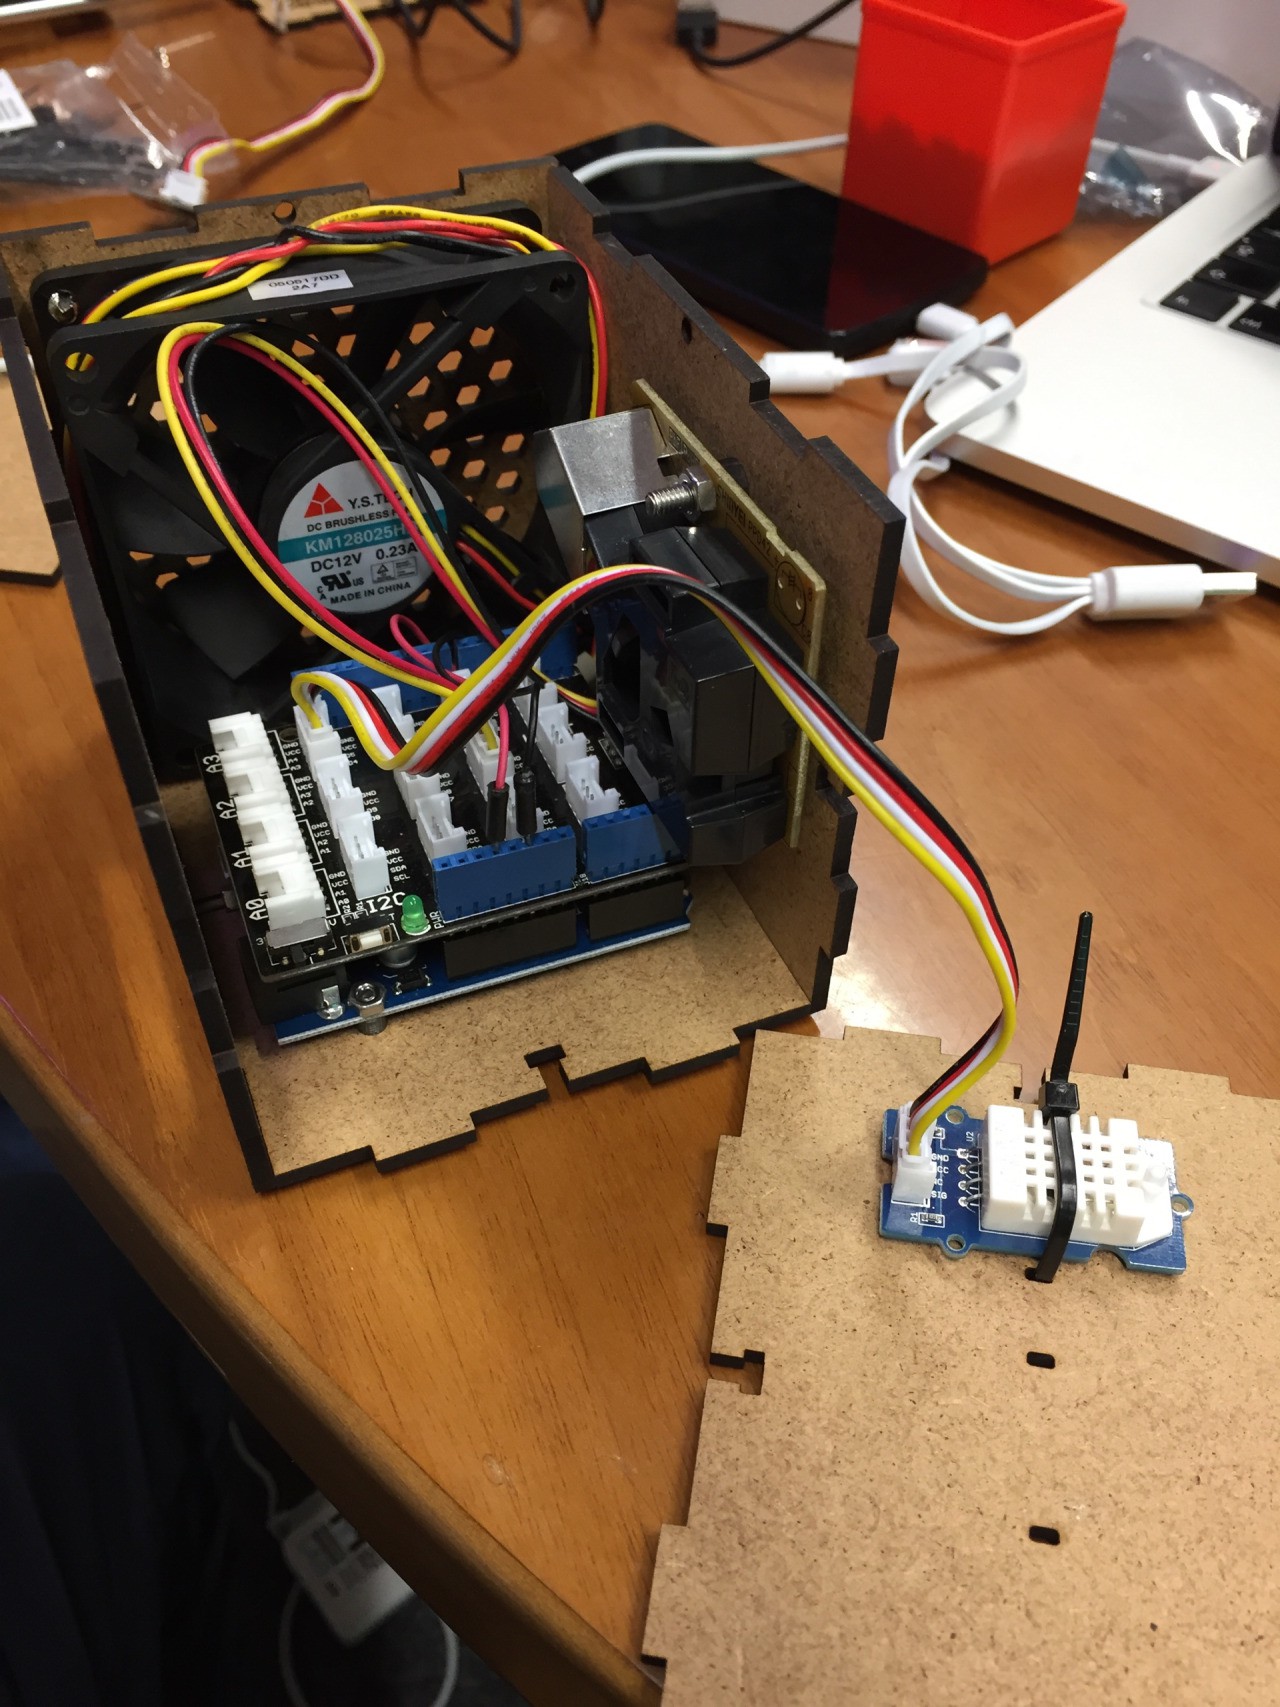
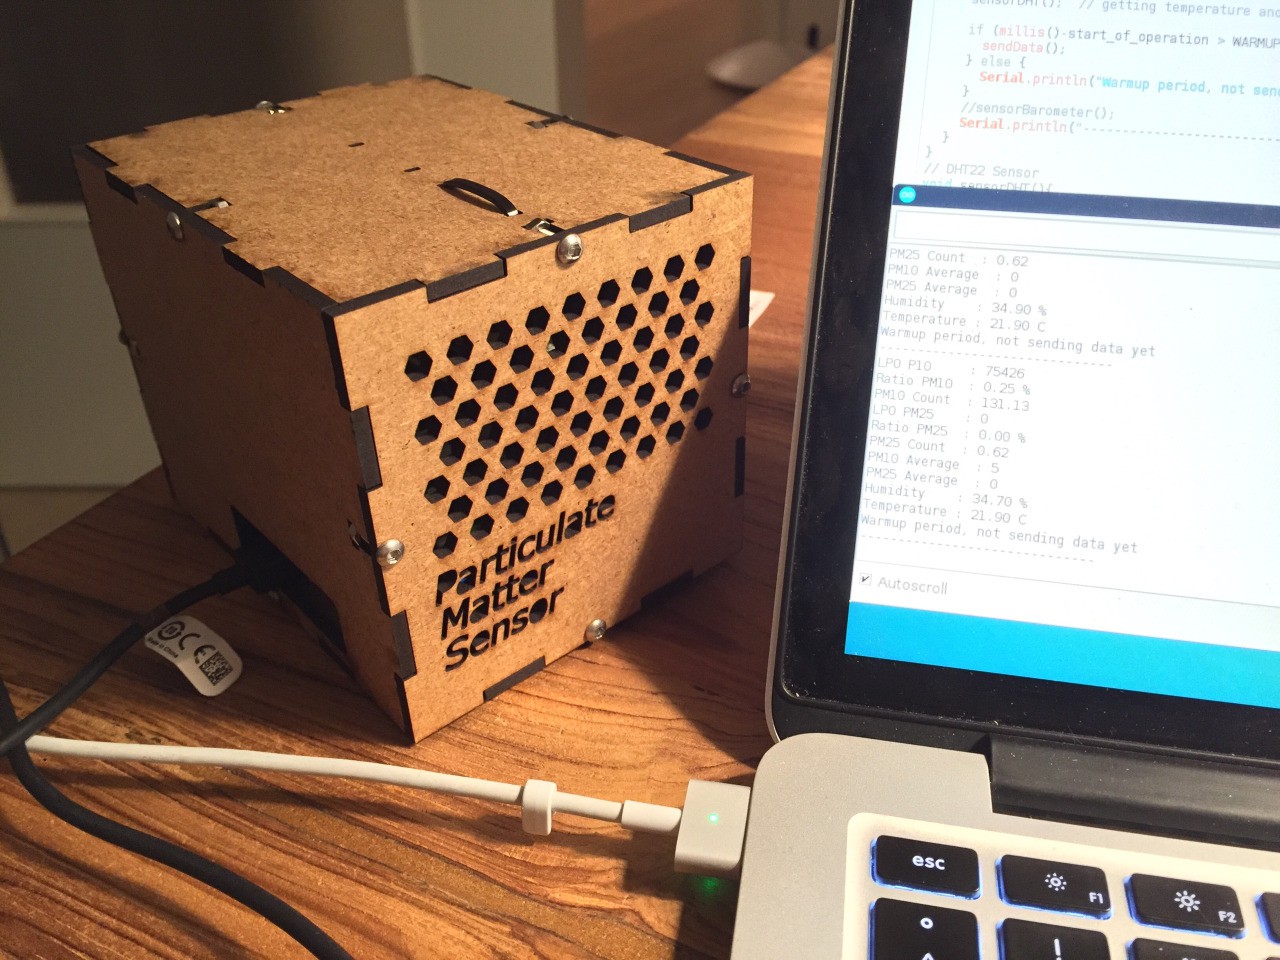
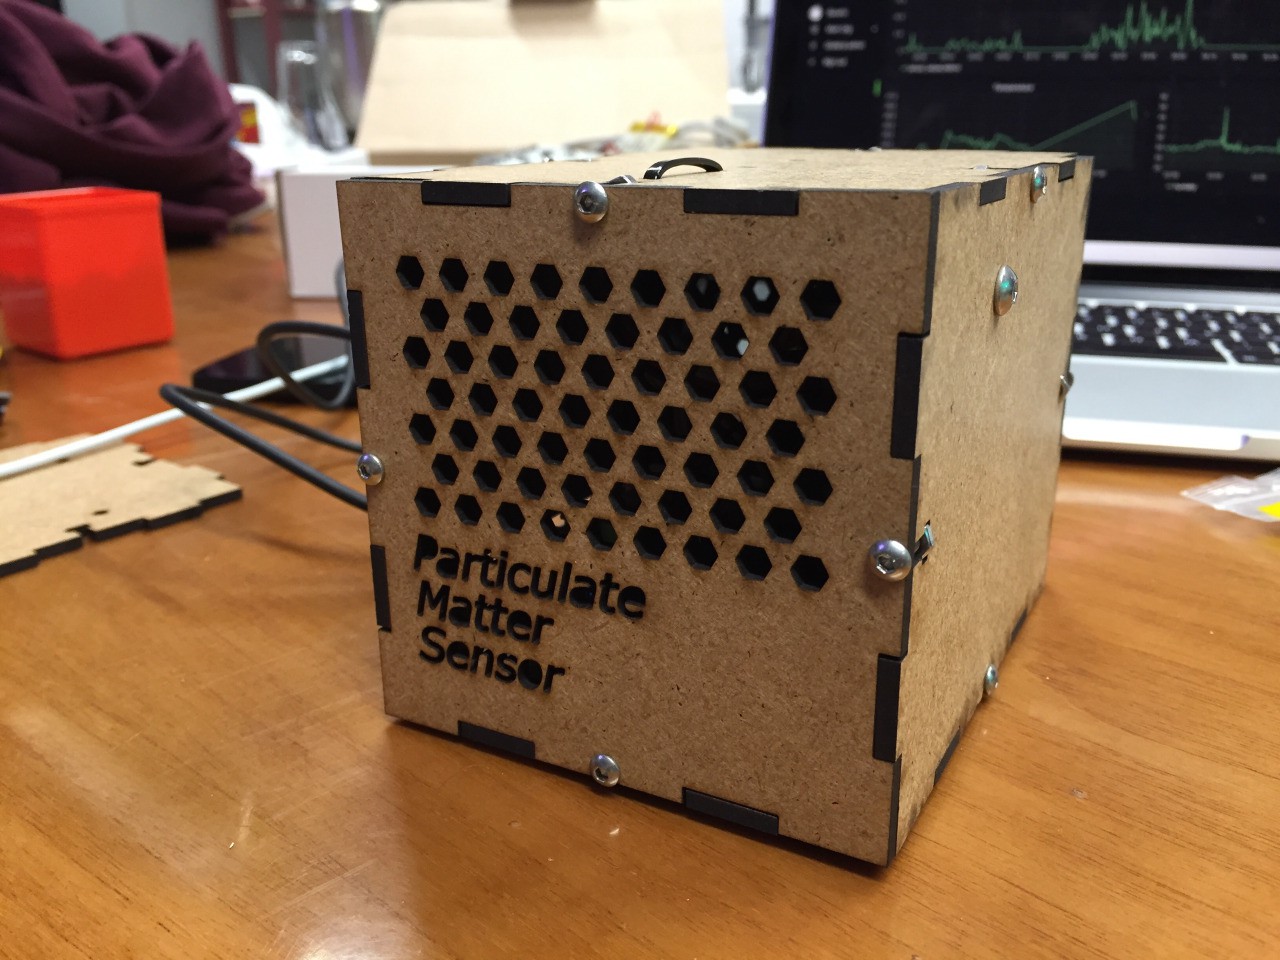
    Playing around with software and different methods to get the measurements from the sensor, I finally built another prototype. Using only two different sensors this time, a PPD42NS for PM, and a DHT22 for temperature and humidity, I built a small box to put it all in. I also added a fan to get air flowing through the thing. I'm not entirely sure how that influences the measurements, so there will be some more tests without a fan, but for now that seemed sensible.

    The ESP8266 outputs the measurements on its serial interface for debugging, but also sends it to a webservice. I didn't use OpenSenseMap this time, because I wanted more control over the data. Instead, I set up my own little thing using InfluxDB and Grafana, to log all the data. I had it running in my kitchen for a while, which seemed like a better testing environment than putting it straight outside, since I have more control over what is happening.

    You can find the code and some more on the GitHub Repository, if you want to give it a try yourself: https://github.com/tiefpunkt/airqualitystation. Note that the readme isn't really up to date, need to get that fixed once I find the time.

  • CCCamp15: How it all started

    tiefpunkt05/04/2016 at 15:13 0 comments

    Back in summer last year, me and a bunch of friends went to CCCamp, an hour outside of Berlin, Germany. As one does, we packed tons and tons of stuff, electronics and other, to play around with during that time. Part of that were some Arduinos, and a Grove Starter Kit for LinkIt One.

    I've had the idea to play around with air quality sensing for a while, especially since hearing about the AirCasting project or the Air Quality Egg. Now I didn't just want to copy those, for reasons that could fill another blog post, but wanted to get into this field, and that starter kit contained a bunch of sensors that seemed usefull (and surprisingly cheap for that matter).

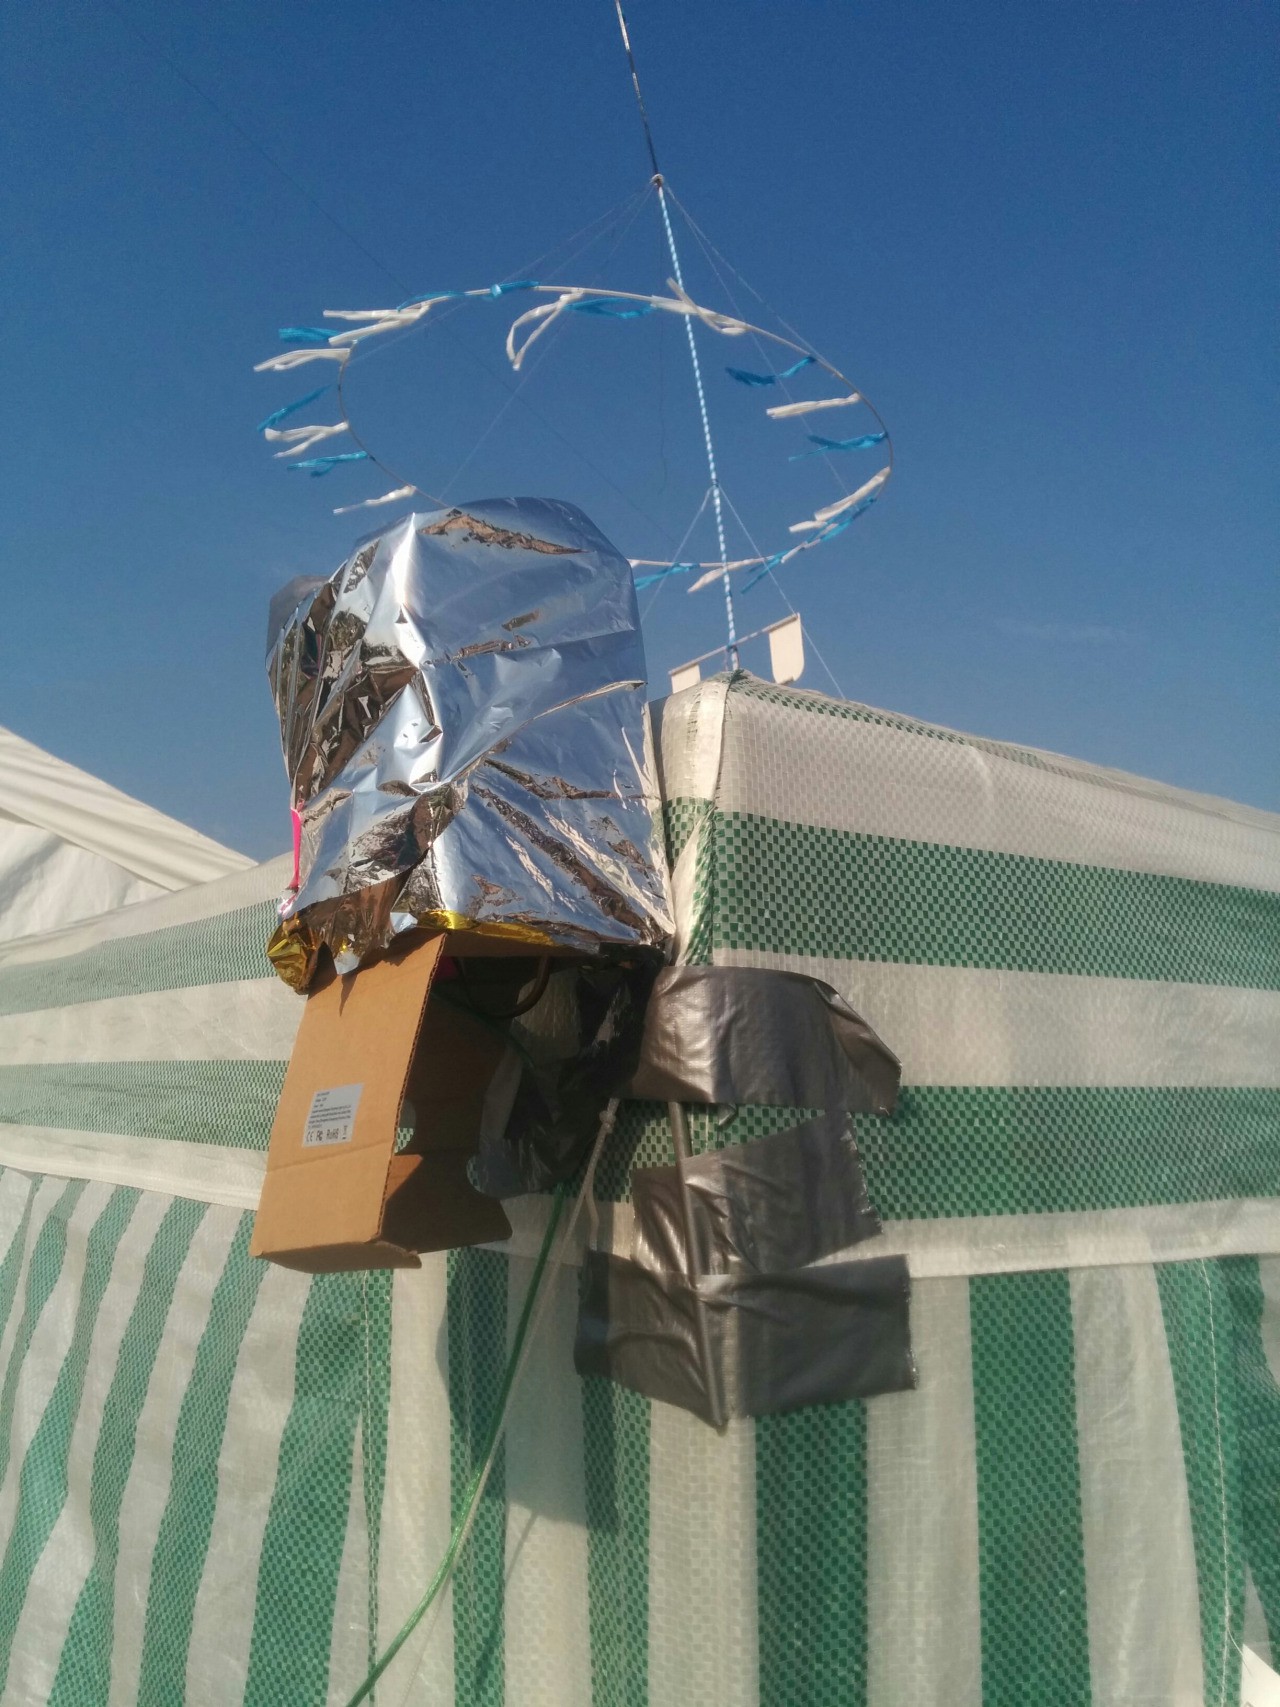
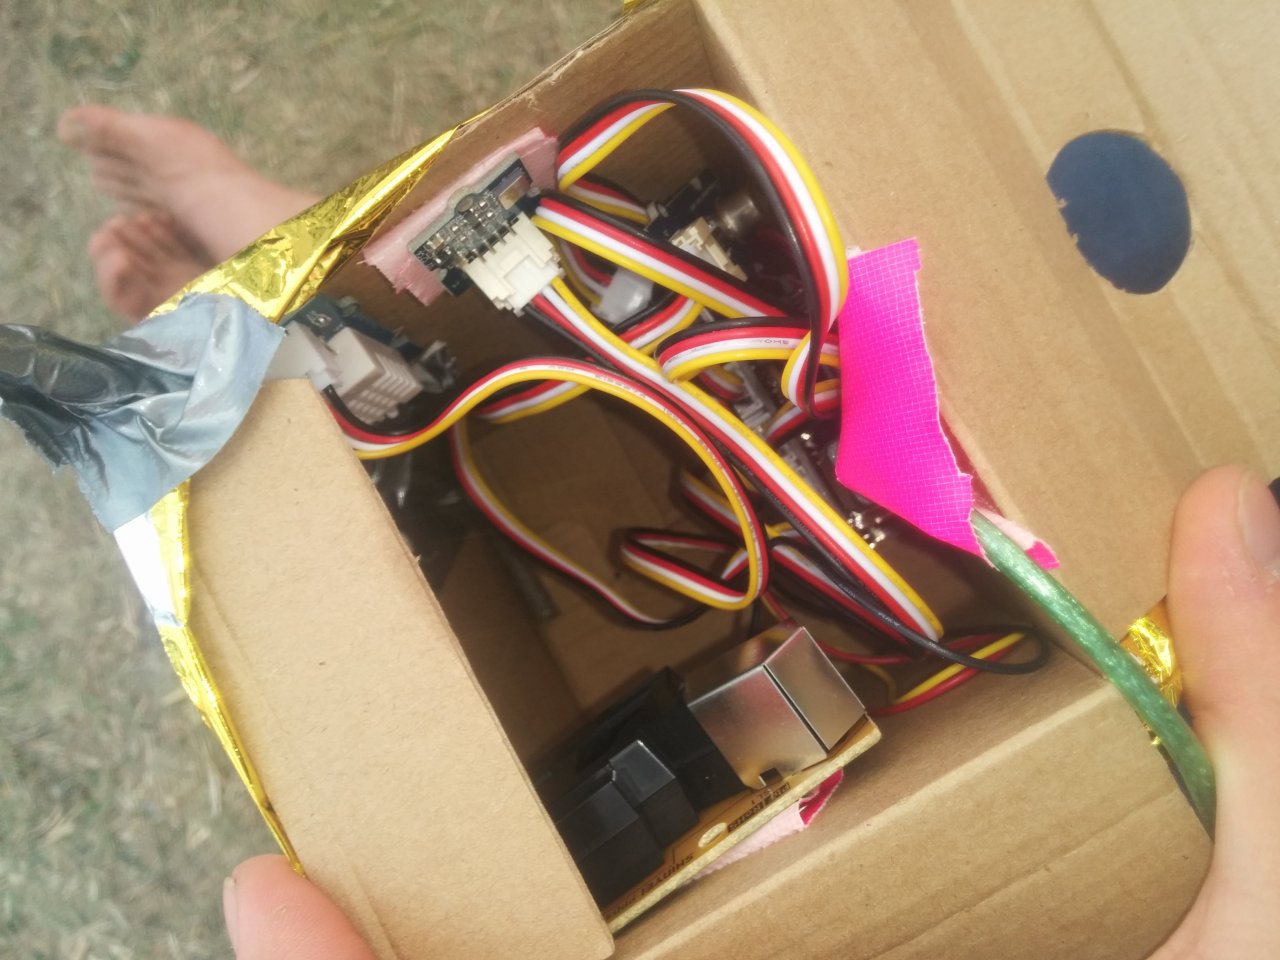
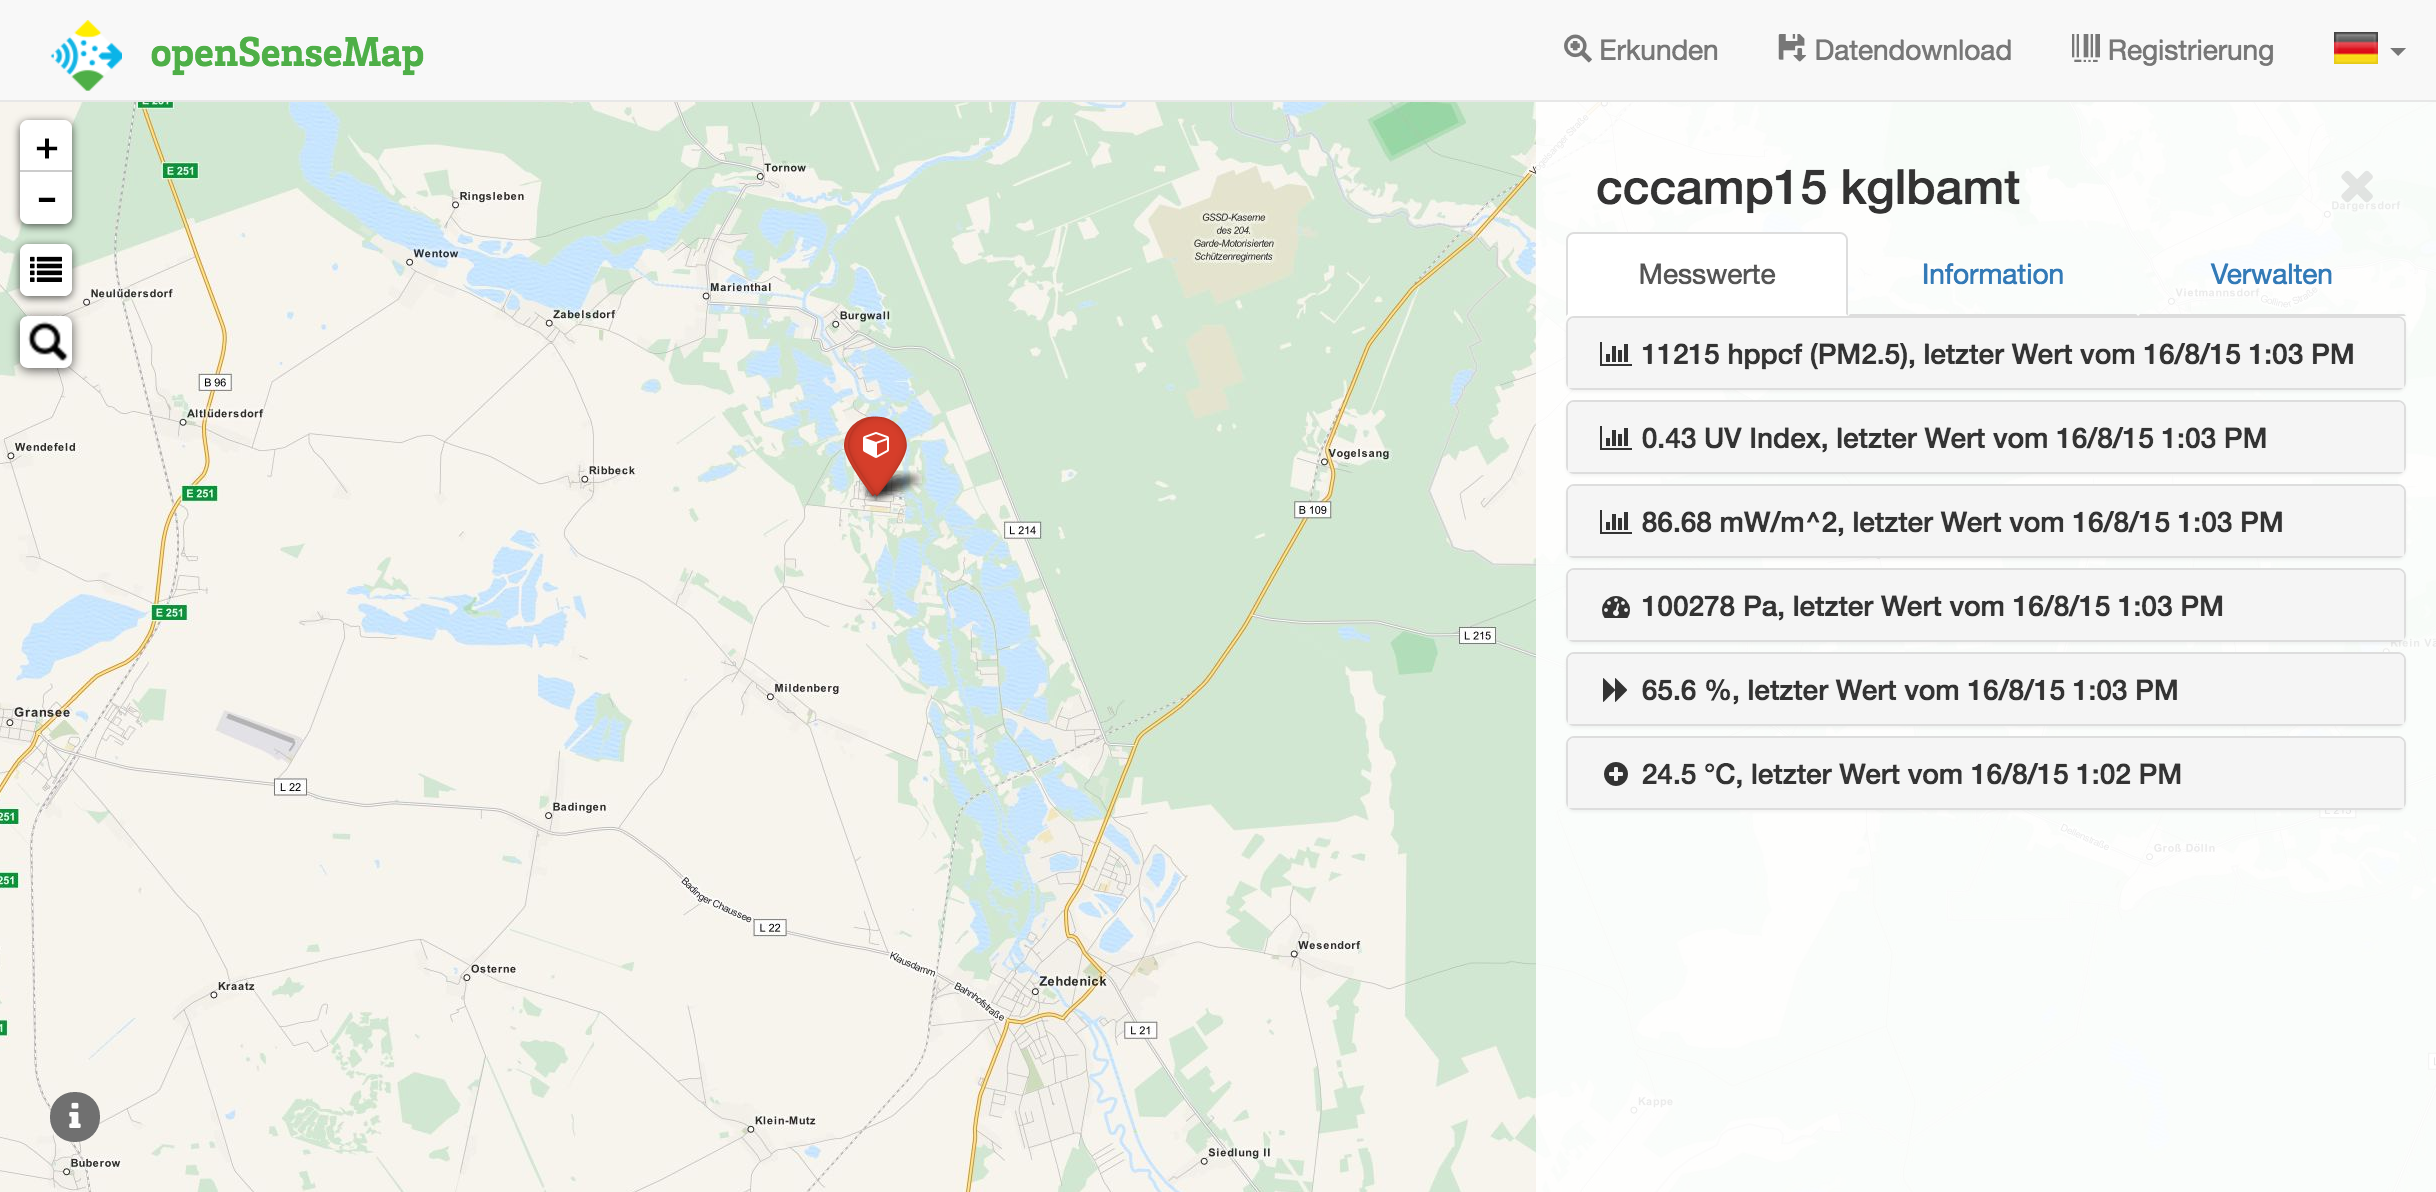
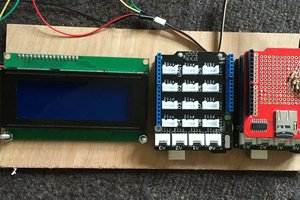
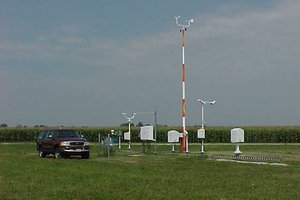
    So at camp, I decided to finally through all of this together and start to build a small weather and air quality station. Hardware wise, t was a pretty simple task of plugging a bunch of sensors (the PPD42NS, a DTH22, a barometer, and a UV sensor) into the Grove shield, and that then onto the Arduino, which in turn was connected to a laptop via USB. A little bit of coding in the Arduino IDE and some Python later, I had my own air quality station, which stayed up for the entire camp, located on a pole in a "weatherproof box" (aka a paper box with some foil around it), and collected data, before vanishing deep into some old-project-box after the camp.

    The logging and display part of the project was done using OpenSenseMap. It wasn't all that easy to get that setup, since they have a pretty fixed setup for 2 different kinds of sensor boxes, but it was still the easiest to set up without having to build some self-hosted service.

View all 7 project logs

Enjoy this project?

Share

Discussions

tom Meyers wrote 09/06/2018 at 18:41 point

Any possible update on this project? Thanks, Tom

  Are you sure? yes | no

Psy Chip wrote 08/13/2016 at 23:31 point

i just purchased the same dust detection module to upgrade my current air quality sensor, is the fan necessary?

  Are you sure? yes | no

tiefpunkt wrote 08/15/2016 at 16:45 point

To be honest, I'm not exactly sure. Because the case is kinda small, I thought it would be. But I'll do some trials once I have more sensors, and then I can make a comparison. There were some articles that suggested the precision get better with a fan, but that's kinda hard to tell, at least with my capabilities and gear.

  Are you sure? yes | no

∫(Diego F. G)dx wrote 08/13/2016 at 21:49 point

Hi dude awsome project , could you give me some advices? , because I'm very keen on make this project but using a Bluetooth conexion with mobile phone.

  Are you sure? yes | no

tiefpunkt wrote 08/15/2016 at 16:46 point

I suppose you could use a standard Arduino and add a bluetooth shield? The Aircasting folks did something in that direction, maybe that might be a good starting point

  Are you sure? yes | no

Similar Projects

Does this project spark your interest?

Become a member to follow this project and never miss any updates