Mike Szczys
-
Spur-of-the-Moment Prototype Hack
05/12/2014 at 20:12 • 0 commentsLike I said before, I've been wanting to do a grand POV display build for a long time--at least four or five years. On Saturday morning I realized I had a couple of hours free and I just started hacking together the parts I had on hand. I plan to improve each part of this design over time and incrementally build something awesome.
![]()
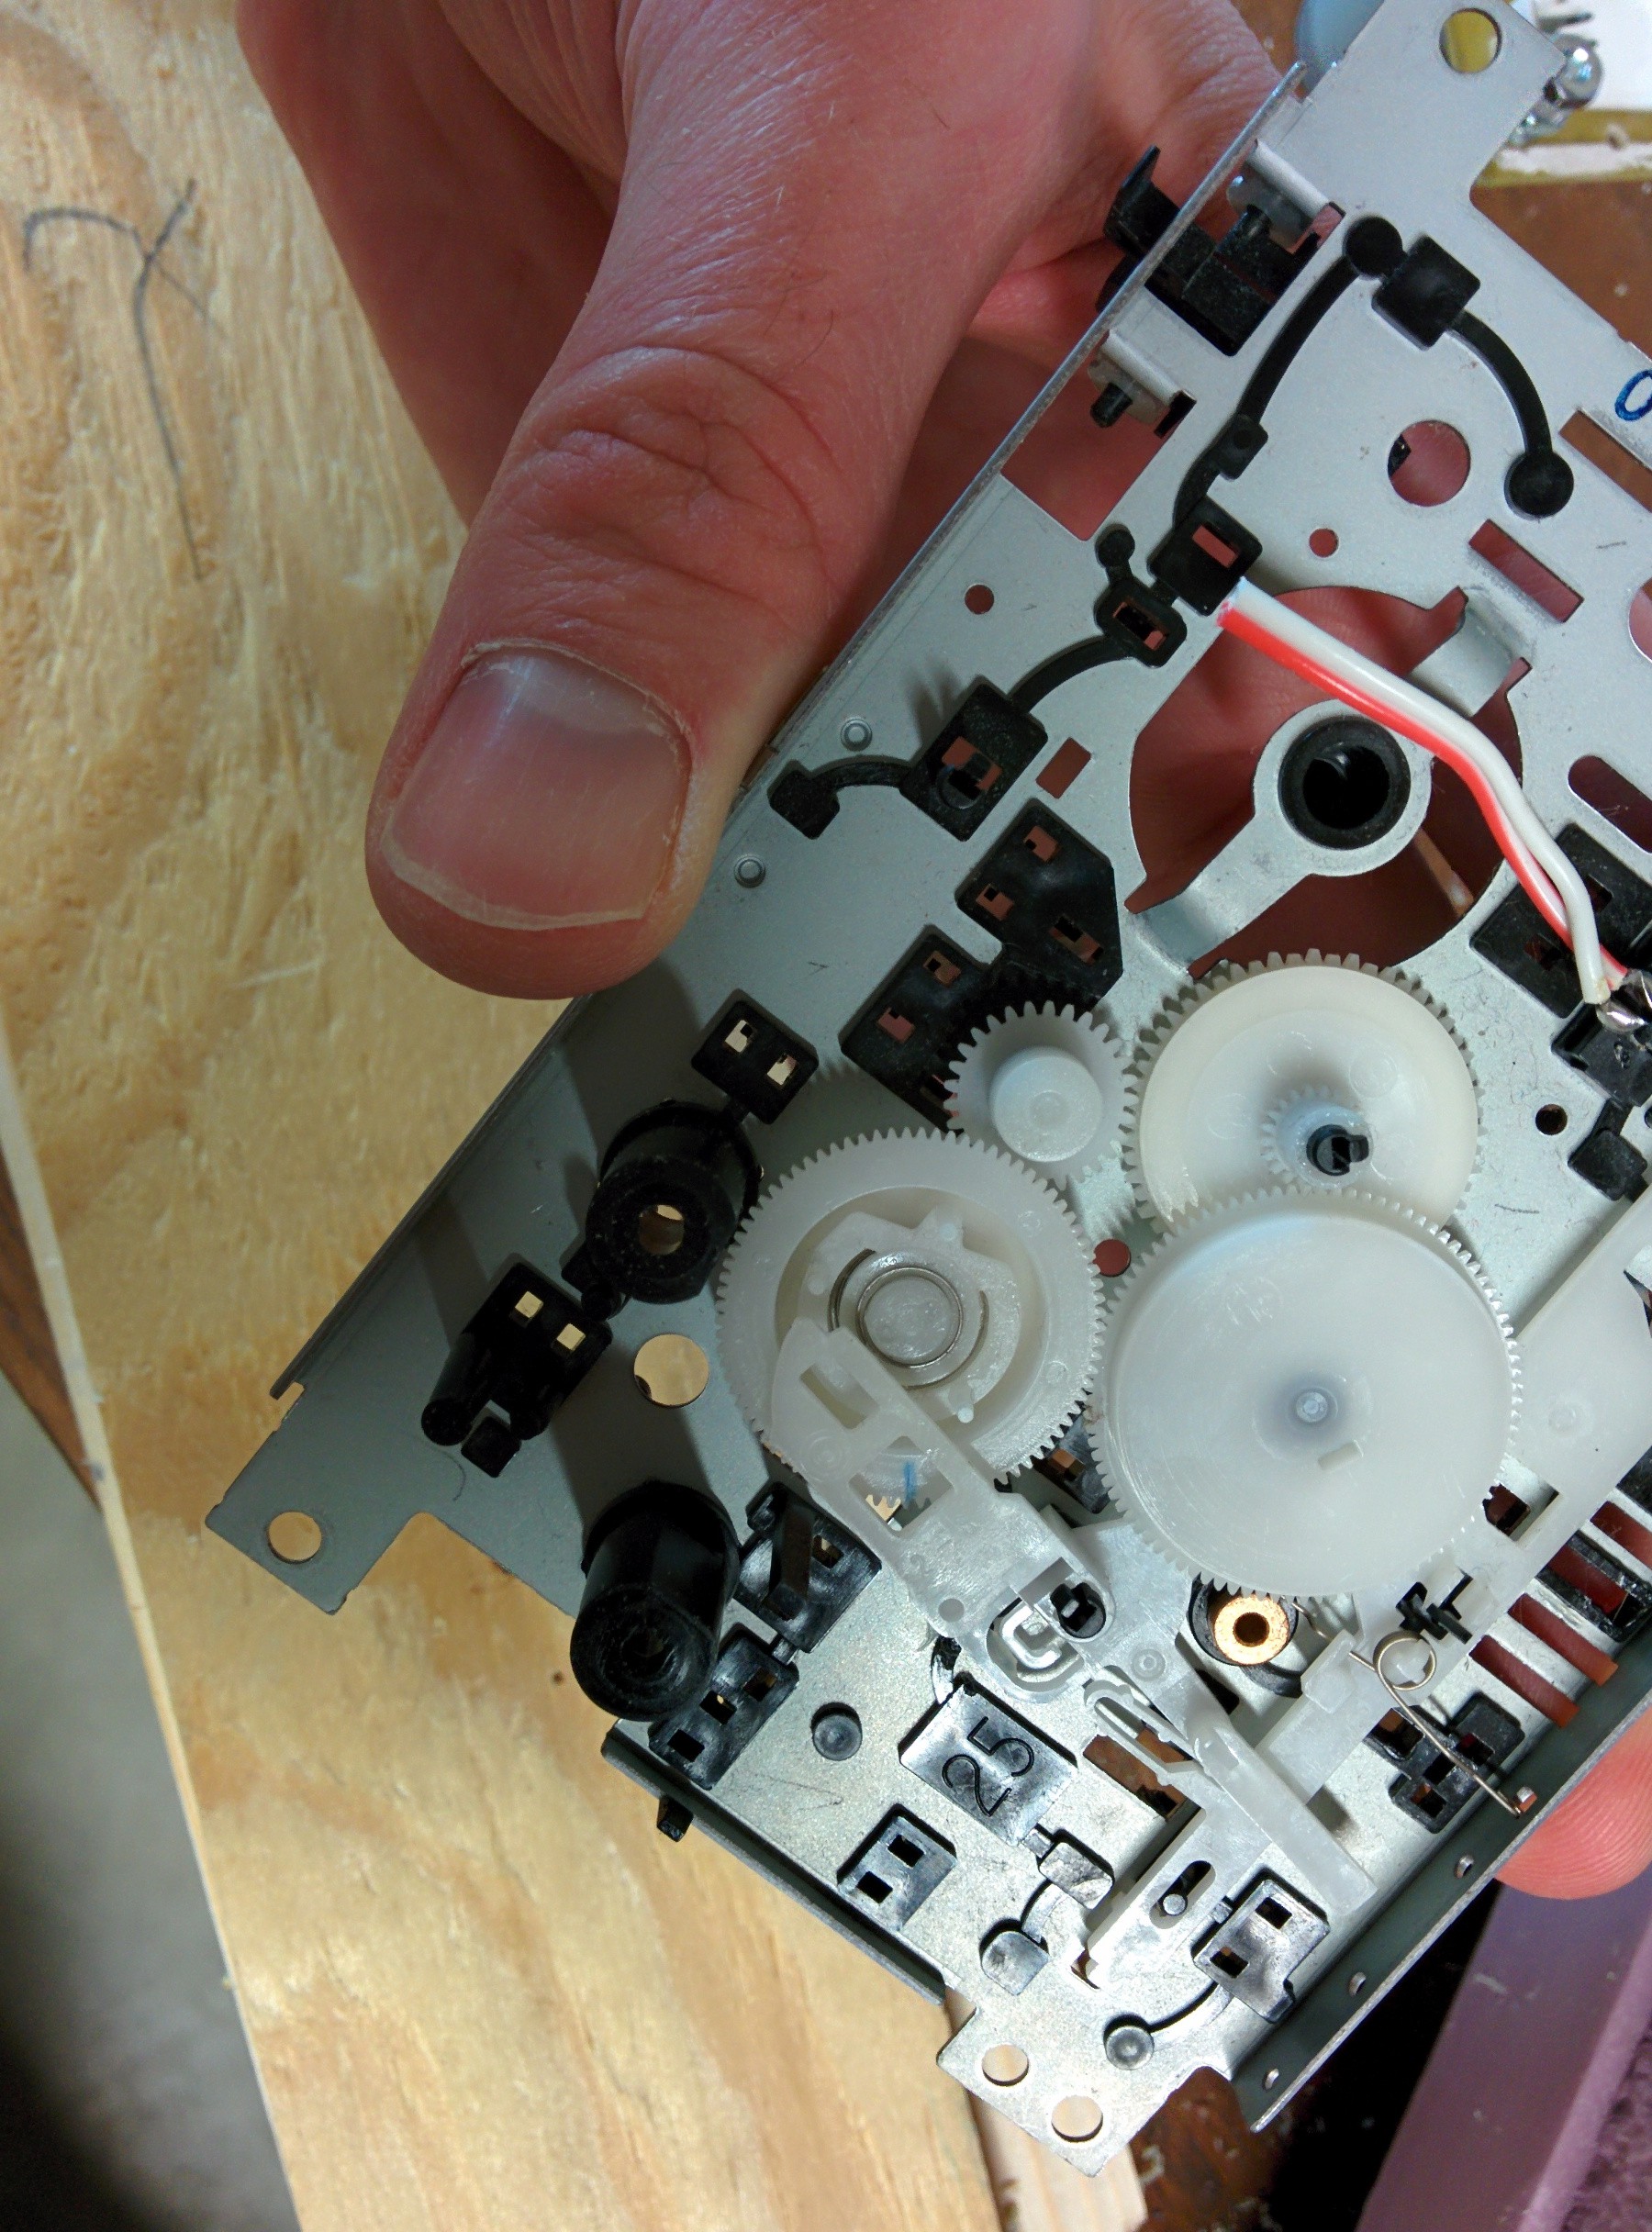
I started with this old cassette deck assembly. I didn't get a picture before removing the motor but it was screwed to the two black pillars to the left of the metal bracket.
![]()
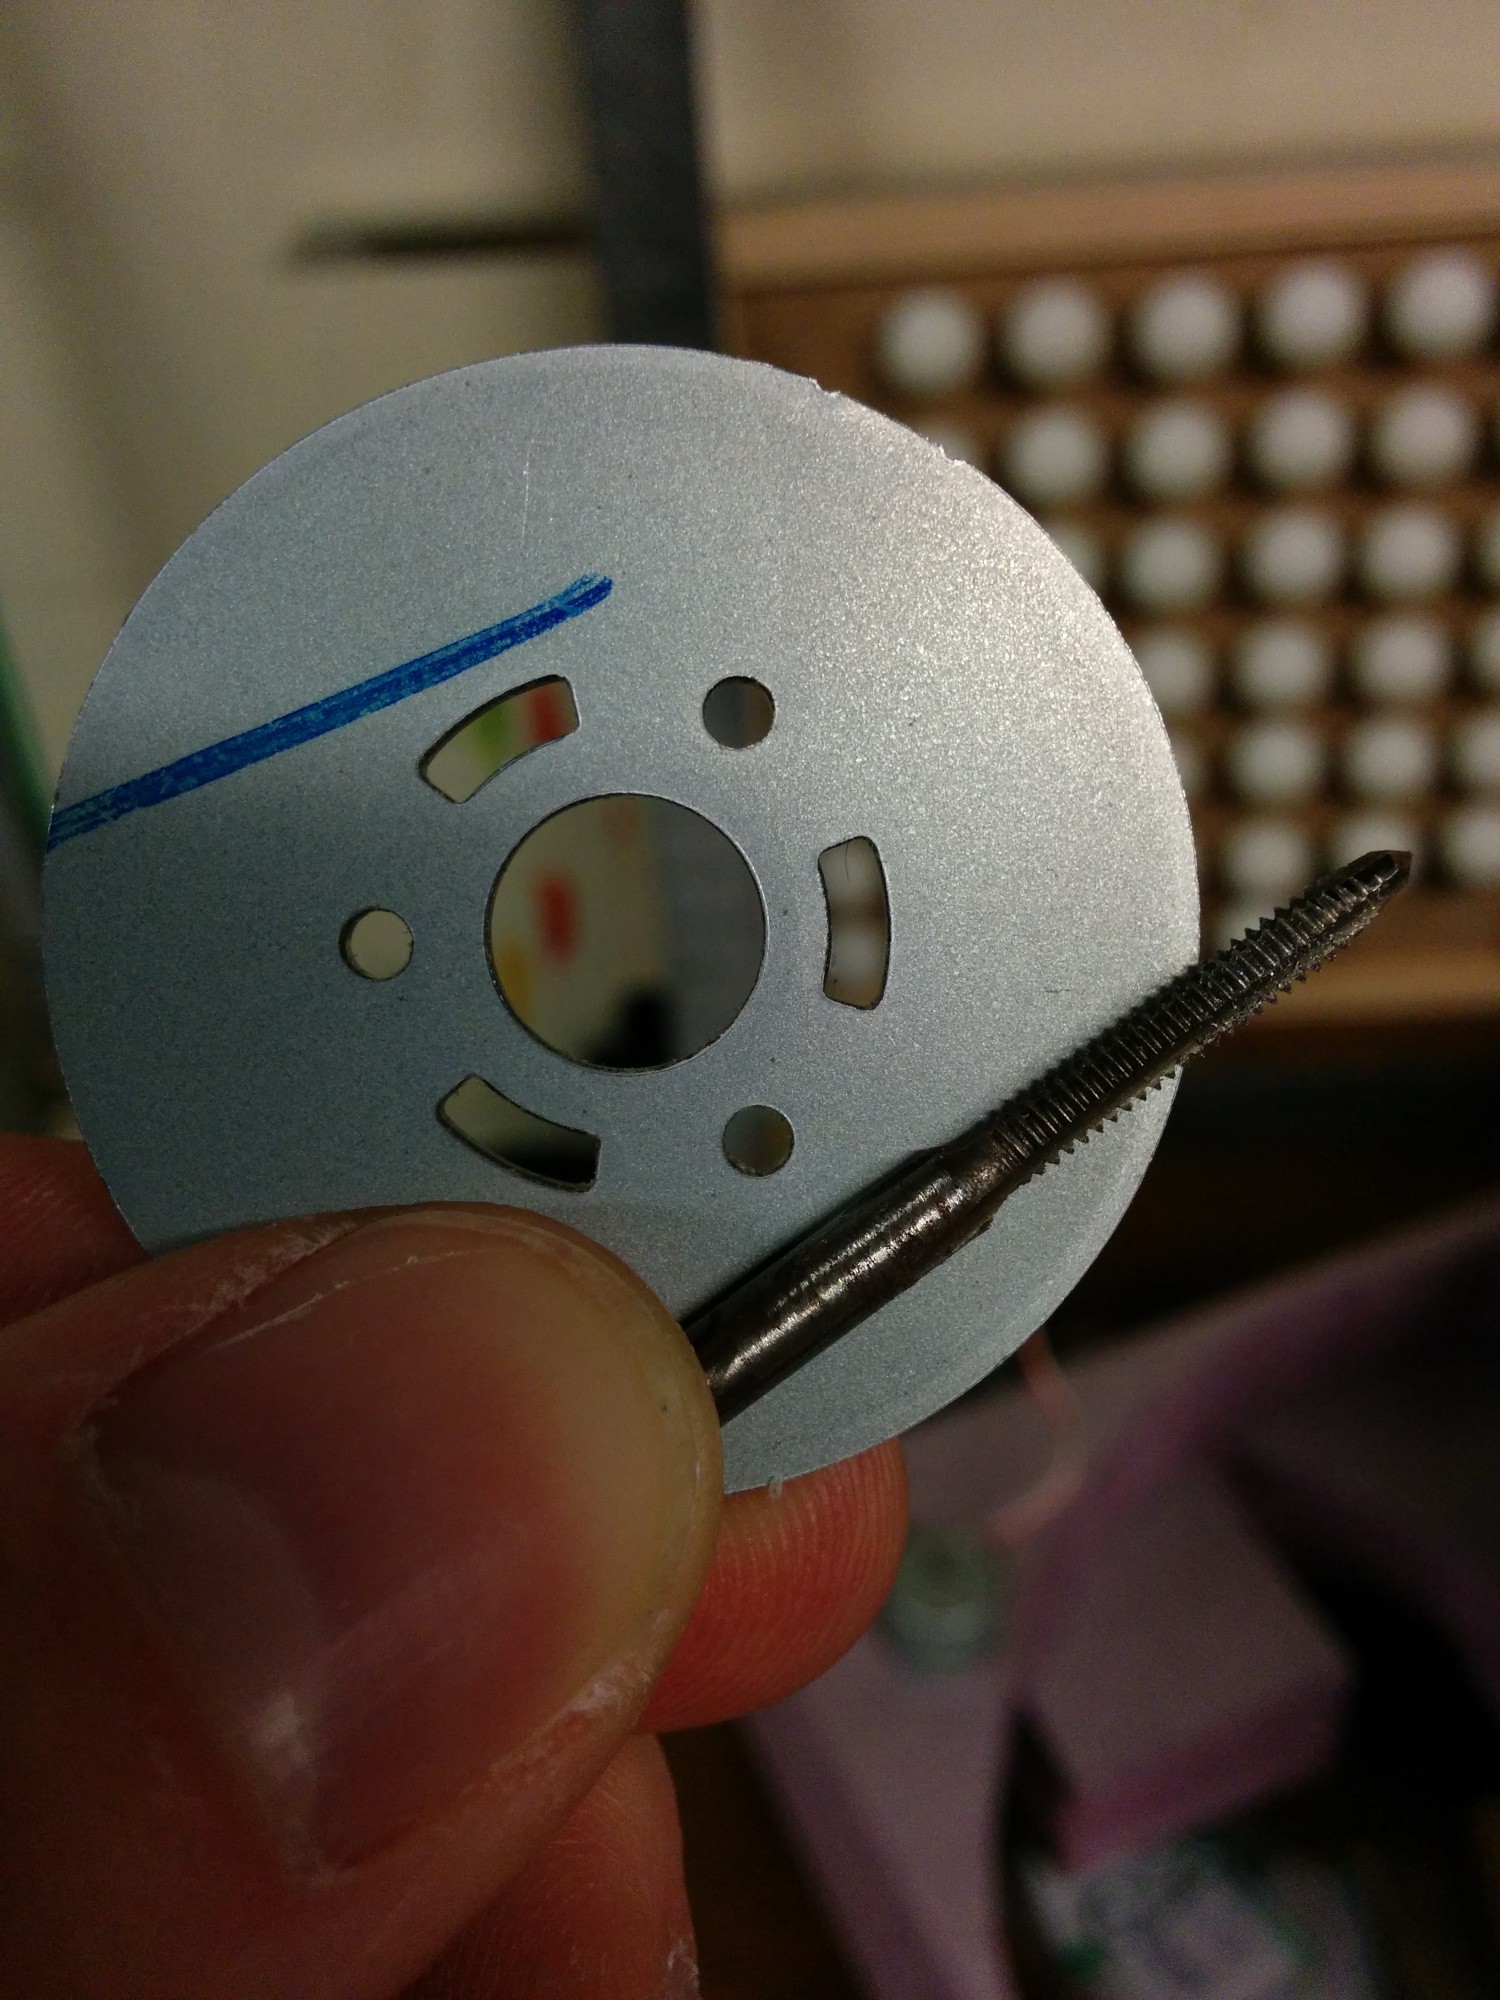
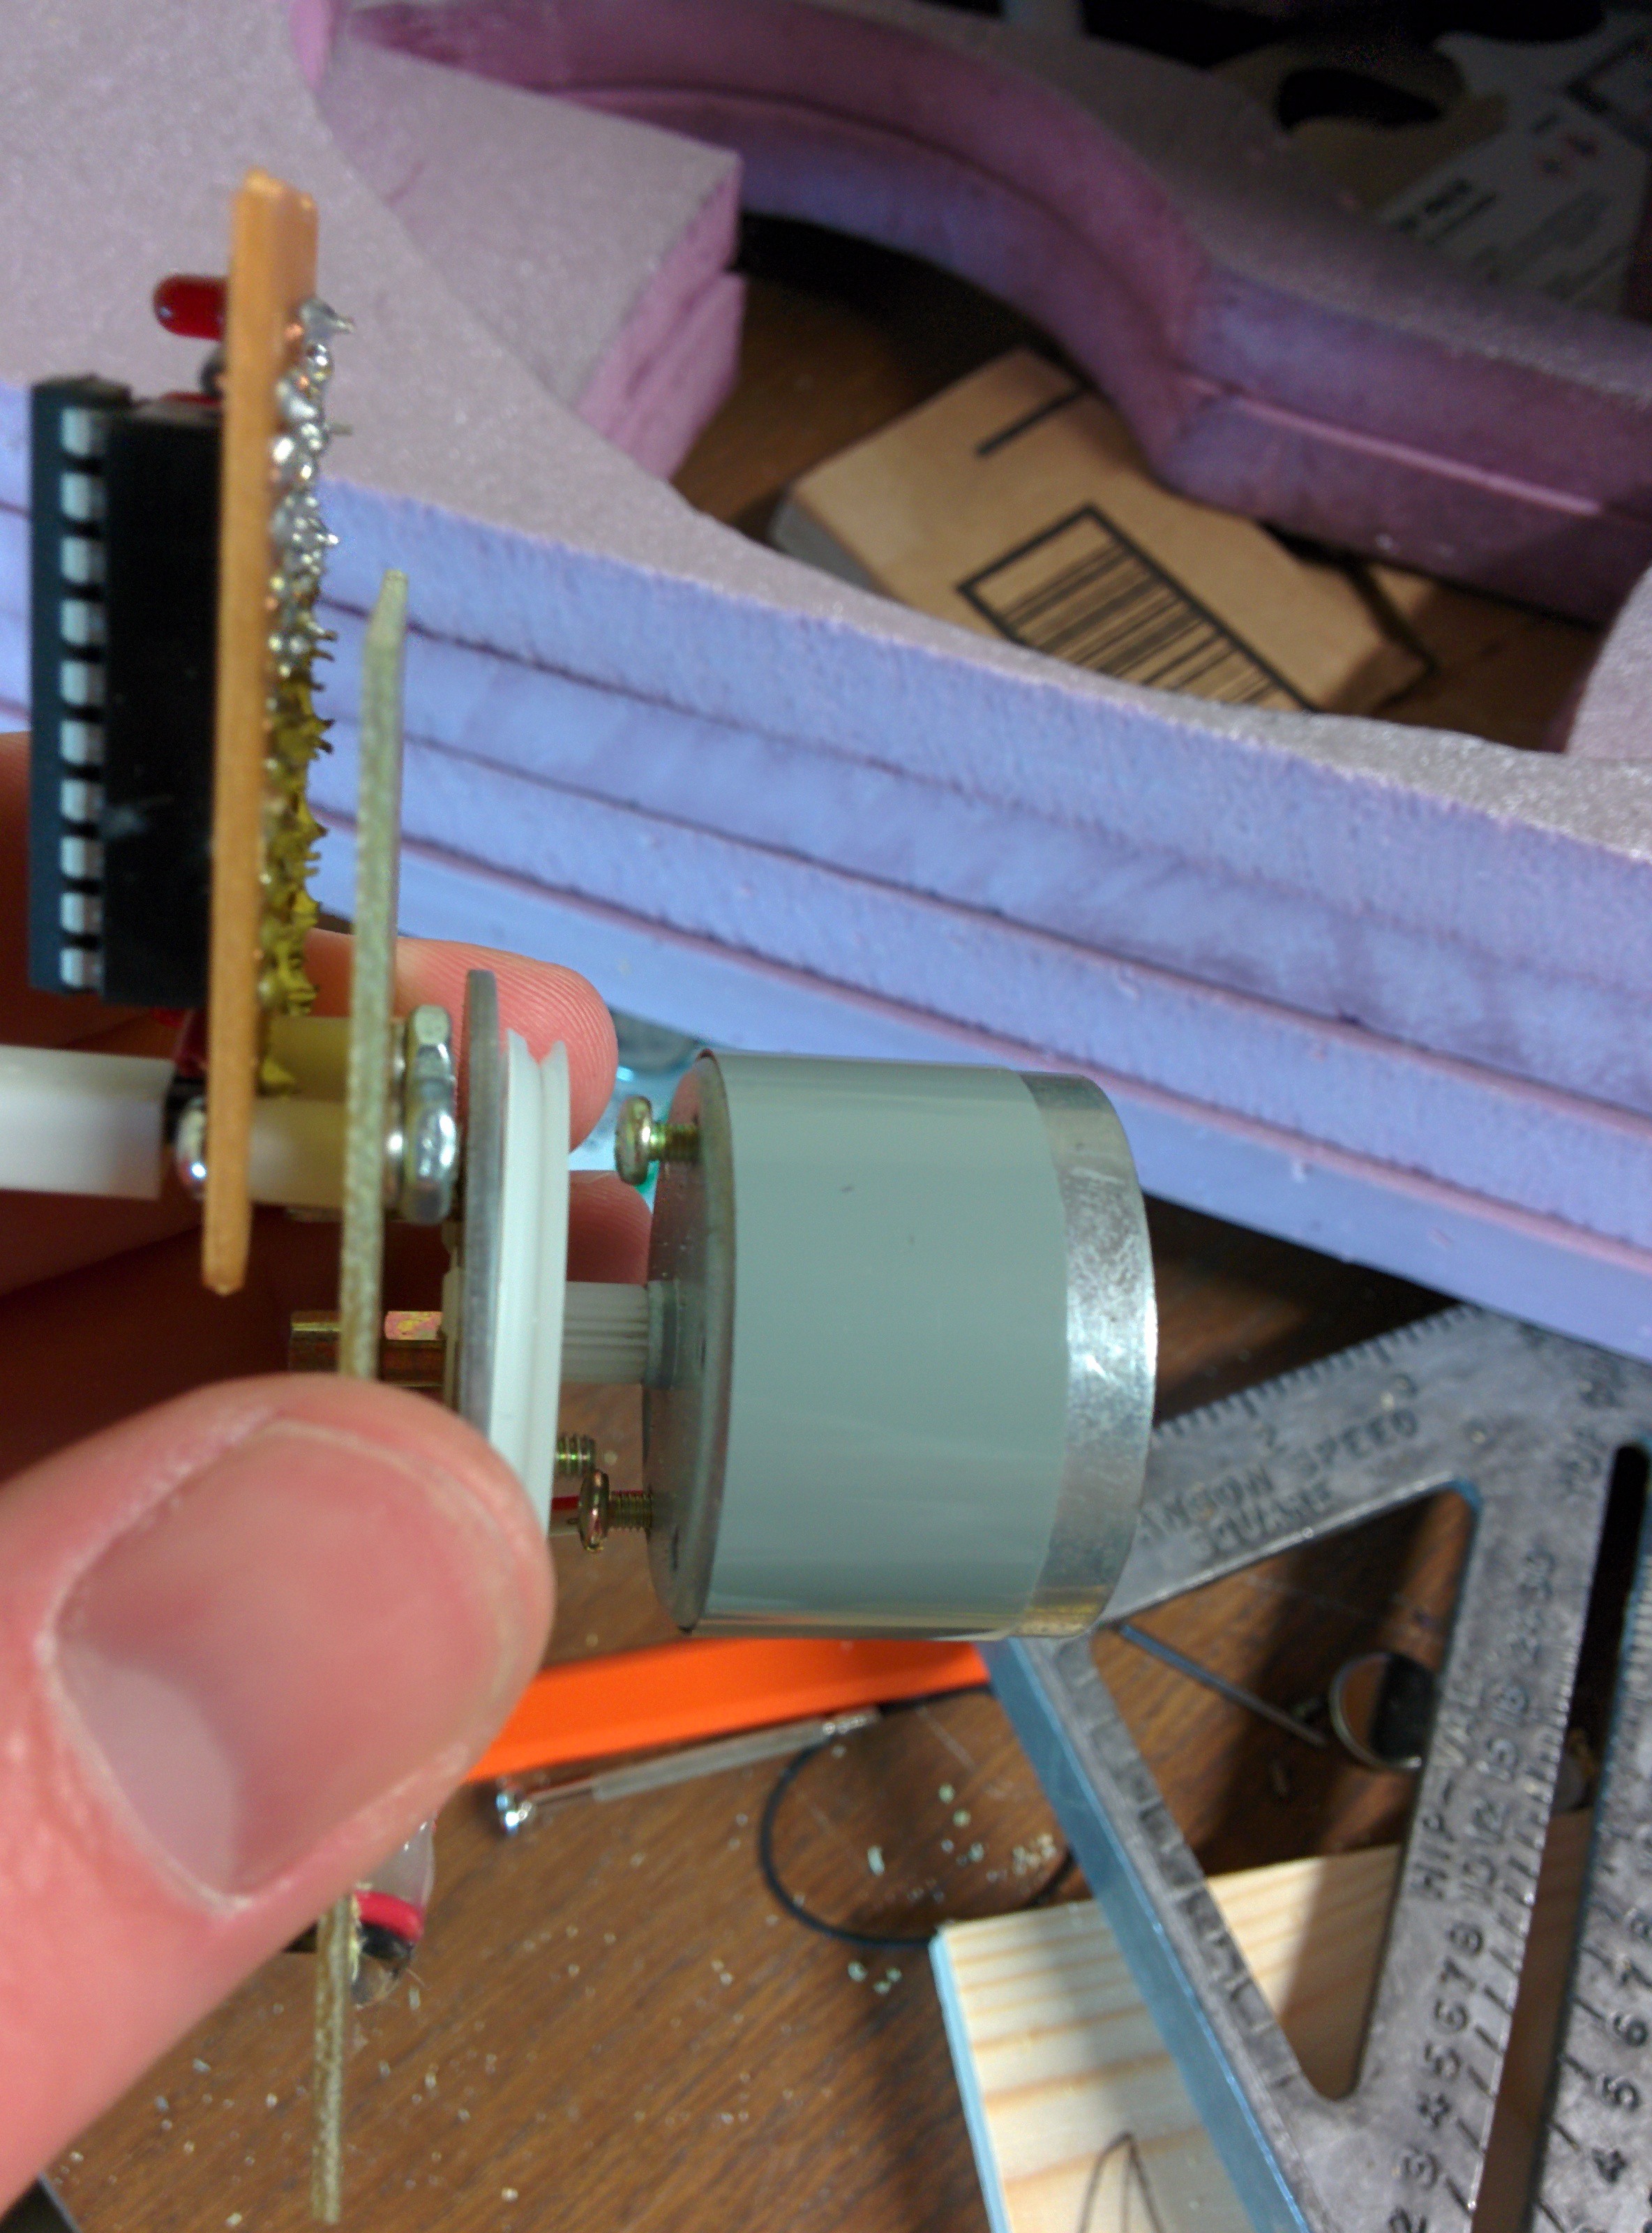
This metal wheel attaches to the plastic gears driven by the motor. The trio of holes is perfect for tapping 4-40 threads
![]()
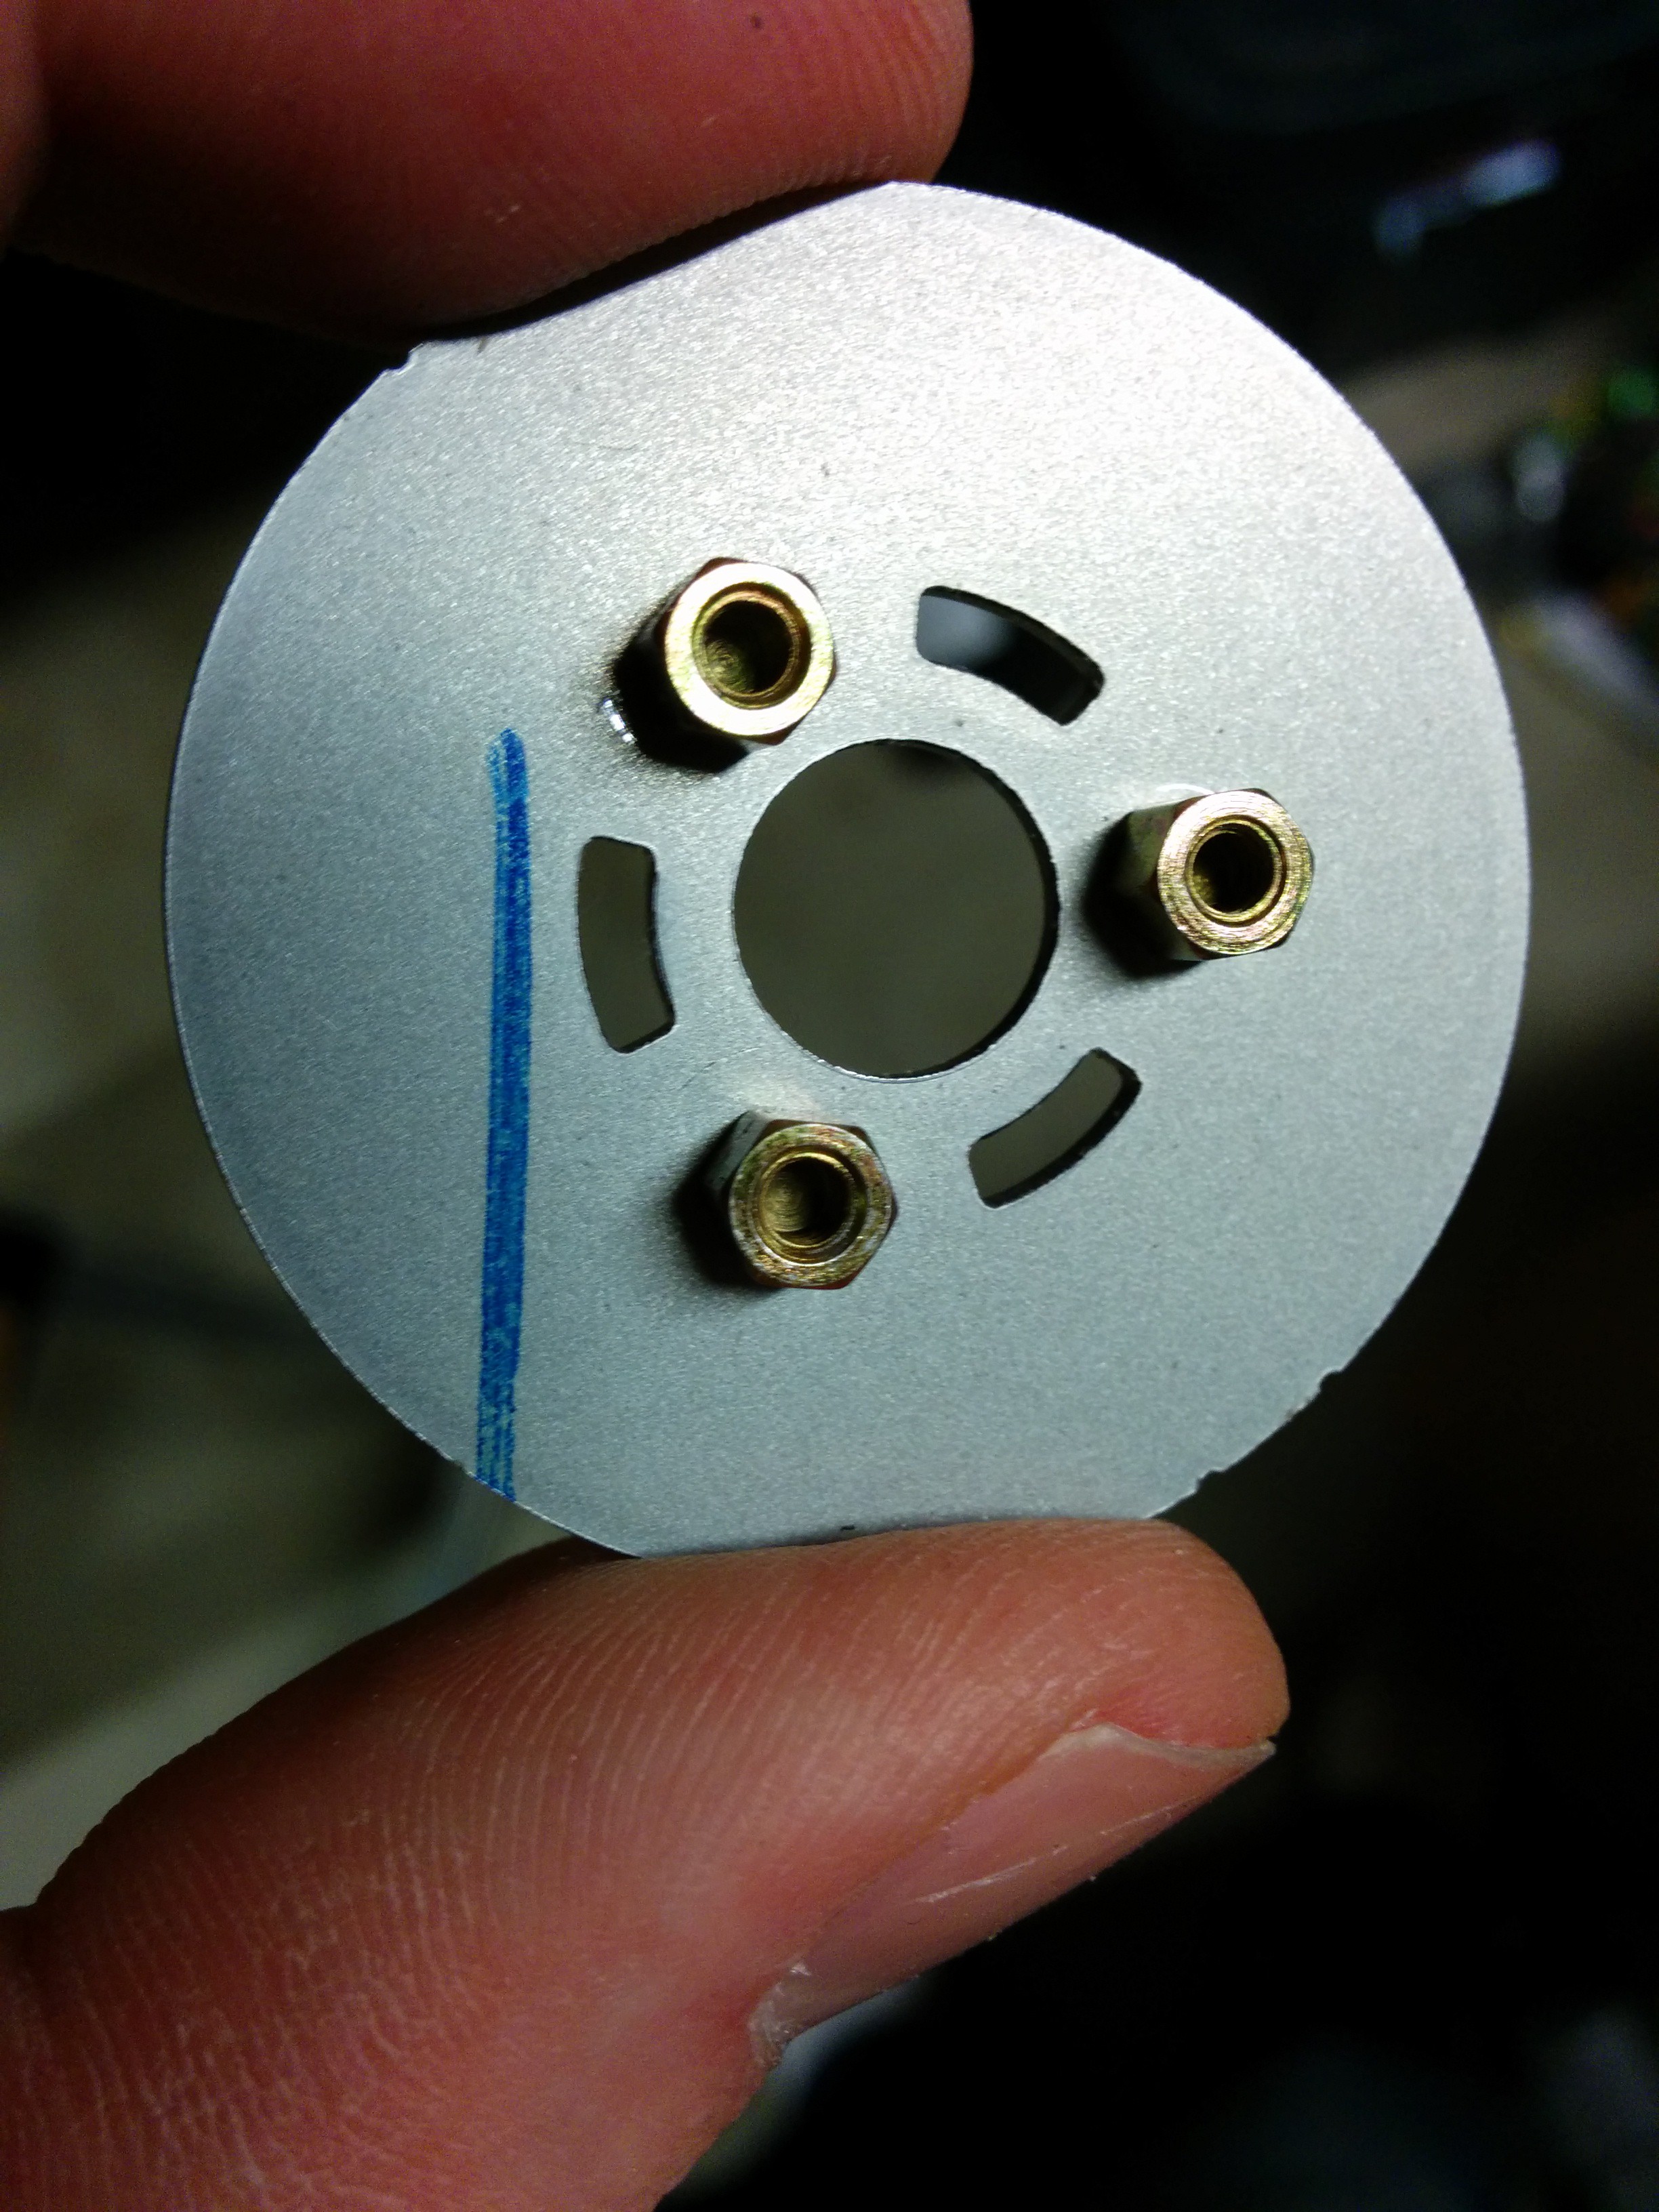
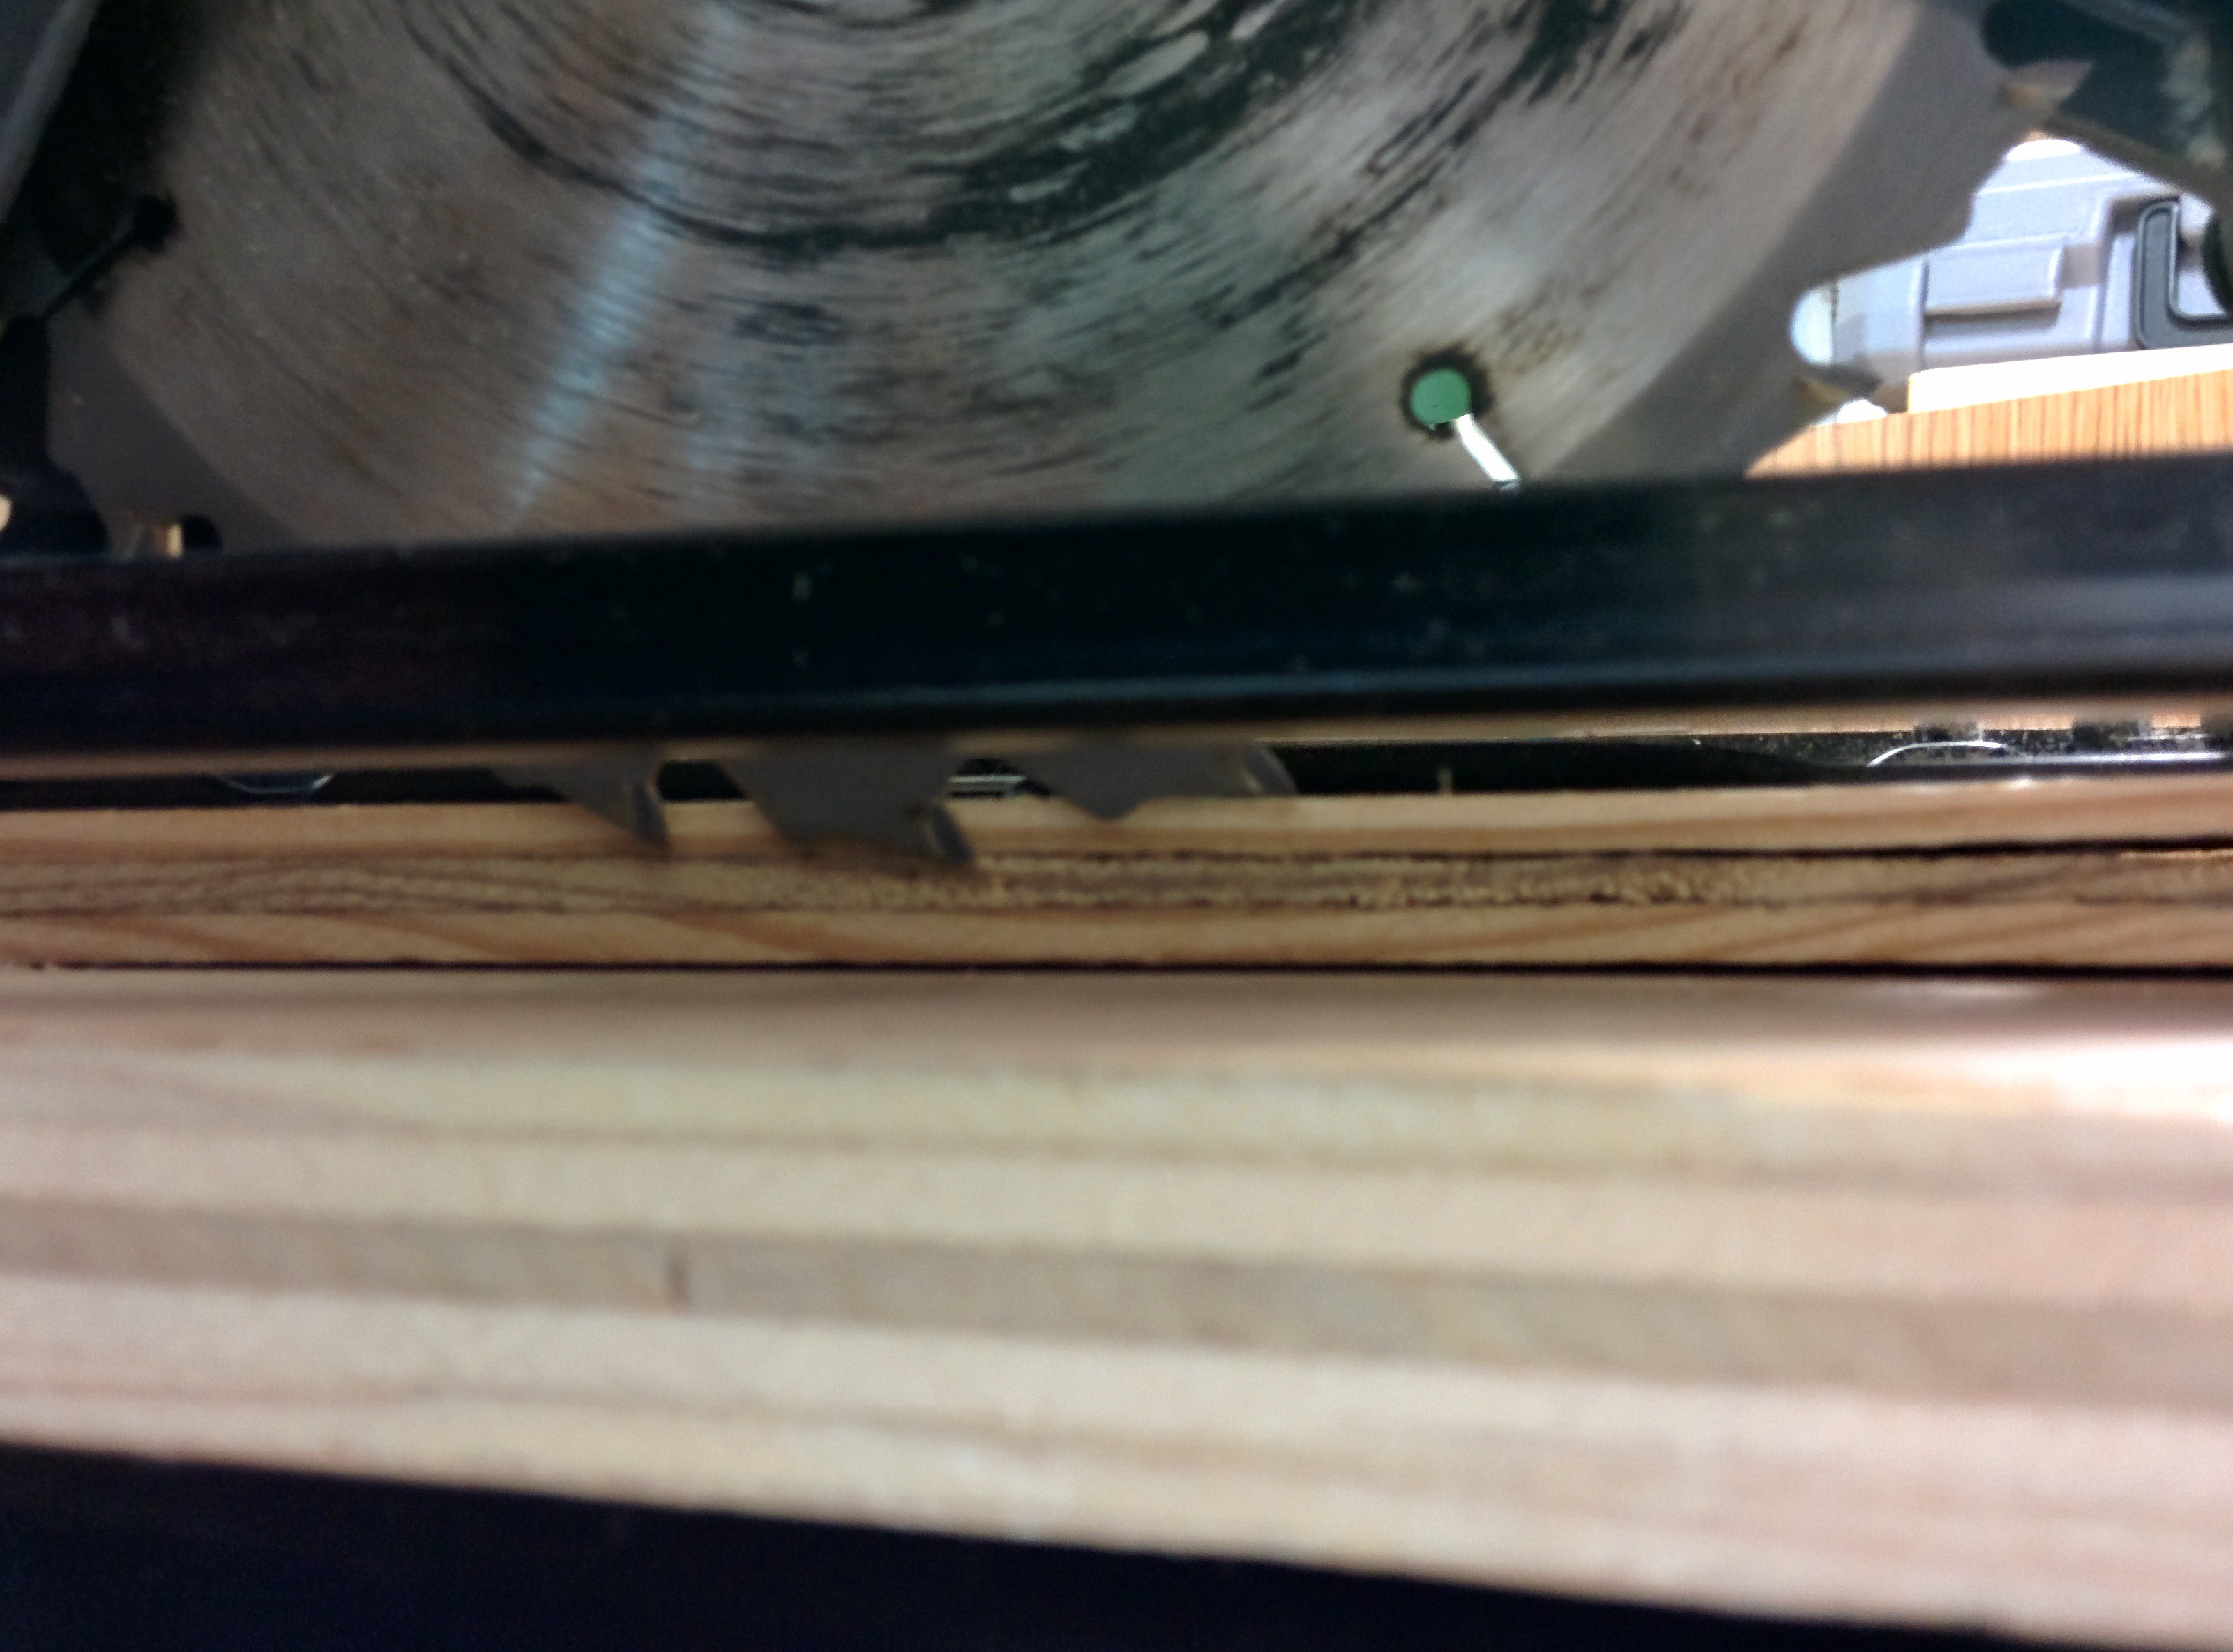
After tapping the holes I added stand-offs and cut the excess off using a Dremel and cutoff wheel
![]()
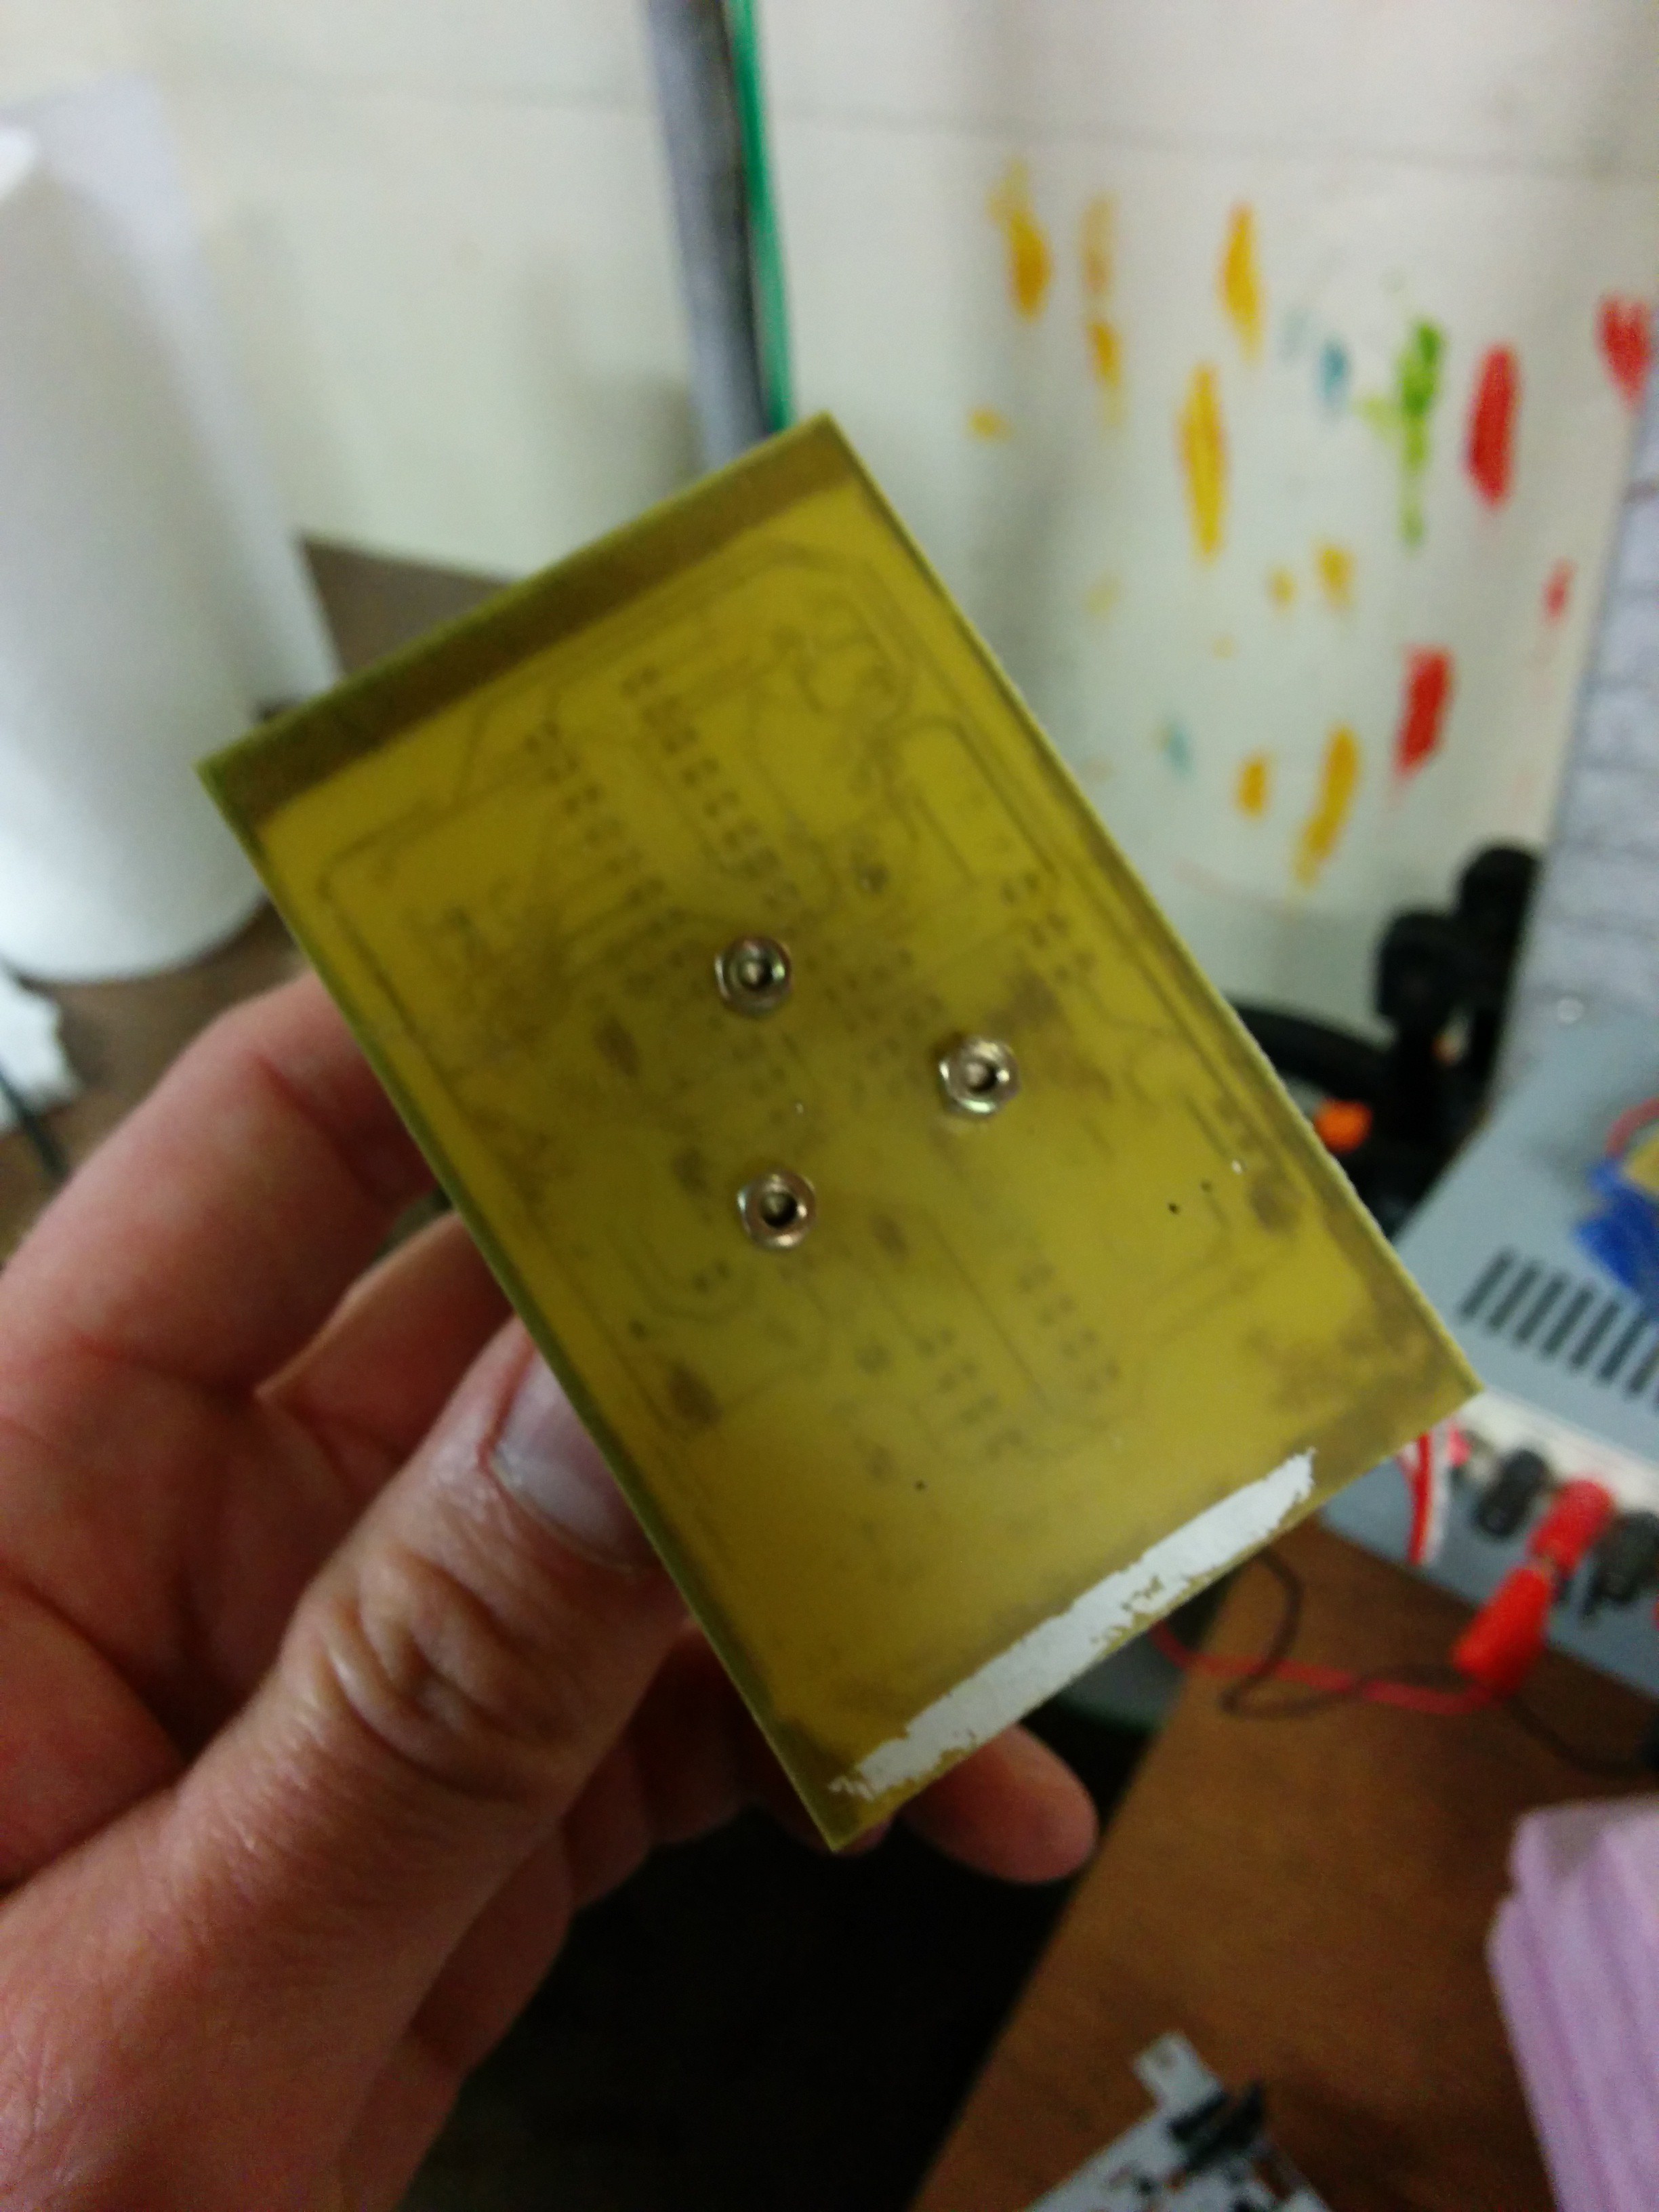
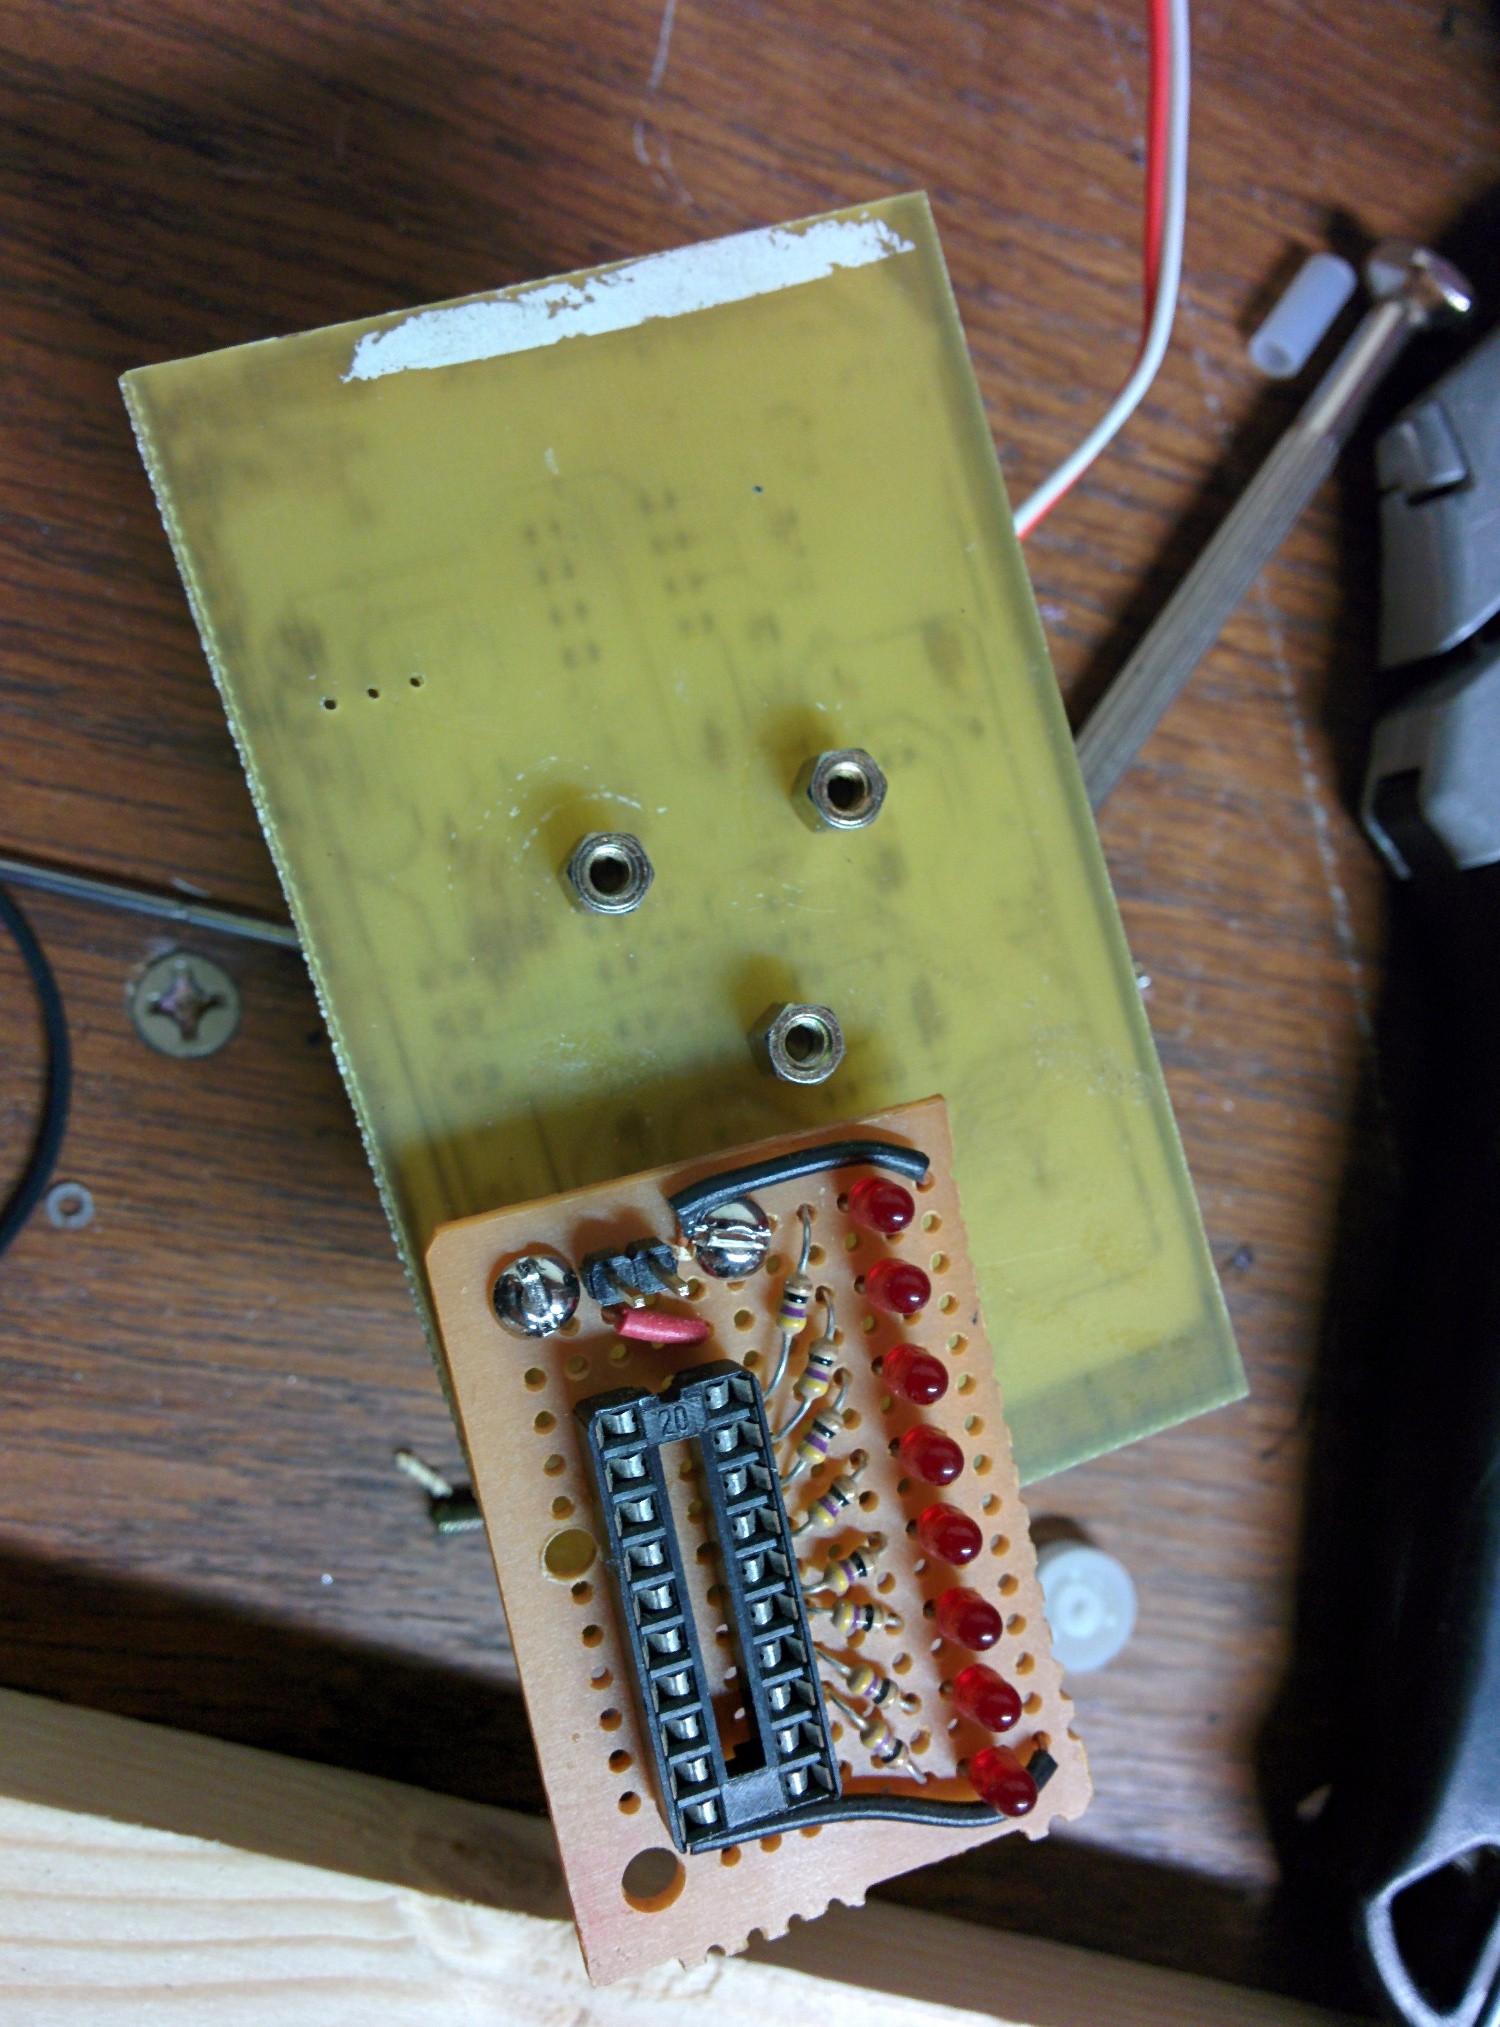
This piece of substrate is a circuit I over-etched. I'm using it as the base of the spinning display
![]()
One of my very first microcontroller projects (almost 10 years ago now) was an attiny2313 Larson scanner. I found that board in the bin and screwed it to the substrate.
![]()
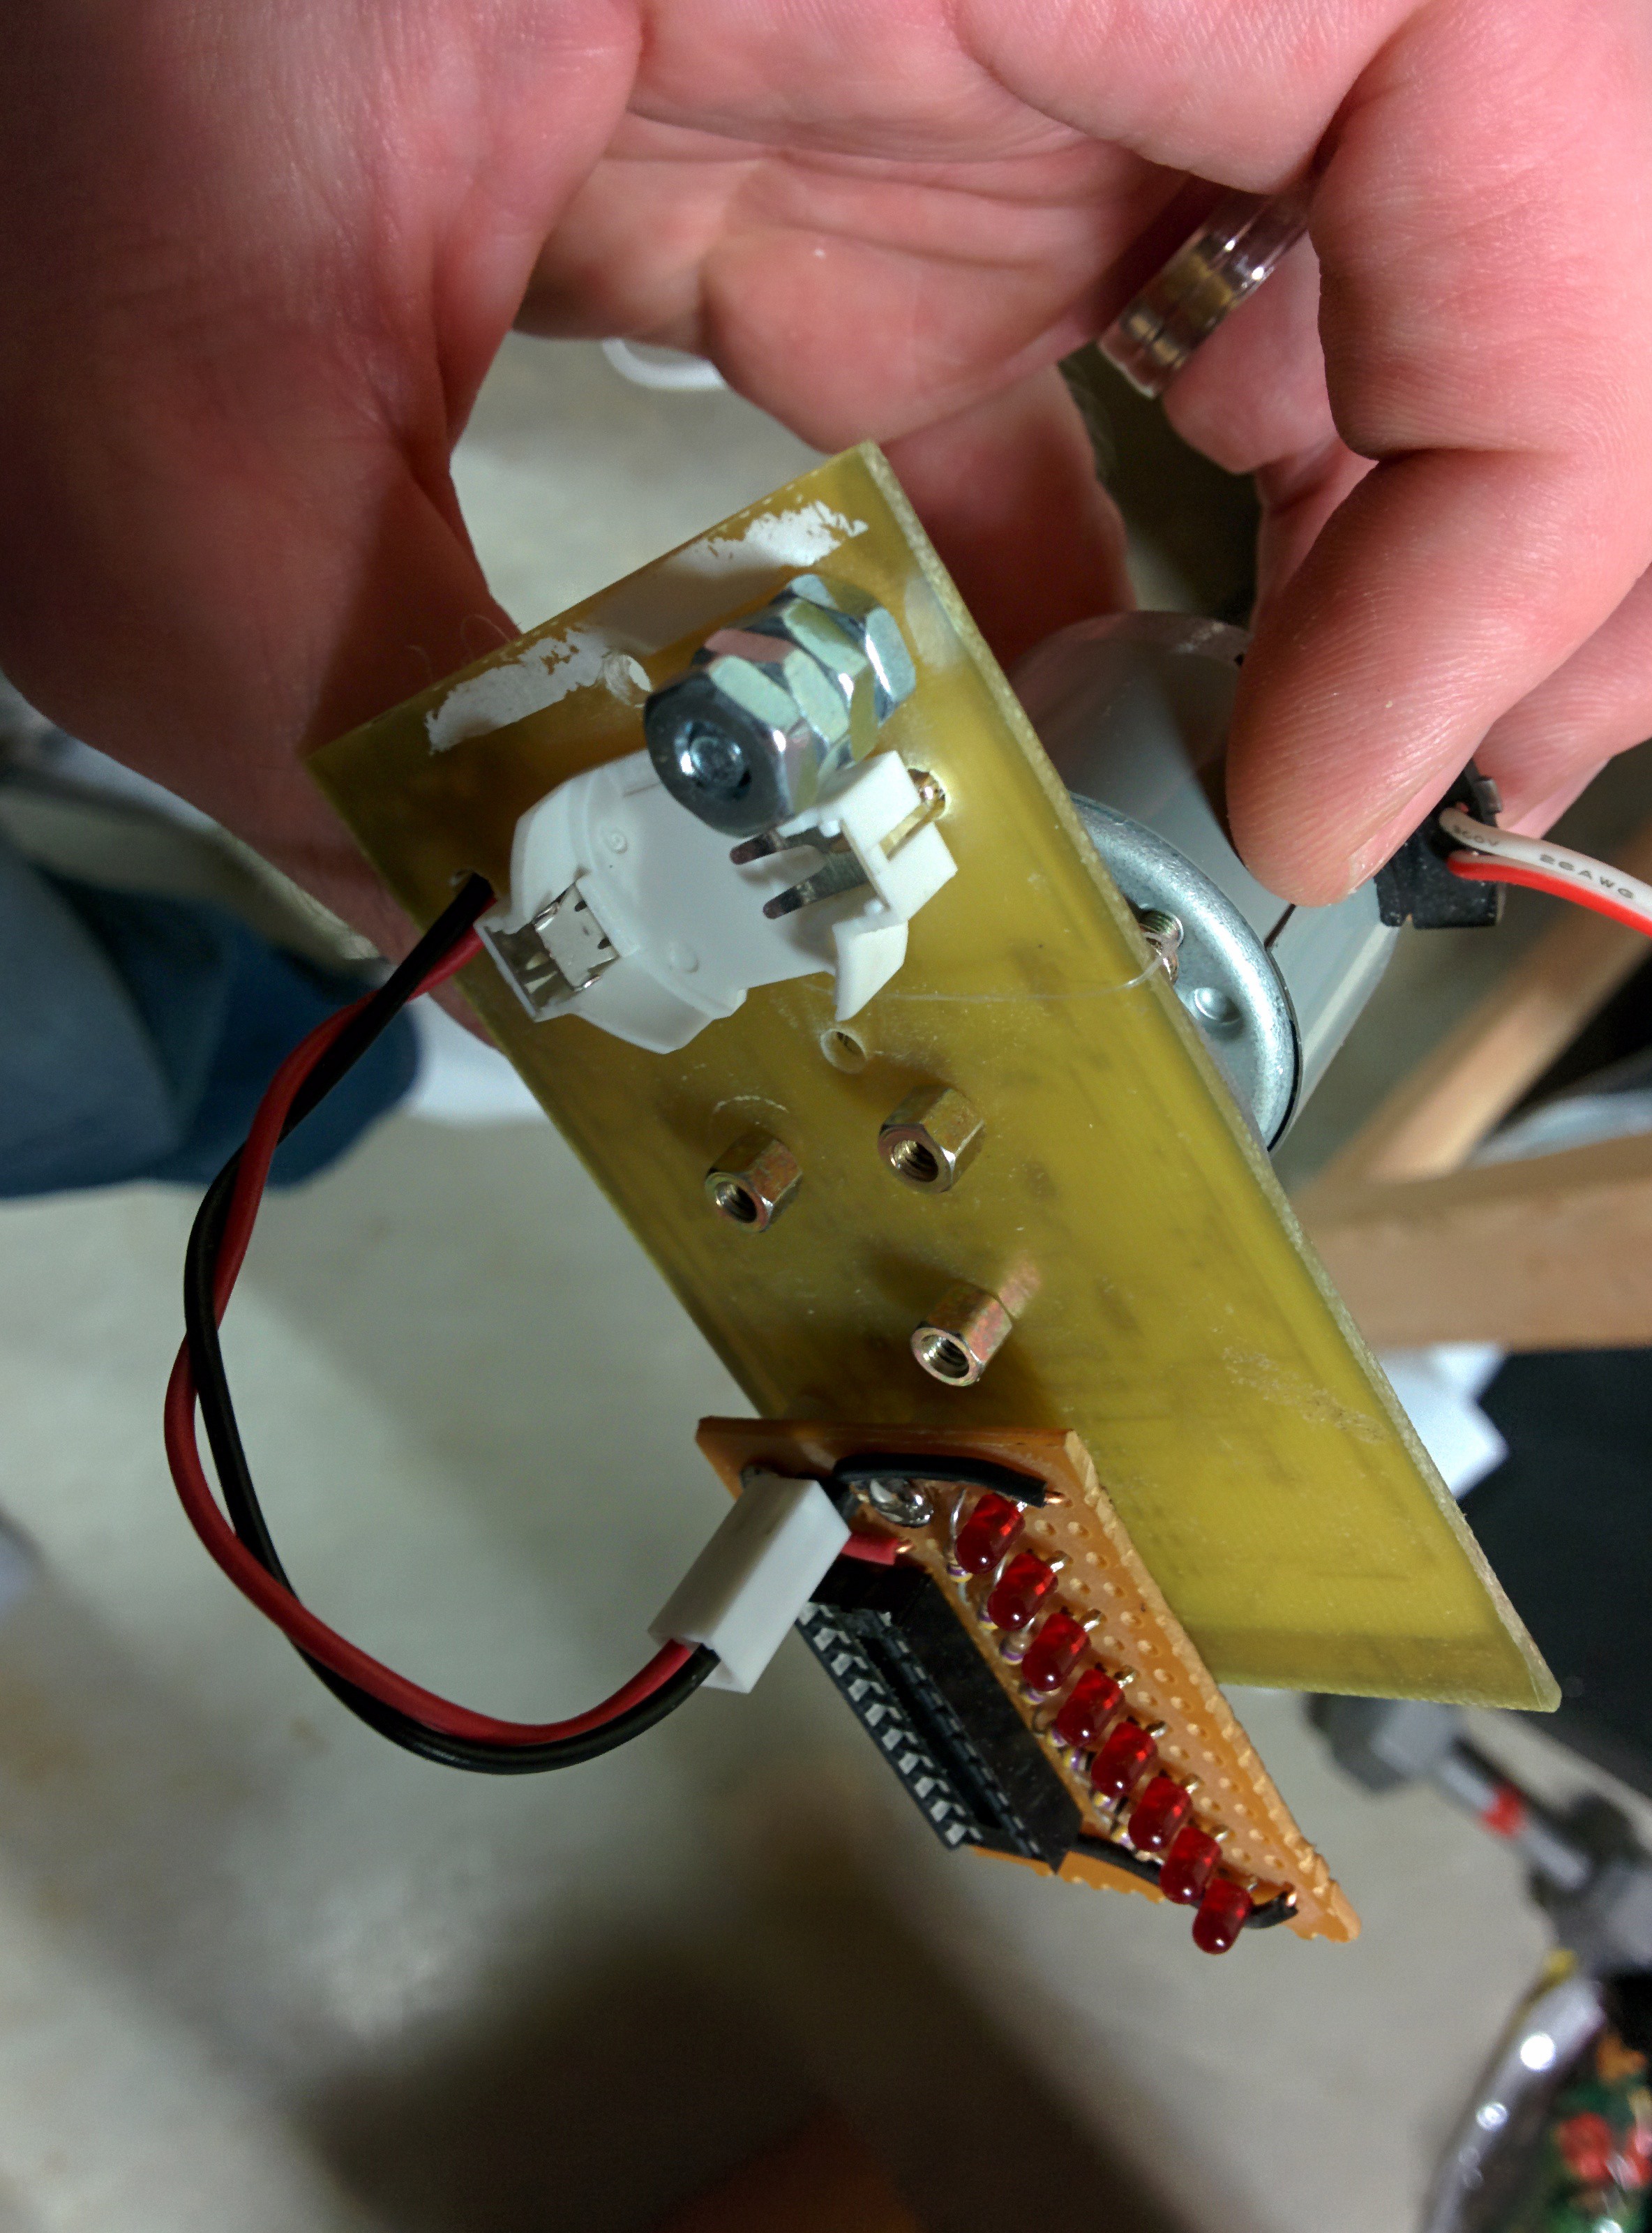
The white CR2032 battery holder was salvaged from an old motherboard. I also added a 6-32 bolt and several nuts as a crude way to balance the board.
![]()
Here's a side-view of the working display. I drive it with an old atx psu (the motor is 12V). At this point the thing works. I googled for "attiny2313 pov" and found that Adafruit has firmware that works for this setup. I connected 8 LEDs to PORTB because that's the only full 8-bit I/O on the chip. Adafruit's firmware is designed for the same arrangement.
It took me two hours to get to this point and everything works except that I need to add a positional sensor to the display. I have some IR transmitter/detector pairs which will work but didn't have time to add them yet. Once I add these I'll write my own firmware that is extensible. I plan to add communications to this later on so that I can push data from a remote device.
![]()
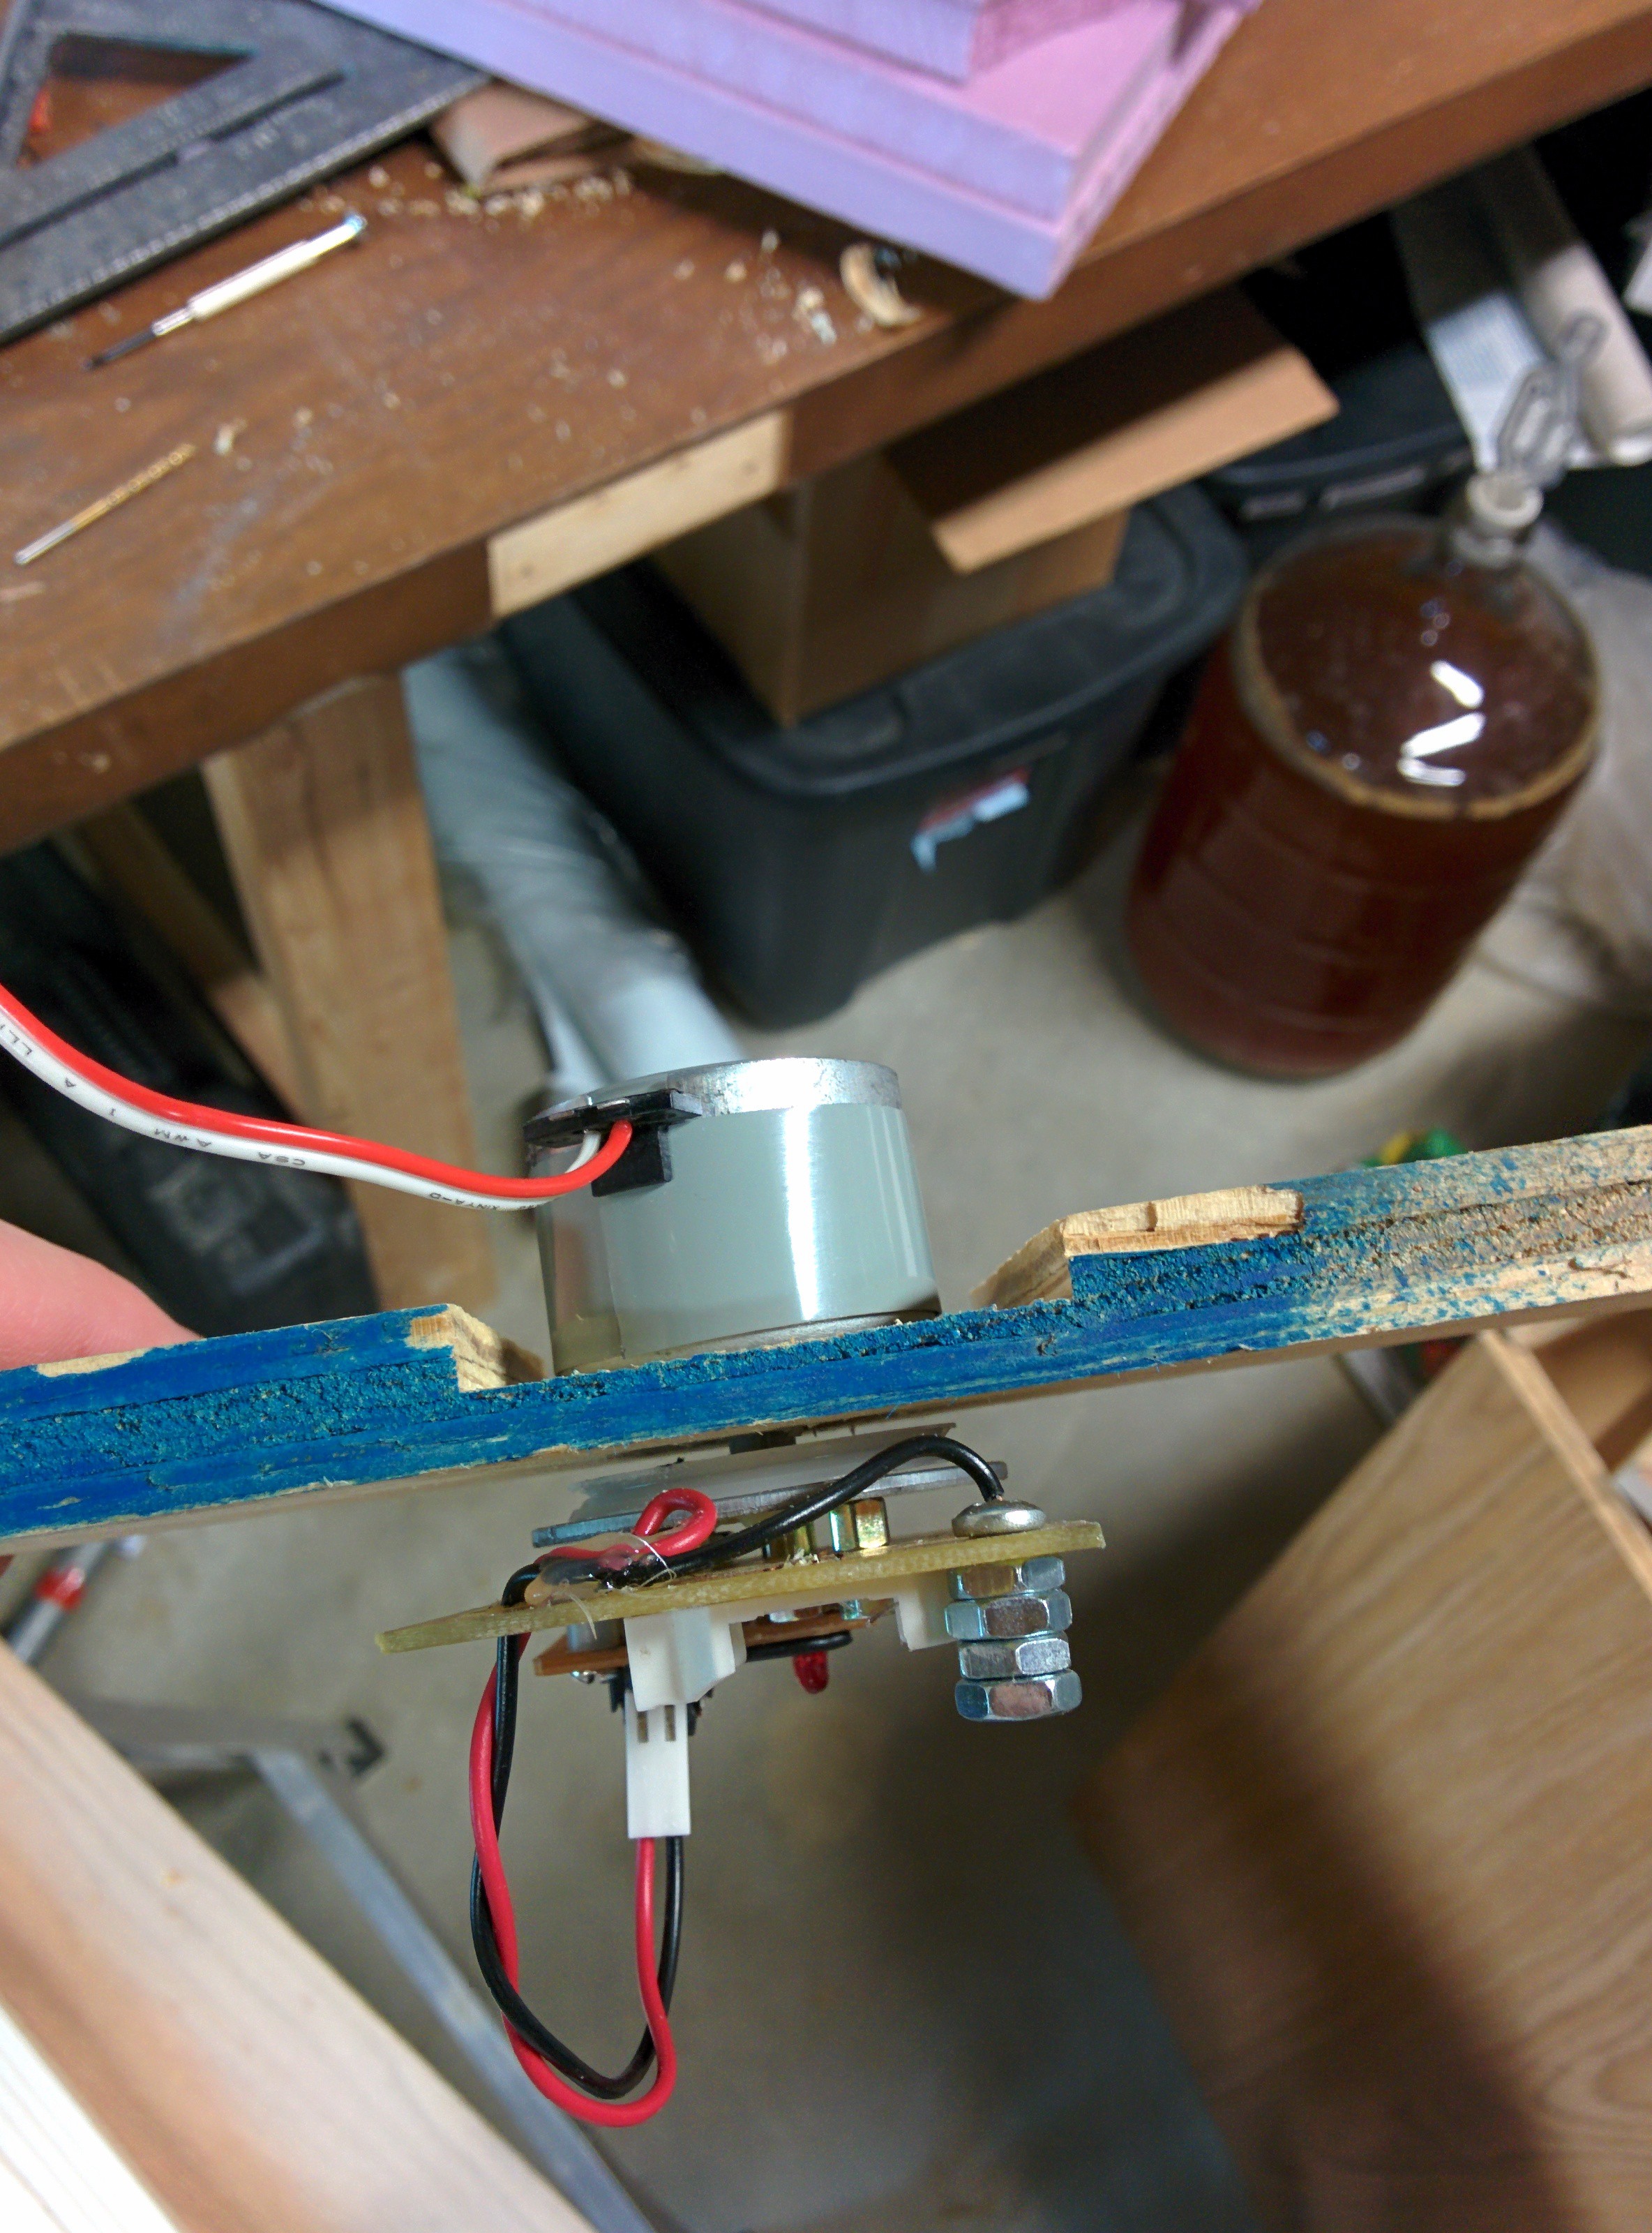
The next day I spent about 30 minutes building a base for the display. Above is a piece of 1/4" plywood. I'm about to cut a dado in it so that i can mount the motor (It's too think otherwise).
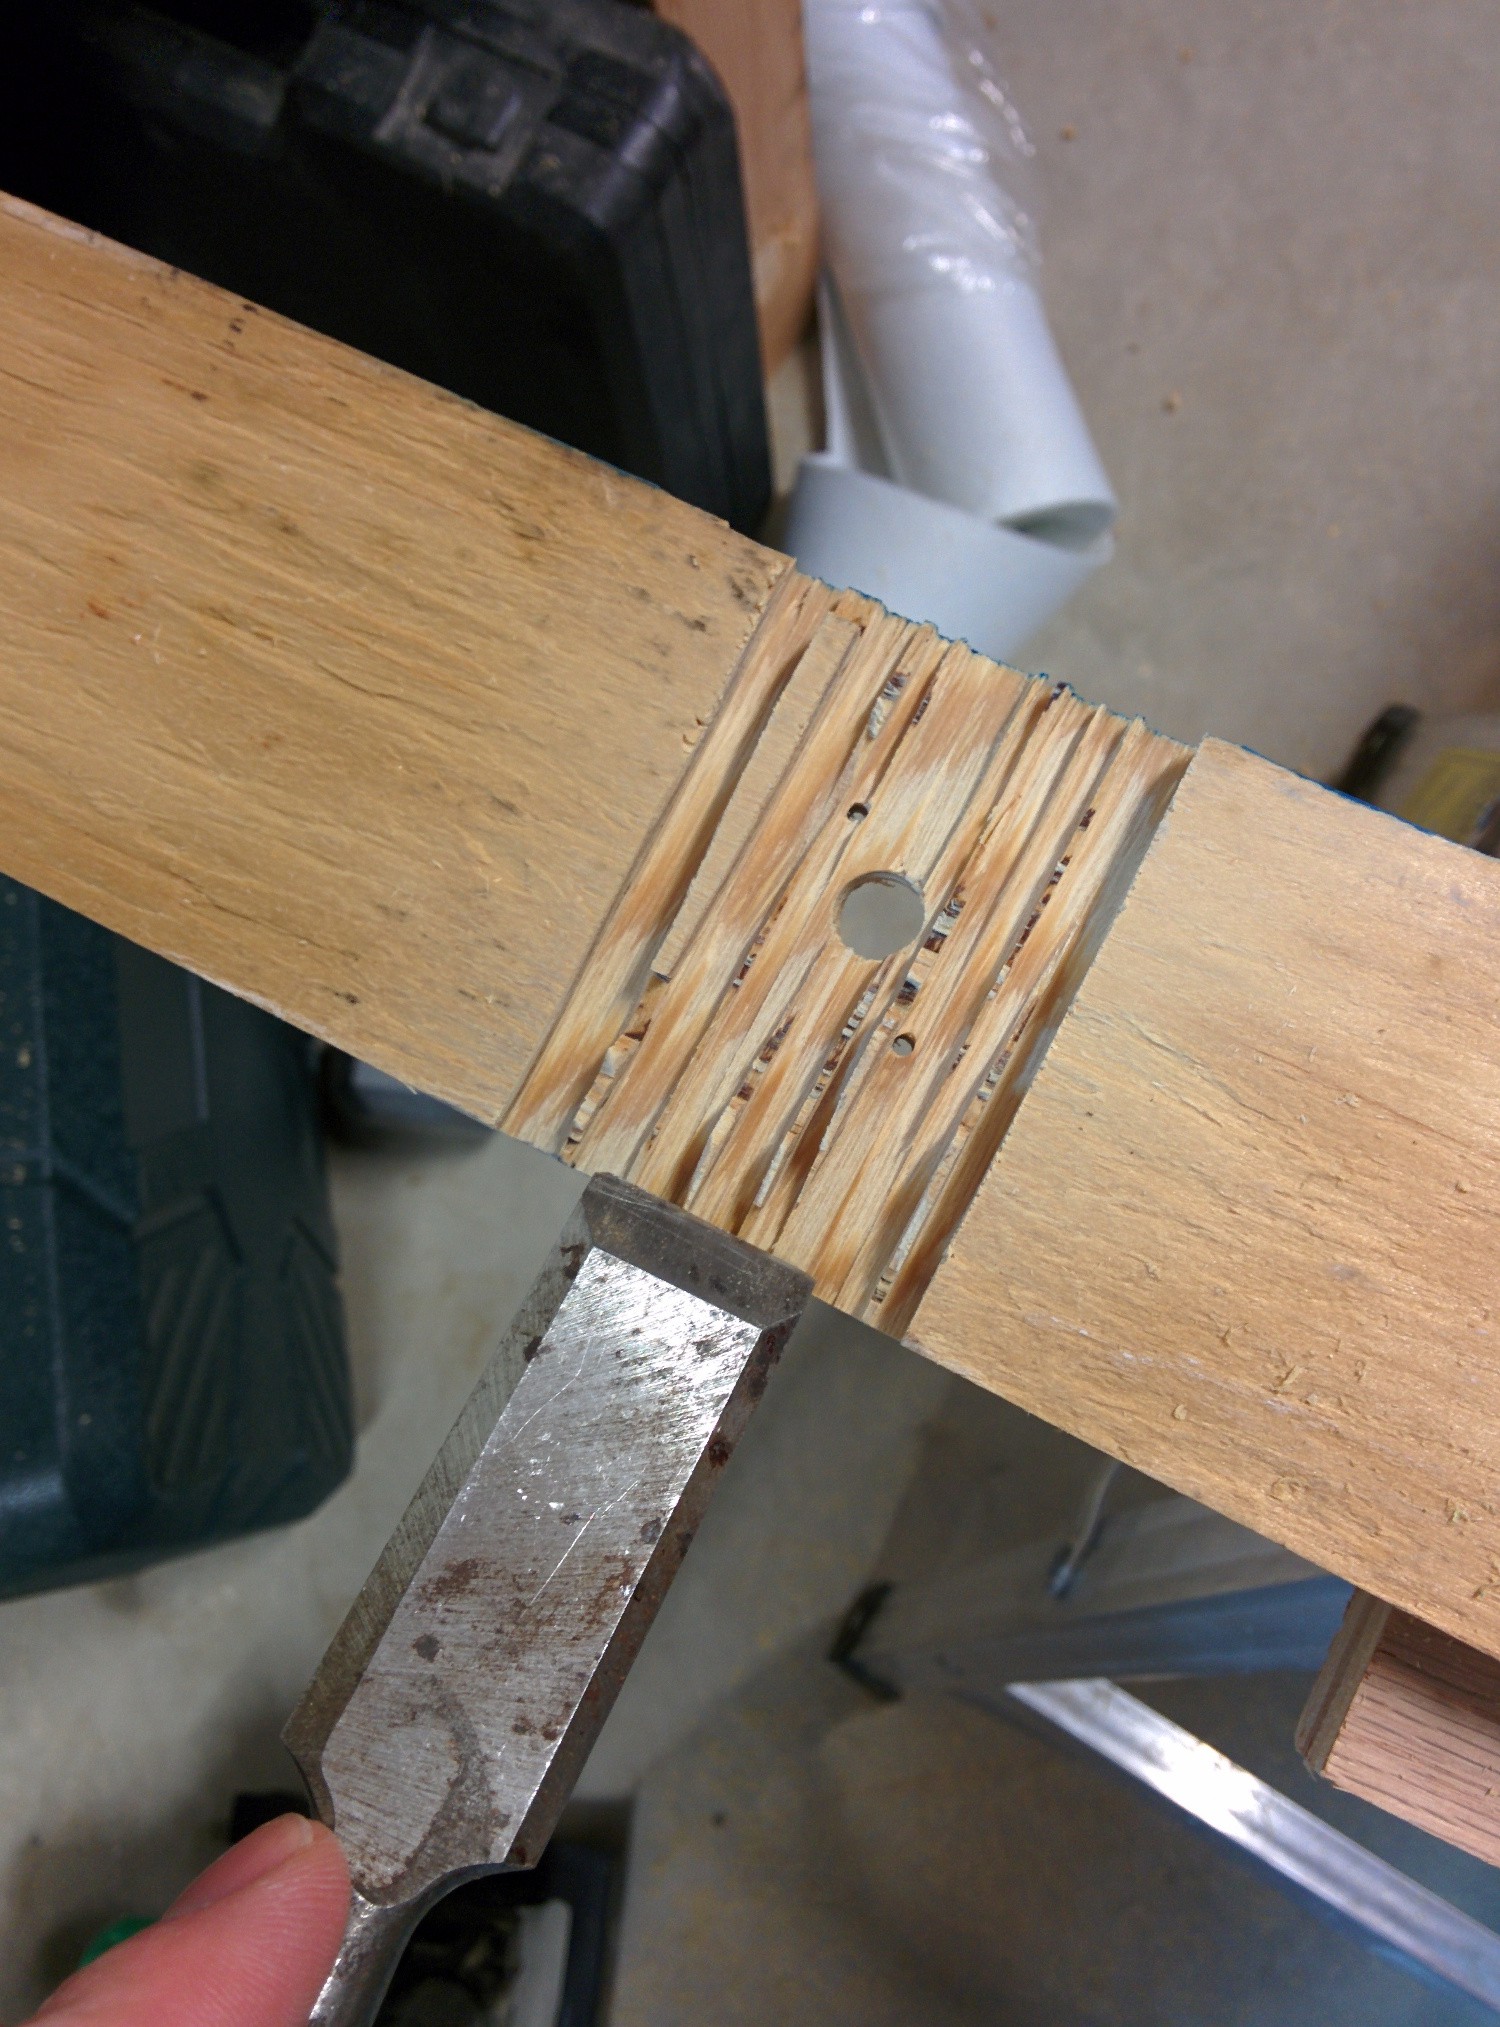
![]()
Cleaning up the dado with a chisel
![]()
Assembly mounted on the plywood
![]()
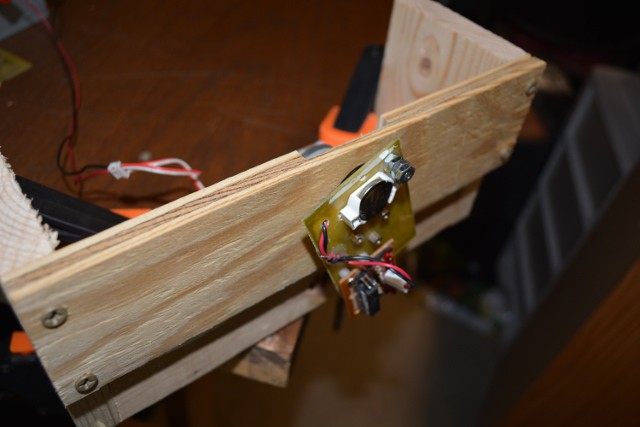
Added wood on either side of the plywood and screwed that to a hunk of 2x4. This has to be clamped to my bench as the spinning part is still rather off-balance.
Here's a quick video of the thing. You can see that it doesn't have a positional sensor. I turn the PSU on and off to get the speed just right. It says "minipov!" if you look closely.
CPOV - a Crappy Persistence of Vision display
Quick and dirty spinning POV project