Mike Rigsby
-
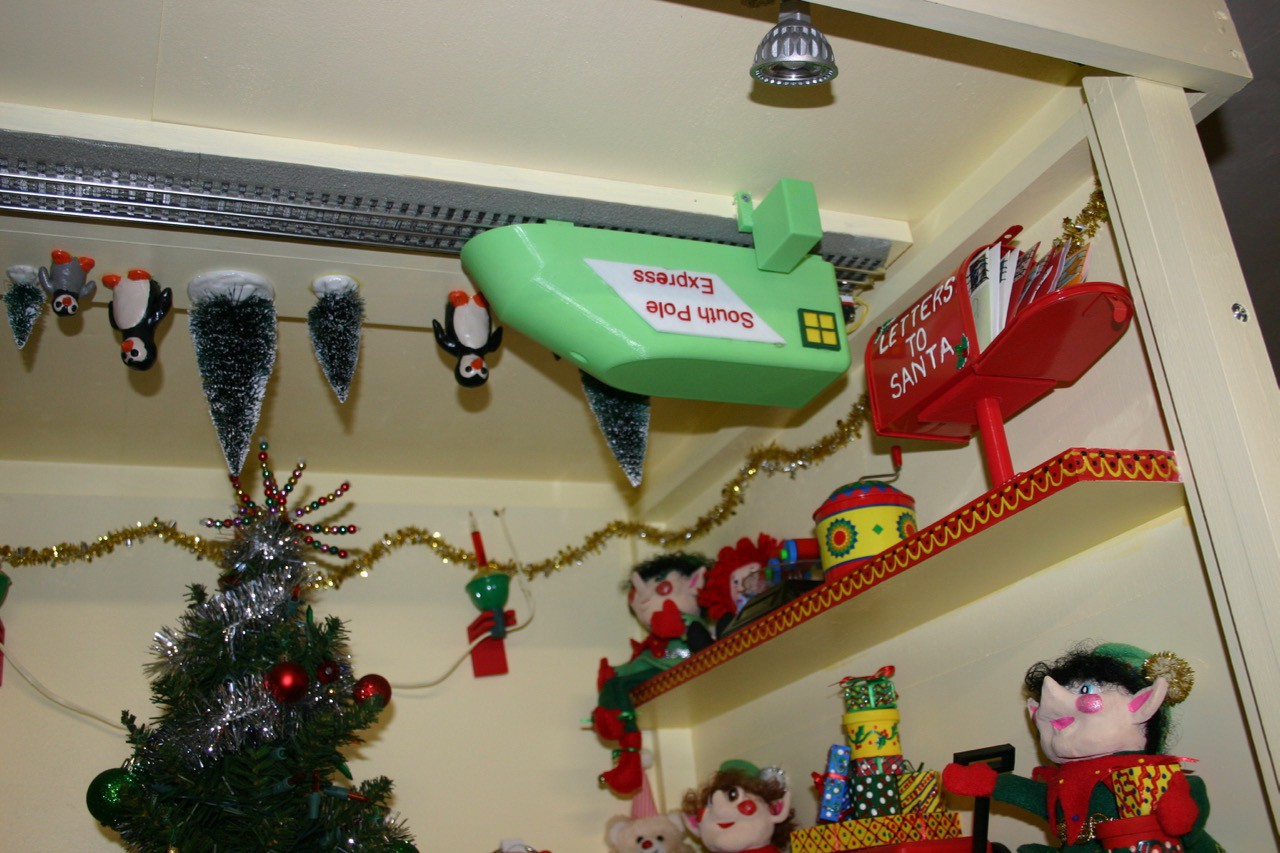
Upside Down Train
11/24/2017 at 13:43 • 0 comments![]()
The challenge is "how exactly to make this work?"
First, throw away everything not needed on the train engine to reduce the weight. I 3d printed a cover shell and magnet holders. These will be very specific to whatever engine you use. My engine weighs about two pounds, so it has to not only keep from falling, but push against the track enough to pickup electricity.
Each bar magnet that I have chosen holds over ten pounds. That's over ten pounds if directly in contact with smooth steel. My magnet configuration allows 85% of the "contact area" to be air. Remove 85% of my attraction.
I stacked the magnets, four in front and four in the back. Stacking magnets is kind of linear for a while. Two magnets are almost twice as powerful as one. Four stacked are more powerful than three singles--but not equal to four singles.
When you introduce an air gap, the attraction drops fast. My magnets are placed about 1.5 mm above the track. This involved a lot of trial and error building of brackets.
The magnets cannot be allowed to touch the rail because: a) they will create a short circuit (they conduct)
b) they stick so well that the train can't move.
Parts required:
Eight Neodymium bar magnets (eight magnets out of this pack of 15)
https://www.amazon.com/gp/product/B075N8YKK2/ref=oh_aui_detailpage_o03_s00?ie=UTF8&psc=1
An O gauge train engine
Some 3d printed parts to fit the train engine selected.
Files for 3d parts can be found at:
https://www.instructables.com/id/Santas-Shop-2017-the-Train/
-
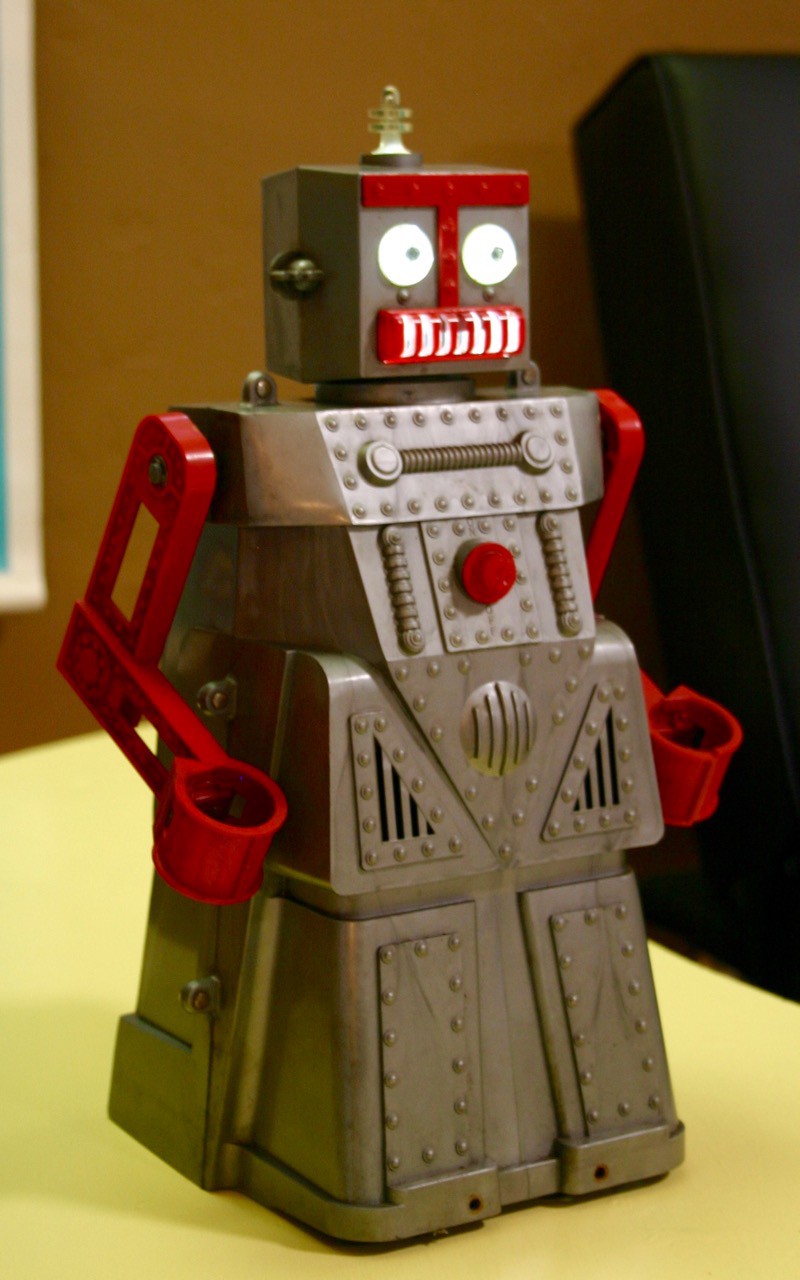
Restoring Robert Robot's Voice
08/02/2017 at 14:20 • 0 comments"I am Robert Robot, mechanical man. Drive me and steer me where ever you can."
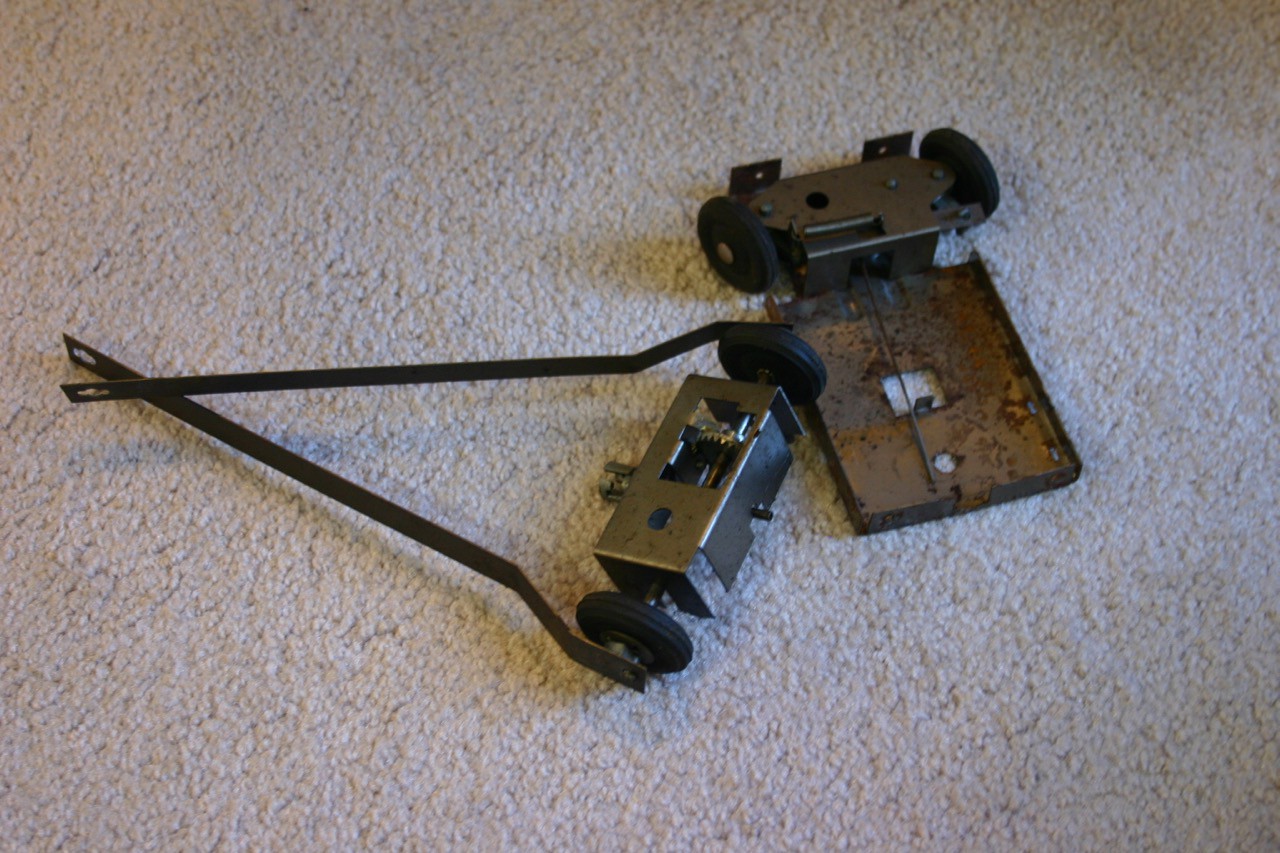
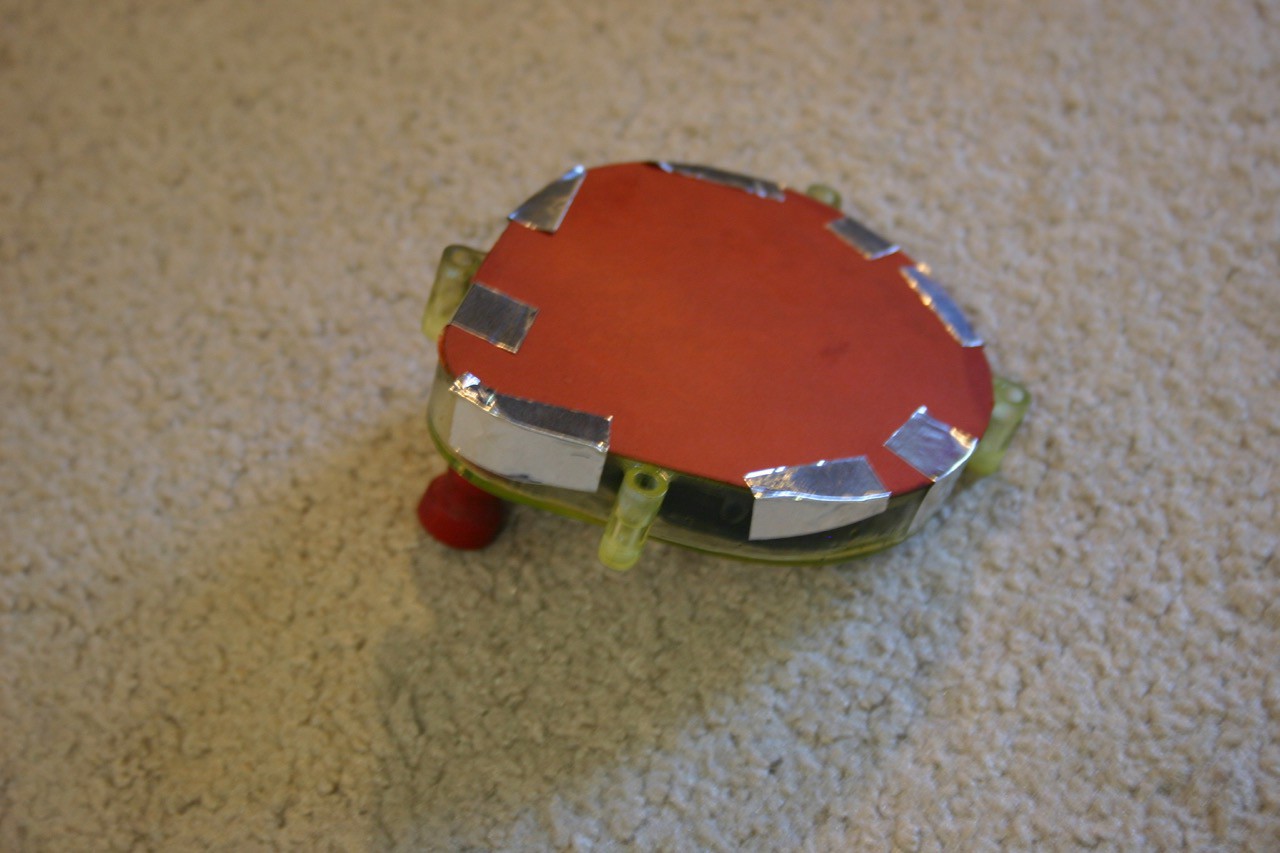
I found this 60 year old robot on ebay for less than $25. The light in the head was missing, voice box didn't work and he had no remote control. Other than that, he was in fair condition. I thought he would look cool in Santa's Shop, so I didn't need to have him talk or move around.
When curiosity compelled me to turn the crank on the back, some scratchy sounds sometimes emerged. The challenge was on. I removed the two screws in front and two in back that hold the wheel mechanism. The wheel system, though rusty, would work fine if I had a controller, but I don't need him to run around in Santa's Shop.
![]()
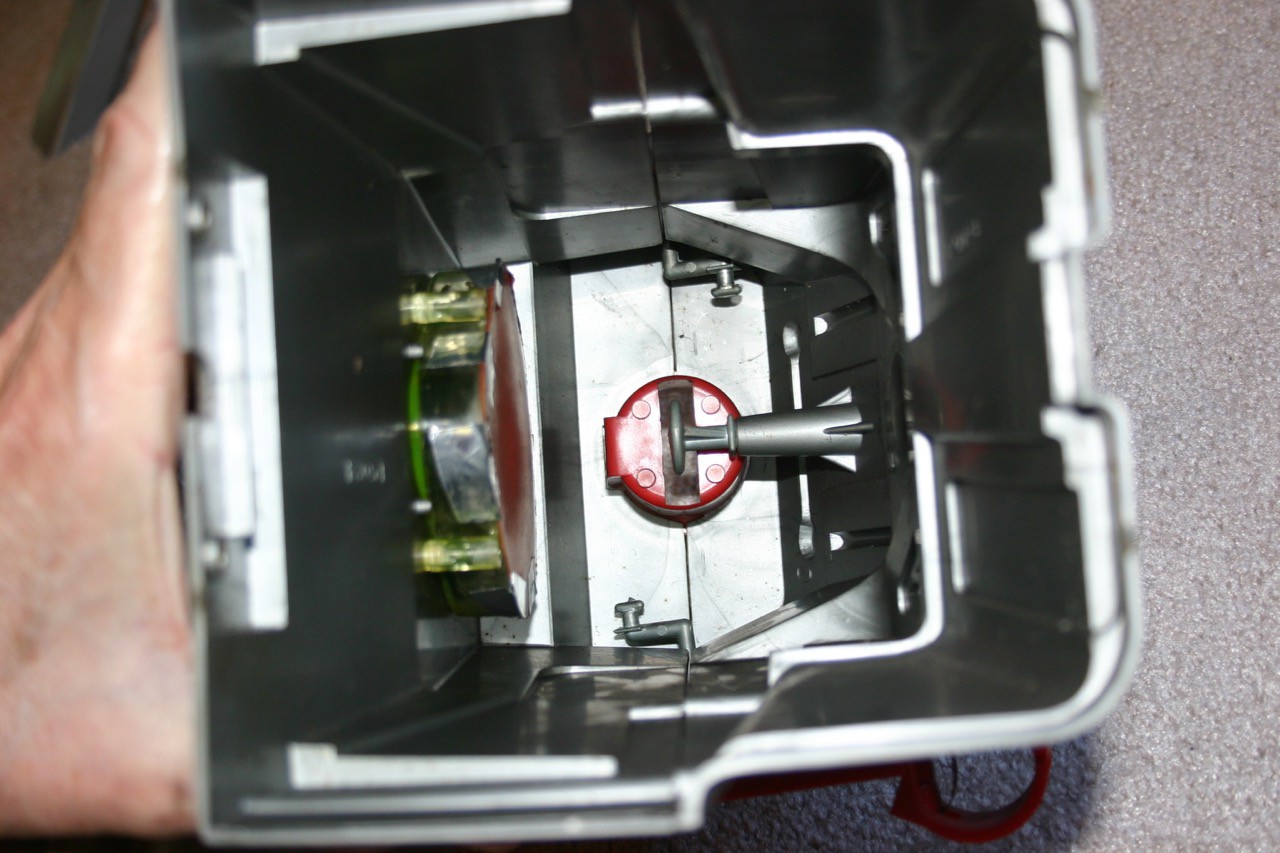
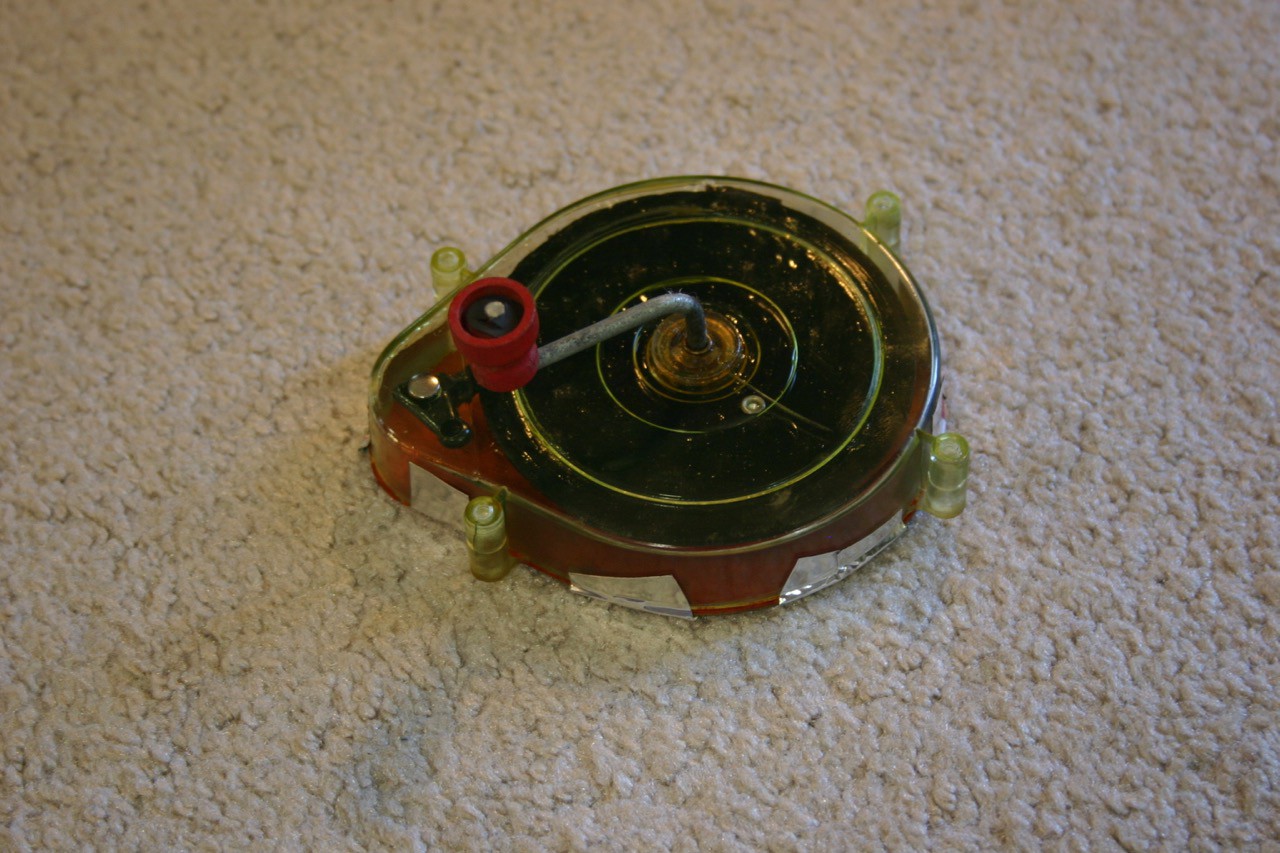
Next, I looked inside to see the voice box (a little plastic record).
![]()
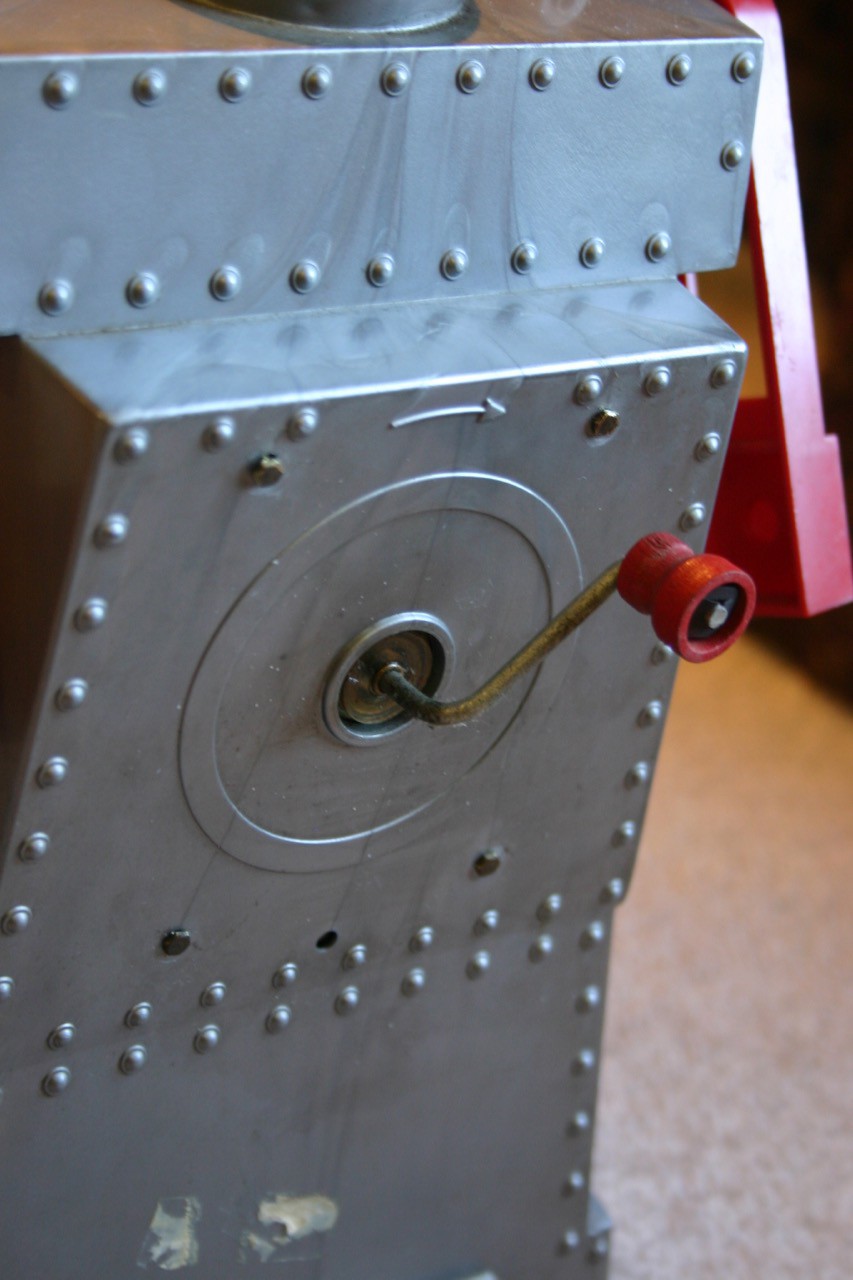
To remove the voice box, four tiny brass screws on the back have to be unscrewed.
![]()
With the screws removed and the crank handle up (toward the head), the voice box can be removed.
The voice box is composed of a case which holds the record. The record is directly attached to the crank. A small needle "plays" the record. The needle has a point on one end (fits in the record groove) and a plastic head extending above the point. The head presses against the brown "sounding board" and that amplifies the sound. The sounding board is attached to the case with glue, but the glue dried up after 60 years. I guess glue just wasn't great 60 years ago. I used a little duct tape to secure the sounding board to the case and it works perfectly. Whether the tape holds for another 60 years is probably not my concern.
![]()
Flip side.
![]()
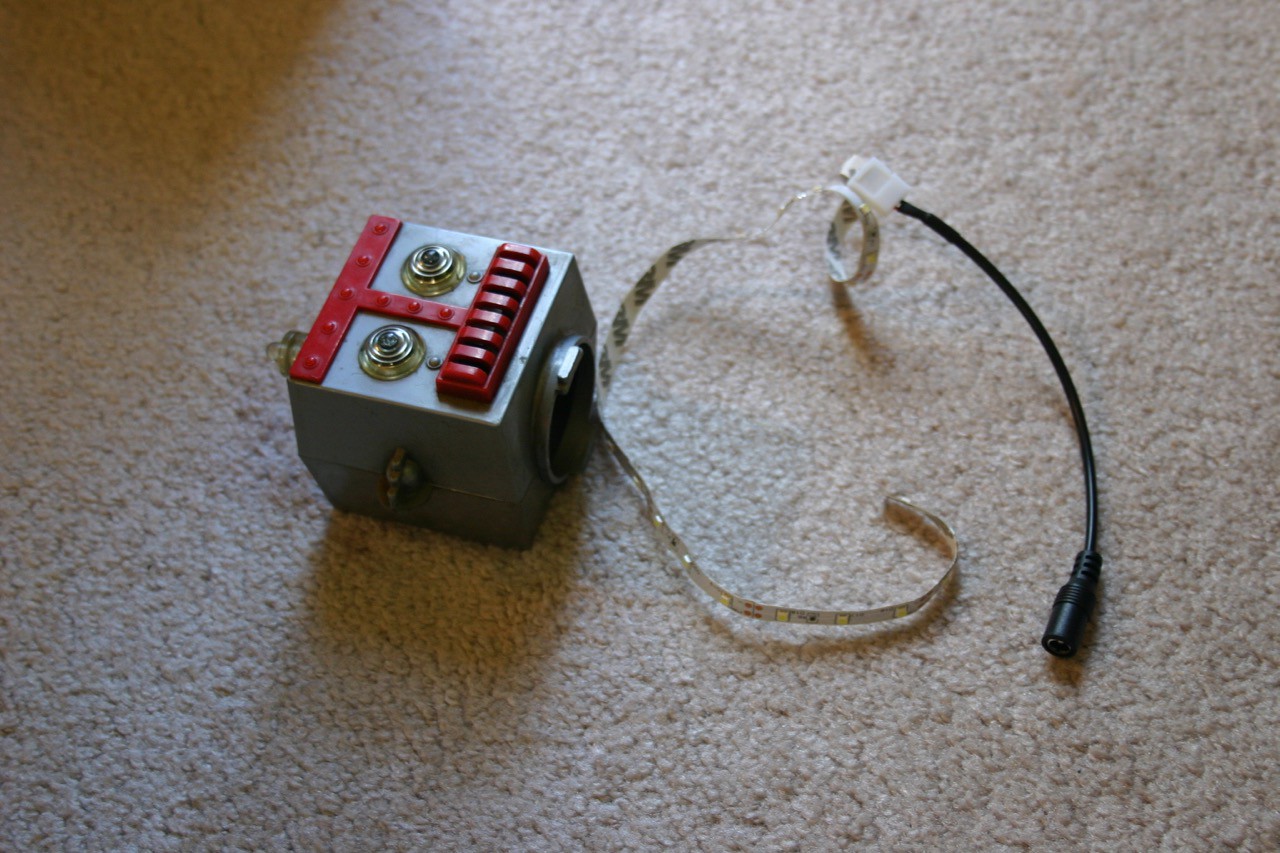
I twisted the head and removed it. The battery holder and lamp holder were nowhere to be seen--but I inserted a led strip.
![]()
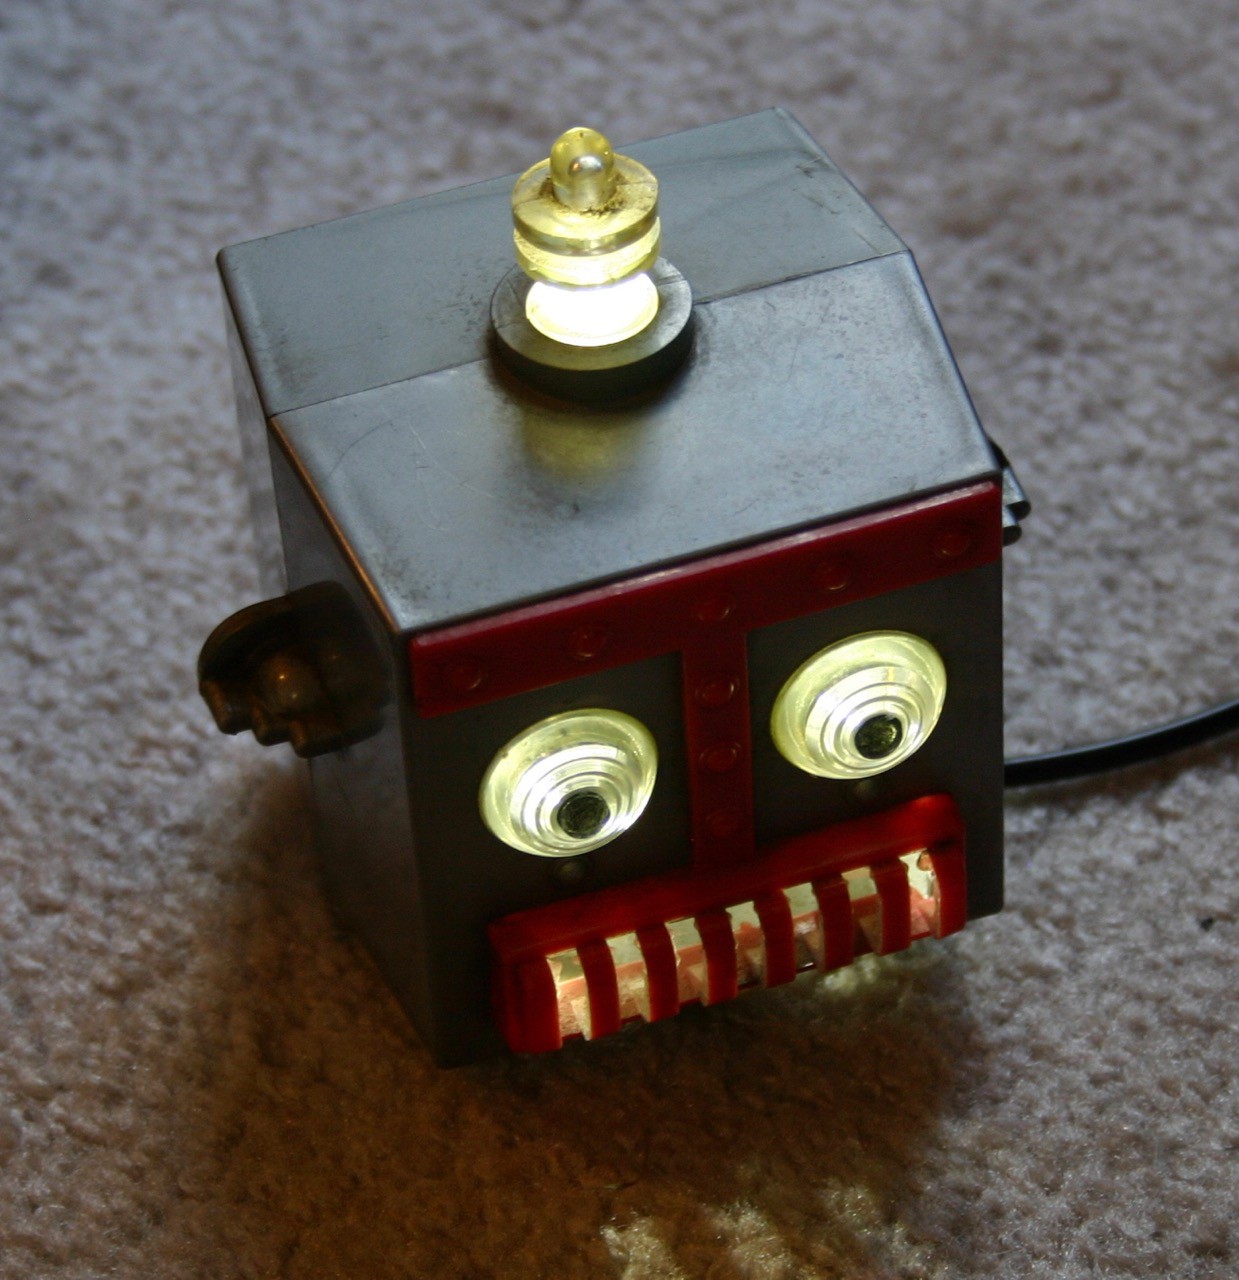
The head is brilliant!
![]()
For now, that's it. If I feel inspired, I might make his arms move later.
![]()
-
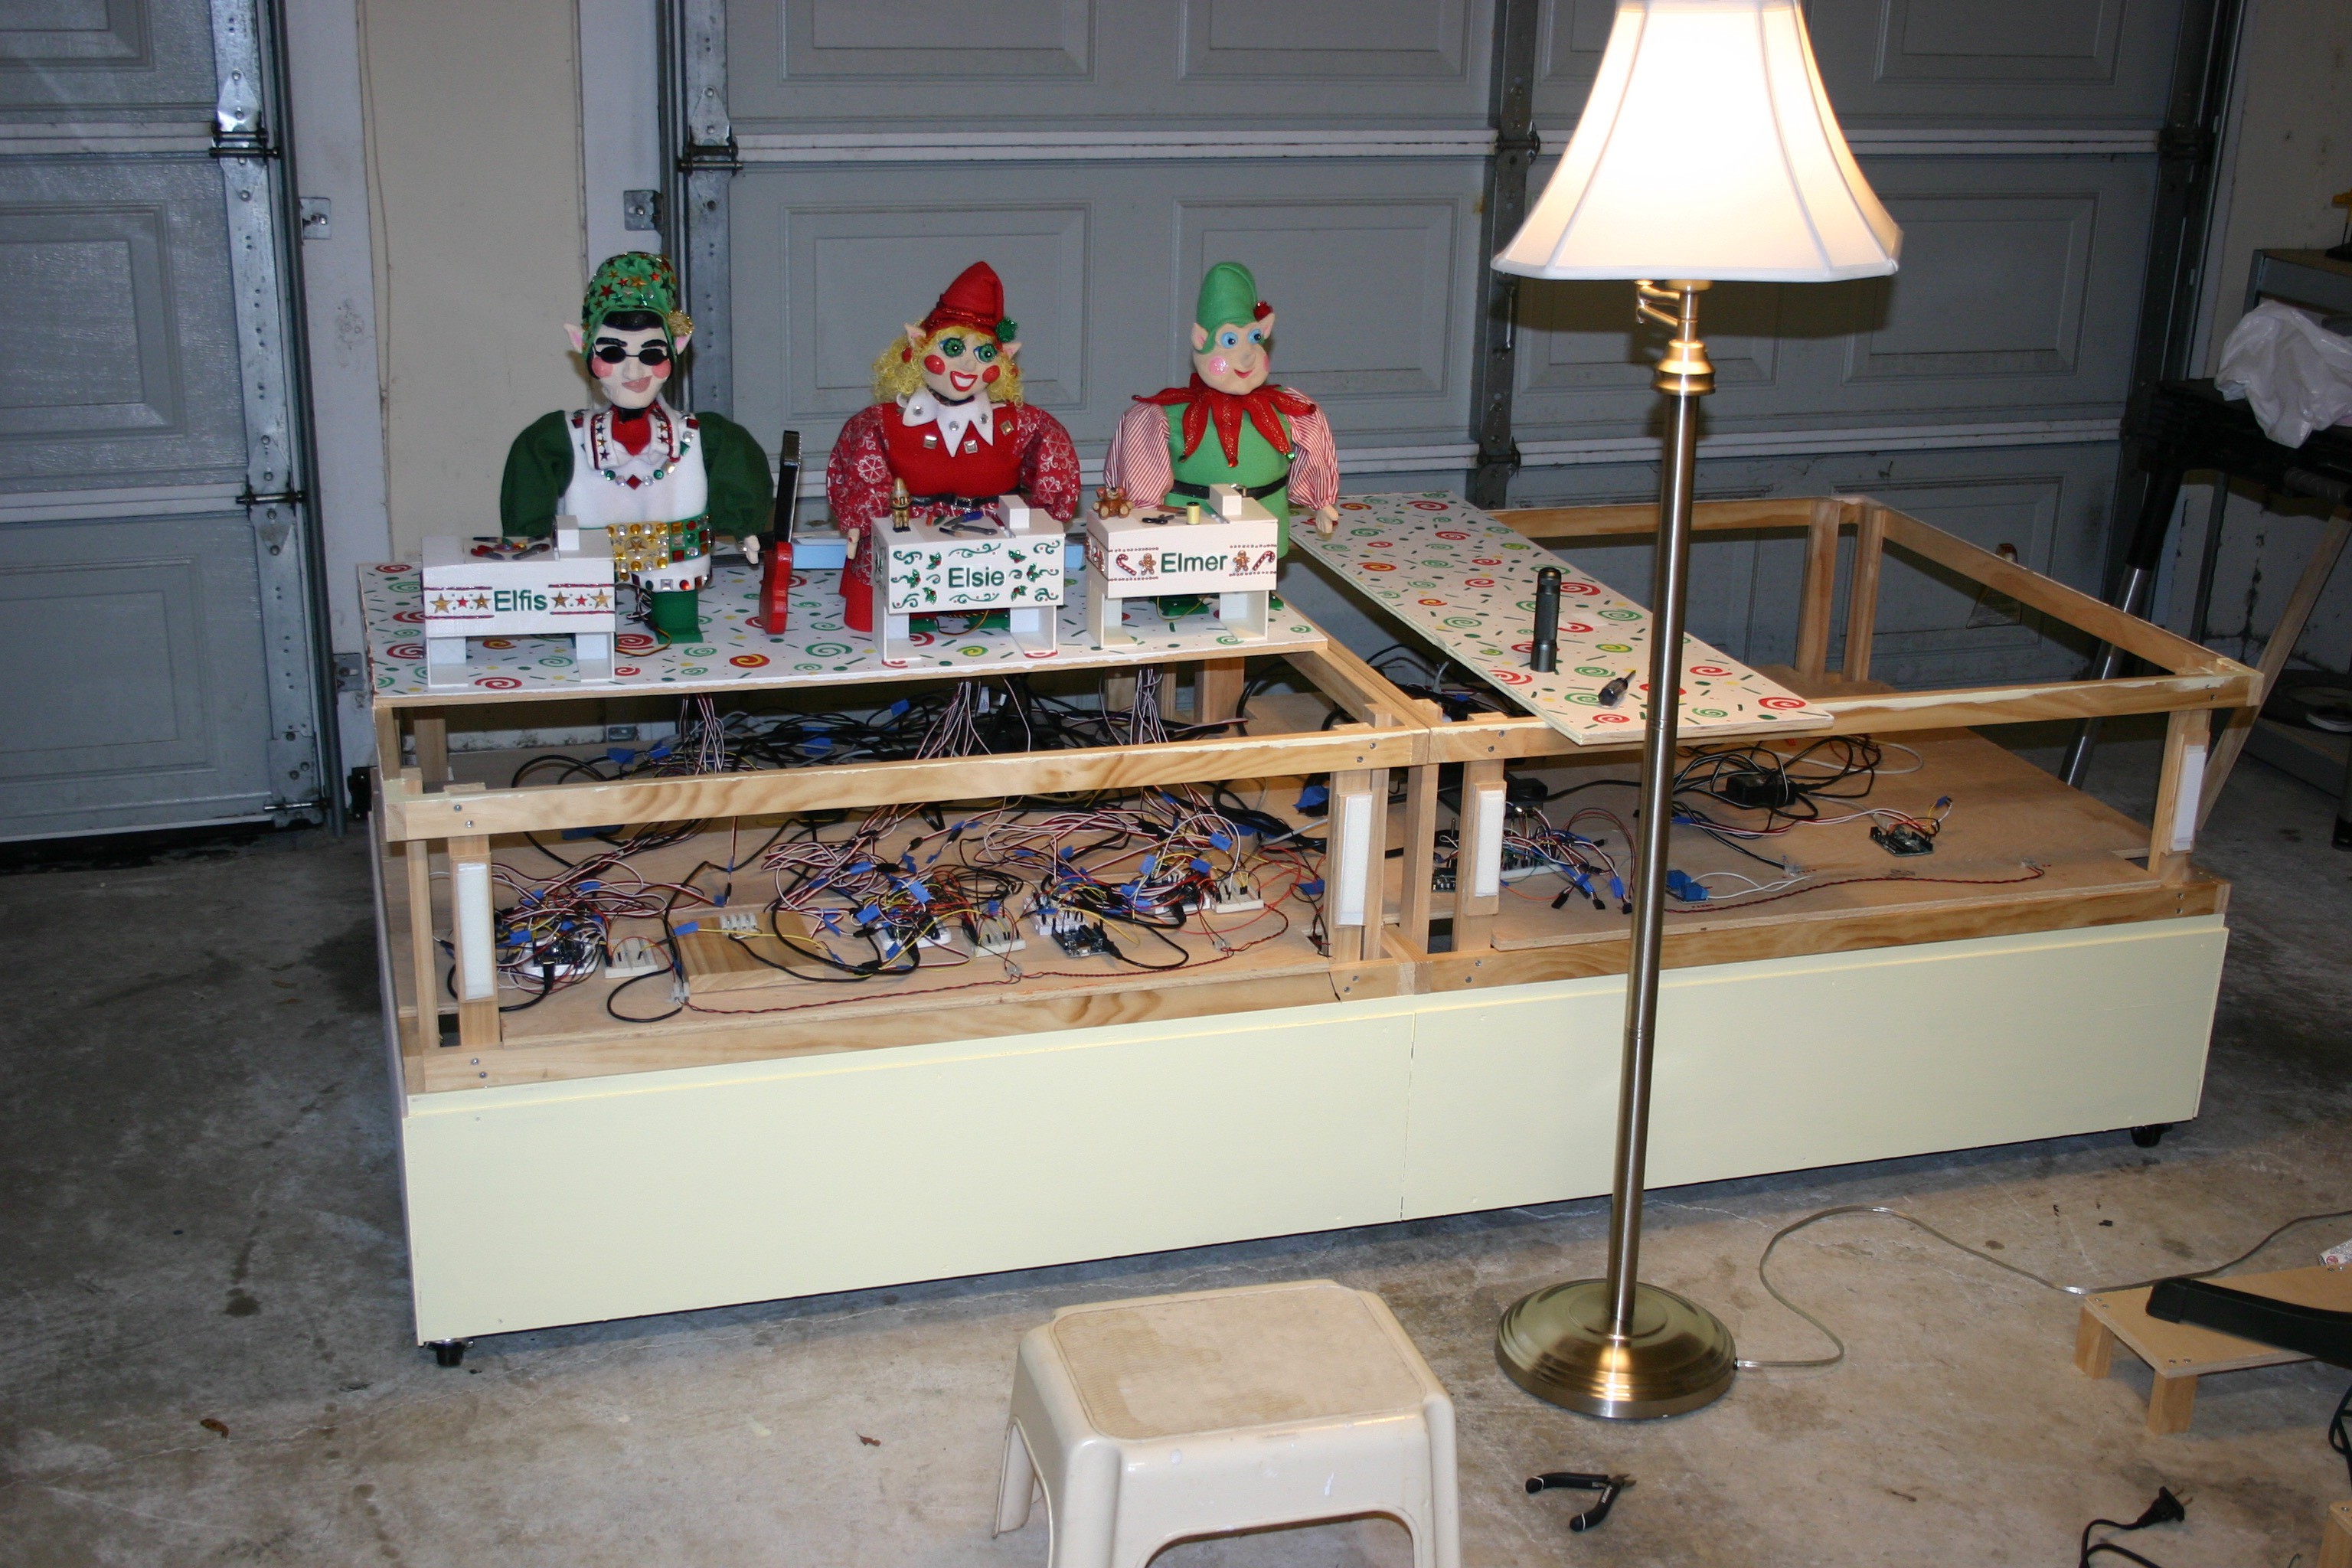
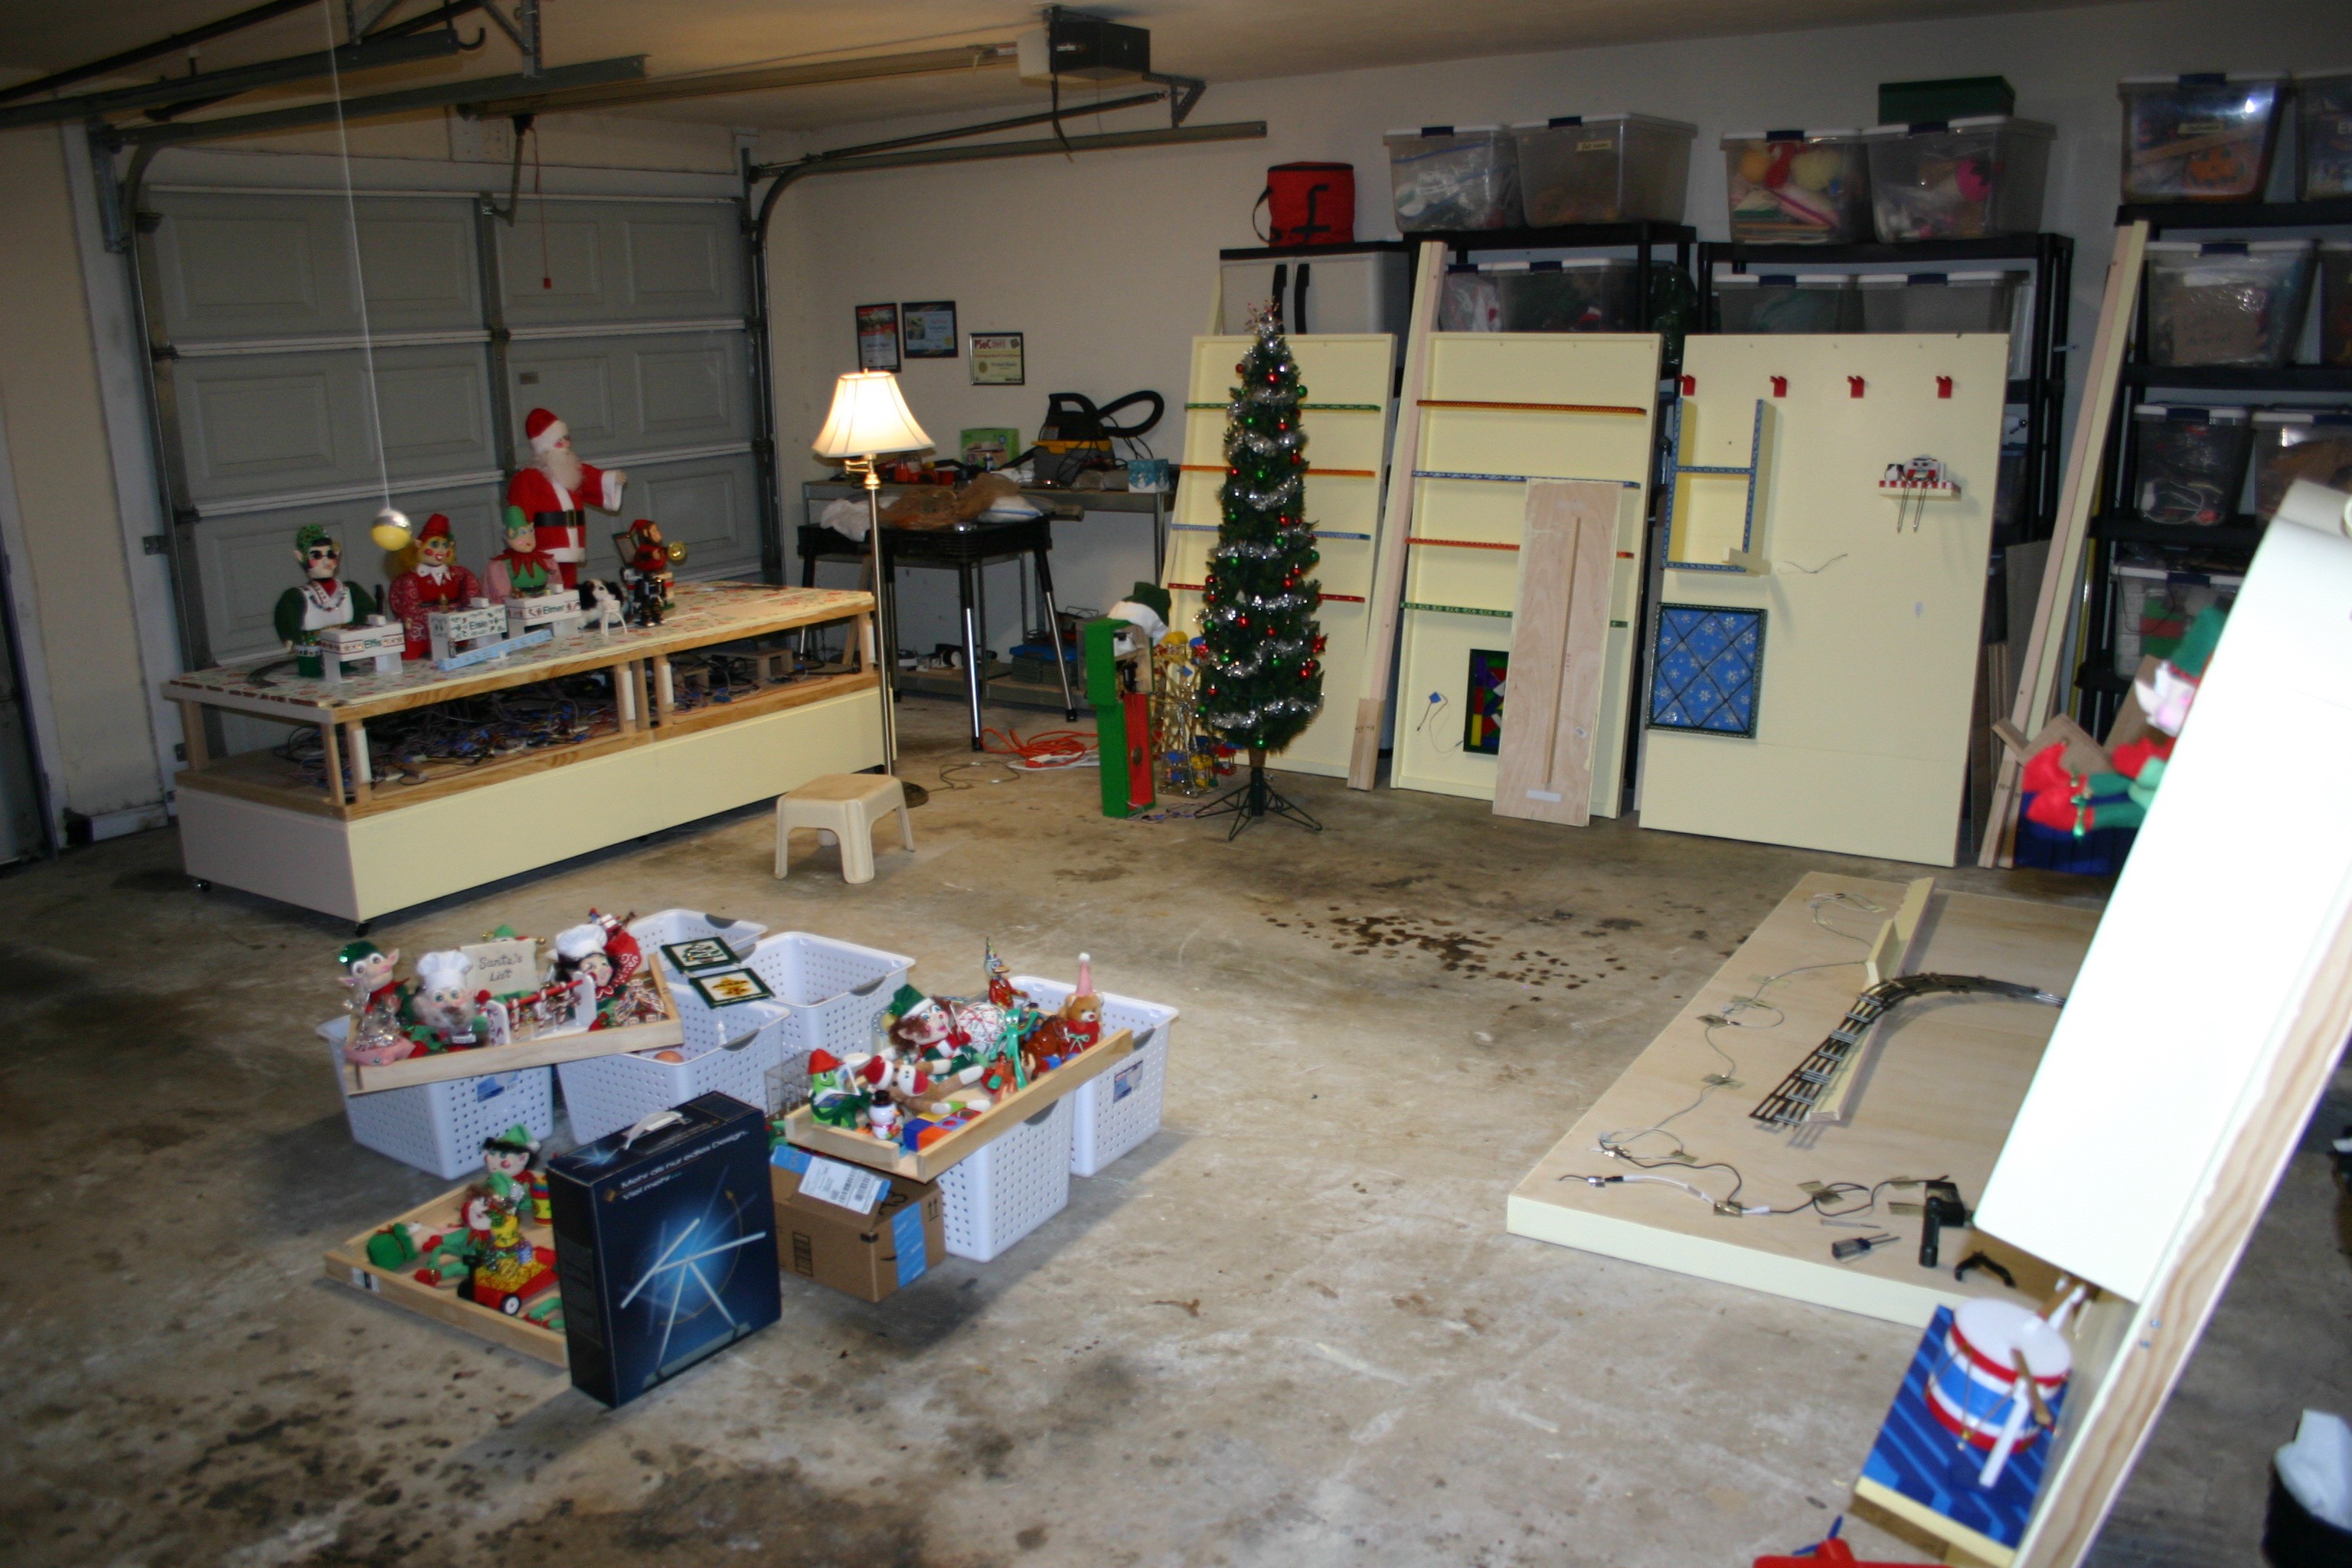
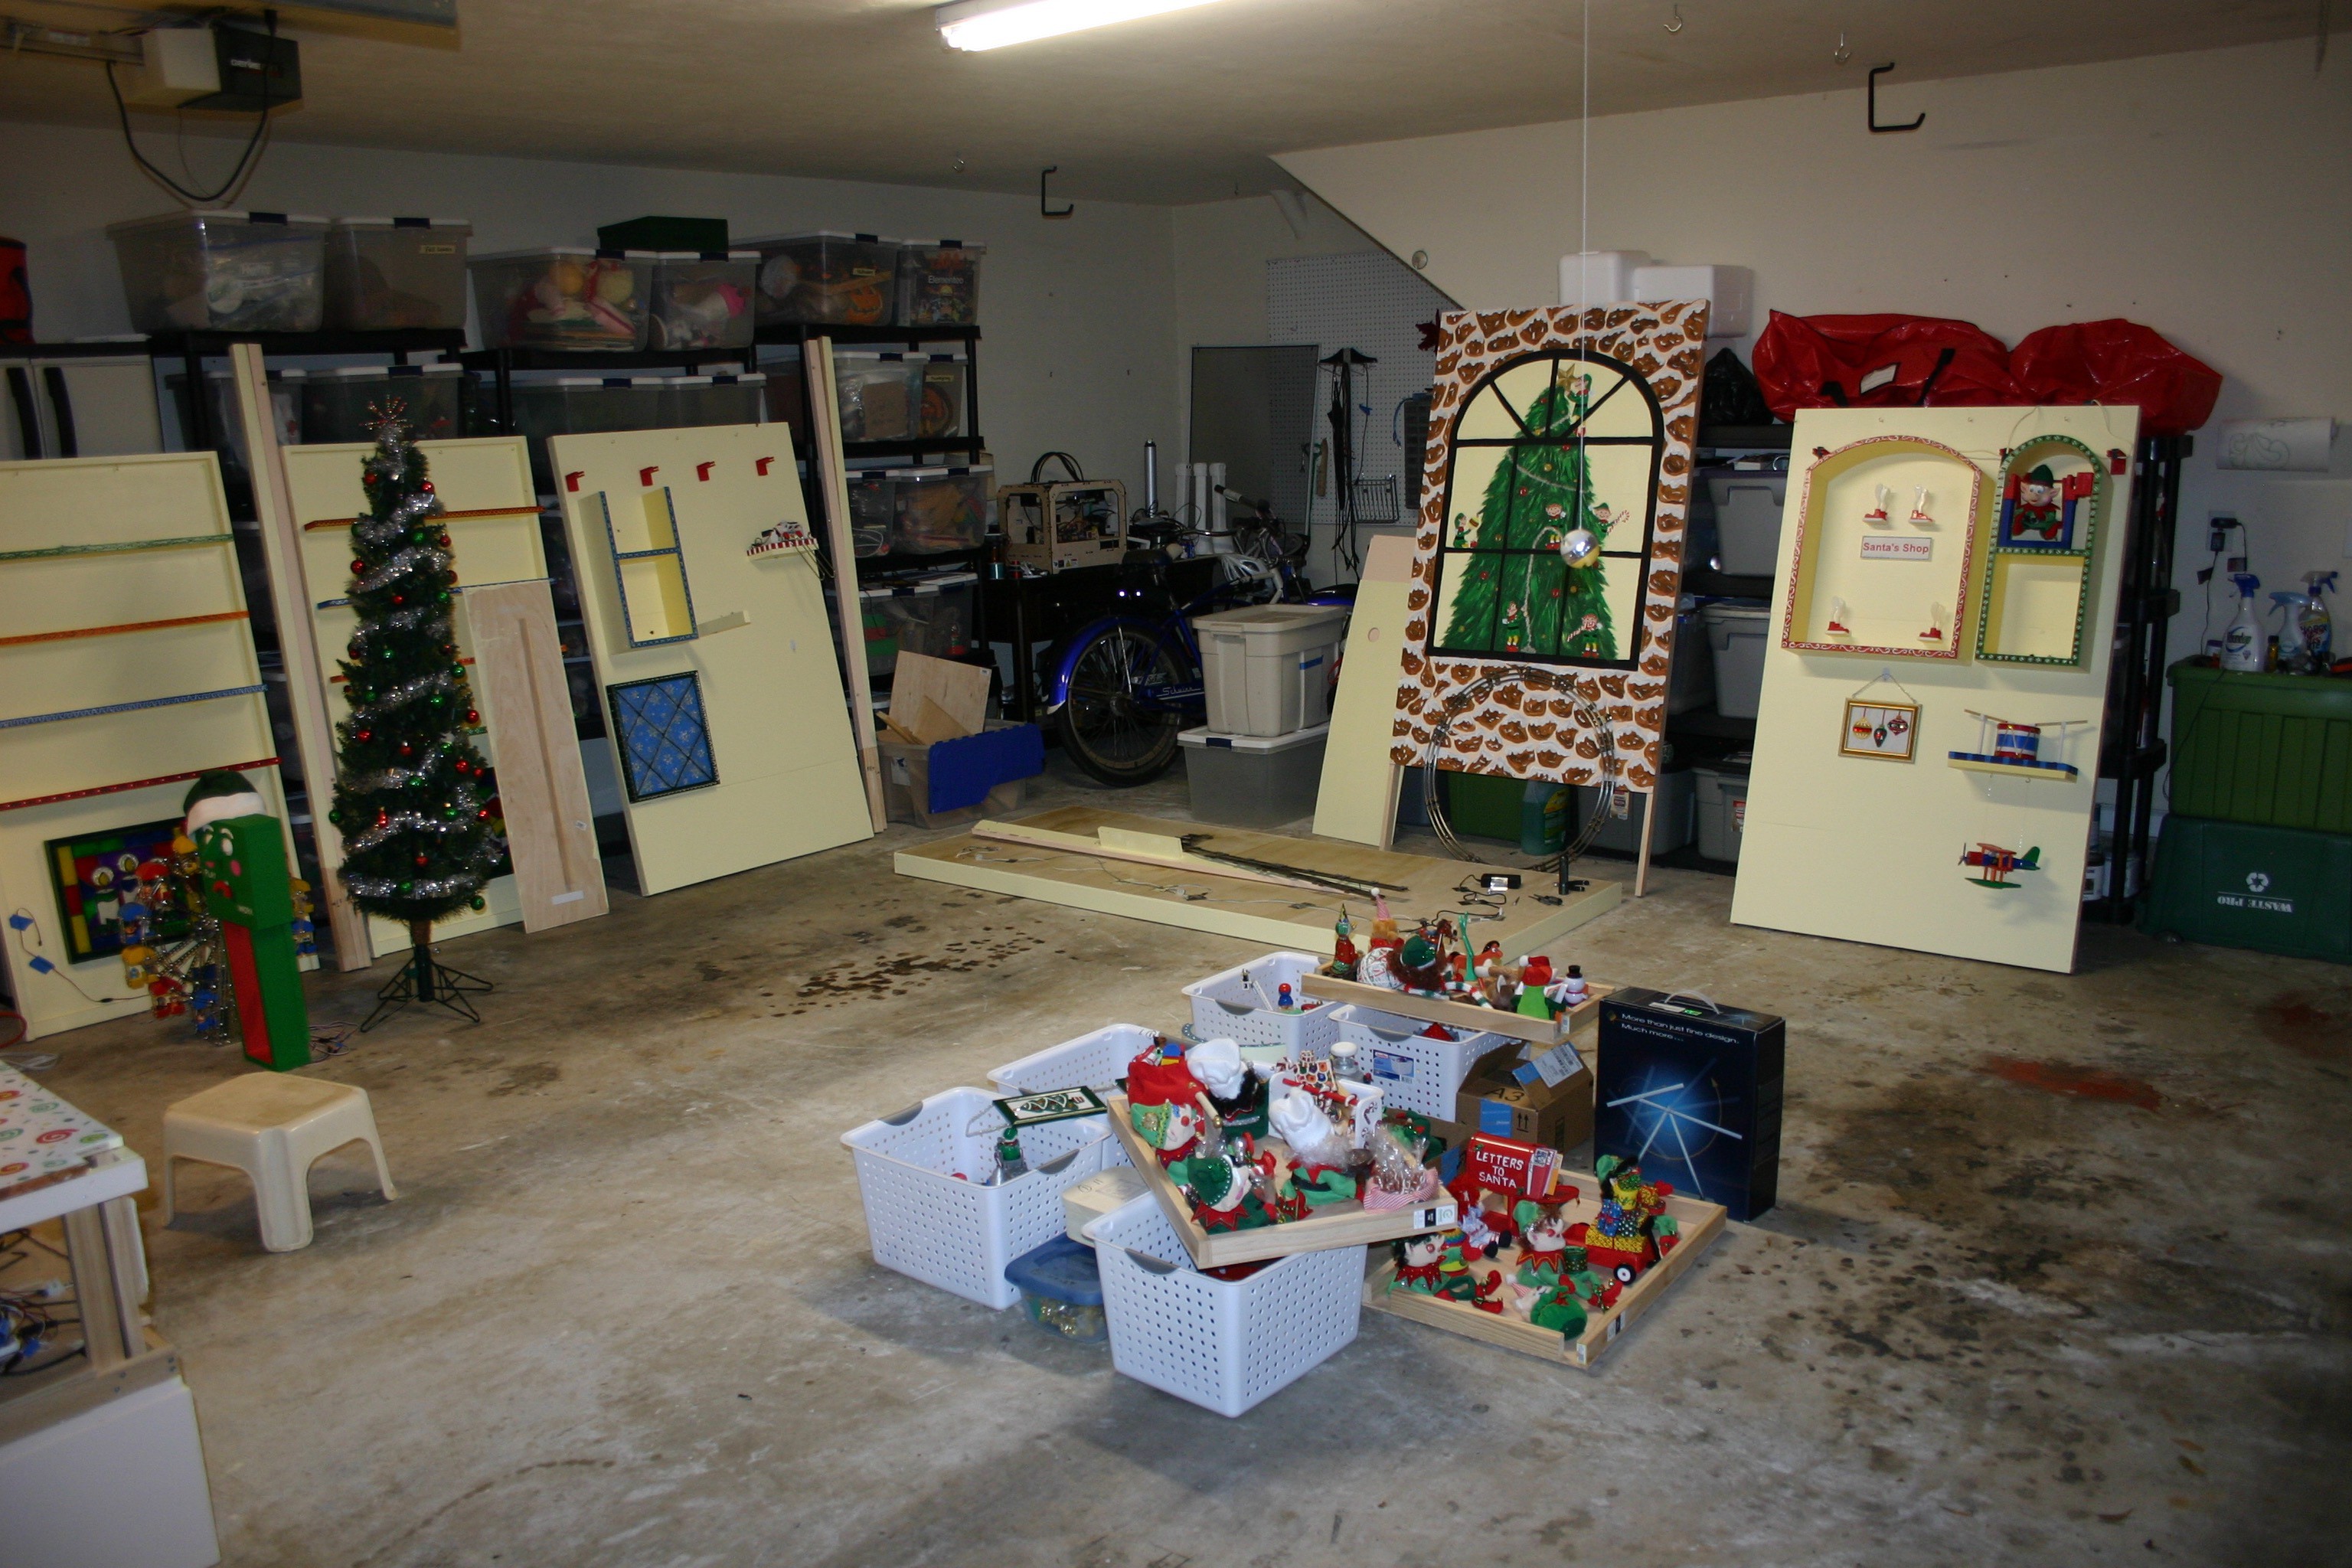
Moving Days
11/27/2016 at 01:27 • 0 commentsSanta's Shop had to be moved--from upstairs above my garage to a store window. The doors from my workshop are 32 inches wide while the platforms with elves and Santa are 36 inches wide. O.K. I had to remove all the bits and pieces, go down 15 steps and around the corner, turn the platforms sideways are reassemble the thing in the garage.
![]()
Fortunately, the doors at the store are 36 inches wide (double doors, open to give me 72 inches). Unfortunately, my Prius accepts 37 inches wide and 26 inches tall (the elves and Santa are taller than that assembled). So, sticking out the back of the car, with the hatch open, we made the trip (two blocks) traveling at 7 mph.
![]()
We made this trip about 15 times.
![]()
![]()
-
Santa Gets Into Music, Dog Moves, Noise Fix
08/05/2016 at 19:04 • 0 commentsFirst, Santa is now bobbing to the guitar playing of Elfis (instead of shaking his head in disapproval).
Arduino files have been added (on this site) to reflect this change. The dog now moves his head--left, right, up, down at random time intervals and random positions.
A vexing problem that took a few days of troubleshooting to fix started when the ferris wheel was converted from manually switched battery power to wired "wall wart" power. Electrical noise caused the monkey to vibrate (noise on the servo motor) whenever the ferris wheel was switched on (by relay). I tried a "junk box" capacitor across the ferris wheel motor, but the problem continued. Somehow, the three feet of twisted wire supply was radiating noise. I tied a resistor to the servo signal pin; I pulled the pin low during ferris operation--nothing helped. Finally, I ordered a .1 microfarad capacitor and soldered it across the ferris wheel motor leads--problem solved. Who knows what value my "junk box" capacitor was, but it didn't work.
-
Elmer and Elsie Got No Rhythm
07/28/2016 at 00:36 • 0 commentsOn the first run after power up, Elsie and Elmer were out of sync with Elfis. I changed the timing on Elfis (Arduino sketch available on this site). Elfis and Santa had exactly the same "delay" statements during setup, so Elfis got slightly behind on the first run through. I decreased the delay on Elfis so that he would respond to the sync pulse just like Elmer and Elsie on power up.
-
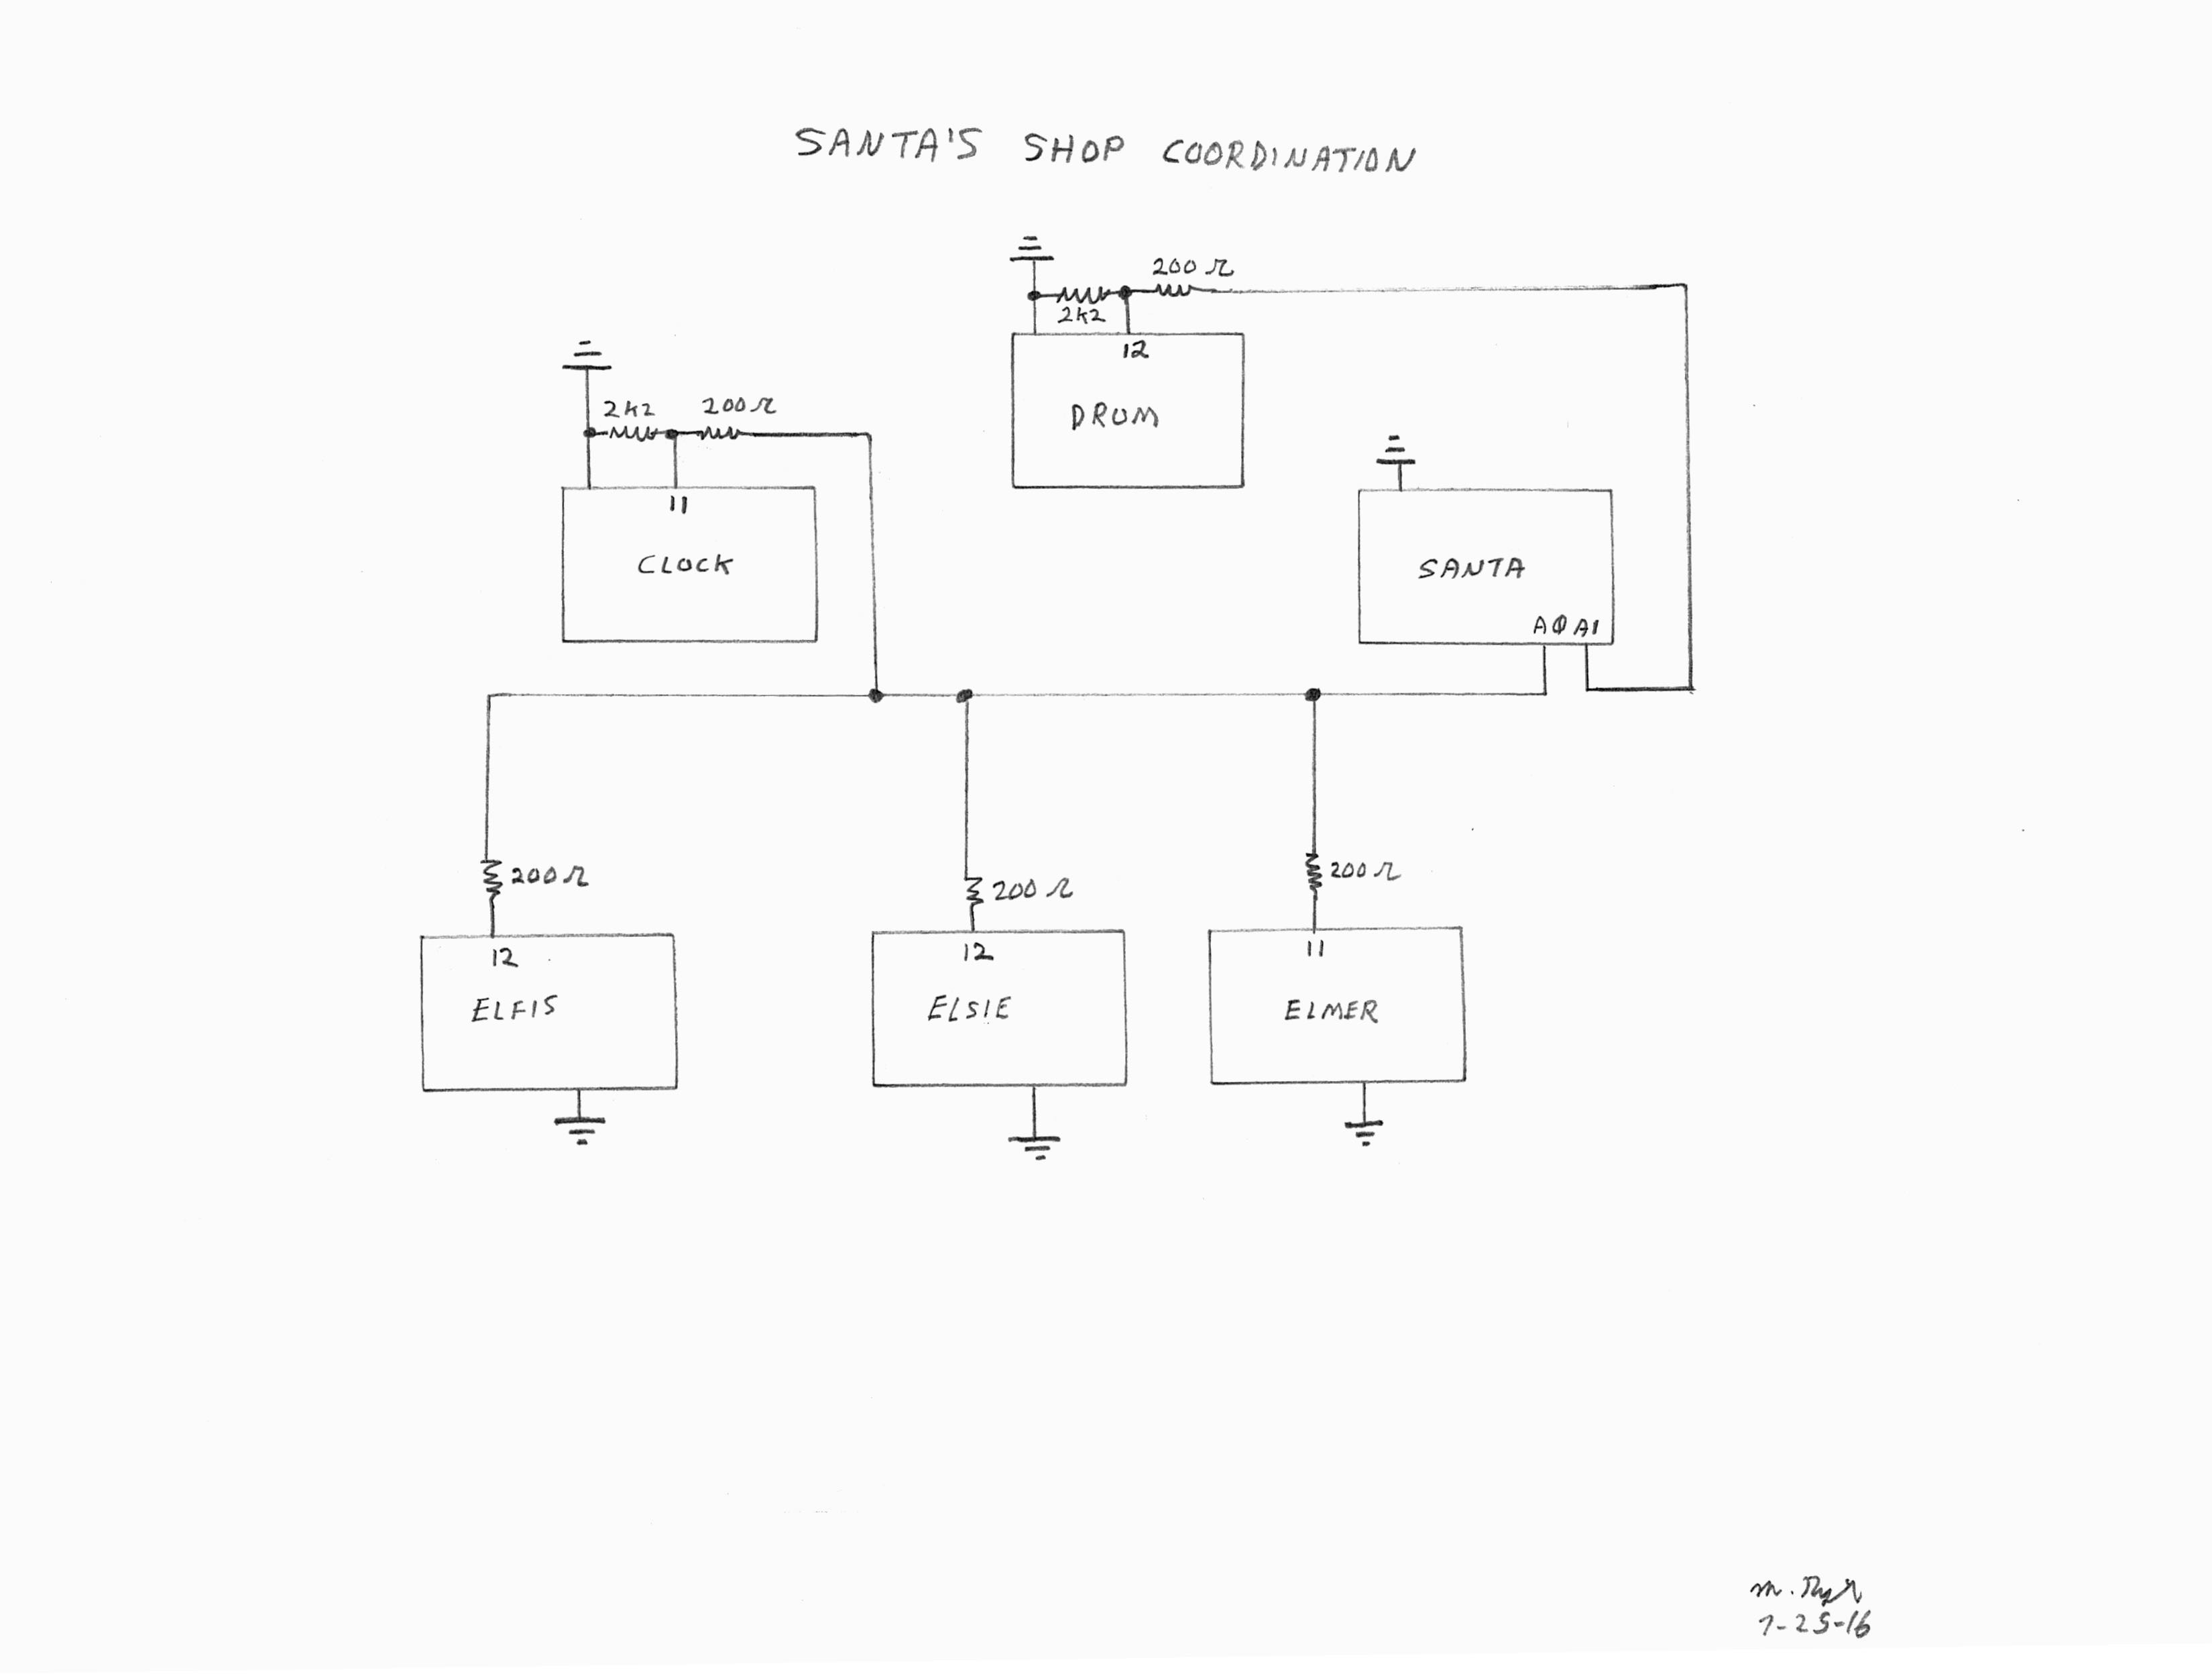
Automating Santa's Shop--Working Together
07/25/2016 at 23:50 • 0 commentsSix Arduino units are connected together to operate a three minute story sequence in Santa's Shop.
What happens is as follows:
Santa points to isobot robot and isobot moves arms and legs
Santa points to monkey--monkey claps; airplane floats
Santa points to drum--drum sticks play
Santa looks at elf workers
Clock shifts to play mode (eyes wake up and blink)
Elsie notices clock and taps her two co-workers, who also see clock
Elsie switches her table from work tools to party goods
Elsie makes robot move left and right
Elmer switches his table to play mode
Elmer makes toy bear light up
Elfis switches his table to play mode
Elfis plays guitar while Elsie and Elmer bob heads in time
Clock shifts to work mode, but Elfis keeps playing
Santa turns and points to clock
Elmer turns and sees Santa, then taps Elsie
Elsie turns to Santa and taps Elfis
Elfis continues to play
Elsie turns to look at Elfis, but Elfis keeps playing
Elsie turns to look at Elfis again, and taps him twice
Elfis turns to see Santa, then puts down his guitar
All three put tables back to work mode
Santa returns to original position
This is accomplished using a sync pulse (or start pulse in the drum's case) as indicated below.
![]()
Arduino sketches for all the above devices are available on this site.
Since the display could be turned off at any point during the cycle, it is important that the animated figures do not harm themselves or the display on restart. For example, if Elfis moved his guitar from a playing position to the start position in the fastest way, he would crash it into the table and something would break or jam.
Santa waits a few seconds on startup before sending out a sync pulse so that all creatures can get into position.
I'm sure that serious Arduino programmers know this (but I didn't), so I'll share. In setup, when a servo motor is attached, it immediately gets a signal to start moving--whether you have written a position or not. To control servo sequencing on startup (Elfis needs to move his arm out, then rotate his shoulder down if he was shut down in the guitar playing mode--if he's in the rest mode, this will result in no movement), attach the arm servo, write the setup position, write a delay (.5 second for example), then attach the shoulder, write the shoulder setup position, then write a delay.
-
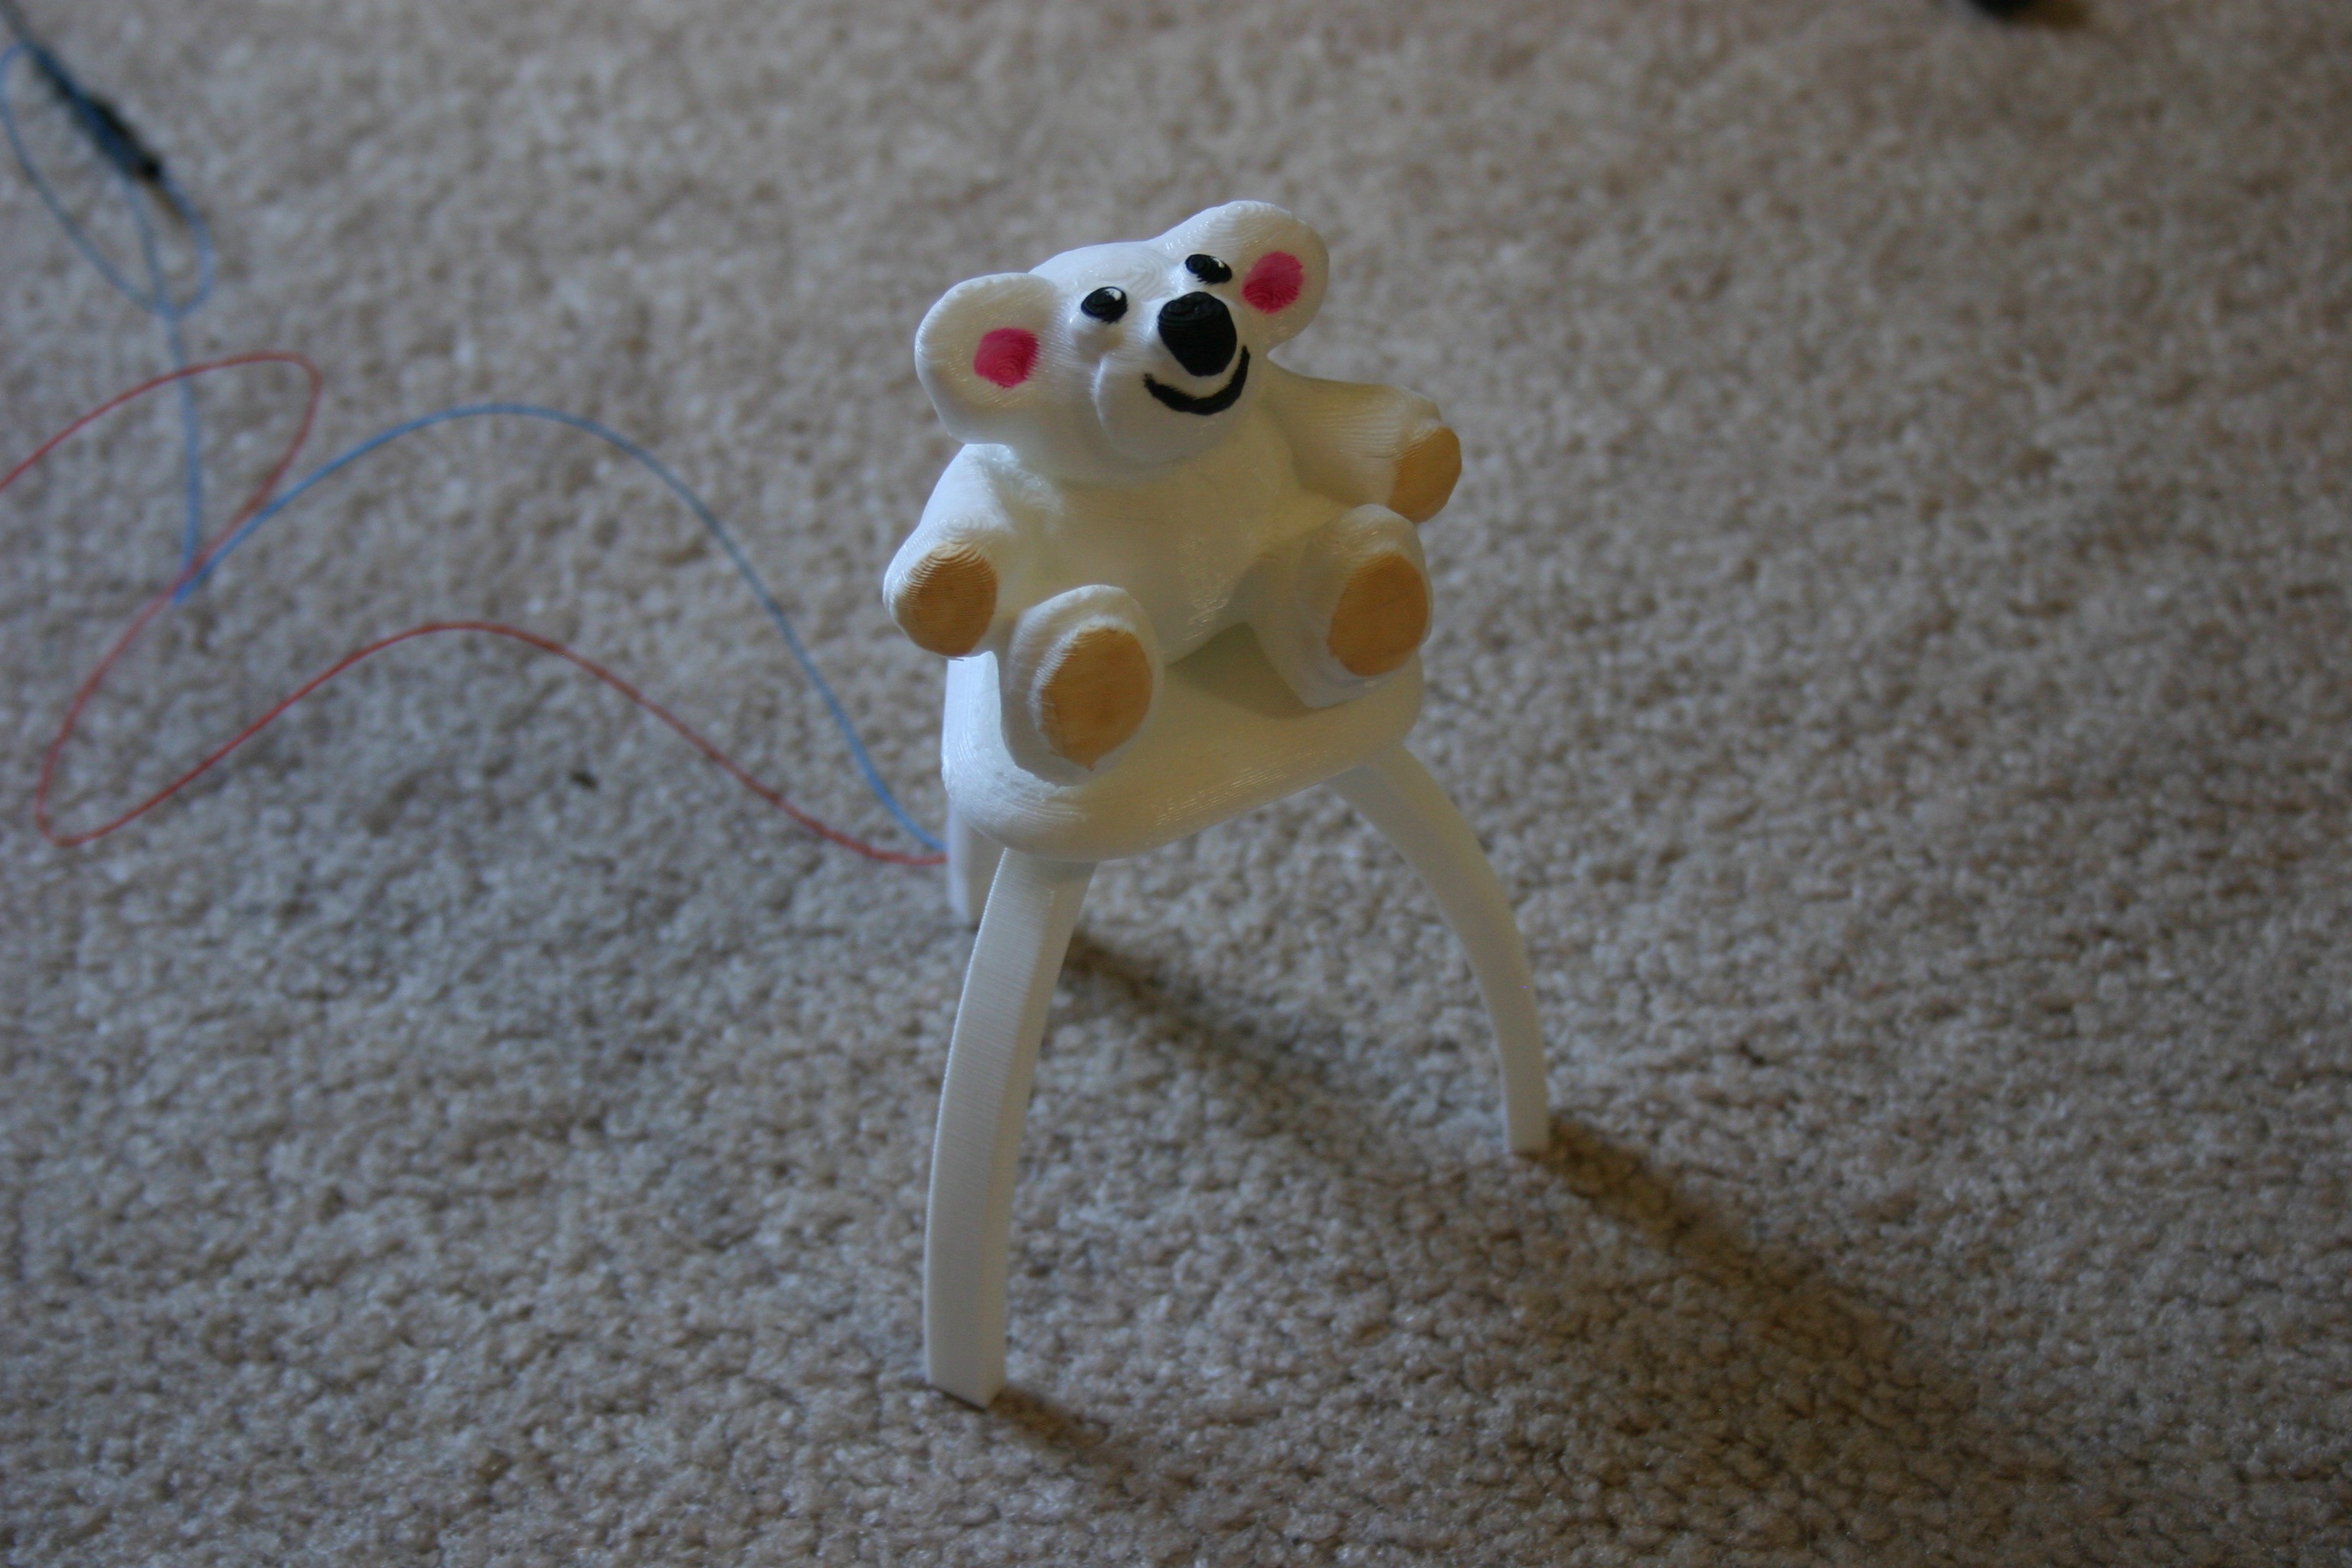
Bear on Stool and Floating Airplane
07/22/2016 at 13:46 • 0 commentsElmer needed to control something, so I created a bear and a stool (toy Elmer is making). The 3d printed bear and stool (files available on this site) were painted and a hole was drilled in the bear to accept a LED.
![]()
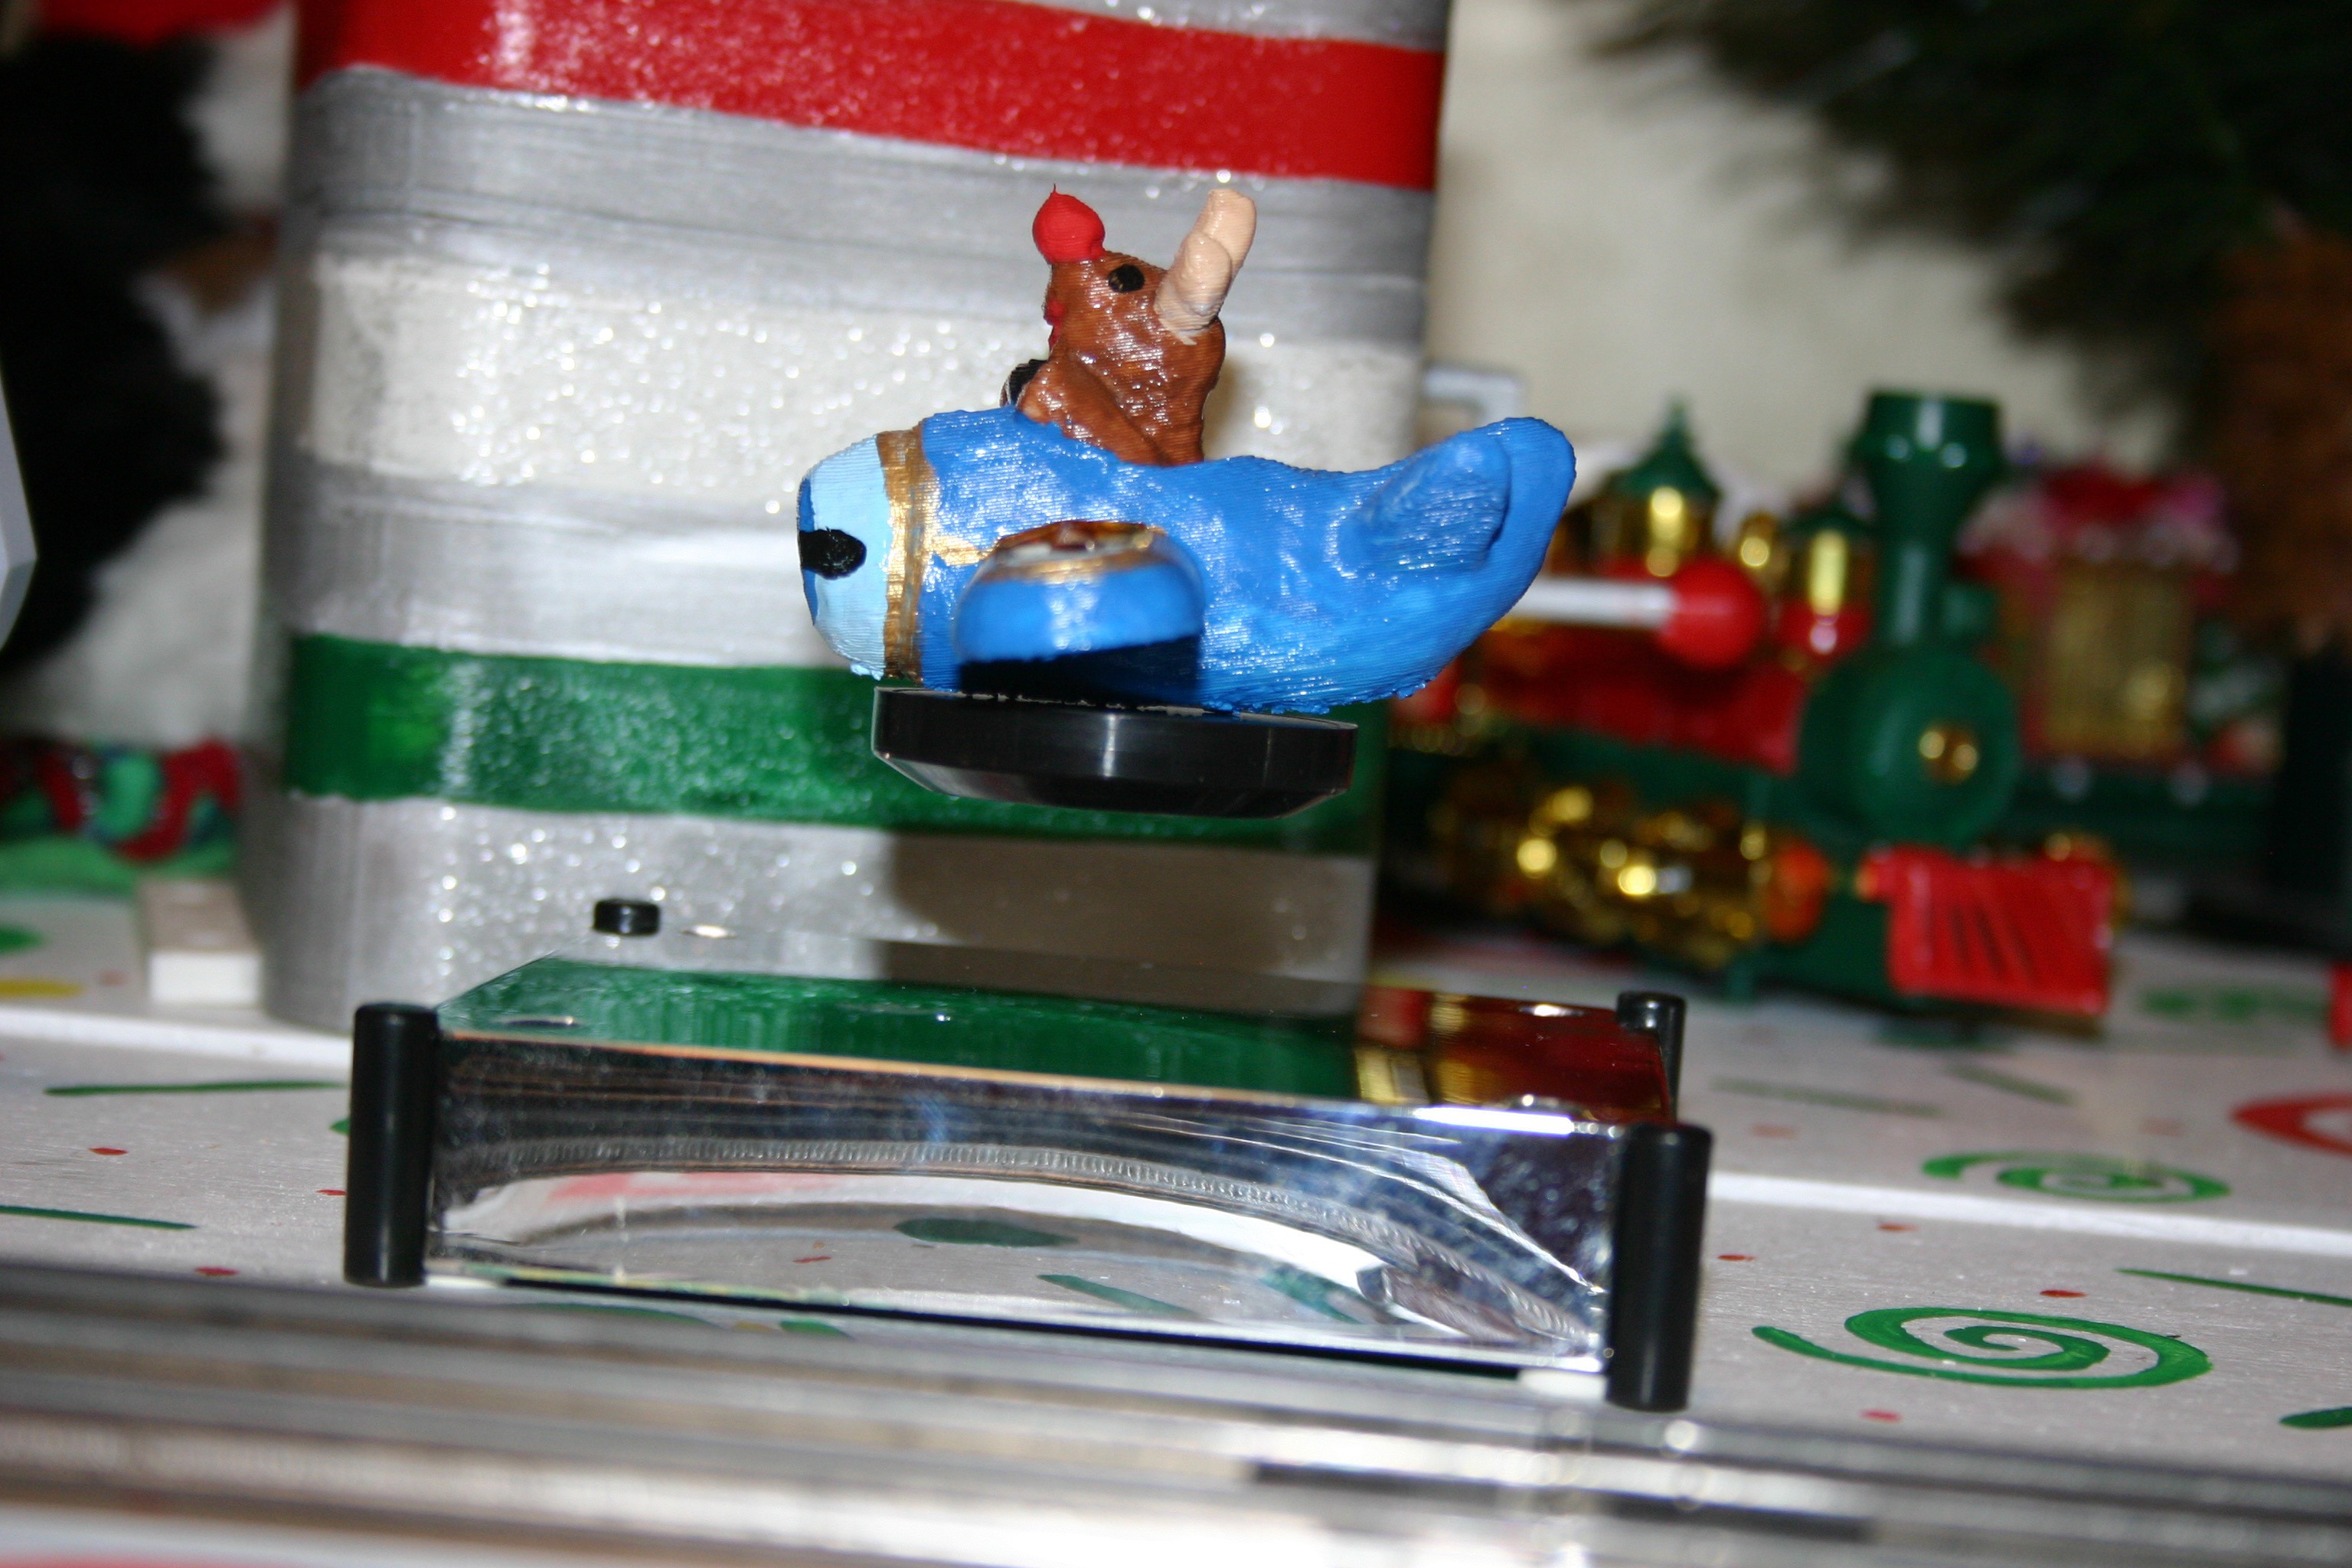
I was using a BB-8 (Sphero) to operate near the clapping monkey, but the charge/run time ratio was not sufficient to keep the device operable (even though it was operating on its charging cradle). It was replaced by a magnetic levitating disk--on which is a 3d printed/painted reindeer flying an airplane.
![]()
-
First View in Action (Except for Elfis)
07/21/2016 at 23:40 • 0 commentsHere's a first view of Santa and two of the elves operating--Elfis still needs a little work.
The Arduino files for Santa, Elmer, Elsie and the clock are available on this site. BB-8 had power problems and was replaced by a "magnetic floating airplane." The lighted bear, his chair and 3d print files will be posted in the next week or so--also the details on how all the animated creatures are made to work together are coming soon.
-
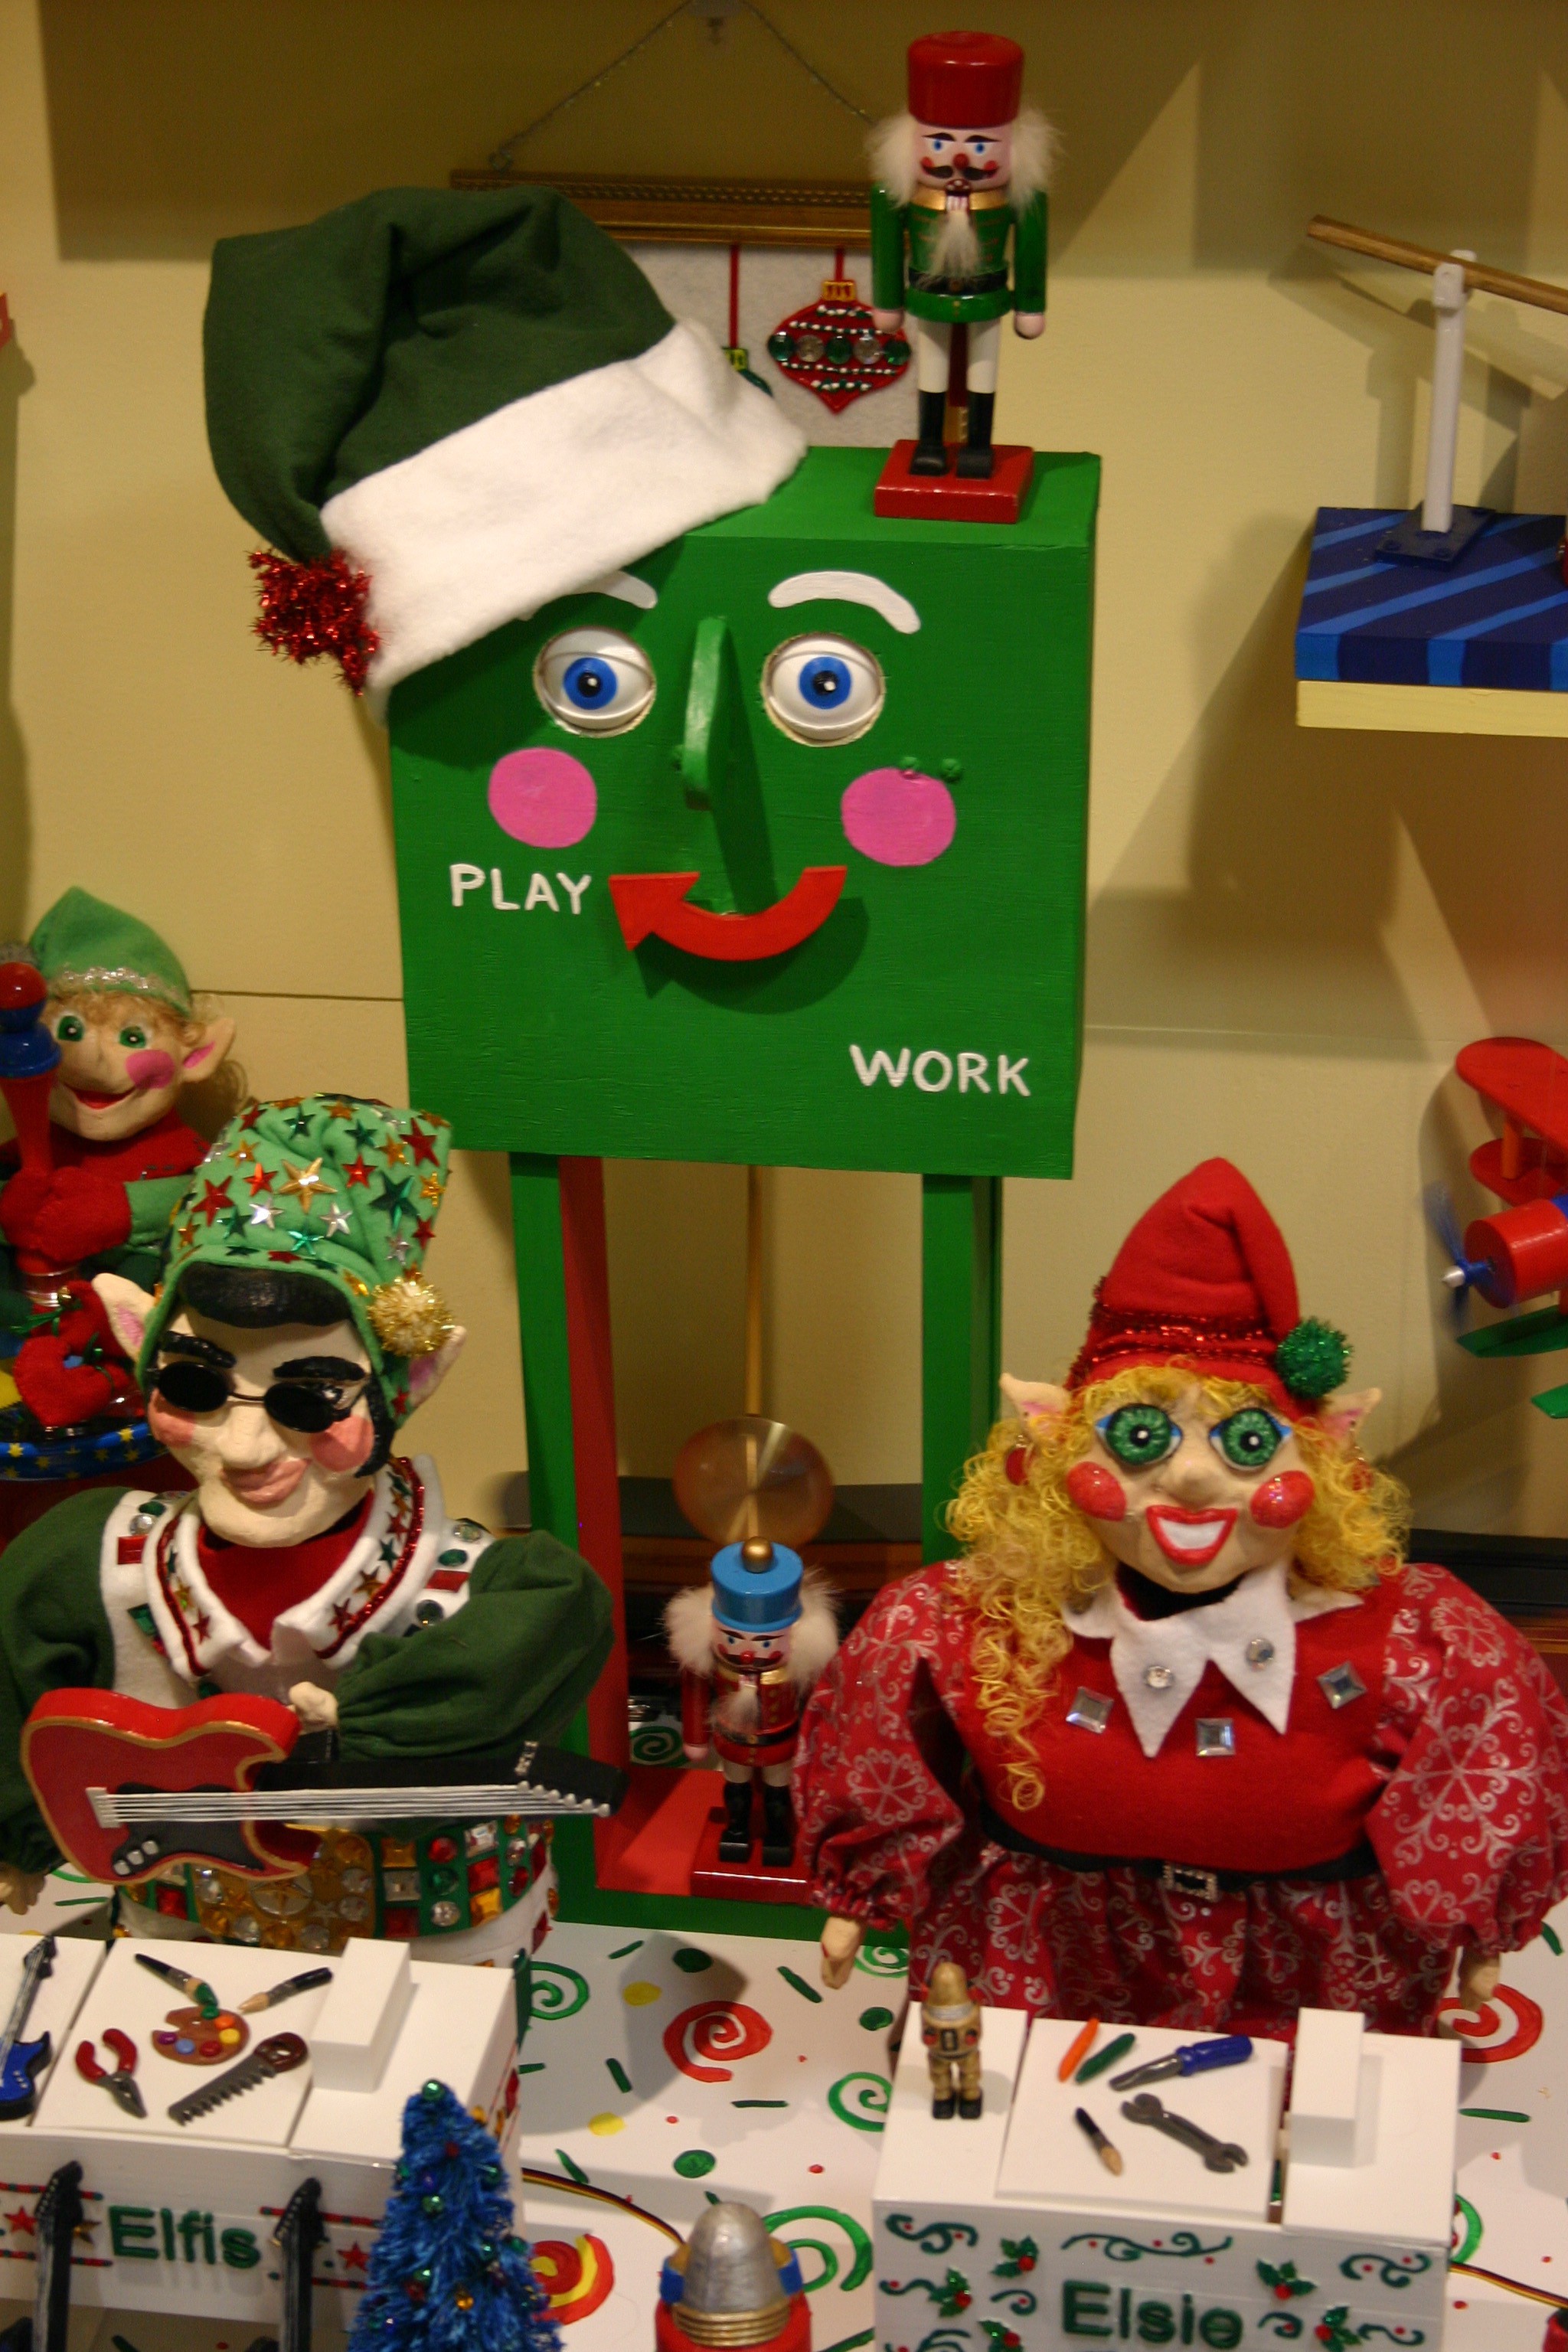
Work--Play Clock
07/17/2016 at 21:43 • 0 commentsThe eye blinking work/play clock is now active.
The Arduino sketch for the servo motors is available on this site. This is somewhat fashioned around "Grandfather Clock" on the "Captain Kangaroo" tv show from ages ago. We start with the eyes open in "Play" mode.
![]()
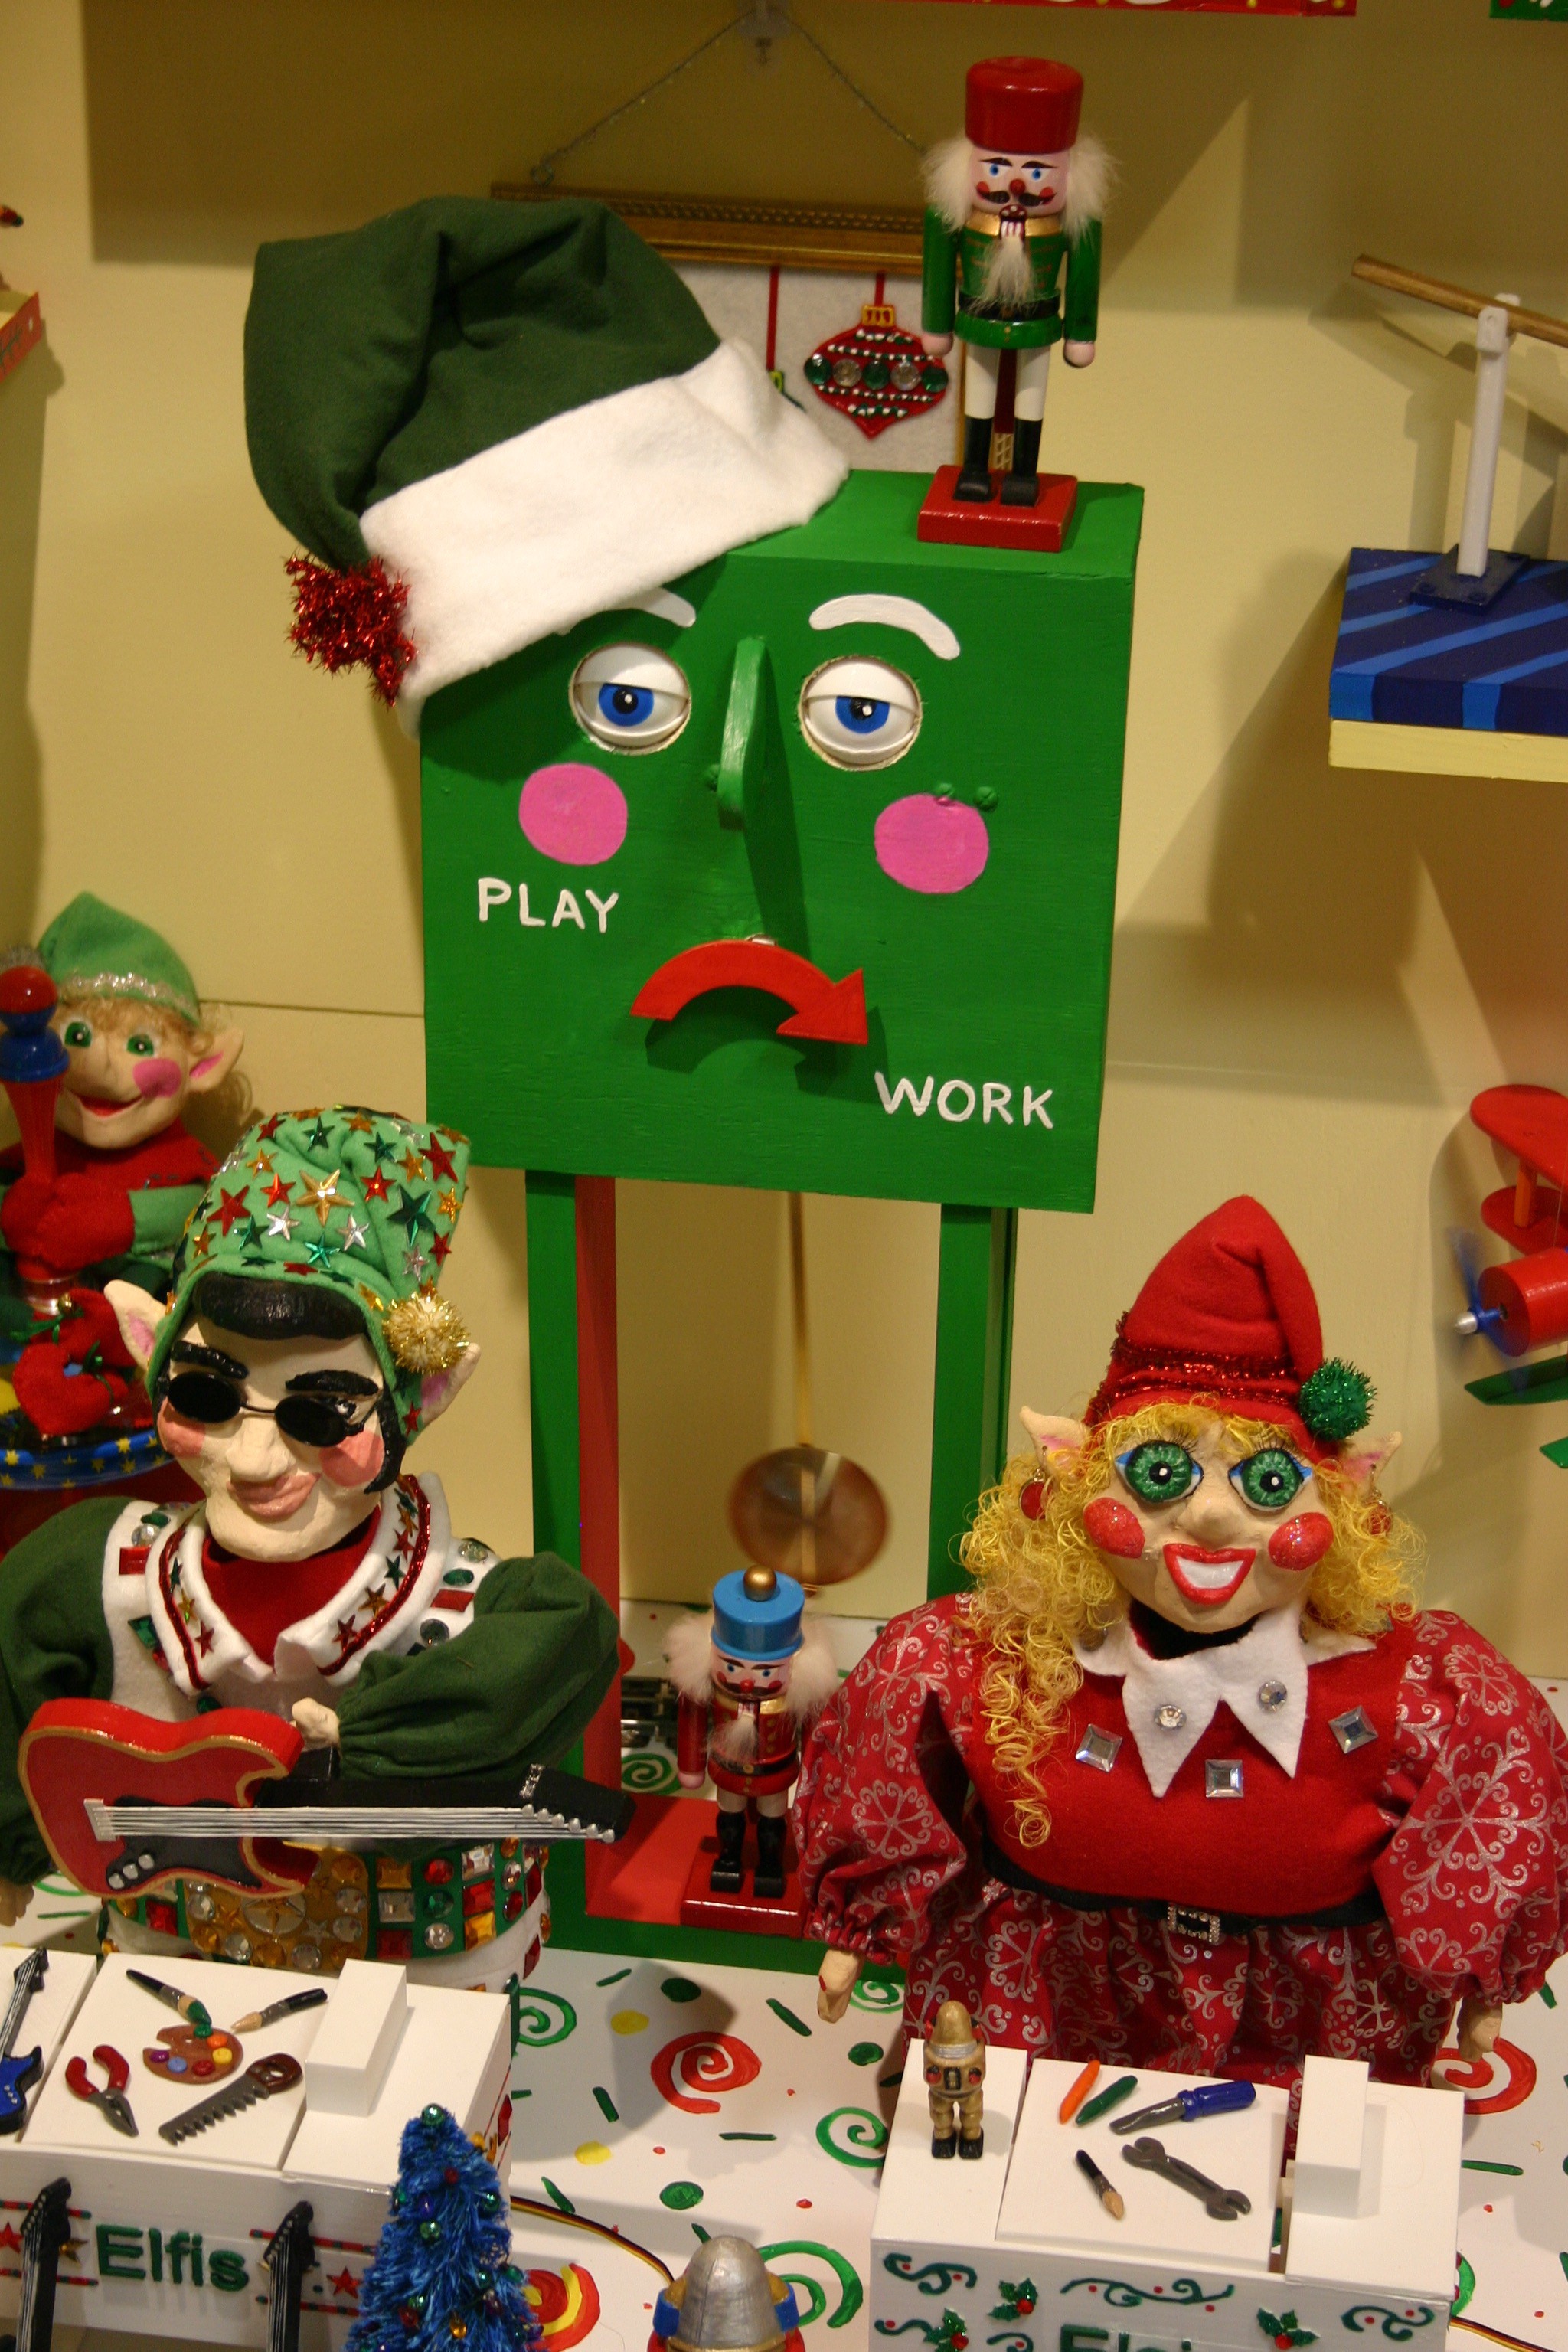
When we shift to "Work" mode, they eyes start to droop.
![]()
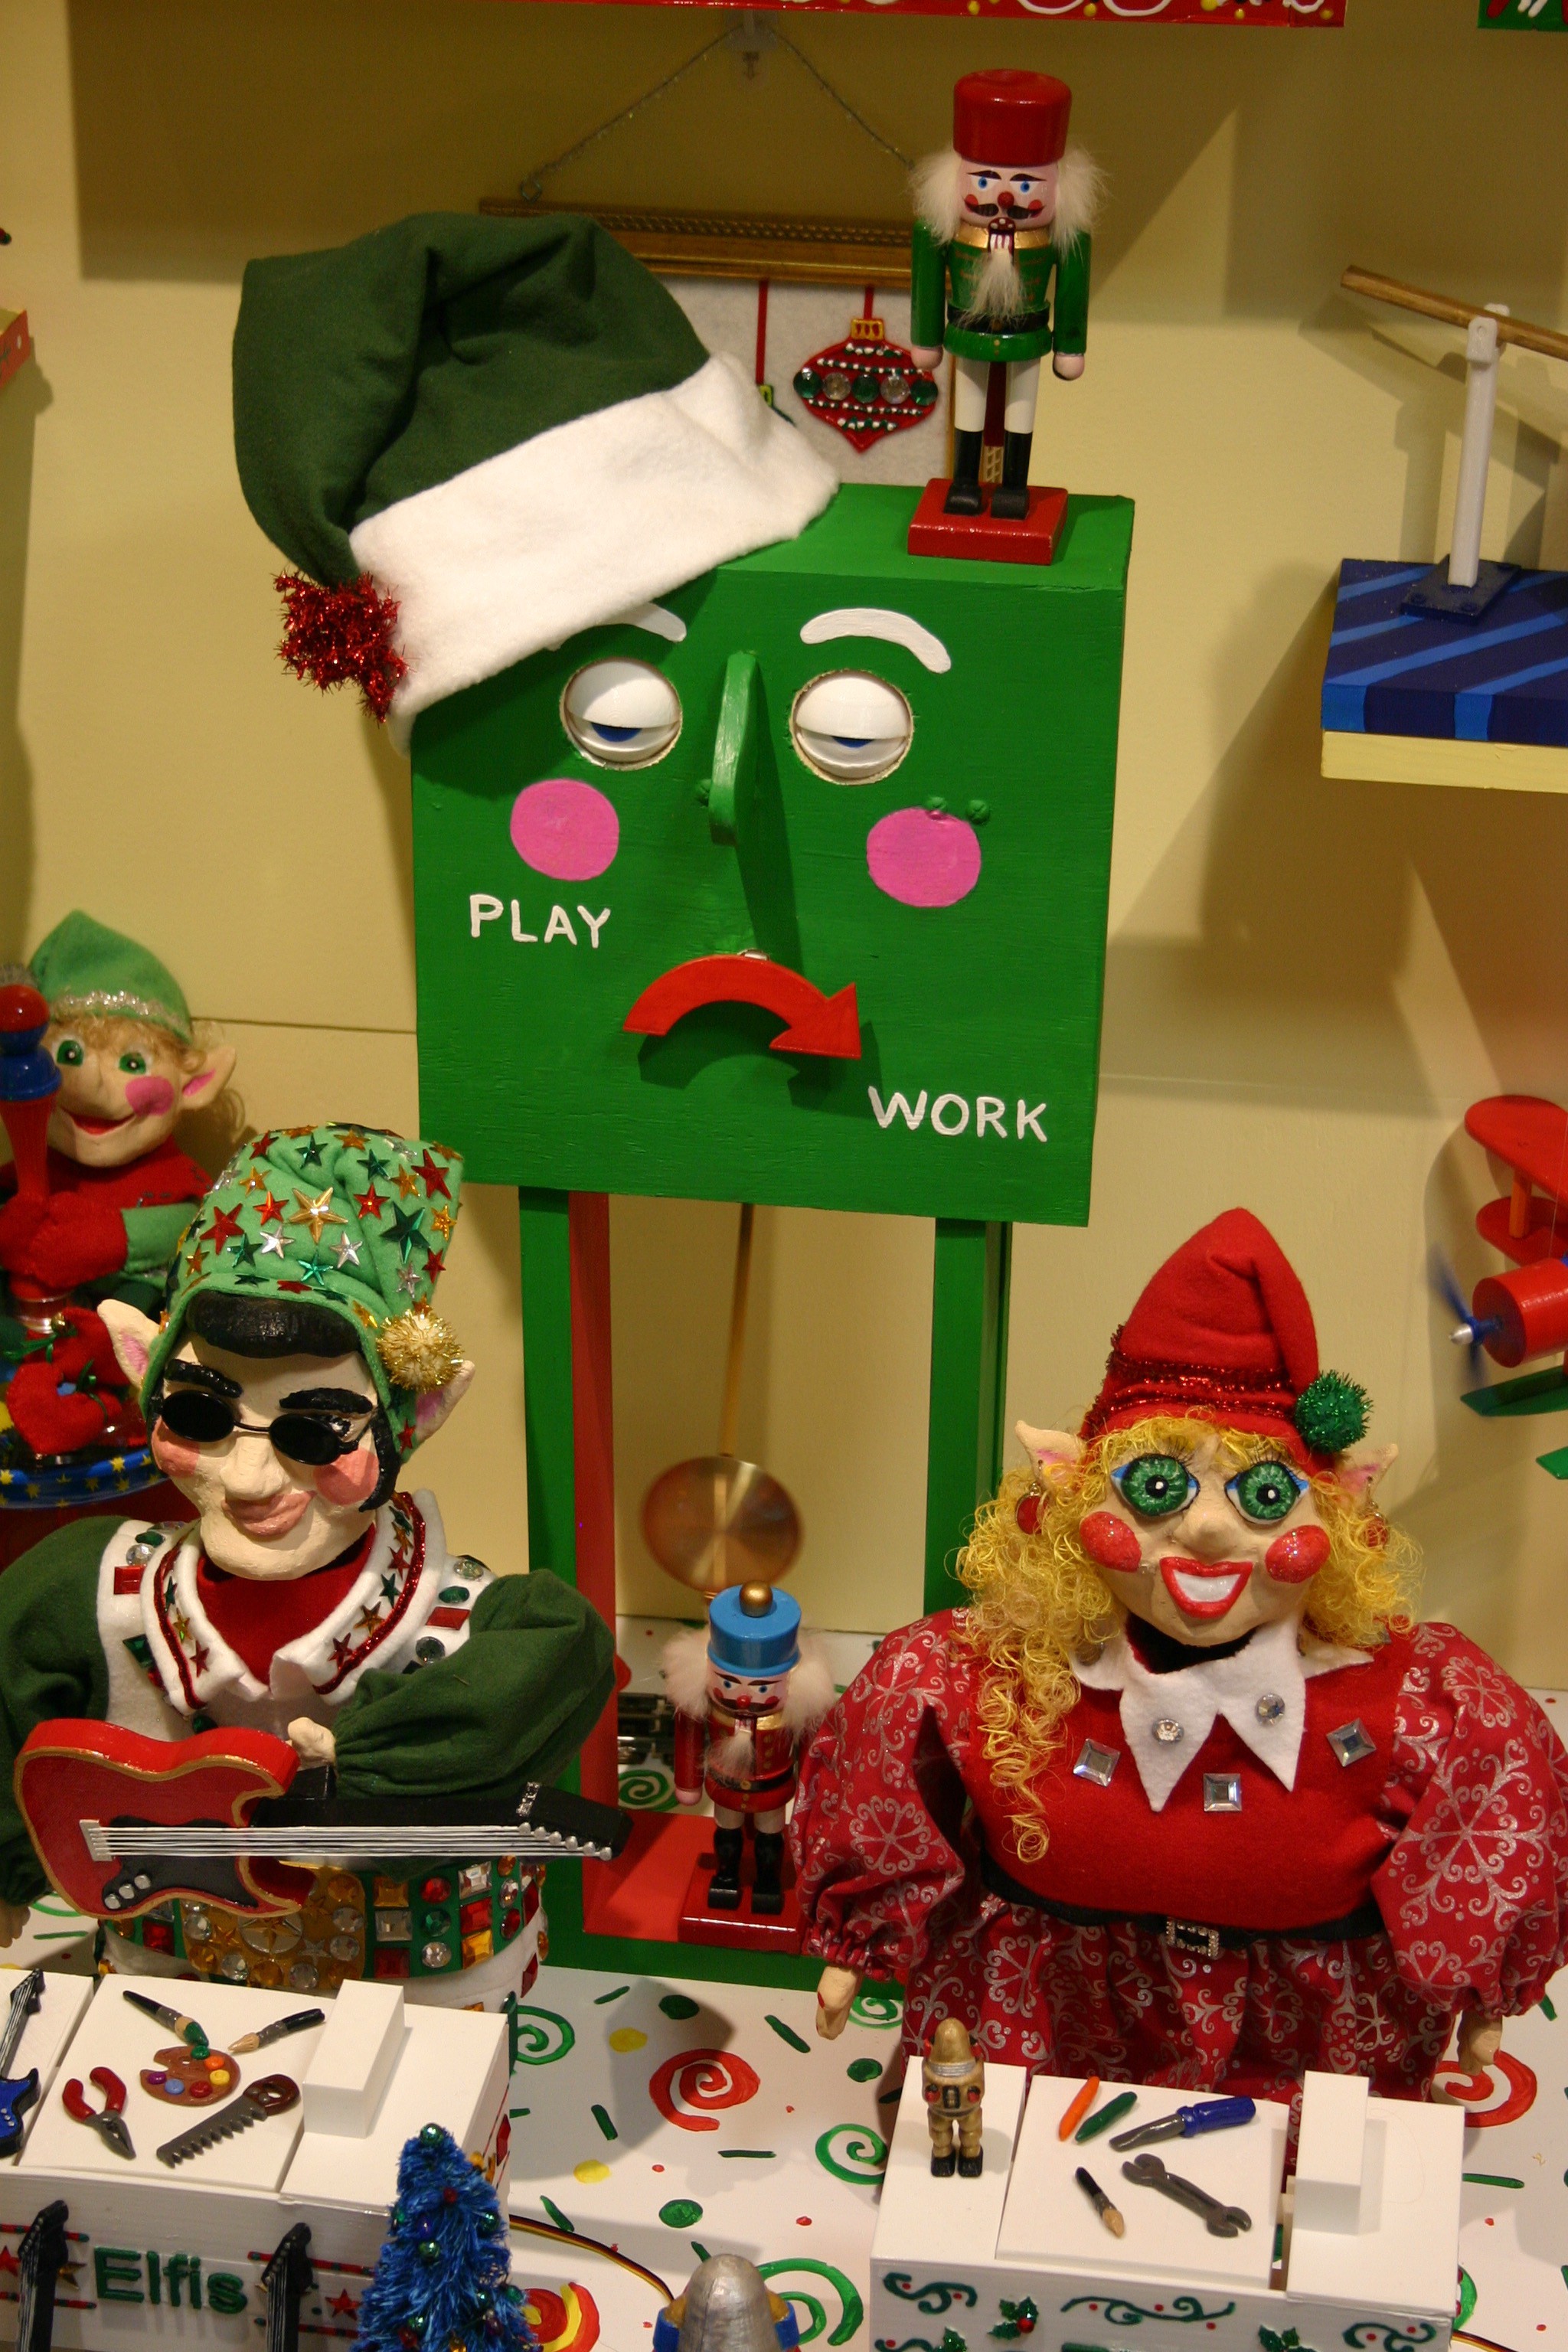
On the next blink cycle, the eyes droop more.
![]()
The eyes open, right eye blinks twice and we are back to "Play."
-
Getting Wheelo Unstuck
07/13/2016 at 21:13 • 0 commentsWhile performing some test runs, I noticed two or three times that the Wheelo got "stuck" in the up position. I changed the Arduino sketch so that:
When the arm is up, it will come down a) when the wheel is close or b) after eight seconds
The revised sketch is included in the files on this site.
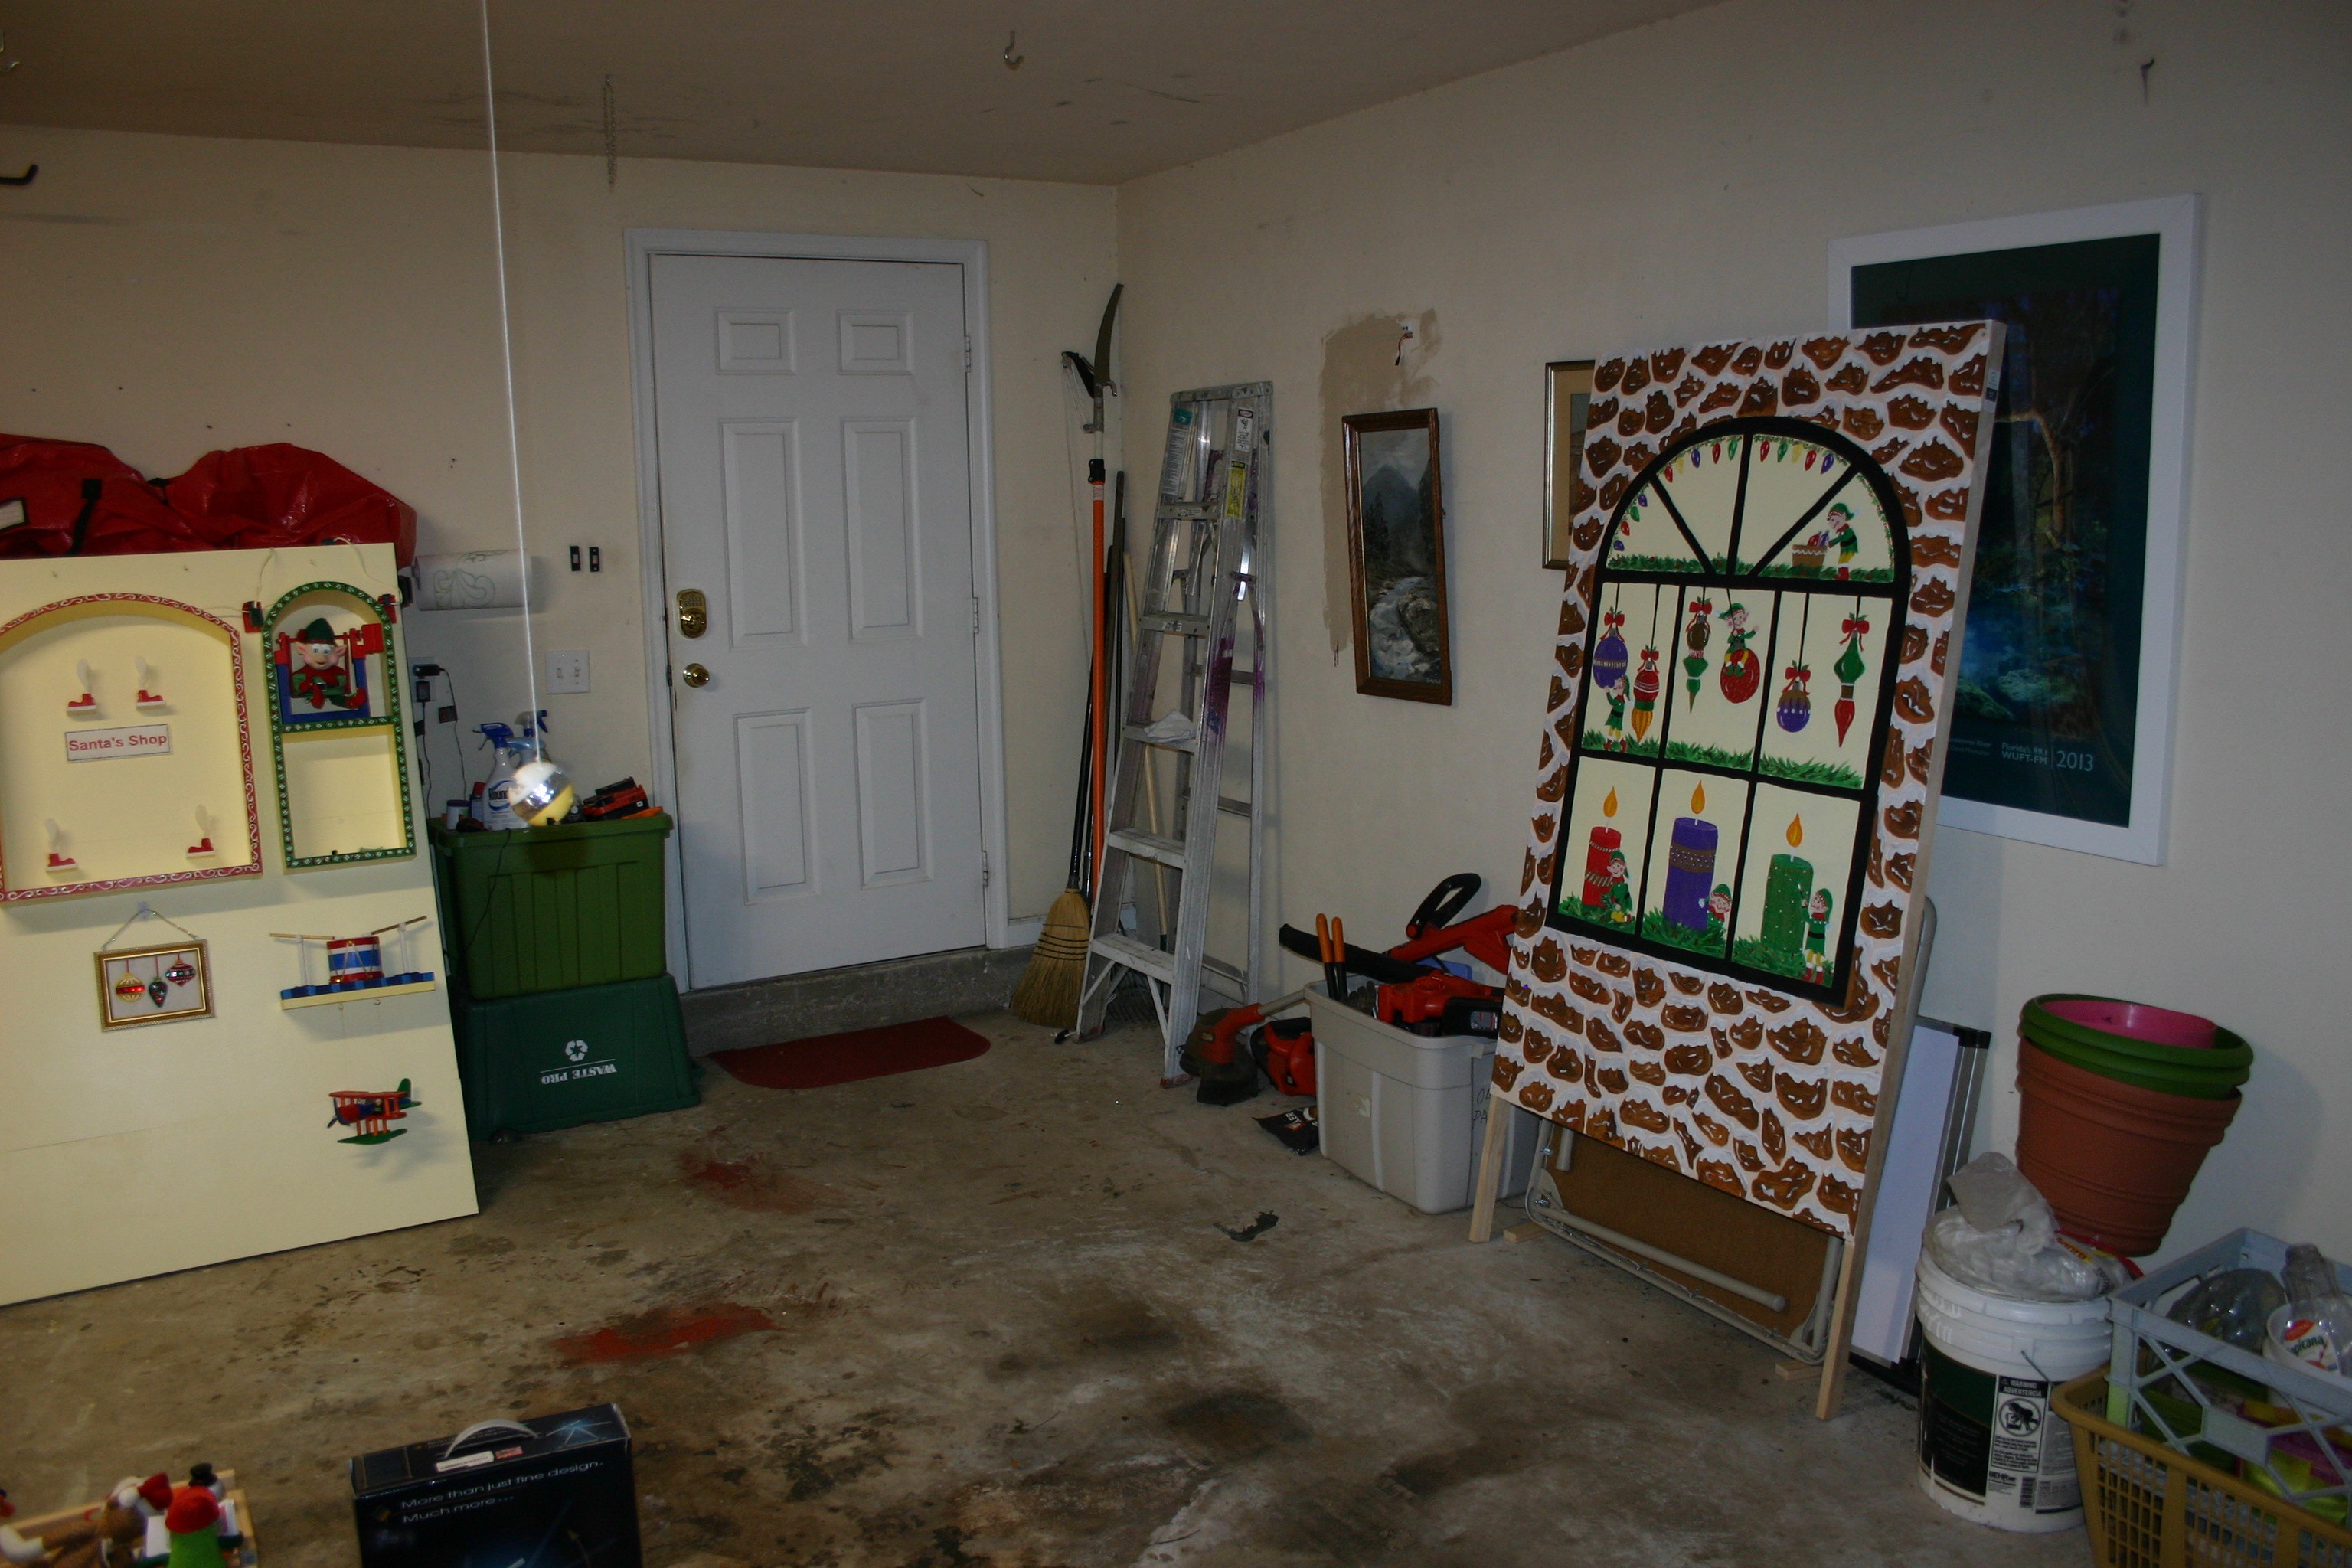
Santa's Shop
This is a techno/art installation to be displayed in the community--similar to old time holiday window displays.