Mike Rigsby
-
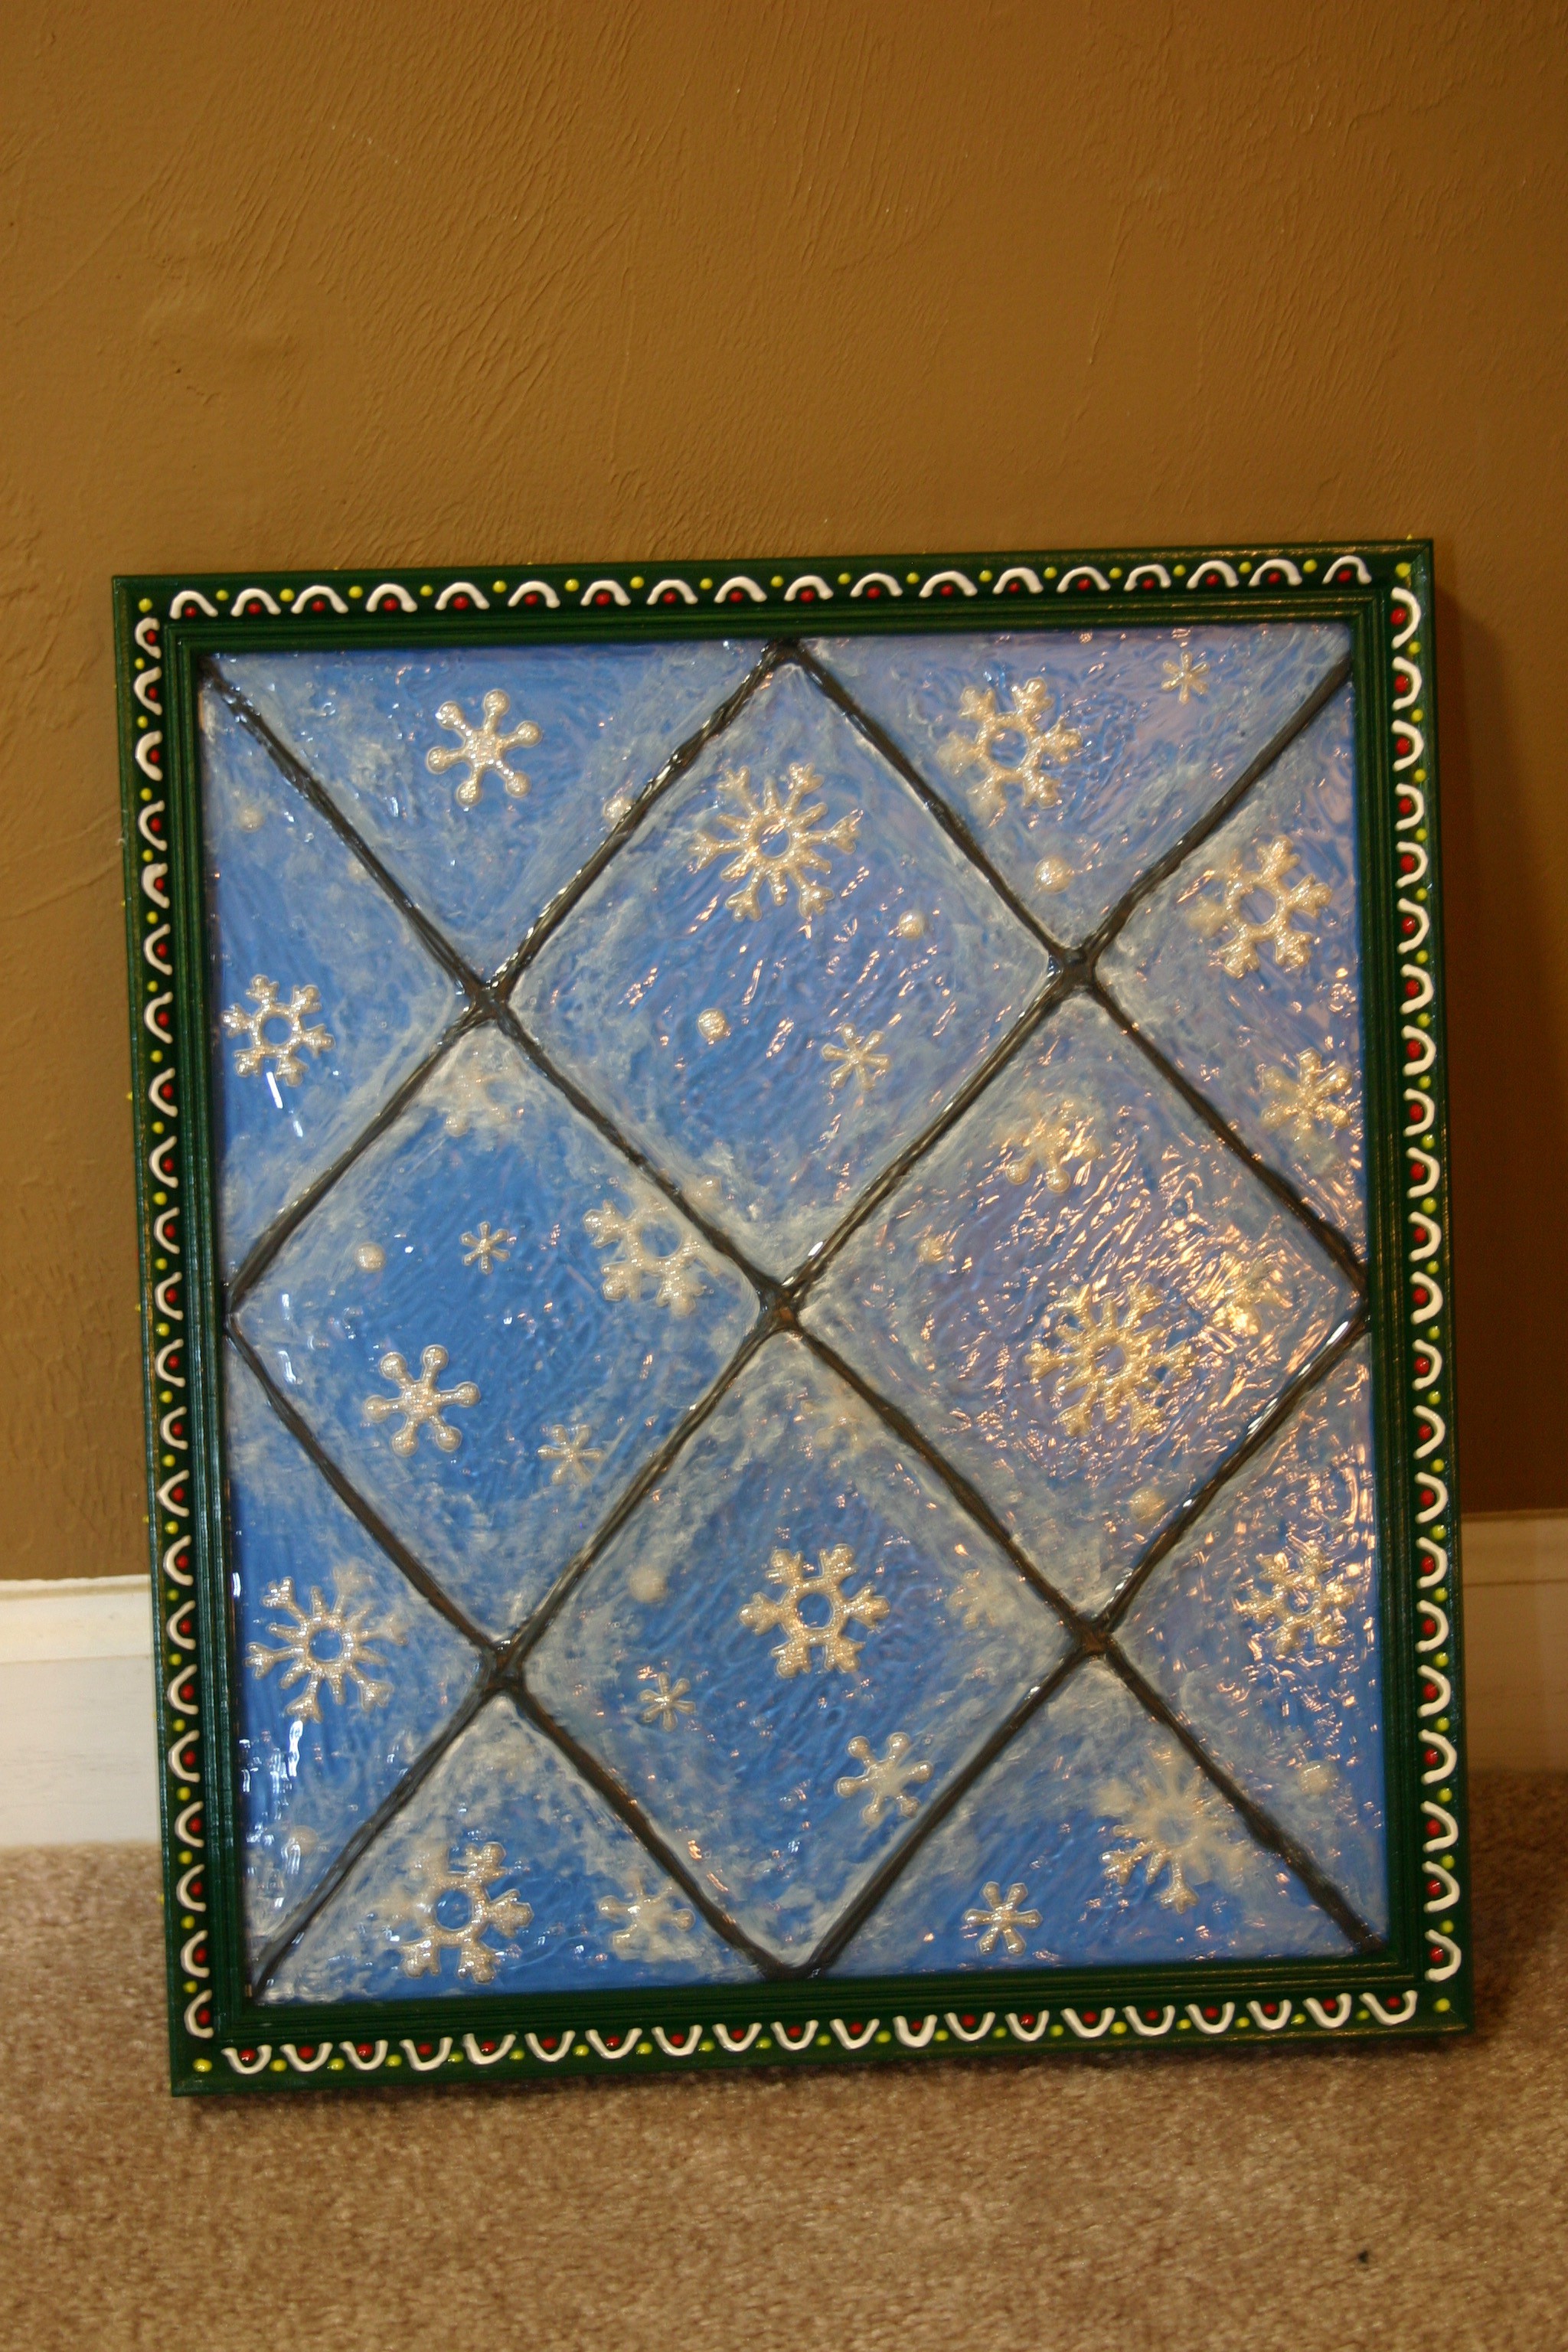
Window Behind Santa
07/04/2016 at 20:33 • 0 commentsAnnelle made another simulated window--this one semi-transparent with snowflakes behind the glass.
![]()
This goes behind Santa on the back wall.
![]()
-
Garland Around the Top
06/30/2016 at 23:27 • 0 commentsIt may not seem like much, but the roof had to be removed and hooks installed to place a string of garland around the top.
![]()
-
Right Side Stained Glass
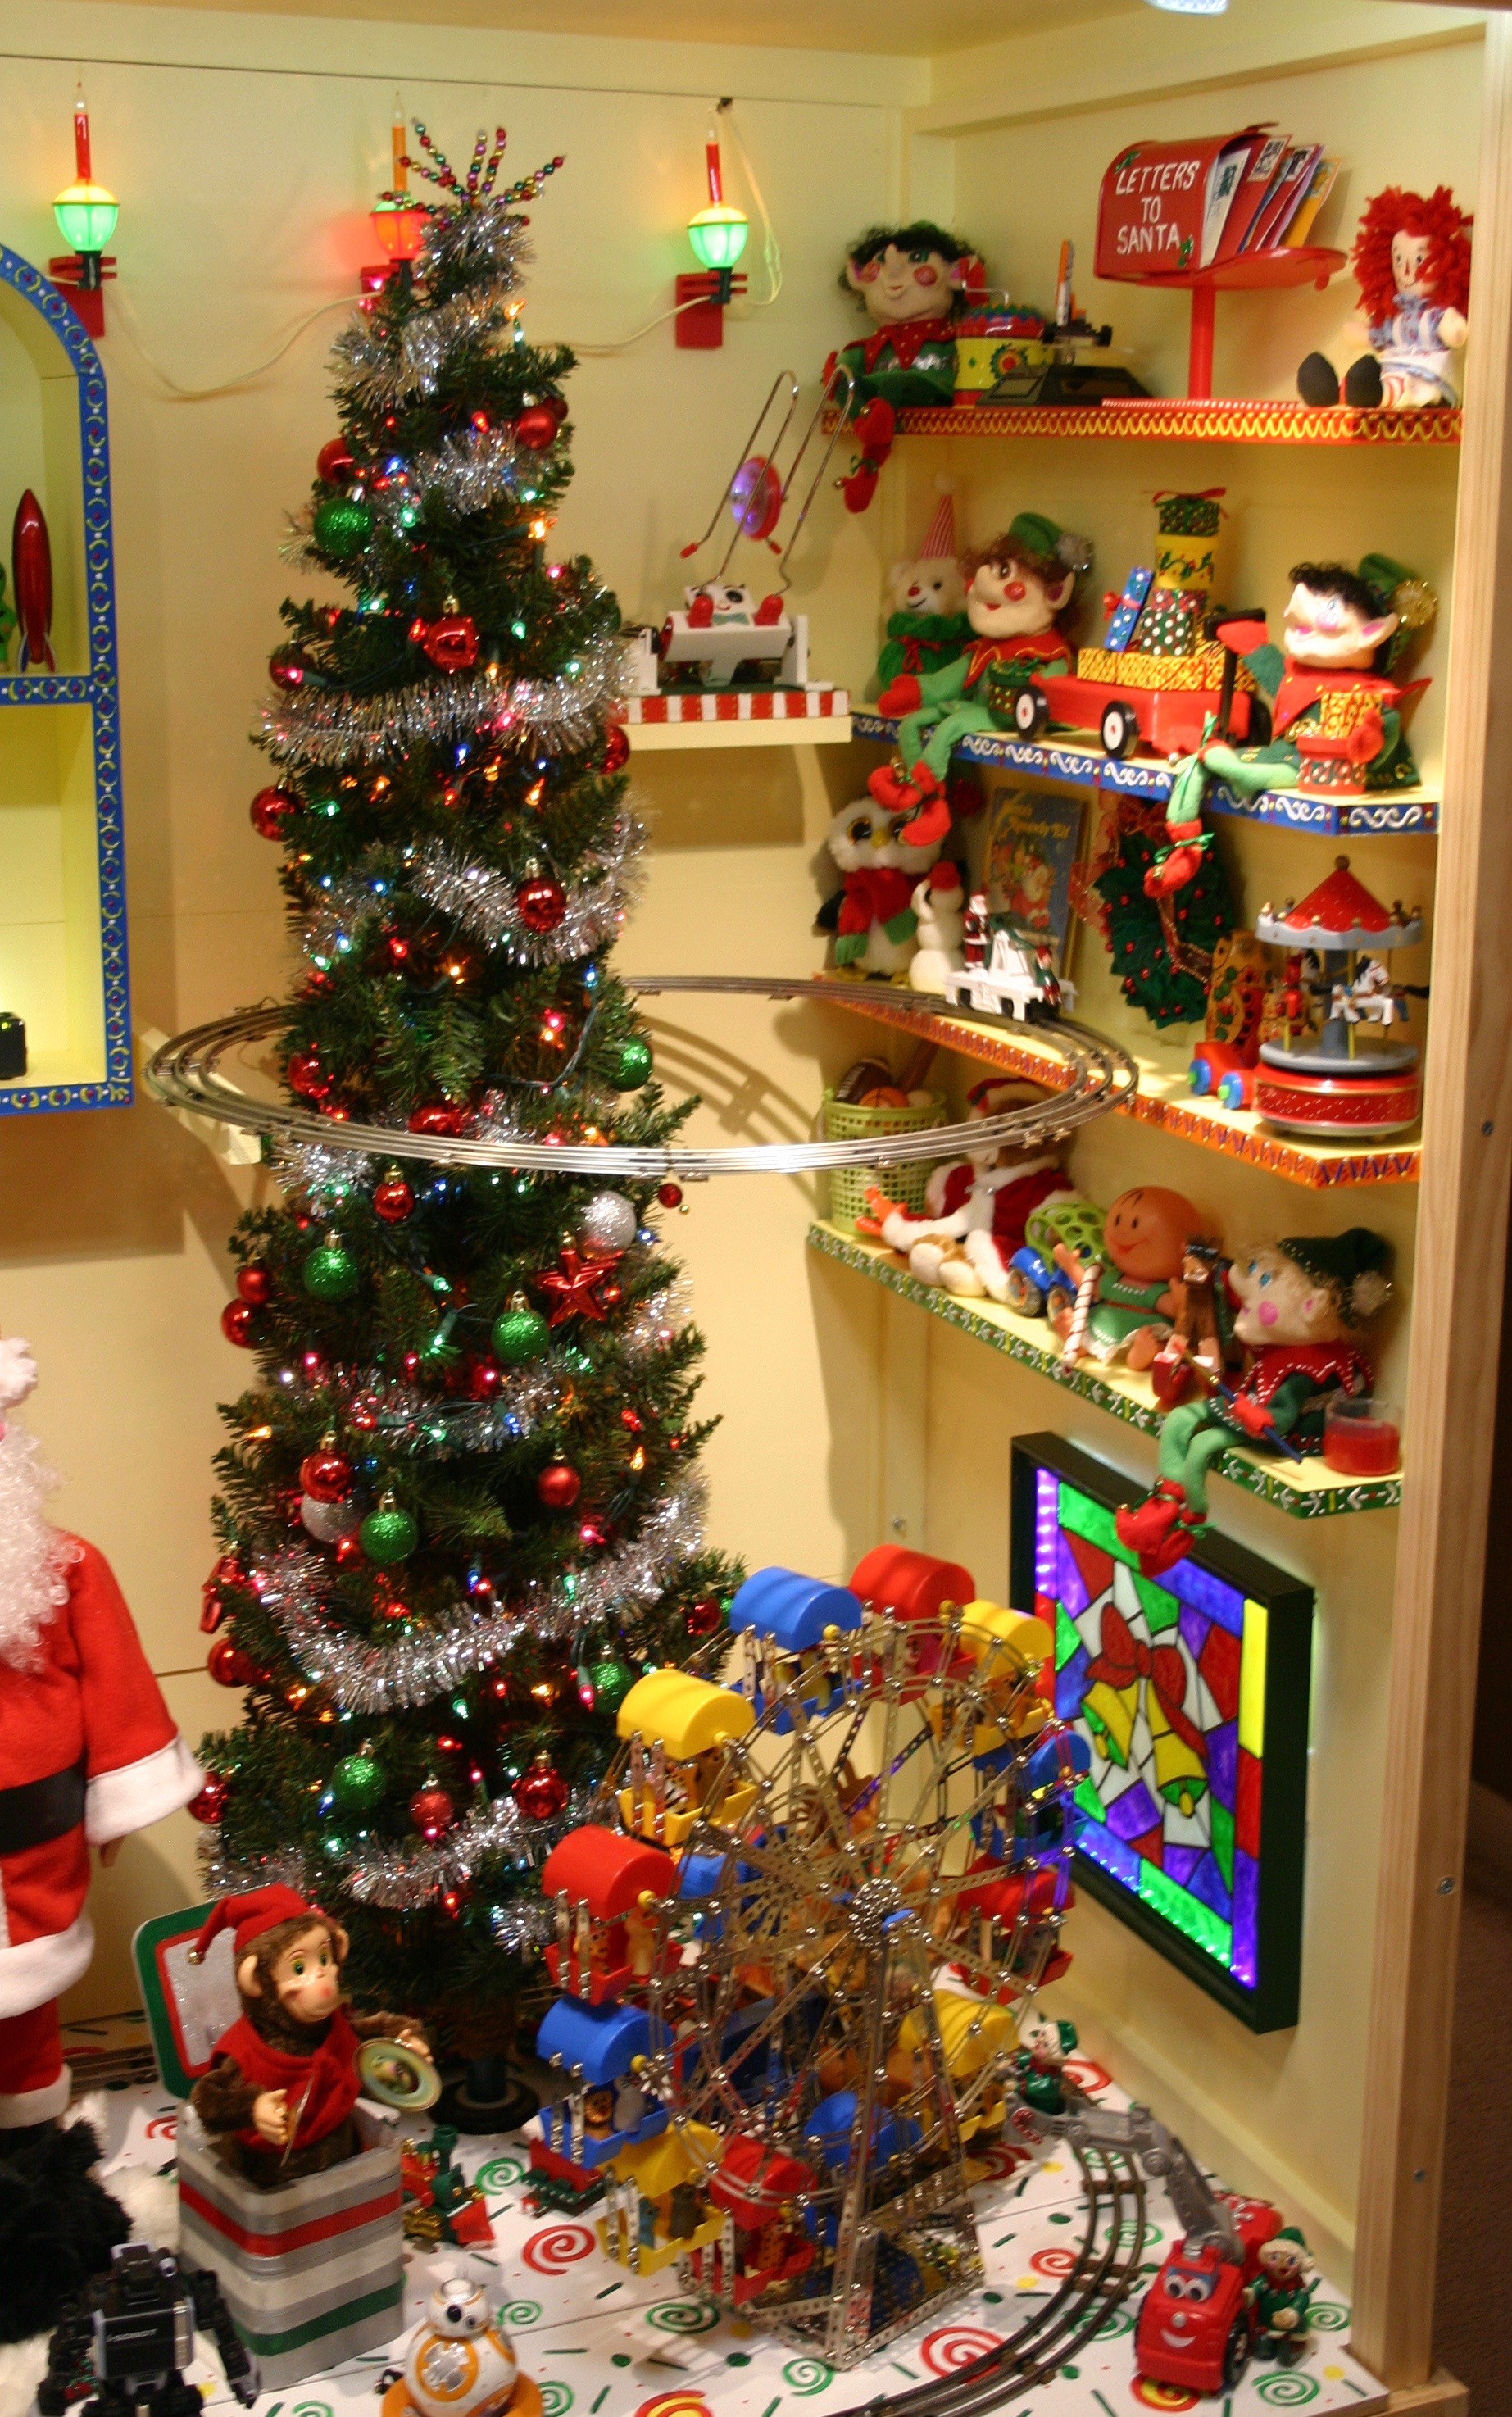
06/29/2016 at 00:35 • 0 commentsToday, the right side illuminated stained glass went up.
![]()
-
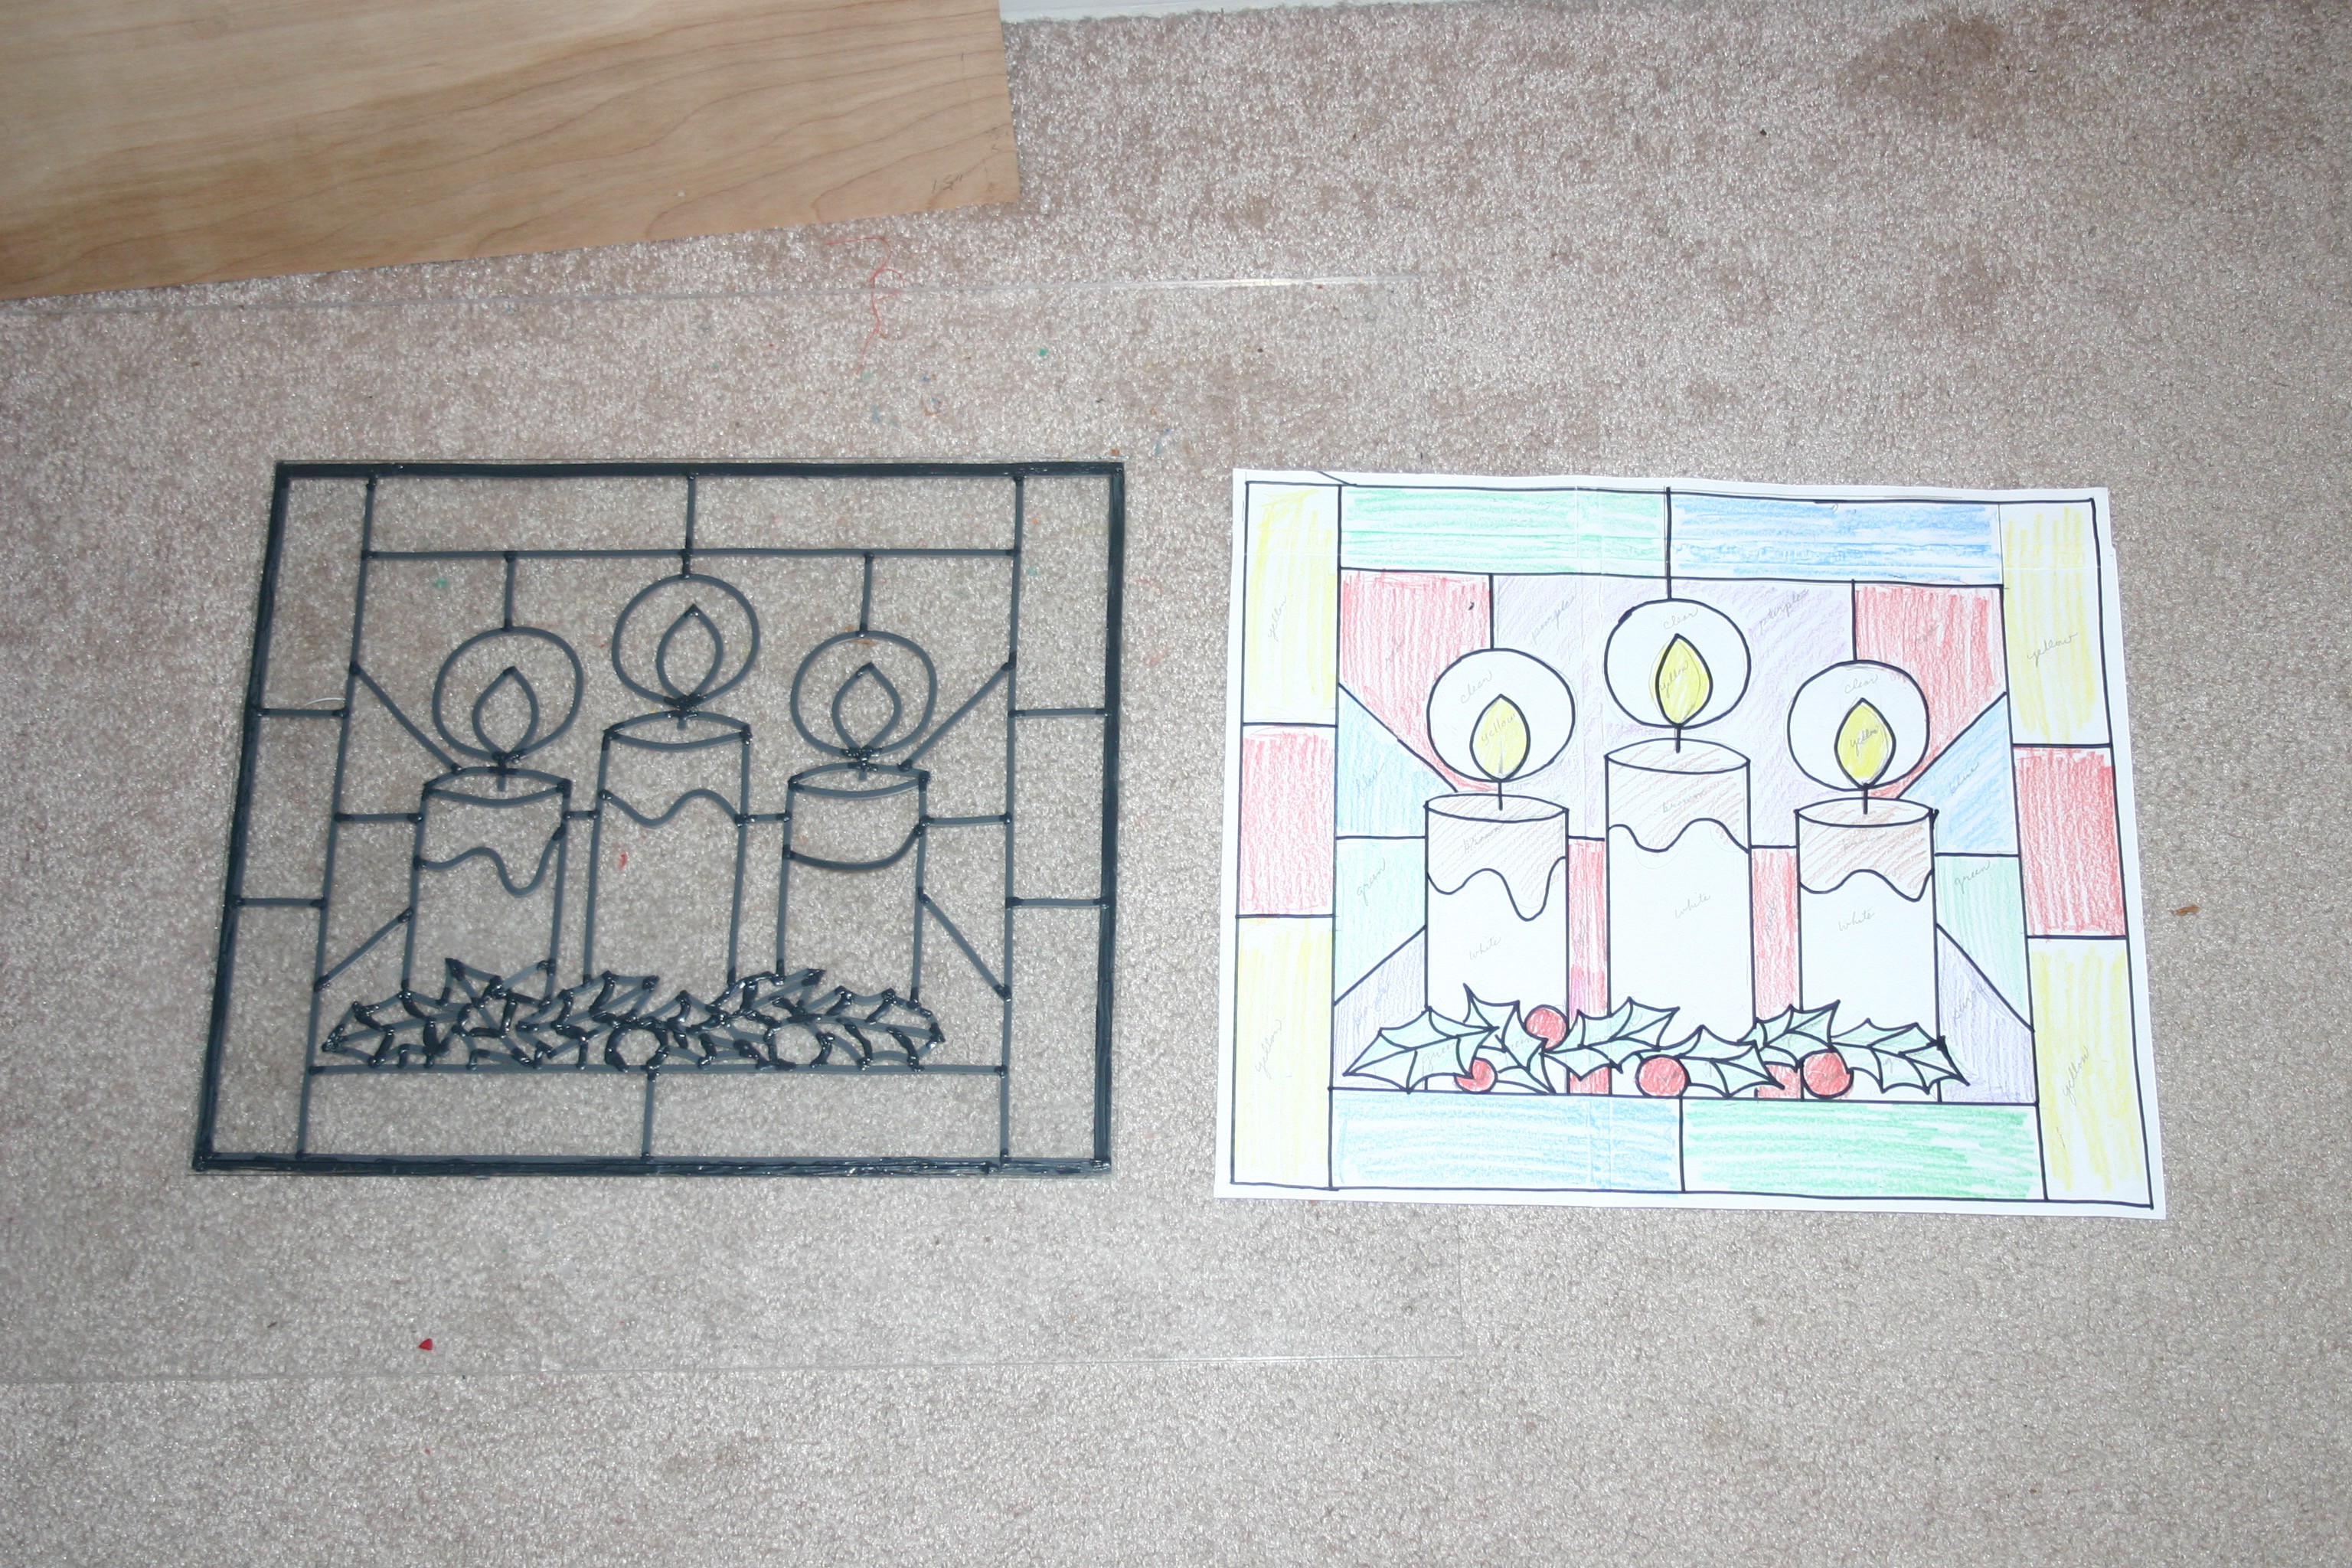
Simulated, Illuminated Stained Glass
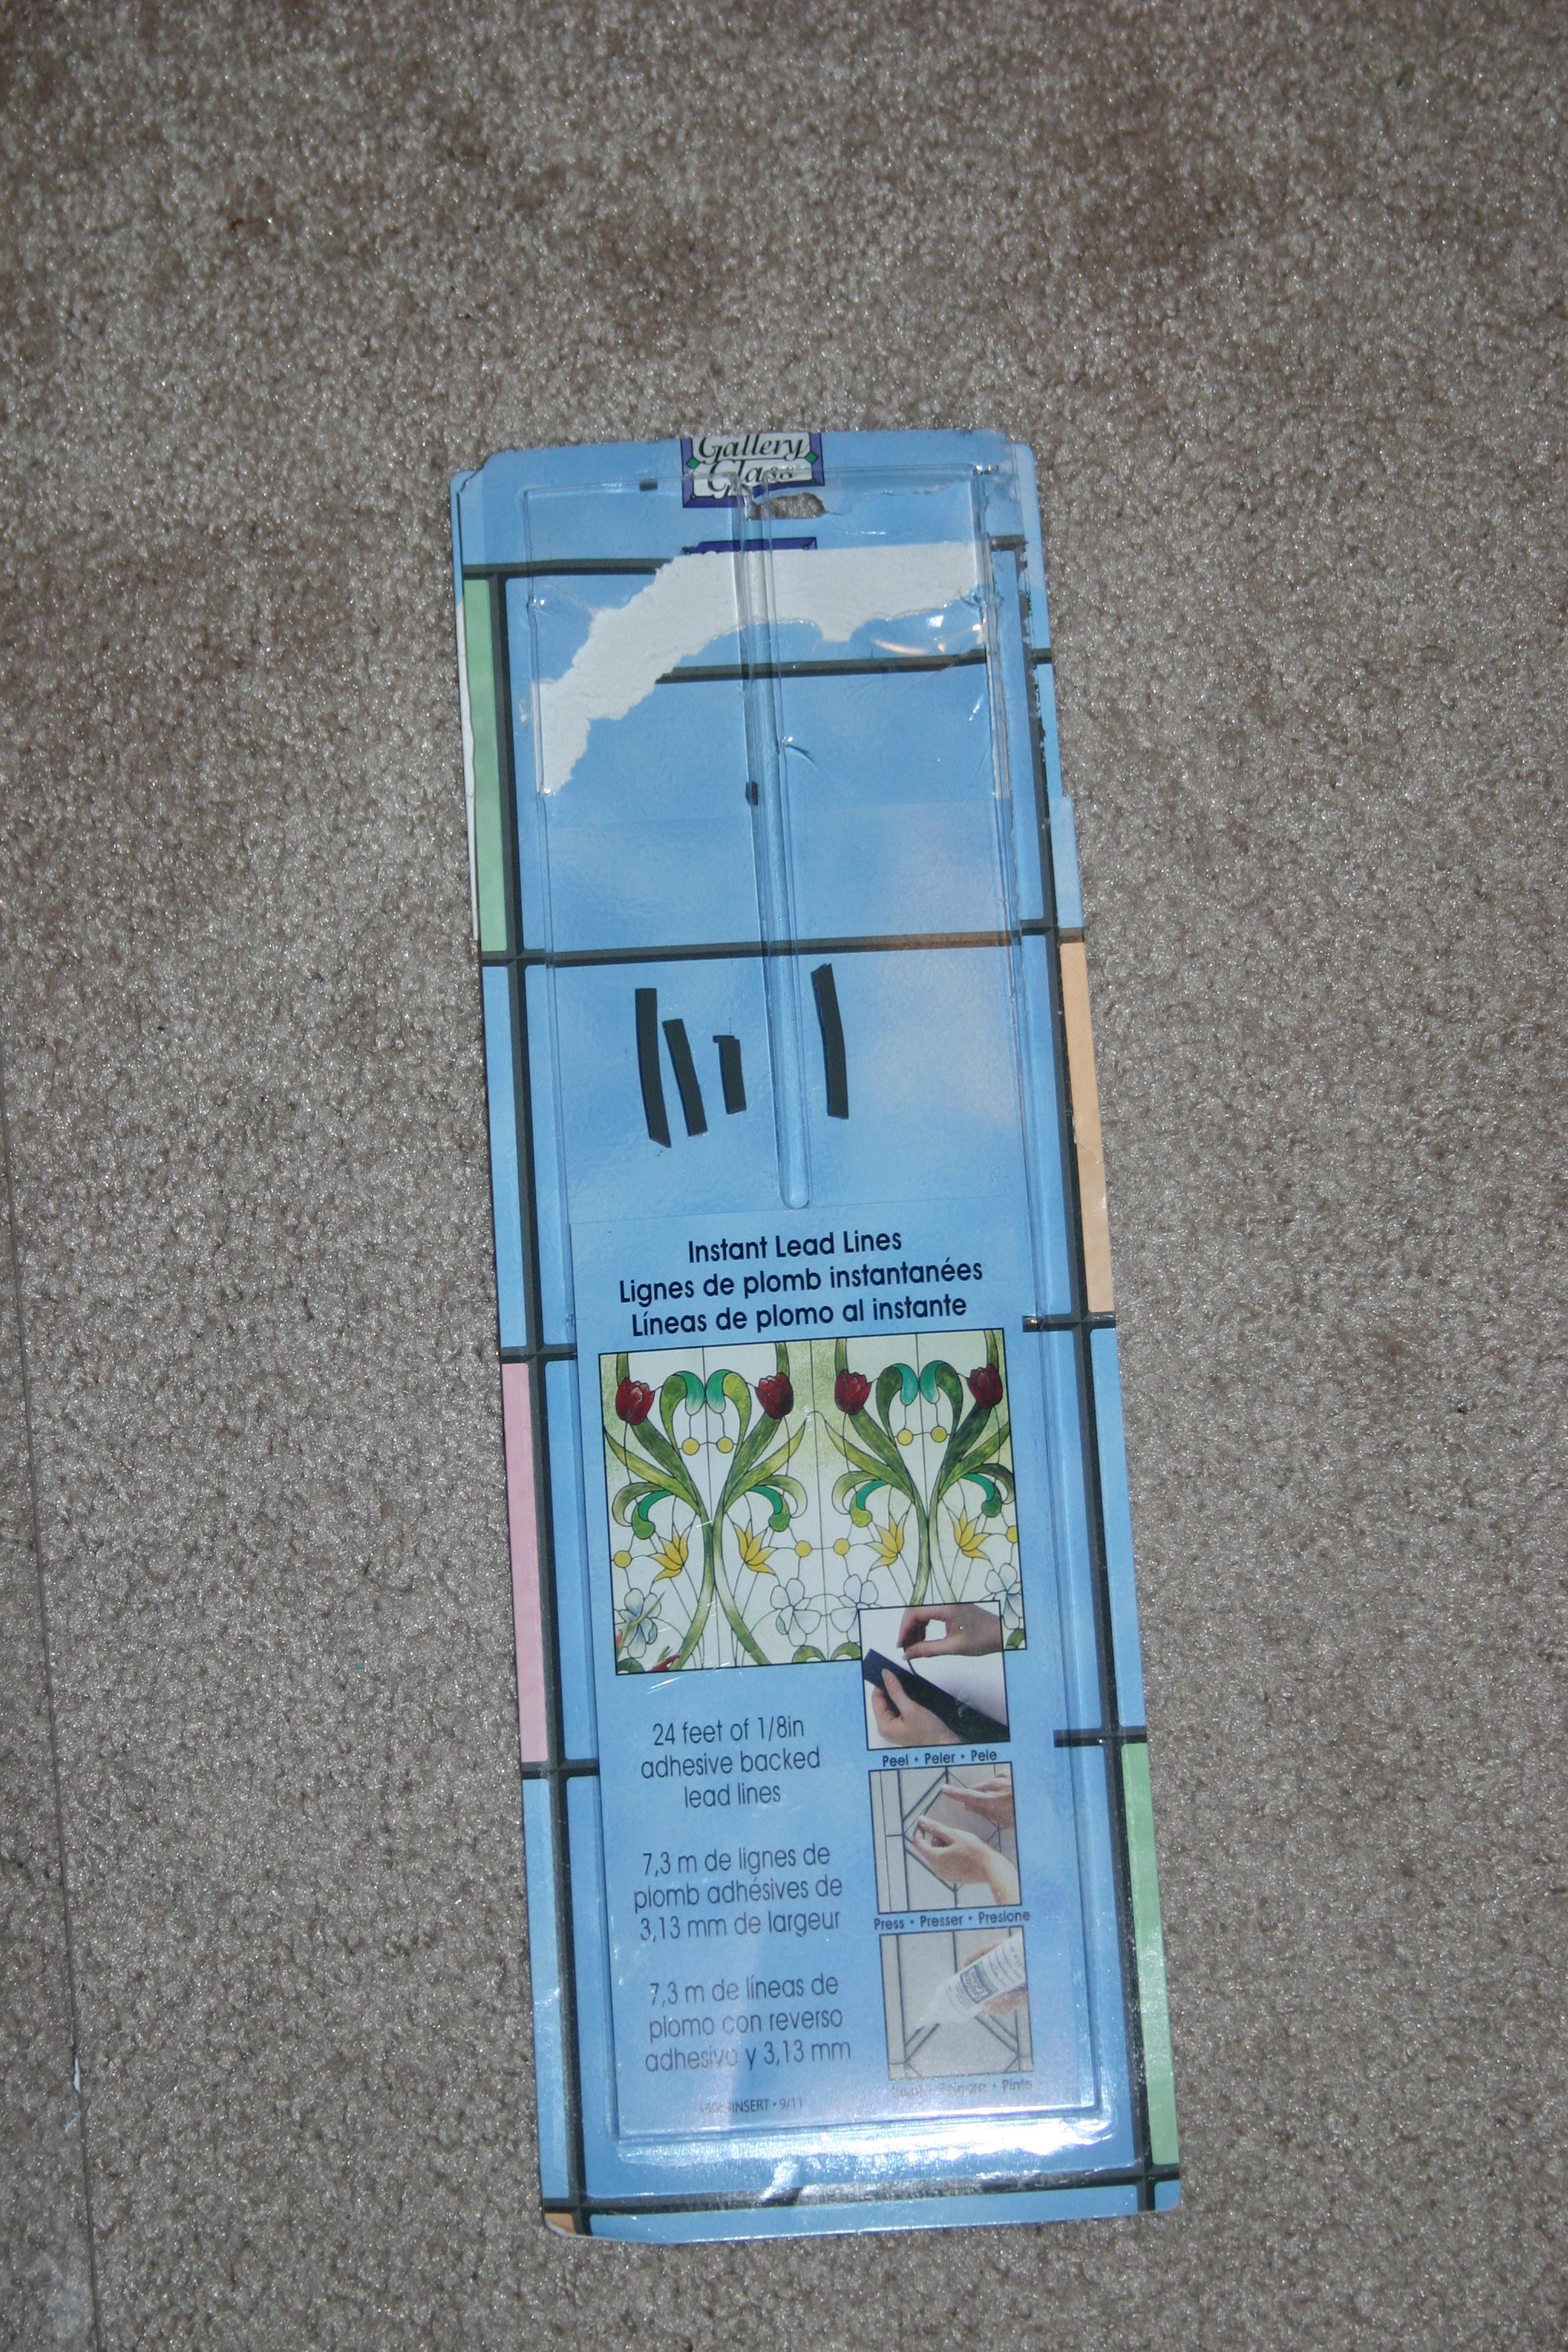
06/26/2016 at 20:31 • 0 commentsNow it's time to turn a couple of picture frames into lighted stained glass. We start with a sketch and "stick on" lead.
![]()
![]()
![]()
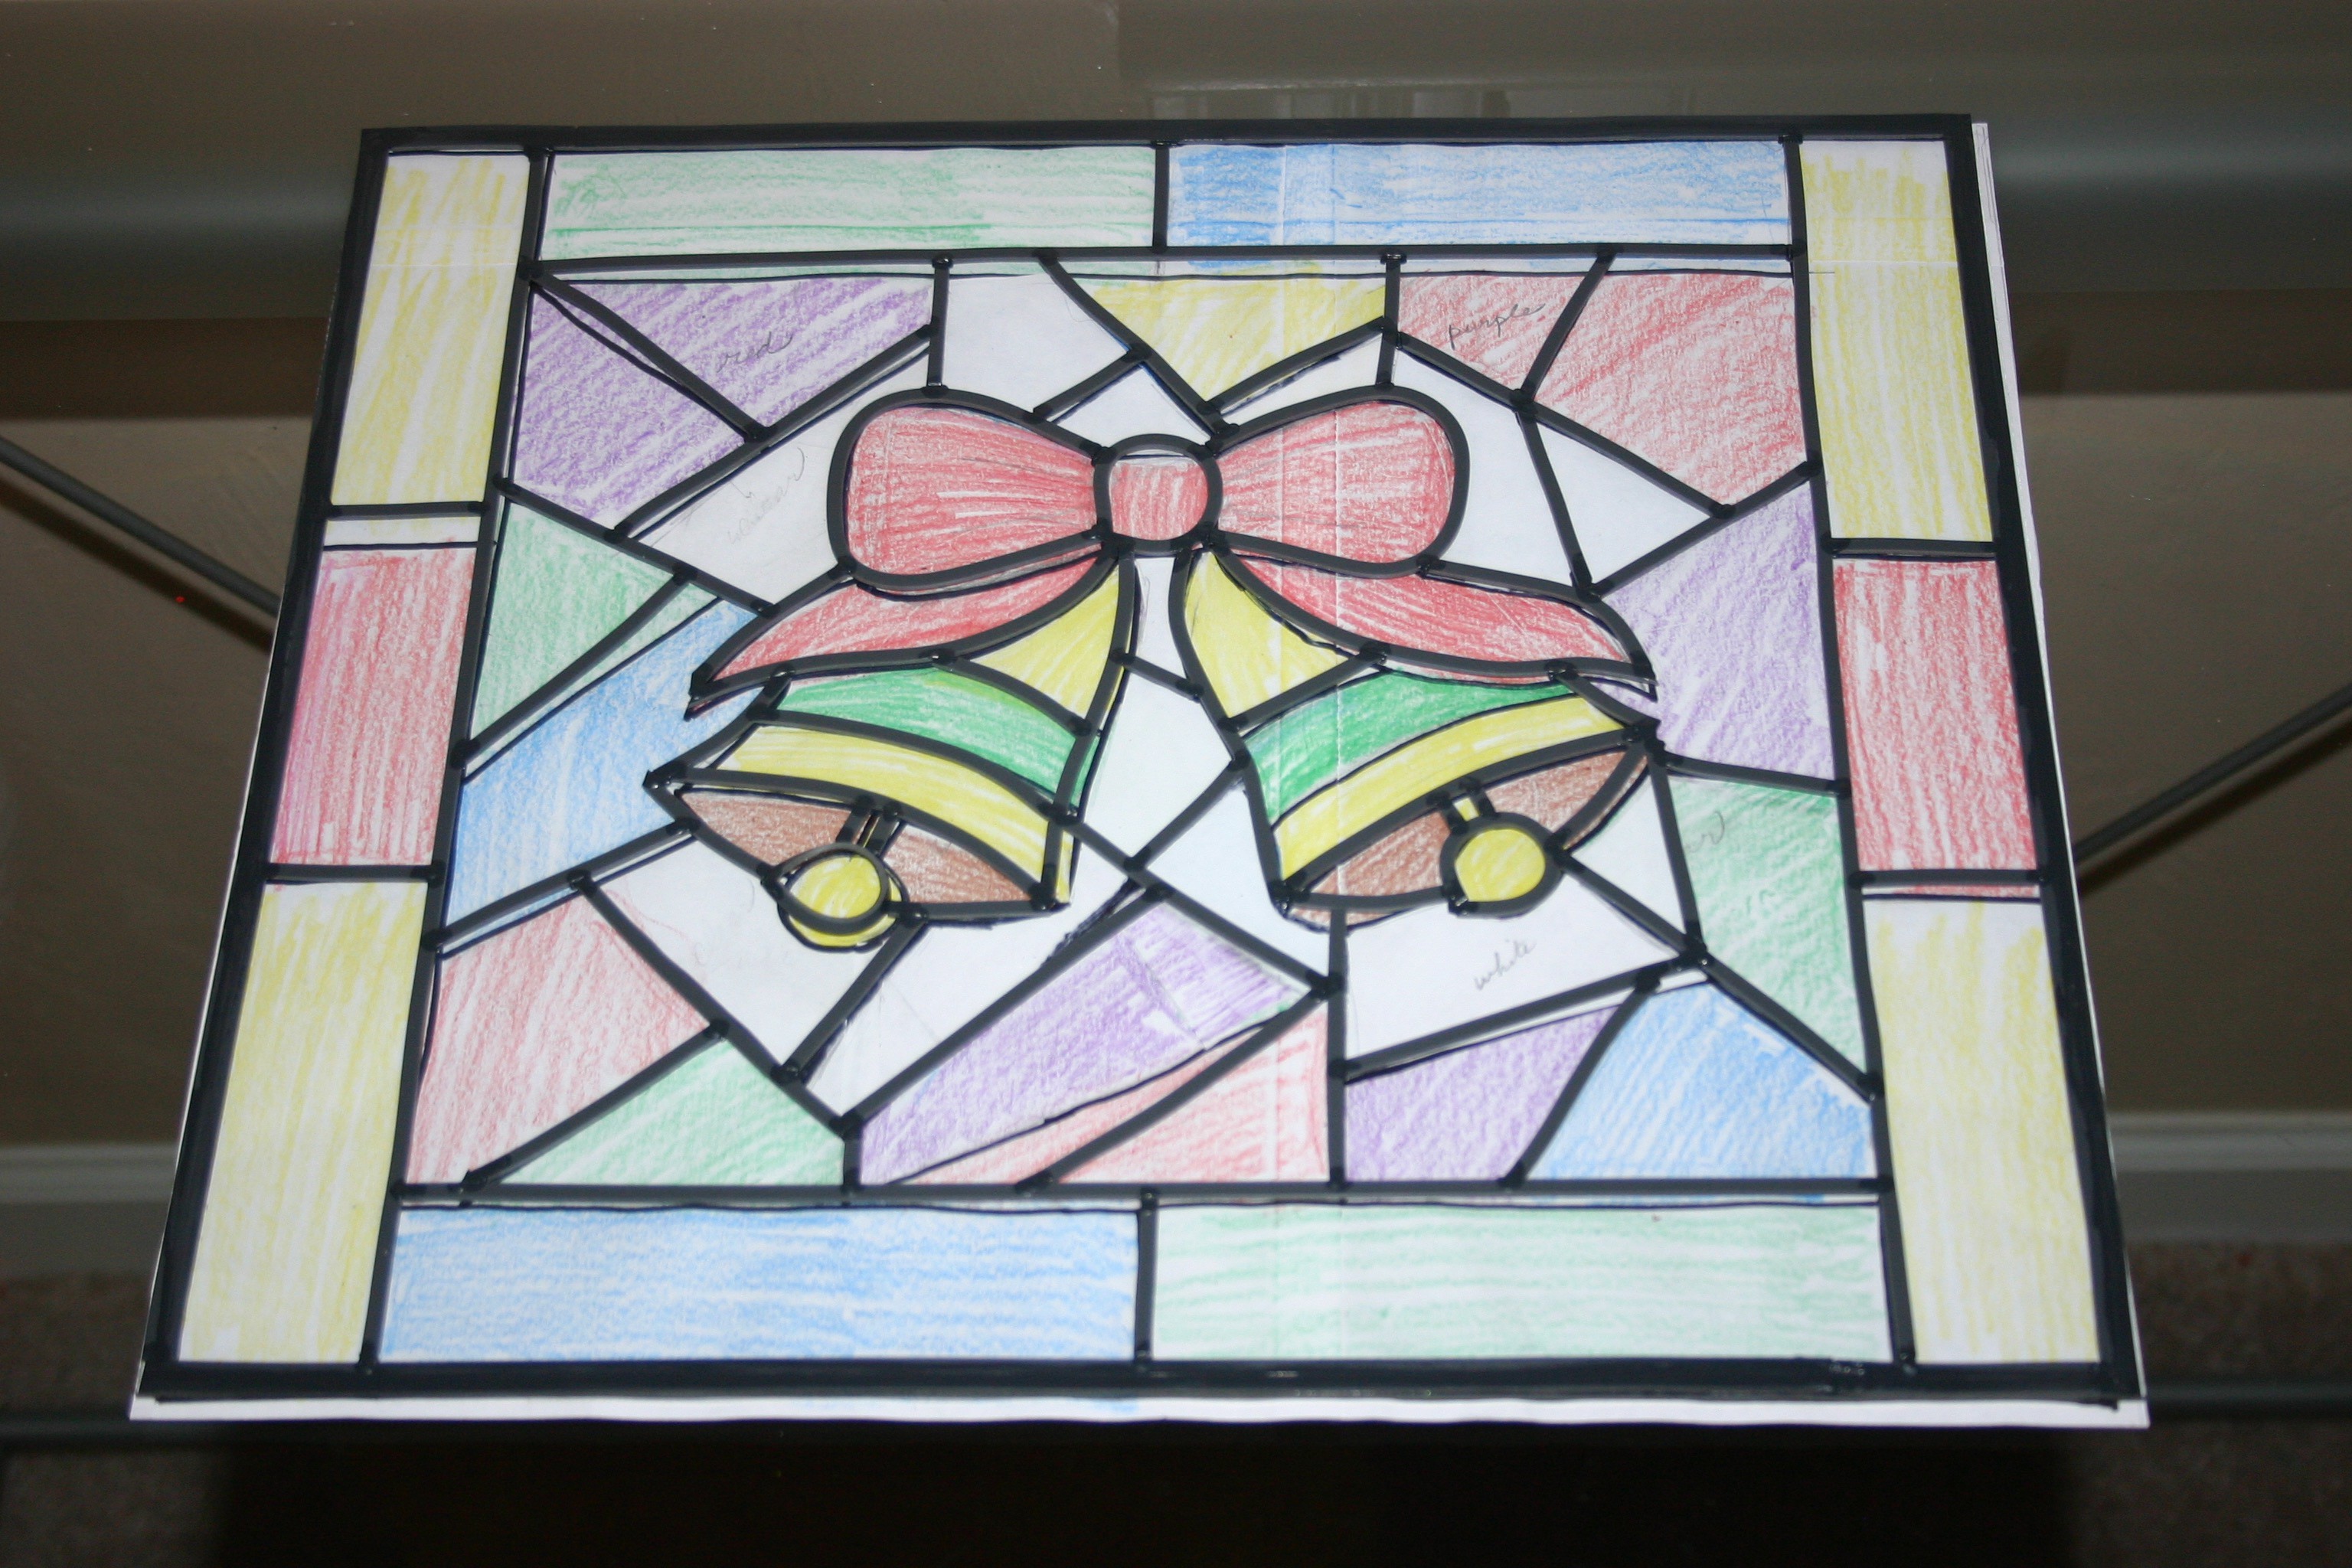
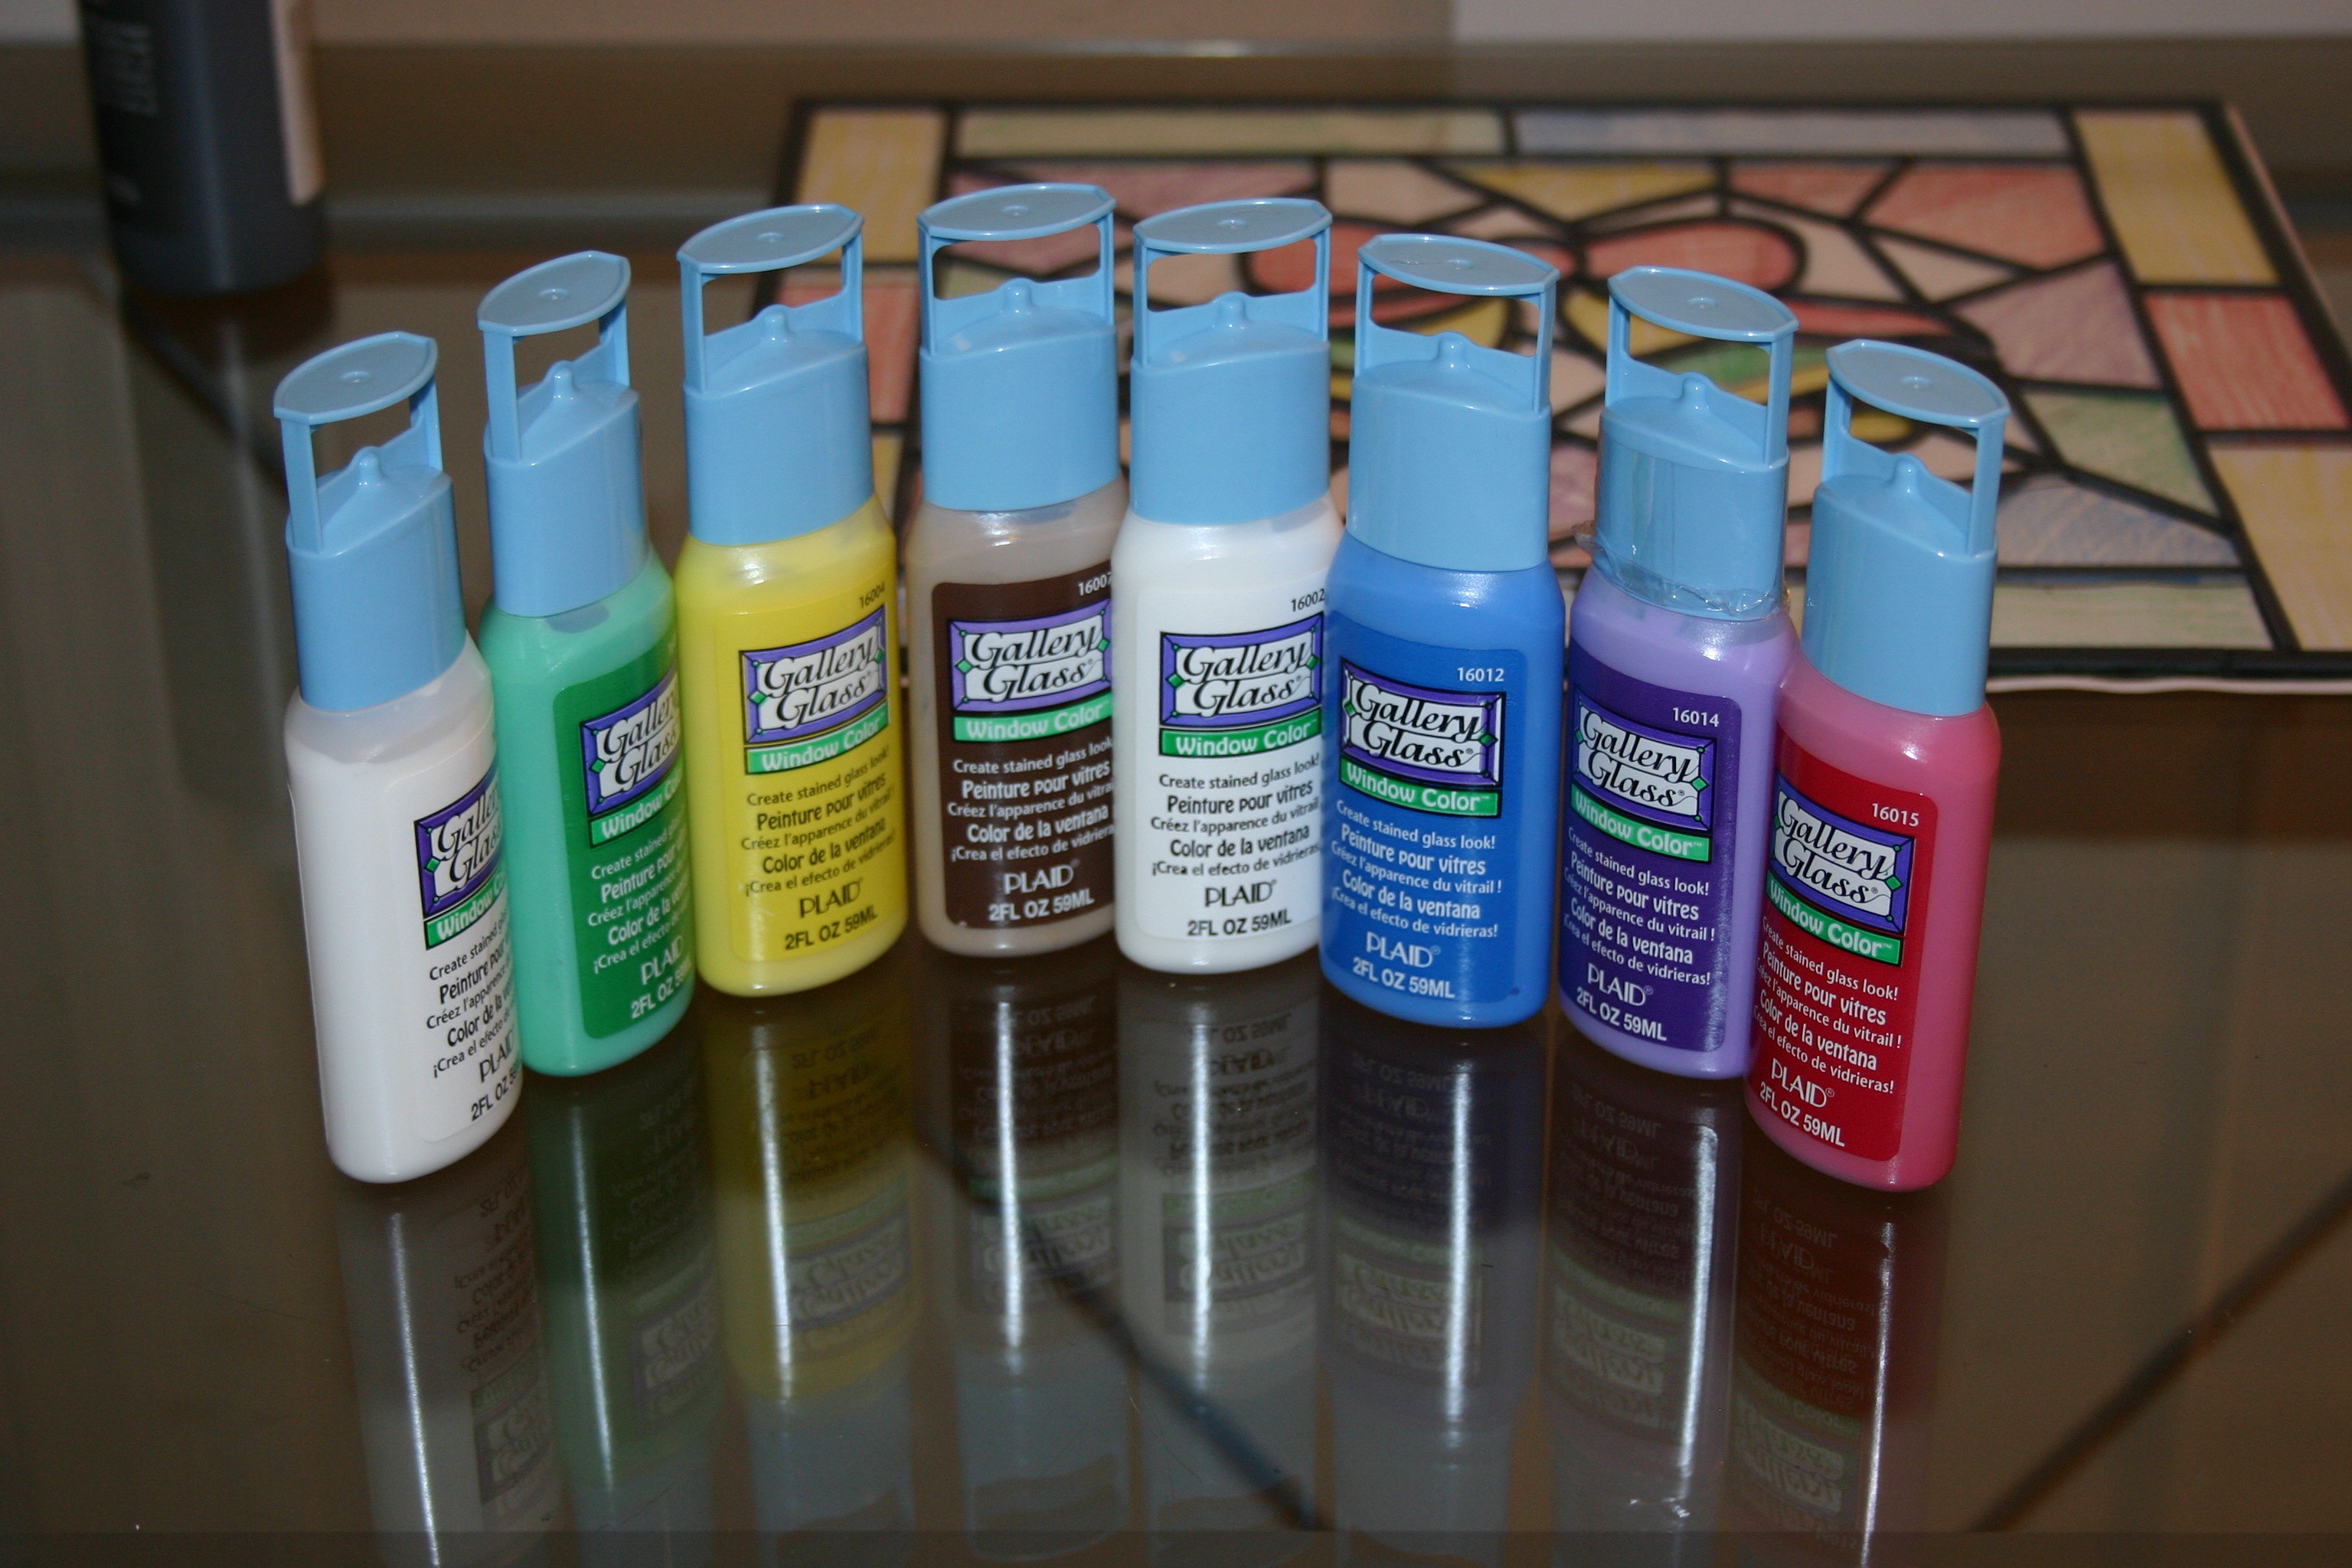
Next, paint the colors onto the glass between the lead pieces.
![]()
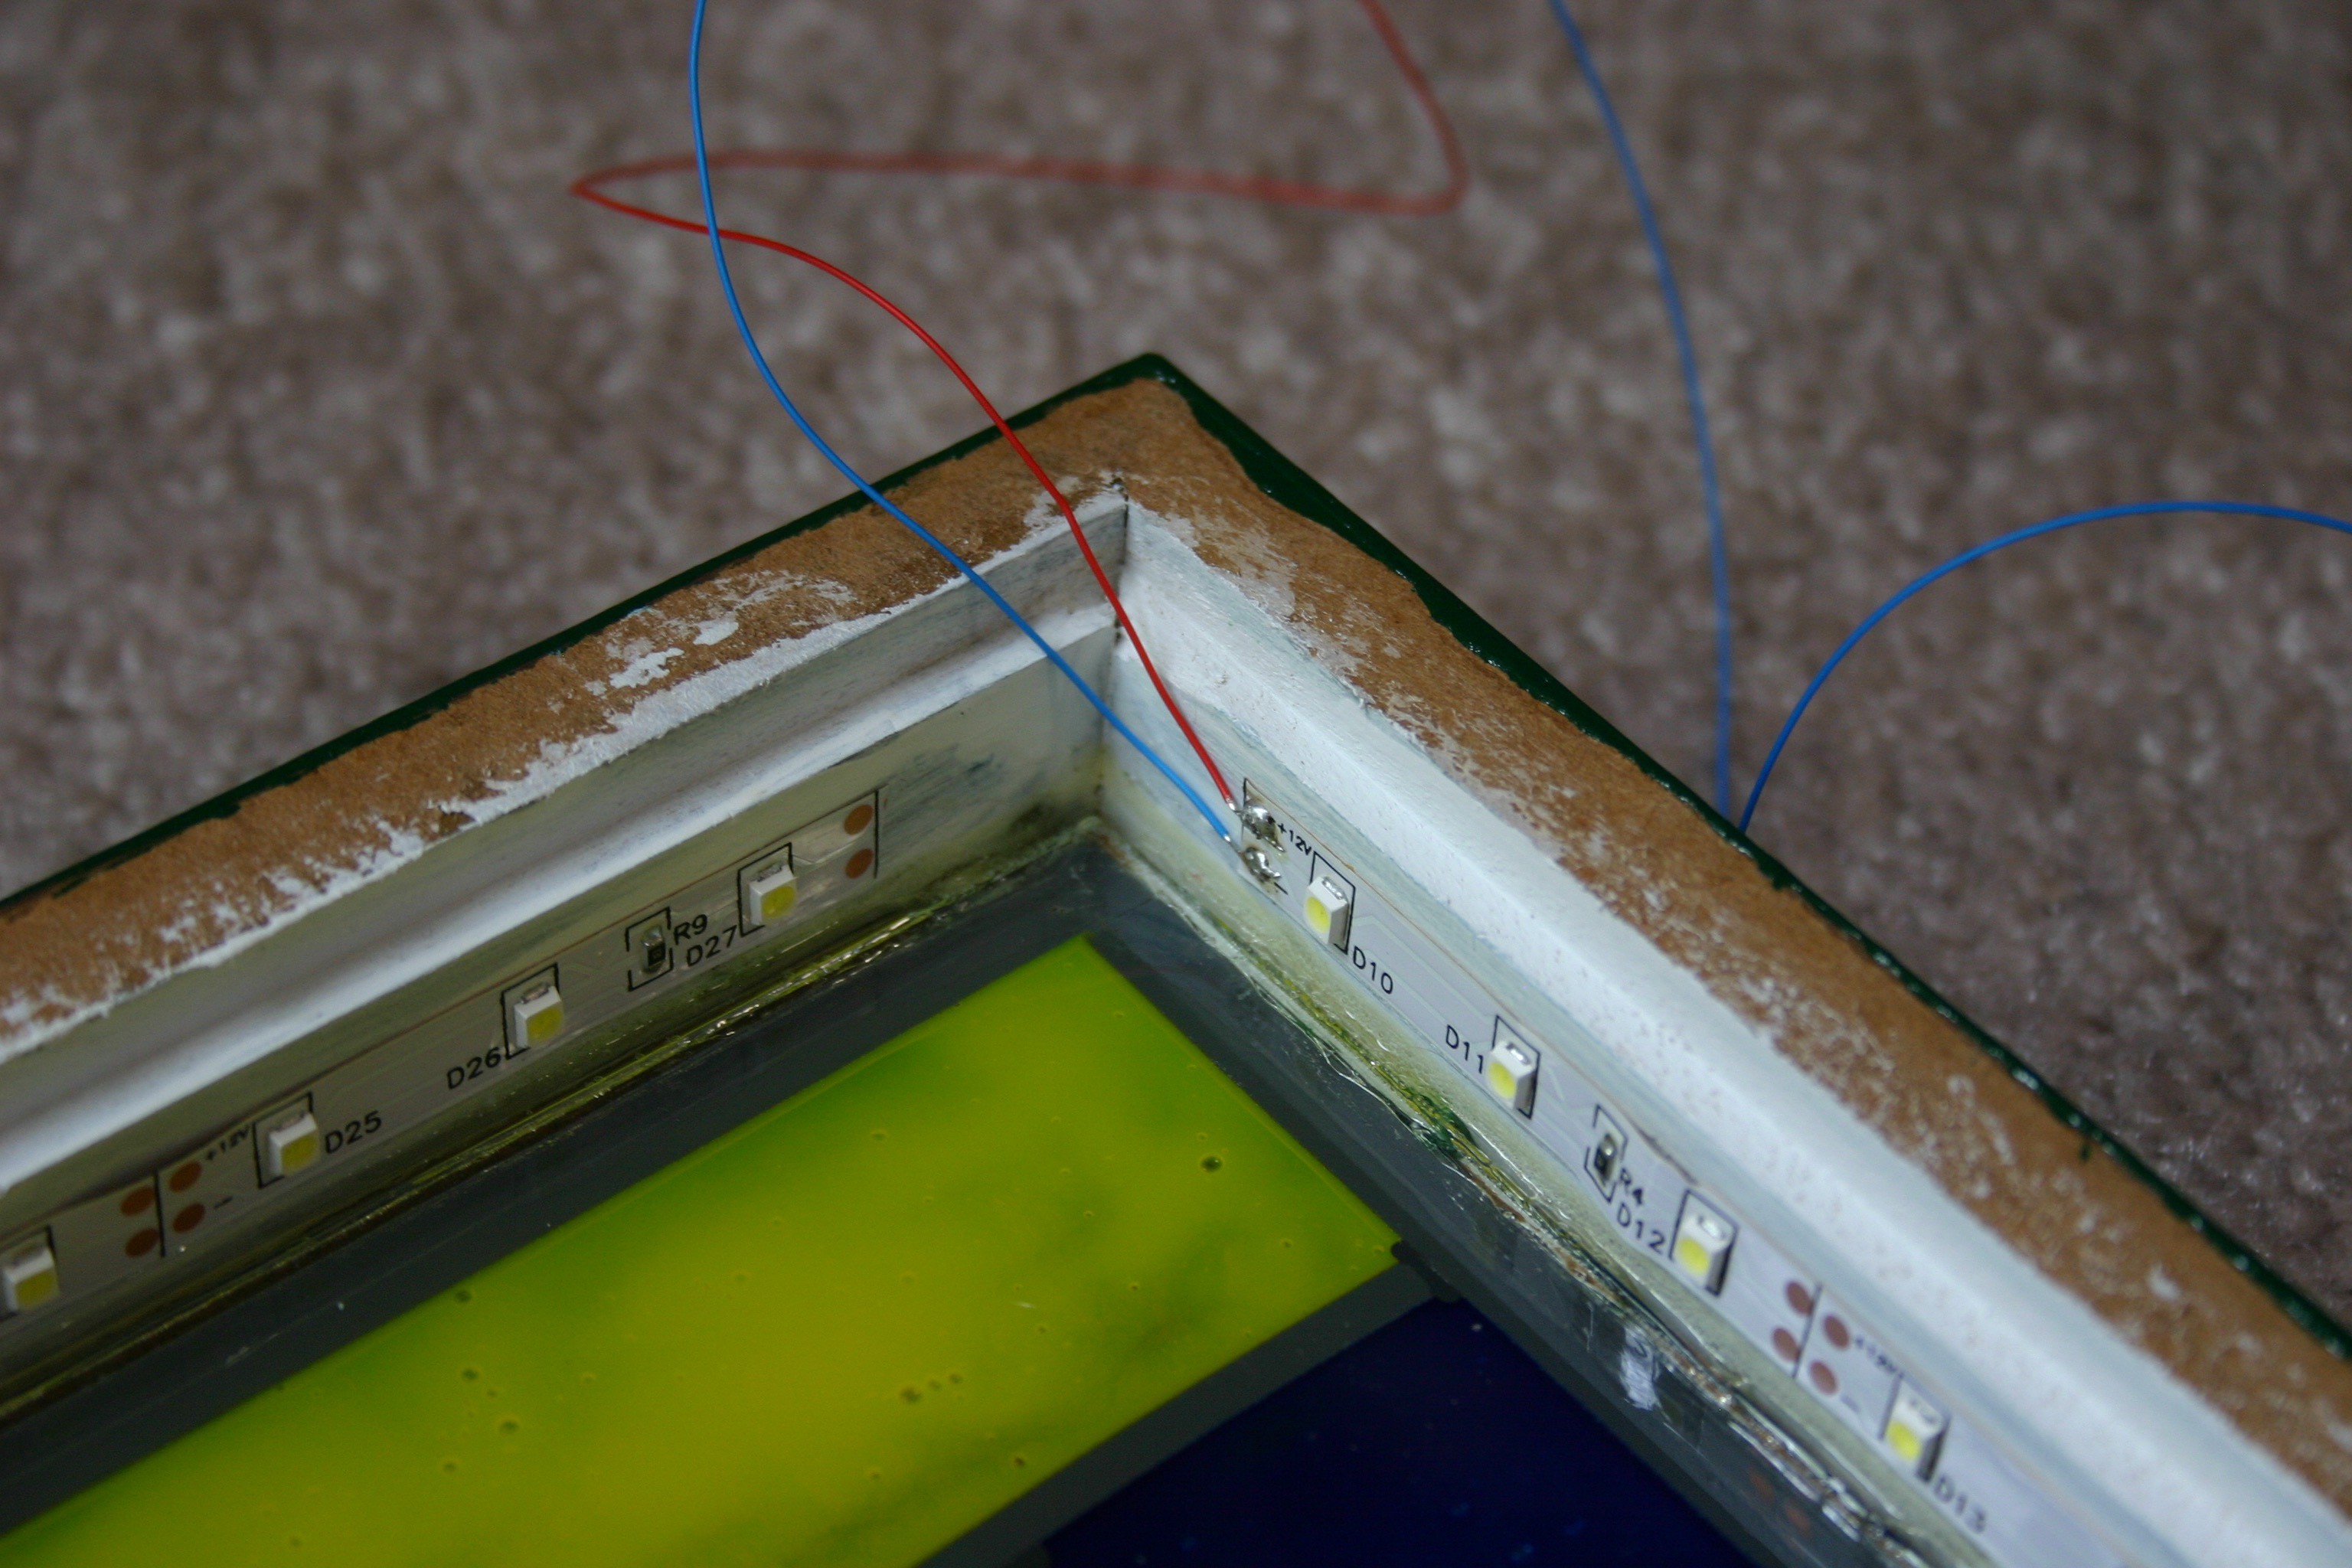
Glue the glass (after the paint dries) into the frame. Use led tape around the inside edges for lighting--solder wire wrap wires to the led pads so that a big fat wire and hole will not be required behind the frame.
![]()
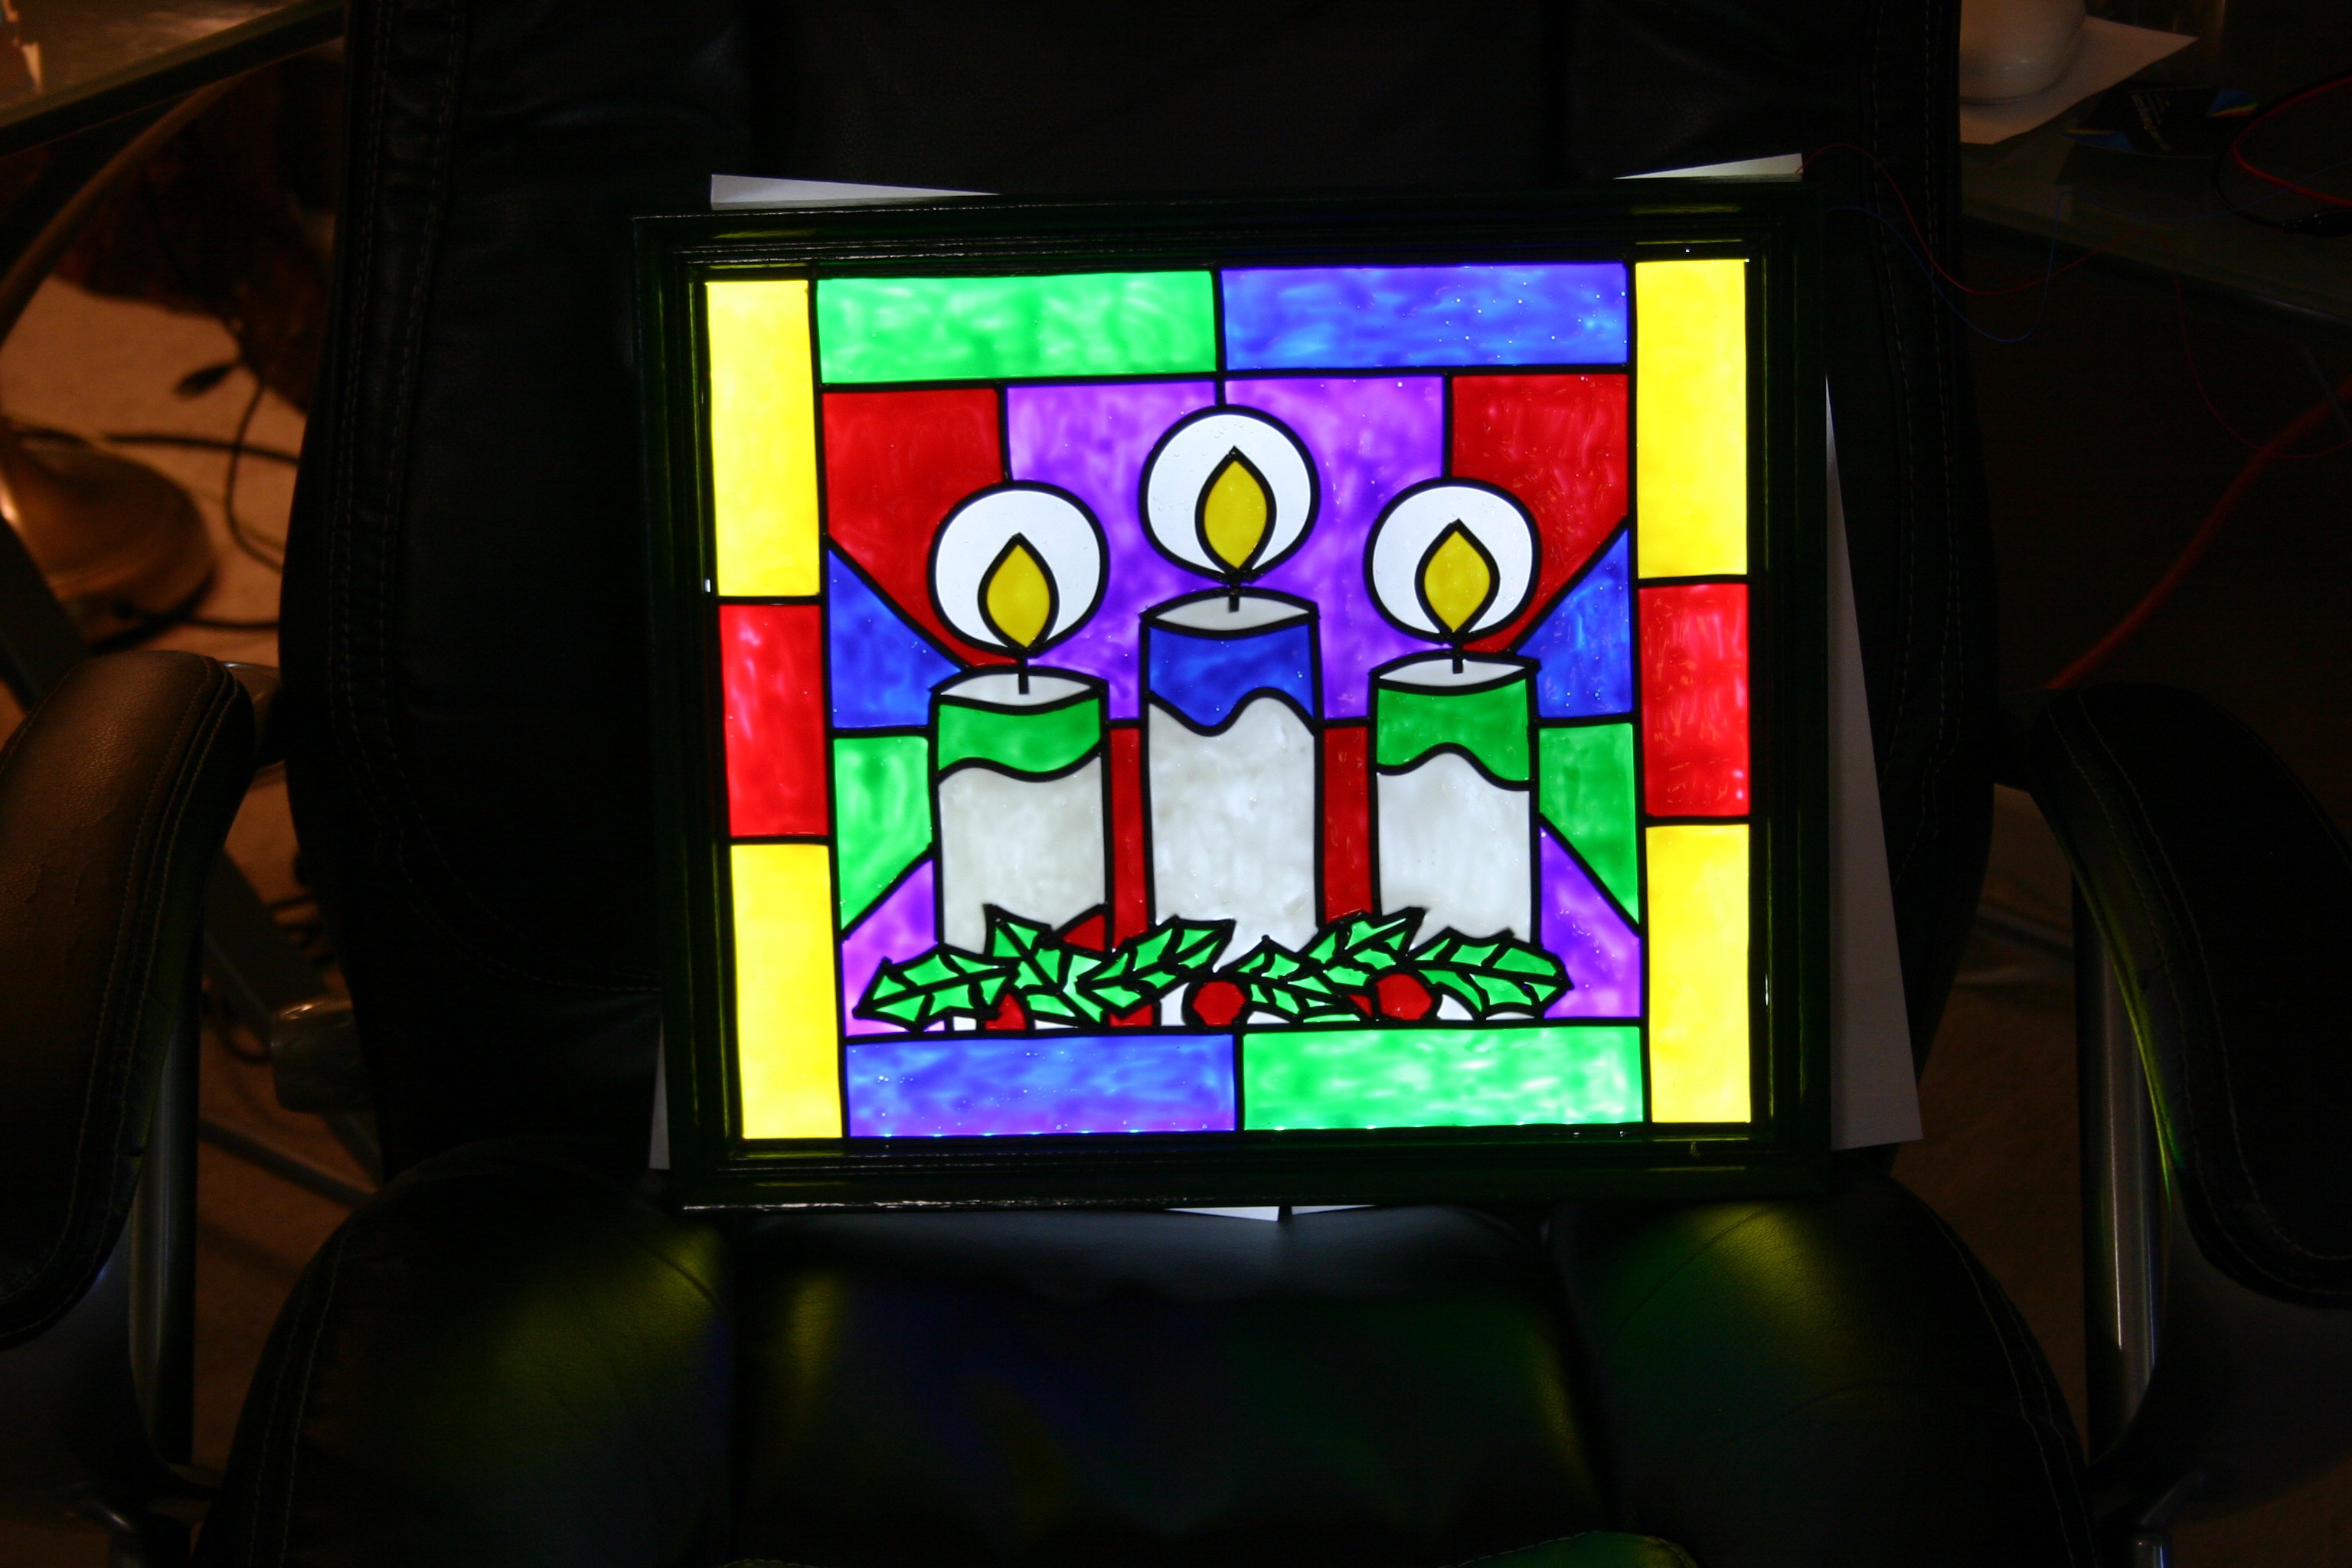
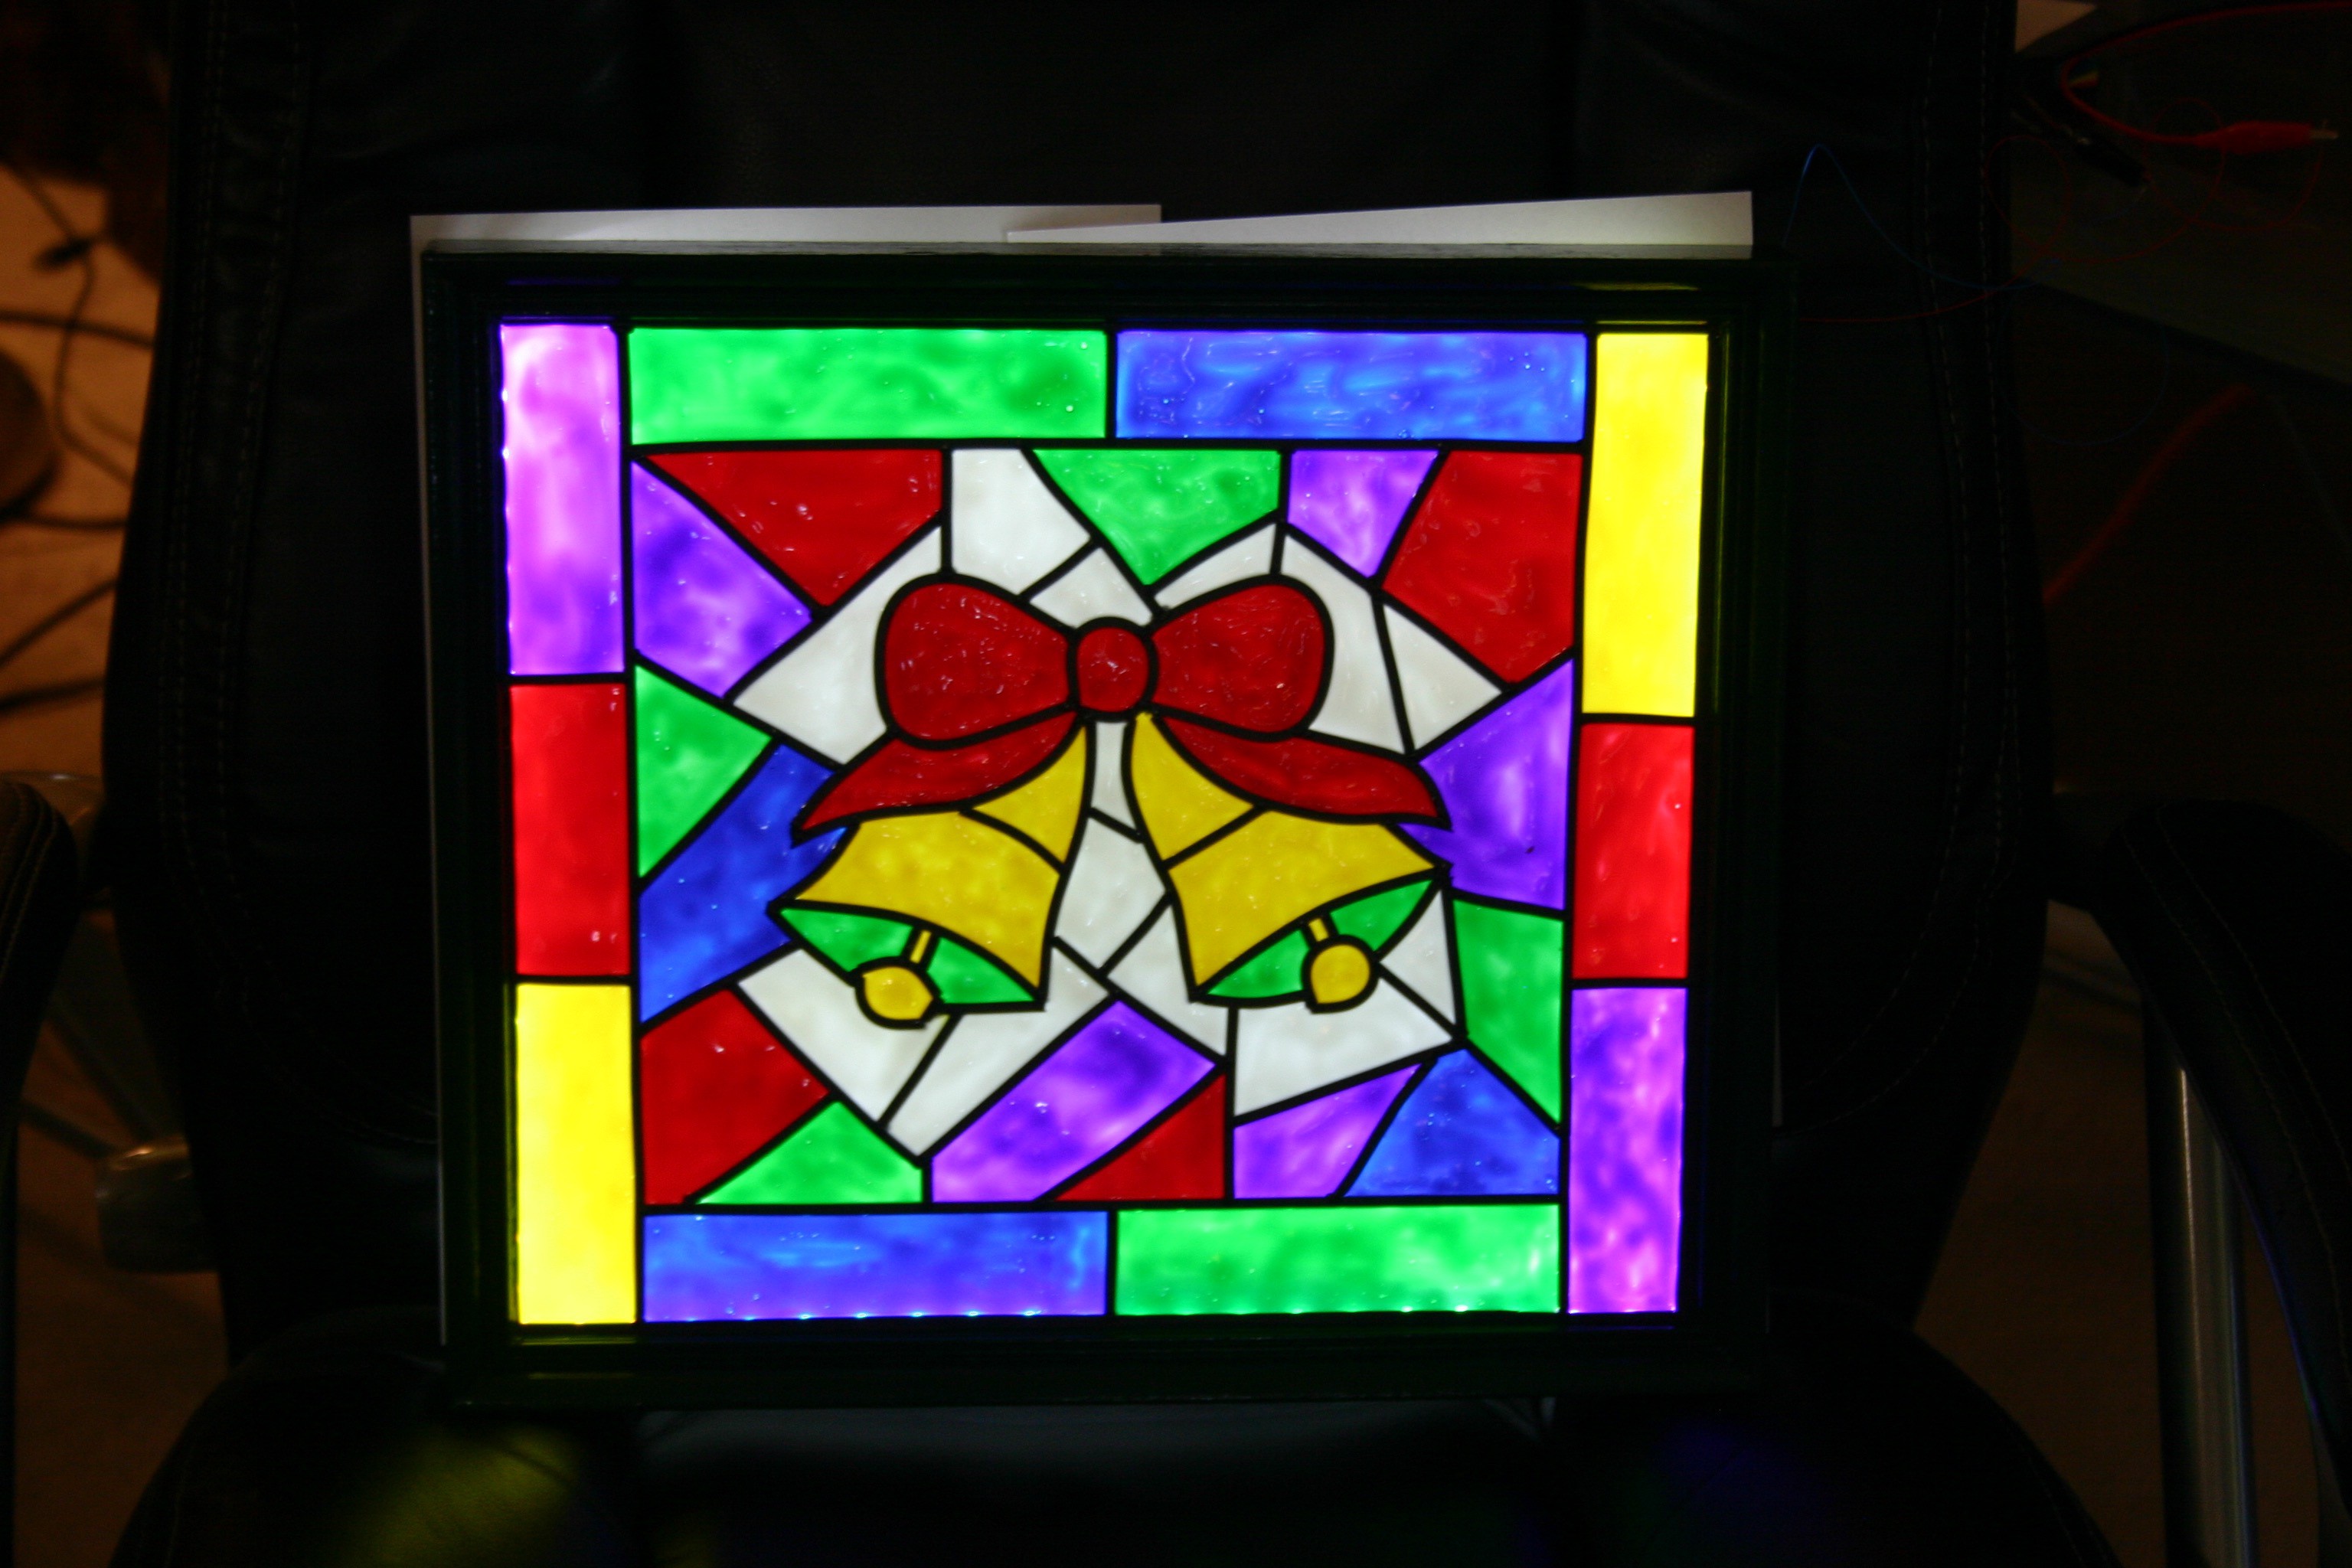
Illuminated, at the full 12 volts for which the lights are rated, the "windows" look like this.
![]()
![]()
We decided that 9 volts on the leds makes the windows visible without requiring sunglasses.
![]()
-
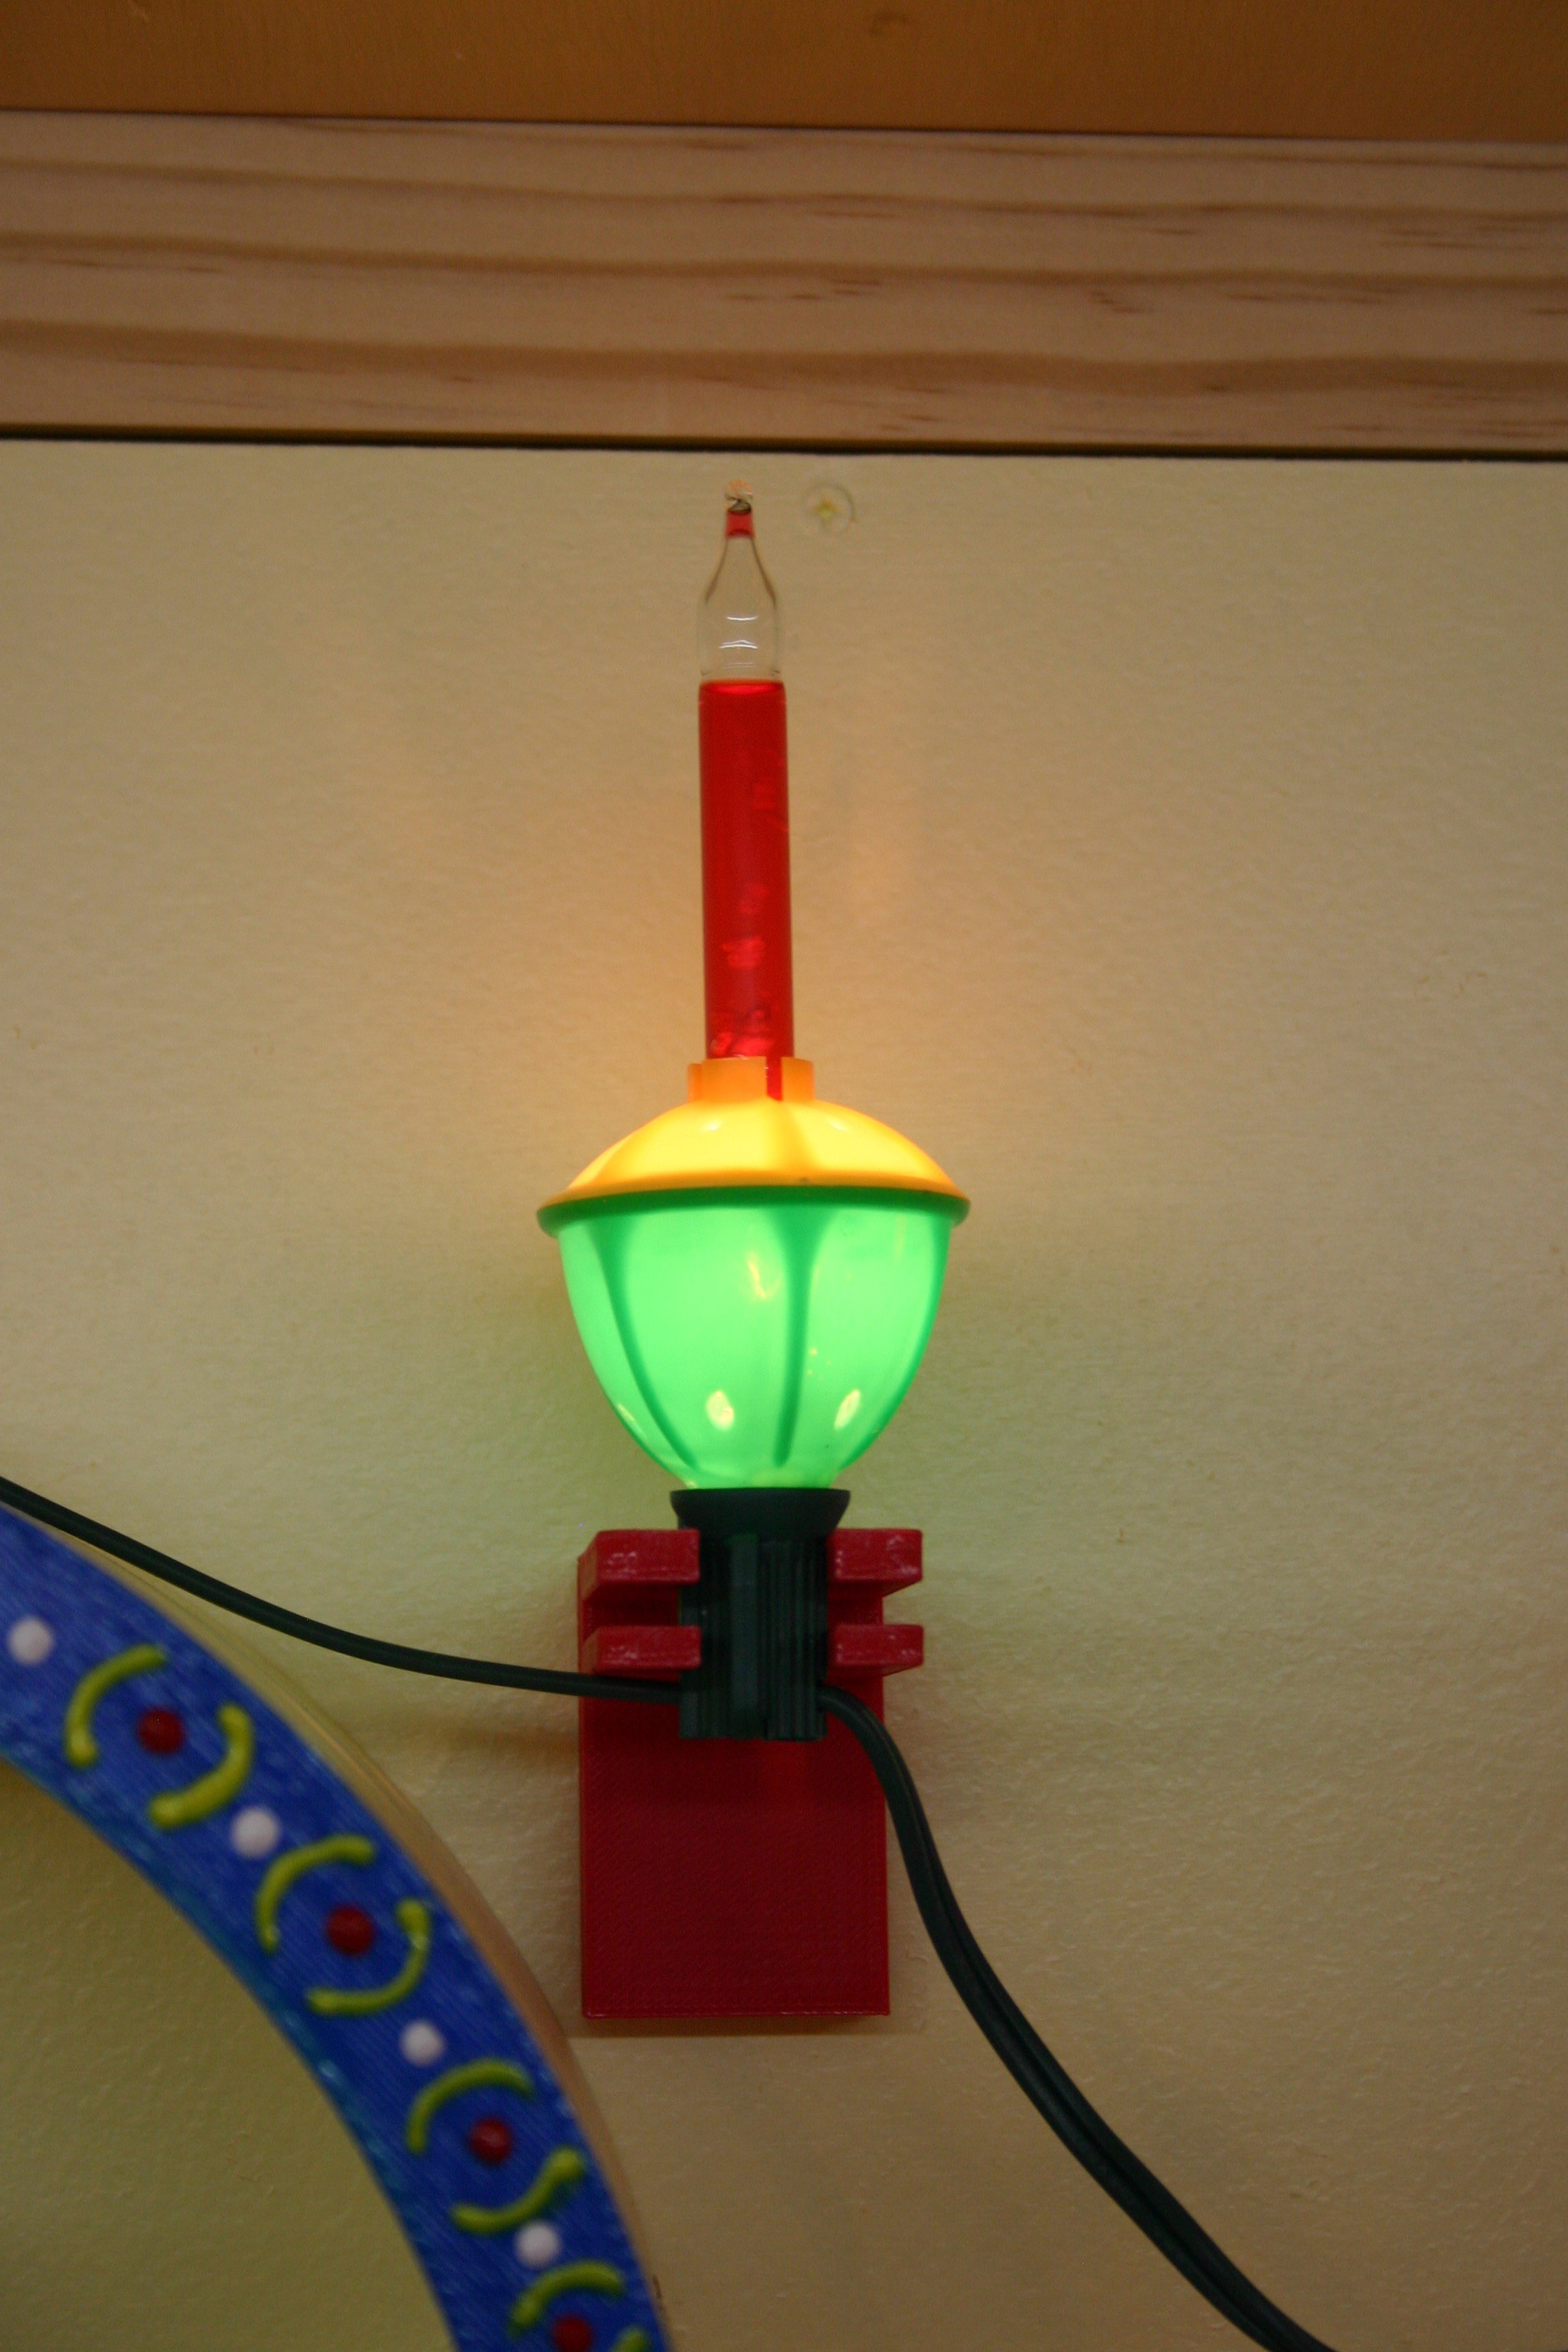
Bubble Lights
06/19/2016 at 19:42 • 0 commentsOften, things are a bit more challenging than they seem at first glance. Mounting bubble lights to a wall requires keeping the lights up straight (heat from the lamp makes the bubble tube bubble) and getting the lights far enough from the wall to stand straight (the lights are tall and wide).
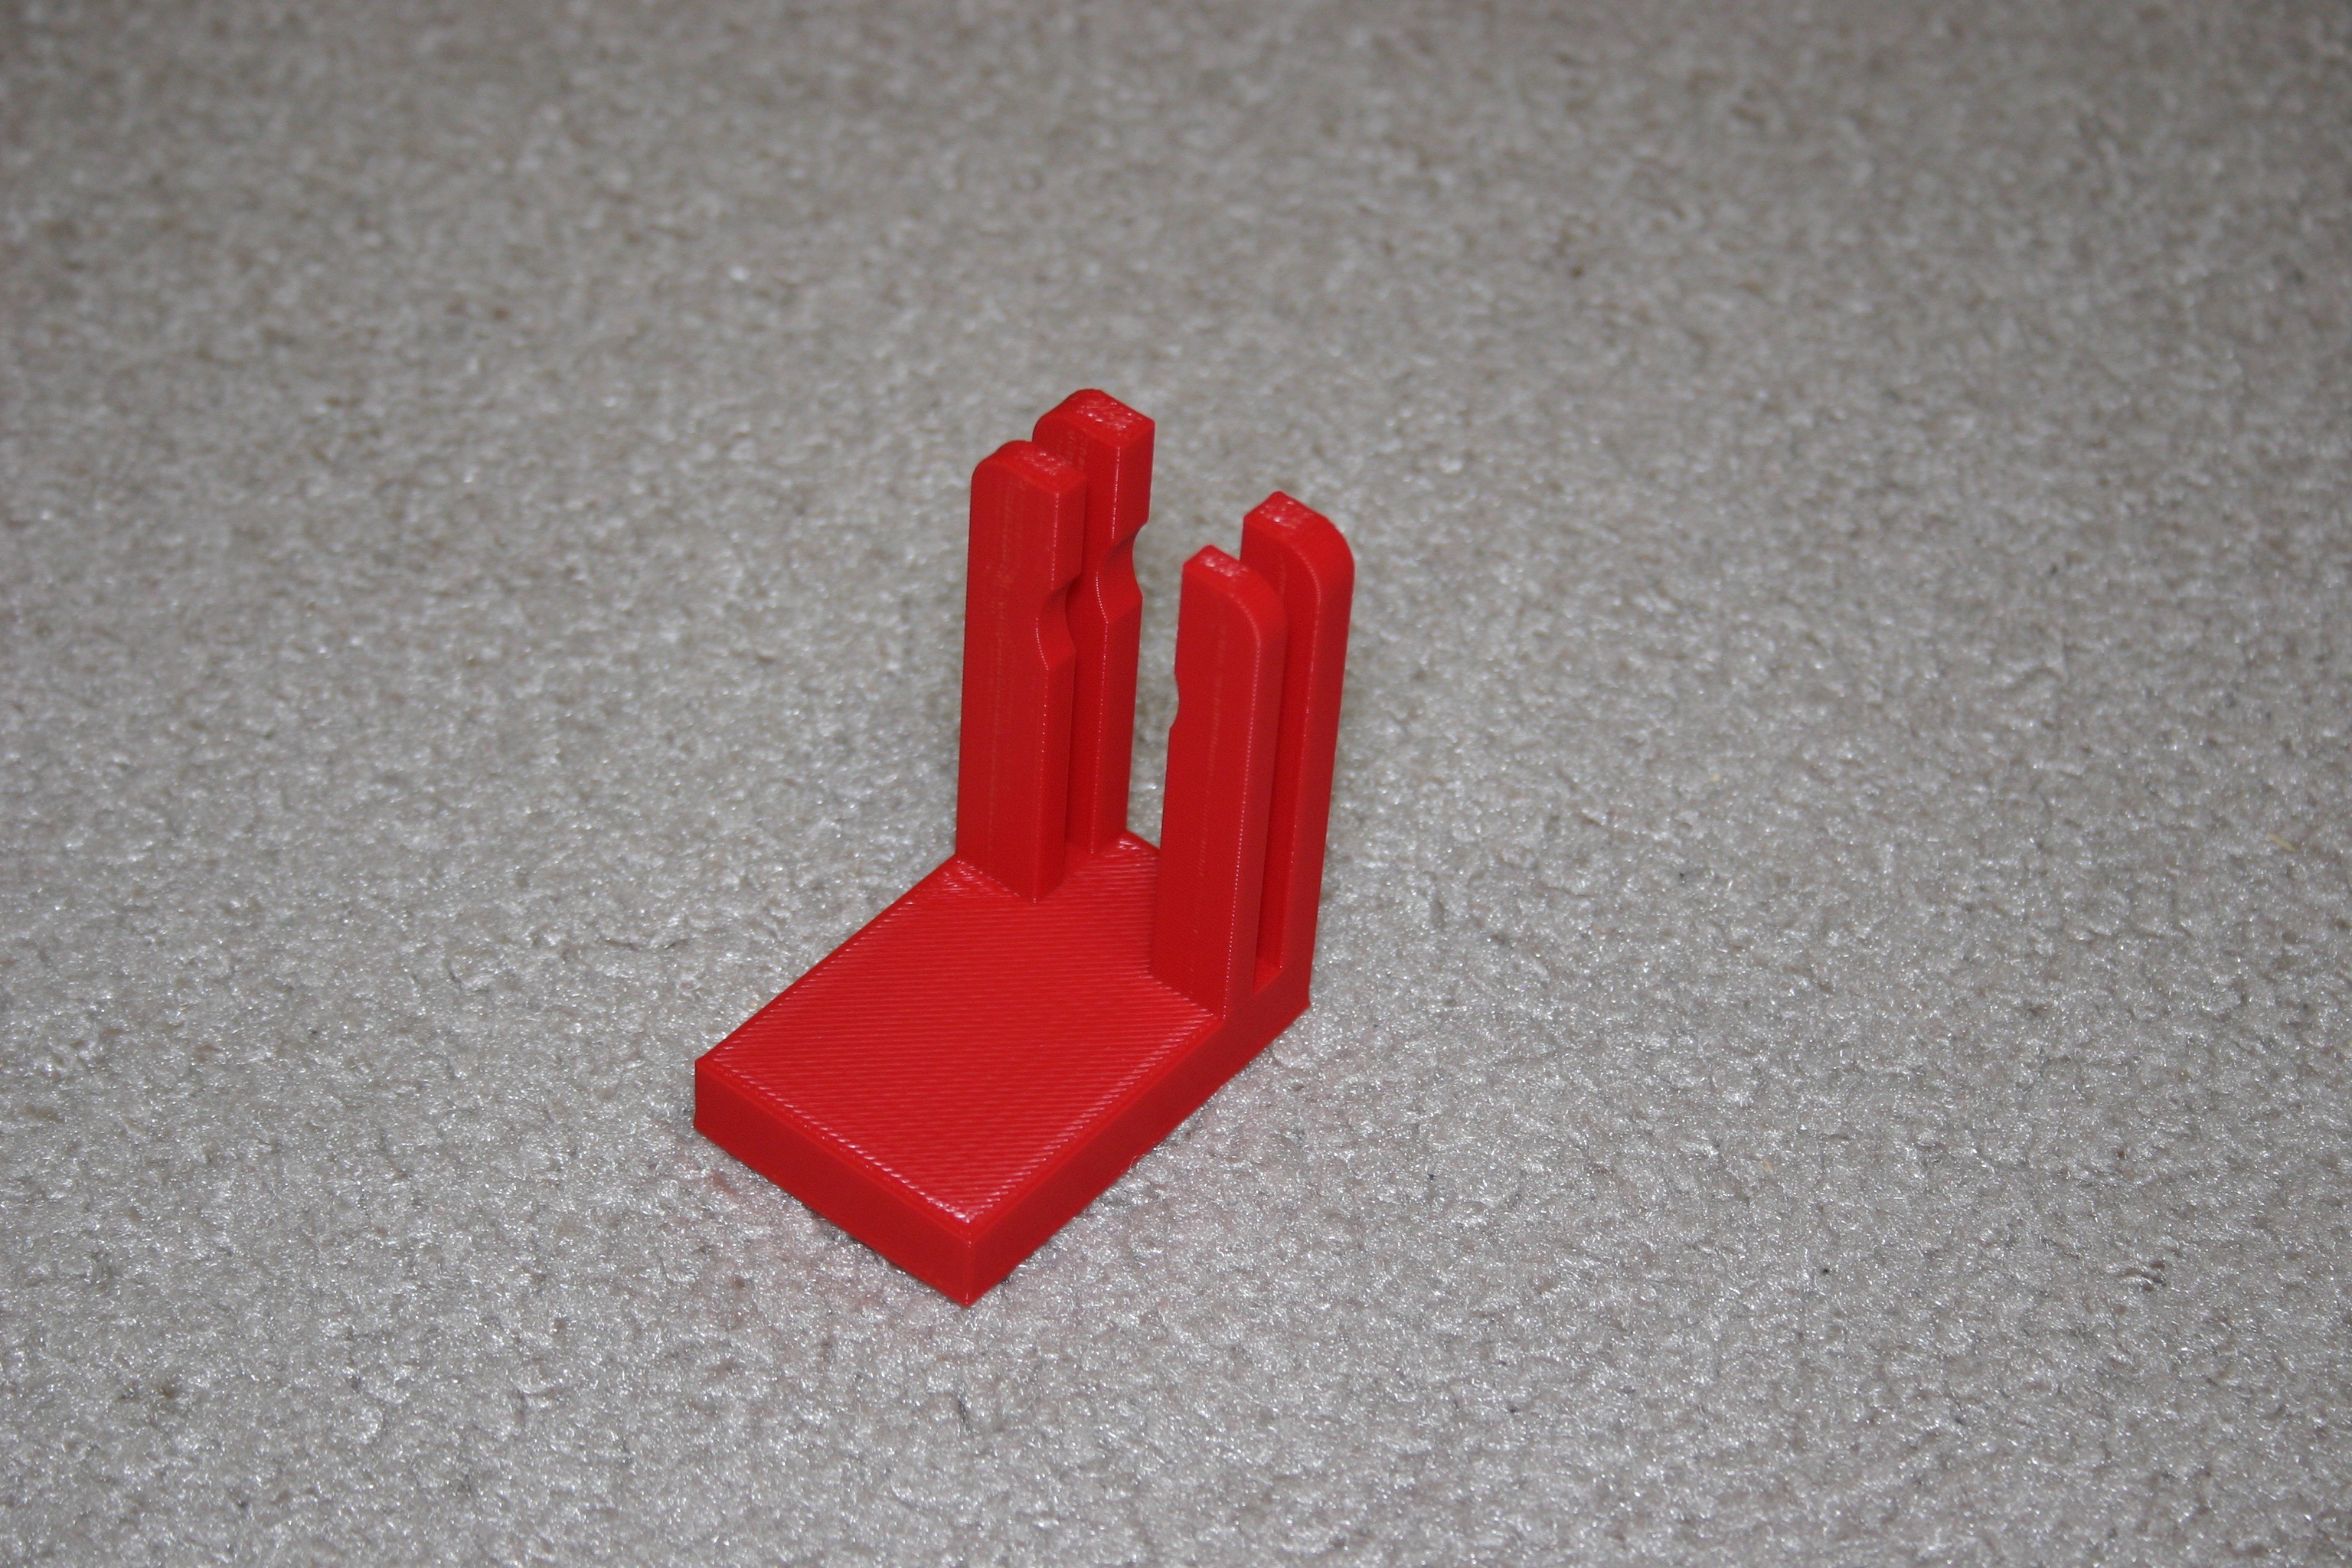
First, I designed a bracket (design and print files available on this site).
![]()
This will hold a light up straight.
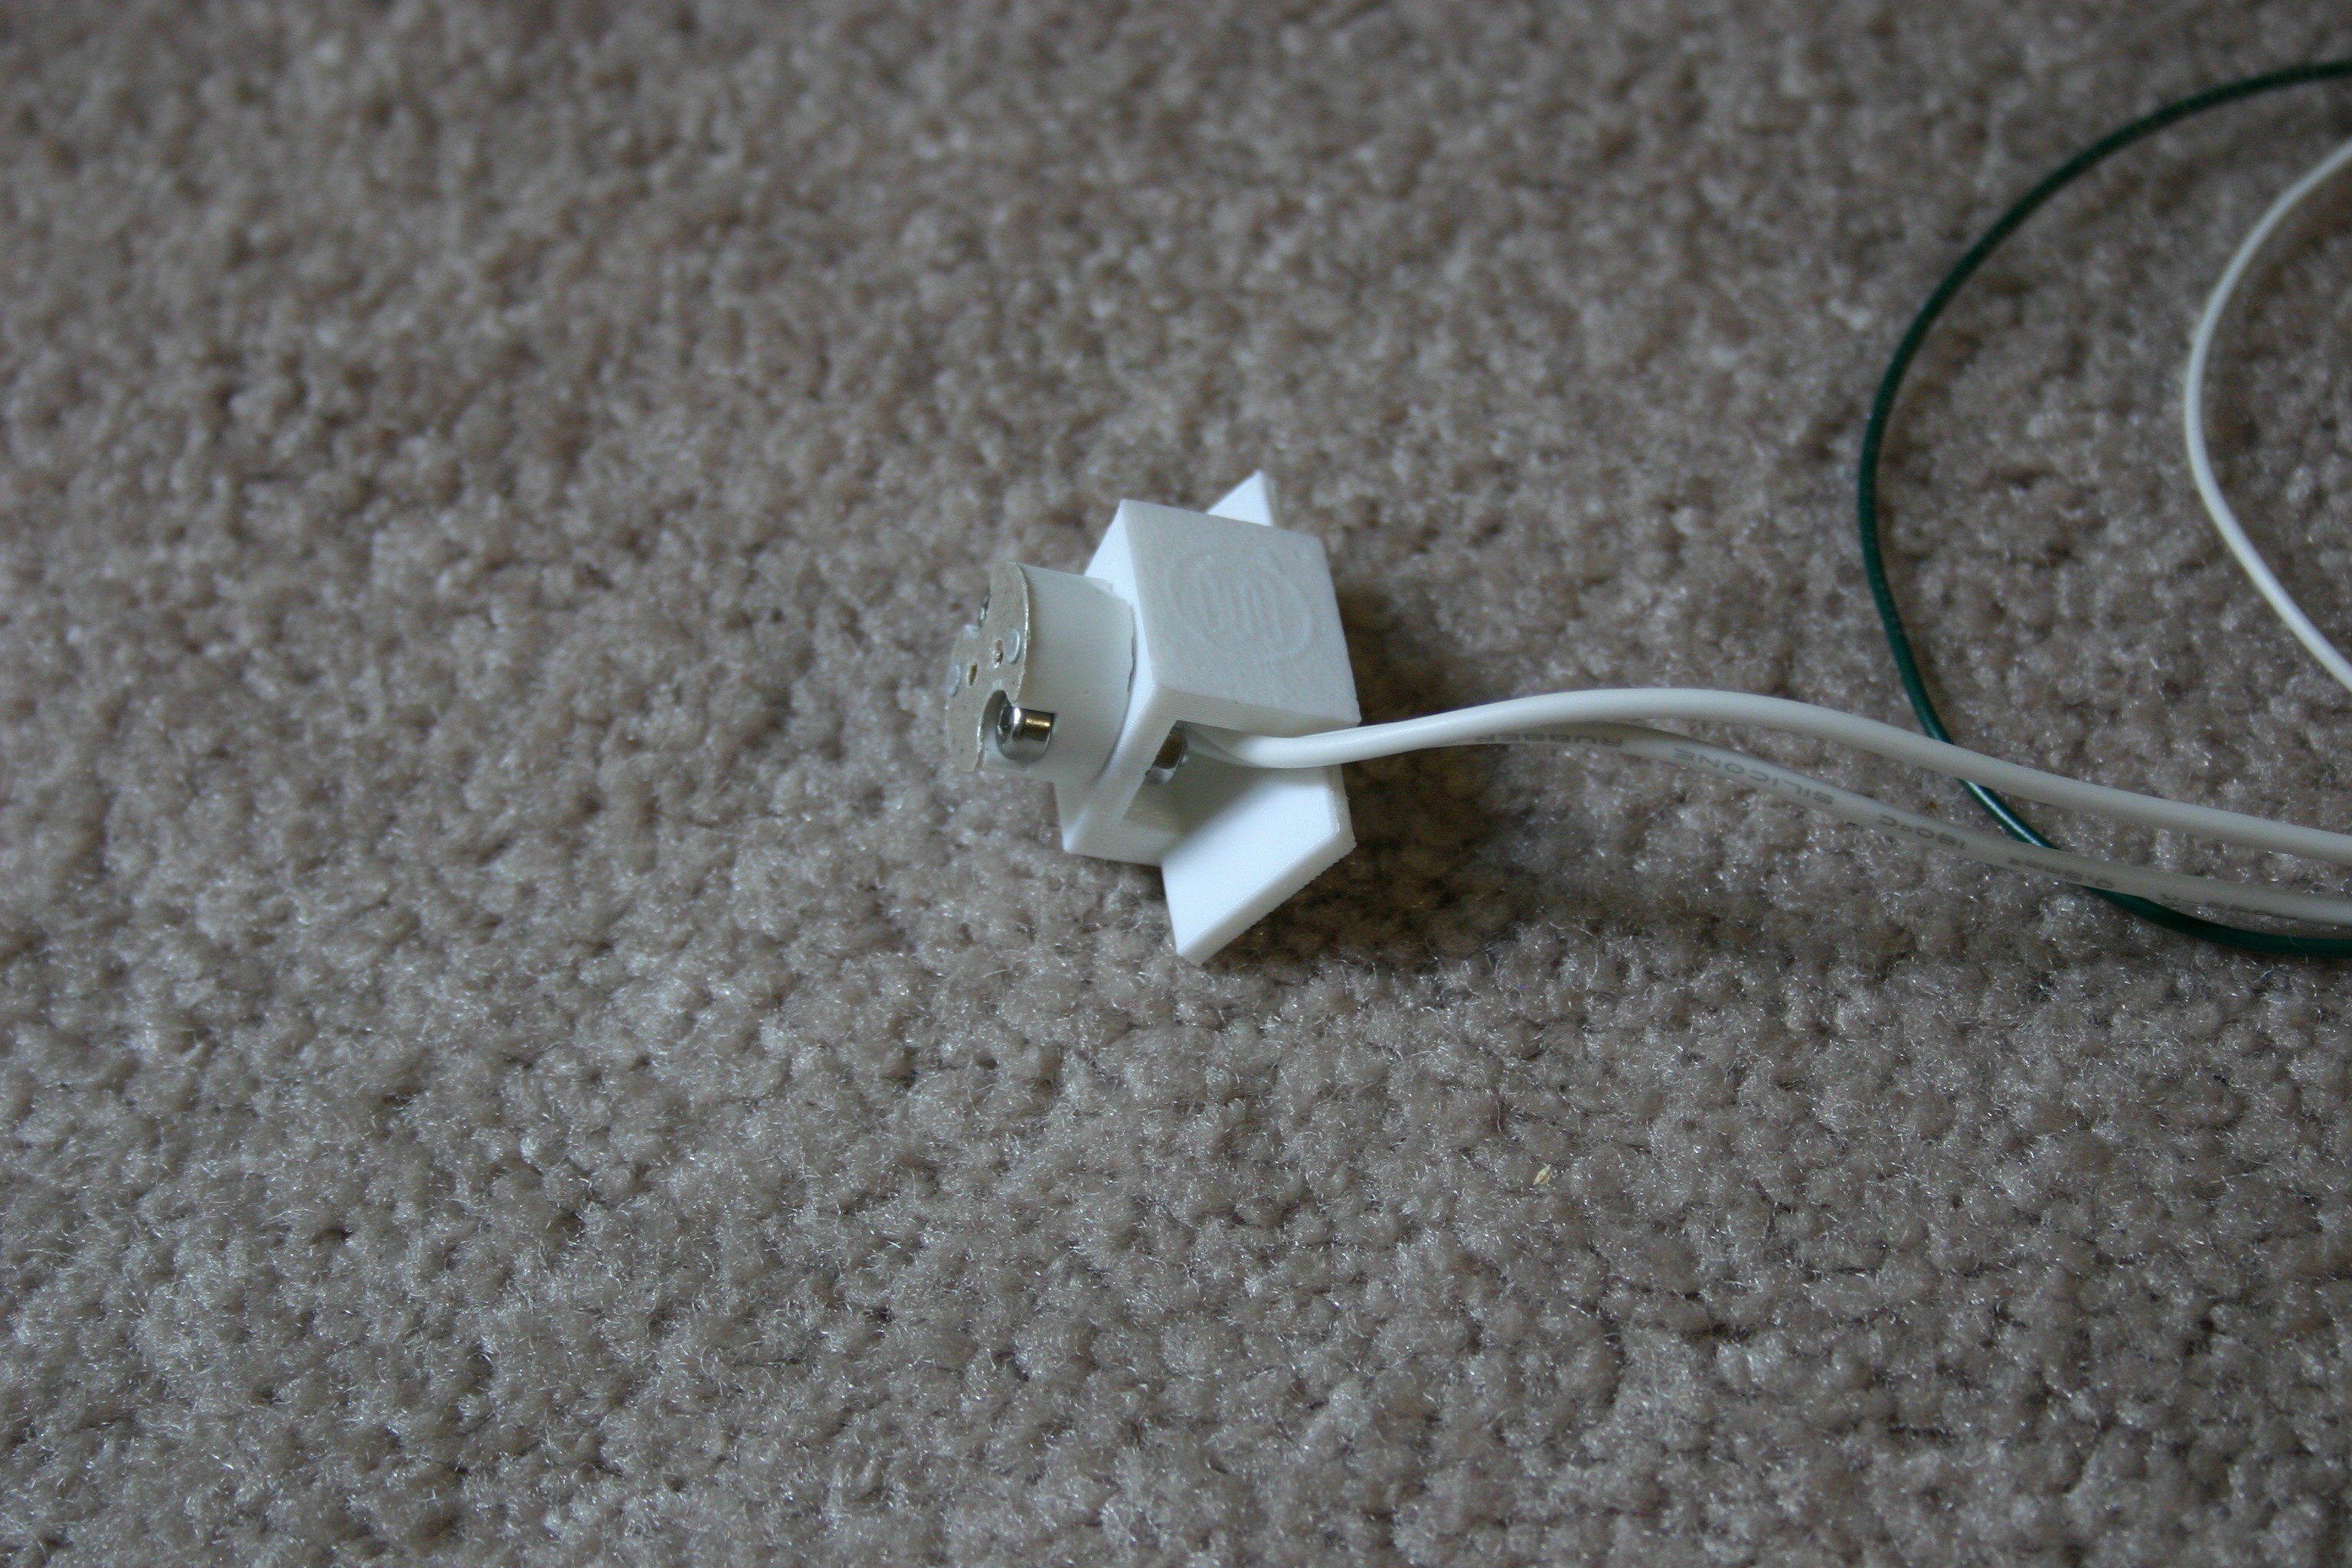
![]()
I used 3M command (velcro like) strips to hold the brackets in place--but they could be fastened with screws if holes were drilled (or designed) in the back of the bracket.
The lights stand upright and bubble with this bracket.
![]()
The cord between lights is ugly and will have to be somehow made less noticeable. Also, blue bubble lights don't like to "self start" and have to be "flicked" by hand to get them going--which means blue will probably be pulled from the string.
-
Overhead Lighting
06/15/2016 at 19:44 • 0 commentsThe roof (not yet painted) now has lights; three 5 watt mr16 spotlights and about 250 white leds on a tape strip.
![]()
I 3d printed a bracket for the mr16 (design and stl files available in the file section here) and fastened a mr16 socket to this.
![]()
I inserted a light and extended the cables.
![]()
I added the tape strip of led lights and used velcro to hold my mr16 brackets. My 3d printed mr16 brackets have "wings" that can be drilled through to secure the bracket to the roof--but I want to be positive of the placement (and have the roof painted) before I do that.
![]()
-
Roof is Going On
06/11/2016 at 21:41 • 0 commentsThe roof structure (not the top skin) now slides onto the main box. This seven foot by three foot by four inch roof can be maneuvered down the stairs and out the door--yaaay!
![]()
We have talked with a local shop owner and MAY have a great window place for the display this December--more details when things are more certain.
-
Santa Directs the Drums
06/05/2016 at 00:28 • 0 commentsSanta points to the robot; it moves. He points to the monkey, it claps and bb8 moves. He points (slowly--low batteries on the servos) to the drum and it plays (that's new today).
If you wonder what the controls are looking like, here's a snapshot.
![]()
I've uploaded the modified drum schematic (to show interconnect) as well as the drum and santa sketches for Arduino.
-
Arduino Pin 13 Trouble
06/01/2016 at 18:12 • 0 commentsSanta is now beginning to move and "control" things in the display. Pin 13 of an Arduino seems to switch on and off during the boot sequence and that plays havoc with an attached relay. Tying a 2K resistor (gnd to relay board input) doesn't seem to help--the line is pulled up and down. I shifted to pin 12, but would like to know what is happening with pin 13.
At any rate, things are moving.
-
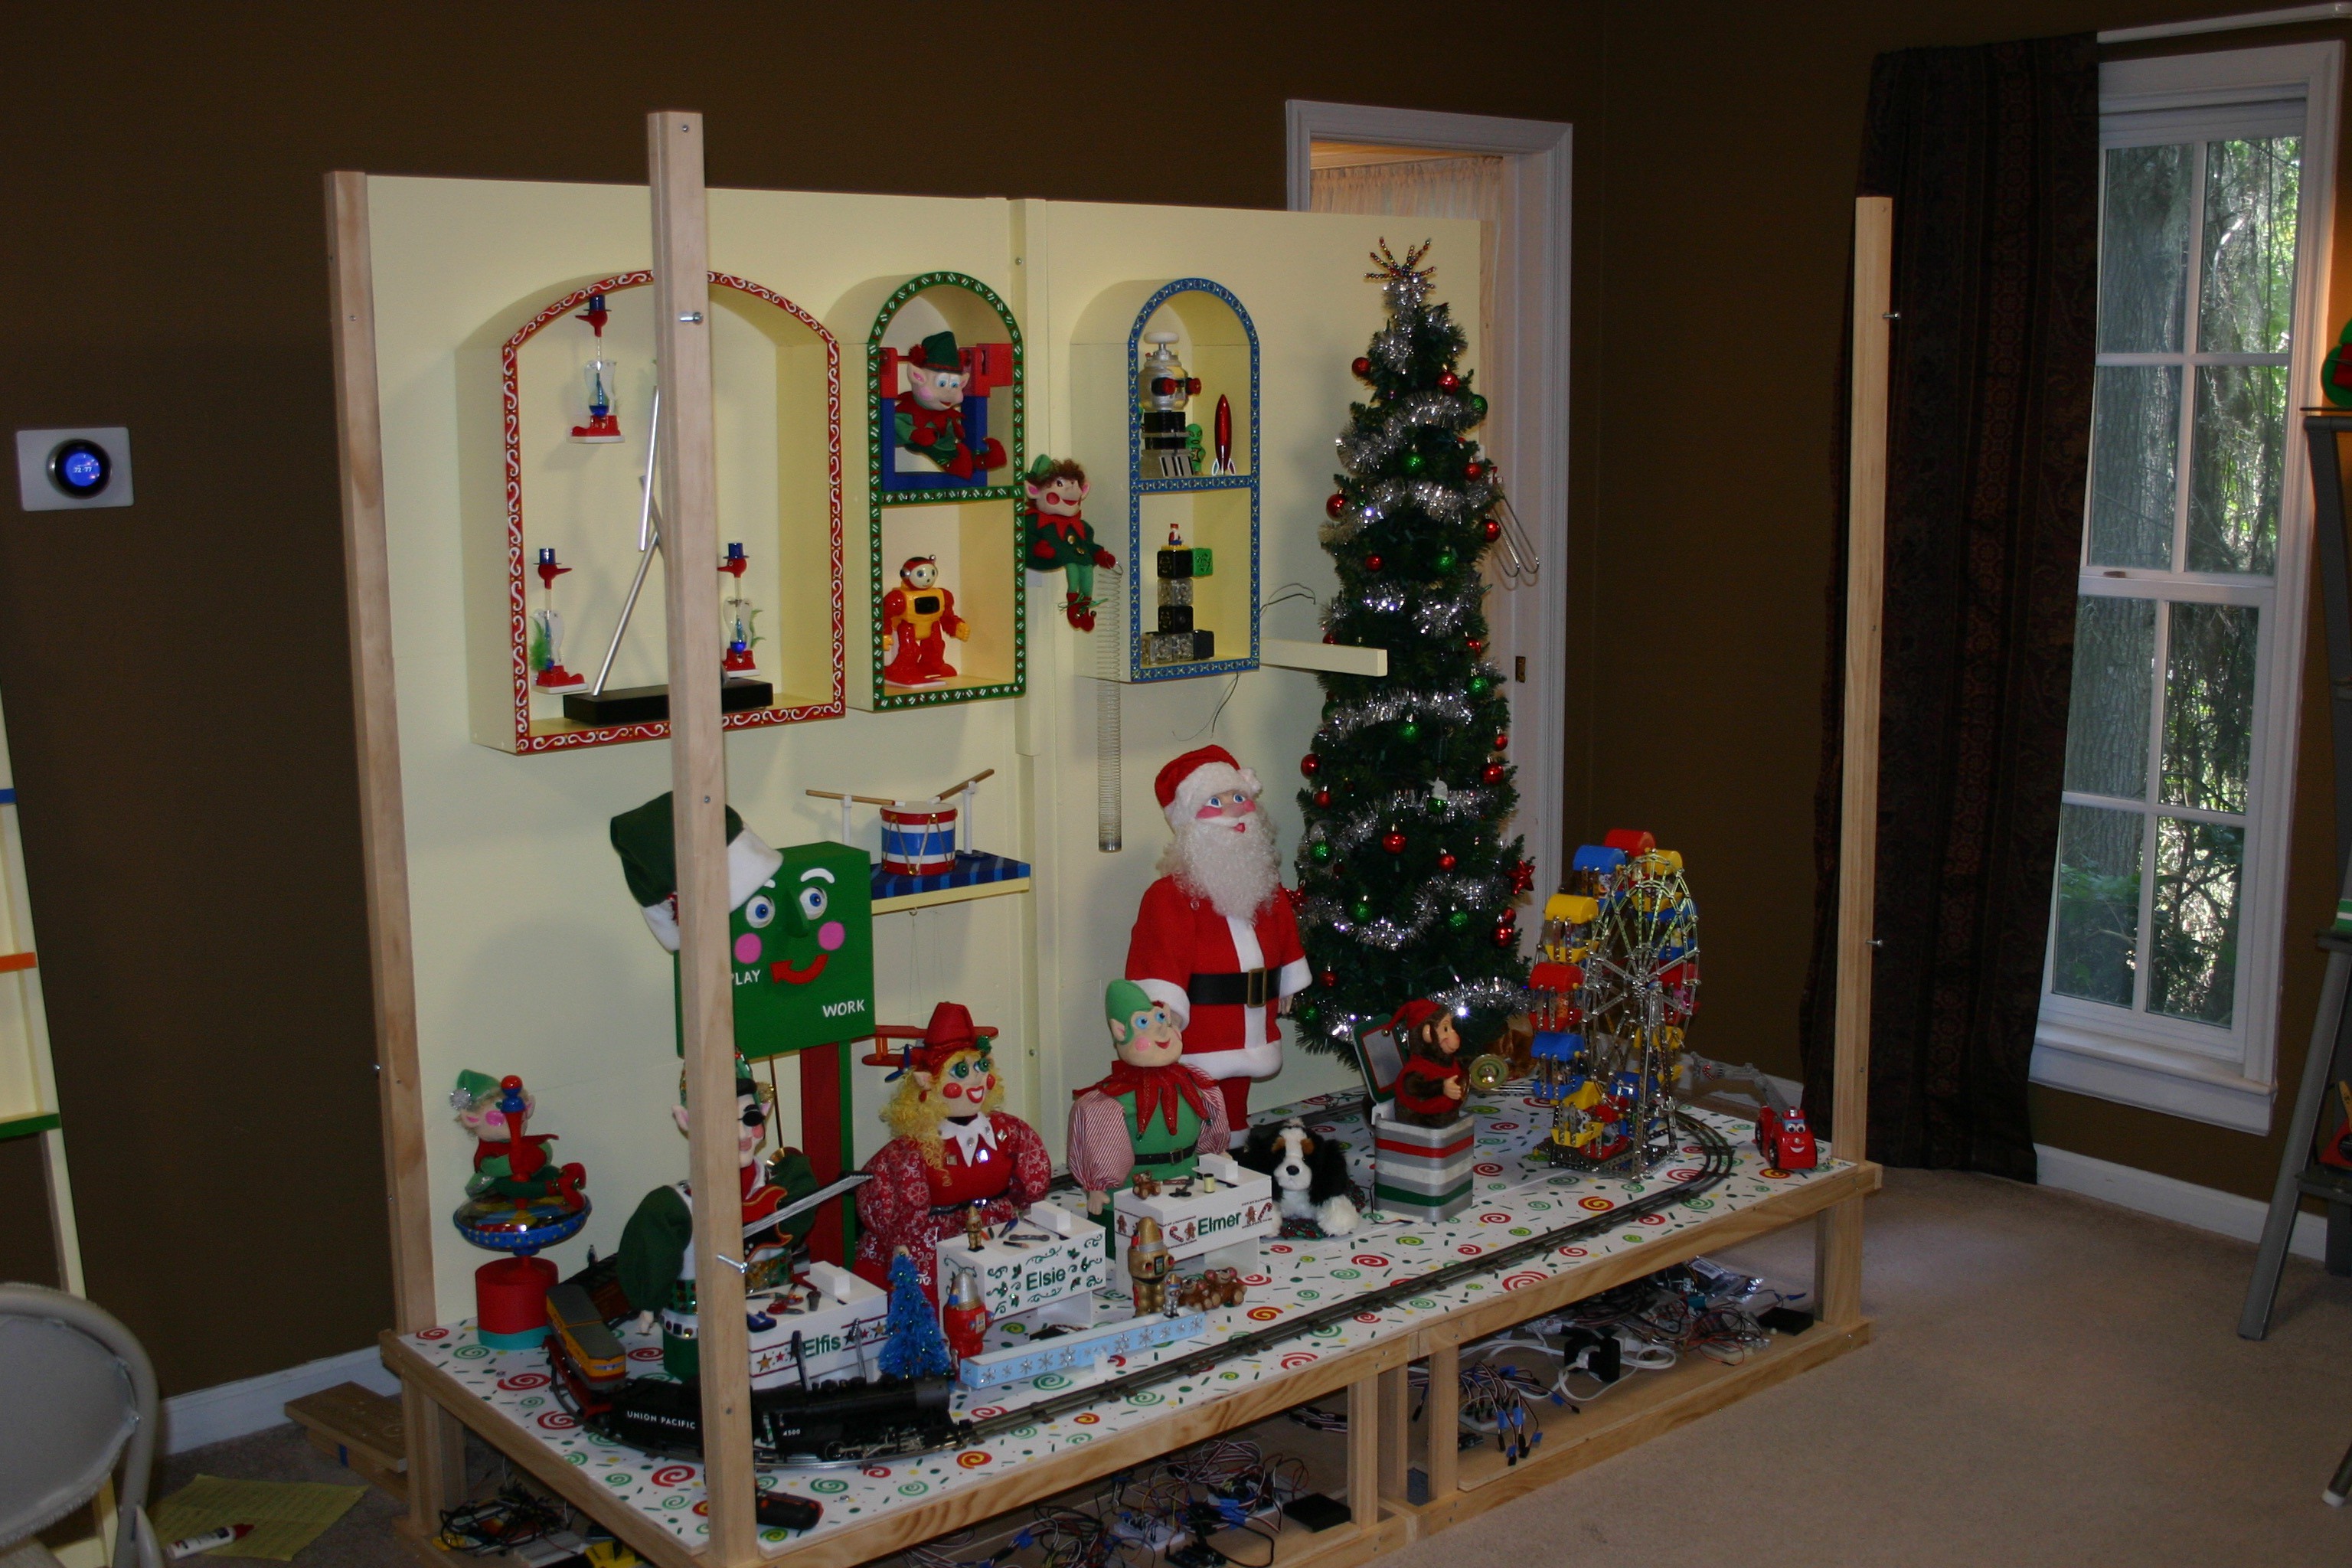
Adding Detail to Side Walls
05/23/2016 at 13:54 • 0 commentsI had to remove the side walls for detail painting--another test of the modular structure.
![]()
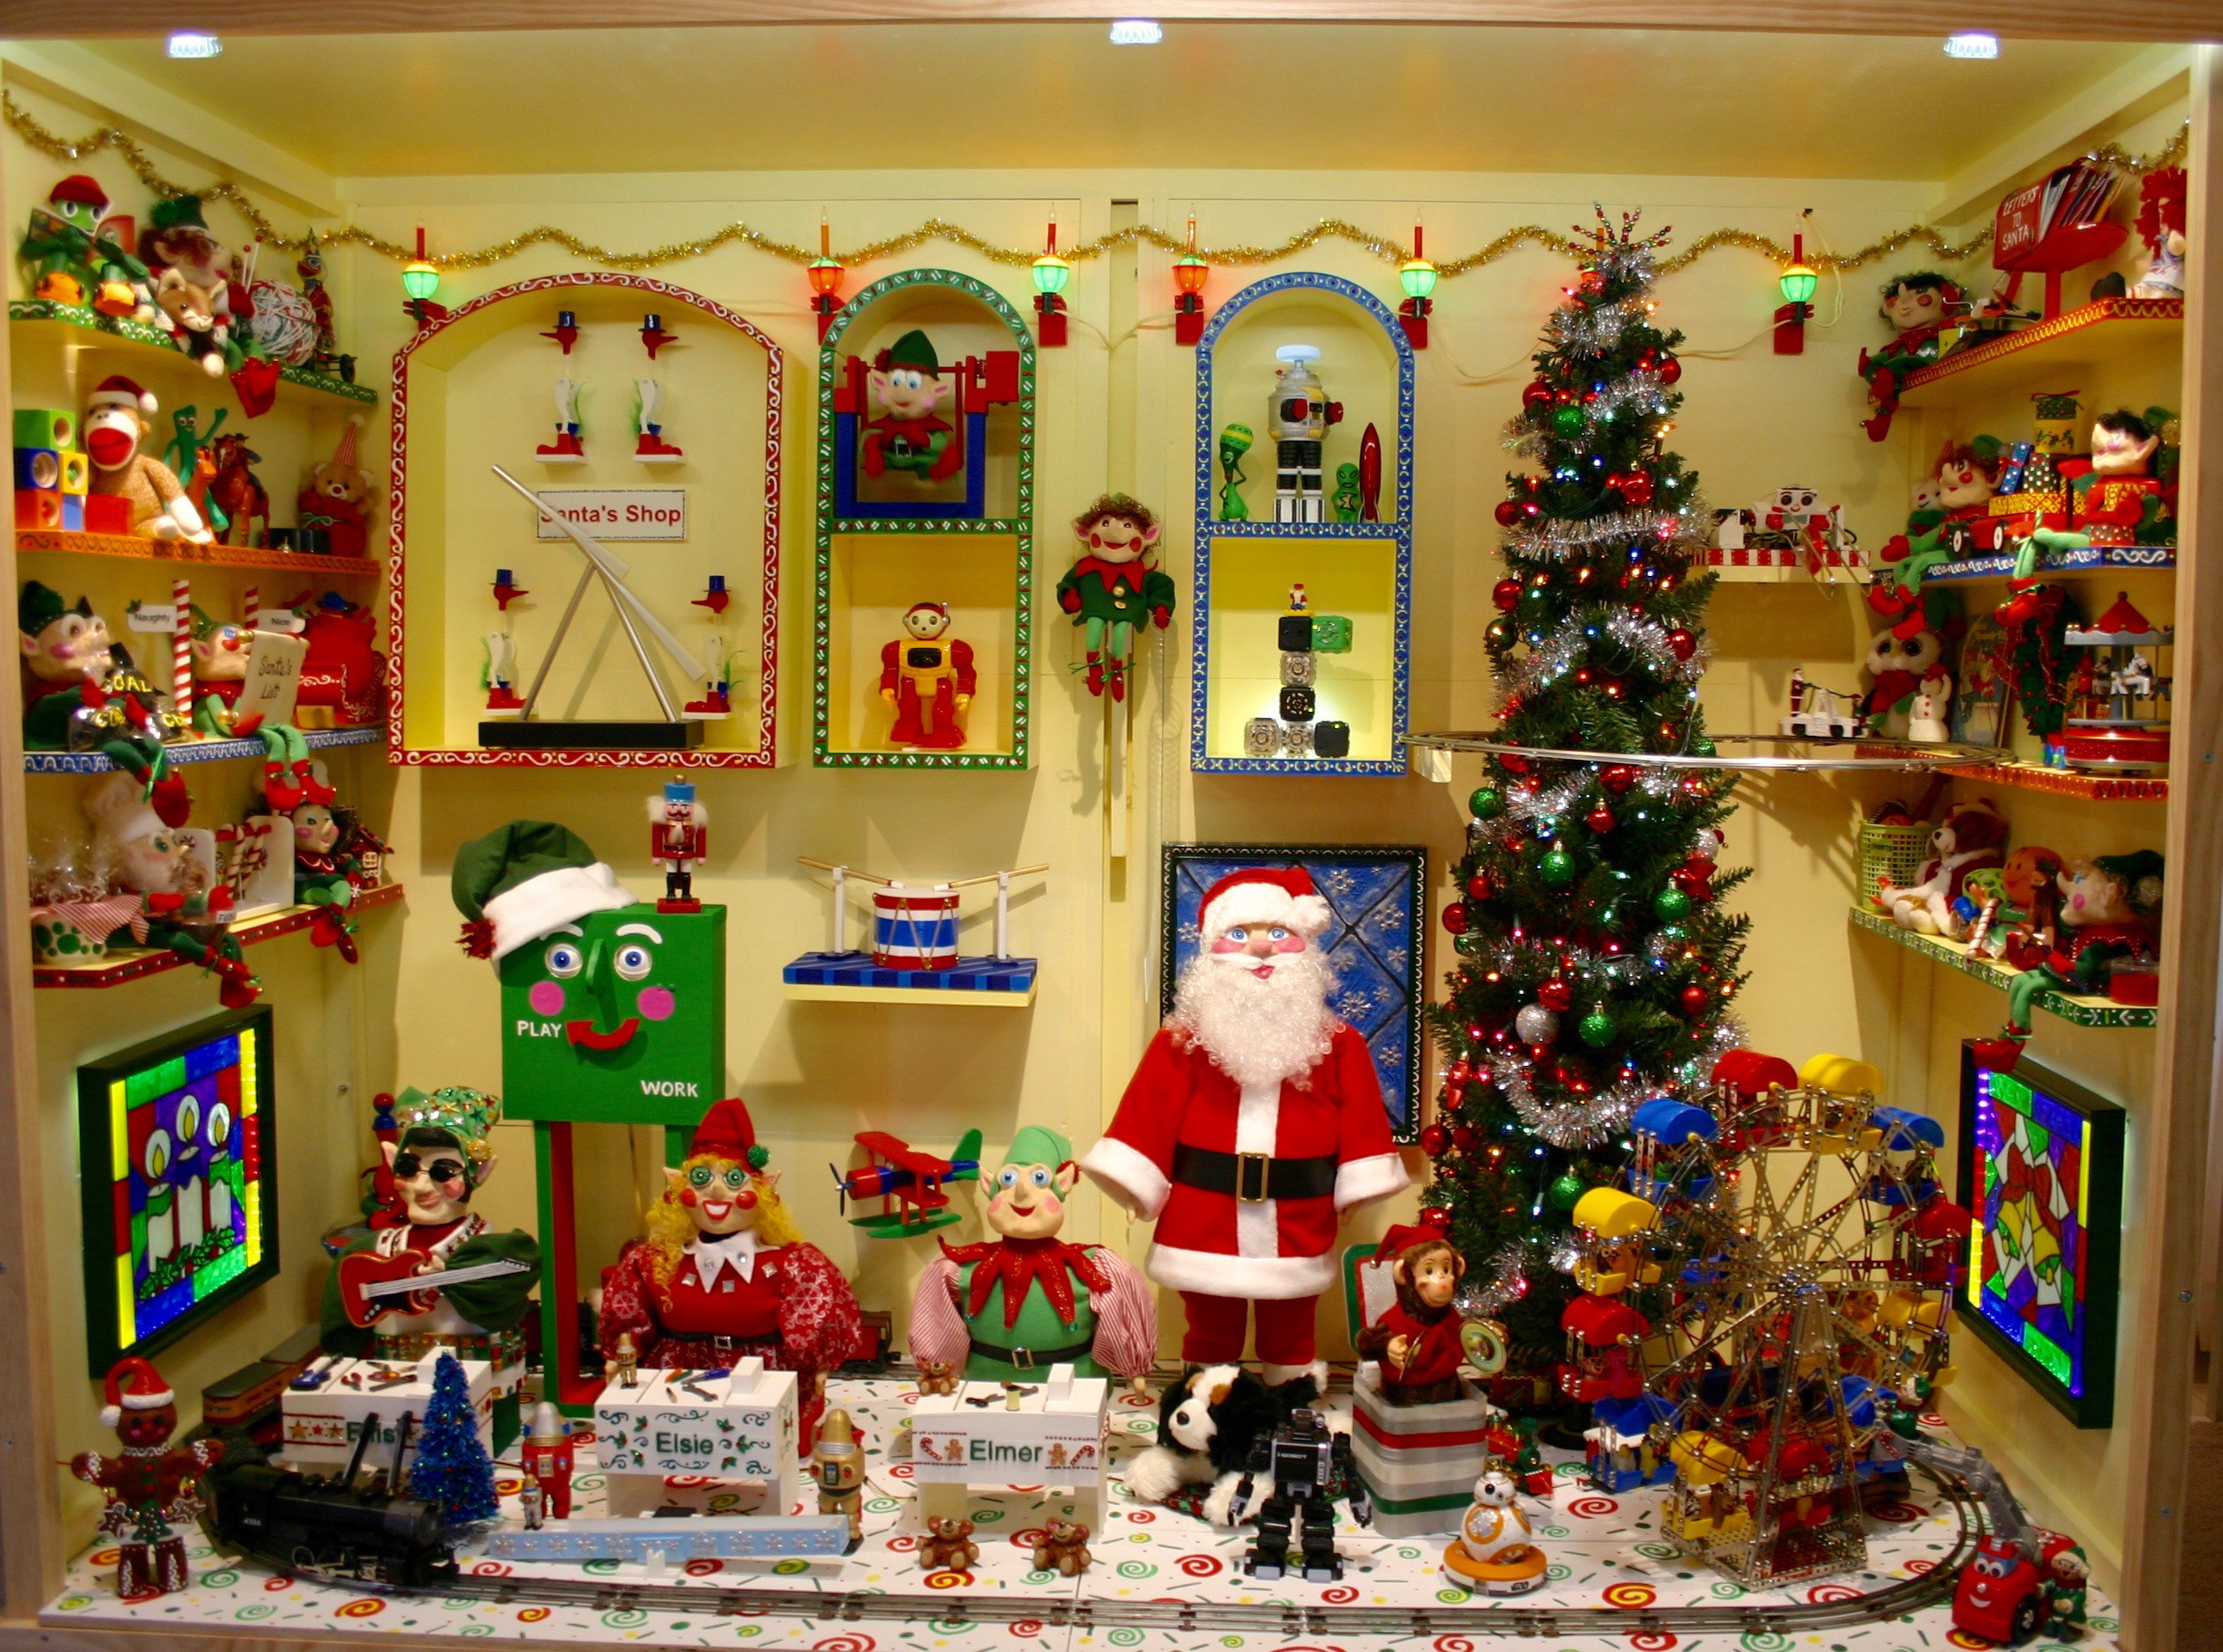
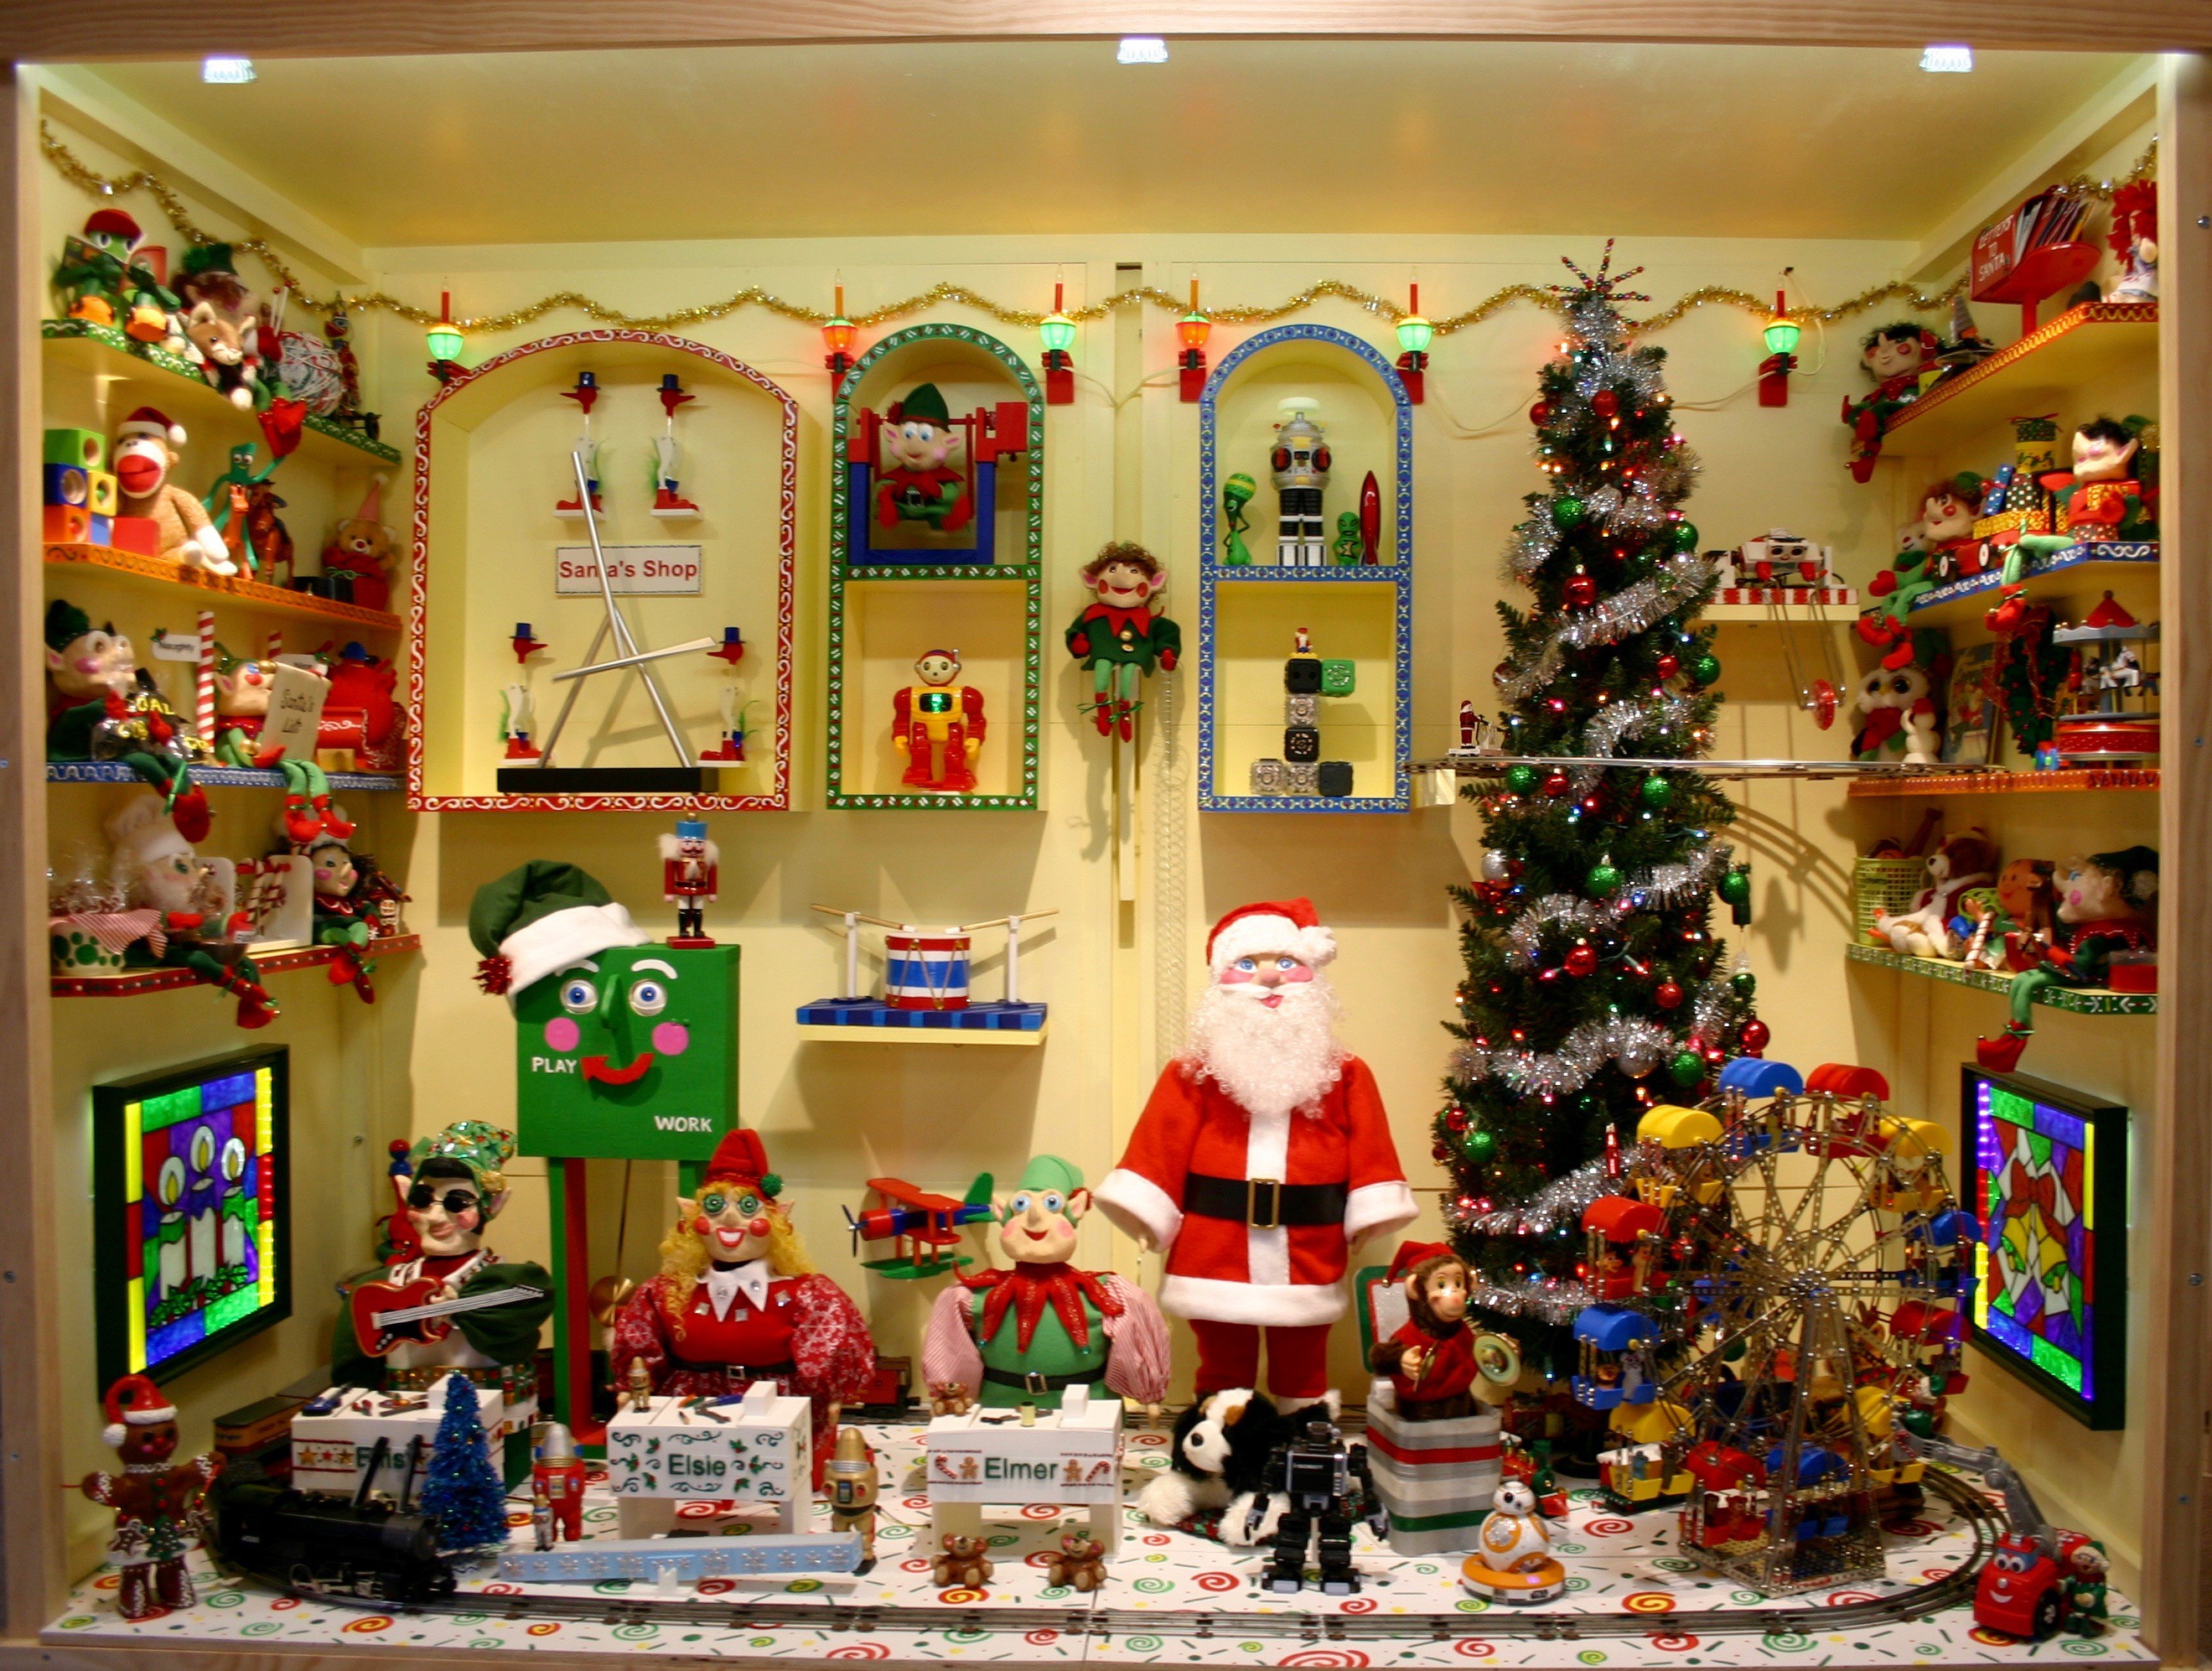
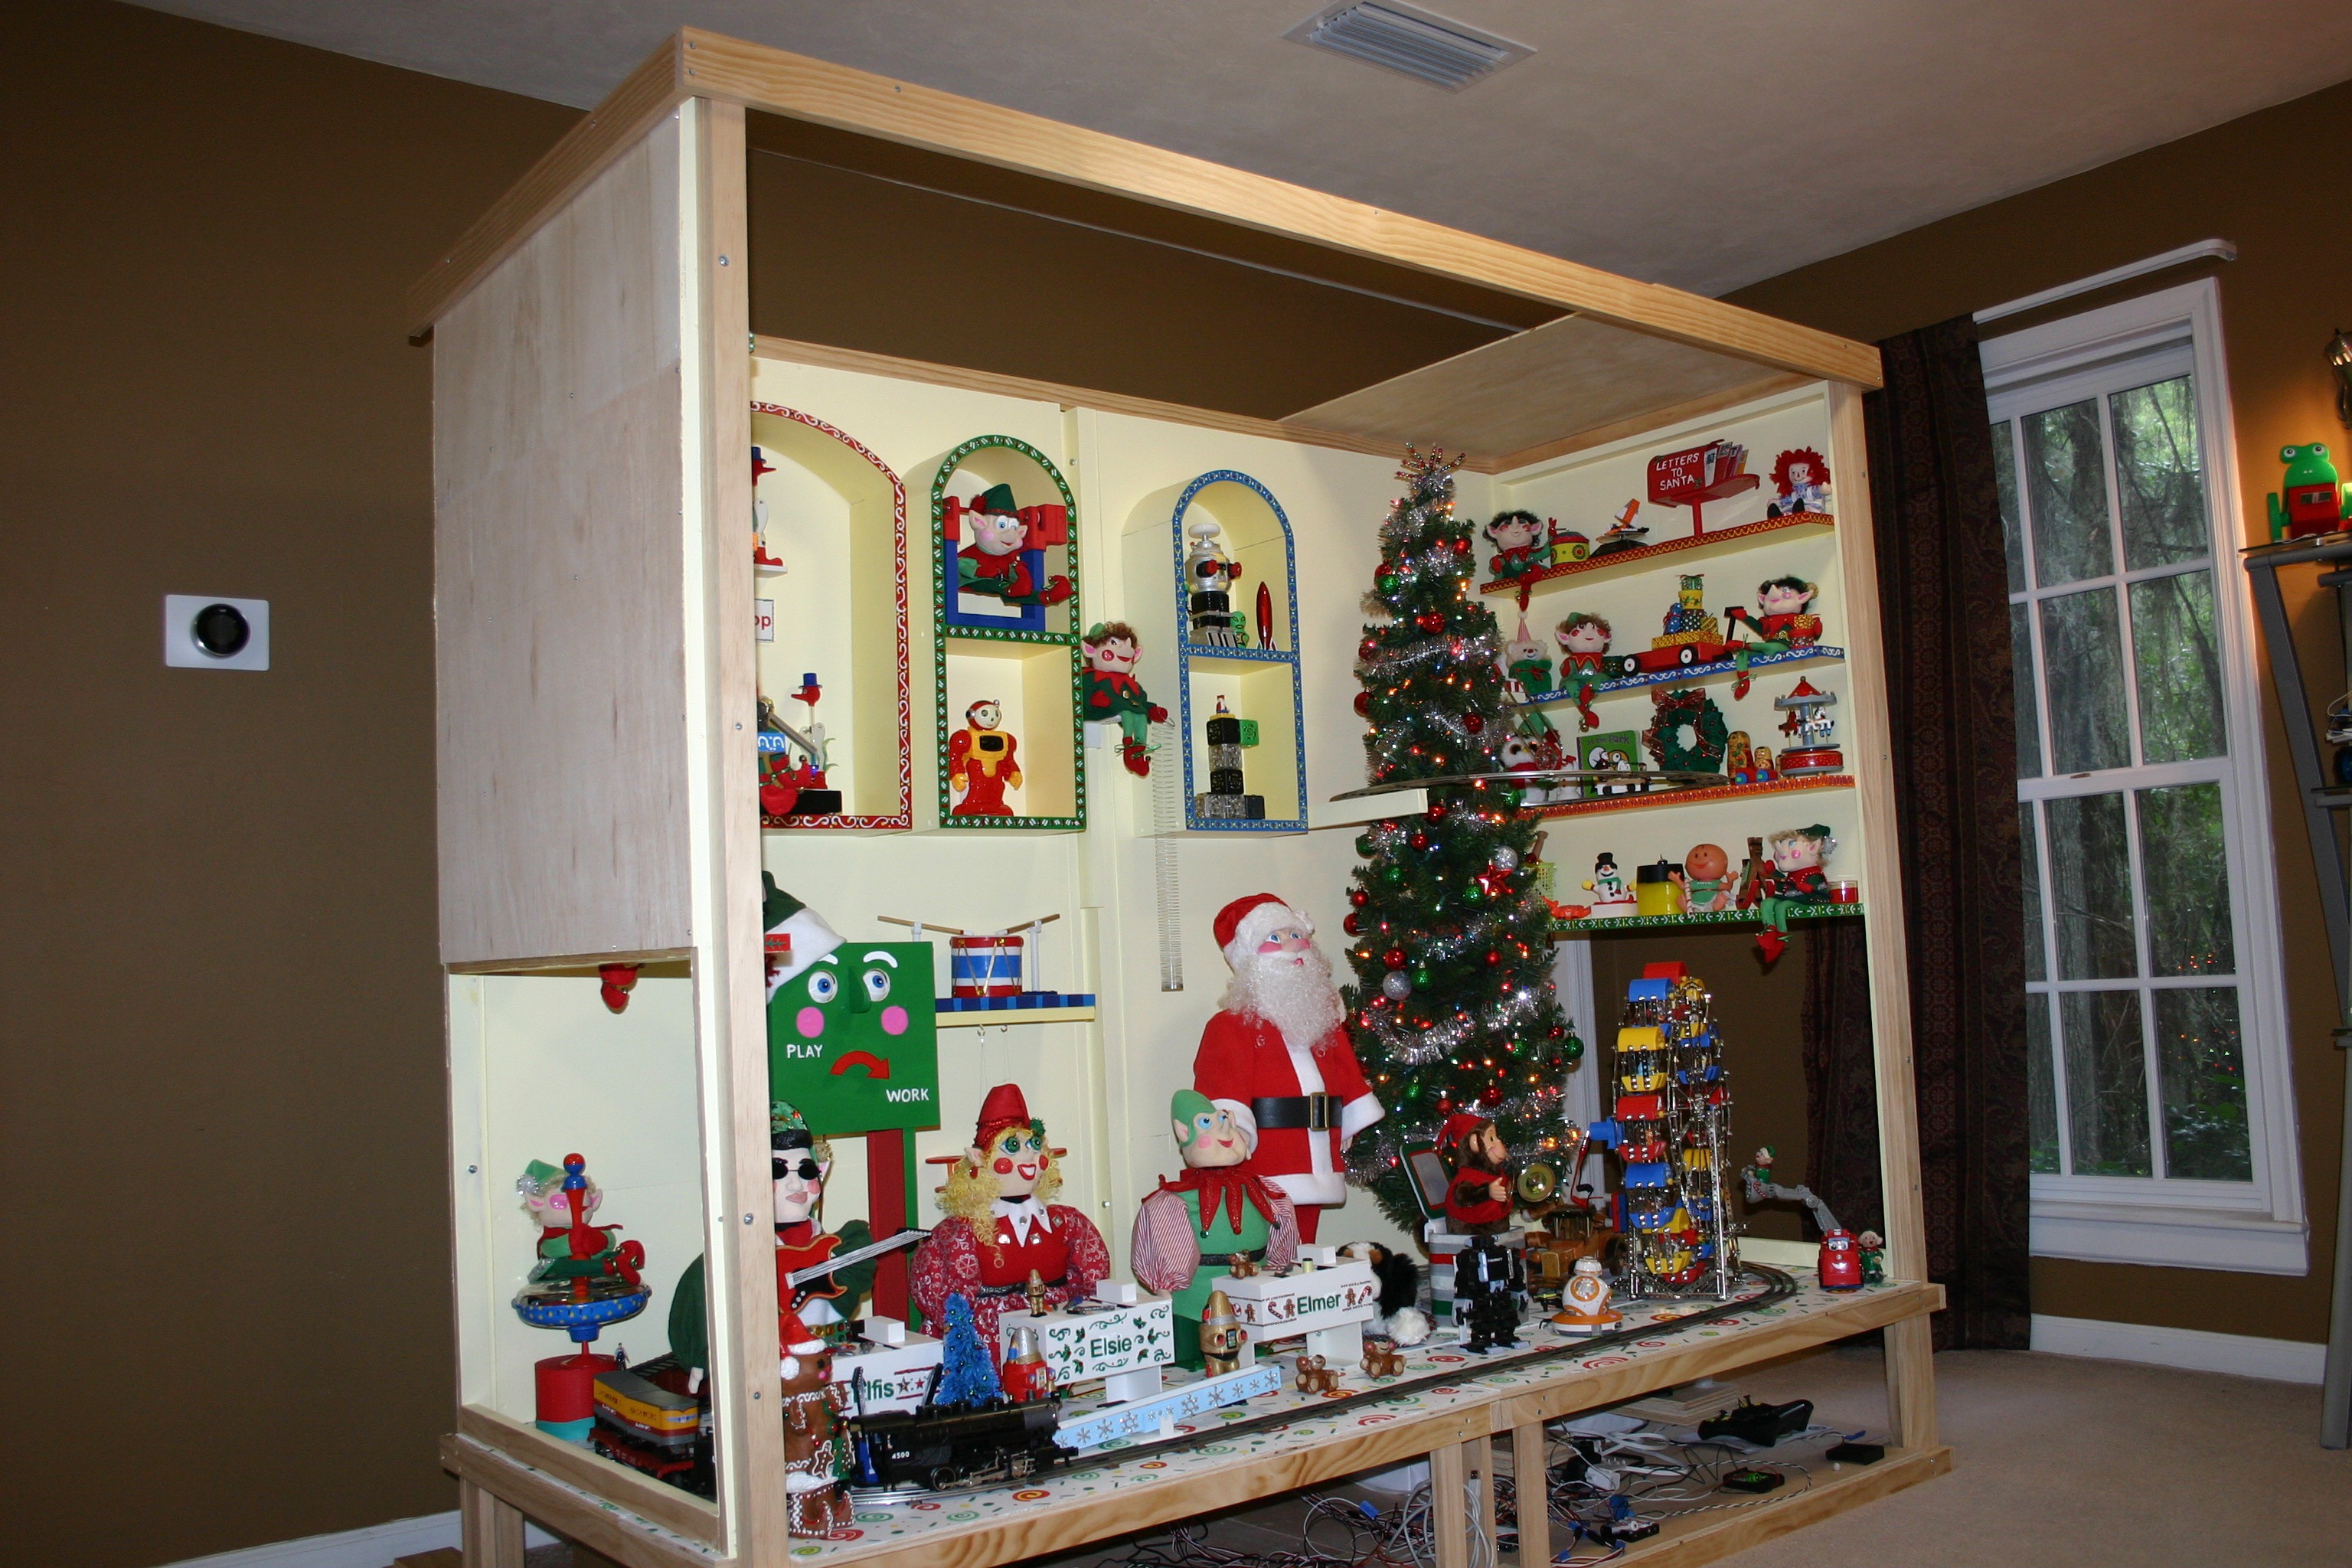
Santa's Shop
This is a techno/art installation to be displayed in the community--similar to old time holiday window displays.