Hello all,
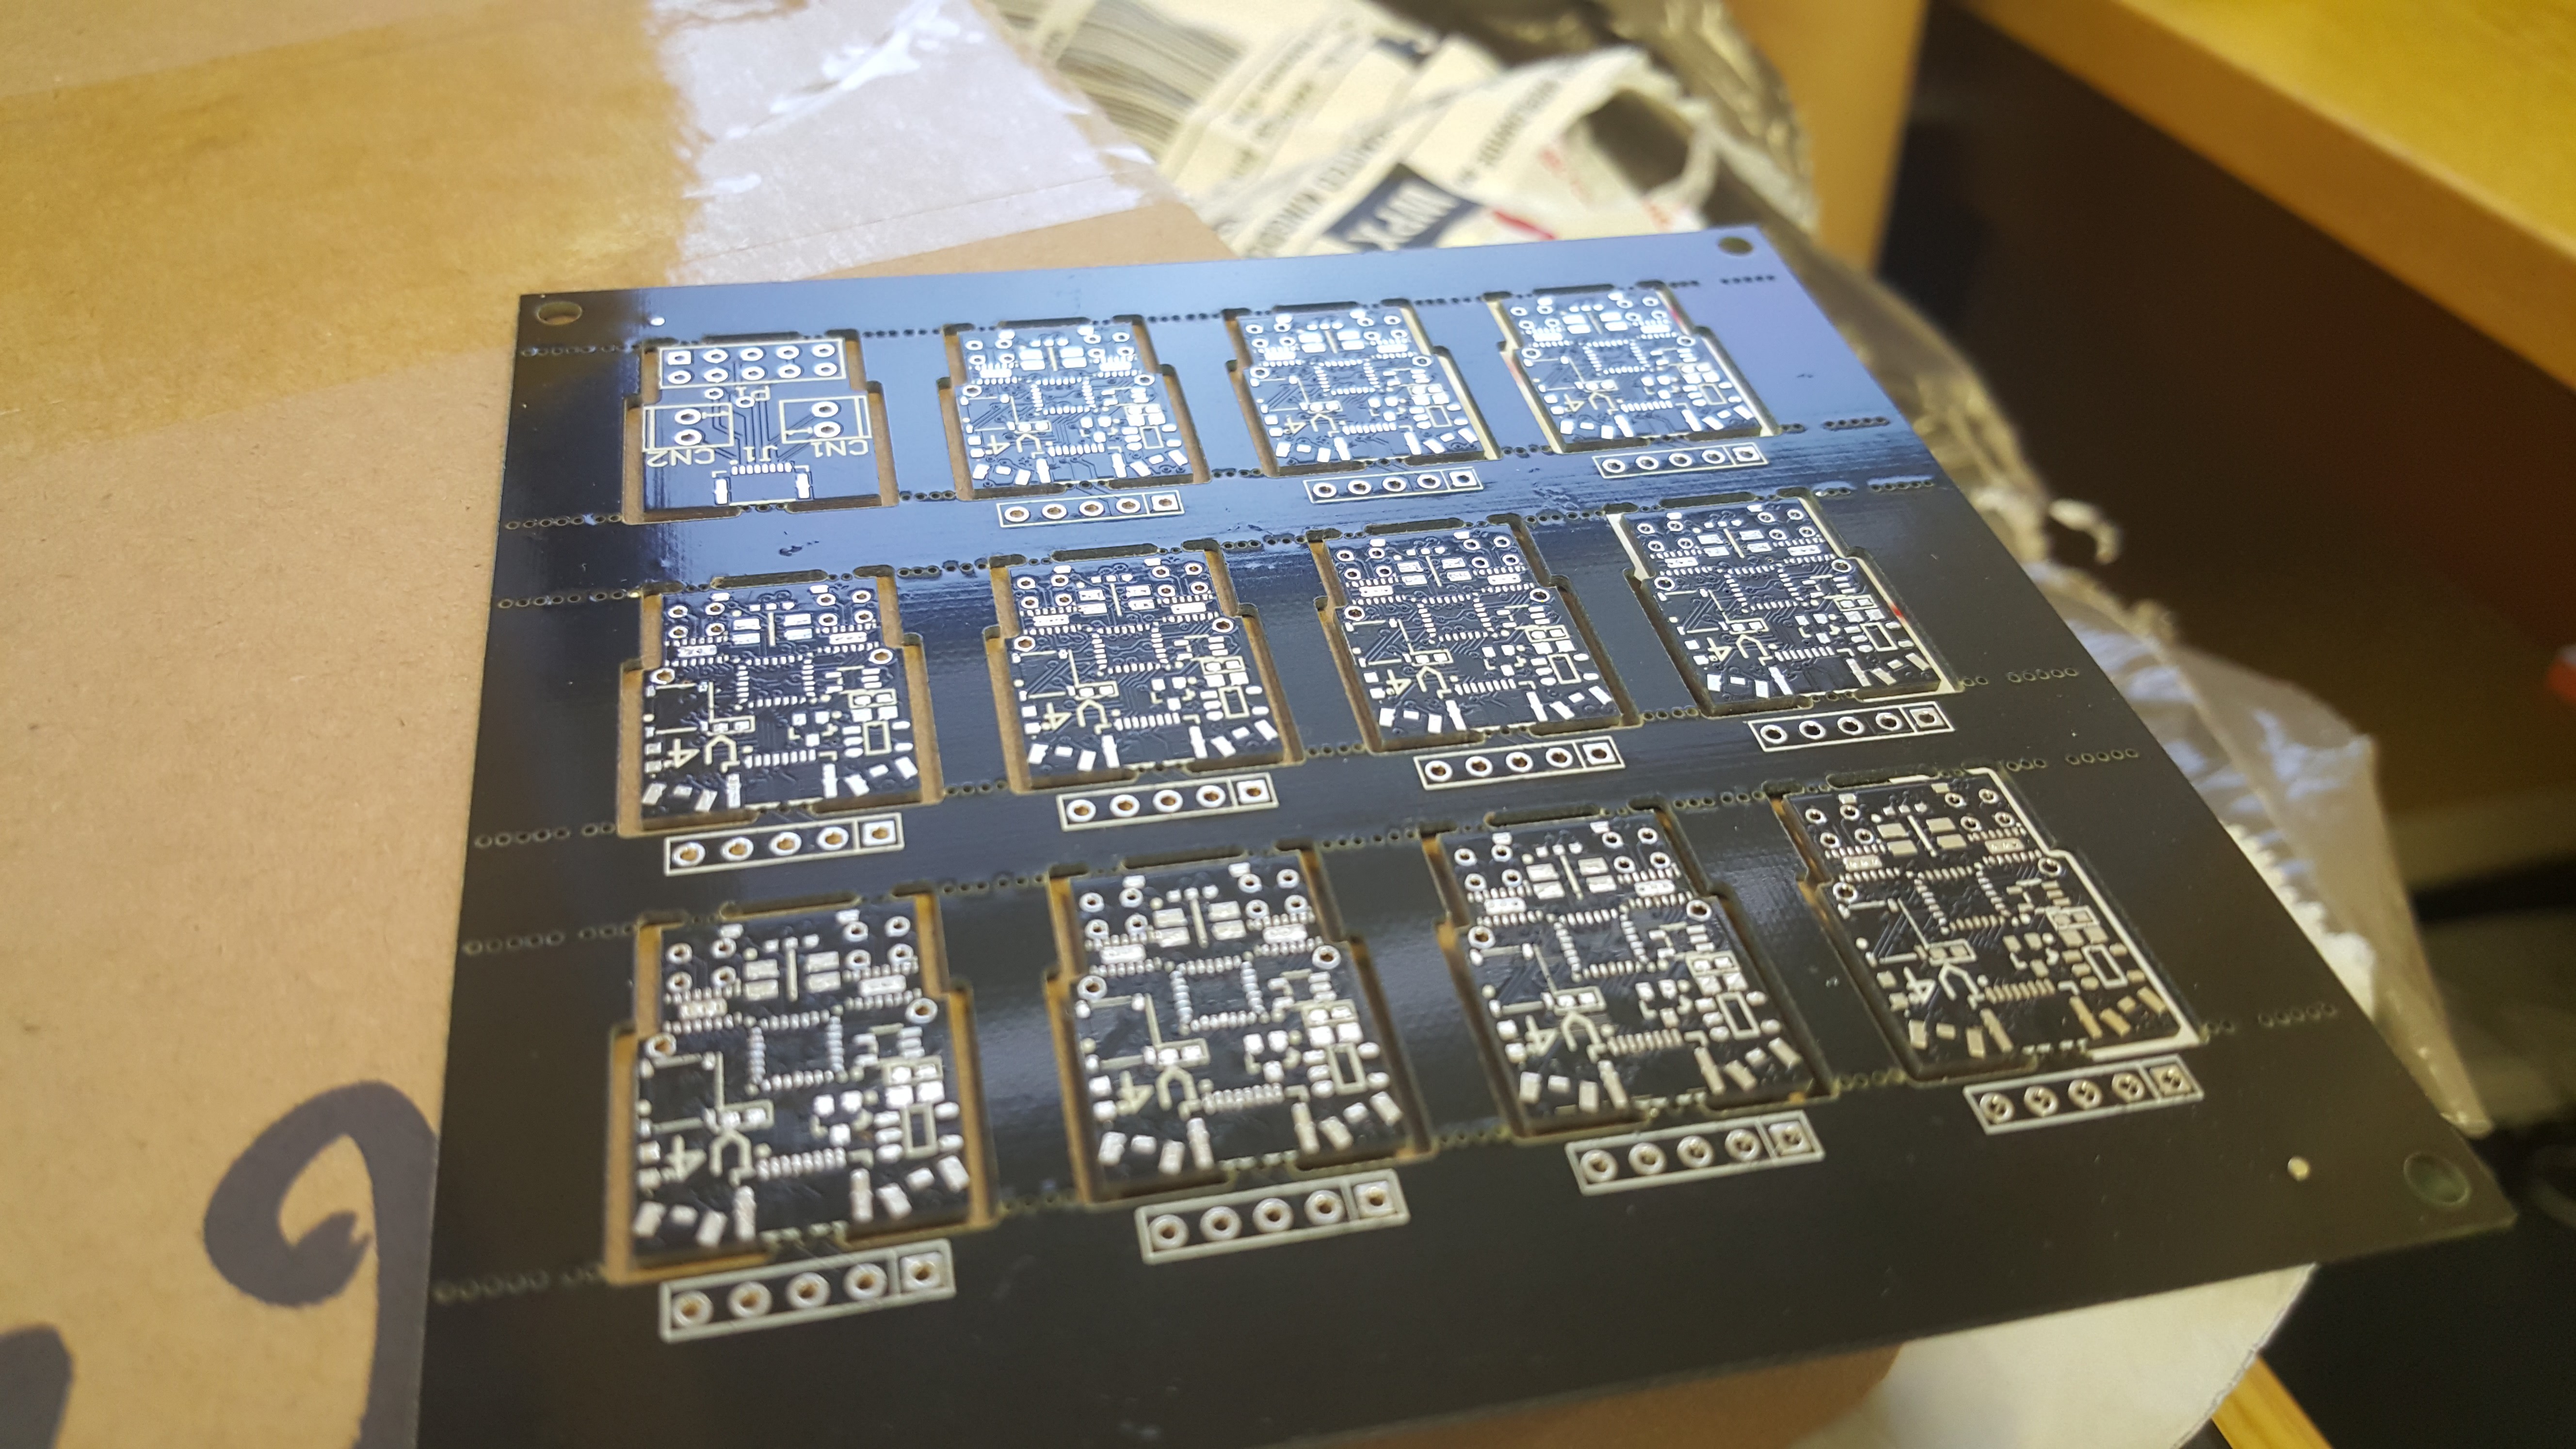
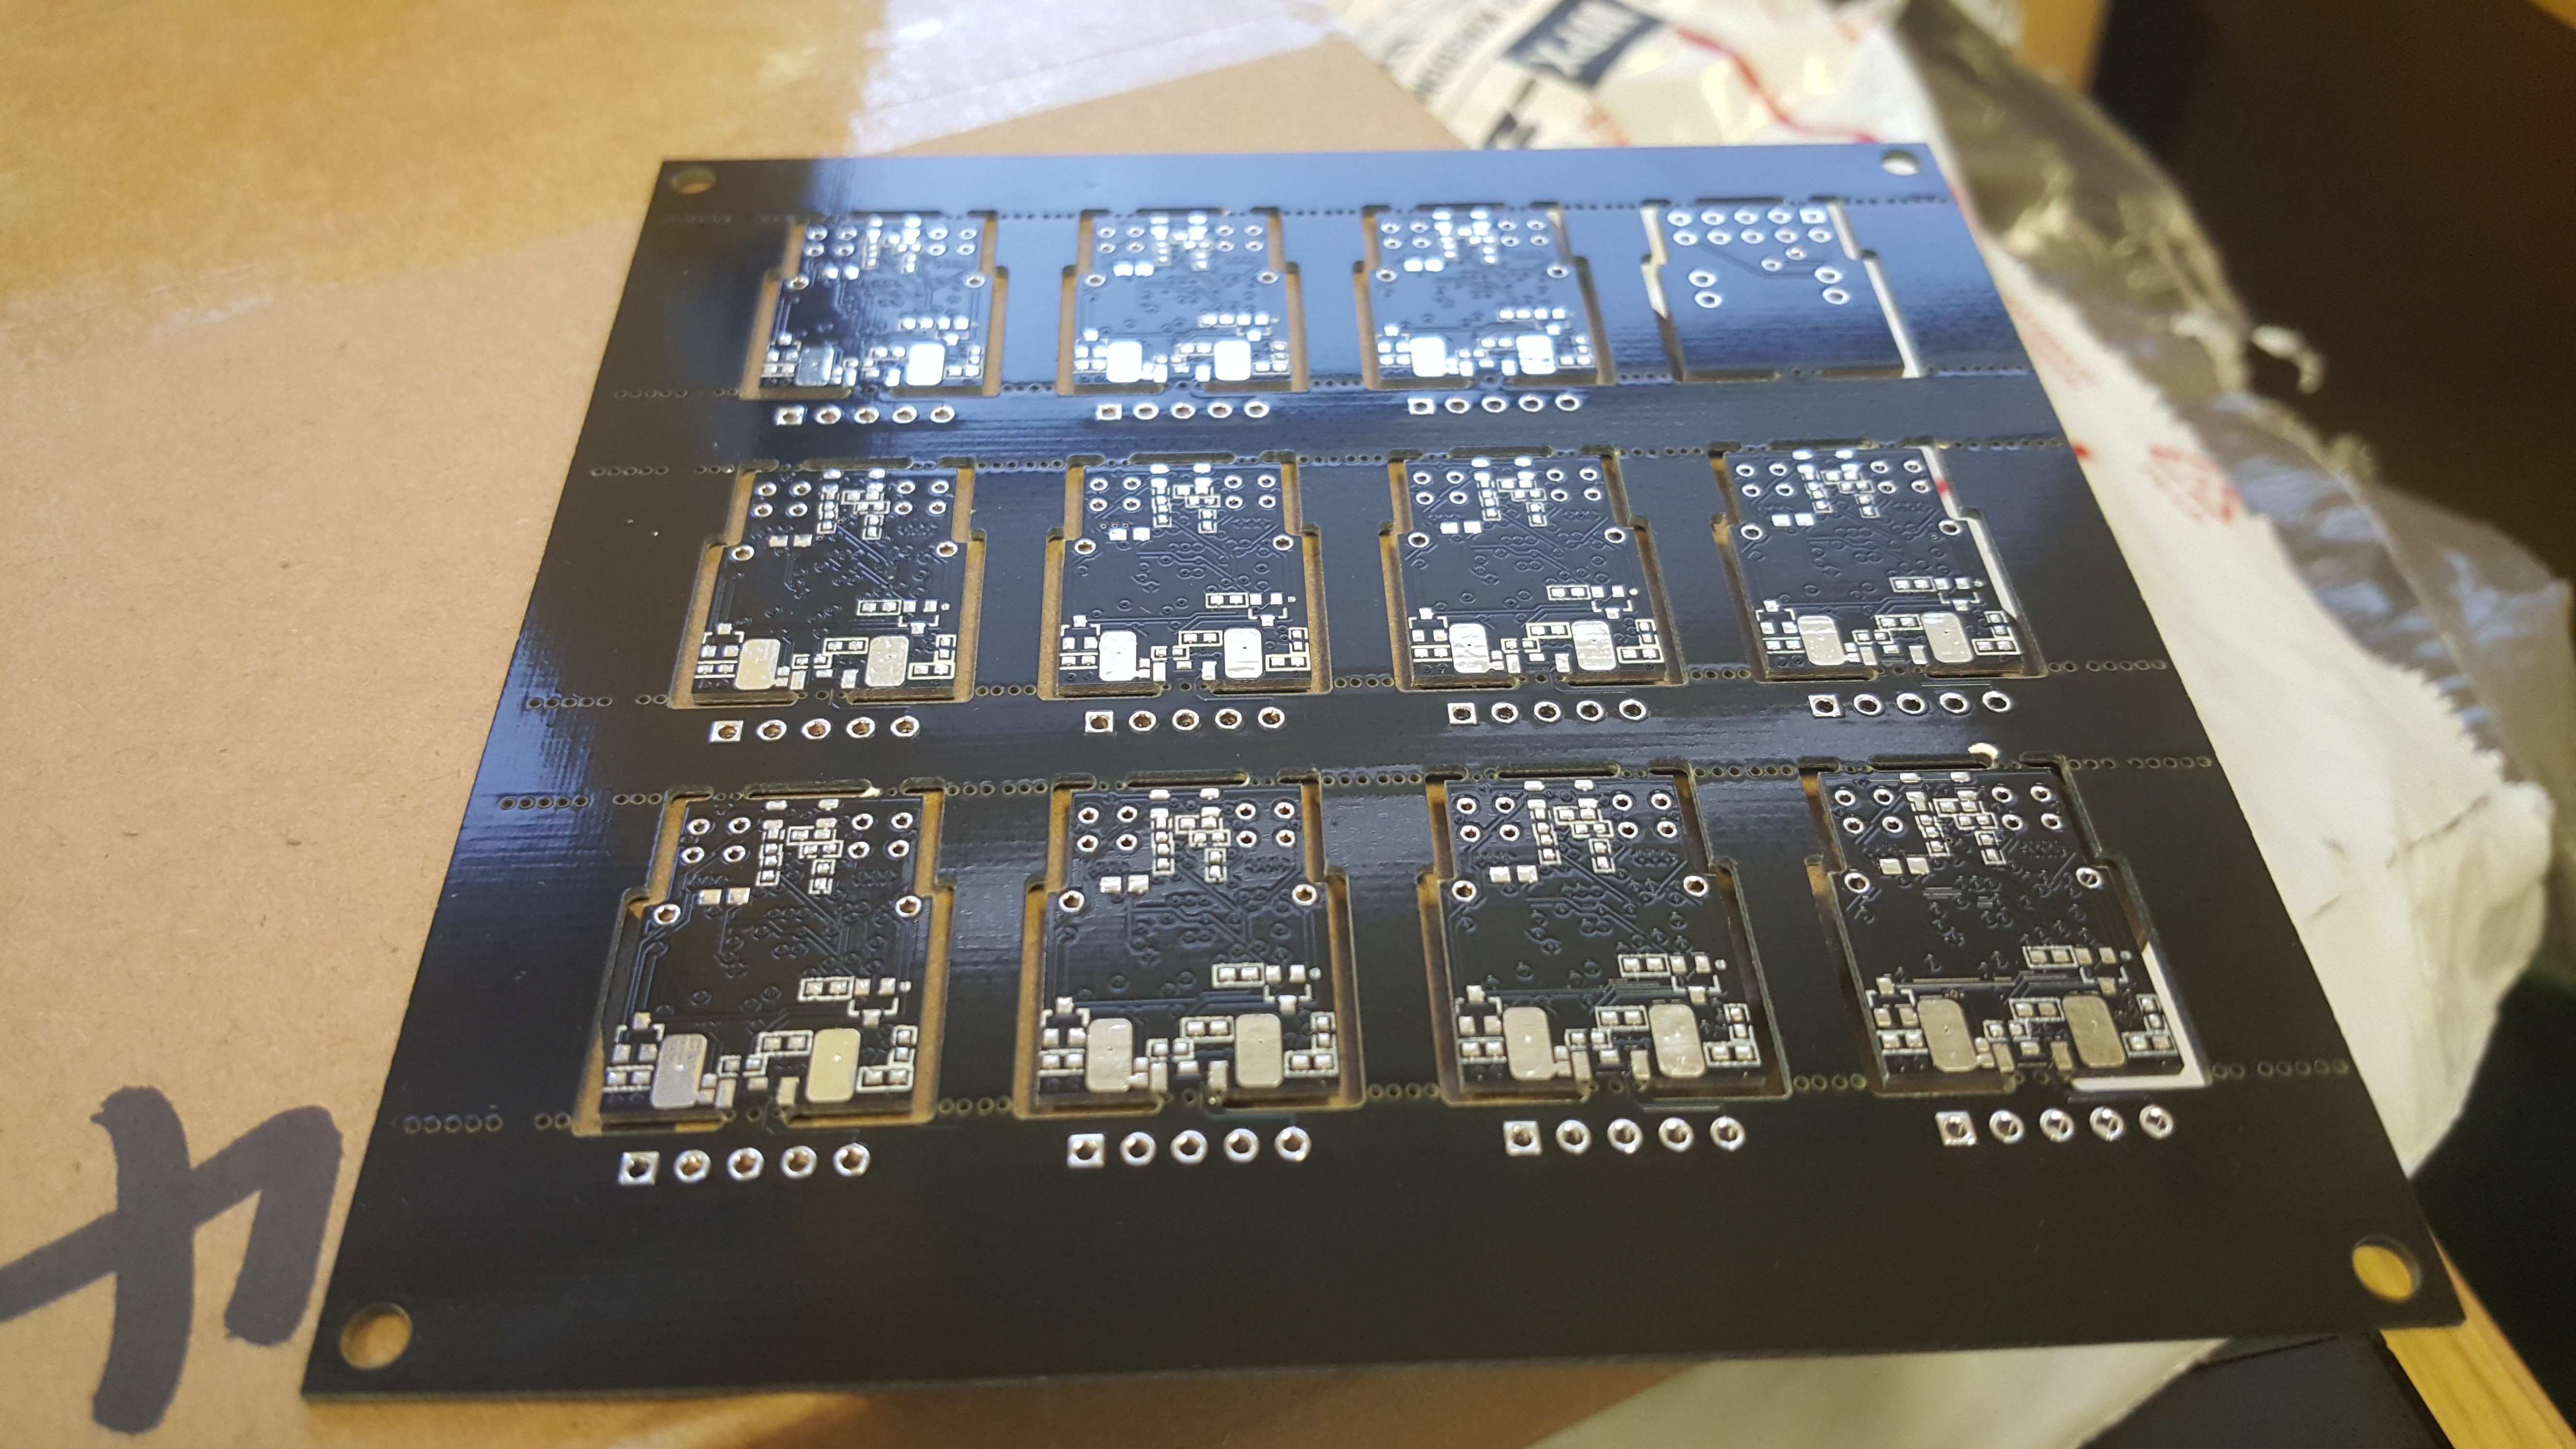
Christmas is nearly upon us, and just in time Elecrow delivered a present for us! The next stage in development is finding a way of producing a number of these robots on a small scale. The solution in industry is to create large panels of the boards in question and use pick and place machines to populate them. We wish to do the same thing on a smaller scale, enter mini-panels!


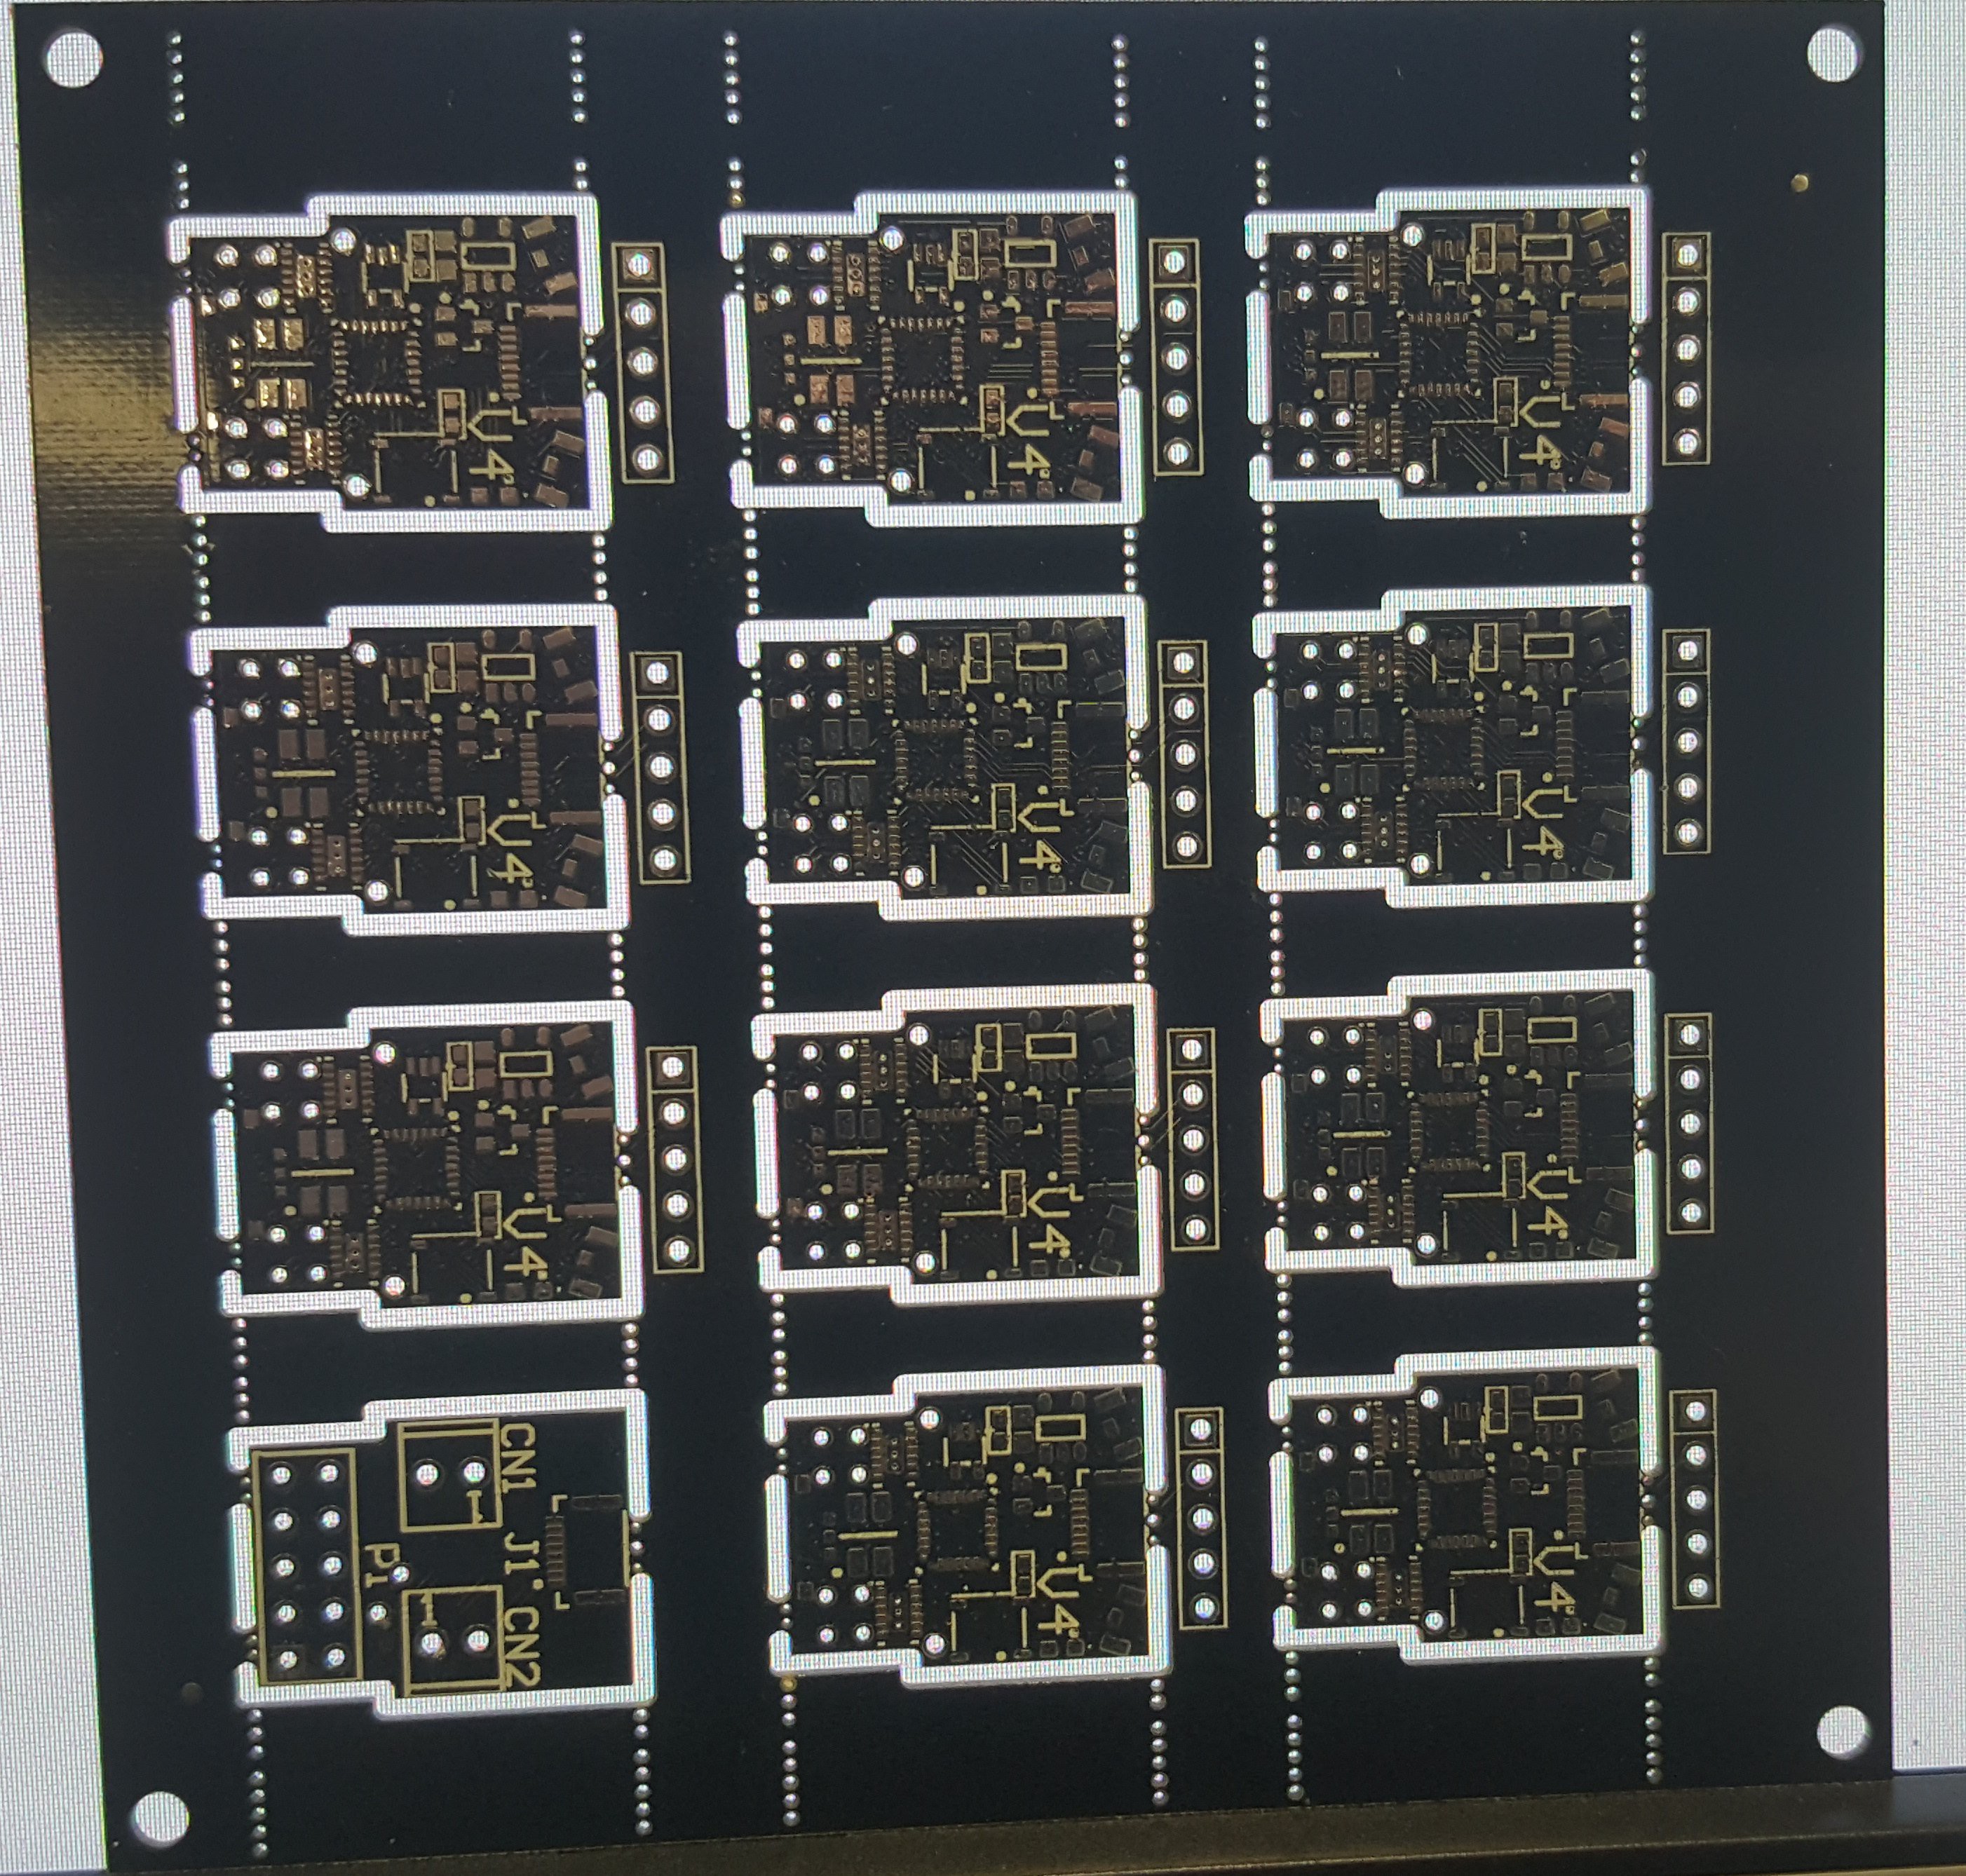
We can get these pick and placed on site without needing to make 100s+ at a time. A batch of 11 robots and a programmer is roughly the size of one 'kit' of robots in our estimation. Below is an image highlighting the techniques we used for panelisation. The programming pins are broken out to the 0.1 inch headers for slightly easier programming in batches. Ideally we would have thought about things a little more to get them to be programmable from one port, but alas we are lazy.

To be honest I was expecting the manufacturer to complain about the panelisation, as you usually pay more for it, though we tried our luck and boom, no extra charge ;).
You can see that this is V4.0, rather than V3.0 which starred in the other posts. V4.0 has some nice new features including:
- Reduced width at back allowing for a much reduced over all width. (wheels can now be tight to the robot)
- We are using a stm32 processor, this has more pwm hardware, higher clock speeds and crystal-less operation.
- The collision sensors at the front are now a separate LED and 2 phototransistors. This is so they properly 'look' forward.
- The upright charging pin is now 2 upright charging pins, one 5v the other GND. These have reverse polarity protection. Having a sliding GND contact on the bottom was not feasible due to fiddlyness to build.
- Due to more careful thought and more PWM hardware available we should be able to efficiently have microstepped motors, allowing for less vibration when they are turning slowly.
- These will be the first version to benefit from an unhealthy obsession with getting the perfect wheel (As will all new versions so long as I have an unobtainable standard for wheels I suppose). You can check out my DLP printer build here . I will be optimising this printer for the production of these tiny wheels.
For now Christmas is here, though in the New Year a new robot army will be upon us!
 Joshua Elsdon
Discussions
Become a Hackaday.io Member
Create an account to leave a comment. Already have an account? Log In.
The spacing is to ensure that the whole thing is rigid enough to put in the pick and place machine, so the 'super structure' needs to have a little meat to it. Also the edges are reserved for the clamping section of the pick and place machine. Yes I agree that having a method to program them on panel from one connector would be good. Though I was too lazy to work out how that should work from a programming interface perspective. My plan is to have the programmer use pin headers, jam and twist them into the holes to make the connection and program them one by one. Currently I am only looking to make around 20 manually. I was worried planning a better way might take more time than just doing it manually. Making it a proper industrial design will come later, when I know the parameters that are needed.
Are you sure? yes | no
I see, thanks, that makes sense.
Are you sure? yes | no
hey, is elecrow doing all the pick and place assembly for you, how much is it charging.?
Are you sure? yes | no
Currently not, I am prototyping here. I have access to a pick and place machine on my University campus. Though I do intend to use a service when I am making my first batch of 100+.
Are you sure? yes | no
Why such huge spacing between them? With the tolerances you normally need for PCBs, you could squeeze them much tighter and get 15 per panel instead of 11. Also, wouldn't pads be much more convenient for programming them on the panel than pin headers? Are you going to first solder pins into every panel? How about staggered pin holes, so that you could use the PCB as a simple pin socket?
Are you sure? yes | no
See above (jeez theses comments don't like to play ball)
Are you sure? yes | no