Capt. Flatus O'Flaherty ☠
License: Attribution-NonCommercial-ShareAlike 2.5 Generic (CC BY-NC-SA 2.5)

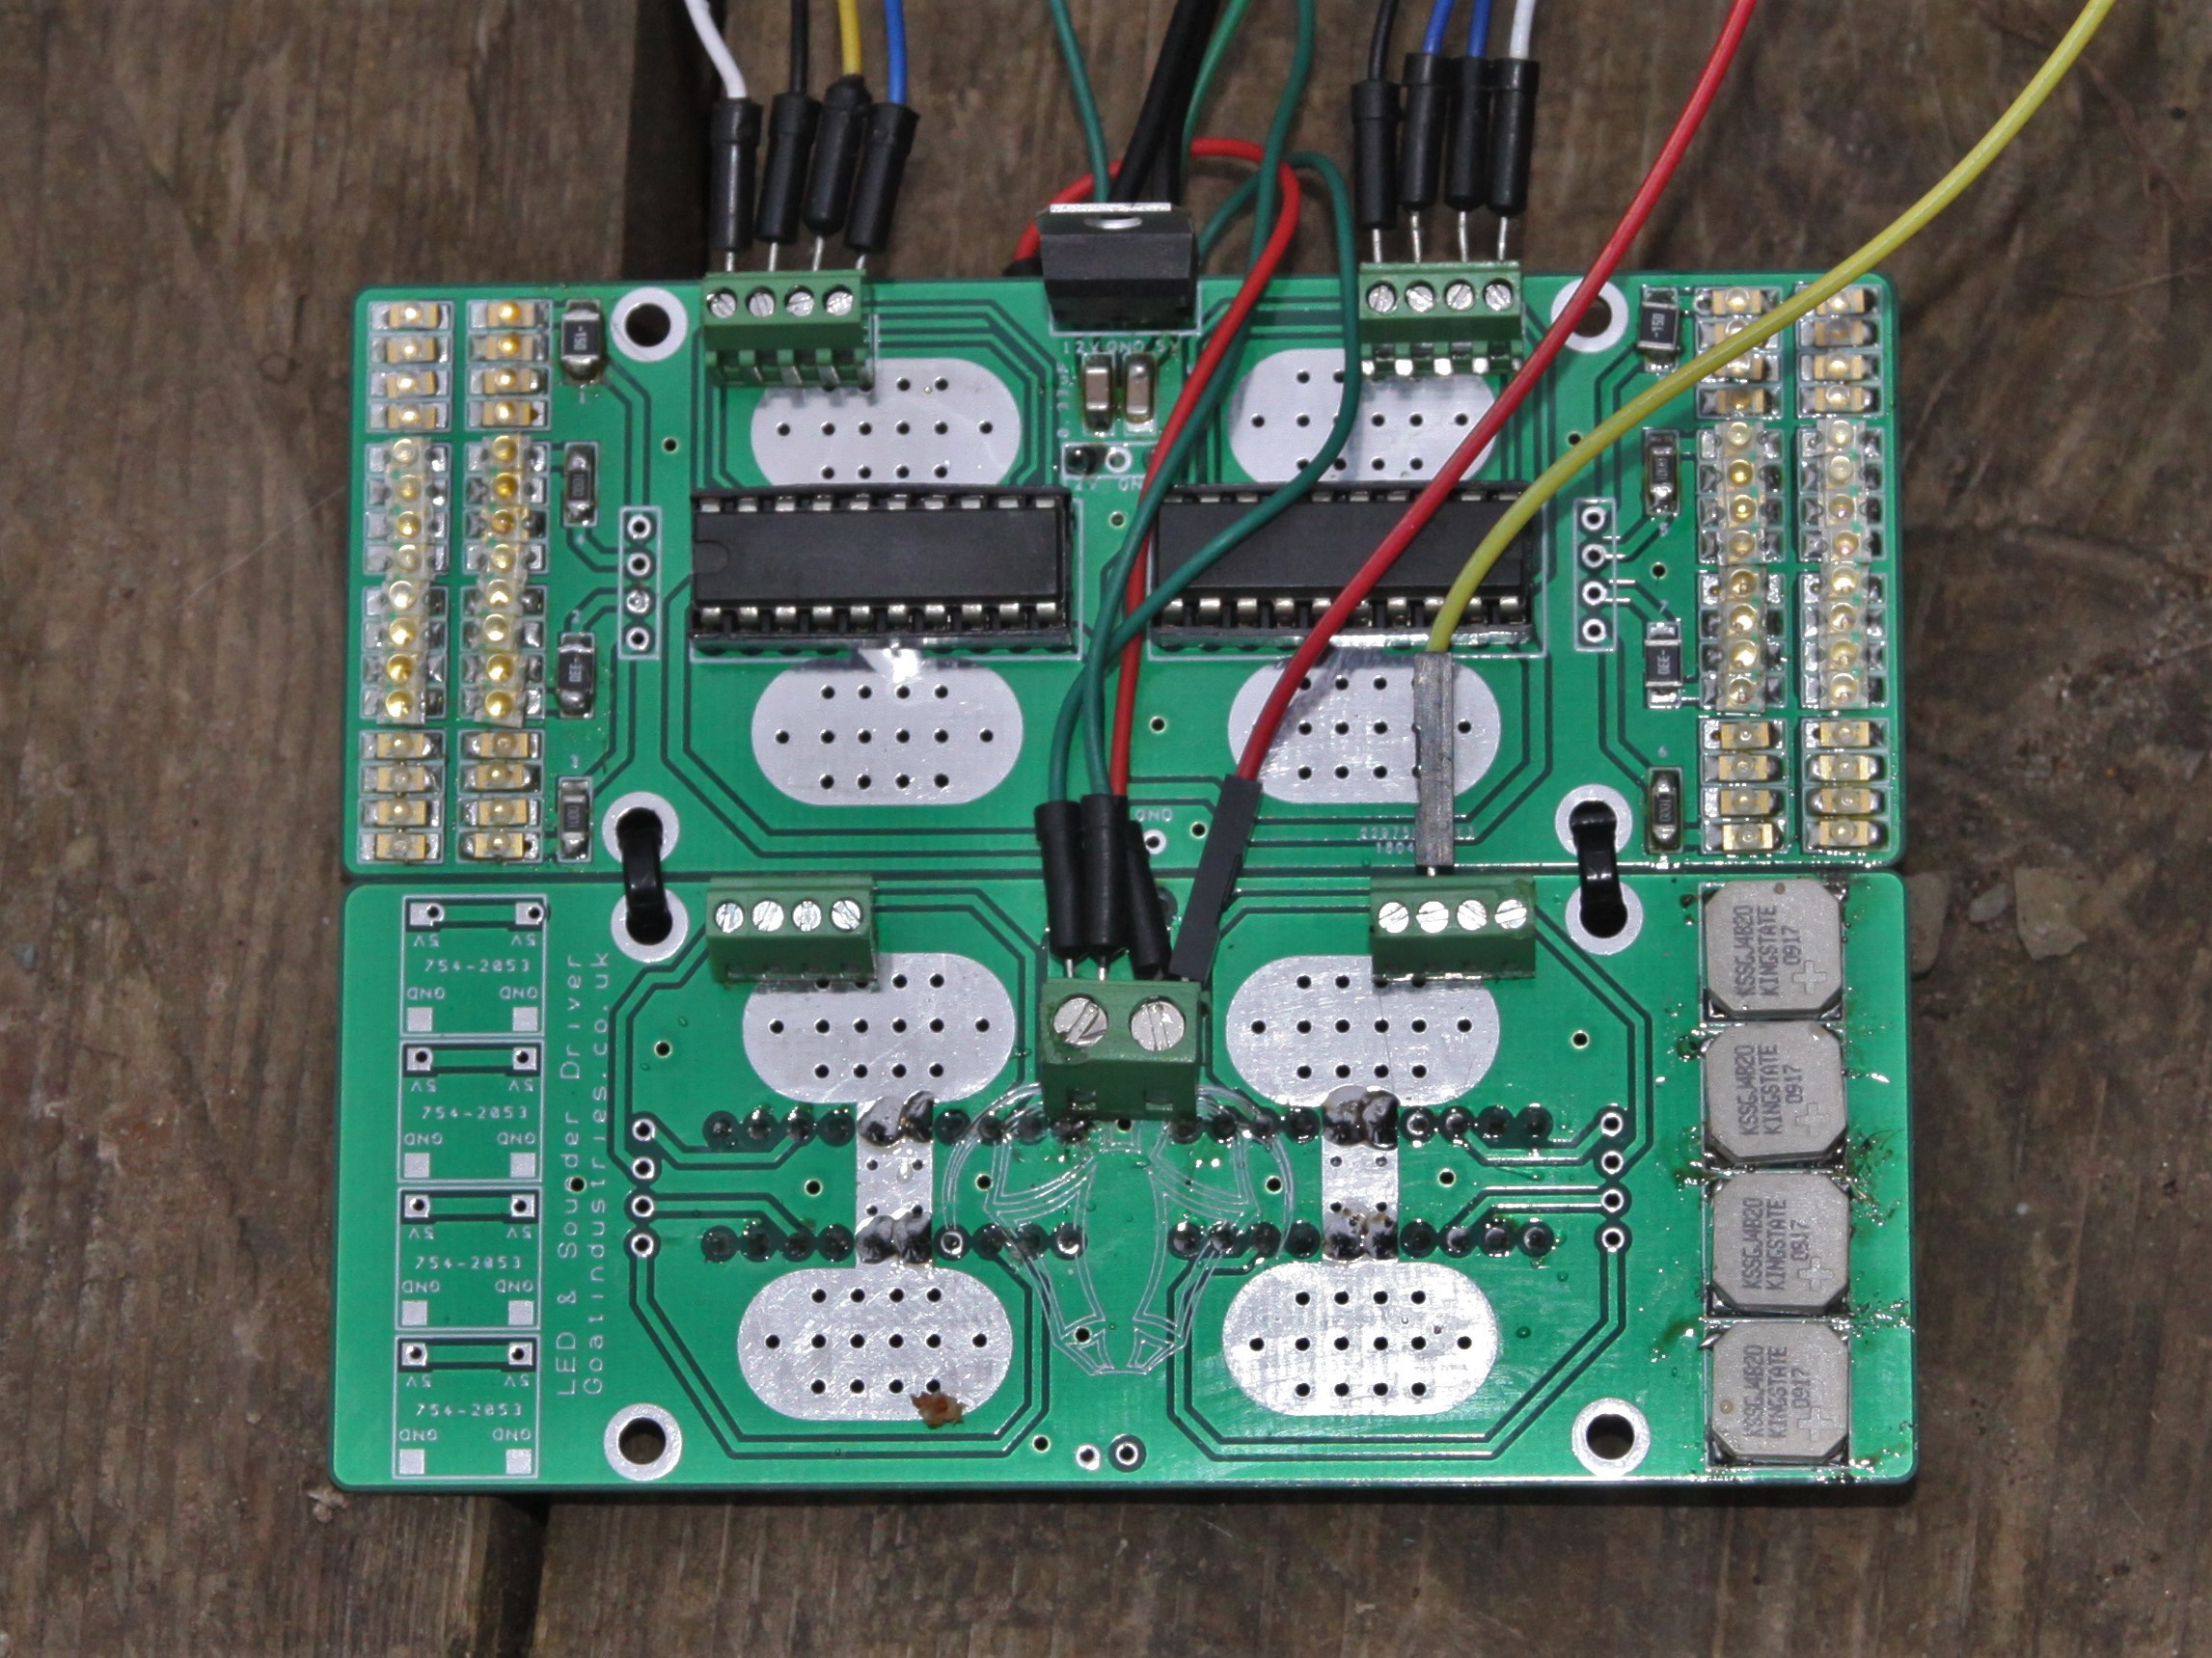
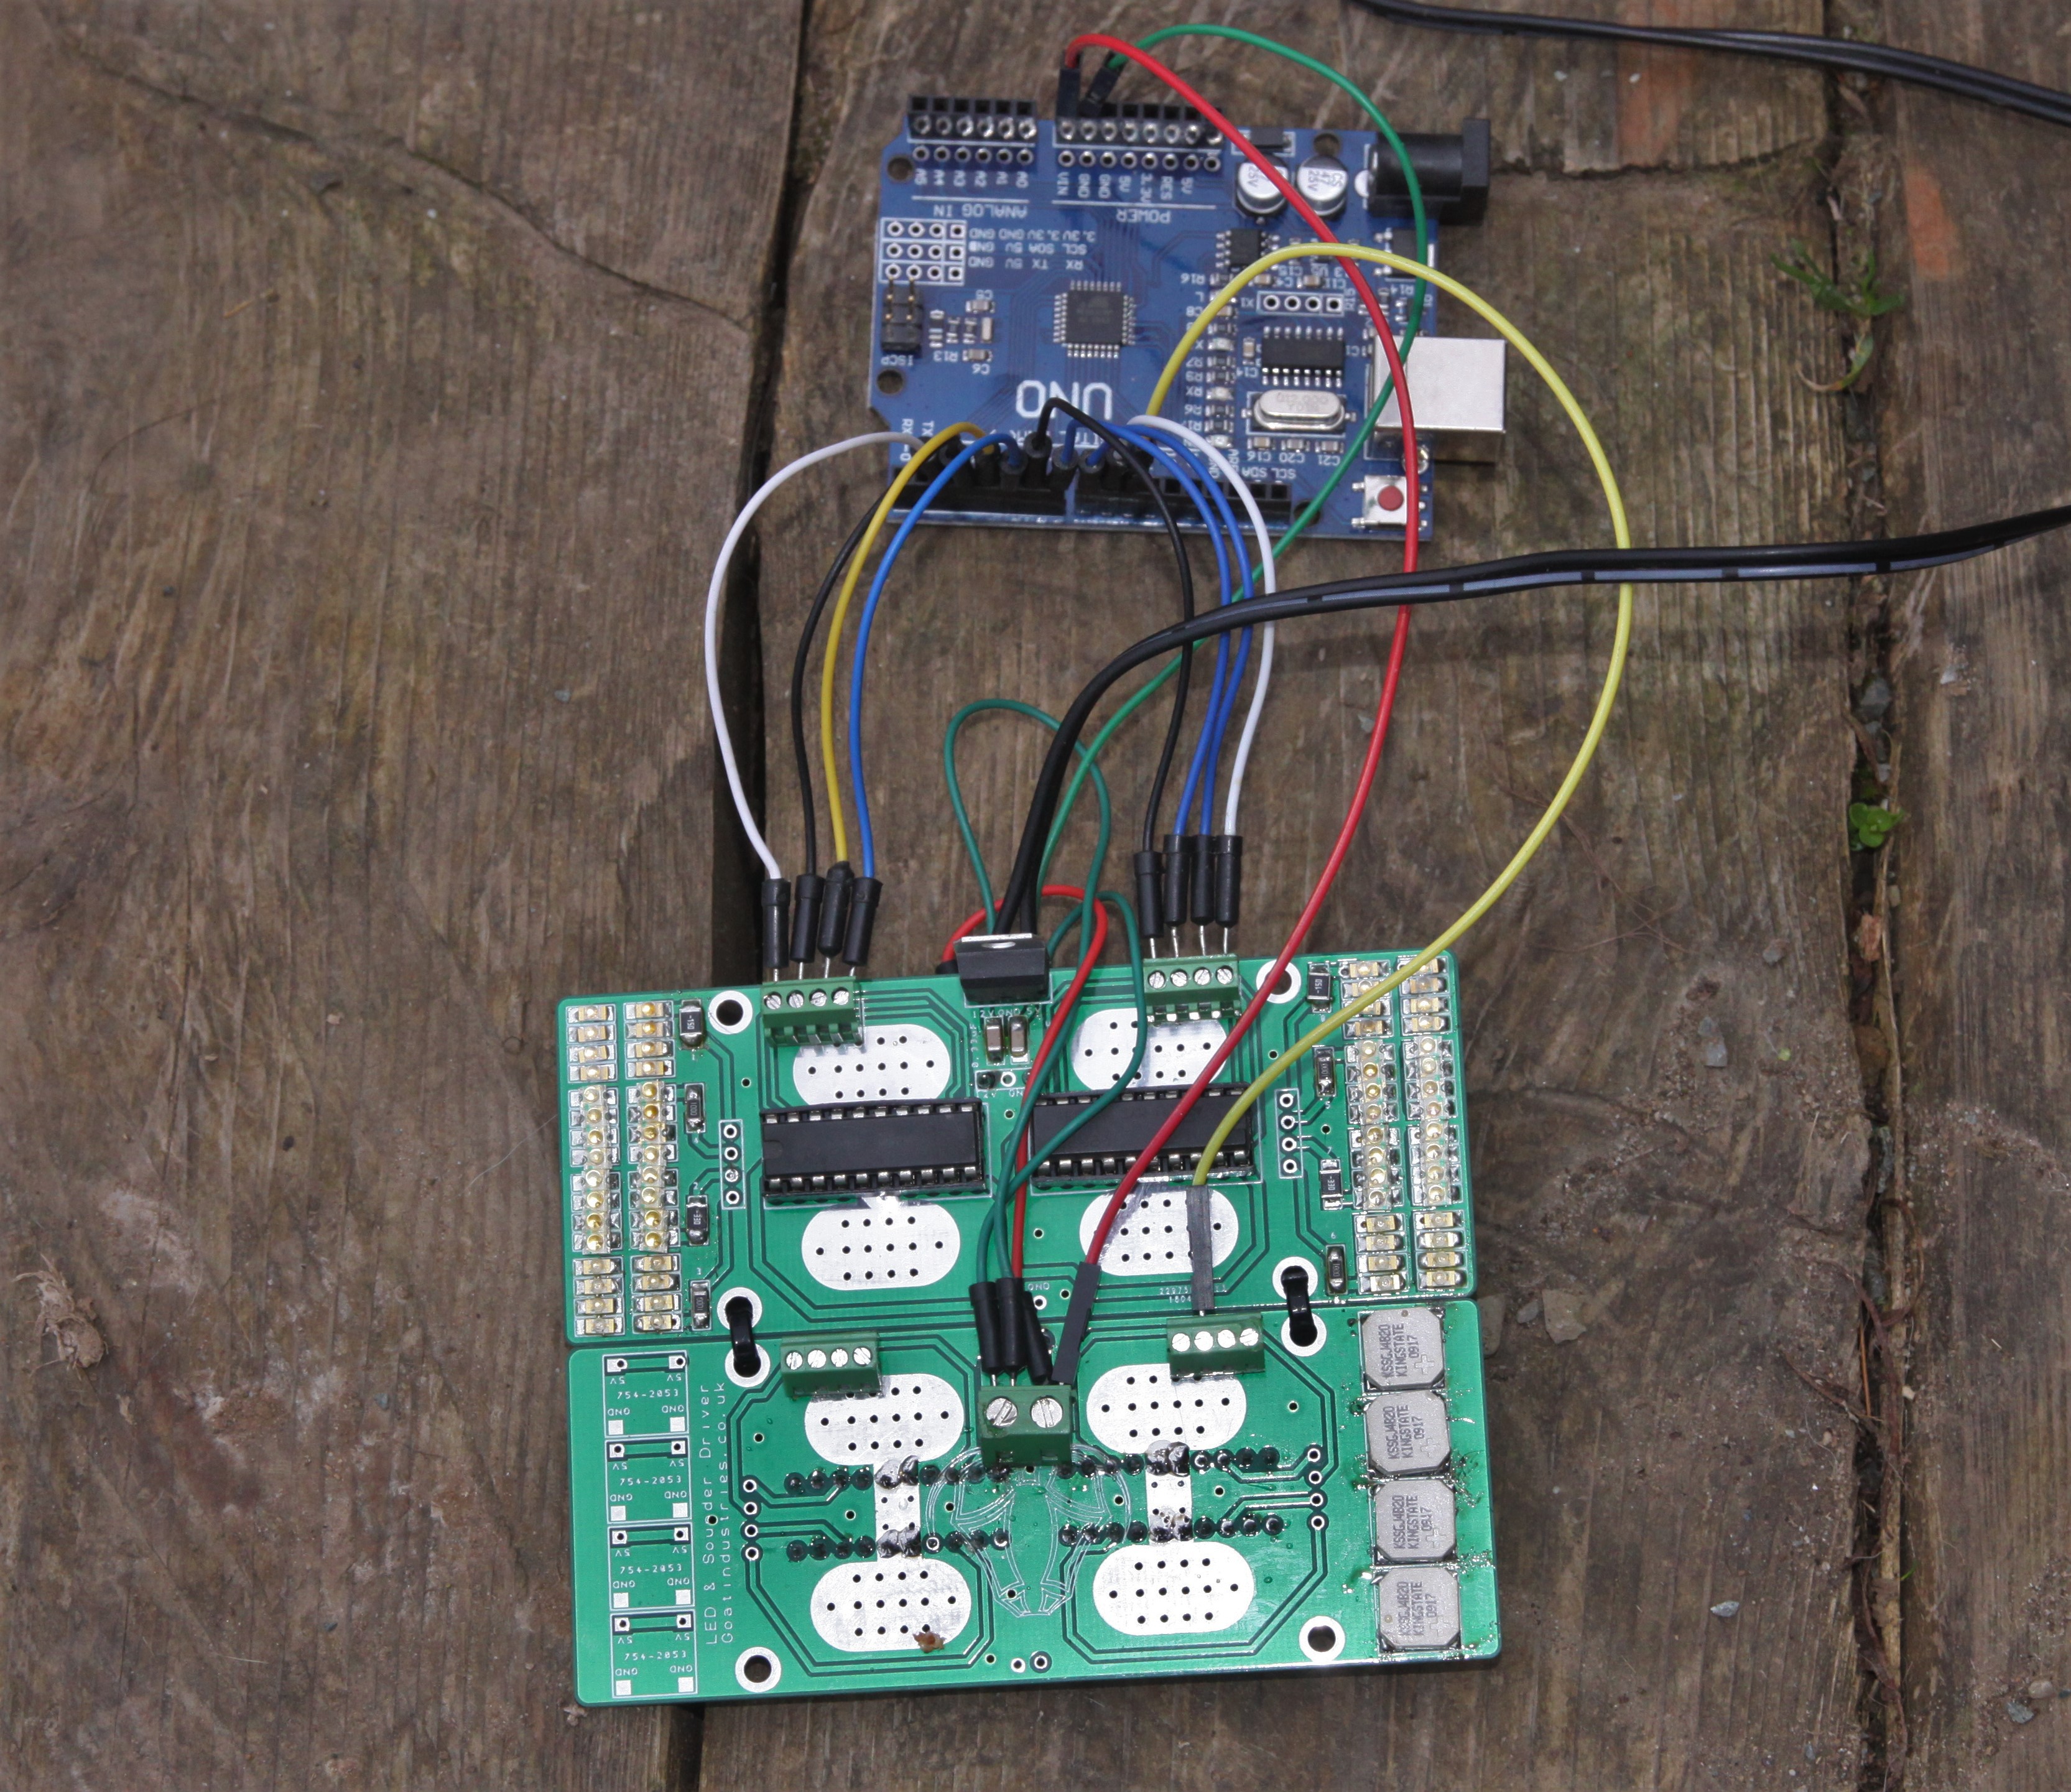
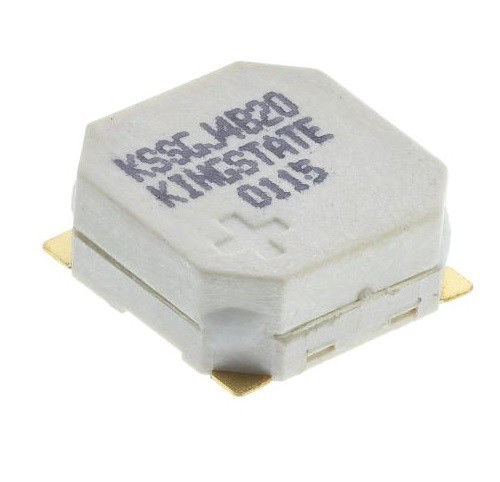
There are 8 available channels and on the front of the PCB are 8 banks of 8 1206 SMT LEDs and on the back are 8 surface mount 97 dB sounder / buzzers:
 Will the buzzers be able to compete with the noise of my 90 dB petrol motor? Will the LEDs be able to out shine the glare of the sun?