-
Prototype pi-scope built
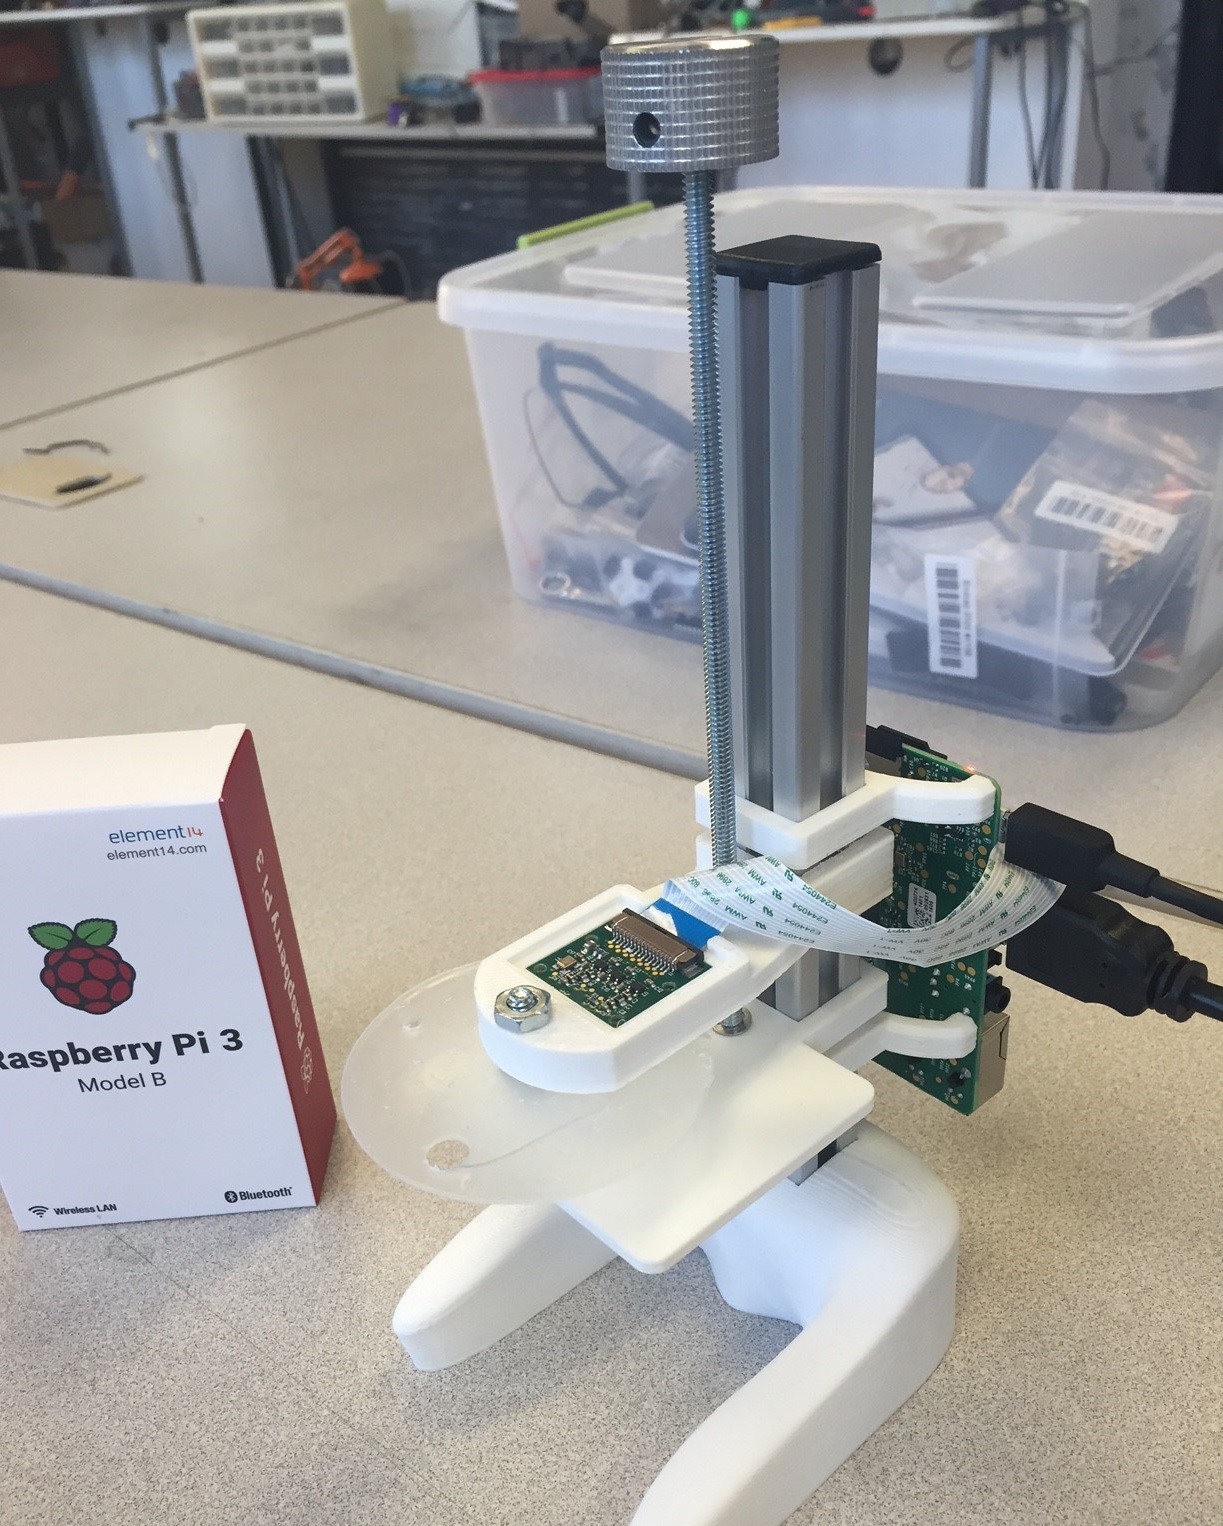
05/13/2016 at 00:51 • 0 commentsI powered though the design of the manual version of the scope so we would have a more stable platform to try software changes on. The base came out great and I filled it with crushed sea shells for weight. The overall look and feel is nice and I'm quite happy with how it has turned out. This current build has already shown the team many areas to improve on. We are looking at getting a few microscope slides to test and also trying different lens holders. The rotating lens may be swapped for a easy to use "lens cartridge". Many problems have raised that cause minor gaps between the glass beads and the pi camera.
A few things to change include a redesign of the platform, and Pi mounts. I found the Pi mounts to be nice however we may need to change to a mount that holds a bit of plastic sheet that the Pi then mounts to. I need the additional room on the plastic for DC-DC converters and stepper drivers for the auto scanning version.
I was also thinking of adding a additional solar board to the power circuitry. This would allow a medium sized solar panel to charge the scope. Ok so here is the hypothetical future scenario your out backpacking with your friends and you are deep in the wilderness. You come across a stream and are unsure if it is drinkable. You ran out of water tablets a few days ago. So you break out your trusty solar powered pi microscope. You have a quick look at the water to see just what is in it.
No pollution, or to much algae!
Thank goodness the scope verifies that the water is clean. Your hiking group is able to drink the water without to much worry.
![]()
-
3D modeling the scope
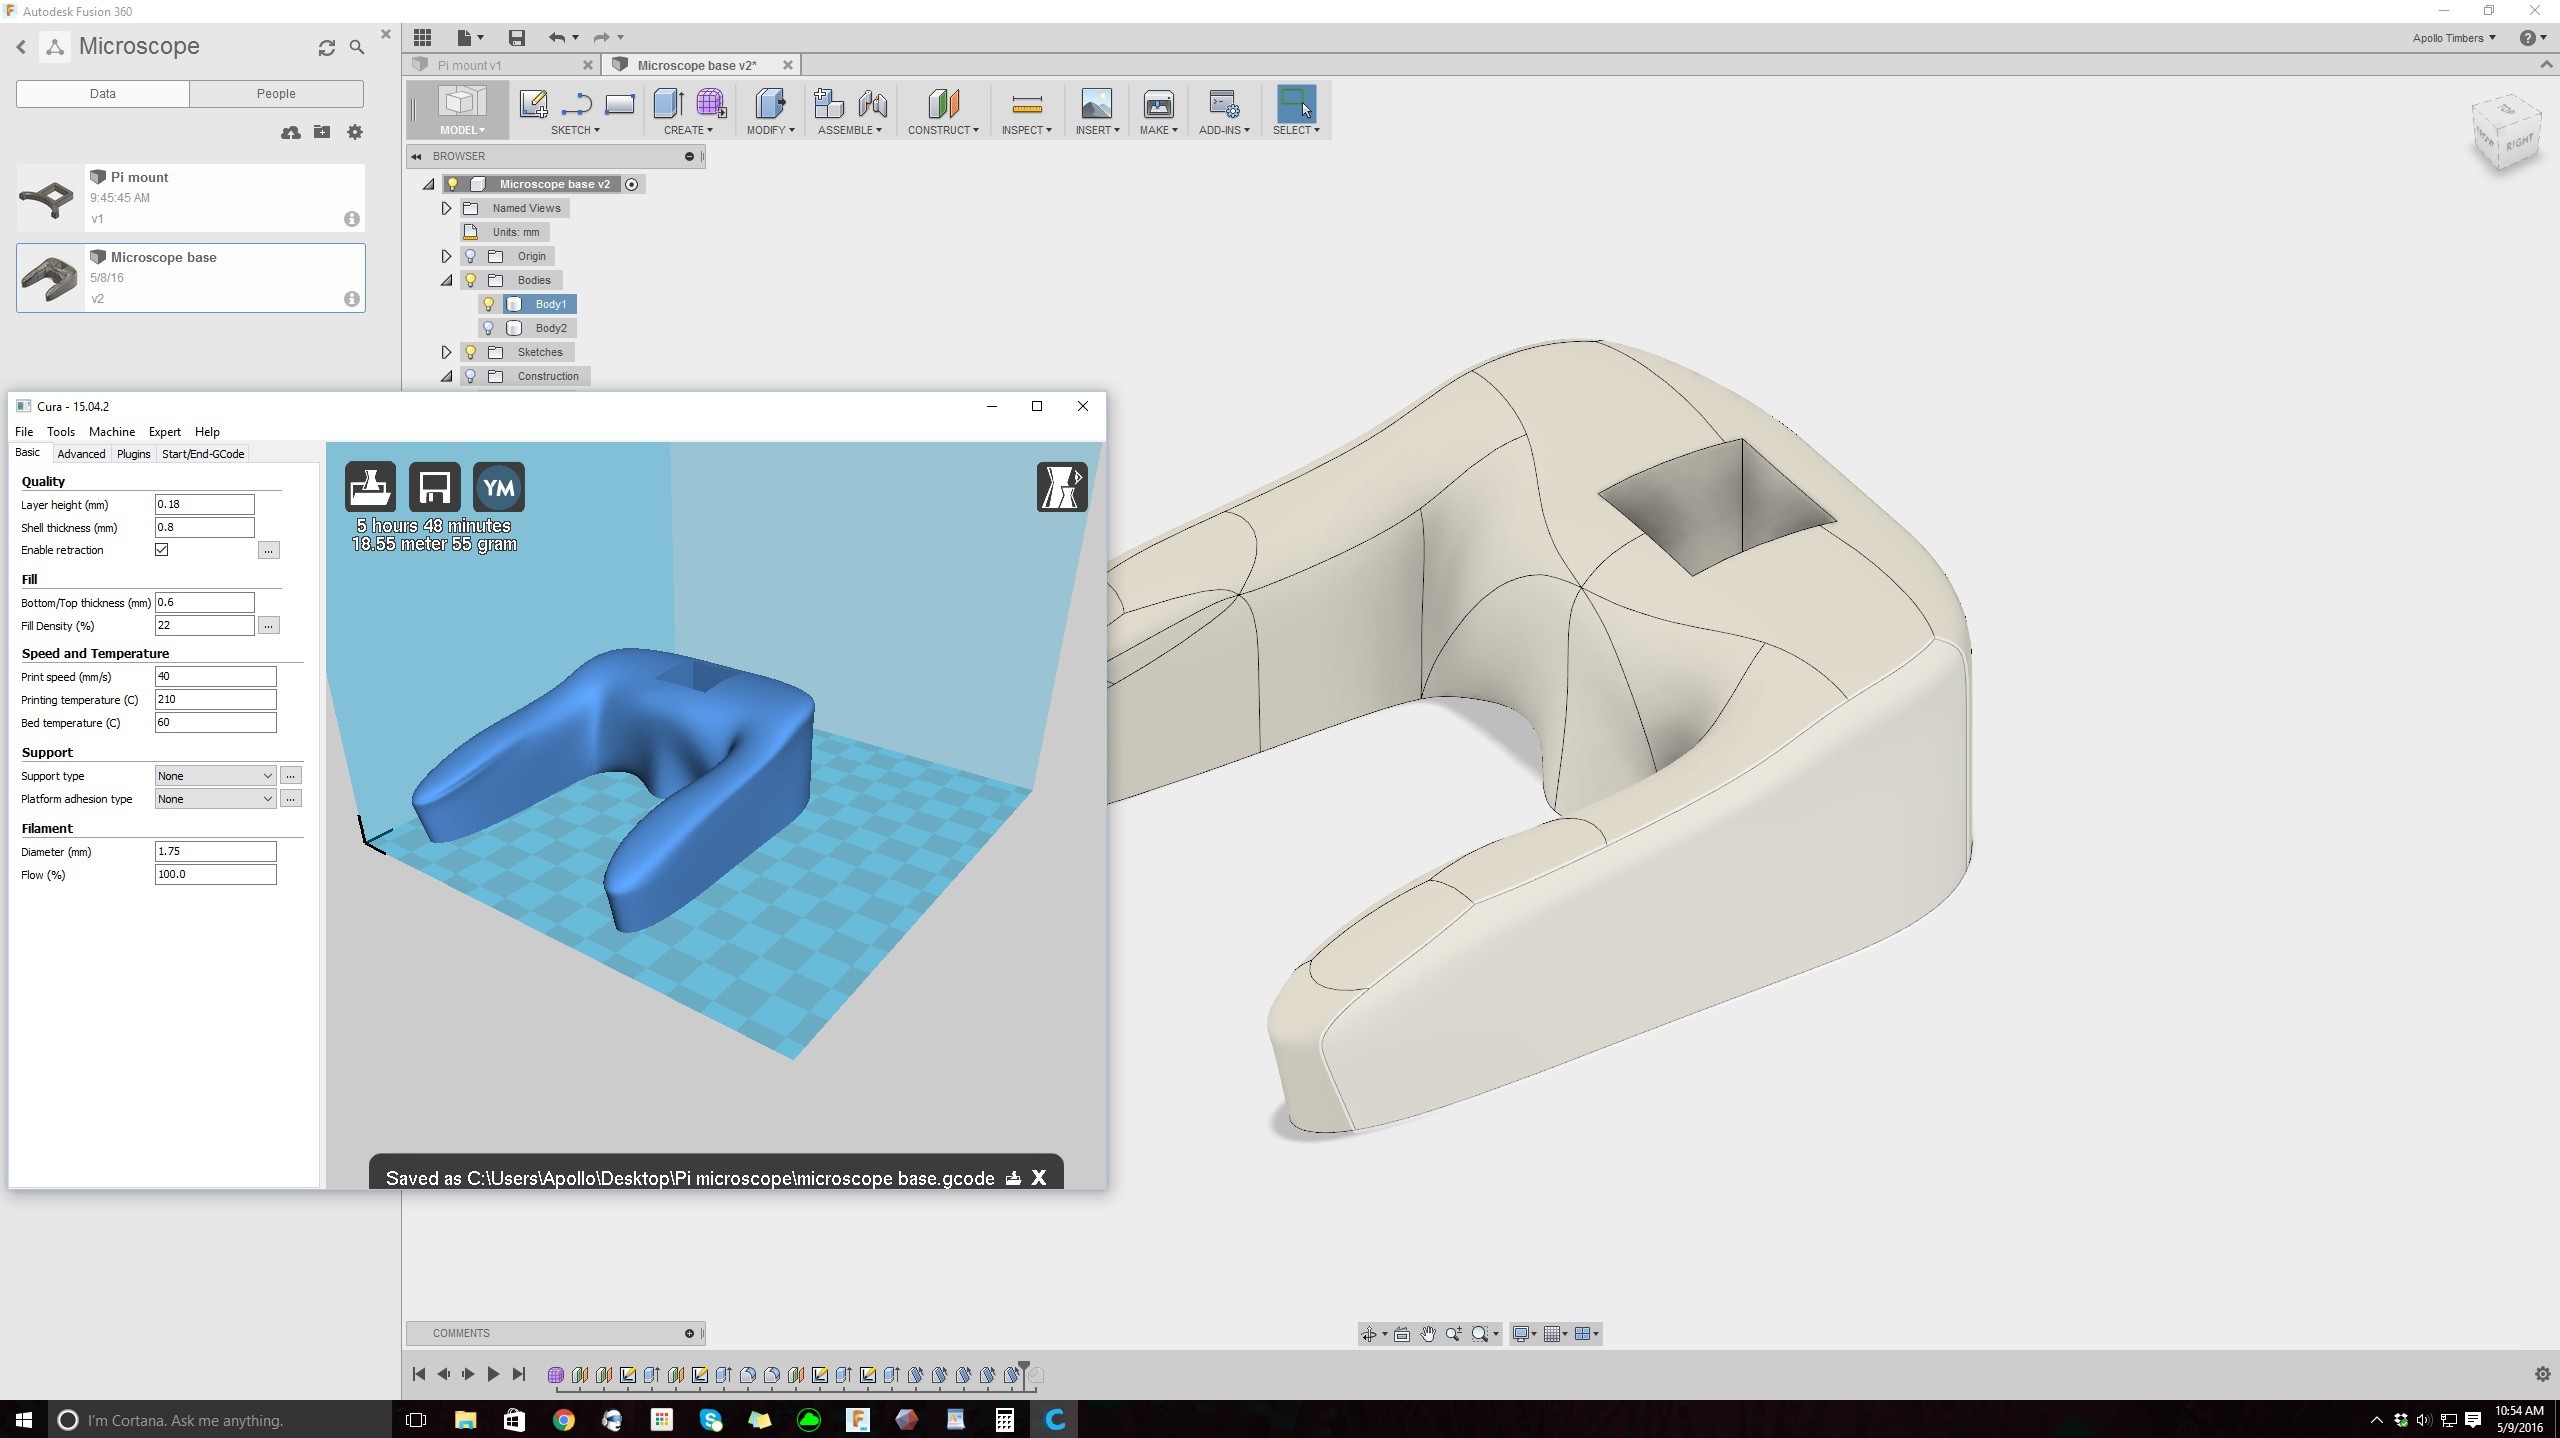
05/09/2016 at 16:04 • 0 comments*Update from Apollo on the 3D design and printing* I have designed the prototype base and pi mounts in Auto desk fusion 360. The picture below shows the part in Fusion 360 and in the slicer program Cura (3D Slicing Program). I have already printed a pi mount to test the clearance between the 20 mm extruded aluminum and the mount. 20.3 mm square is the exact needed so I ensured the base matched. I also added holes in the base on the bottom to allow weighted items to be placed in the base. So far I'm up to 3 designs and 4 prints needing to be finished. The Printrbot simple metal is currently hard at work on the base of the scope. I should have a good physical prototype later this week. Though a large hurtle of designing a reliable lens mount is ahead still.
![]()
-
Glass beads are indeed small!
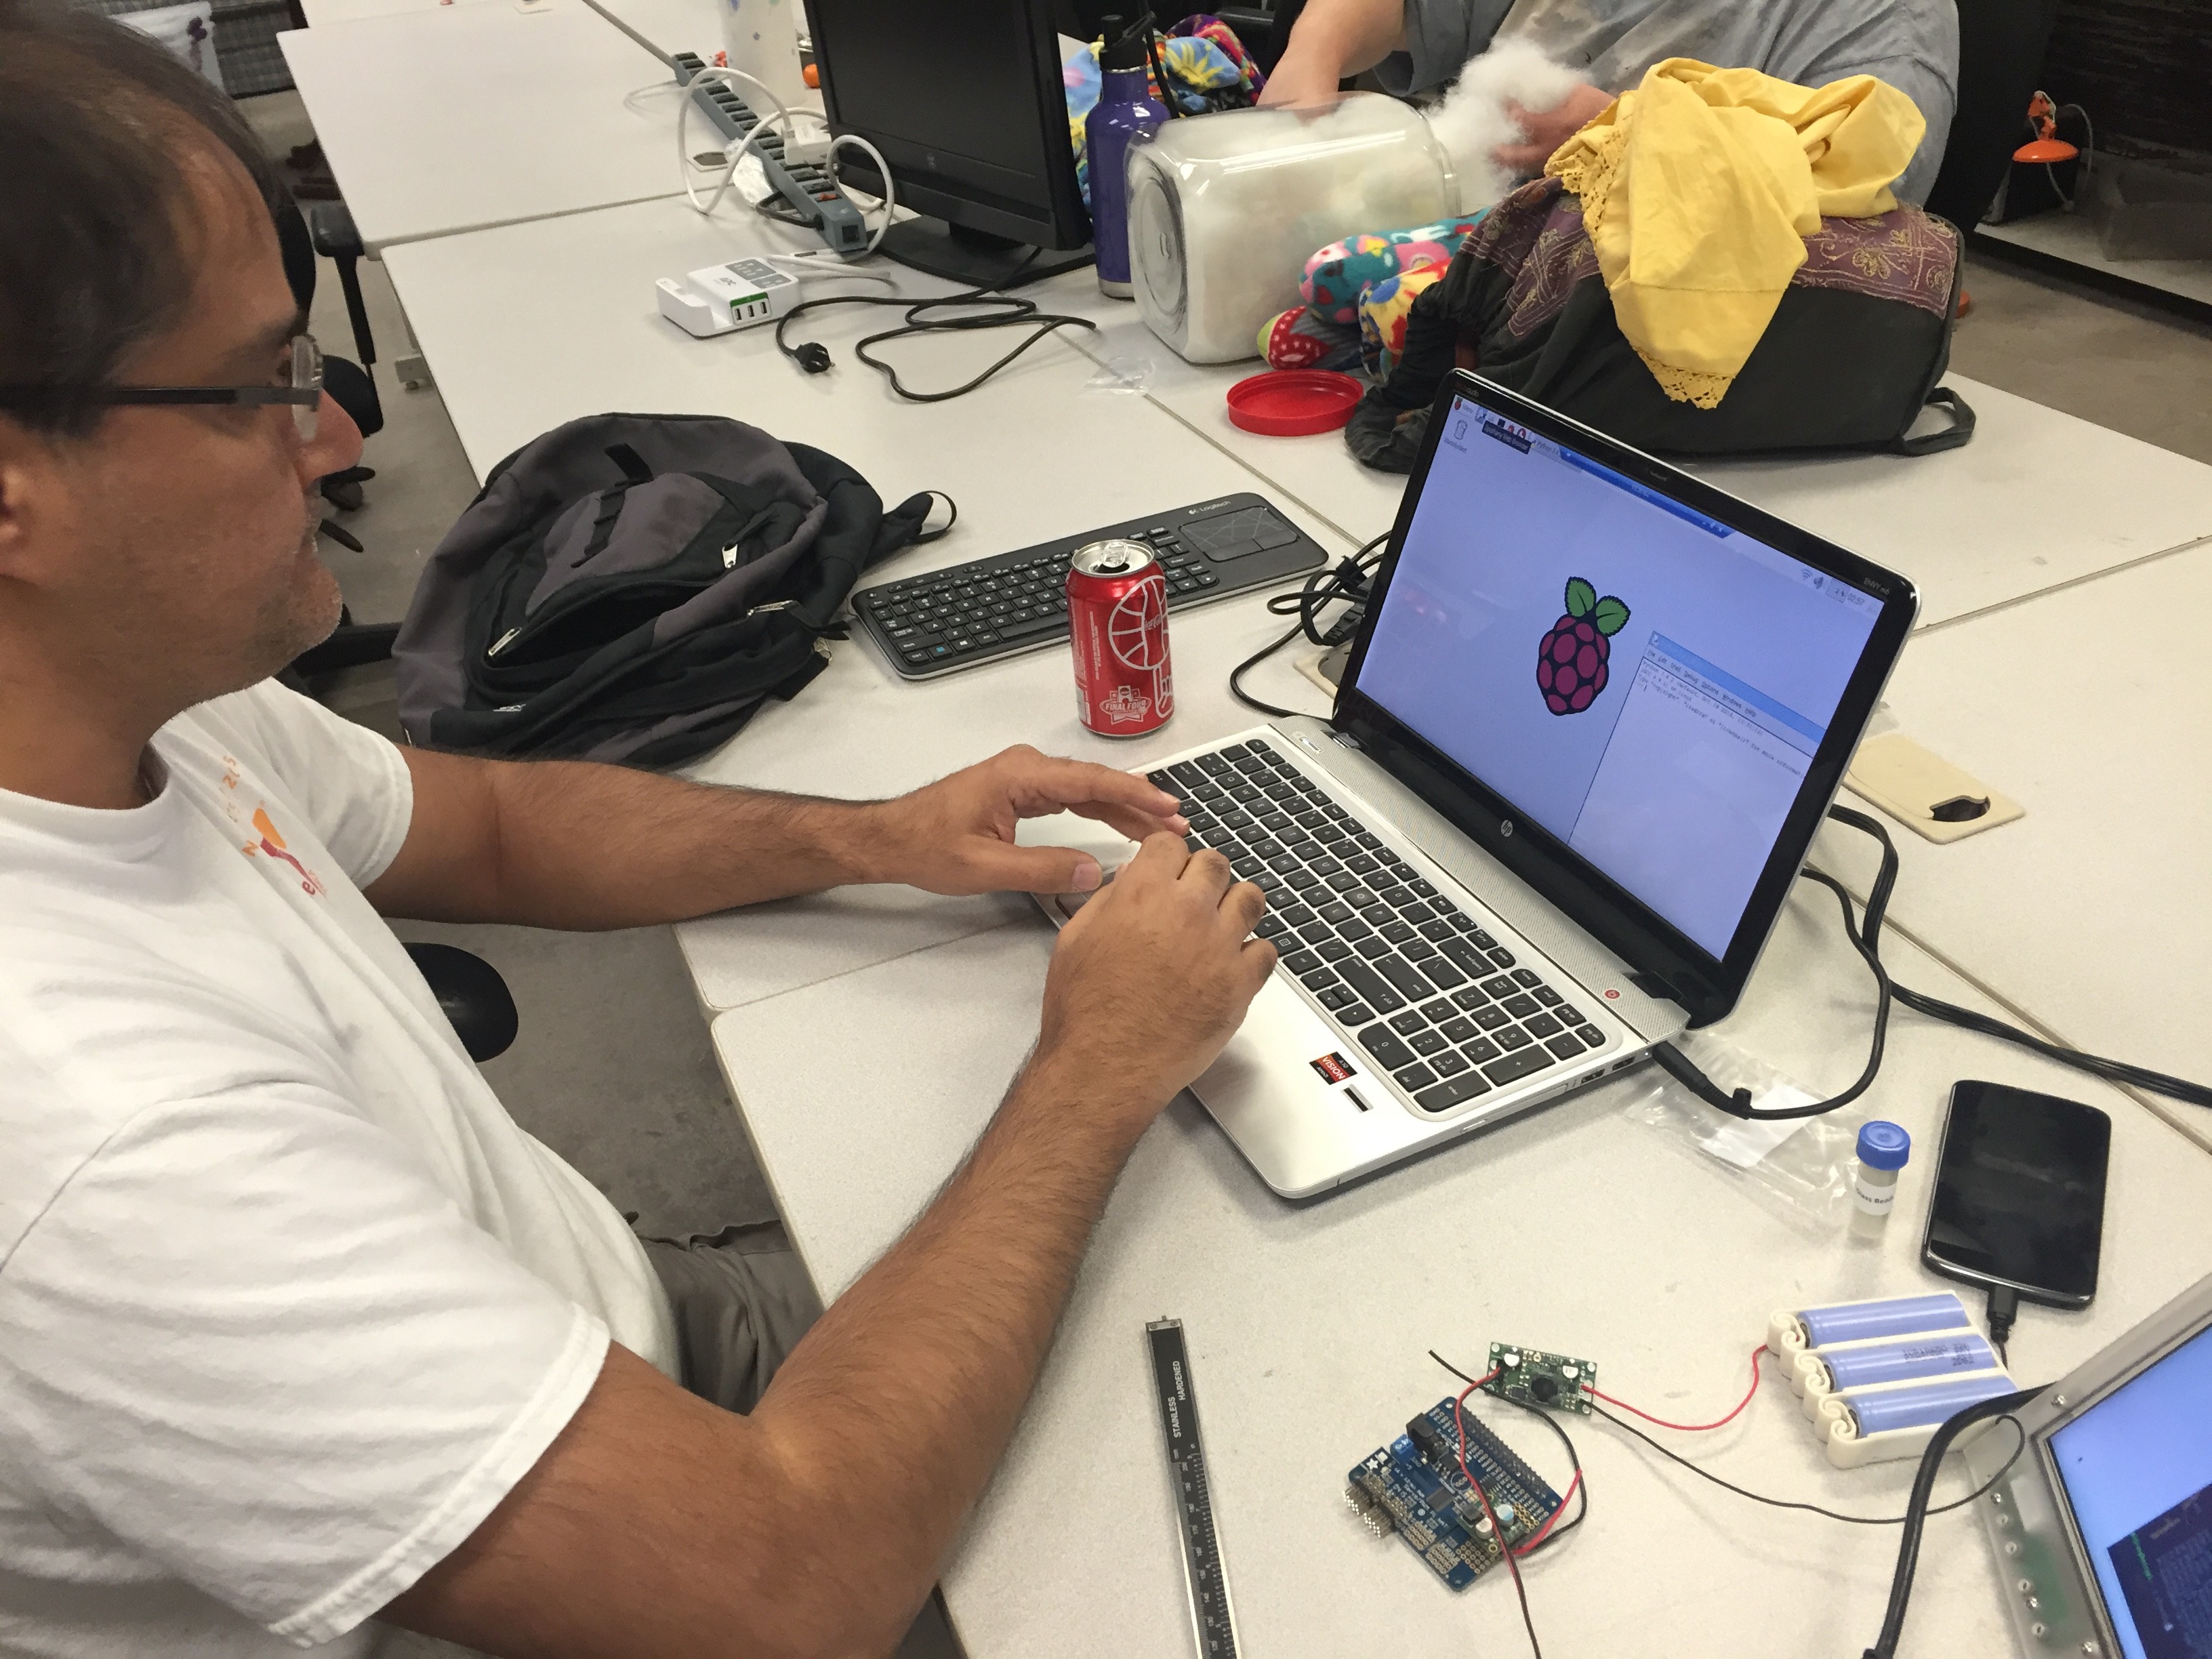
05/08/2016 at 02:12 • 0 commentsWe had a bit of a late start for are last build night but we were able to test a lot of the elements to the scope. The soda glass sphere's came in and we tested them in the 3D printed housing. We used the light of a cell phone to shine though a leaf however we we unable to control the fine focus needed to have a clear and stable picture. The current setup used a Raspberry pi 3 this time and the same 5mp camera. Ninju was able to update the software and allow for a remote desktop on his laptop. Since this is a keyboard that he is use to the software should start to go quicker. We have loaded up some open source code that we are looking to send both video and pictures to a WiFi connected phone. I have started both concept sketches of a microscope that will use 20mm extruded aluminum as the main structure. I plan having a base that has a compartment you will be able to load weights into. This will allow you to stabilize the scope with sand, metal scraps, or rocks.
-
GitHub
04/30/2016 at 16:36 • 0 commentsWe have a GitHub up for the project! There are only a few code segments available in Python 3 at the moment but be sure to check back for more interesting developments.
https://github.com/ninjubohra/internet-of-things-microscope
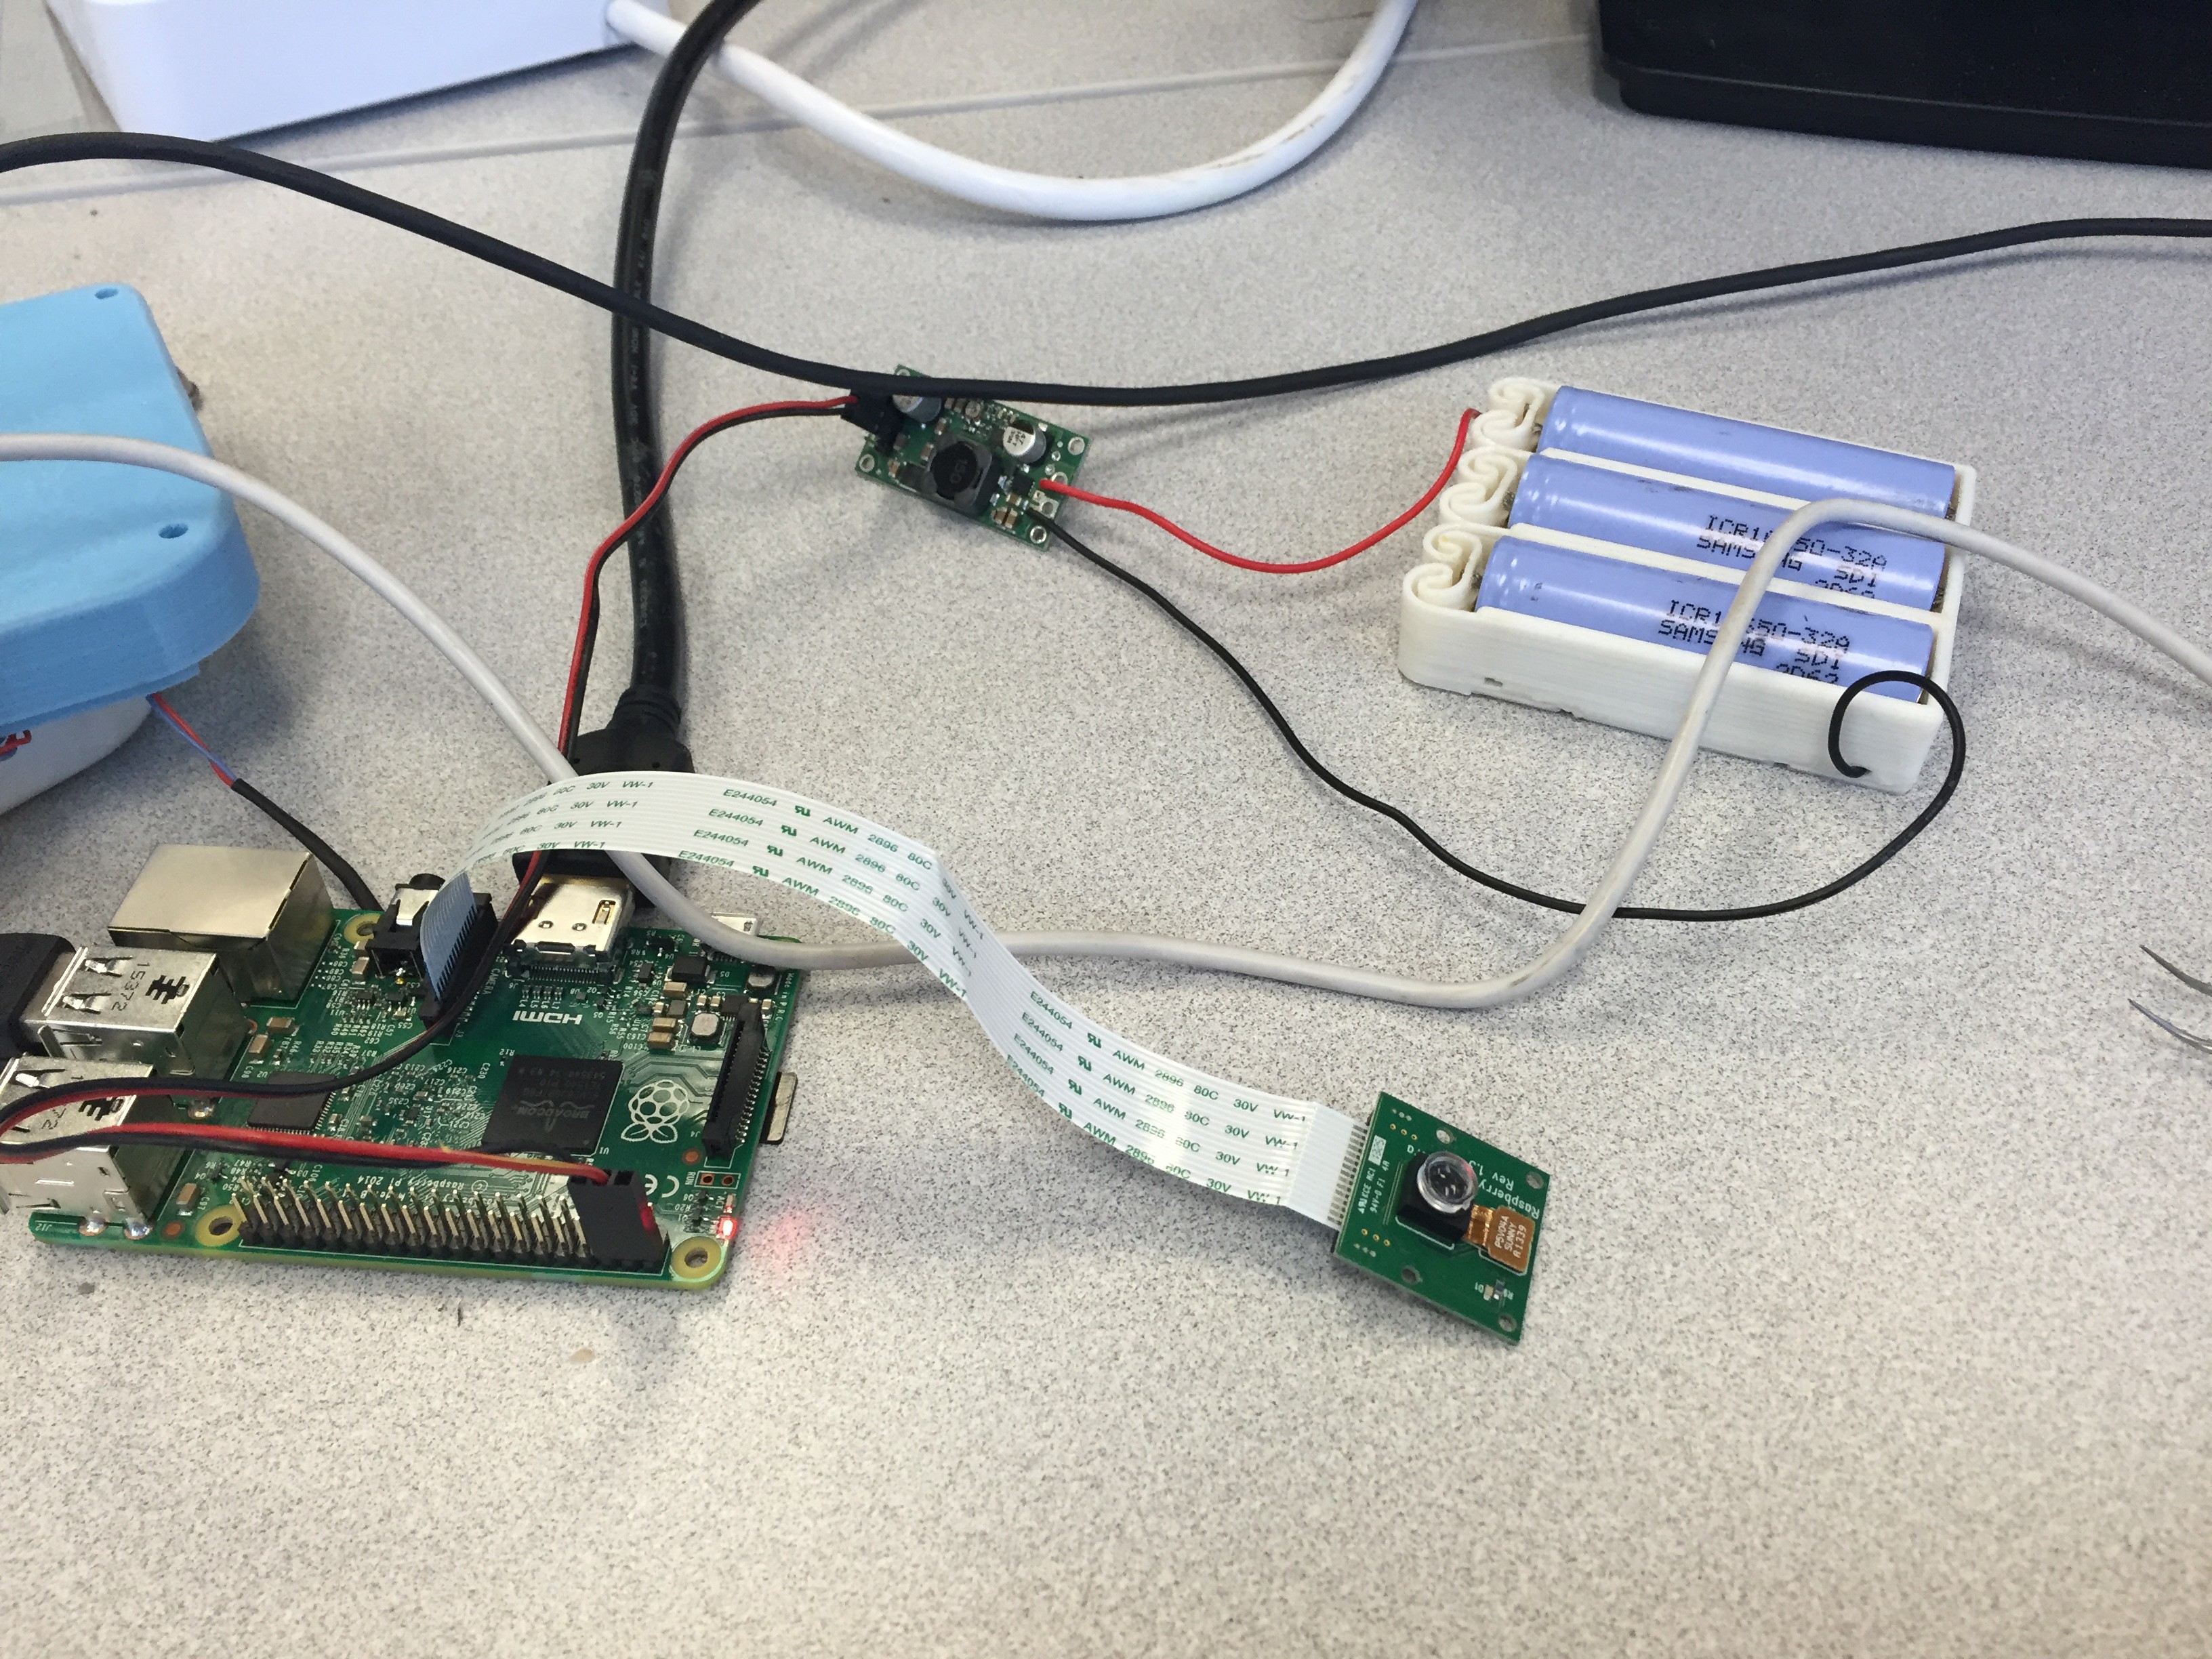
Also here is a look at the current hardware setup, This was a Raspberry Pi 2 to start and a Pi camera 5mp, We had it powered by lithium batteries.
-
Build Night One
04/29/2016 at 01:52 • 0 commentsTonight we came in and wanted to get a proof of concept for the microscope. We initially started with a Raspberry Pi 2 and hooked up the Pi camera. We used a plastic lens from a cheap laser to get a magnification. We used a Raspberry Pi A+ board as a example subject. This worked very well and we were able to see details of the printed circuit board (pcb). We have already ordered glass beads in different magnifications. These should be coming in next week before the next build night. Using Python 3 we have been attempting to capture and save an image to the Pi. We will be building out a detailed Github to ensure there is transparency throughout the project.
Main contributers for this build night were:
Apollo Timbers - Hardware integration
Ninju Bohra - Software integration
Morgan Miransky - Lead project coordinator
Internet of Things Microscope
We are updating the microscope using open source materials to make microscopy accessible globally


