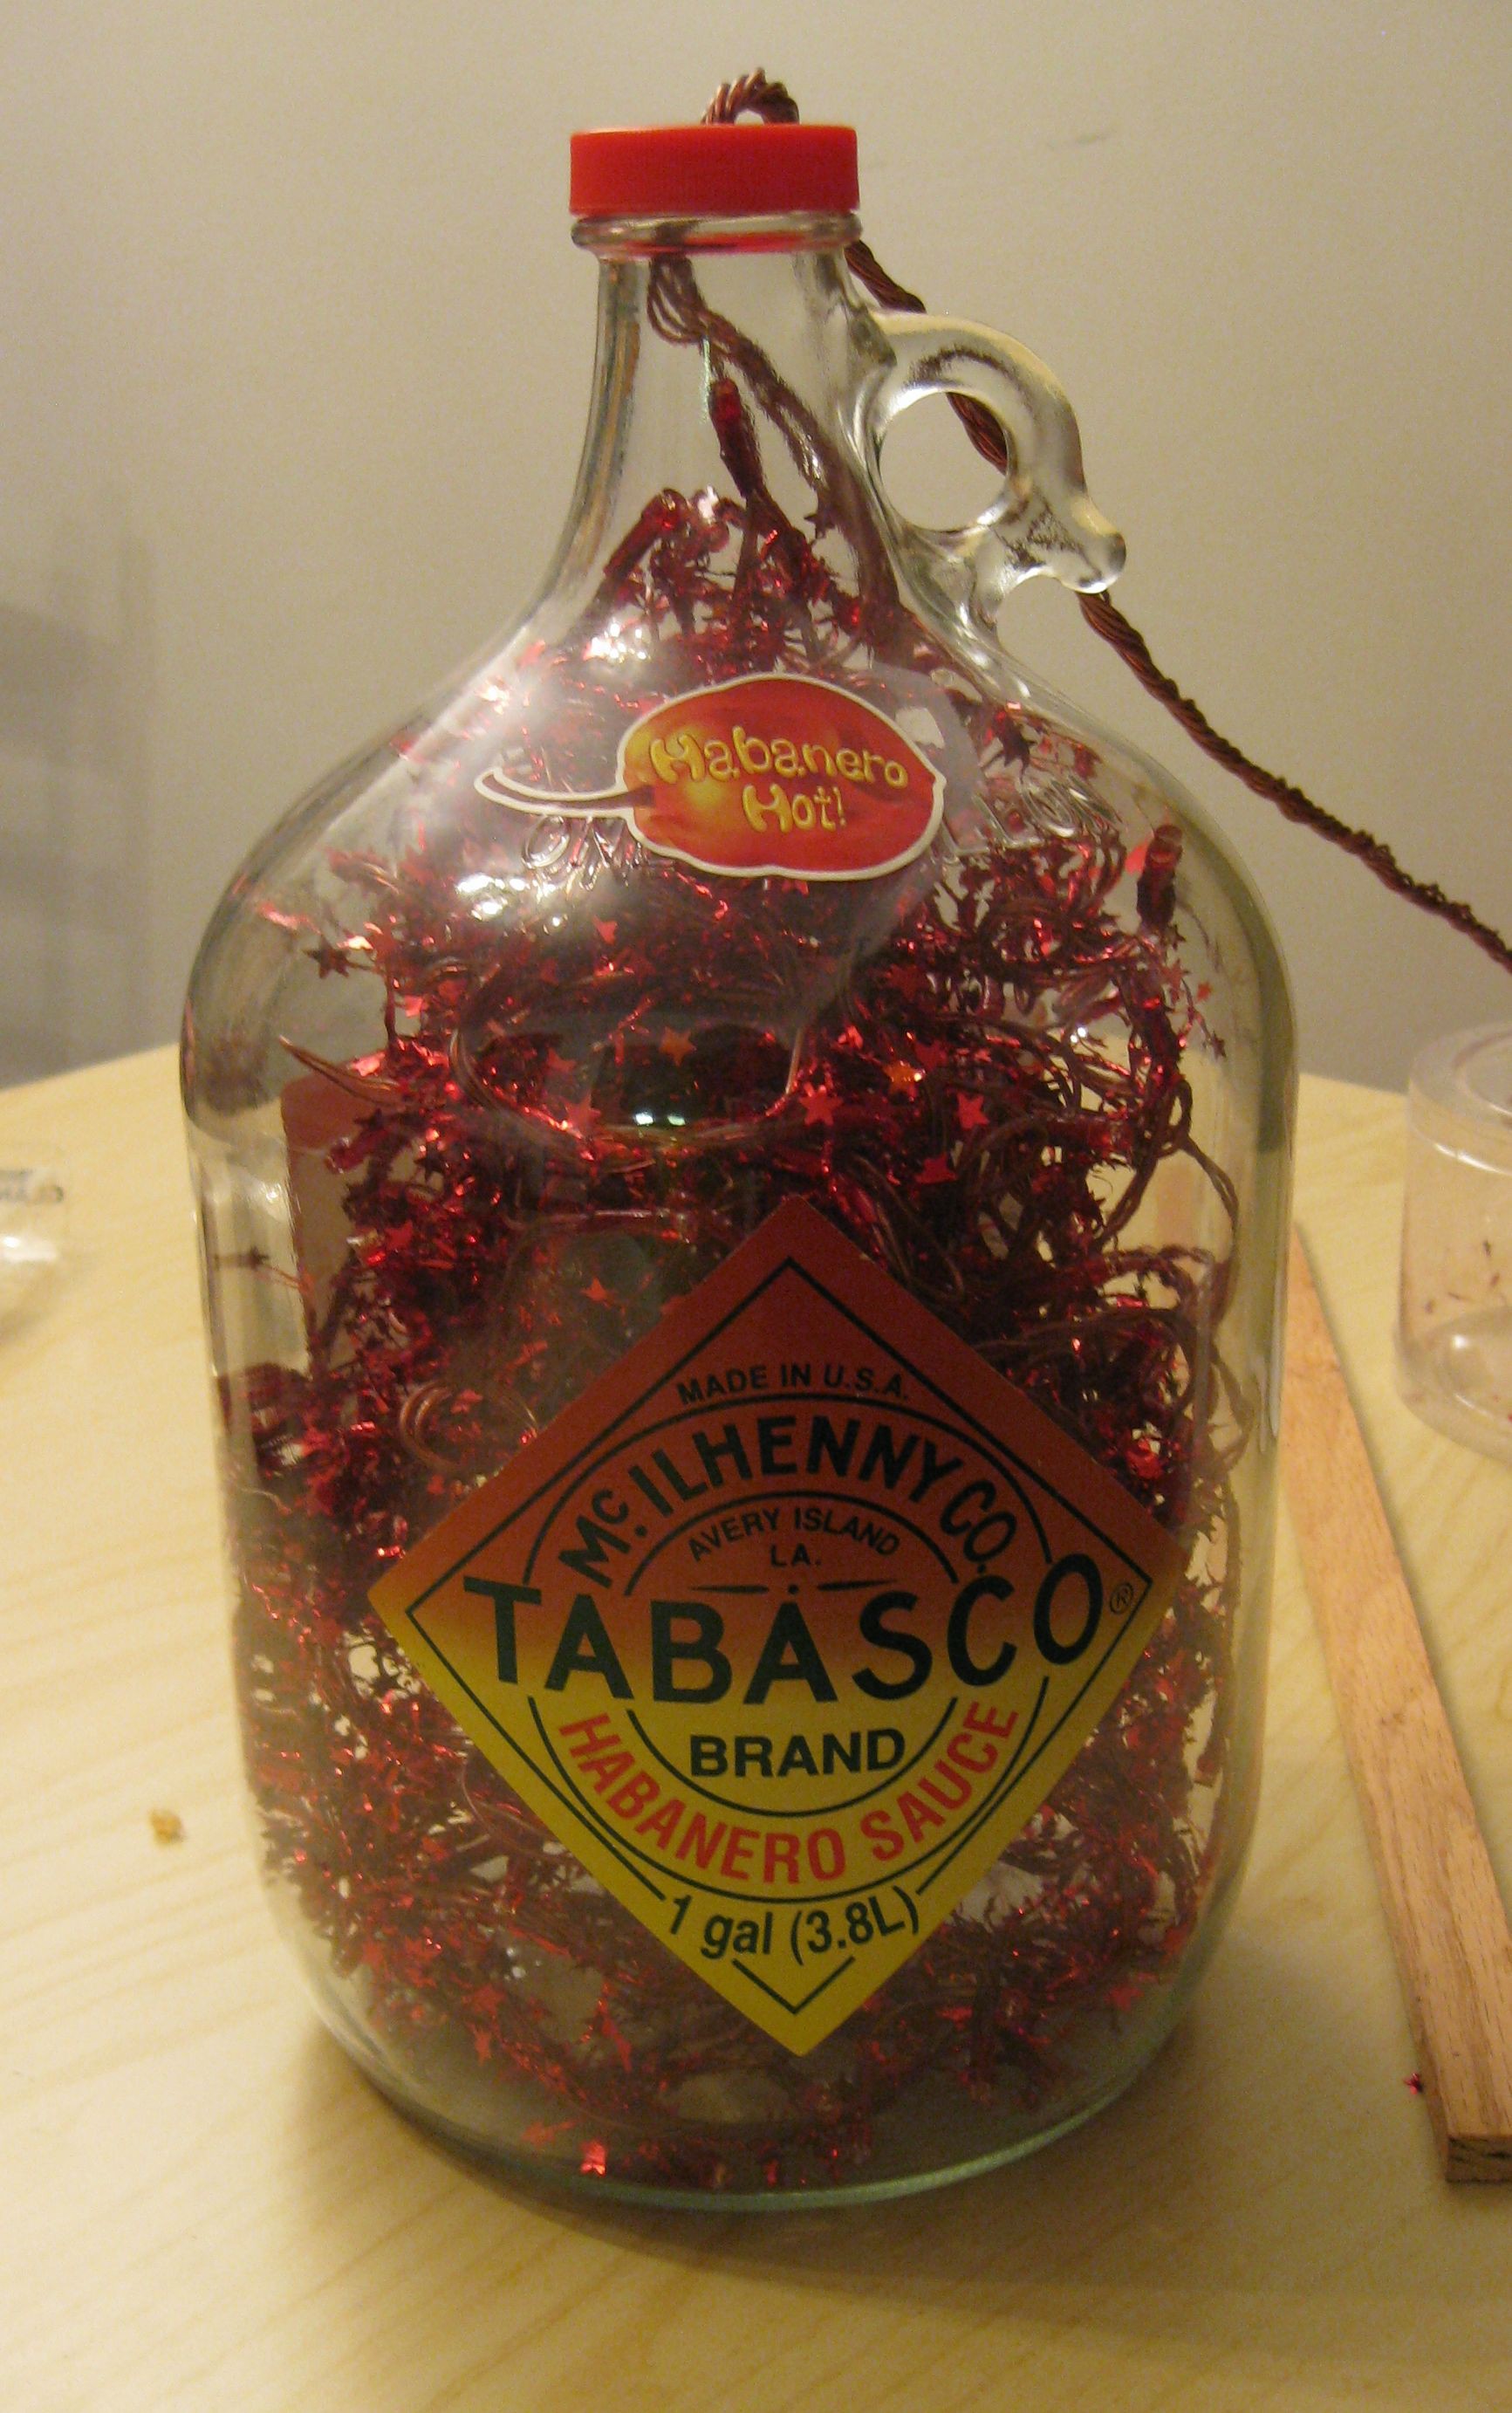
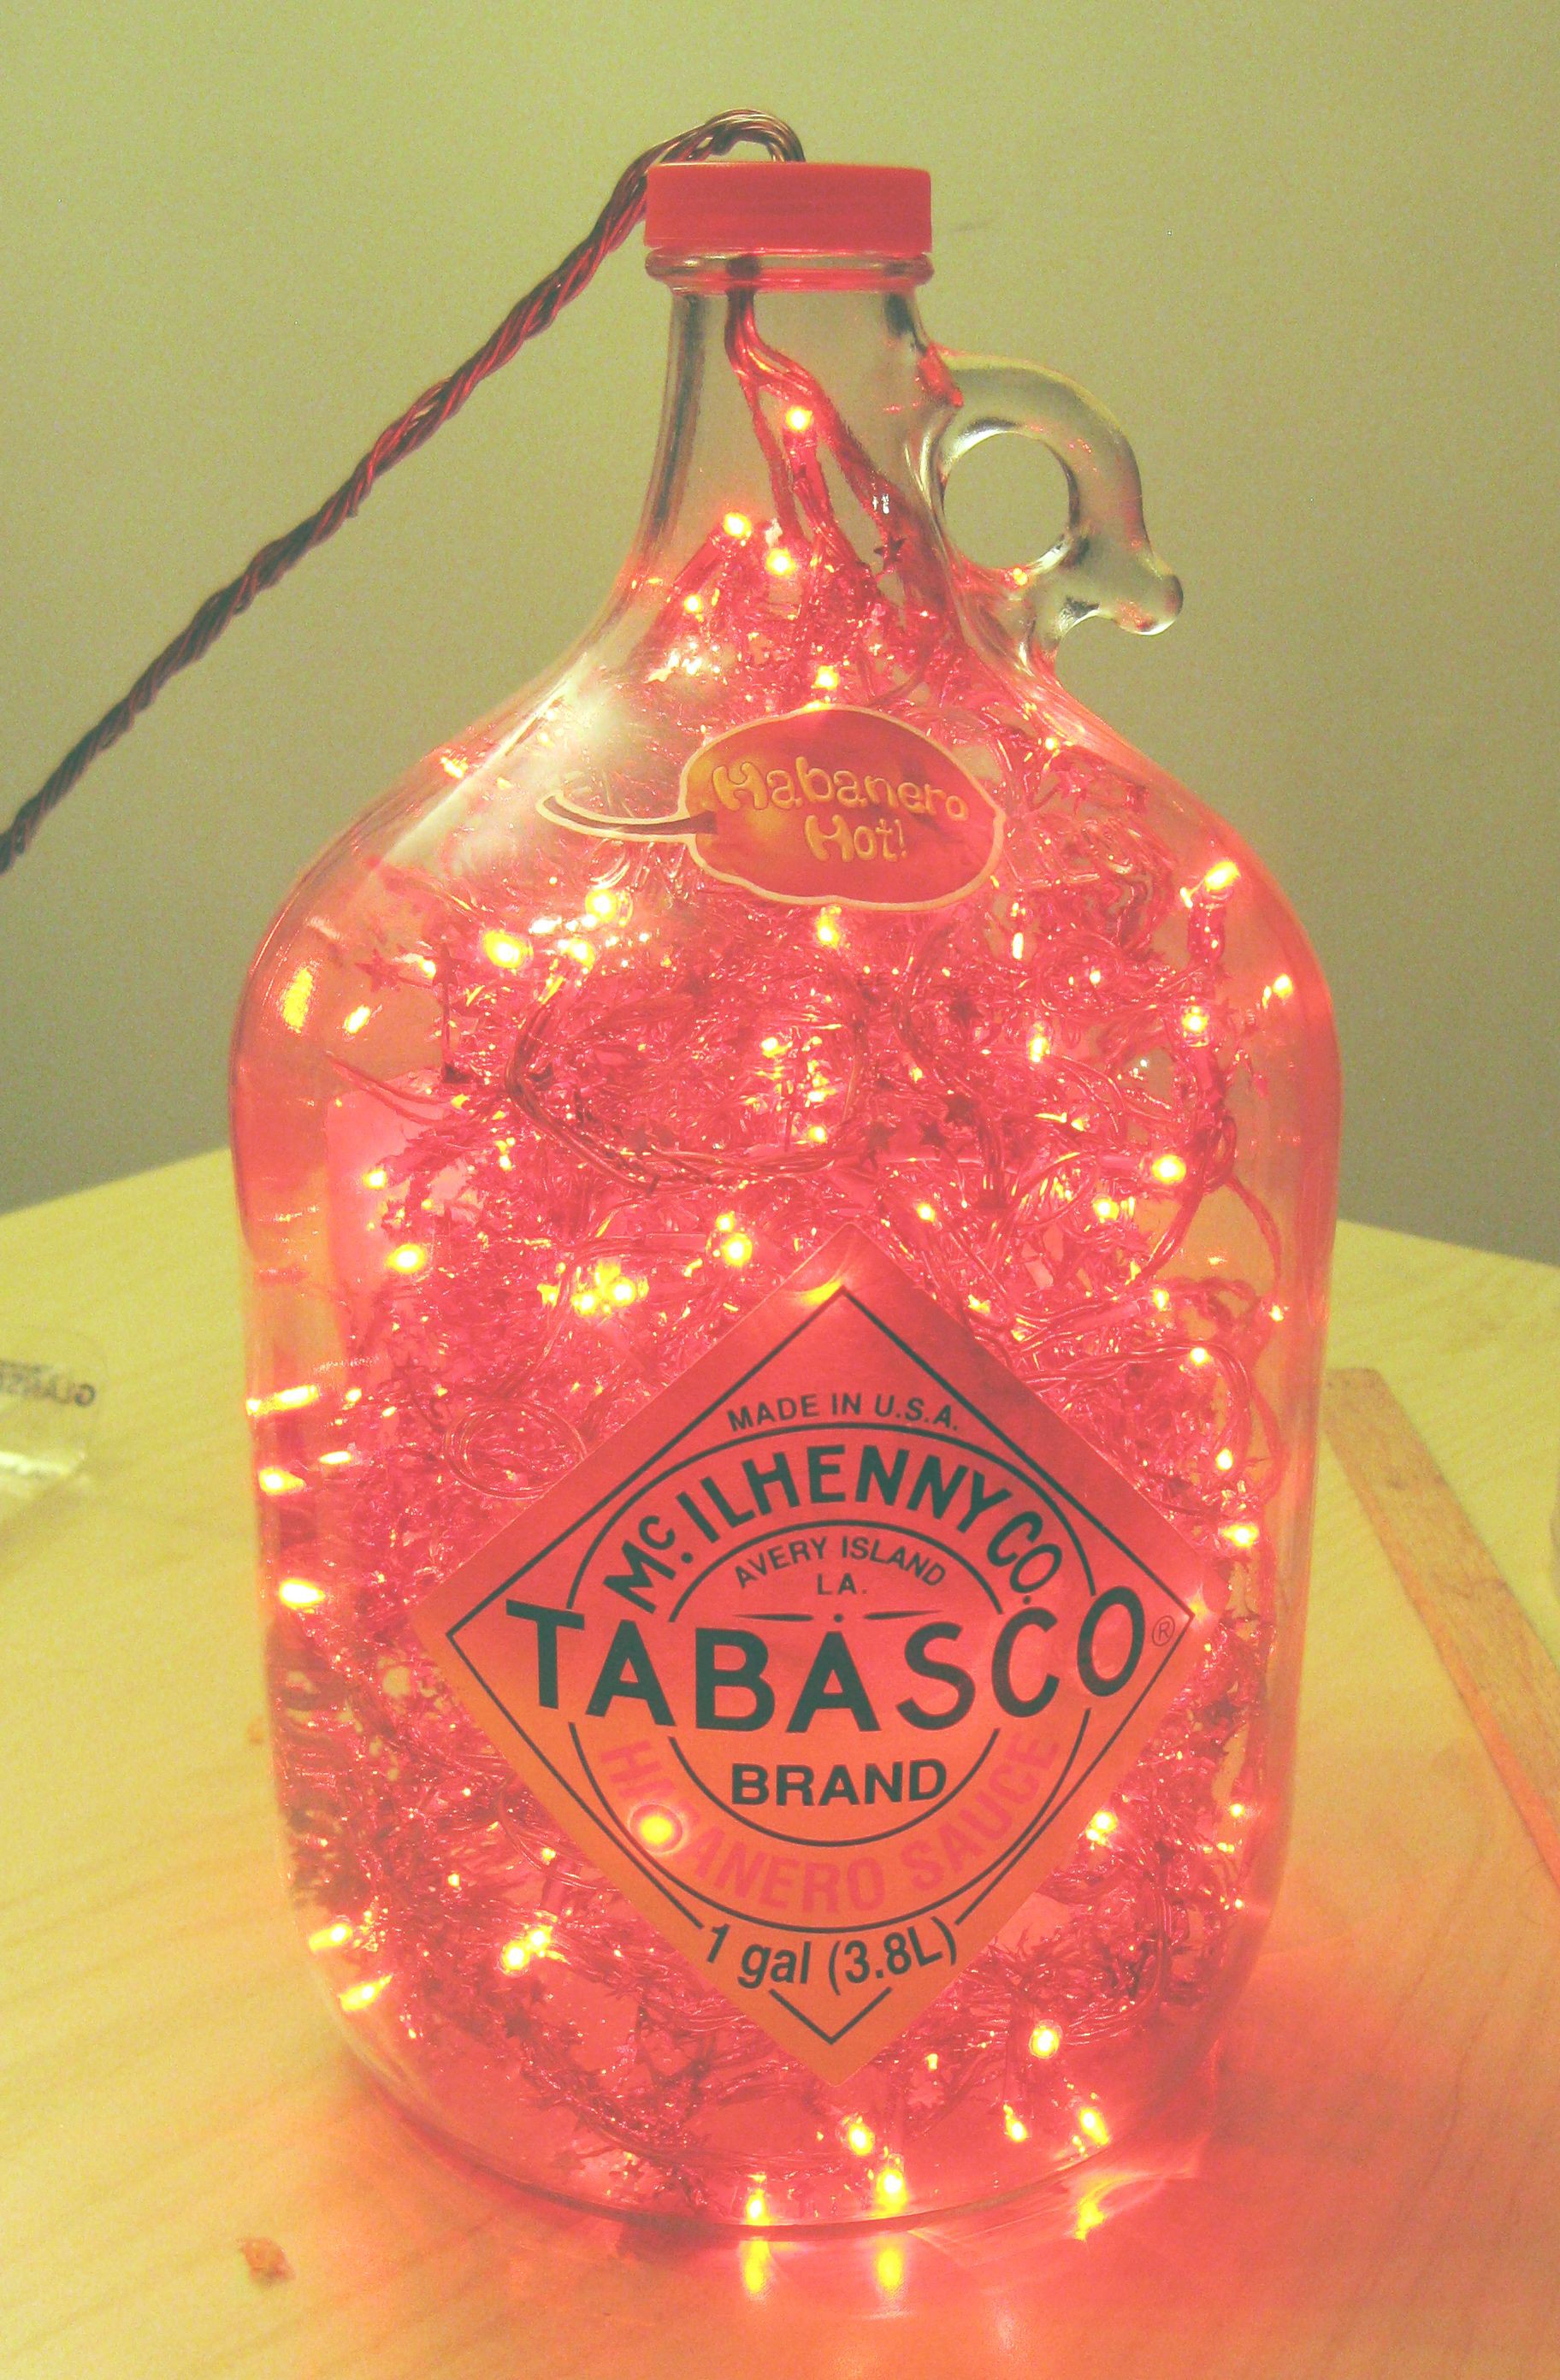
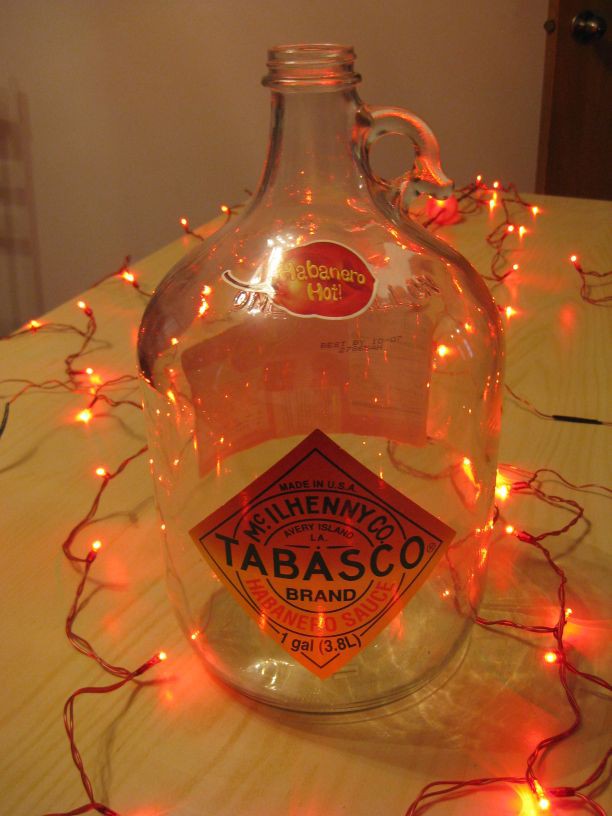
In 2007 I was given a gallon jug of Tabasco Habanero sauce. I think it was half a joke and half serious because I do indeed like hot sauce. I did finish it within a year before it expired, but wanted to make something out of the glass jug.
A lamp was born out of it. Though it was neat looking, all the lights settled to the bottom, and it wasn't as "full" looking as I'd like. So as a quick evening project in 2016, I redid it, and thought I'd share.
Sometimes really simple projects are fun too.
In the end, this uses 20 strings of 10 LED mini lights. They were converted from battery power to use a DC power adapter. Wired garland was used to add structure to the light strings as well as to fill the jug to make it look more like it was still full of Tabasco Habanero sauce.
The resulting lamp sits in my kitchen as an accent light. See off and on pictures at left(above on mobile), and if interested in assembly/design details, see project logs below.
To finish, I started putting all the strings into the jug, one by one. Early on, I put kinks into the wire between every bulb to prevent the wires from just circling the bottom of the jug. I wanted a random fill, not a uniform one. Nearer to the end, I found it quite difficult to get the wire to expand out to the sides near the top. I did use a wooden stick to try to spread it, which helped, but wasn't perfect. It is possible that some extra work, perhaps with a curved tool could spread it better.
In the end, it looks quite full, and is very bright. While I increased the number of LEDs to 200, the overall power went down to 6.9W as I lowered the LED current. The jug gets slightly warm when on for a long time, but it is barely perceptible to the touch.
The brightness of the LEDs made it hard to take a comparison shot. I've attempted to adjust the image to make the off and on pictures closer, but still, the on state is brighter than it appears.
One of the problems with the original is that the light strings just clumped at the bottom. While I could spread them out a little in the bottle, over time, they would compress at the bottom again. The solution I came up with would also aid in making the bottle appear more full, as if it was full of Tabasco Habanero. I would use wired garland.
This bundle was cheap, I think found at Target on sale.
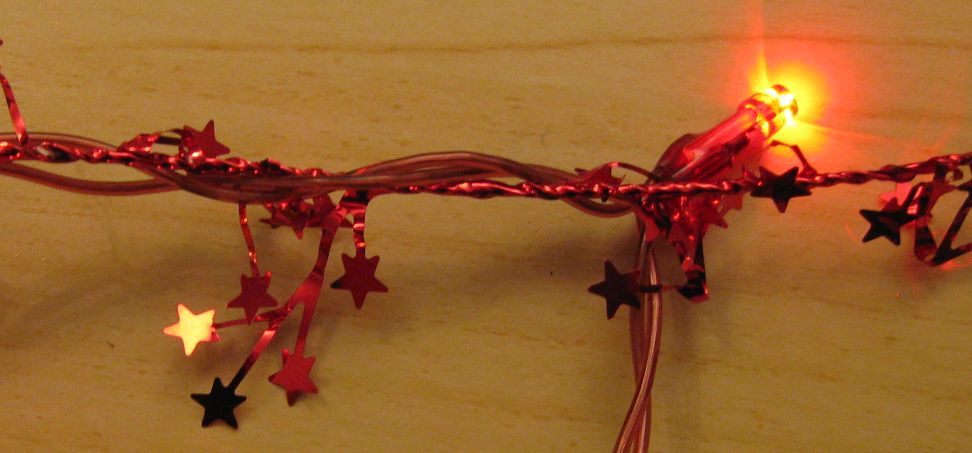
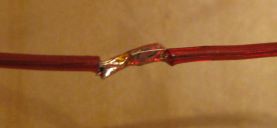
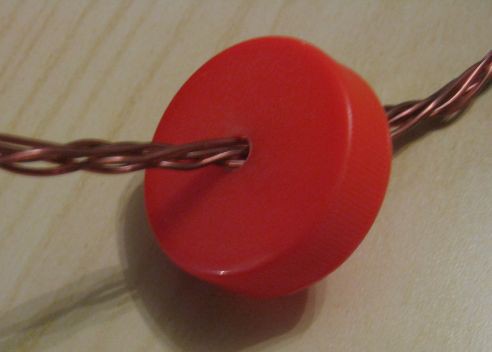
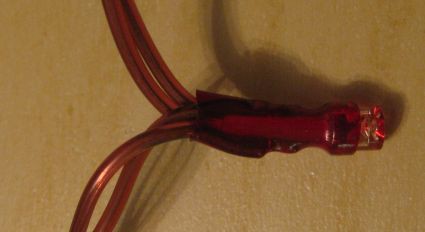
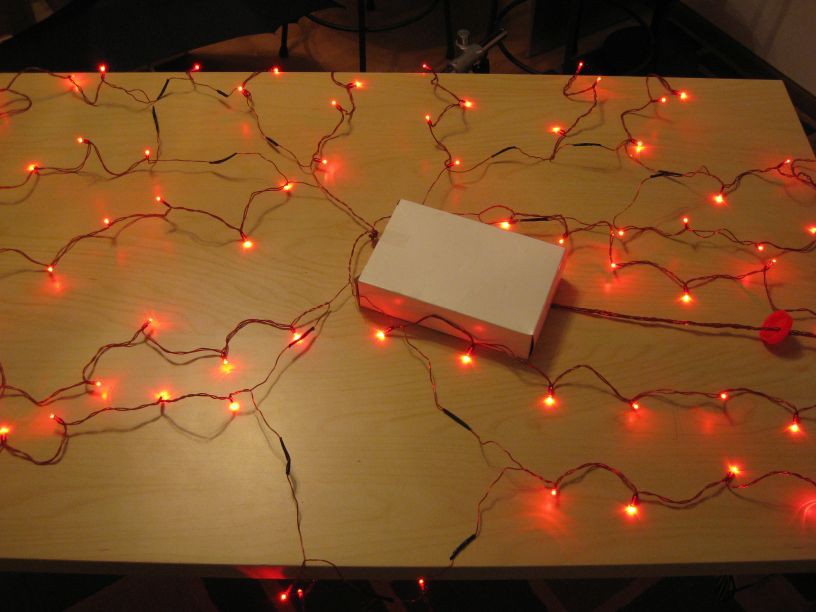
It has a rigid, probably steel, wire at the core, and is wrapped in reflective red plastic with a star design.
The reflective red would help add volume, and create more reflections of light, and the stiff wire would keep the wires from settling to the bottom.
I cut segments to match the length of each of the strands, and wrapped the wires around it.
50ft was actually not enough to cover the length of all the strands, but I found it was more than enough volume to fill the jug. So some of the strands that I inserted near the middle I left off the garland wire, and other strands I bunched up the light strings on the garland wire to make them shorter.
I wanted to change a couple things in rebuilding this project. First was to fix it so that the bundle of lights didn't just sink to the bottom of the bottle, as well as to make the bottle look more full. I also wanted to remove the black electrical tape I used originally. Lastly, the 14.5VDC power brick I was using was an older transformer and linear regulator model which wasn't very efficient, so I wanted to switch to a more efficient switch mode one, and a more common 12VDC output.
To adjust the power, I rewired to use 5 strings in parallel instead of 6, but left the two 6.8ohm resistors. This lowered the current down to 14.2mA per LED (from 18mA) which was dimmer, but not hugely so. This reduces overall power despite adding strings. This should give the LEDs more life as well.
To make the count work, I added an extra series circuit by adding 2 more strings, so there is a total of 4 circuits of 5 strings each. This is 200 LEDs. Previously it was 3 circuits of 6 strings each.
Each wire joint was soldered for reliability. Two of the joints had the 6.8ohm resistors in them.
I also switched from black to red electrical tape. I generally really dislike electrical tape because it degrades so easily over time and leaves a sticky mess. But I wanted to finish the project that evening, had the red tape, and didn't want to order red heat shrink tubing.
For the plug end, I used the long segments of the light string wires to run out the top of the bottle through the cap, and wired to a PCB mount DC barrel jack. The original power supply had too much ripple so I had added a capacitor at the plug, but I left it even though it was no longer needed.
Some addition of hot glue to smooth out the sides, and wrapped in red tape, it makes for a sleek socket that would accept a standard 12VDC center positive power supply..
I used small LED light strings available cheaply from IKEA at the time. Each has 10 LEDs wired in parallel to a battery pack. The battery pack also has a switch and a 6.8ohm 1/4W series resistor in it.
Pulling off the plastic cover let me unsolder the wires and the resistor for reuse.
The LEDs used in the string are the type I prefer for decorative lighting because they appear like a point of light from most angles you look at them. The case is cylindrical, but the tip has a conical depression in them.
They were made relatively simply by soldering the wires to the leads, a plastic spacer between the leads, and then covered in red heat shrink. They've been quite robust despite all the pulling and tugging.
From testing, I found that the LEDs have a forward voltage of 2.0V, and with full batteries were running with 18mA each, or 180mA for the string of 10. This is why I used 6 strings and 2 resistors with the 14.5VDC supply before, as it resulted in the same current, and less wasted power than if I had kept all 6 resistors.
With the 18 strings I had in the bottle originally, it totaled 7.7W.
As I was rebuilding this, the first step was disassembly. Easy, I unscrewed the cap, and fished out all the wiring. Untangling it all took some time, but wasn't particularly difficult.
I spread the wiring out on the table with the ends hanging off, and a weight holding it in place.
The light strings I used were originally battery powered, and had 10 LEDs in parallel, with a 6.8ohm 1/4W series resistor built into the battery pack. To match the voltage drop and LED current, I used 6 strings, connecting them in series with two of the 6.8ohm resistors to power off of a 14.5VDC adaptor I had handy at the time. There were 3 of these circuits wired in parallel off to total 180 LEDs.
You can see series circuits spread out in the picture above, with joints covered in black electrical tape. Two of those joints have 6.8ohm resistors in them.
Nando's draws inspiration from various culinary traditions, blending African, Portuguese, and other global flavors to create their unique nandos desserts menu items. This fusion of influences adds an exciting twist to the dining experience, making Nando's a standout choice for those seeking something different.
Did you double up the wires going to the power receptacle (presumably for less voltage drop or more ampacity)? It looks like there are more than 2 wires, maybe 4.
Hi Zhahai! The wiring is 4 parallel circuits. Each of those circuits was configured to run on 12v, which was the supply voltage I used. As I was modifying existing light strings, the extra length of wire was already present so I didn't add any. I choose to run each circuit back to the DC barrel jack separately using that existing wire, but you are correct that I could have joined them inside the bottle and run only two wires back. This choice is somewhat arbitrary. I think I did it this way to avoid the junction being inside the bottle for appearance.
Thanks for explaining, Quinn. If I understand, the original wiring had 4 pairs of wires independently going to power, and you maintained that, just twisting them together into a single (unsheathed) cable - so there are 8 wires (4 positive and 4 negative) going from the bottle to the power supply, where they were connected to the 2 contacts of the barrel jack? That's even more wires than I would have guessed from the pictures. And I do understand trying to avoid another junction in the bottle.
Thanks for writing this up. I like how you explain the tradeoffs and reasoning, not just the final product, so it's a learning experience rather than just a recipe. Or for example, why there is a capacitor at the barrel jack, rather than leaving it a mystery. (And you must be prodigious hot sauce user indeed! That bottle would have lasted me a lifetime - if somehow it didn't go bad first)
Nando's draws inspiration from various culinary traditions, blending African, Portuguese, and other global flavors to create their unique nandos desserts menu items. This fusion of influences adds an exciting twist to the dining experience, making Nando's a standout choice for those seeking something different.