Nick Thatcher
-
>>OFFICIAL TRANSMISSION 2<<
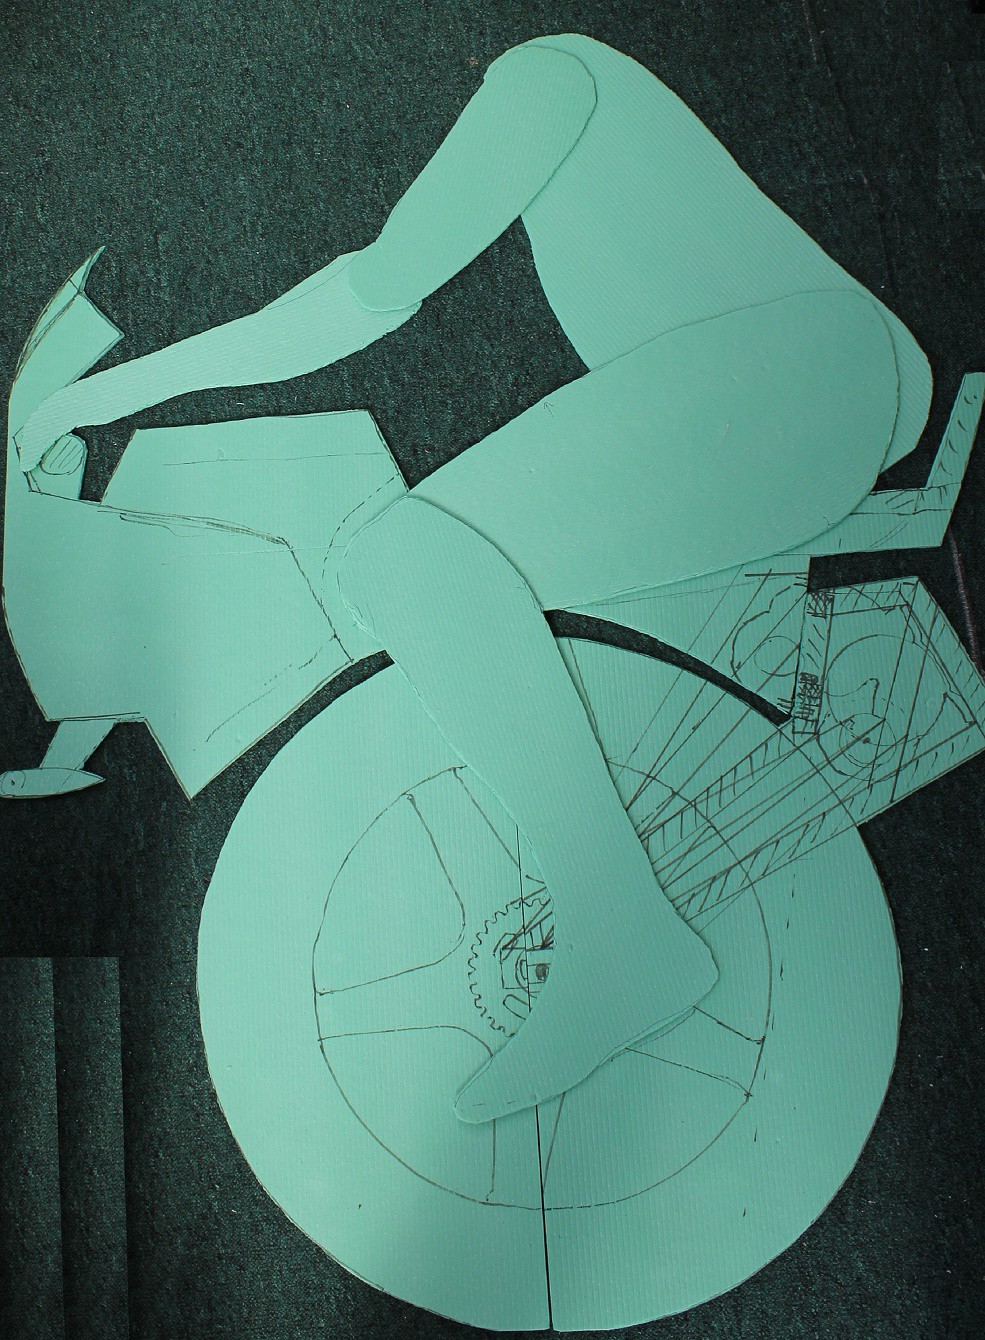
06/16/2014 at 19:37 • 0 commentsHere is a sneak peak of the design we have chosen for the medicycle, it is a 2d 1:1 scale foam model complete with a dimensionally accurate representation of human, commonly used by car designers etc to help come up with an ergonomic design.
![]()
![]()
-
MEDICYCLE BALANCING AND POWER ELECTRONICS update 2
06/15/2014 at 23:40 • 0 commentsMore Balance control electronics parts 14/6/14:
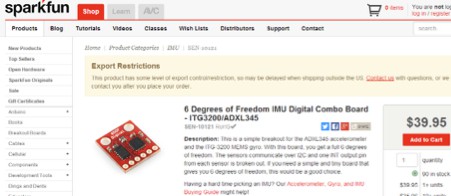
Sparkfun 6 degree of freedom (DOF) Inertial measurement unit (IMU):
US Sparkfun site:
https://www.sparkfun.com/products/10121
![]()
UK supplier:
http://proto-pic.co.uk/imu-digital-combo-board-6-degrees-of-freedom-itg3200-adxl345/
![]()
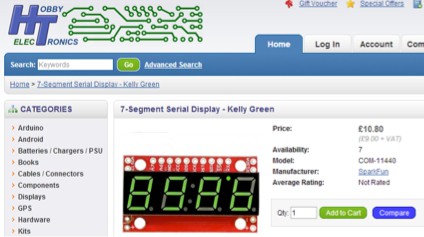
SERIAL 7 segment 4 digit displays from Sparkfun
(Instead of millions of wires from Arduino to each display, these just have 5V power, GND and a single serial transmit wire from the Arduino to the display. This means the Arduino Uno running “Software Serial” code can control 3 of these with no problems:
US website:
https://www.sparkfun.com/products/11442
![]()
UK supplier:
![]()
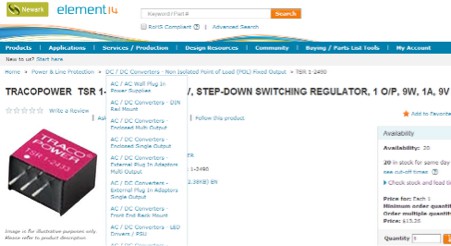
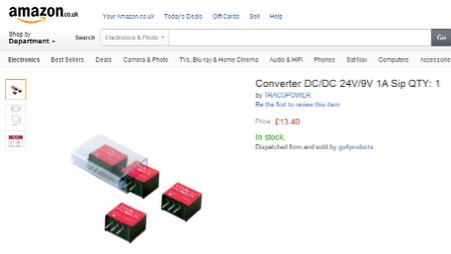
DC/DC step down voltage regulator 9V to power the 2 Arduinos in control electronics:
Tracopower TSR-1-2490
US site:
http://www.newark.com/tracopower/tsr-1-2490/dc-dc-conv-step-down-switching/dp/86P6890
![]()
UK site:
http://www.amazon.co.uk/Converter-DC-24V-Sip-QTY/dp/9820666252
![]()
NOTE: We also need a Tracopower TSR-1-2450 which looks exactly the same but puts out 5V not 9V. This one will be used to provide power for the serial LED displays as we do not want to overload the on board 5V regulator on the Arduino Uno.
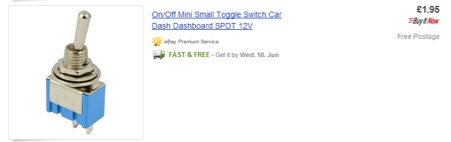
Small on/off switch to turn the two Arduino boards on and off. Example:
![]()
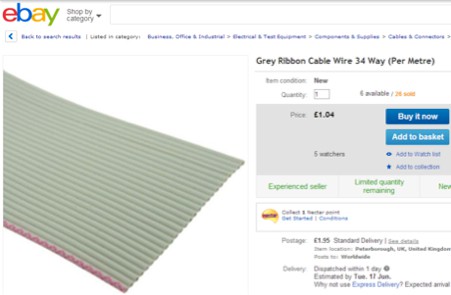
Ribbon cable.
Example website:
![]()
Note: Does not have to be exactly the same as this. “20-way” would also be fine, or a pair of “10-way” cables from under seat where Arduino live, to front of the machine, where the displays / controls will live.
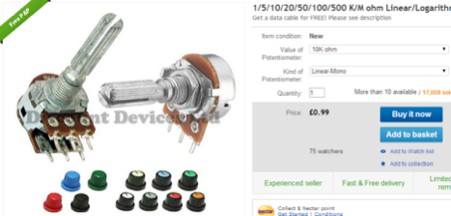
Potentiometers, 4 of them, 10K Ohms each:
Example:
![]()
Also need 4 knobs to fit to them.
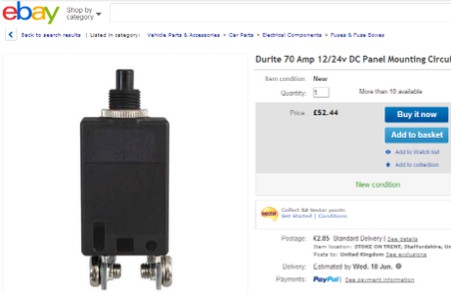
CIRCUIT BREAKER to protect your OSMC catching fire when the motor jams or shorts out. OSMC rated at around 150 Amps when it has a cooling fan on it. Therefore having “lost” an OSMC in the past, we choose a circuit breaker that trips out at about 75 Amps, this should preserve the OSMC hopefully! It also functions as the main power on/off switch. Mine is very similar to this one.
Example:
![]()
Here is a possibly cheaper one but the 80A one is out of stock, they still have the 60A one though, see below:
-
MEDICYCLE BALANCING AND POWER ELECTRONICS update 1
06/13/2014 at 18:00 • 0 commentsThis is a preliminary list of components for the balancing and power electronics and where to find them.
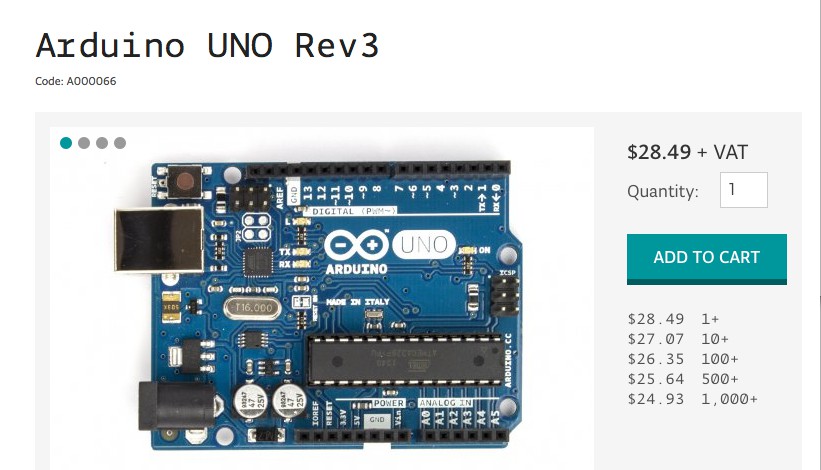
Arduino Uno
![]()
http://store.arduino.cc/index.php?main_page=index&cPath=11
Arduino Mega
![]()
http://store.arduino.cc/index.php?main_page=index&cPath=11
OSMC Motor controller
![]()
http://www.robotmarketplace.com/products/0-OSMC.html
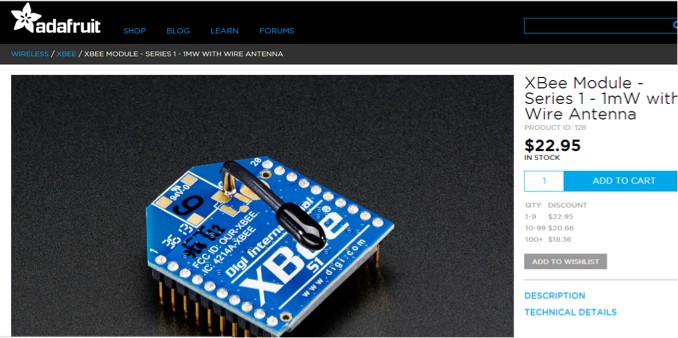
XBEE wireless receiver
![]()
http://www.adafruit.com/products/128
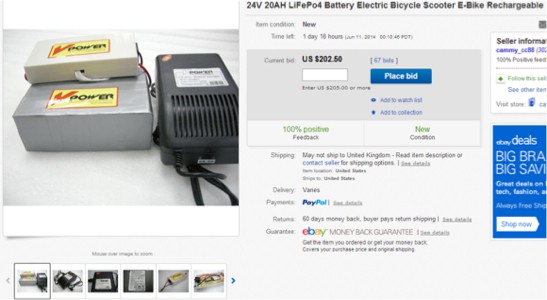
BATTERY PACK:
Cheap (relatively) e-bike LiFePO4 20AmpHour 24 volt pack from Hong Kong:
![]()
Here is a similar one on ebay:
-
MEDICYCLE HELMET DISPLAY update 1
06/13/2014 at 17:35 • 0 commentsWhen working on a new project its always a good idea to plan ahead, its easier to build around parts you have then to find parts that will fit what you have built.
This is a preliminary list of components for the helmet display and where to find them.
Head up display (Receiver part in helmet):
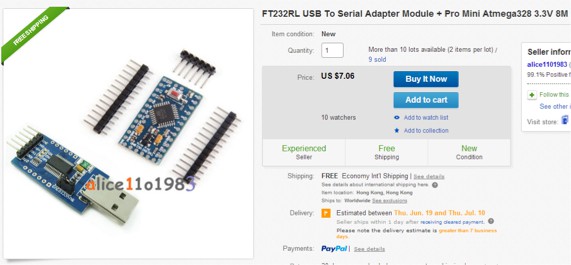
Arduino Pro-Mini 3.3V
![]()
Example of an Arduino Pro-Mini with USB programming attachment 3.3V Atmega 328
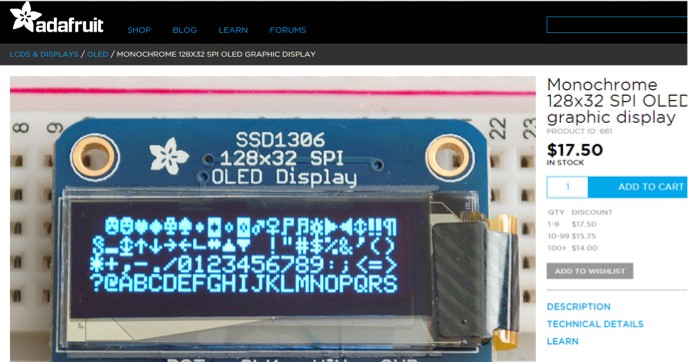
Adafruit OLED display board
![]()
http://www.adafruit.com/products/661
XBEE wireless receiver
![]()
http://www.adafruit.com/products/128
Will need 2 of these as one transmits from bike and the other receives data in the helmet mounted OLED display
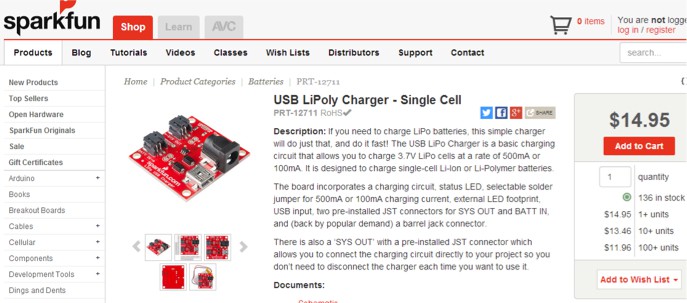
USB Lithium battery charger (for helmet mounted OLED display module):
![]()
https://www.sparkfun.com/products/12711
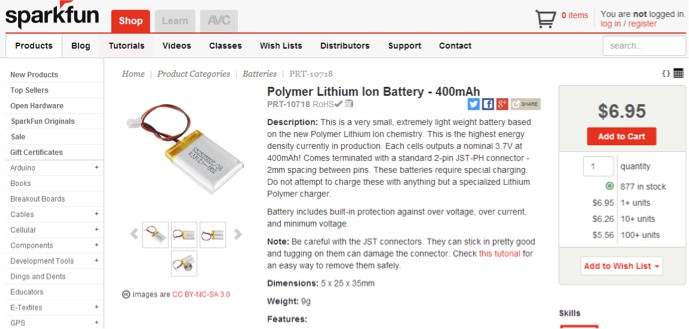
LiPo battery for helmet mounted data display:
![]()
https://www.sparkfun.com/products/10718
NOTE: Circuit diagrams and details of transmitter section within the main bike will come later as we build it into the bike.
-
MEDICYCLE MECHANICALS update 1
06/11/2014 at 23:21 • 0 commentsWhen working on a new project its always a good idea to plan ahead, its easier to build around parts you have then to find parts that will fit what you have built.
This is a preliminary list of components for the mechanical aspect of the Medicycle and where to find them.
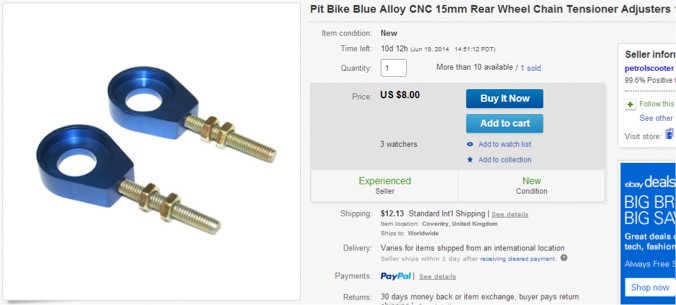
Chain tensioners 15mm for Pit Bike
![]()
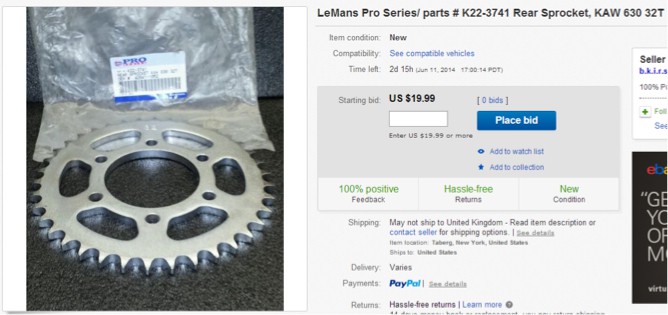
Sunstar 32T Steel Rear Sprocket Kawasaki KLX110 03-09 (Jawzy’s PowerSports Inc., 1515 West 130th St STE A, Hinckley, CH 44233-9169 330-273-6161 USA)
![]()
Sprocket needs to be for 420 chain size basically.
You can get alloy sprockets but as sprocket smallish in relation to wheel (so lots of pull on it from gear motor via the chain) we preferred to get a steel one.
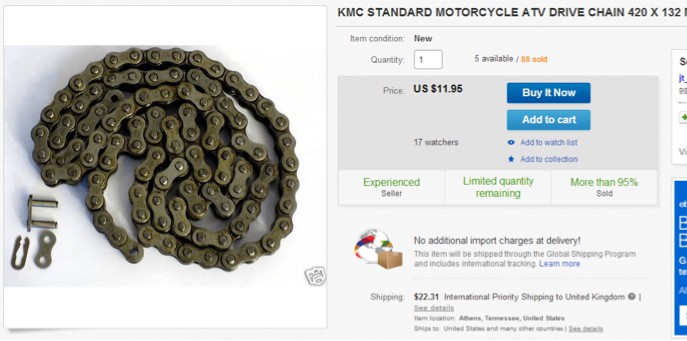
420 pitch chain:
![]()
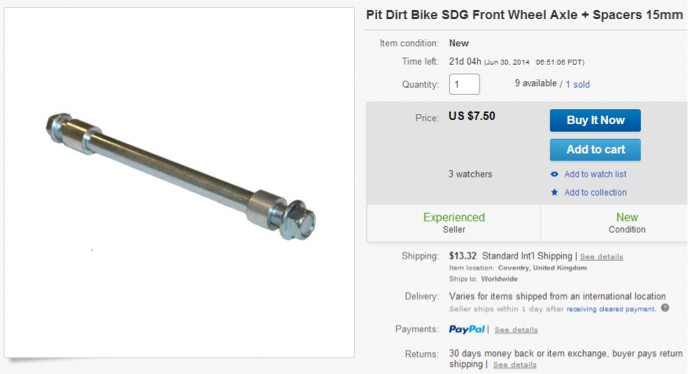
15mm diameter Pit Bike axle and spacers, 210mm length. (www.petrolscooter.co.uk)
![]()
MY1020Z Electric Motor 24V Bike, Scooter 24 volt Gear Unite. UK supplier: Nova Products, Unit 51 Burtonwood Trading Estate, Phipps Lane, Burtonwood, Warrington, Cheshire, WA5 4HX, UK.
£74.98
![]()
Example of current motor on US ebay:
Welding gear:
Nothing sophisticated here:
Basic hobby MIG welder with disposable CO2 cylinders will be fine.
Box and round section steel in lots of sizes. At each stage consider the weight of the machine, need to keep total weight under control but keep very strong where required. Our wheel/motor frame is probably over-strong right now and area around hinges also very strong to avoid twisting. Our steel came from hardware store – an expensive way to buy it but then we do not need large amounts. You can also get steel box section etc on ebay delivered to your house if you prefer.
Alloy would be better for a commercial machine but advantage of steel is it is easy to saw off and change something, also project has to be capable of being built to a basic working standard by a hobbyist.
-
>>OFFICIAL TRANSMISSION<<
06/06/2014 at 14:51 • 0 commentsConstruction has begun, progress report coming soon
Medicycle - Urban Responder
We are living in the future, Medics now need motorbikes to navigate our congested cities but they no longer need two wheels