And here's the first run! Just water, no tintypes.There were some leaks. I applied more truck bed liner. More testing: more small leaks. I bought a half dozen 3/8" hose clamps. More leaks, really? Okay, a dozen more 3/8" clamps. Leaks Be Gone!
The programming, to this point, was fairly minimal. I wrote some simple driver code that let me send commands over RF; some Perl scripts on my laptop, via a moteino on USB, told the moteino in the D-o-T to turn on or off various solenoids and pumps. It worked well enough for intiial testing. My goal was to not take the laptop with me to the photo shoot, though. Which meant making the smarts in the D-o-T end smarter, and building a remote that would let me trigger this thing. Or maybe I'd just add a button on the D-o-T itself for now that let me start it. And I'd probably want one to stop it. And that's starting to sound complicated.
Thinking a little about what I wanted to control: there are 6 steps in developing. Developer-to-tank; tank-to-developer; fix-to-tank; tank-to-fix; wash-to-tank; tank-to-wash. There's one clean-up step (dumping from the tank to the waste line). And there's an intermediate "bubble air through the tank to agitate" that has to happen every so often.
So if I had a remote, it would need 8 buttons.
It would need an on/off switch.
And if I put in a second switch, it would let me use those 8 buttons for a second set of functions.
I'd want some way to see what was happening. And I've got a few different LCD displays hanging around. I wonder if I can put these all together somehow. What would it look like? Well, with this here proto board I can throw some parts at it and...
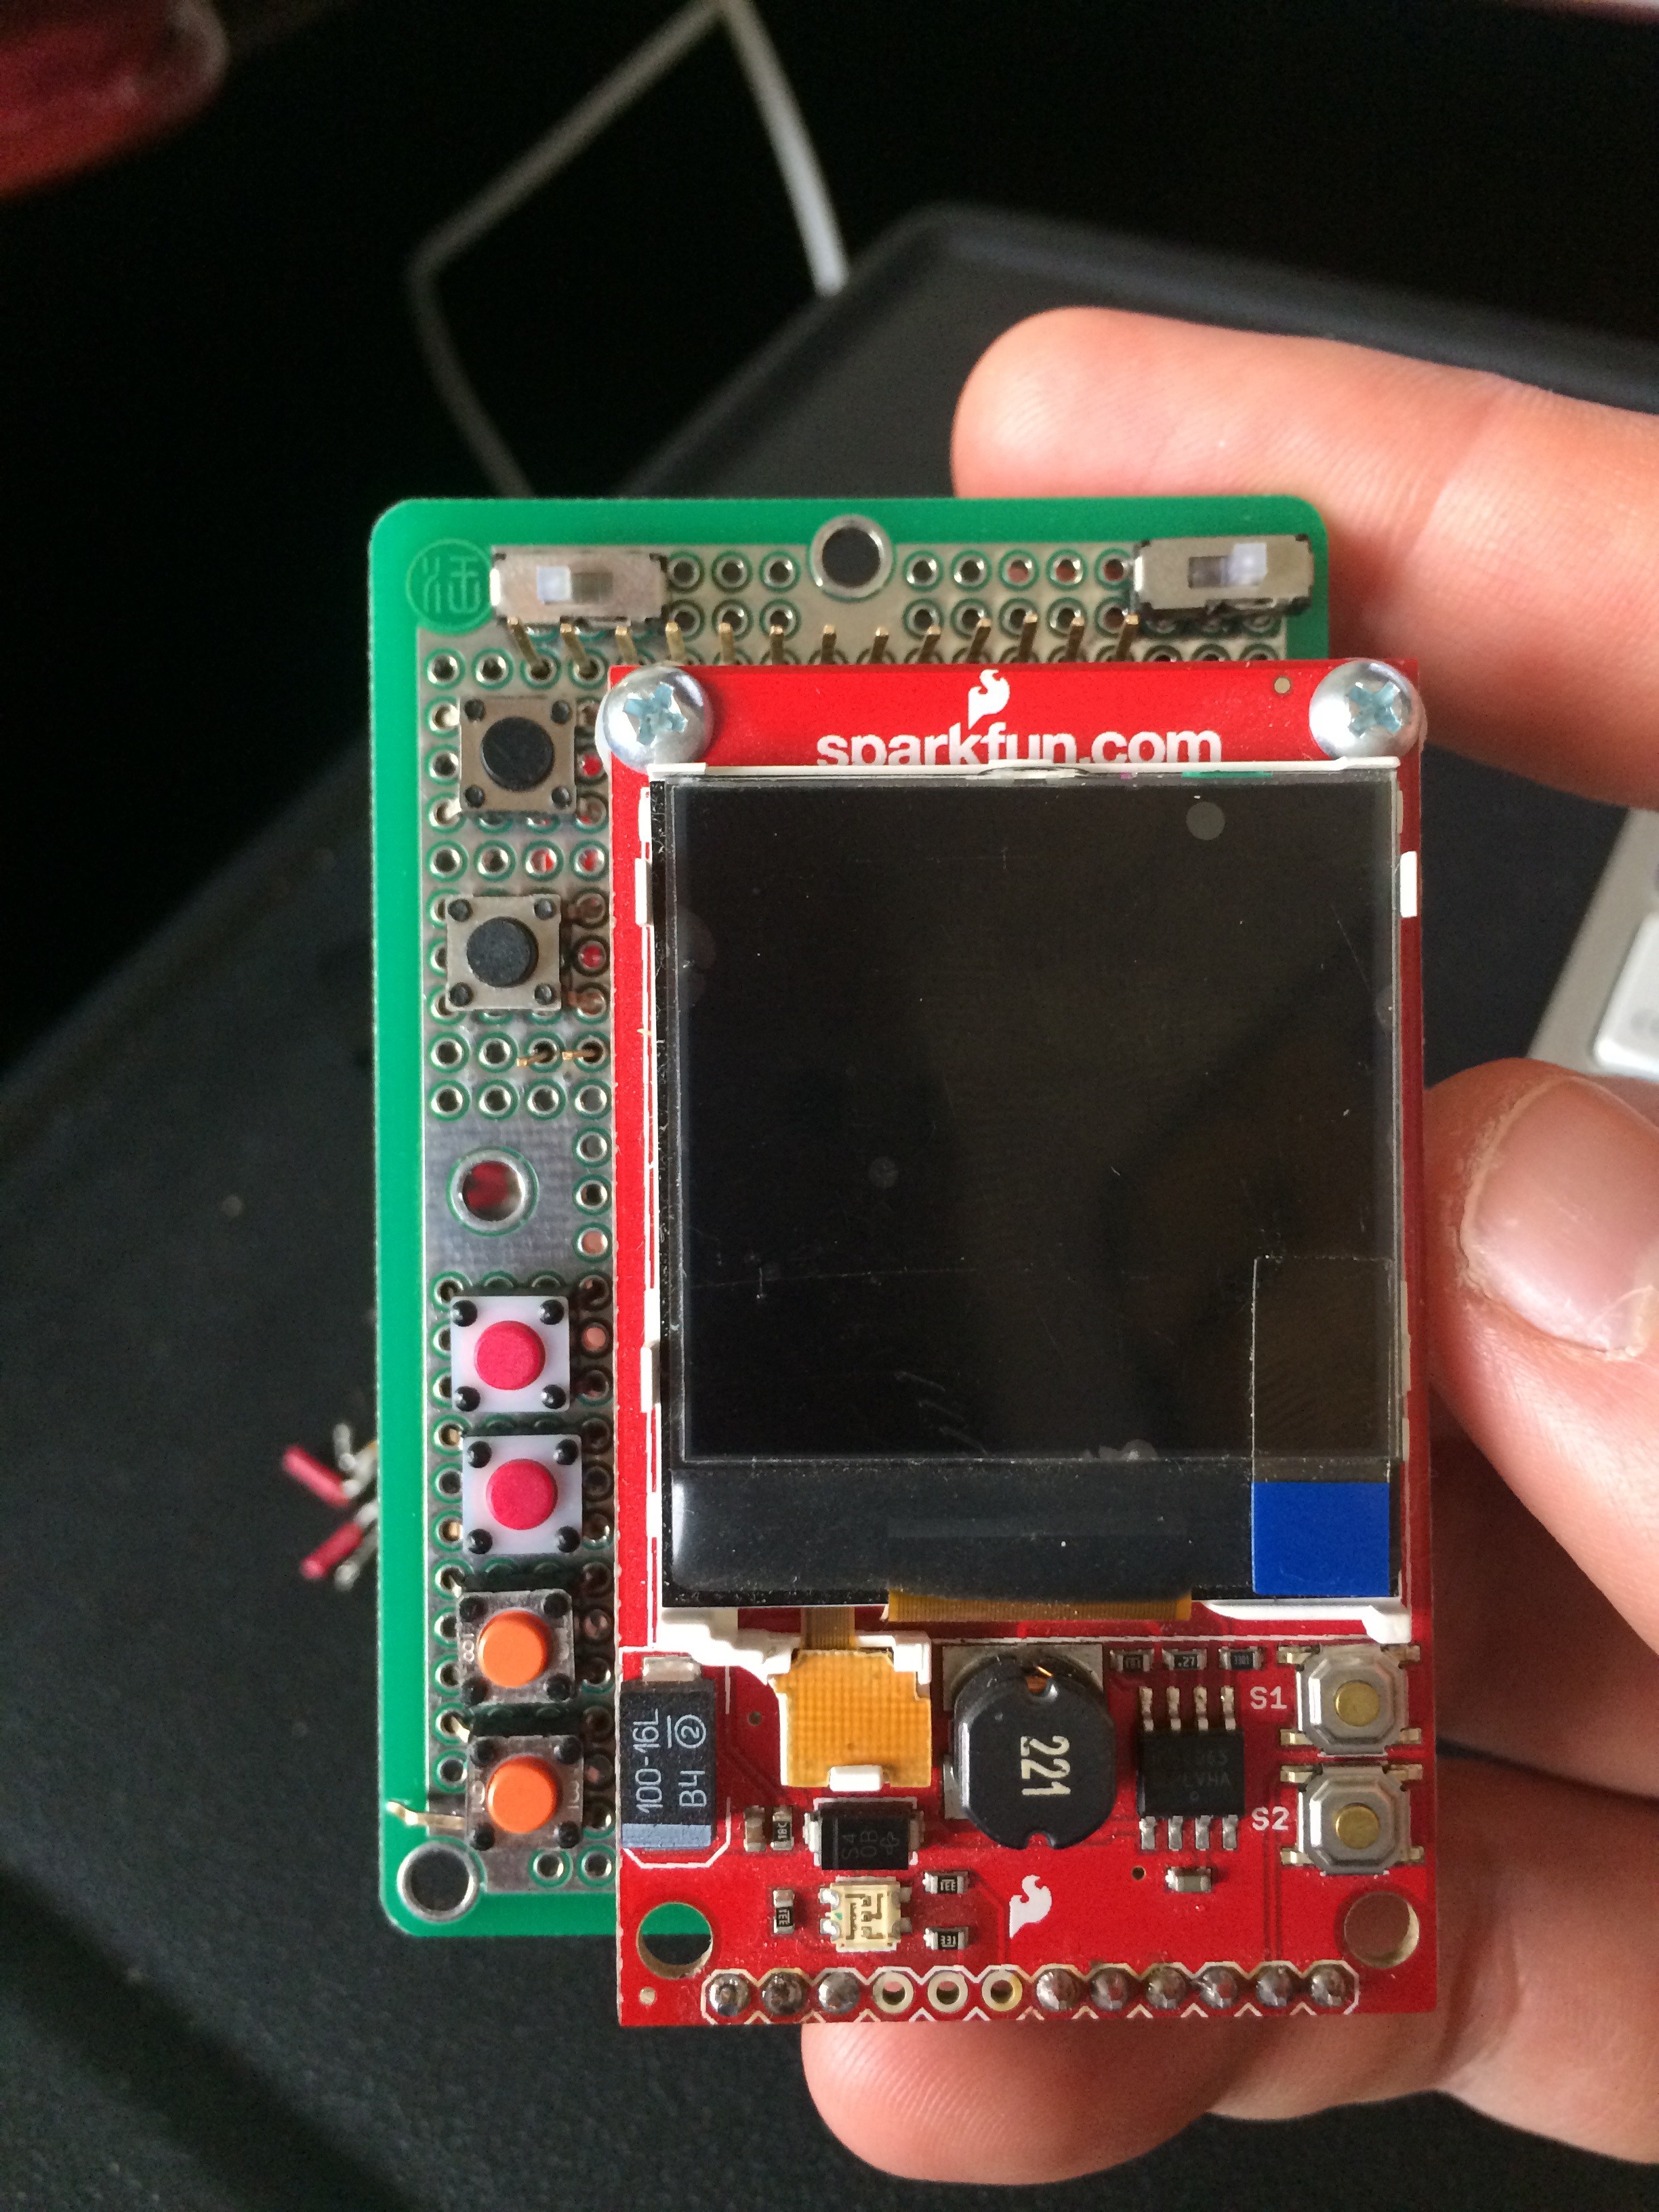
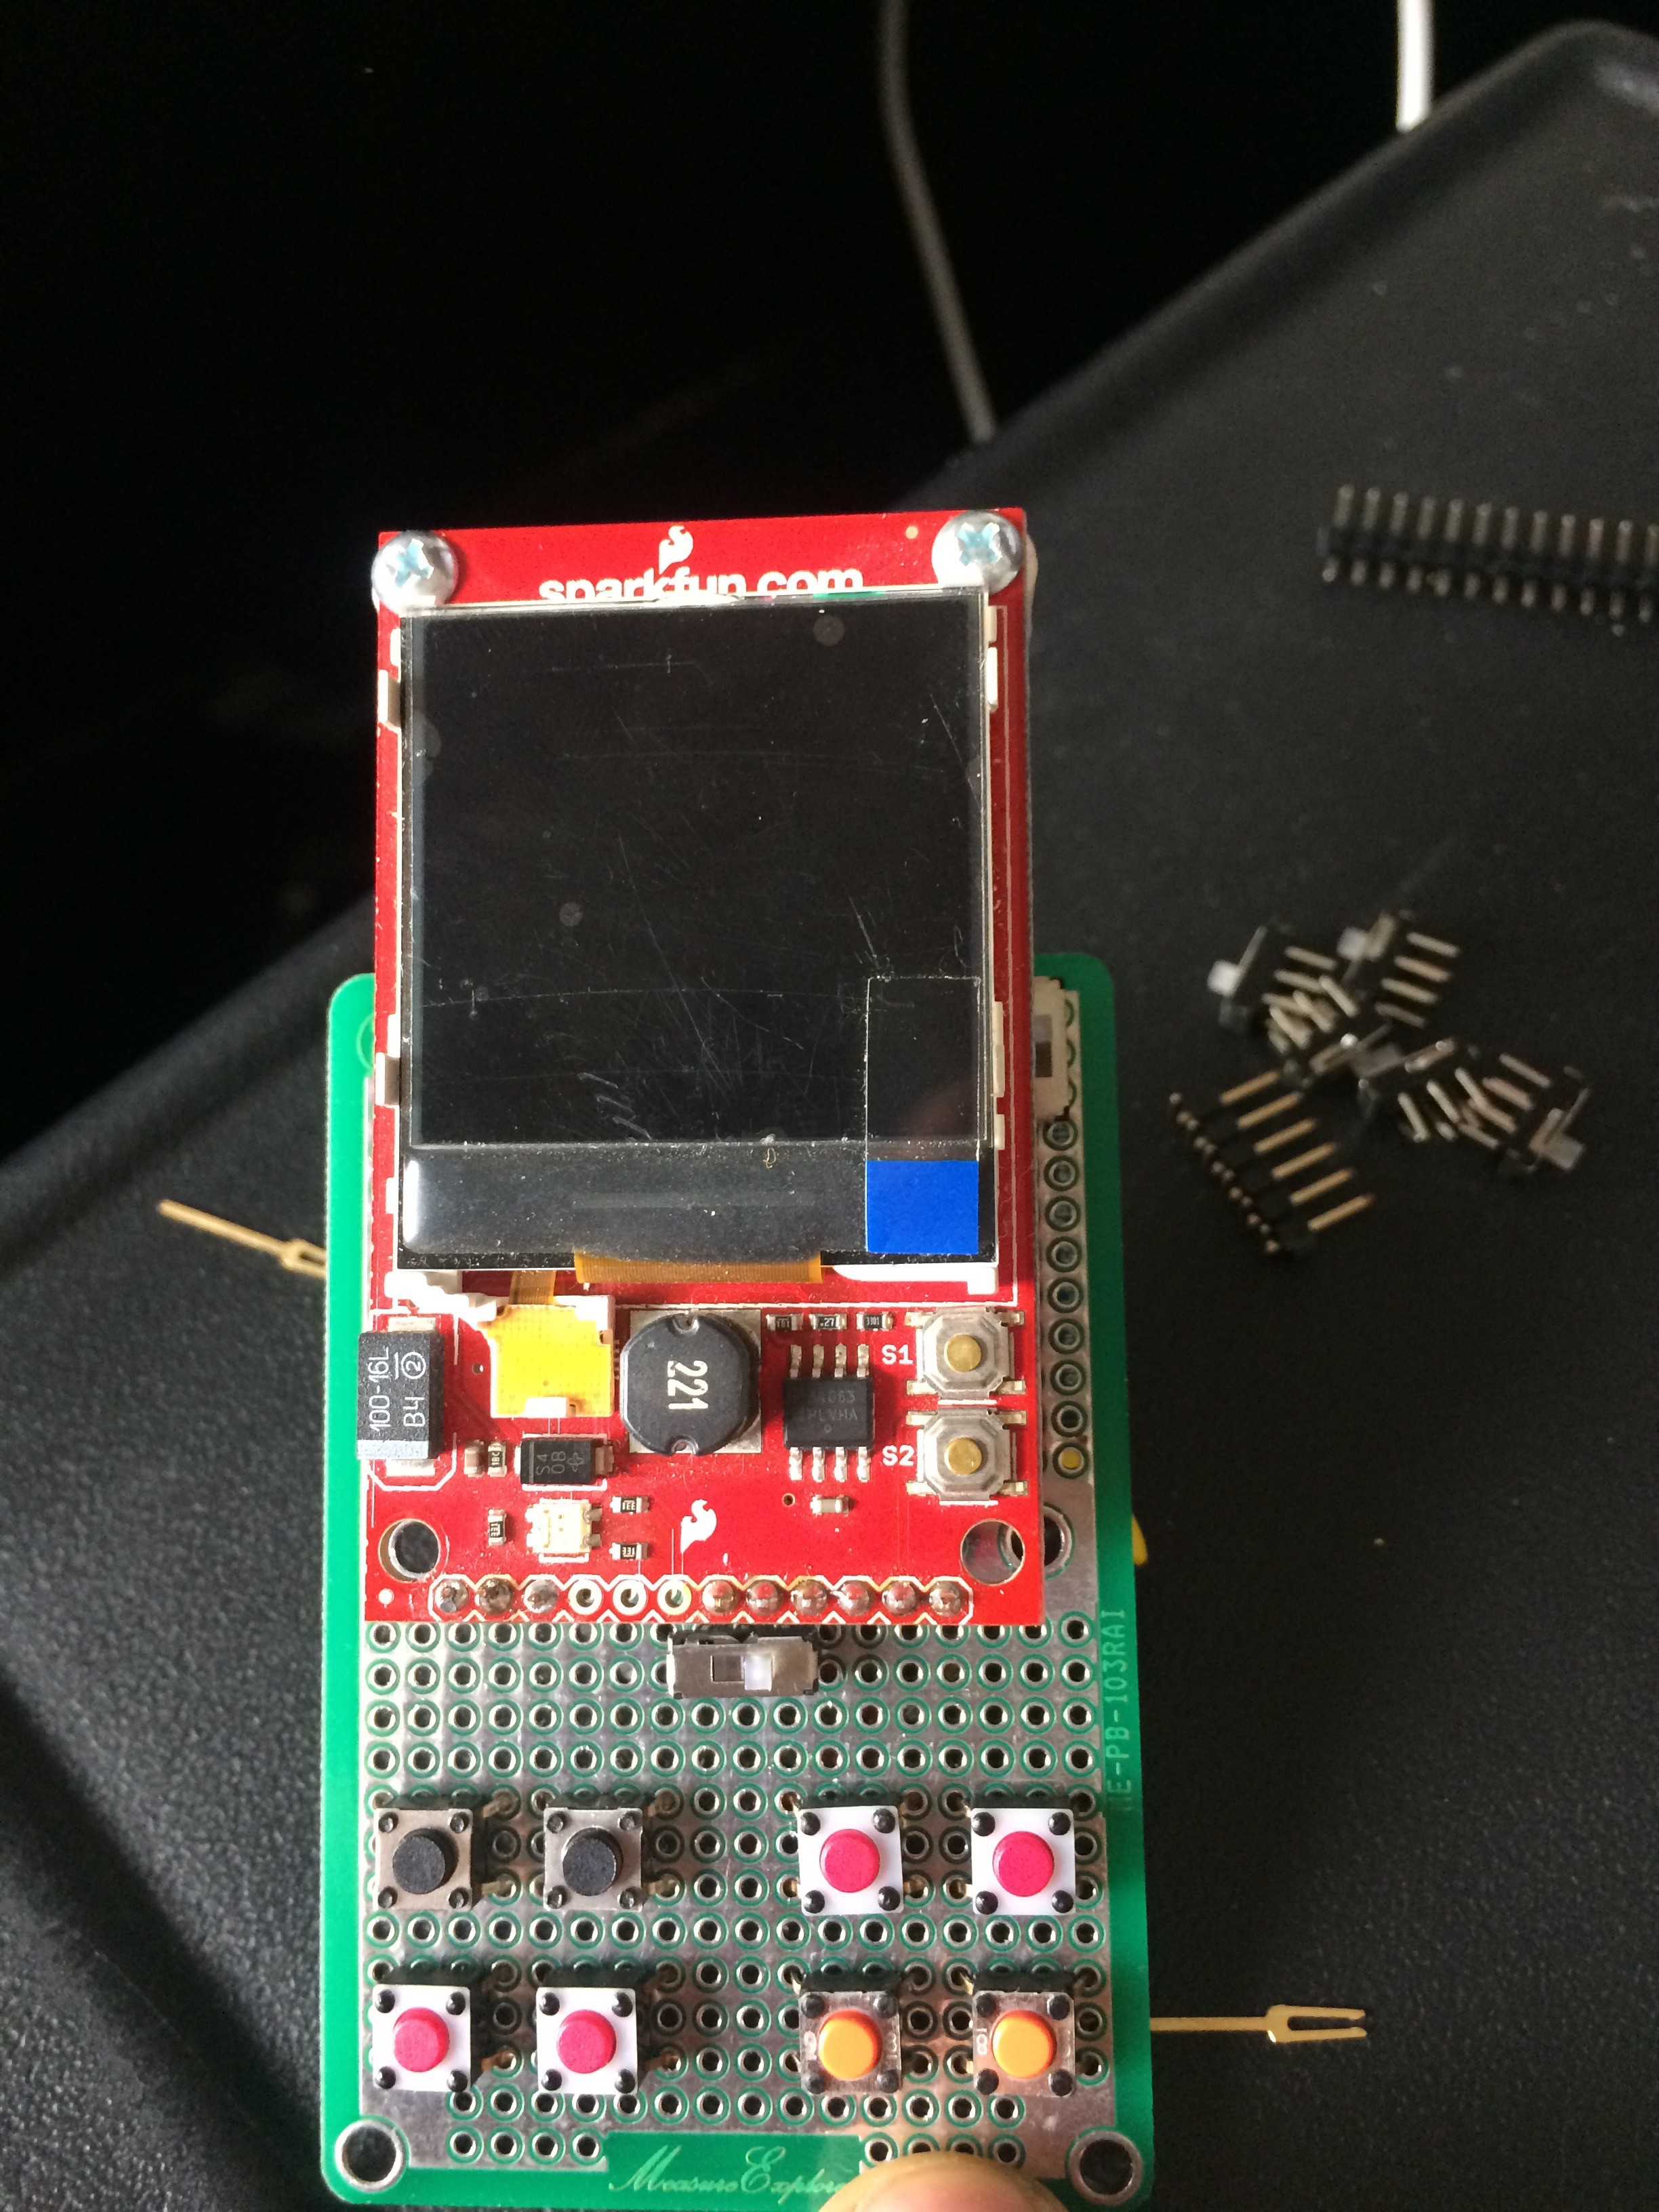
Some soldering, minor programming, and it's got feedback from the remote end! Oooooooo. Me likey. This means I can spend DOZENS OF HOURS fiddling with the code for NO GOOD REASON. Perfect. :)
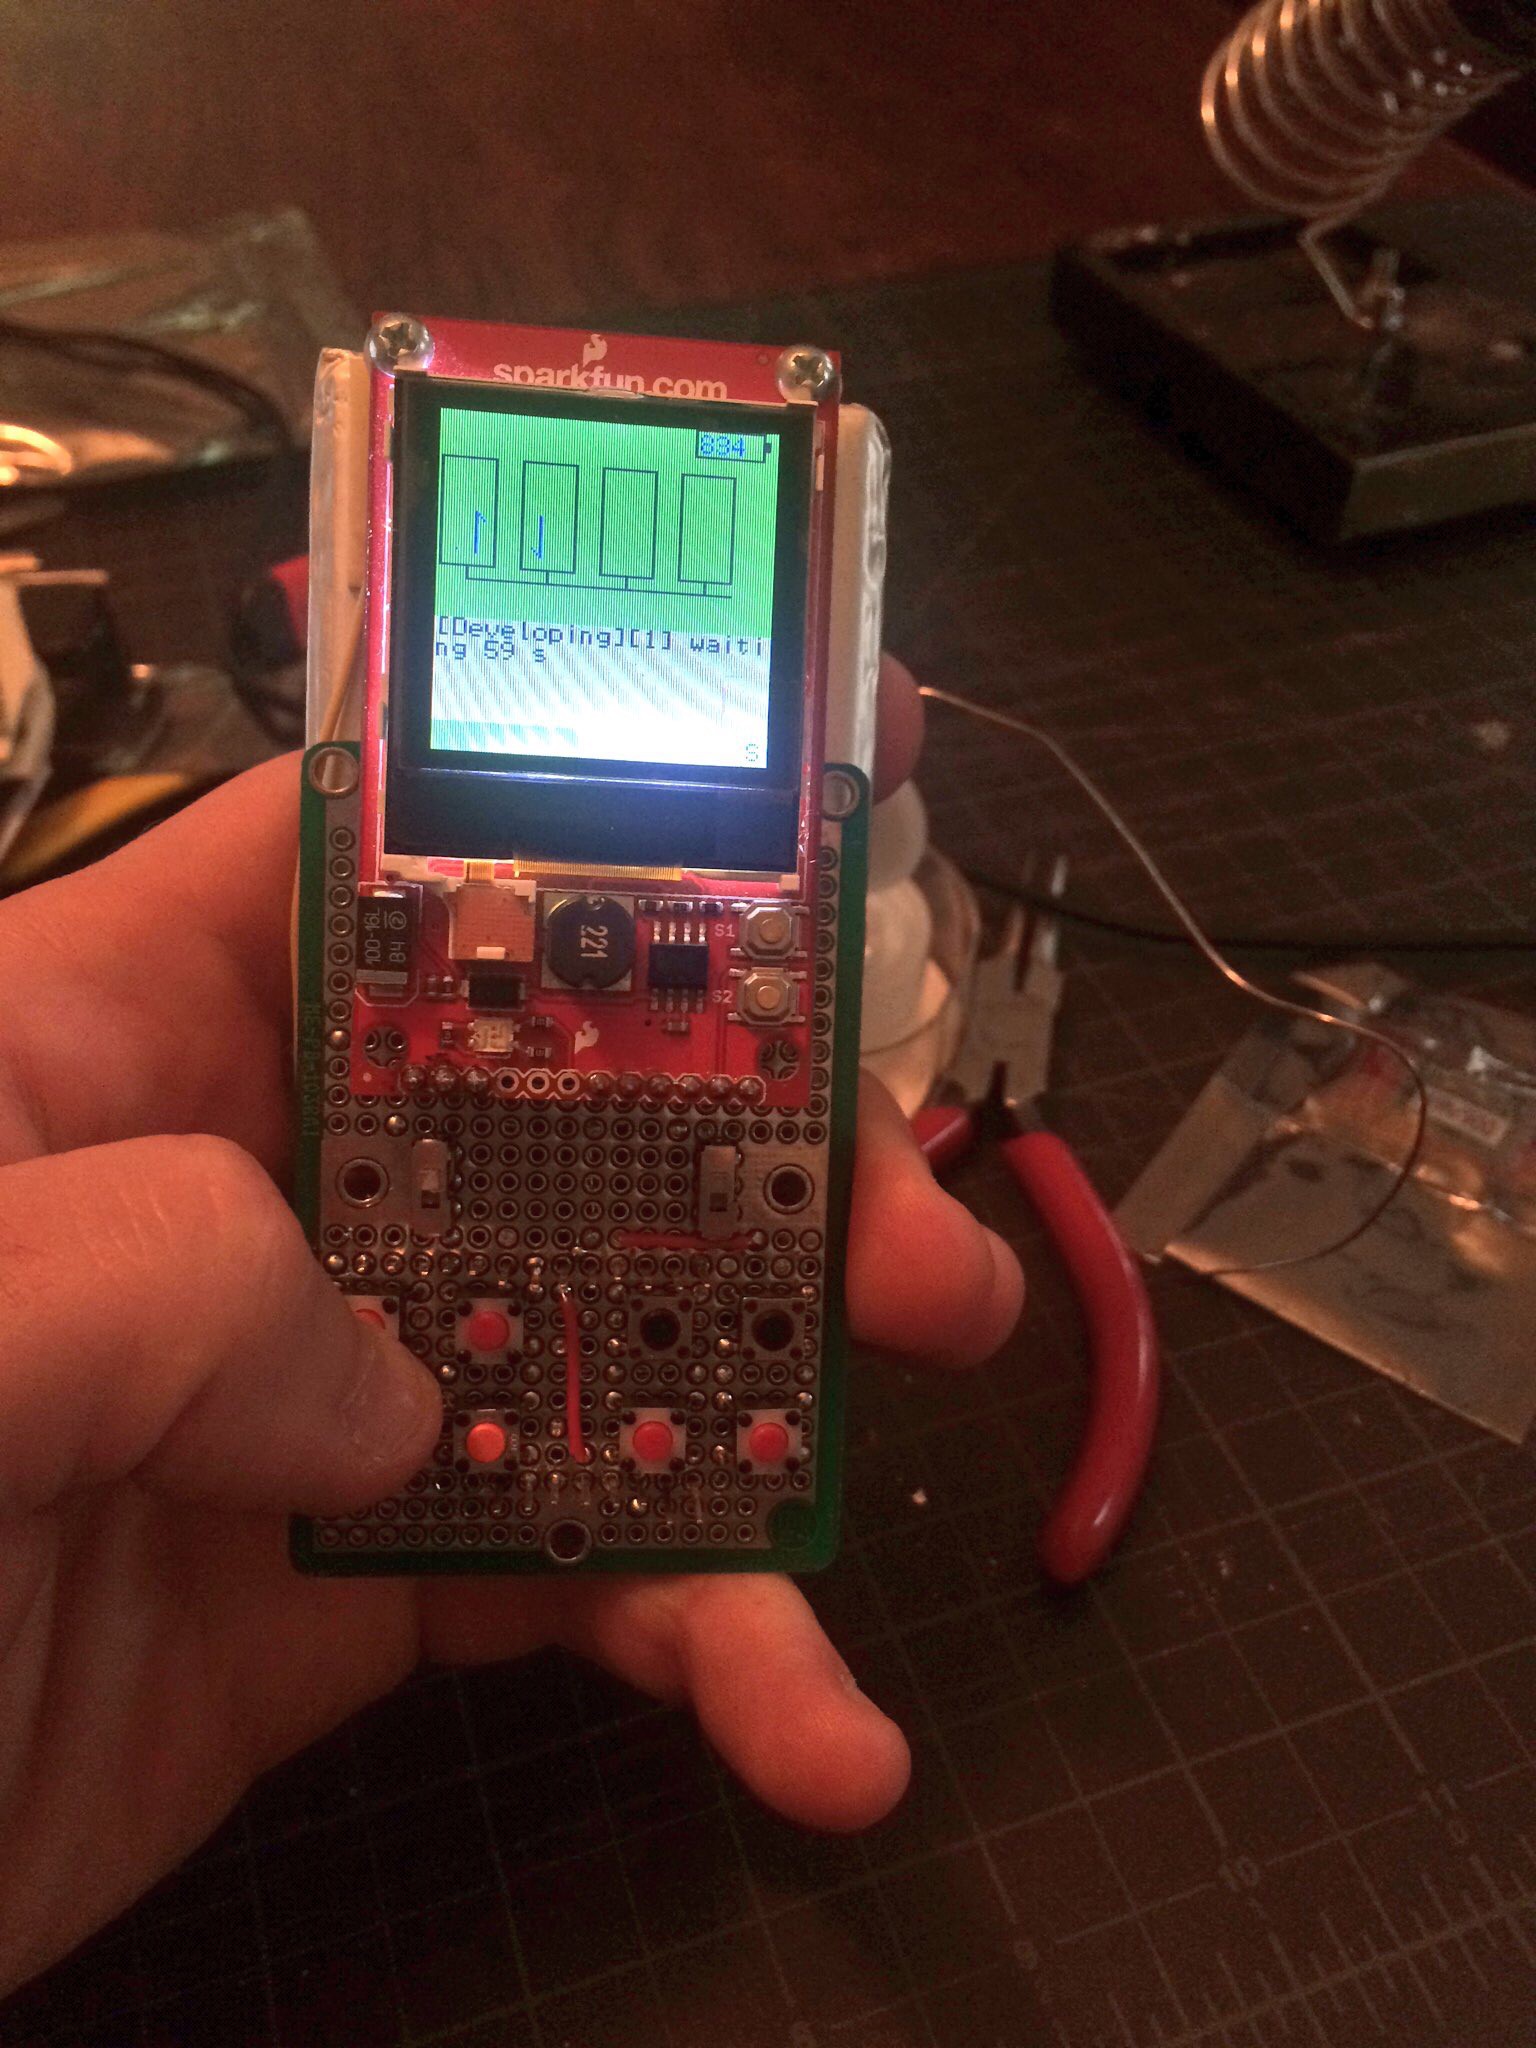
The display is a Nokia 6100 display from Sparkfun. Which you won't be able to buy; it's a discontinued product. I've had it sitting around for a couple of years. It briefly saw life as part of a gizmo I'd made for my son (the "timey wimey" - yes, we're all Doctor Who fans), which had an RFID reader, display, a couple of analog gauges, some LEDs scavenged from Dell server front panels, and quite a lot of Instamorph. Later I hacked a thermal printer on to it, and the whole thing played a part in a "treasure hunt" day where I thought up a dozen puzzles for Jake and his friends to solve: a series of riddles that lead them to find clues behind mirrors, remote controls taped under a table, a channel 4 transmitter and receiver that were broadcasting from a totally dark room that was lit by the remote controls, letting them see the next clue; and somewhere near the end, an RFID card that my son immediately said "I know what this is for!" and took it to the timey-wimey. Which, when it saw the right RFID card, printed out the final combination to a lock they needed to unlock. Fun was had, and my son learned what an answering machine is. Or was. Why I still have the answering machine is a great question that I'll skip answering for another day, at least.
Back to *this* story, though: from here, the rest of the build is academic! Code to actuate relays to turn on motors and solenoids. Timing the flow rate to figure out how long it takes to pump things around. Realizing that it takes longer to pump *in* to the tank than back *out* of the tank. Deciding to just live with it, because I'm a week away from the tintype event that I built this thing for. Figuring out the fluid levels to cover the tintypes. Mixing up chemistry, planning for power at the site, and so on.
The device did a great job out in the field.
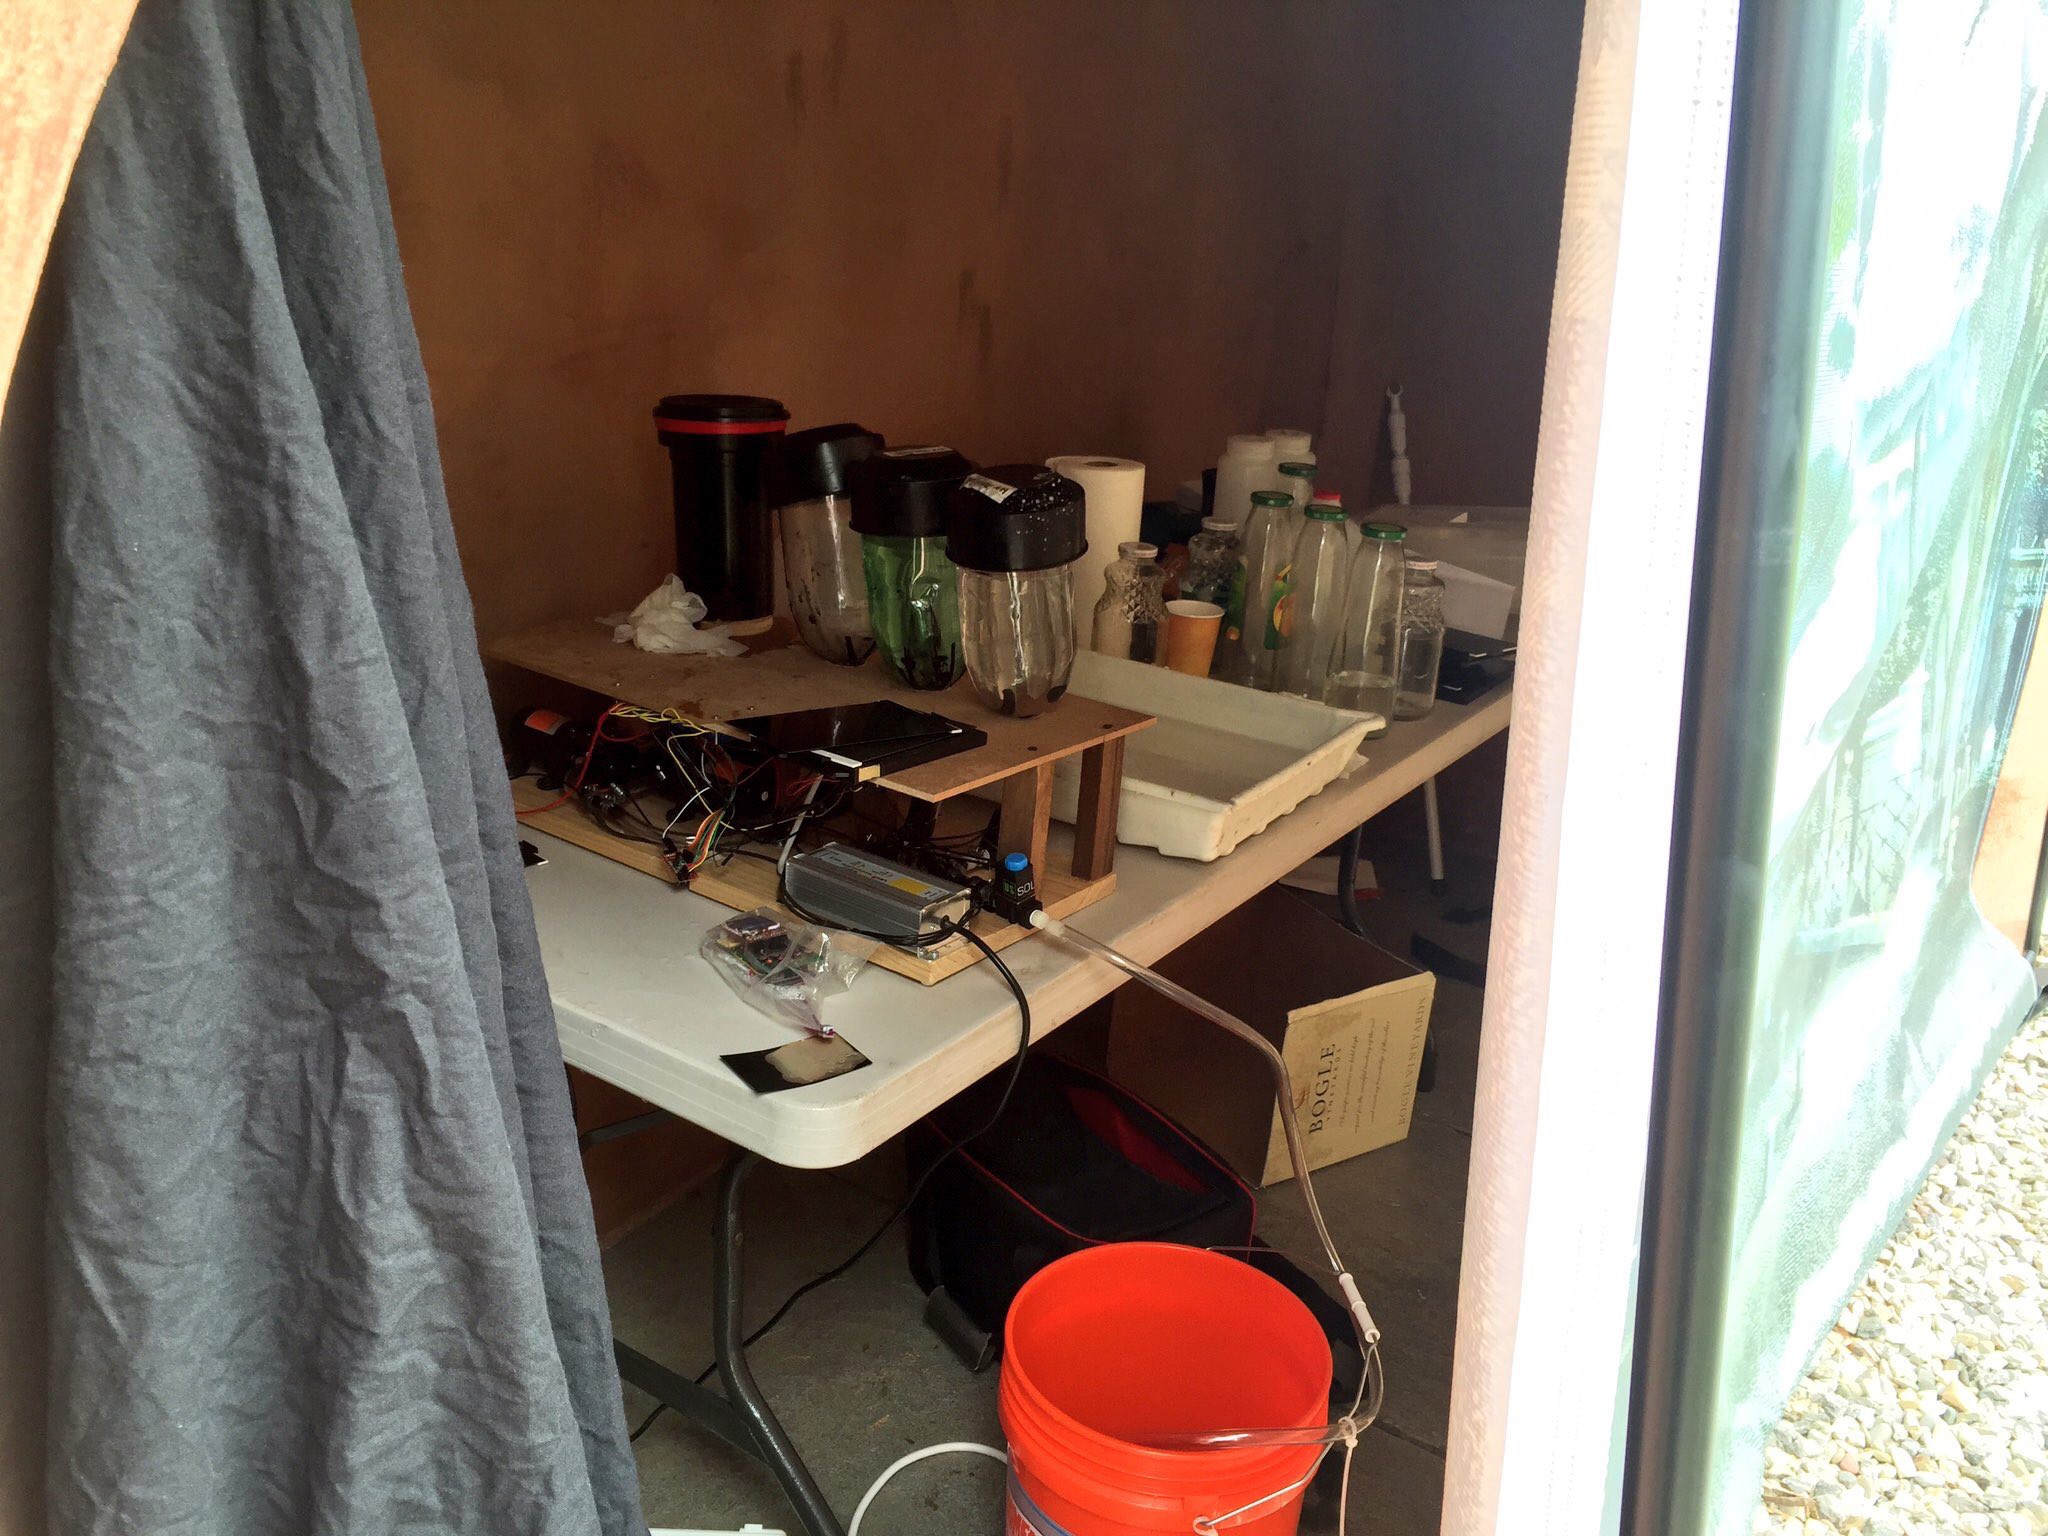
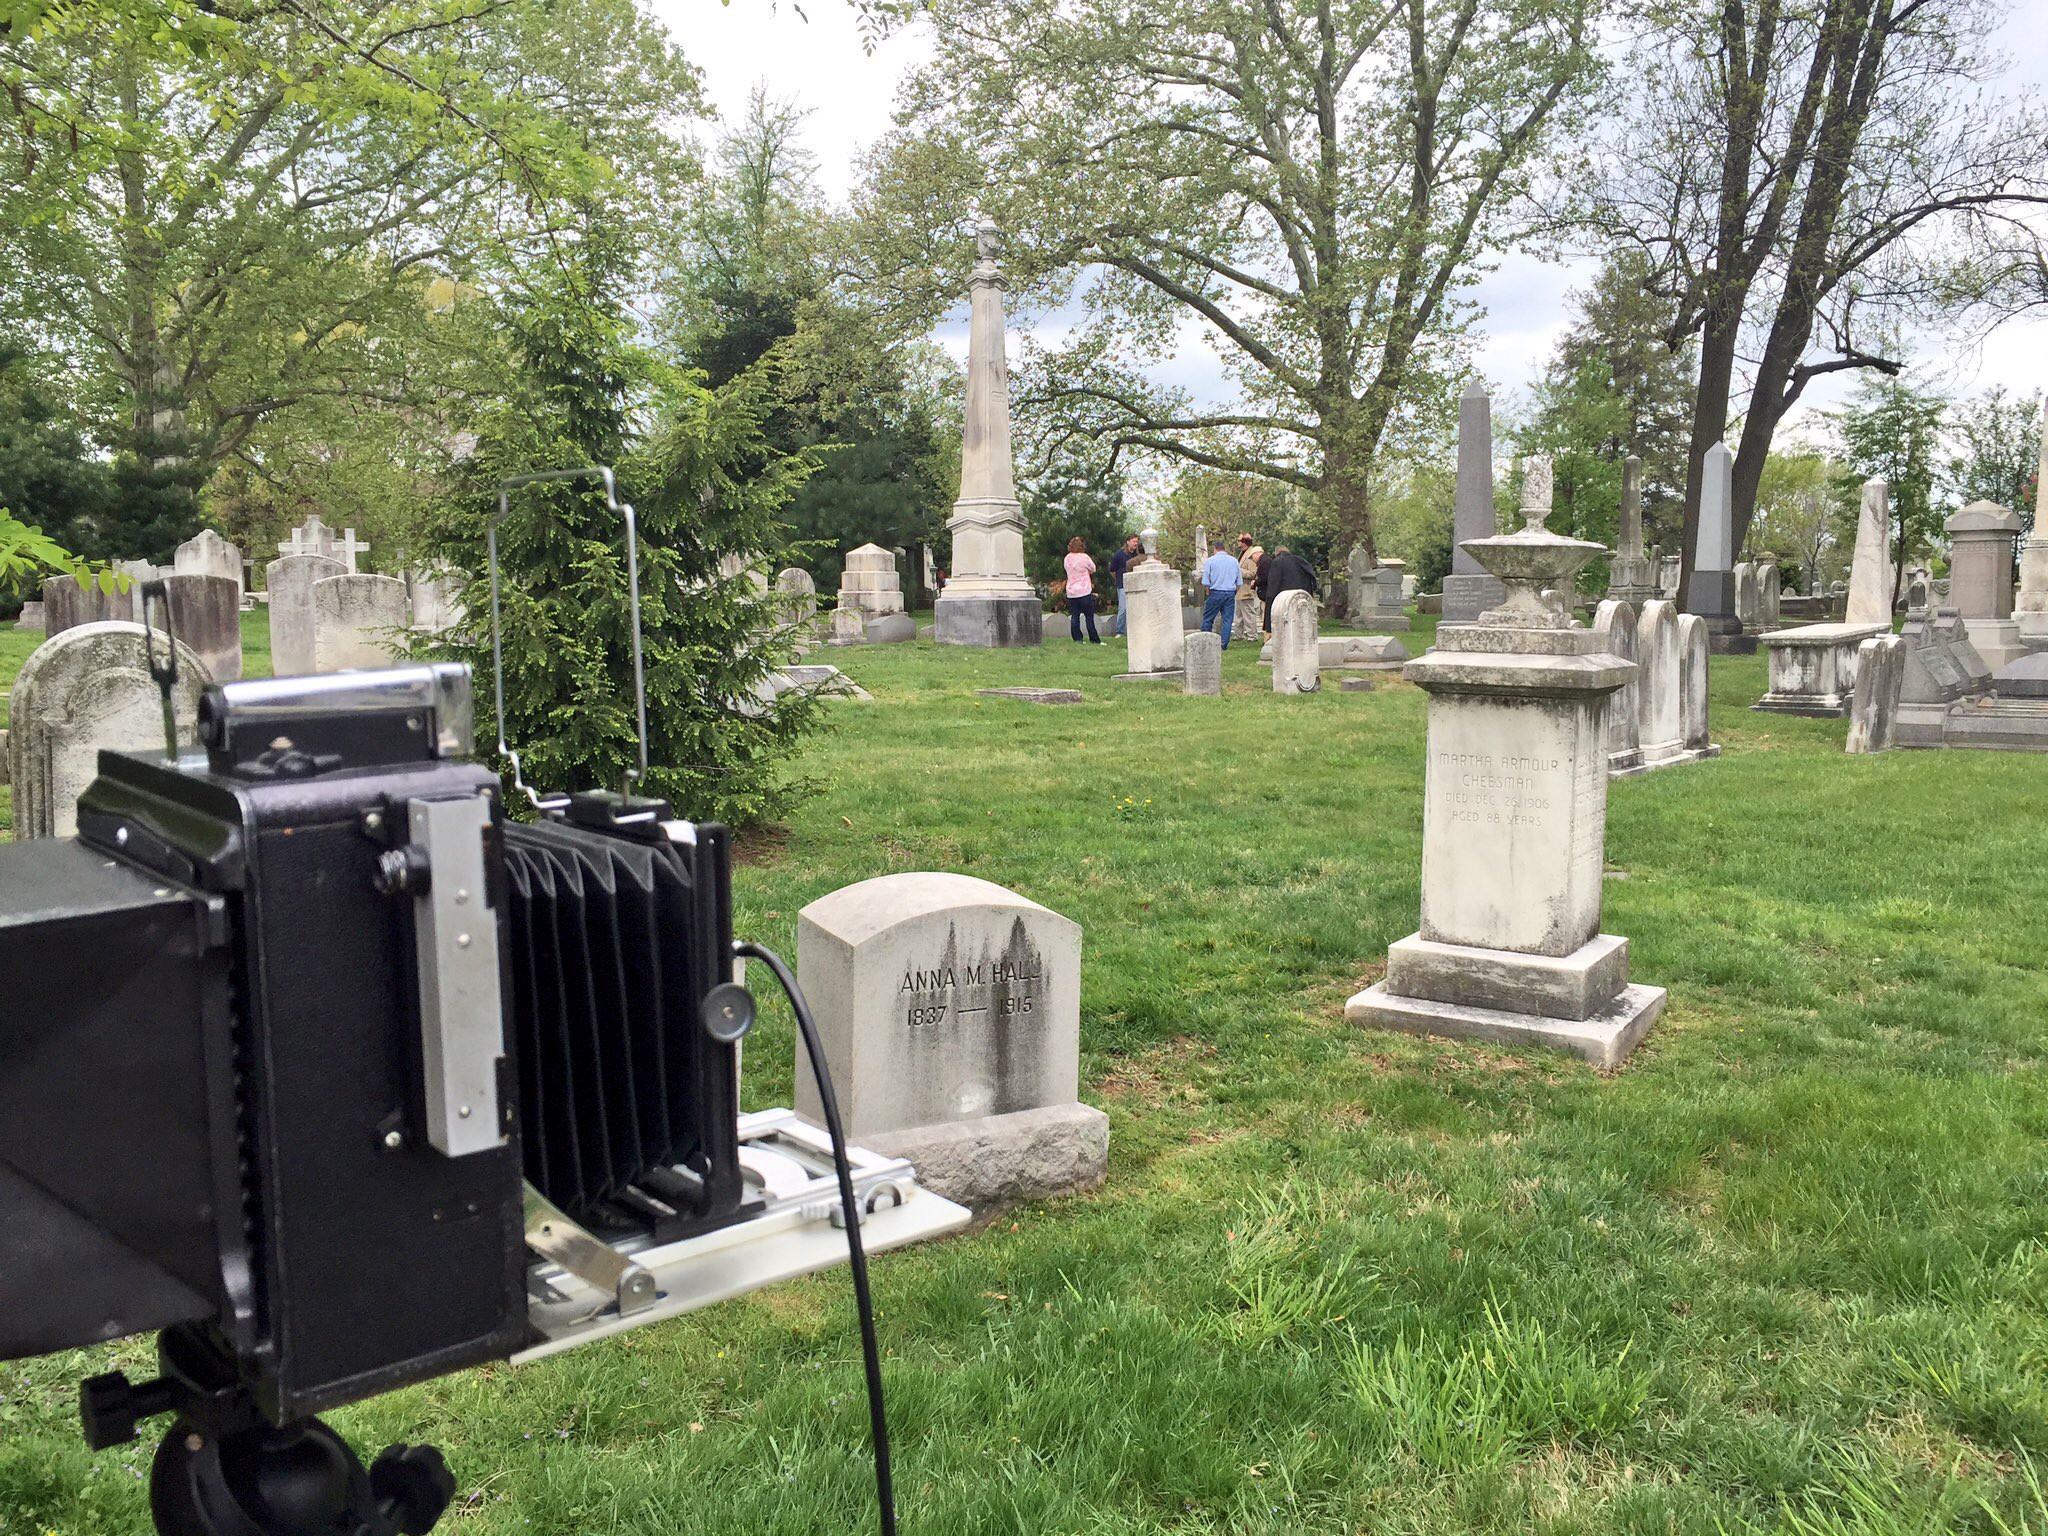

Having finished the day's events, I brought the develop-o-tron home and started tearing it apart.
The reason the fluid pumps back from the tank faster than to the tank is that the solenoids leak a small amount of air when the pumps are sucking fluid in the reverse direction from the solenoids' natural flow. If I could find a low-cost nylon (or other plastic) ball valve that was motor-actuated, I could fix this. But most motorized solenoid ball valves are made of brass: the fixer would eat the copper away, and I'd be left with zinc/tin, which is very porous.
It's possible that a high quality stainless steel would be okay, though. Metal developing tanks are made of stainless. (I actually prefer metal reels and stainless steel tanks over the plastic Patterson tanks. Which is part of why I didn't care too much about destroying the Patterson tank for this project.) So I'm looking at some of these now: the
 Jorj Bauer
Discussions
Become a Hackaday.io Member
Create an account to leave a comment. Already have an account? Log In.