 Curt White
-
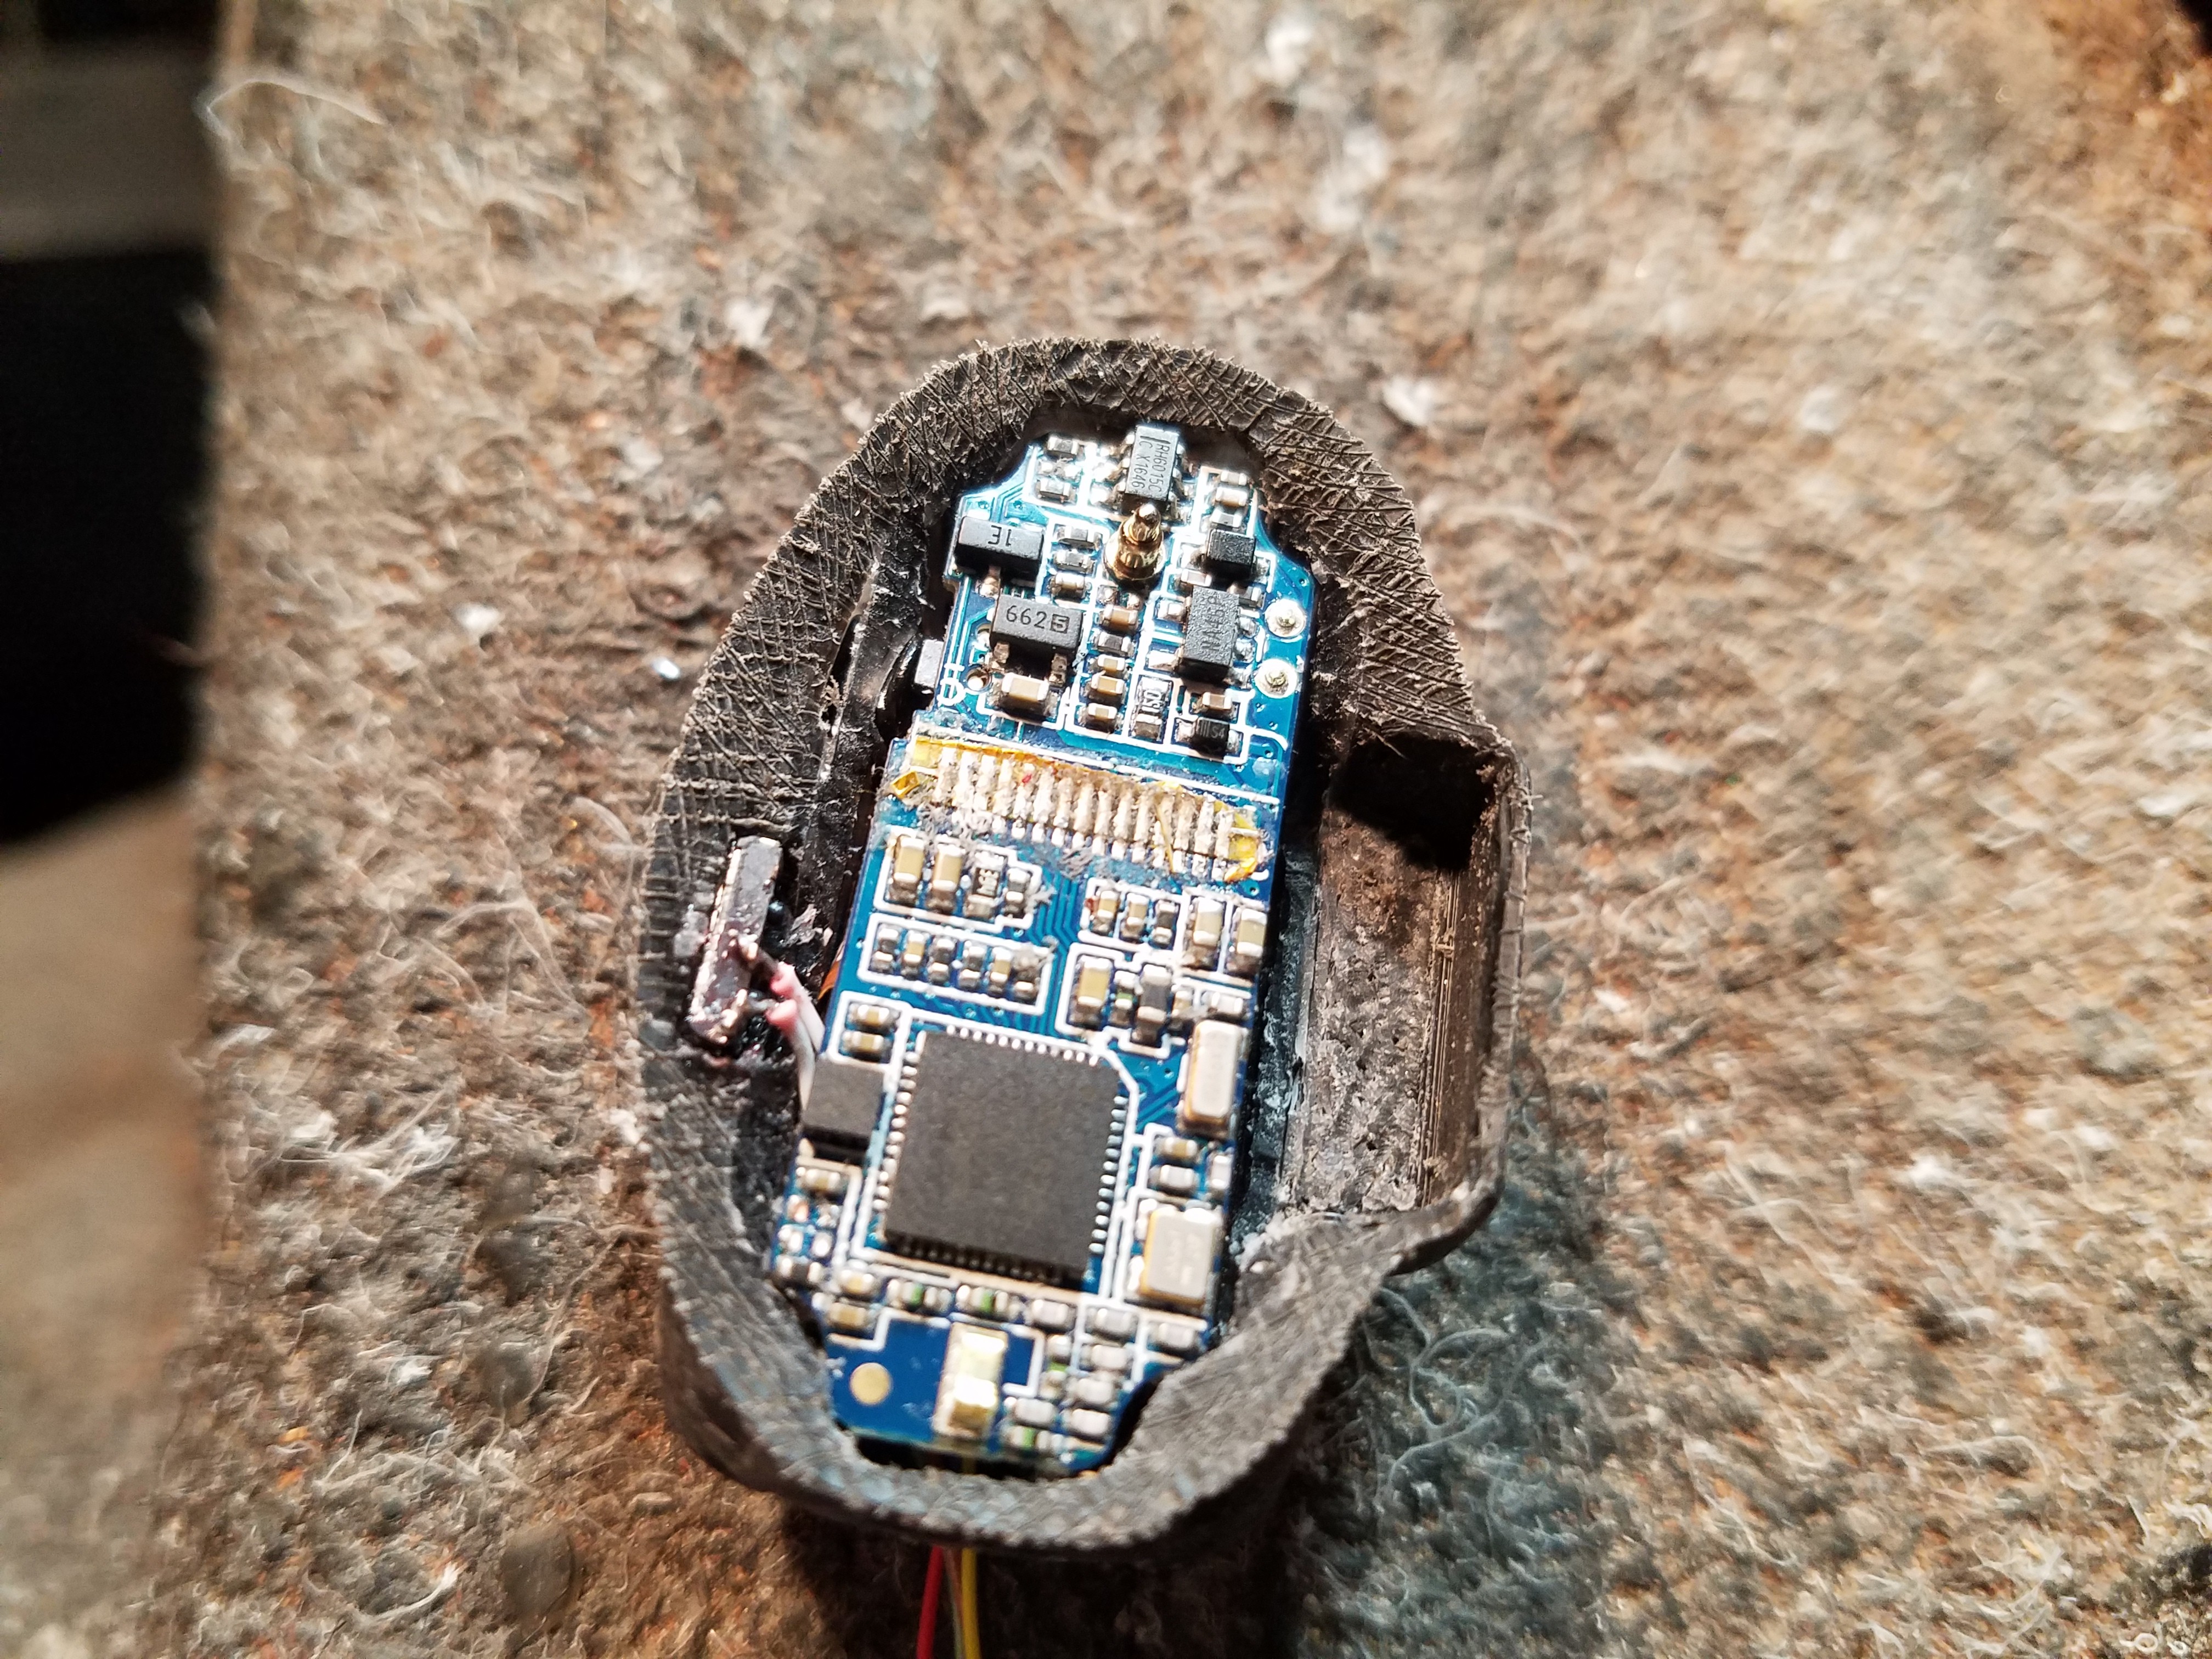
1Hacking a nRF51822 ARM Cortex-M0 Generic Activity Tracker
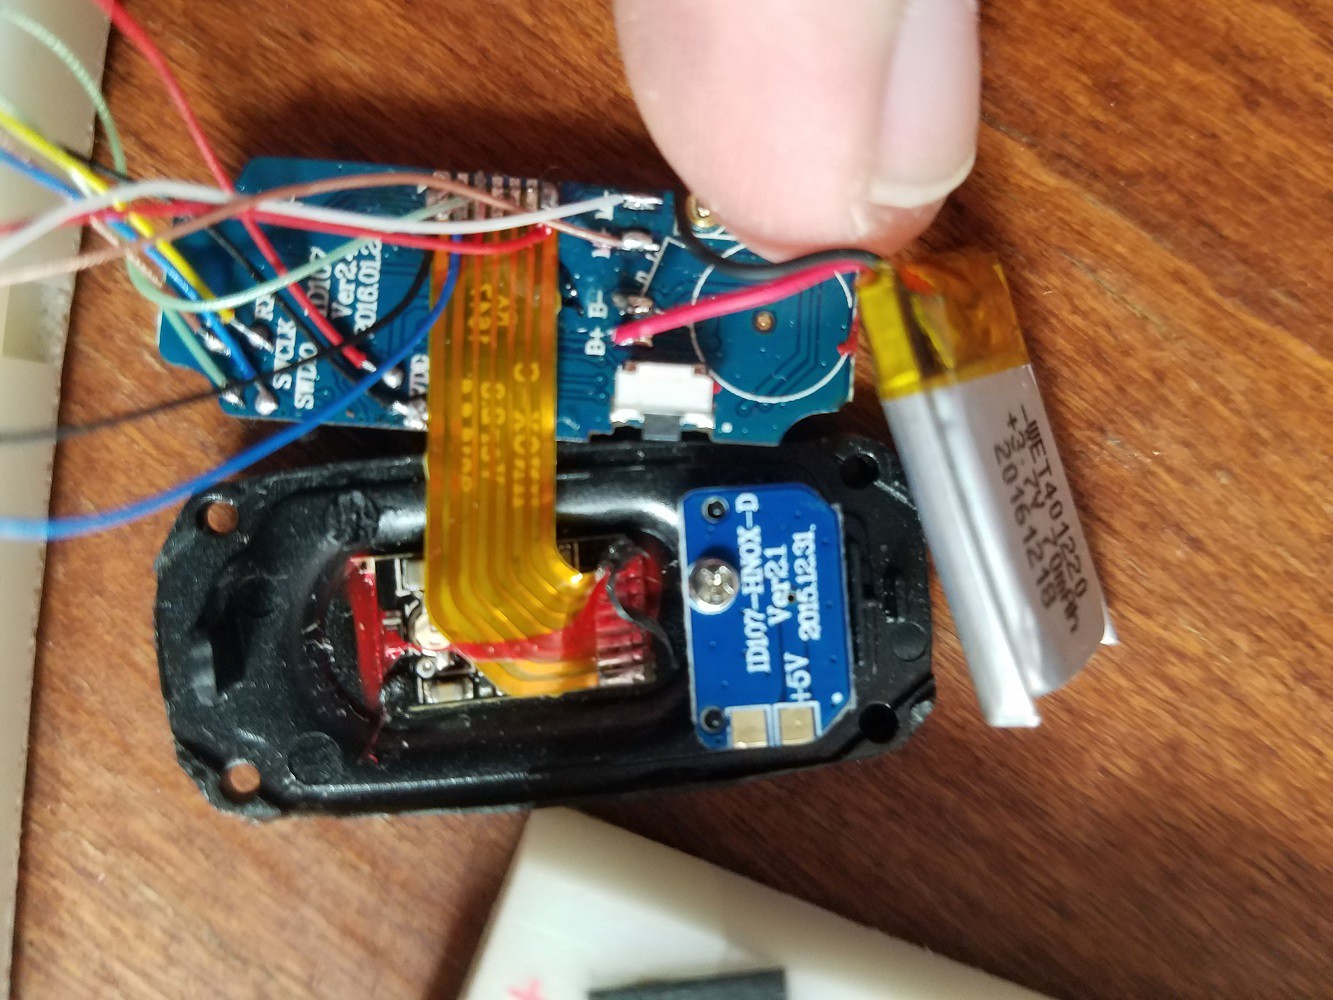
Starting with a generic activity tracker saves a huge amount of time and cost. This is what they look like on the inside. Usually 90%+ of mass market electronic device manufacturing costs are upfront factory equipment and facilities. Raw material and labor cost are usually extremely low. Because of this a $20 activity tracker will often have the exact same components and build quality as a $300 device.
![]()
-
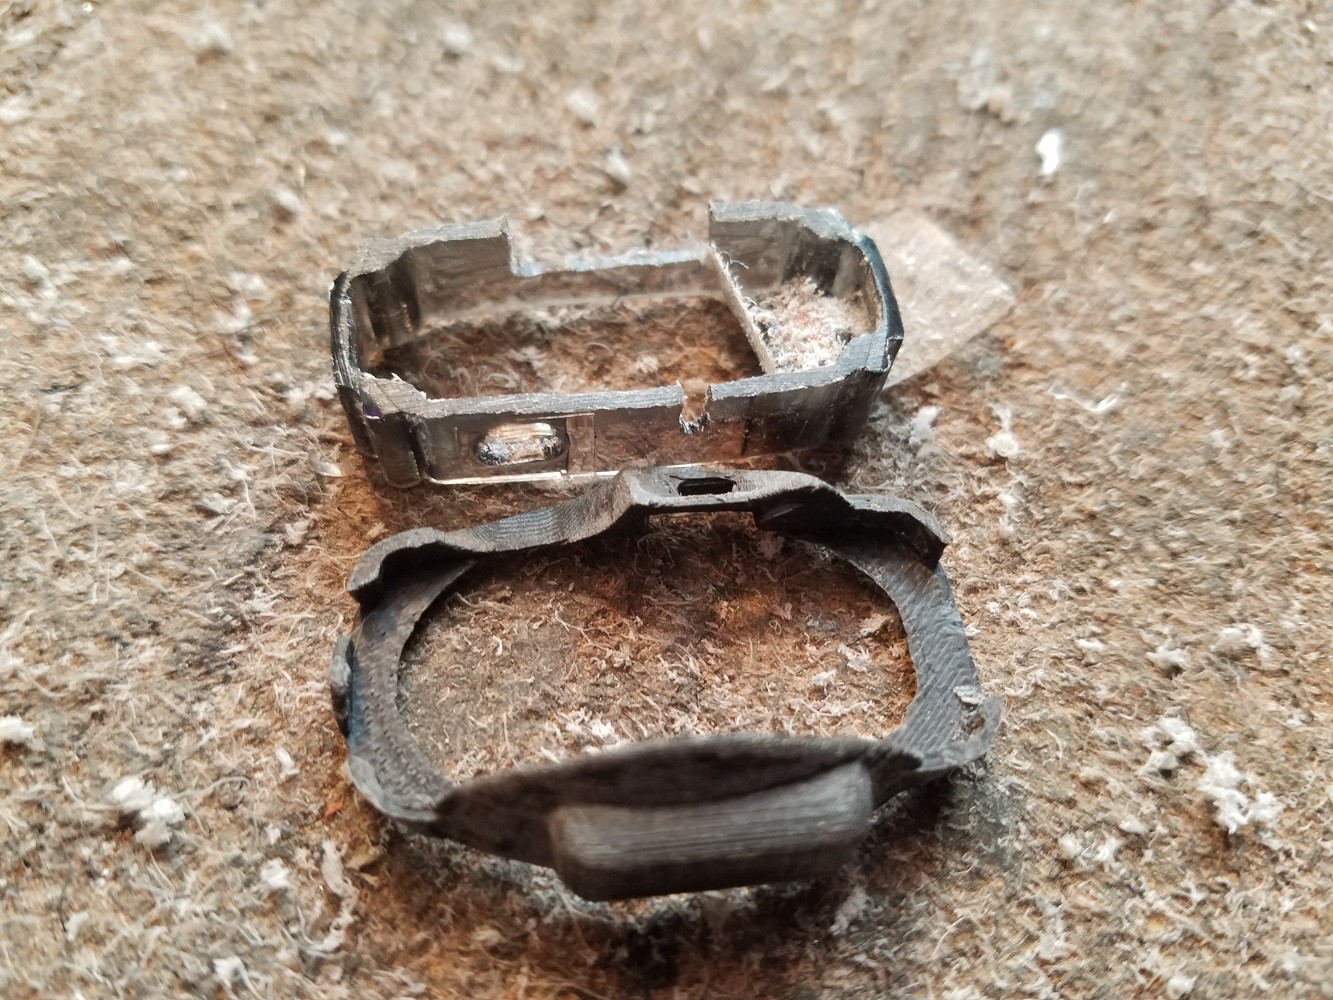
2Modify Hacked Activity Tracker Enclosure
Carving up activity tracker enclosure so it will fit into 3D printed locket interface. Holes for wires etc.
![]()
-
33D Print Hacked Enclosure to Locket Interface
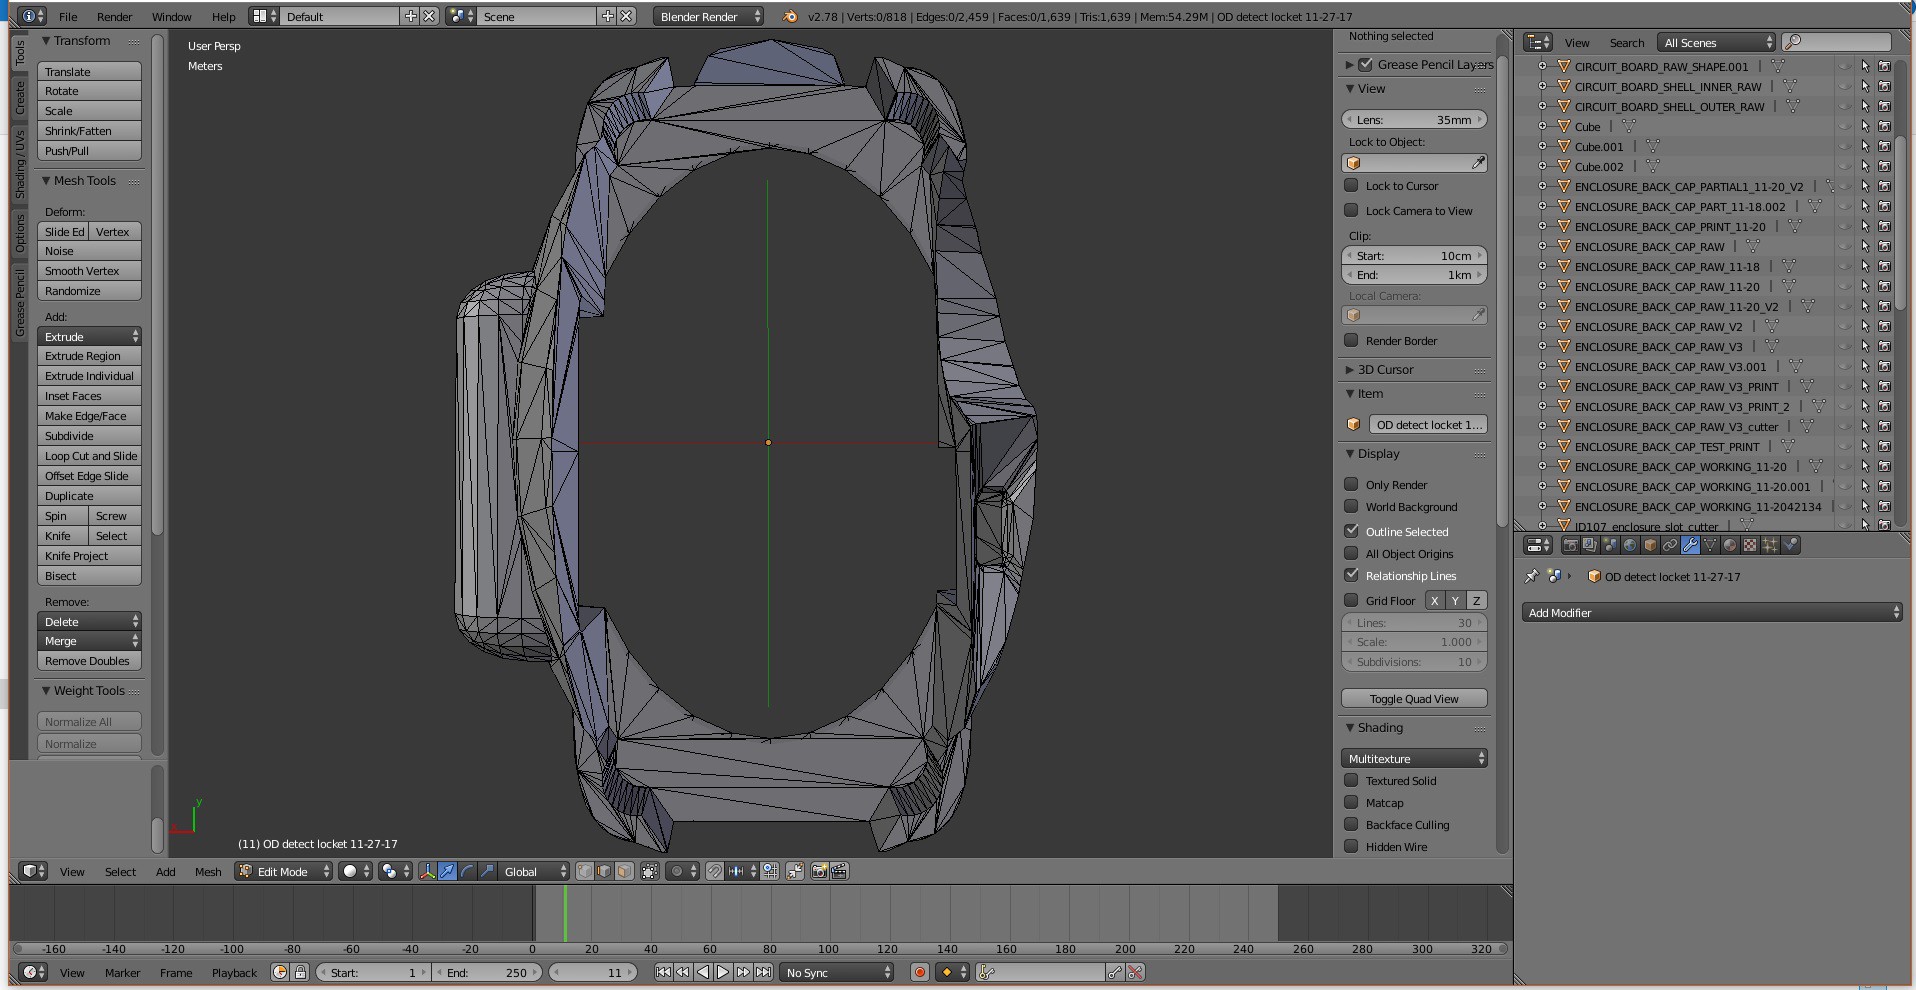
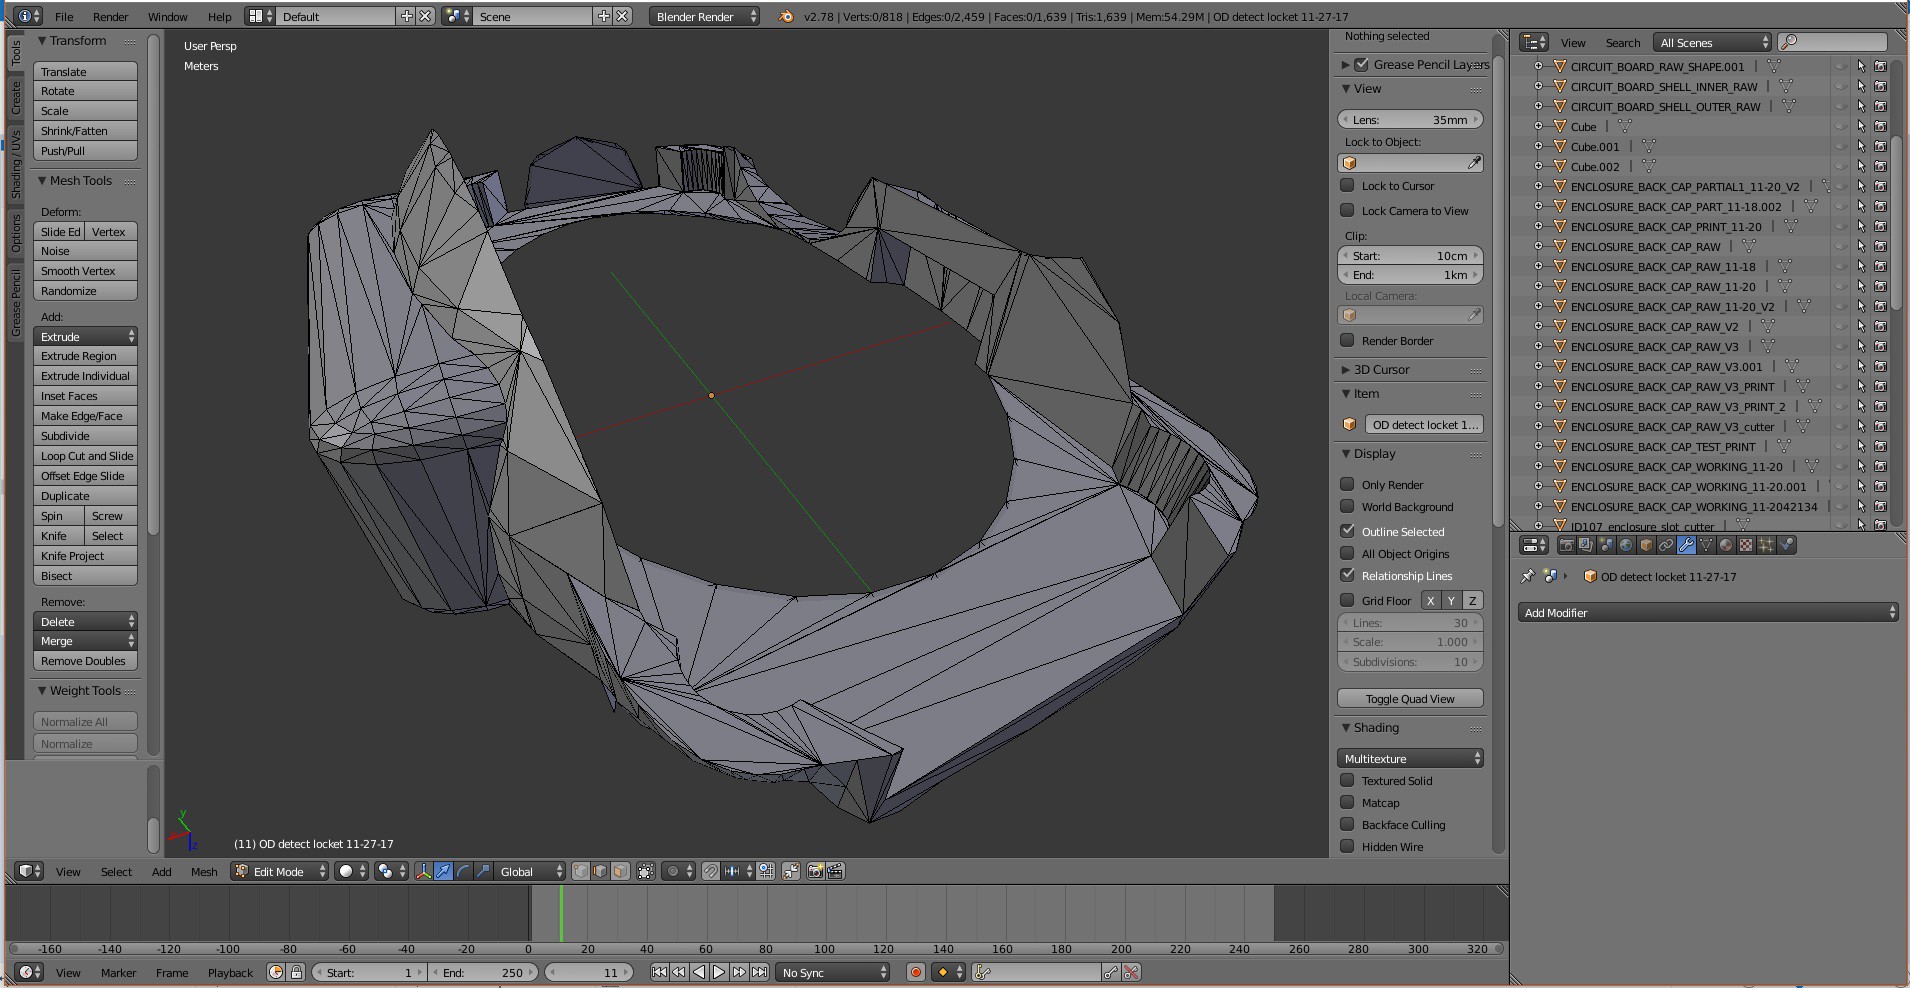
I modeled an adapter to connect the back half of the activity tracker enclosure to the modified locket. You can 3D print this adapter yourself using files attached to this project.
![]()
![]()
-
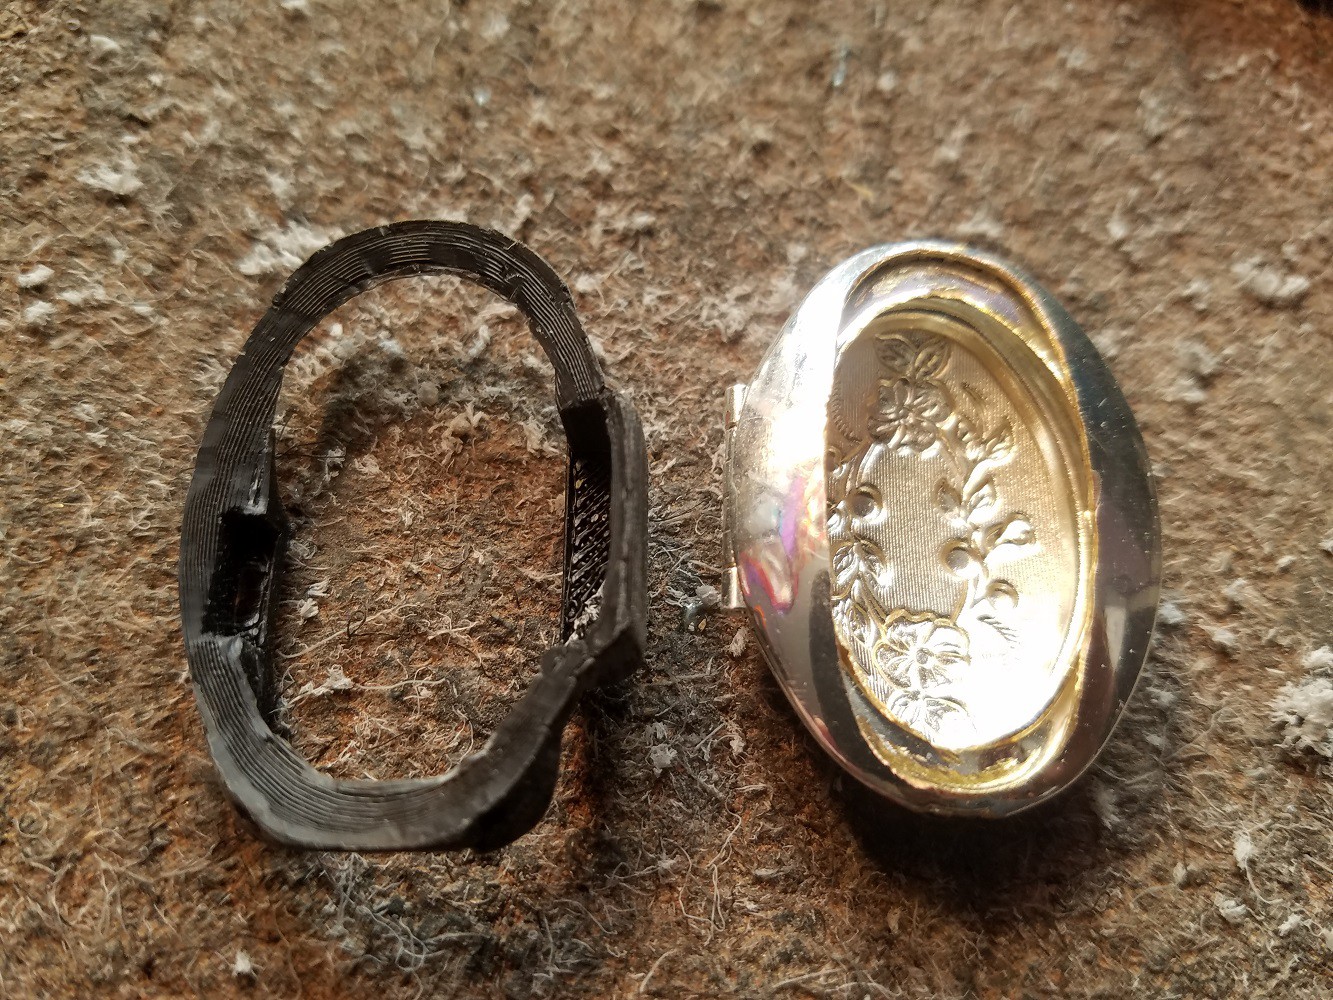
4Modify Locket
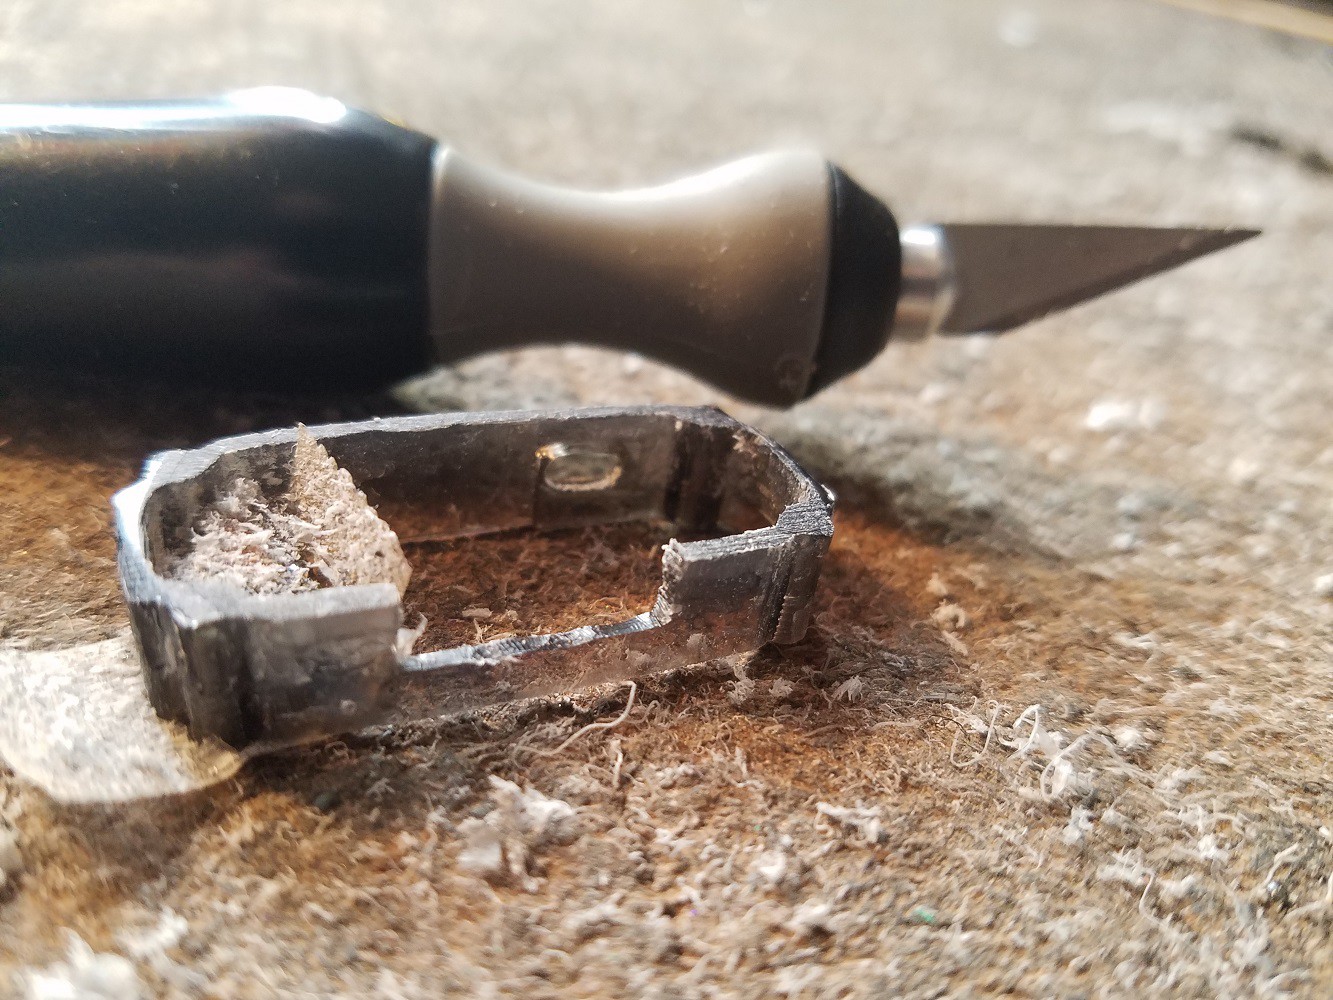
Use a dremel cut off wheel to grind out back of locket. 3D printed interface will be glued onto the back of the locket joining it with the rest of the device.
![]()
-
5Fit Hacked/Modified Activity Tracker Rear Enclosure to 3D Printed Locket Interface
Middle piece of activity tracker fits into interface.
![]()
-
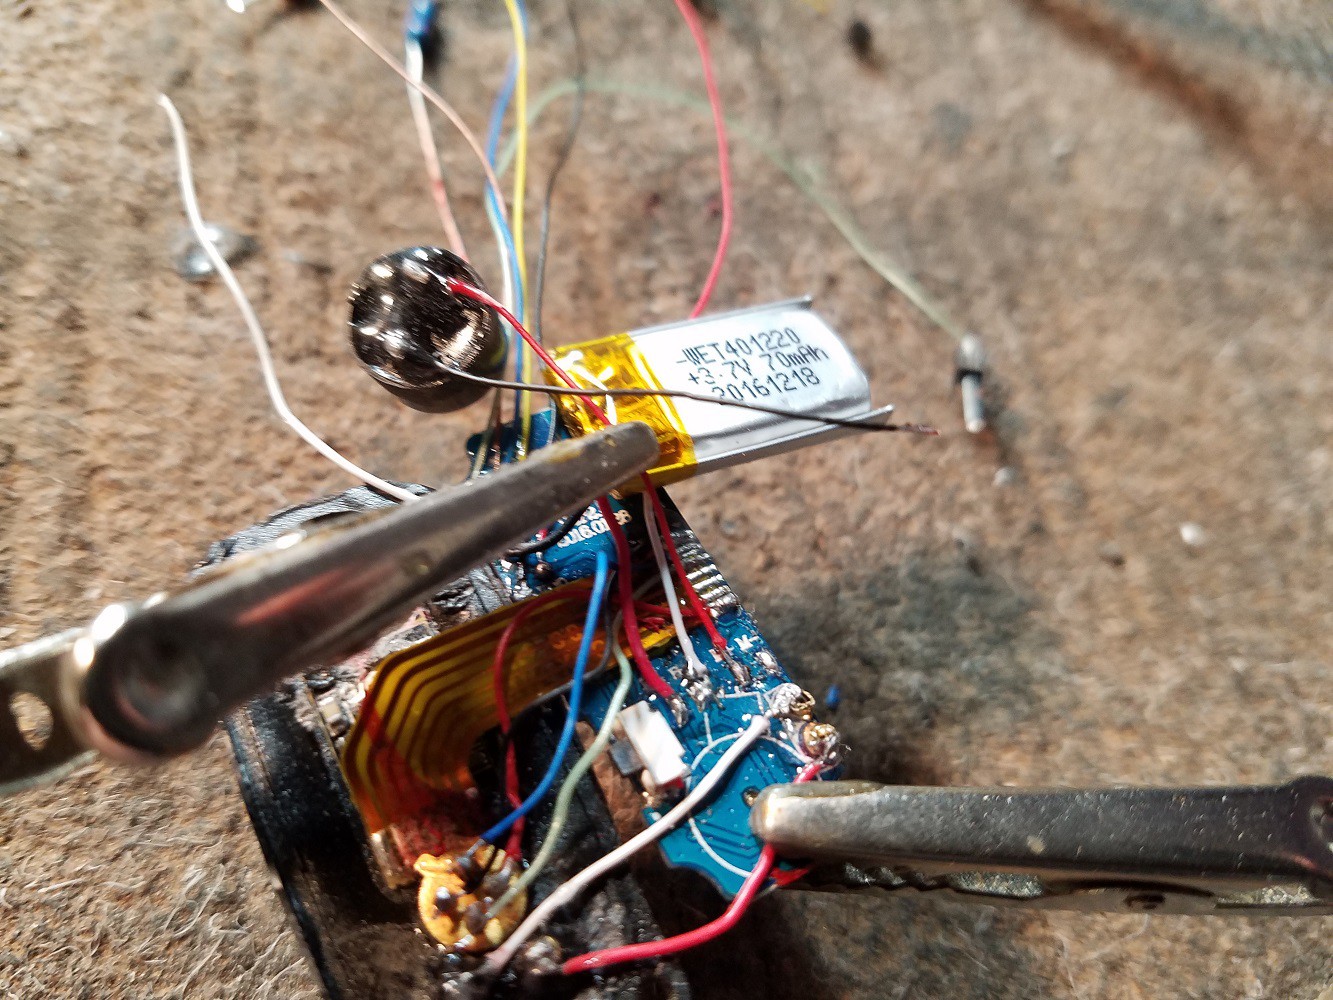
6Mount Sensors in Modified Activity Tracker Rear Enclosure
Drill holes in activity tracker enclosure cap for temperature sensor and buzzer. Solder wires onto PPG heart rate detector and solder those wires to the temperature sensor. We can add the temperature sensor onto the same I2C data bus by doing this. Makes everything easier.
![]()
-
7Add Buzzer
De-solder stock vibration motor from generic activity tracker and replace it with a buzzer.
![]()
-
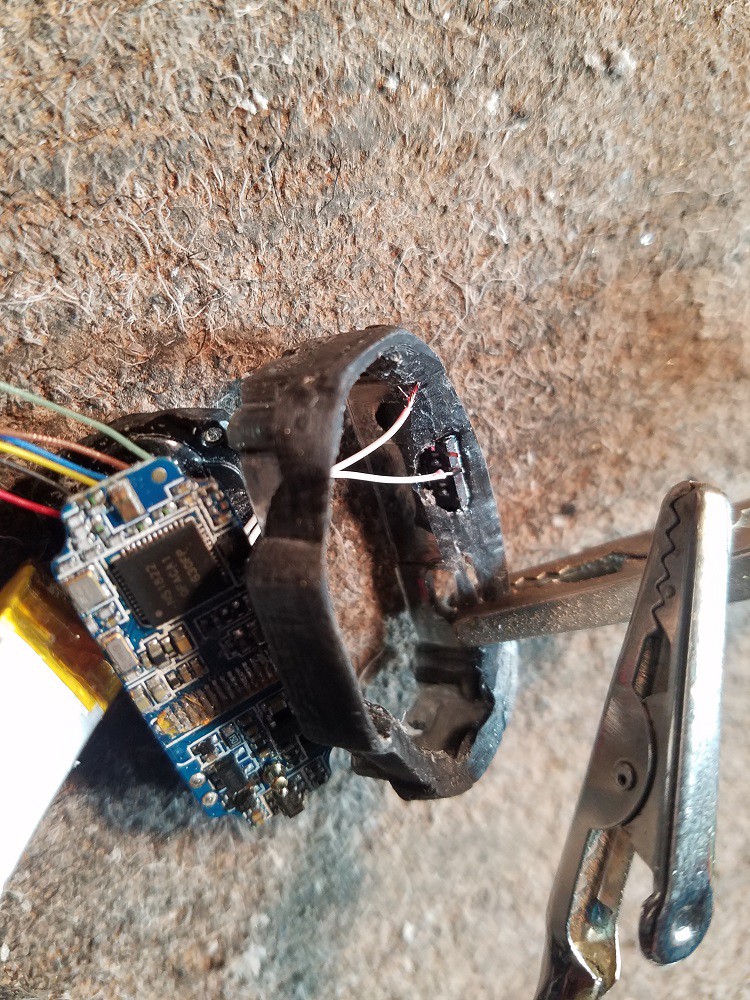
8Add Power Switch
Glue switch into 3D printed interface and wire to main circuit board.
![]()
-
9Glue Hacked Activity Tracker Enclosure to 3D Printed Interface
Combine interface and activity tracker enclosure. Score surface of interface which will be glued to locked. # rule of gluing: when in doubt, score.
![]()
-
10Glue Combined Interface-Enclosure to Modified Locket
Epoxy interface to locket and we are all done! (With device build at least). Now we just have to add a photo of a loved one or something else emotionally significant. This will encourage emotional investment in using the device.
![]()
Overdose Detection Necklace + App
ODAlert is a wearable opiate overdose detection device with supporting smartphone app


Discussions
Become a Hackaday.io Member
Create an account to leave a comment. Already have an account? Log In.