-
1Cut LED Strip to Fit Mask
Scuba masks vary in size so it is best to avoid simply using the same length/LED count of LED strip that I use. Measure the circumference of the glass from the inside of the mask. Cut a length of LED strip that comfortably fits inside the mask.
![]()
-
2Back Mirror
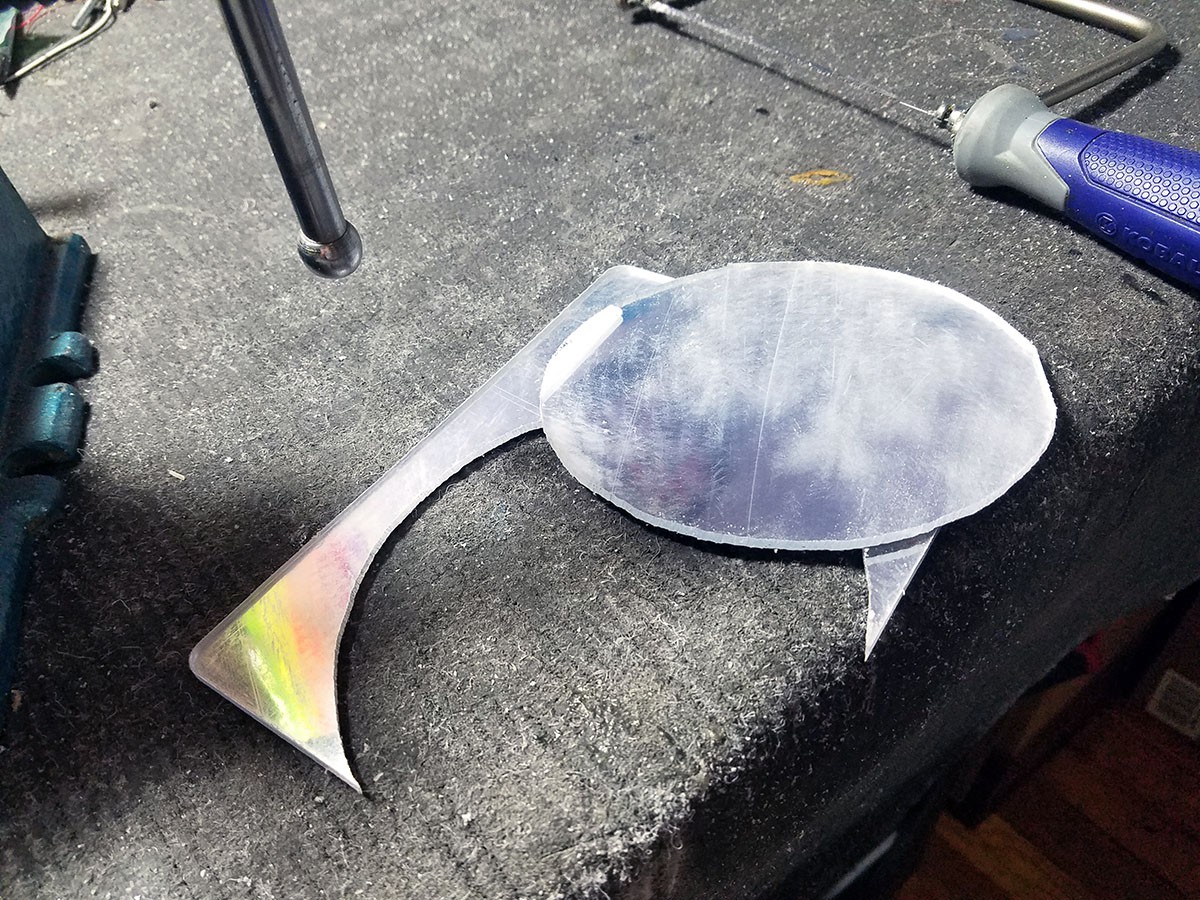
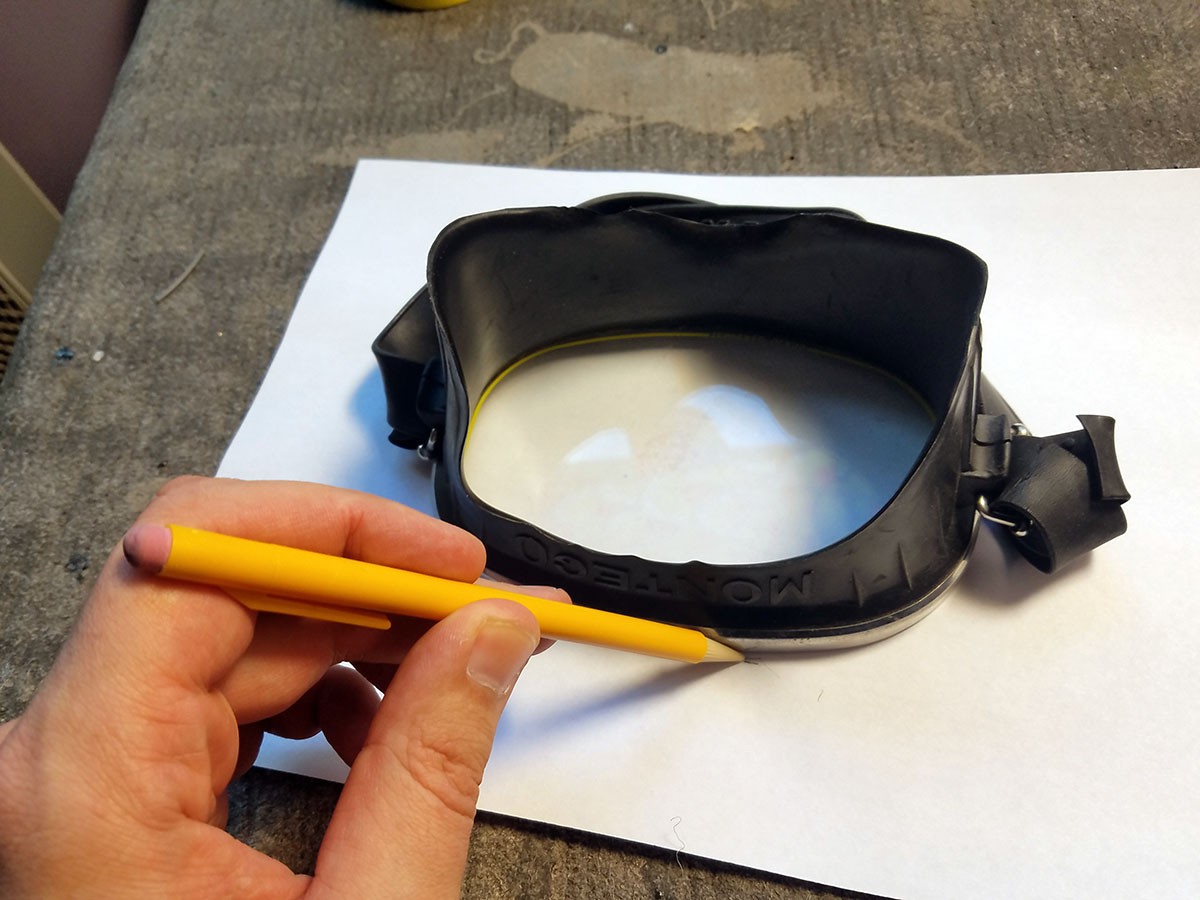
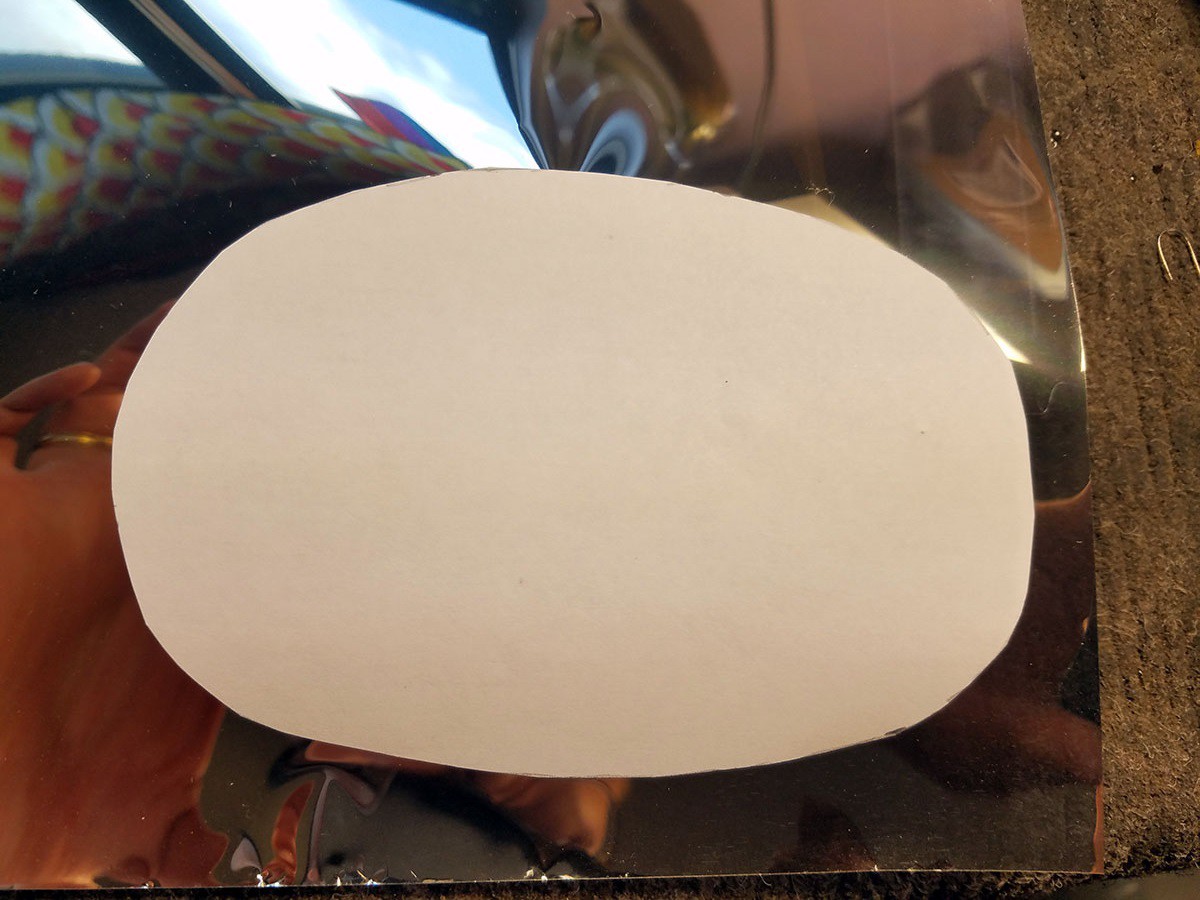
Place the scuba mask face down on a piece of white paper and trace around the edge with a pencil or pen. Draw a line around the interior of this traced oval such that it is 3/8" away from the traced line ie smaller. Cut out this smaller oval - this is our back mirror template. Glue it to the plastic mirror sheet with water soluble glue (Elmer's etc). Cut out the section of mirror covered by the paper template.
*NOTE: The back mirror is the only tricky part of this project. Ideally it will be slightly larger (2mm in additional diameter) than the space behind the glass. The rubber that extends from the glass towards your face forms a "gasket" and will stretch around the edges of the back mirror. If done correctly the rubber "gasket" will hold the back mirror firmly in place without the need for adhesives or other attachment mechanism.
![]()
![]()
-
3Add Partial Mirror Film to the Scuba Mask Glass
Trace the edge of the scuba mask on a piece of paper.
![]()
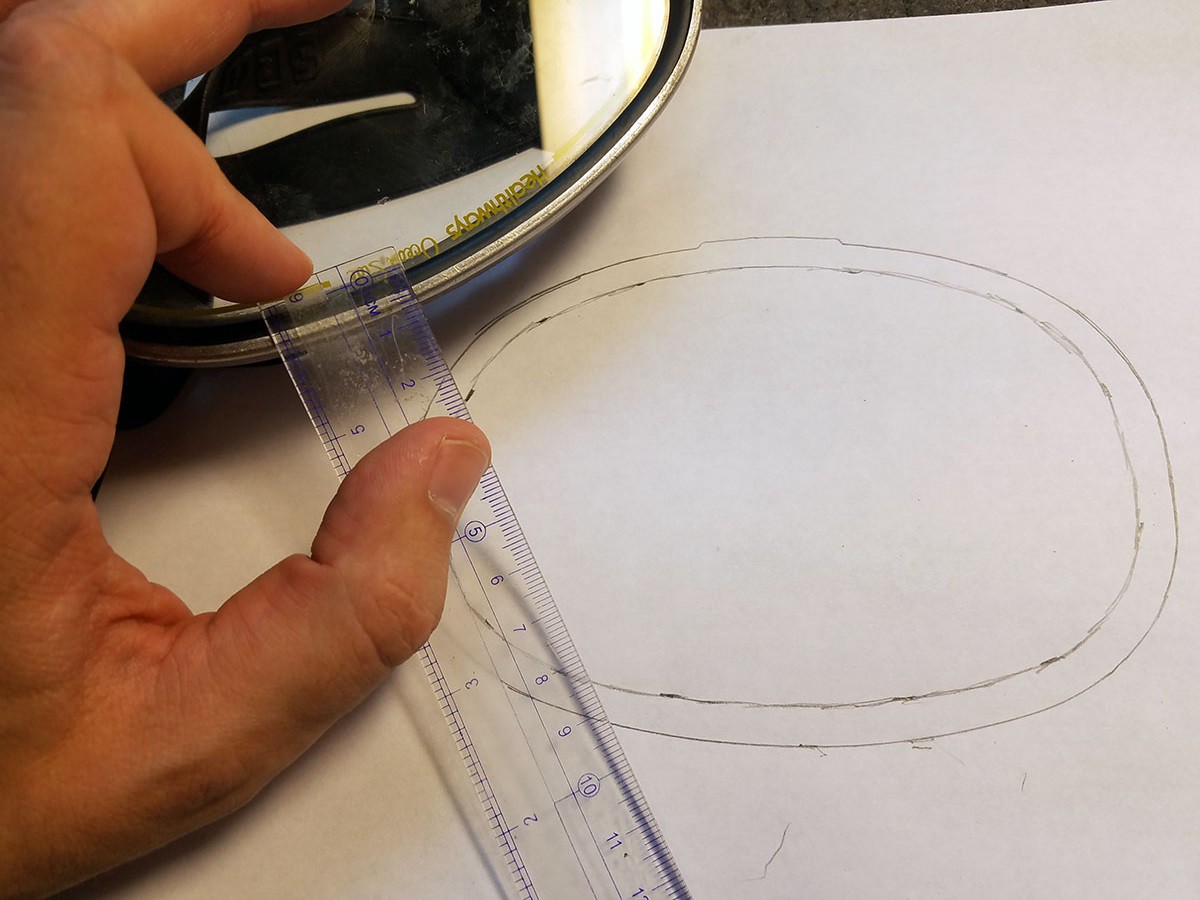
Sketch a smaller oval inside the larger traced oval. This small oval should be the size of the mask glass, about 0.7mm smaller radius than the traced oval.
![]()
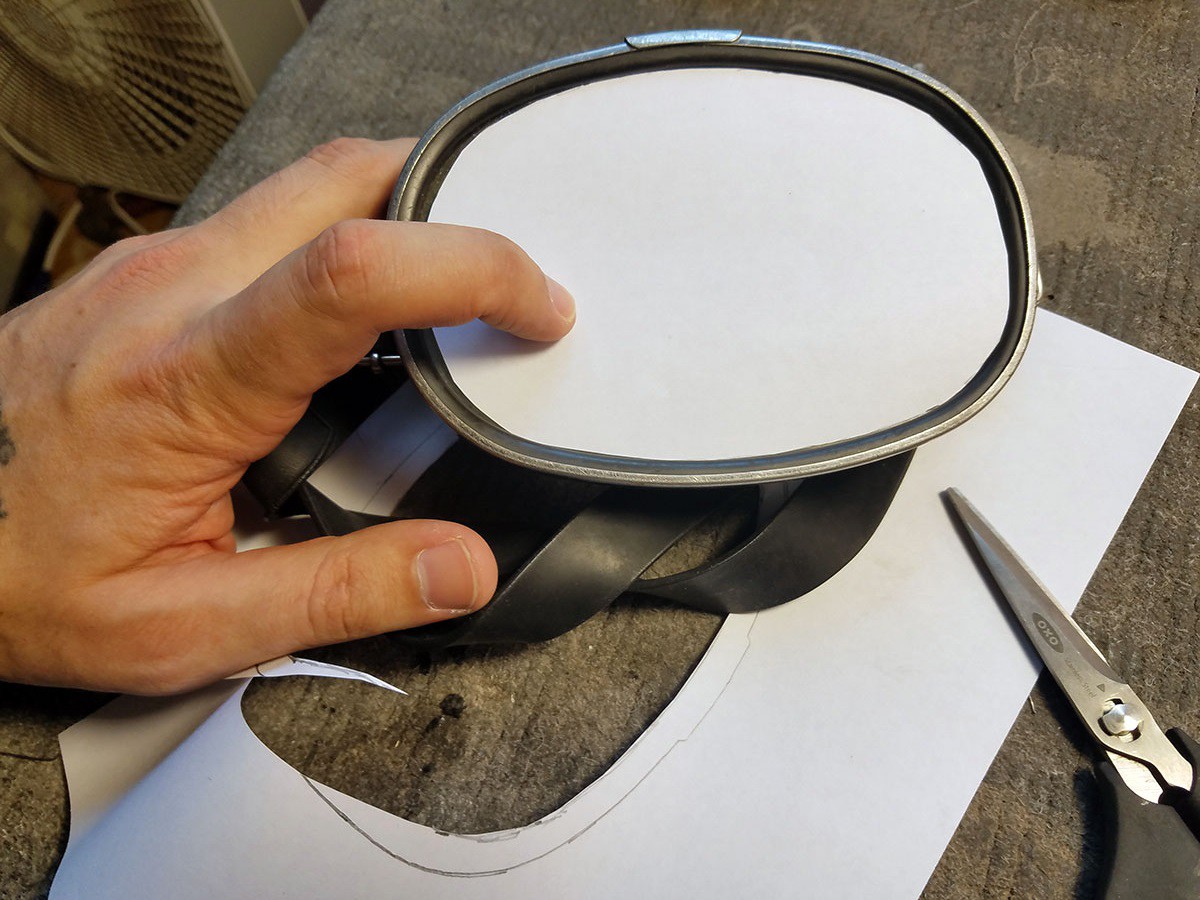
Cut out the your mirror film template (the inner oval you sketched).
![]()
Use the template to cut out the mirror film which will be attached to the glass.
![]()
-
4Attach Arduino, MPU-9250 Accelerometer and Voltage Regulator To Scuba Mask
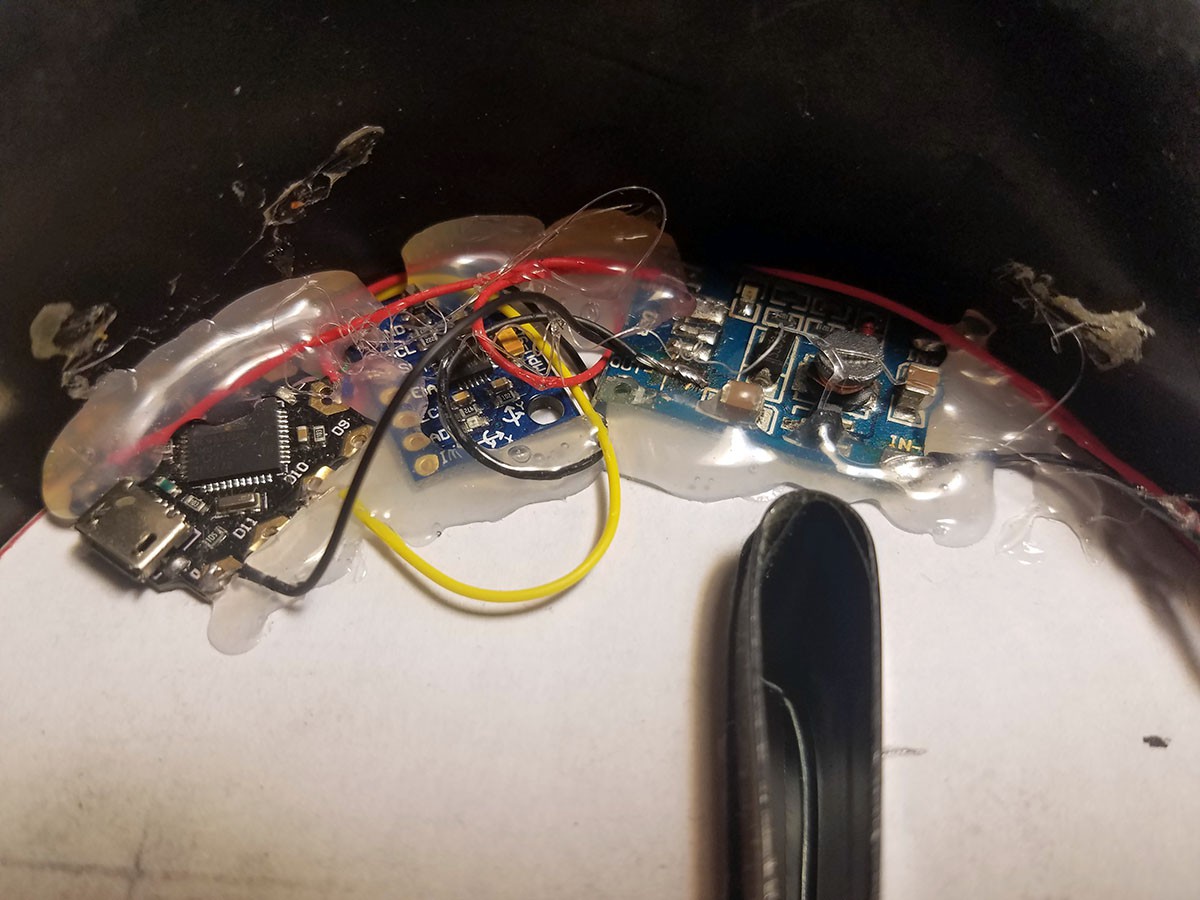
Having wired the Arduino and peripherals to the LED strip and power supply, test the mask to make sure everything is working. Then hot glue Arduino and peripherals to the back of the mask (the back of the plastic mirror cutout).
![]()
Infinity Mirror Scuba Mask
An Arduino controlled infinity mirror mask. You can even see while wearing it!
 Curt White

Discussions
Become a Hackaday.io Member
Create an account to leave a comment. Already have an account? Log In.