 Adam Smallcomb
-
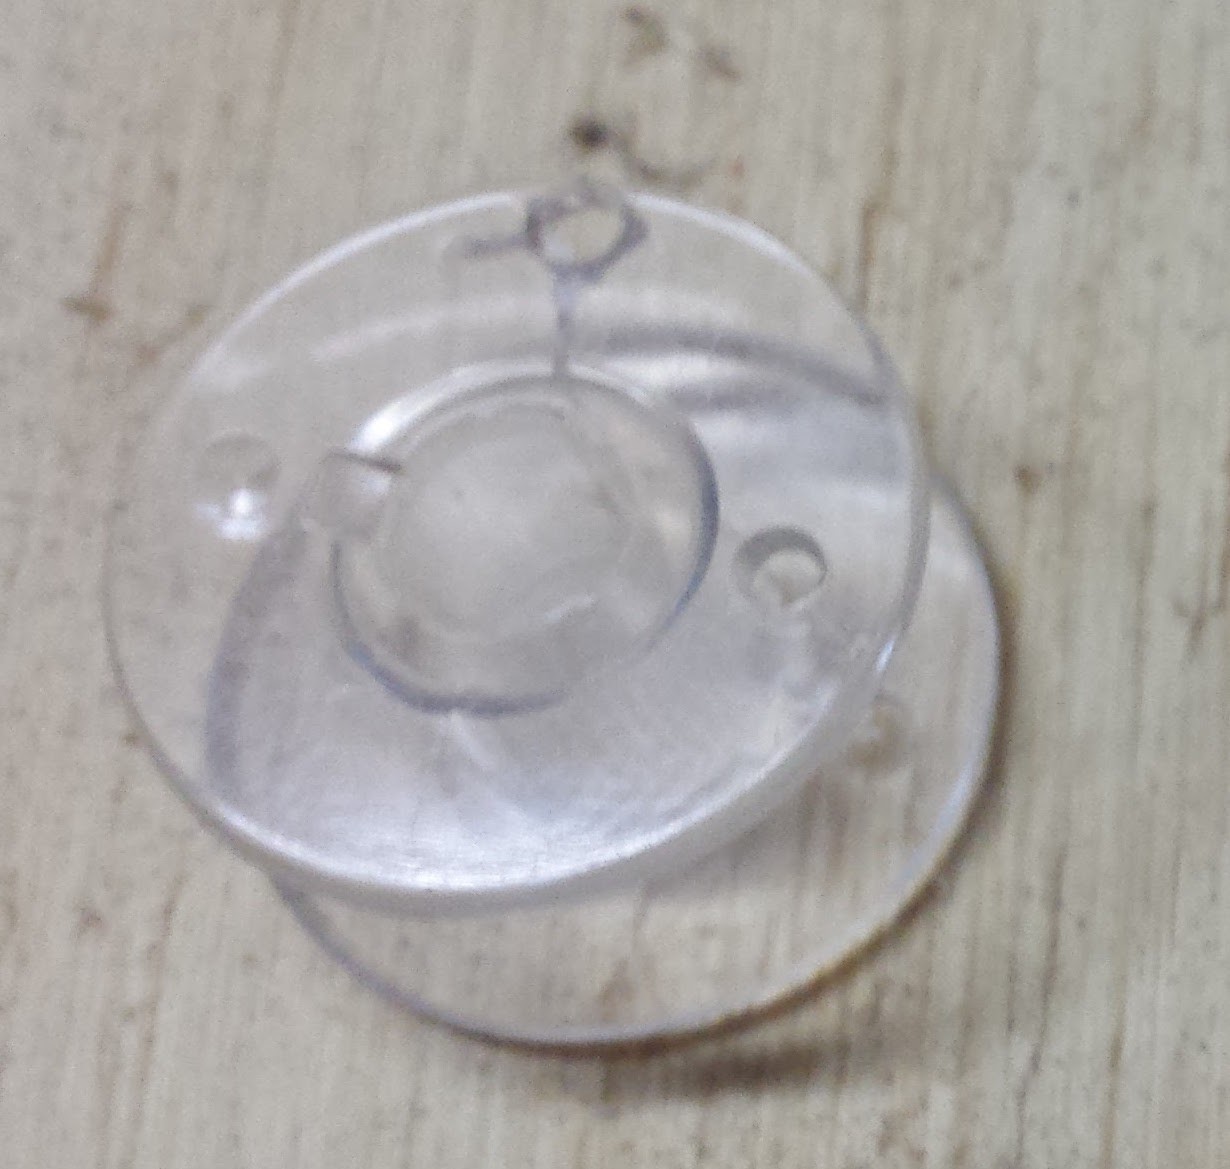
1Step 1
Take a standard plastic sewing bobbin and drill a hole as close to the edge without breaking through the edge with a 3/16th in bit.
![]()
-
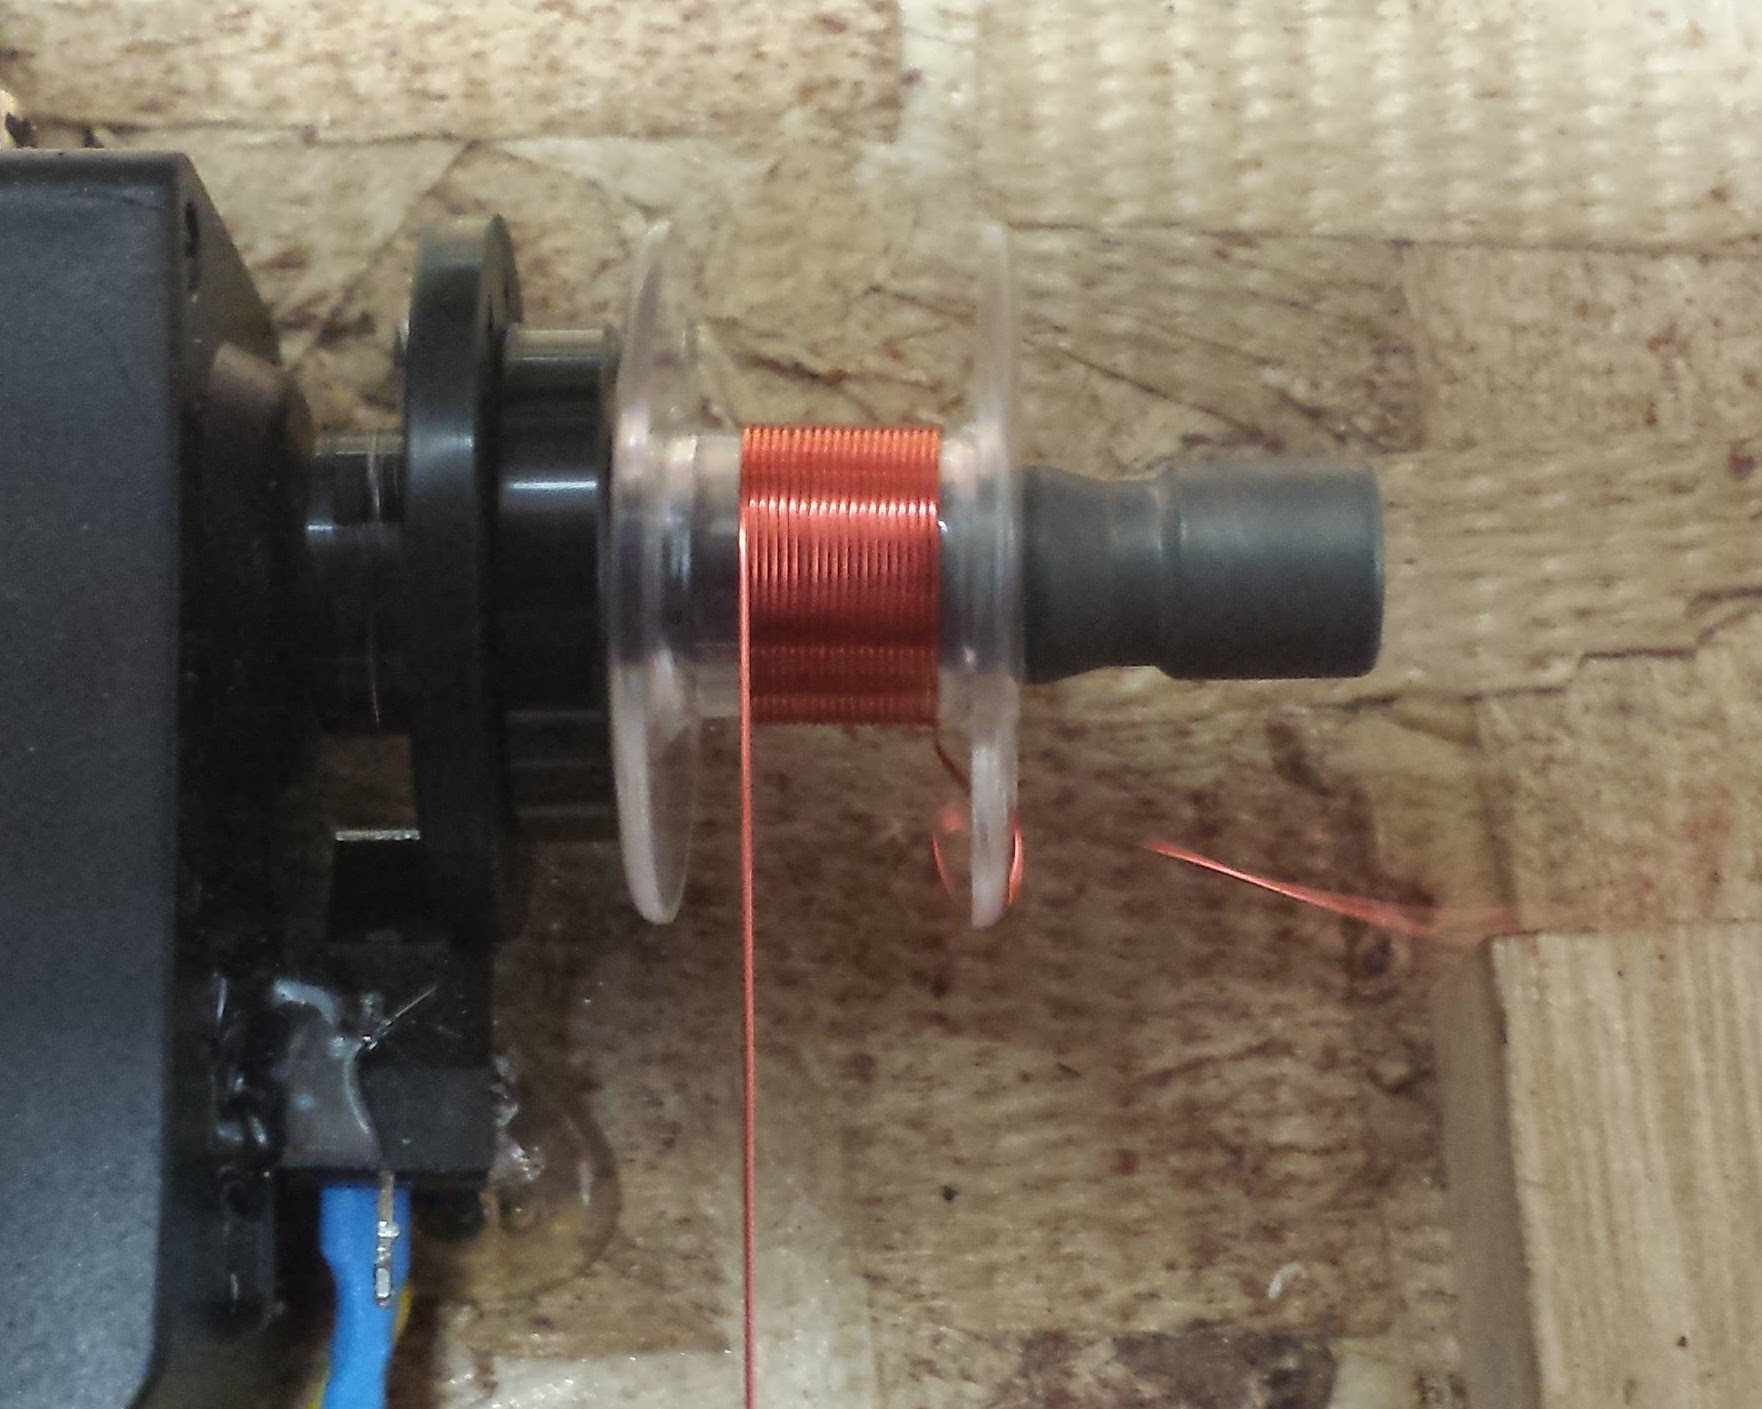
2Step 2
Using 30 AWG wire loop one end through one of the holes that hopefully came in your bobbin, if not use the hole you just made. Wrap 300 turns onto the coil and then loop the other end through the other hole. This will result in a coil with roughly 4 ohms of resistance so I would recommend checking if your are in the right ballpark when you are done.
![]()
-
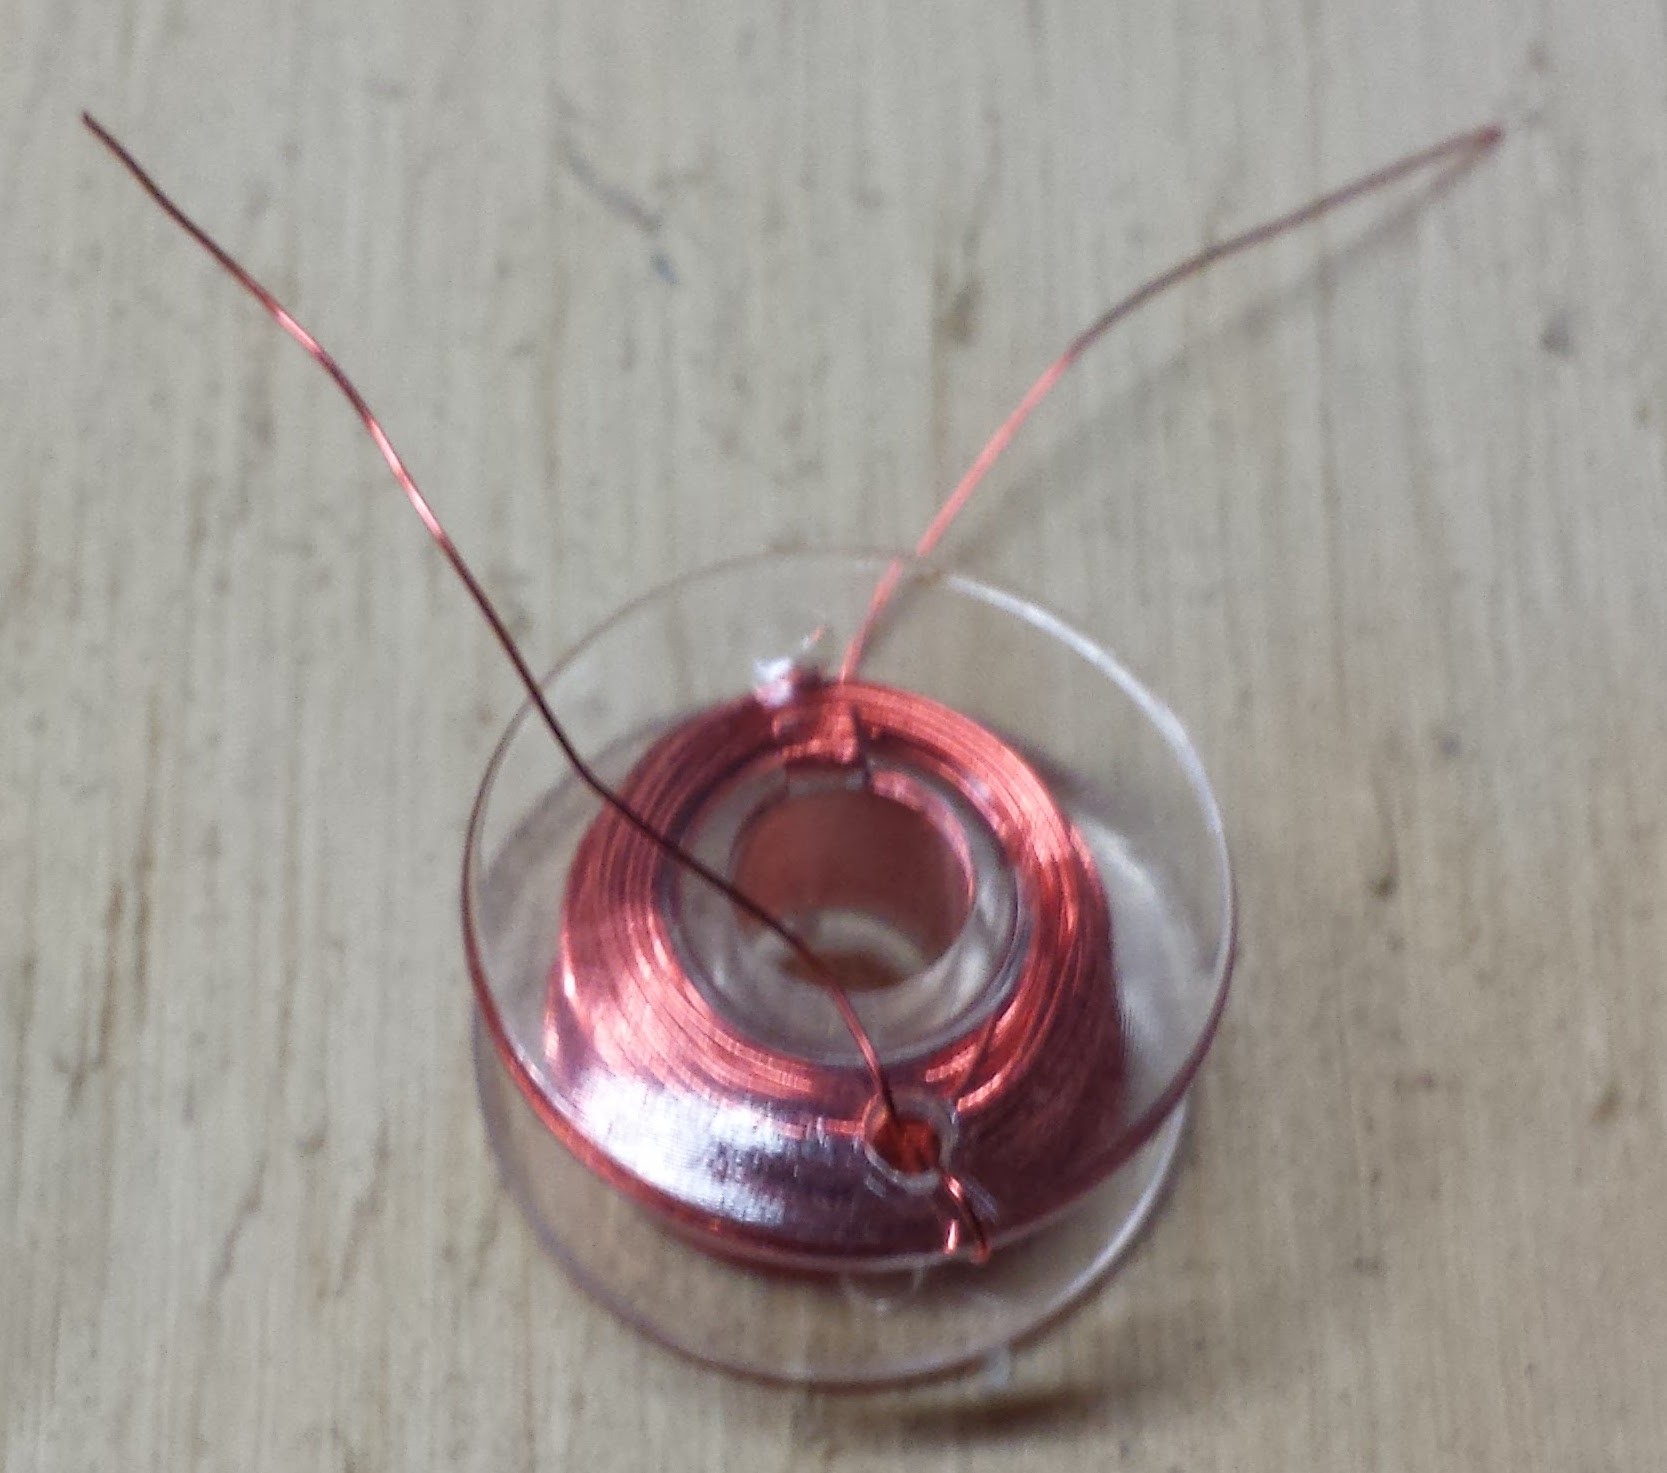
3Step 3
At this point you should have a coil that looks like this
![]()
Take about 3" of electrical tape and cut it directly down the middle wrap one of them around the coil. Then un-loop the wires from the holes so that they are on the inside of the bobbin above the electrical tape. Clean off the varnish from the tips of the wire and using a flame or scraping it off. Your coil should now look like this
![]()
-
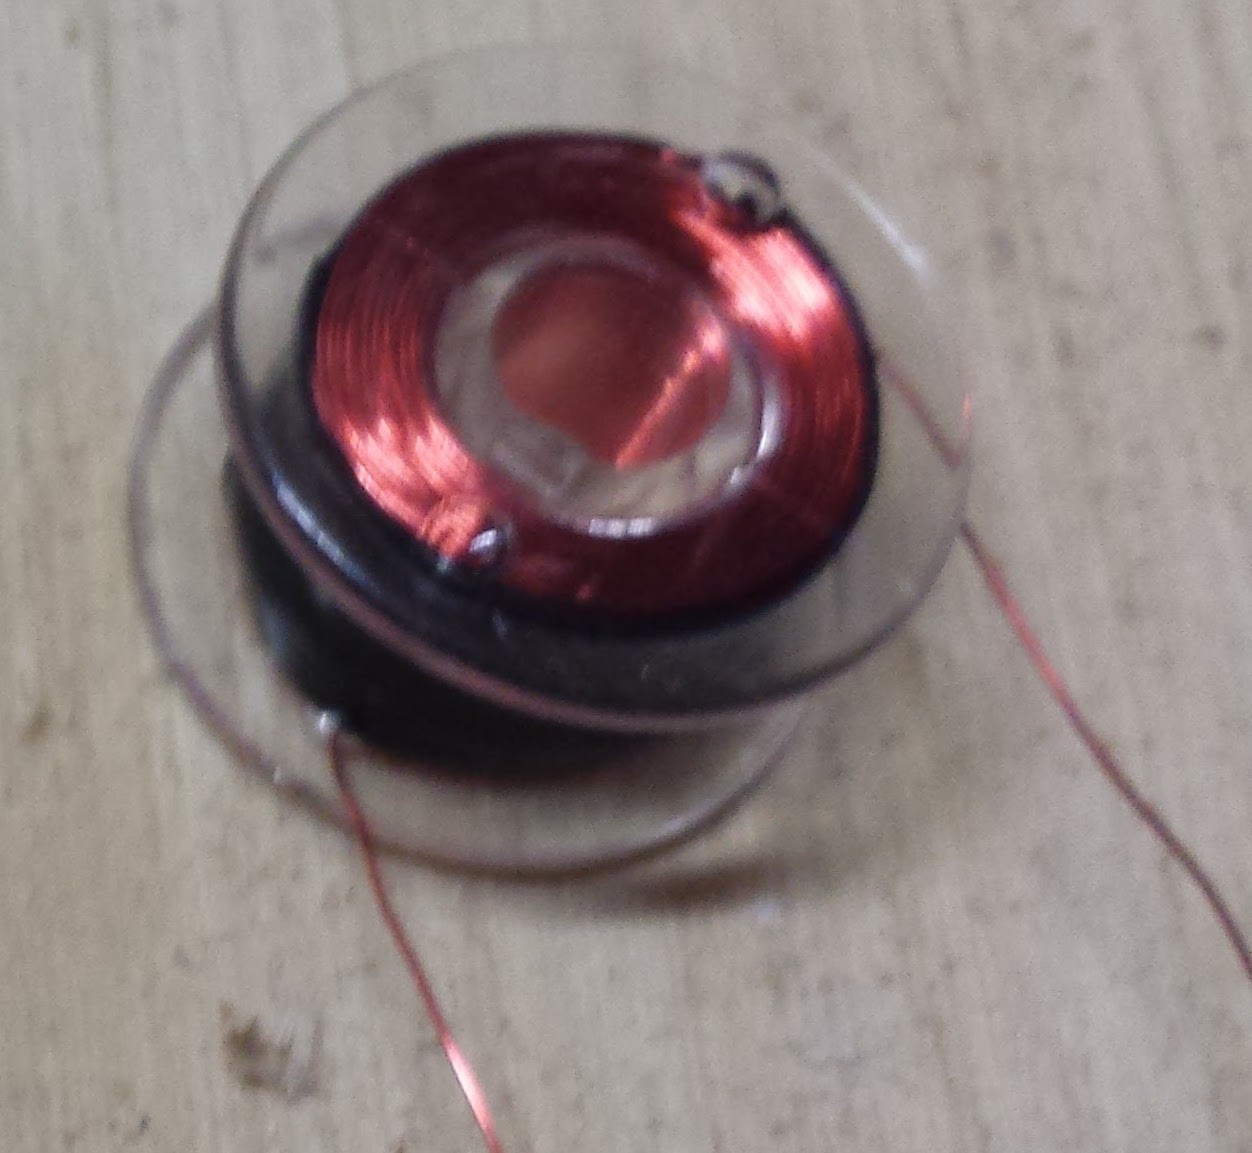
4Step 4
Now is a good time to use a 1/4" tap to add threads to the inside of the coil so a screw can be inserted when needed
![]()
-
5Step 5
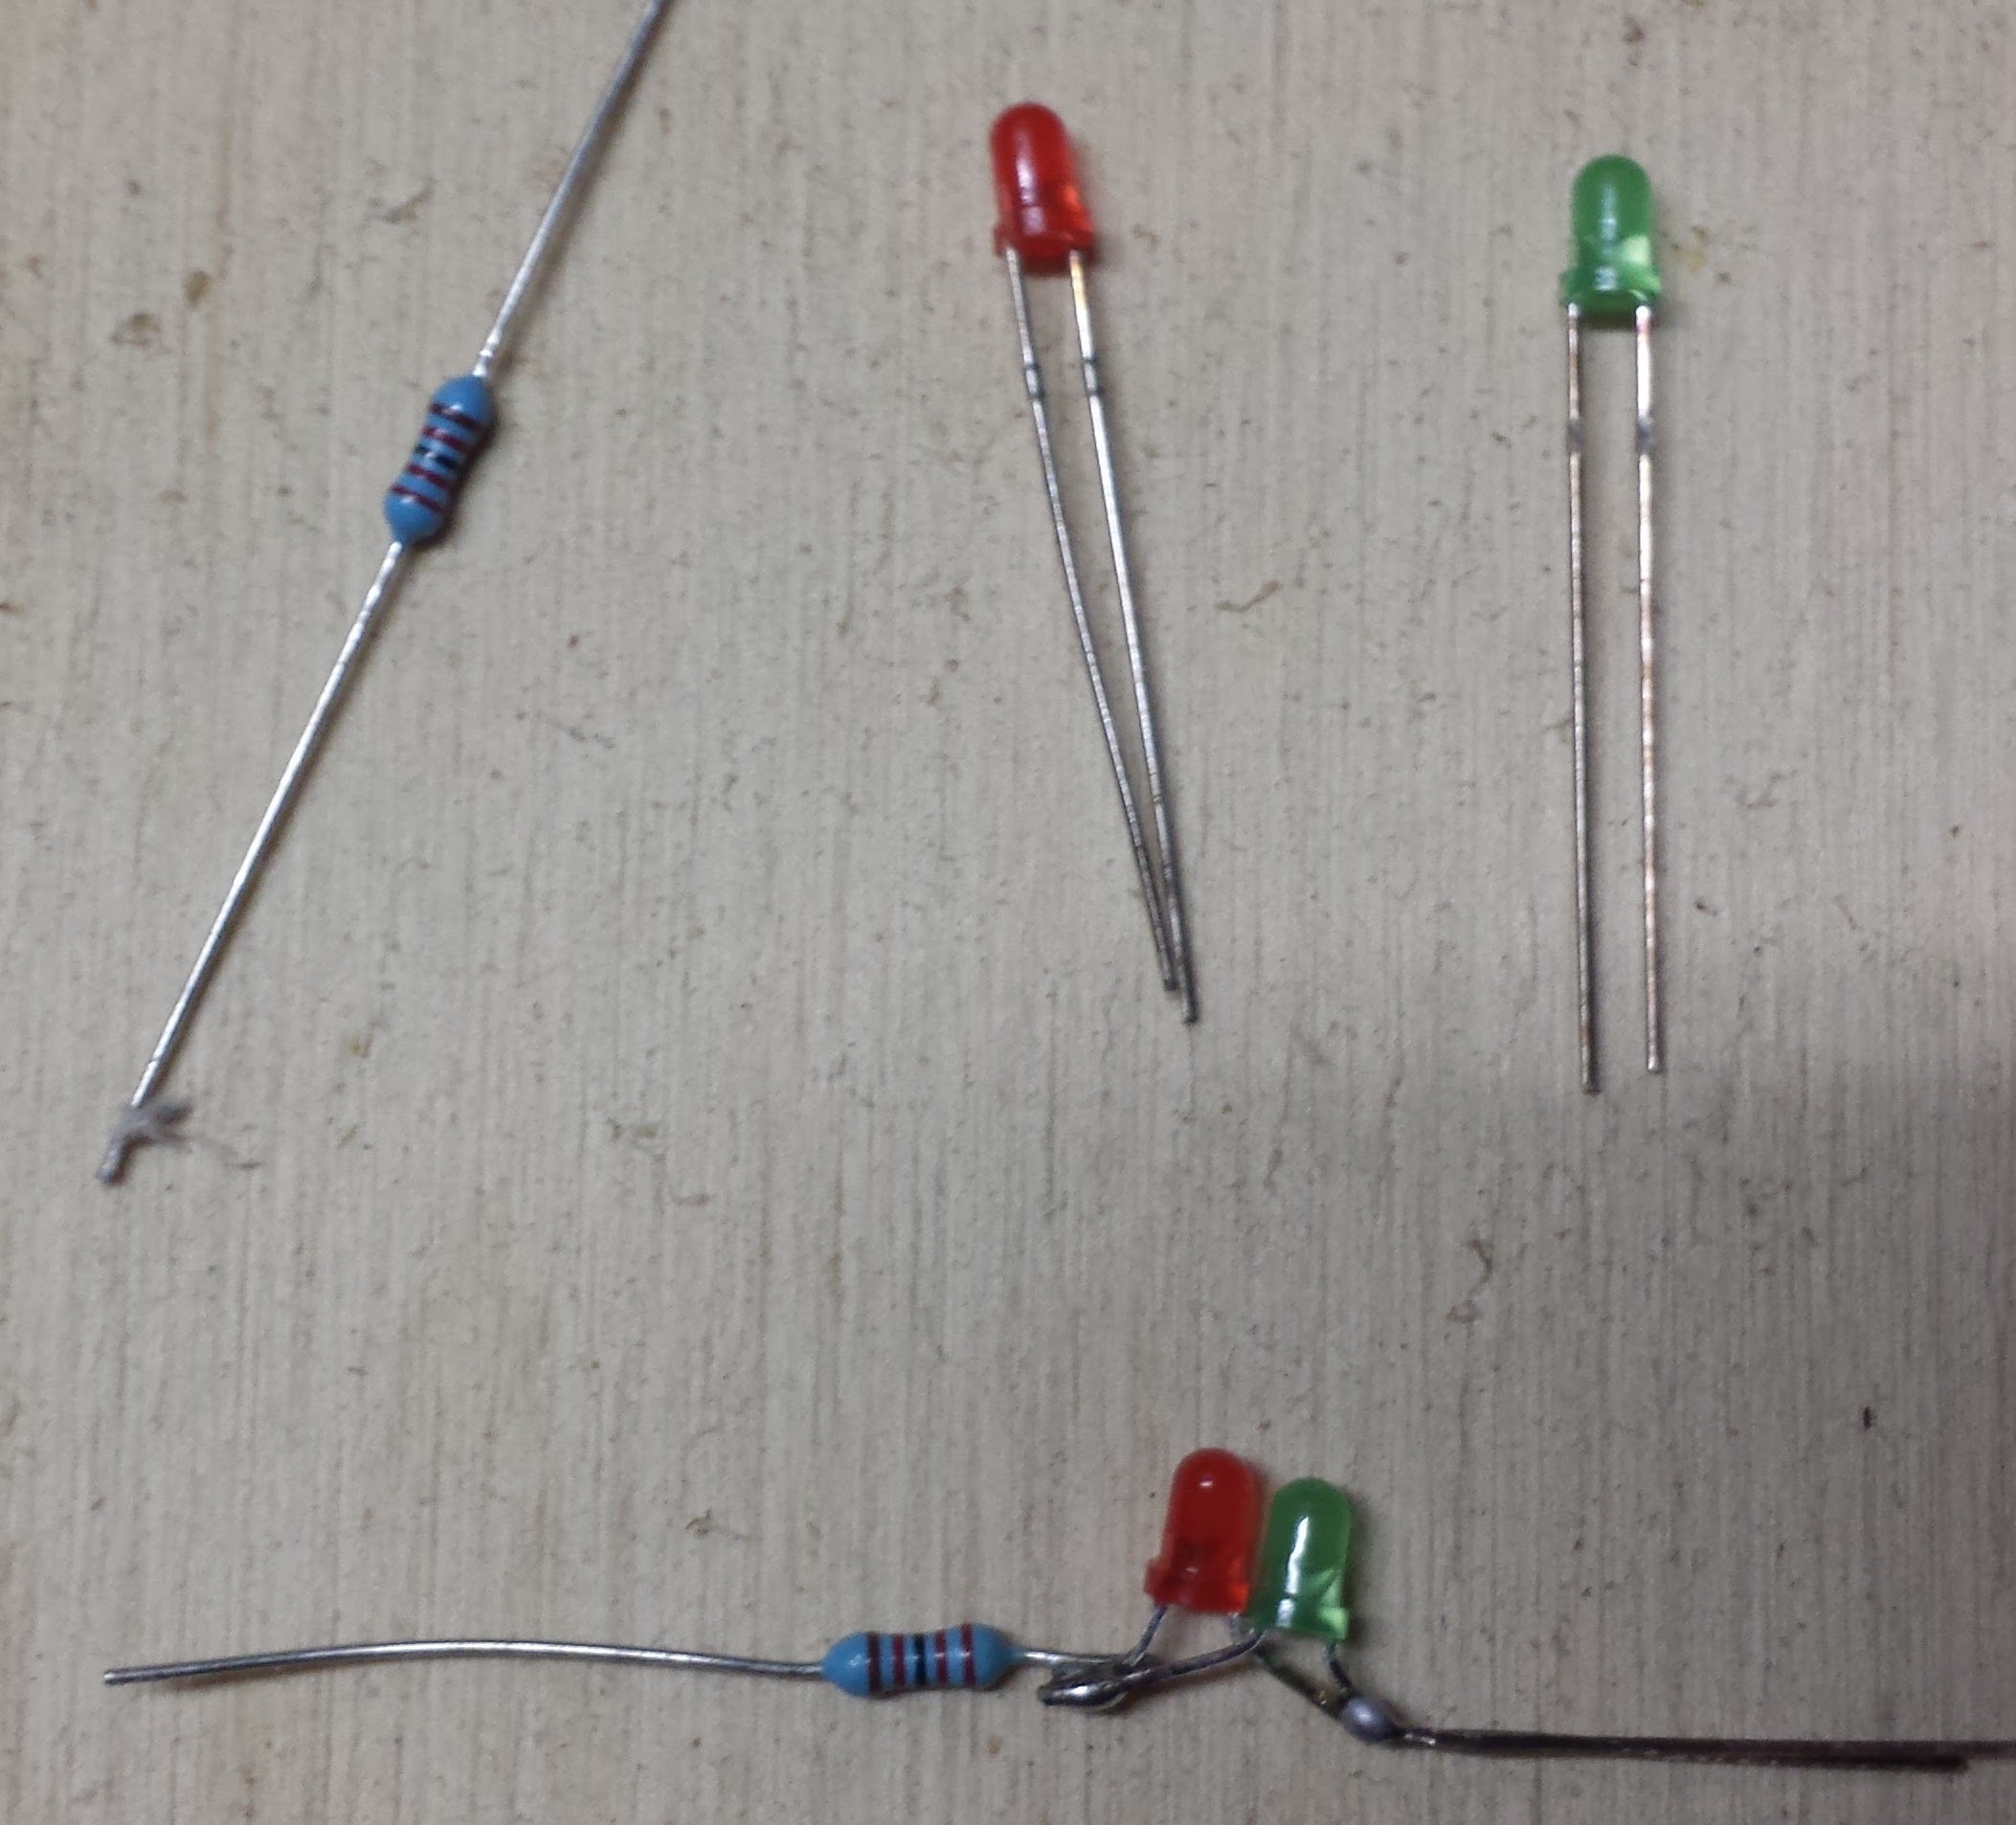
Next prepare the LEDs by connecting the anode of both LEDs to the cathode of the other. Then add the appropriate resistor in series, this works best if both LEDs have similar forward voltages, you may need to use a separate resistor for each LED if they do not.
![]()
-
6Step 6
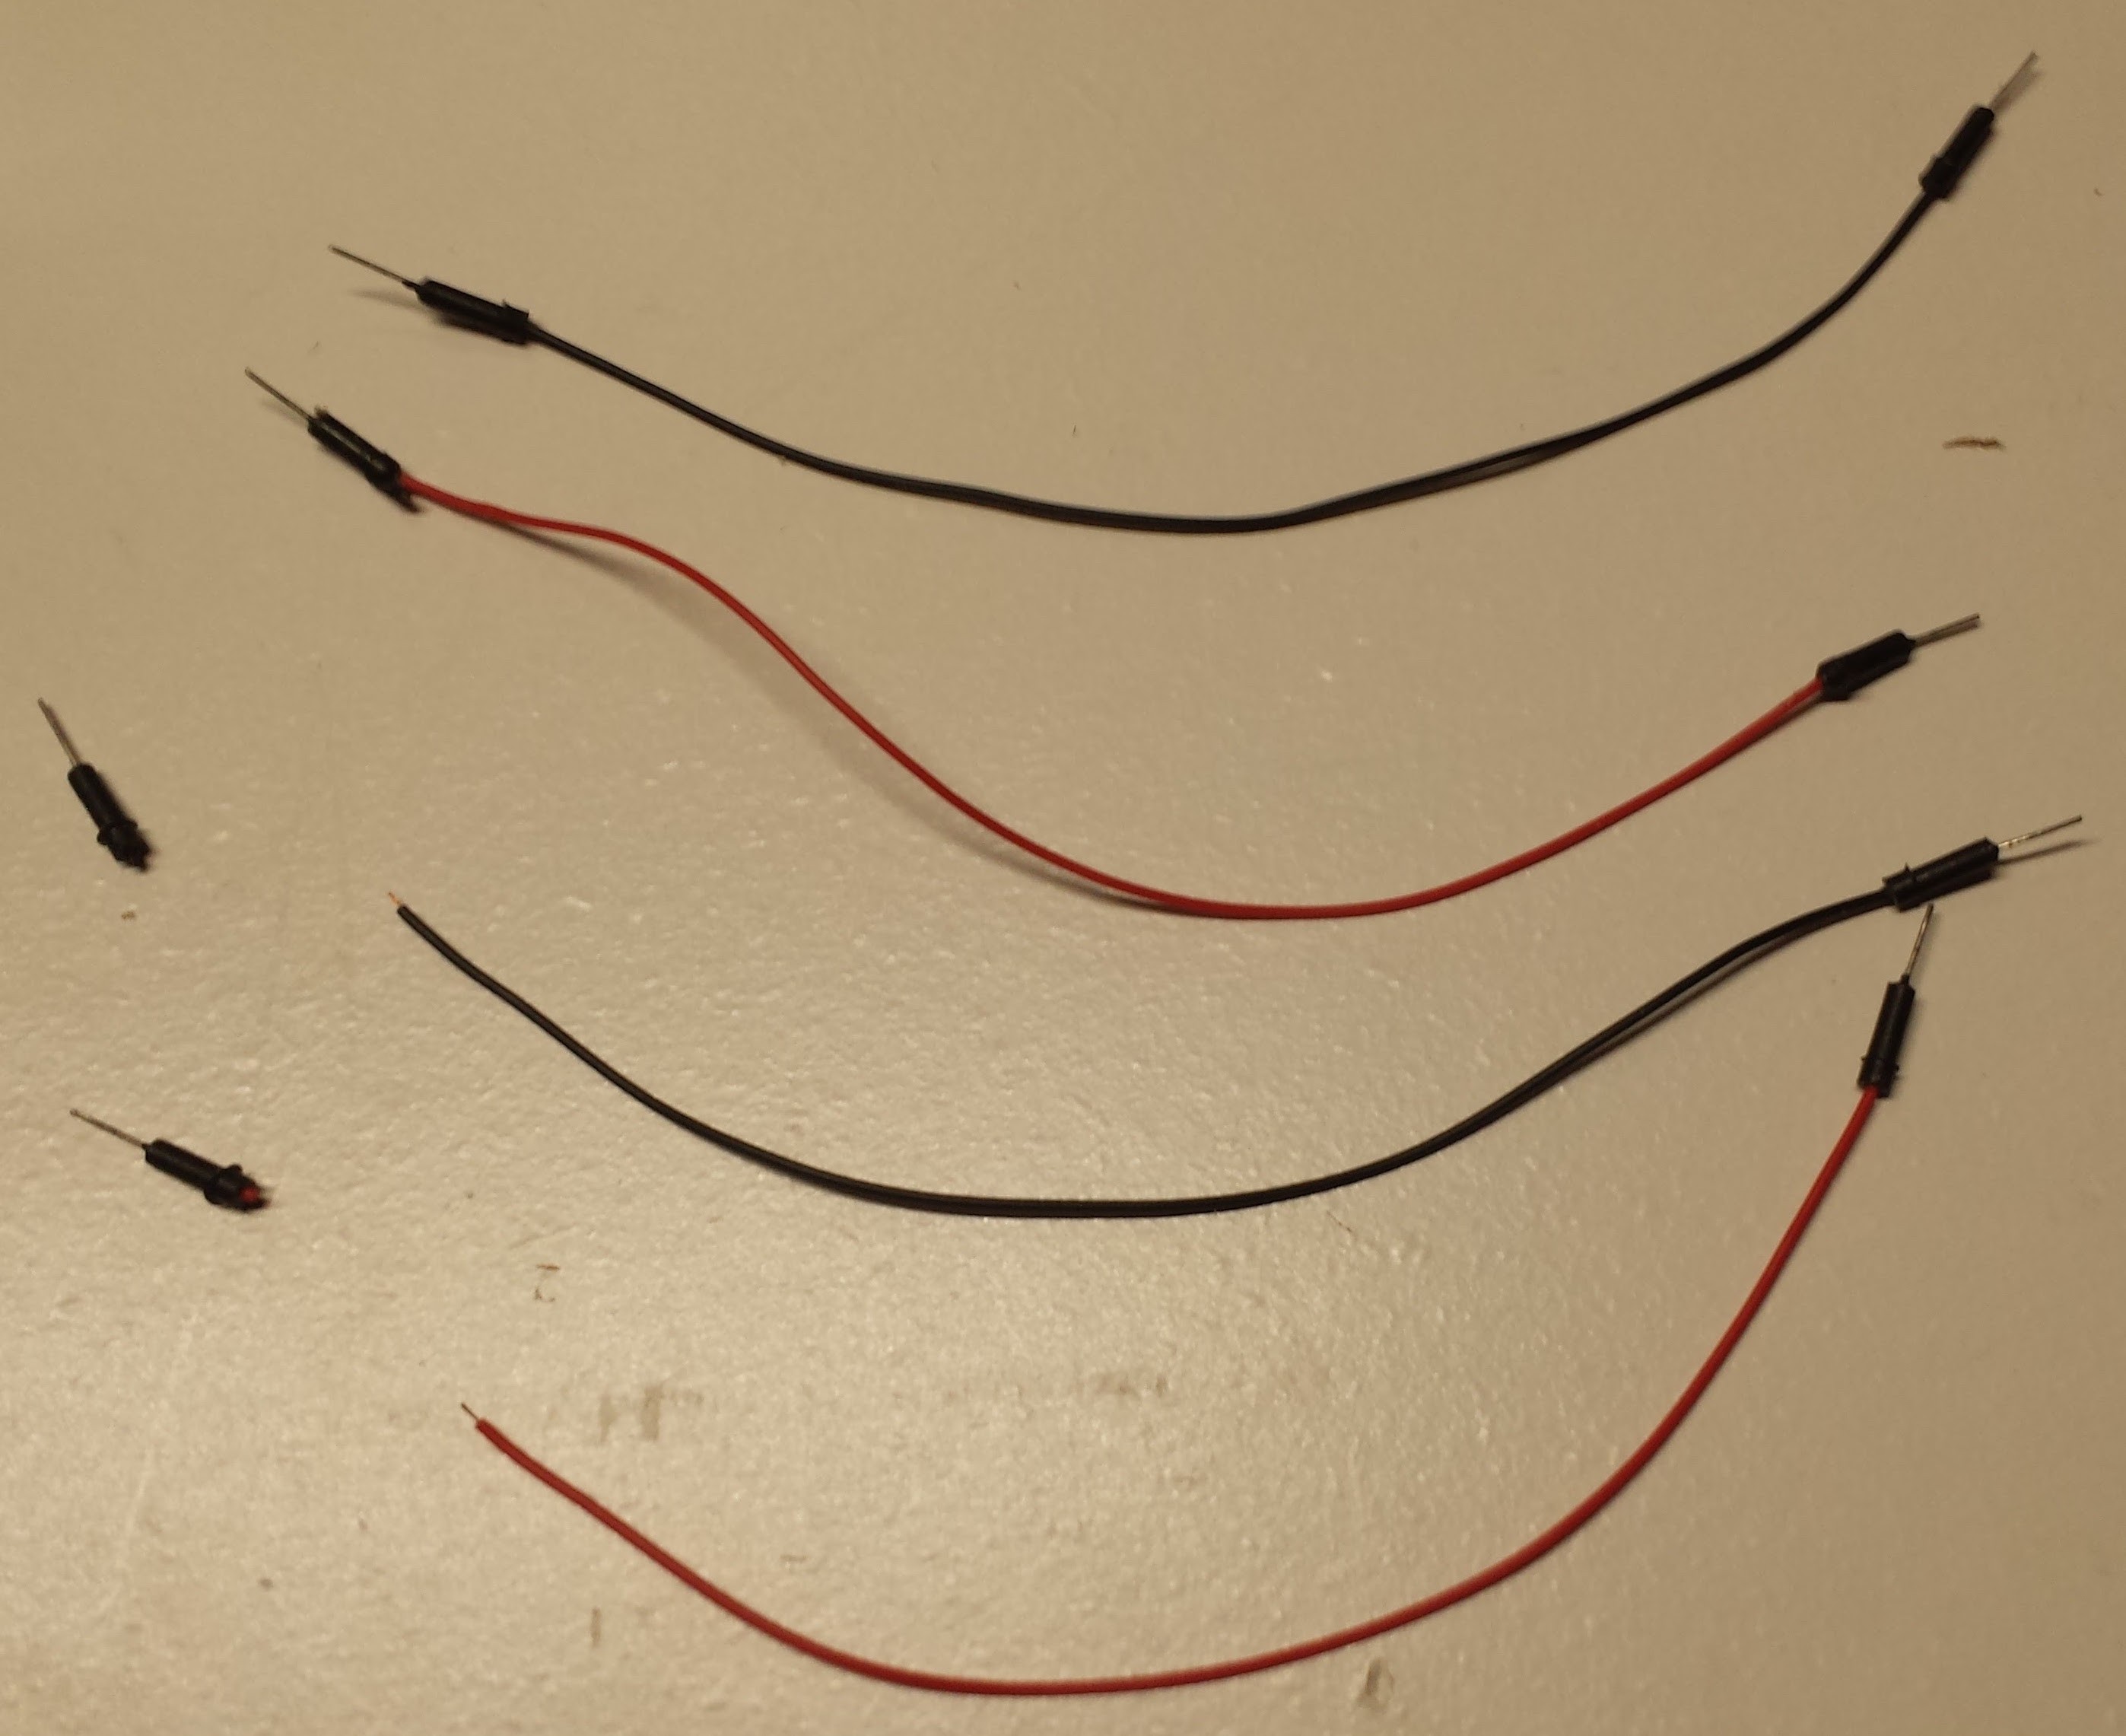
Next prepare your wires. We are going to use pre-made breadboard jumpers for this, I have also had good luck using silicone wire. Cut the ends off of one side of your wires and strip about an 1/8th inch or less and then tin the ends.
![]()
-
7Step 7
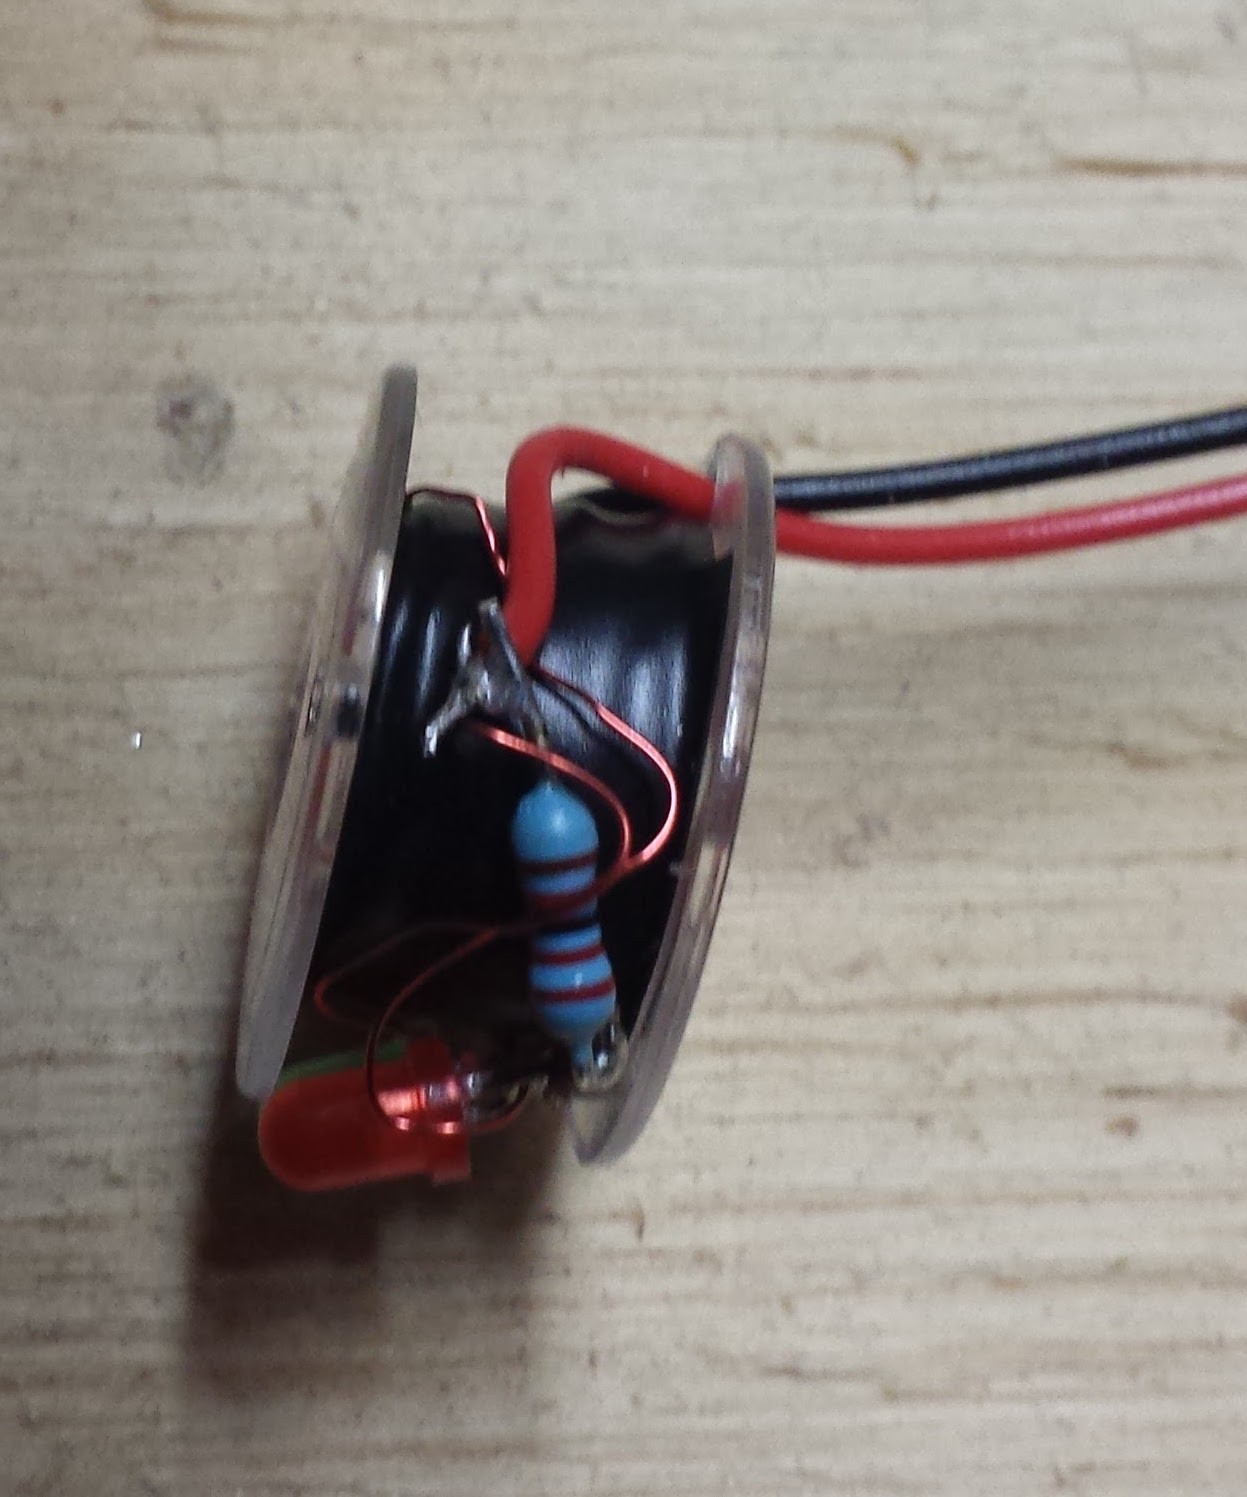
Here is where it all comes together. Feed the wires you just created through the hole we drilled in the bobbin, solder one end of the coil to one of these wires and one end of the LED circuit we made. Then solder the other coil wire to the other jumper wire and the other side of the LED circuit. If all goes well we will now have a coil that lights up red when the side with the LEDS is acting as north and green when acting as south, if not we will need to switch the orientation of the LED circuit. Additionally when black is attached to ground and red to power we should have a north pole magnet at that side as well.
![]()
I will try to provide some helpful hints in the future to help you get this part right on the first try.
-
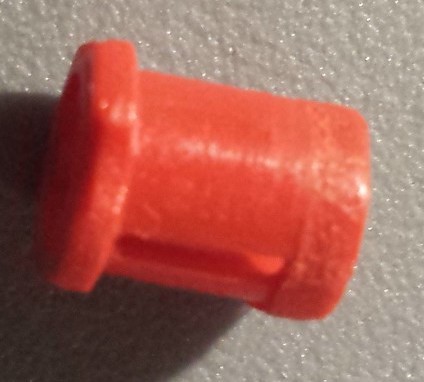
8Step 8
Next take a Lego technic bush and file or sand down one side until it fits inside of the coil. For this coil we will use a red one since its default behavior is north. Place this into the same end that the wires are coming out of.
![]()
-
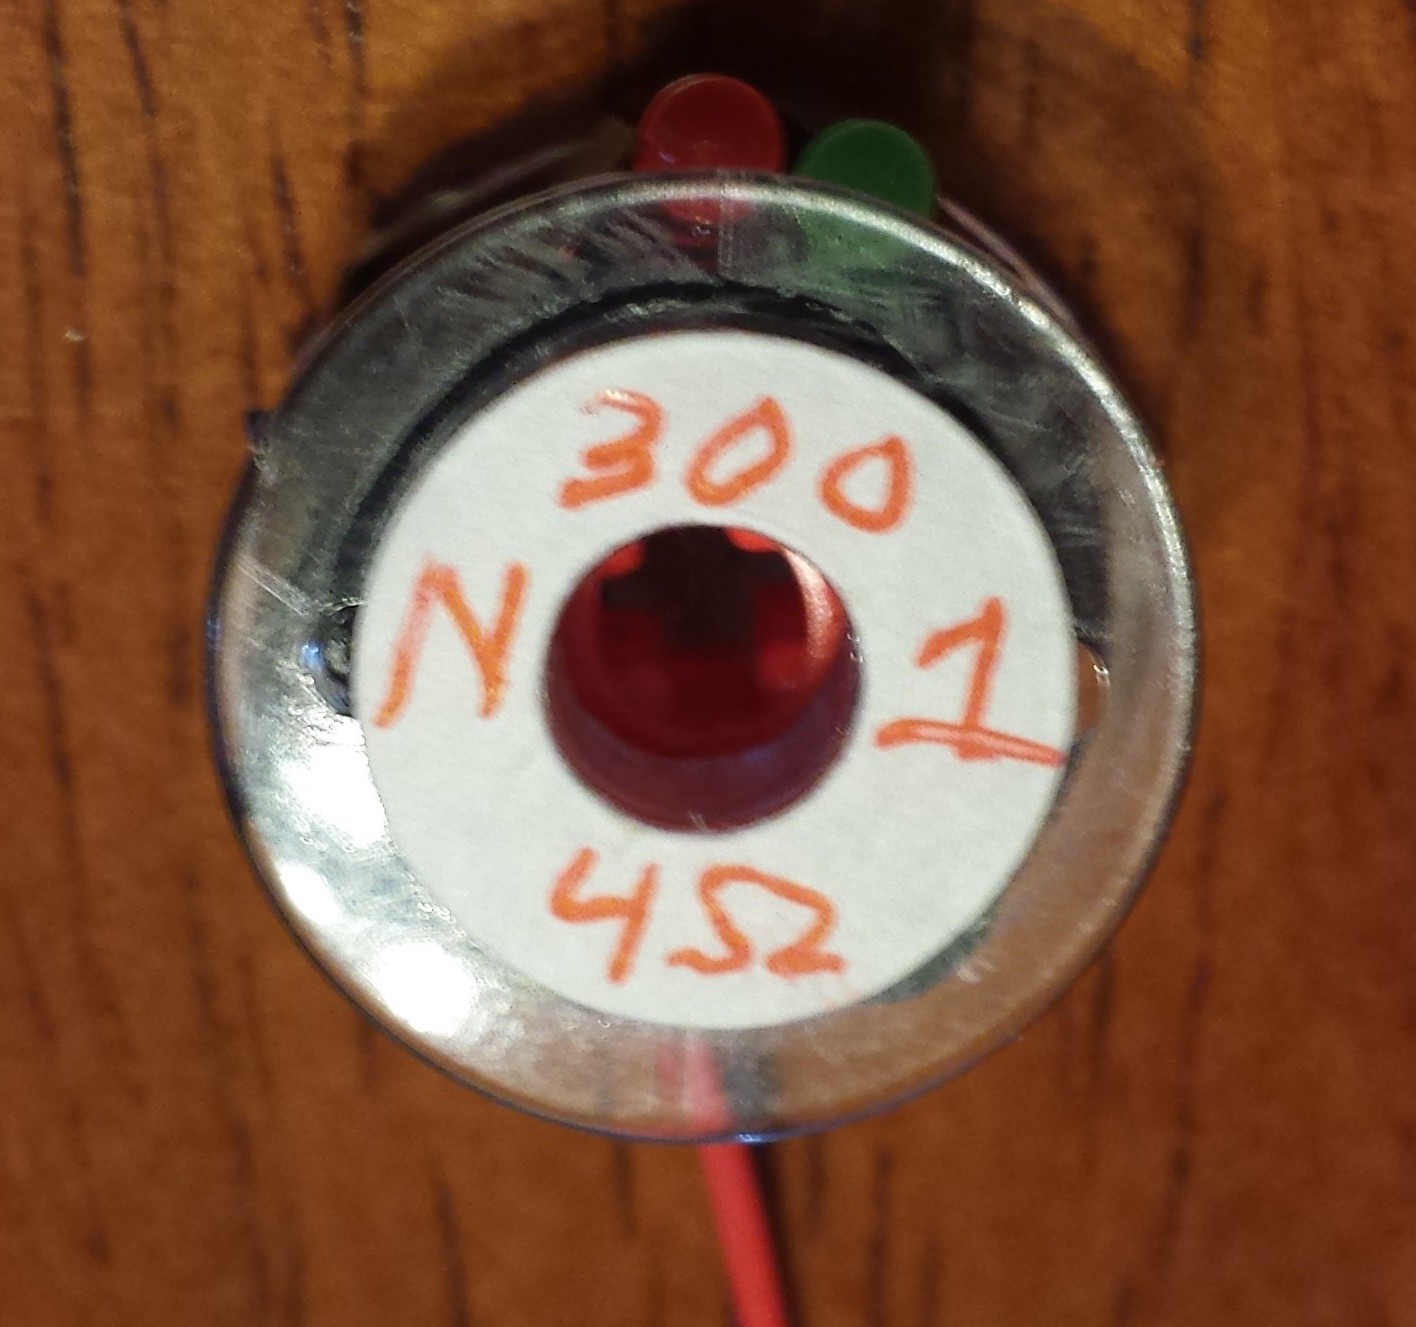
9Step 9
At this point take the other half of your electrical tape and wrap it around to keep everything covered and in place. I also like to cut a little away around the LEDs so they can be seen well from above. I have been using paper hole reinforcement stickers to add a label that I can right on.
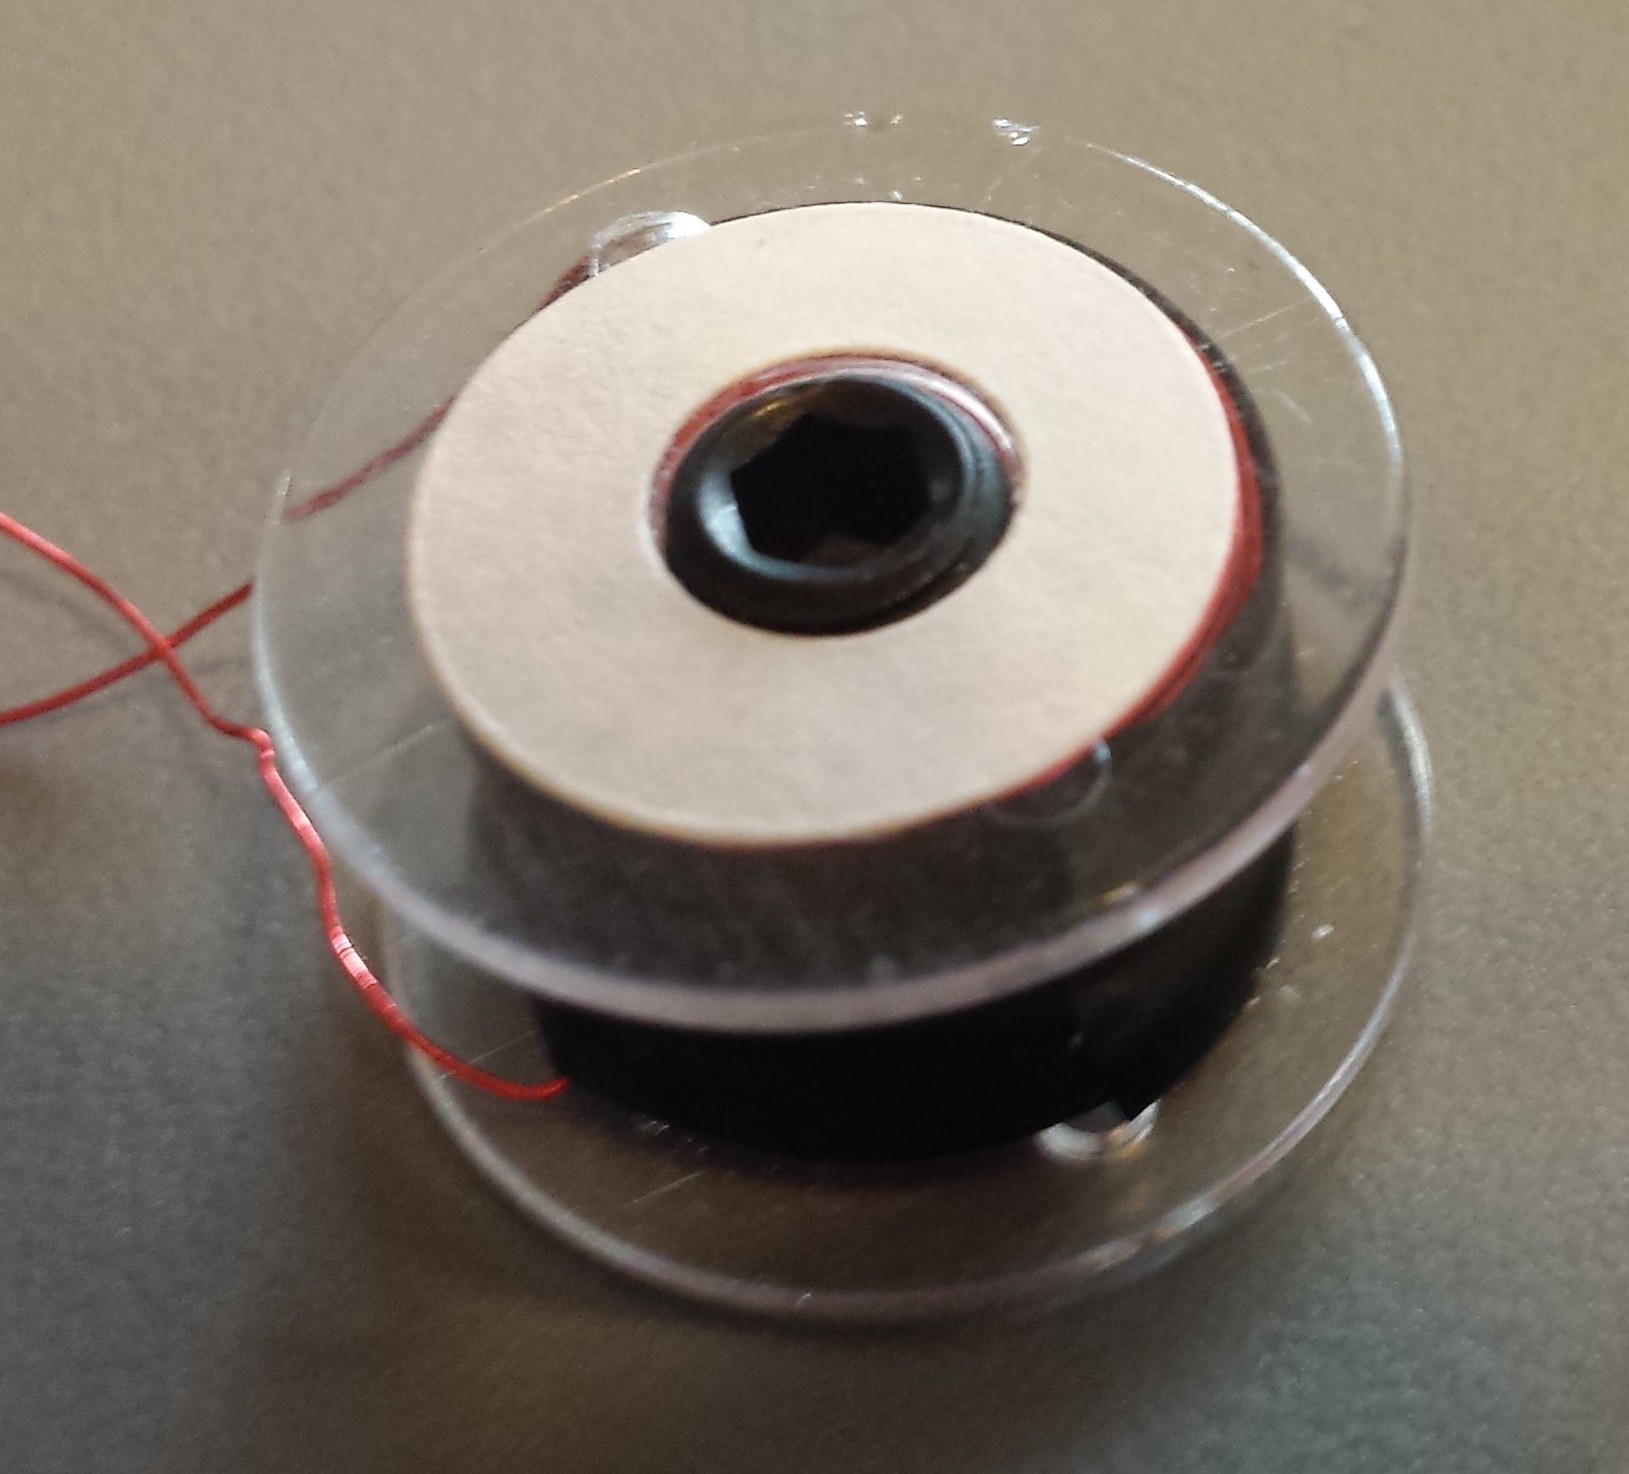
![]()
Here is coil 1, a normally north coil with 300 turns measuring in at 4 ohms.
-
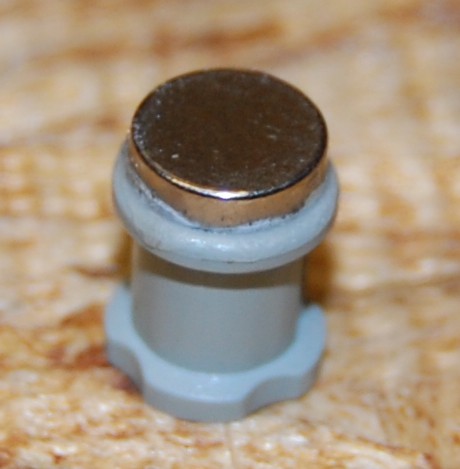
10Step 10
To make the magnets simply glue a 1/4" by 1/16" N42 neodymium magnet to the circle end of a Lego technic bush.
![]()
Electromagnetic Teaching Aid
A set of designs to facilitate teaching and intuitive understanding of the relationship between electricity and magnetism
Discussions
Become a Hackaday.io Member
Create an account to leave a comment. Already have an account? Log In.