TheotherMike
-
Portable test device
09/18/2016 at 11:14 • 0 commentsIn order to test some more things out, a small, LiPo operated sensing box was finished today. The last days it was lacking the LiPo which was delivered yesterday.
Nothing special and not very well built, but it´s intended to:
- Carry it around and check environmental parameters.
- Compare values with actual cloud base height.
- Testing wireless charging.
- Try out some programming issues with push buttons, display, menu,....
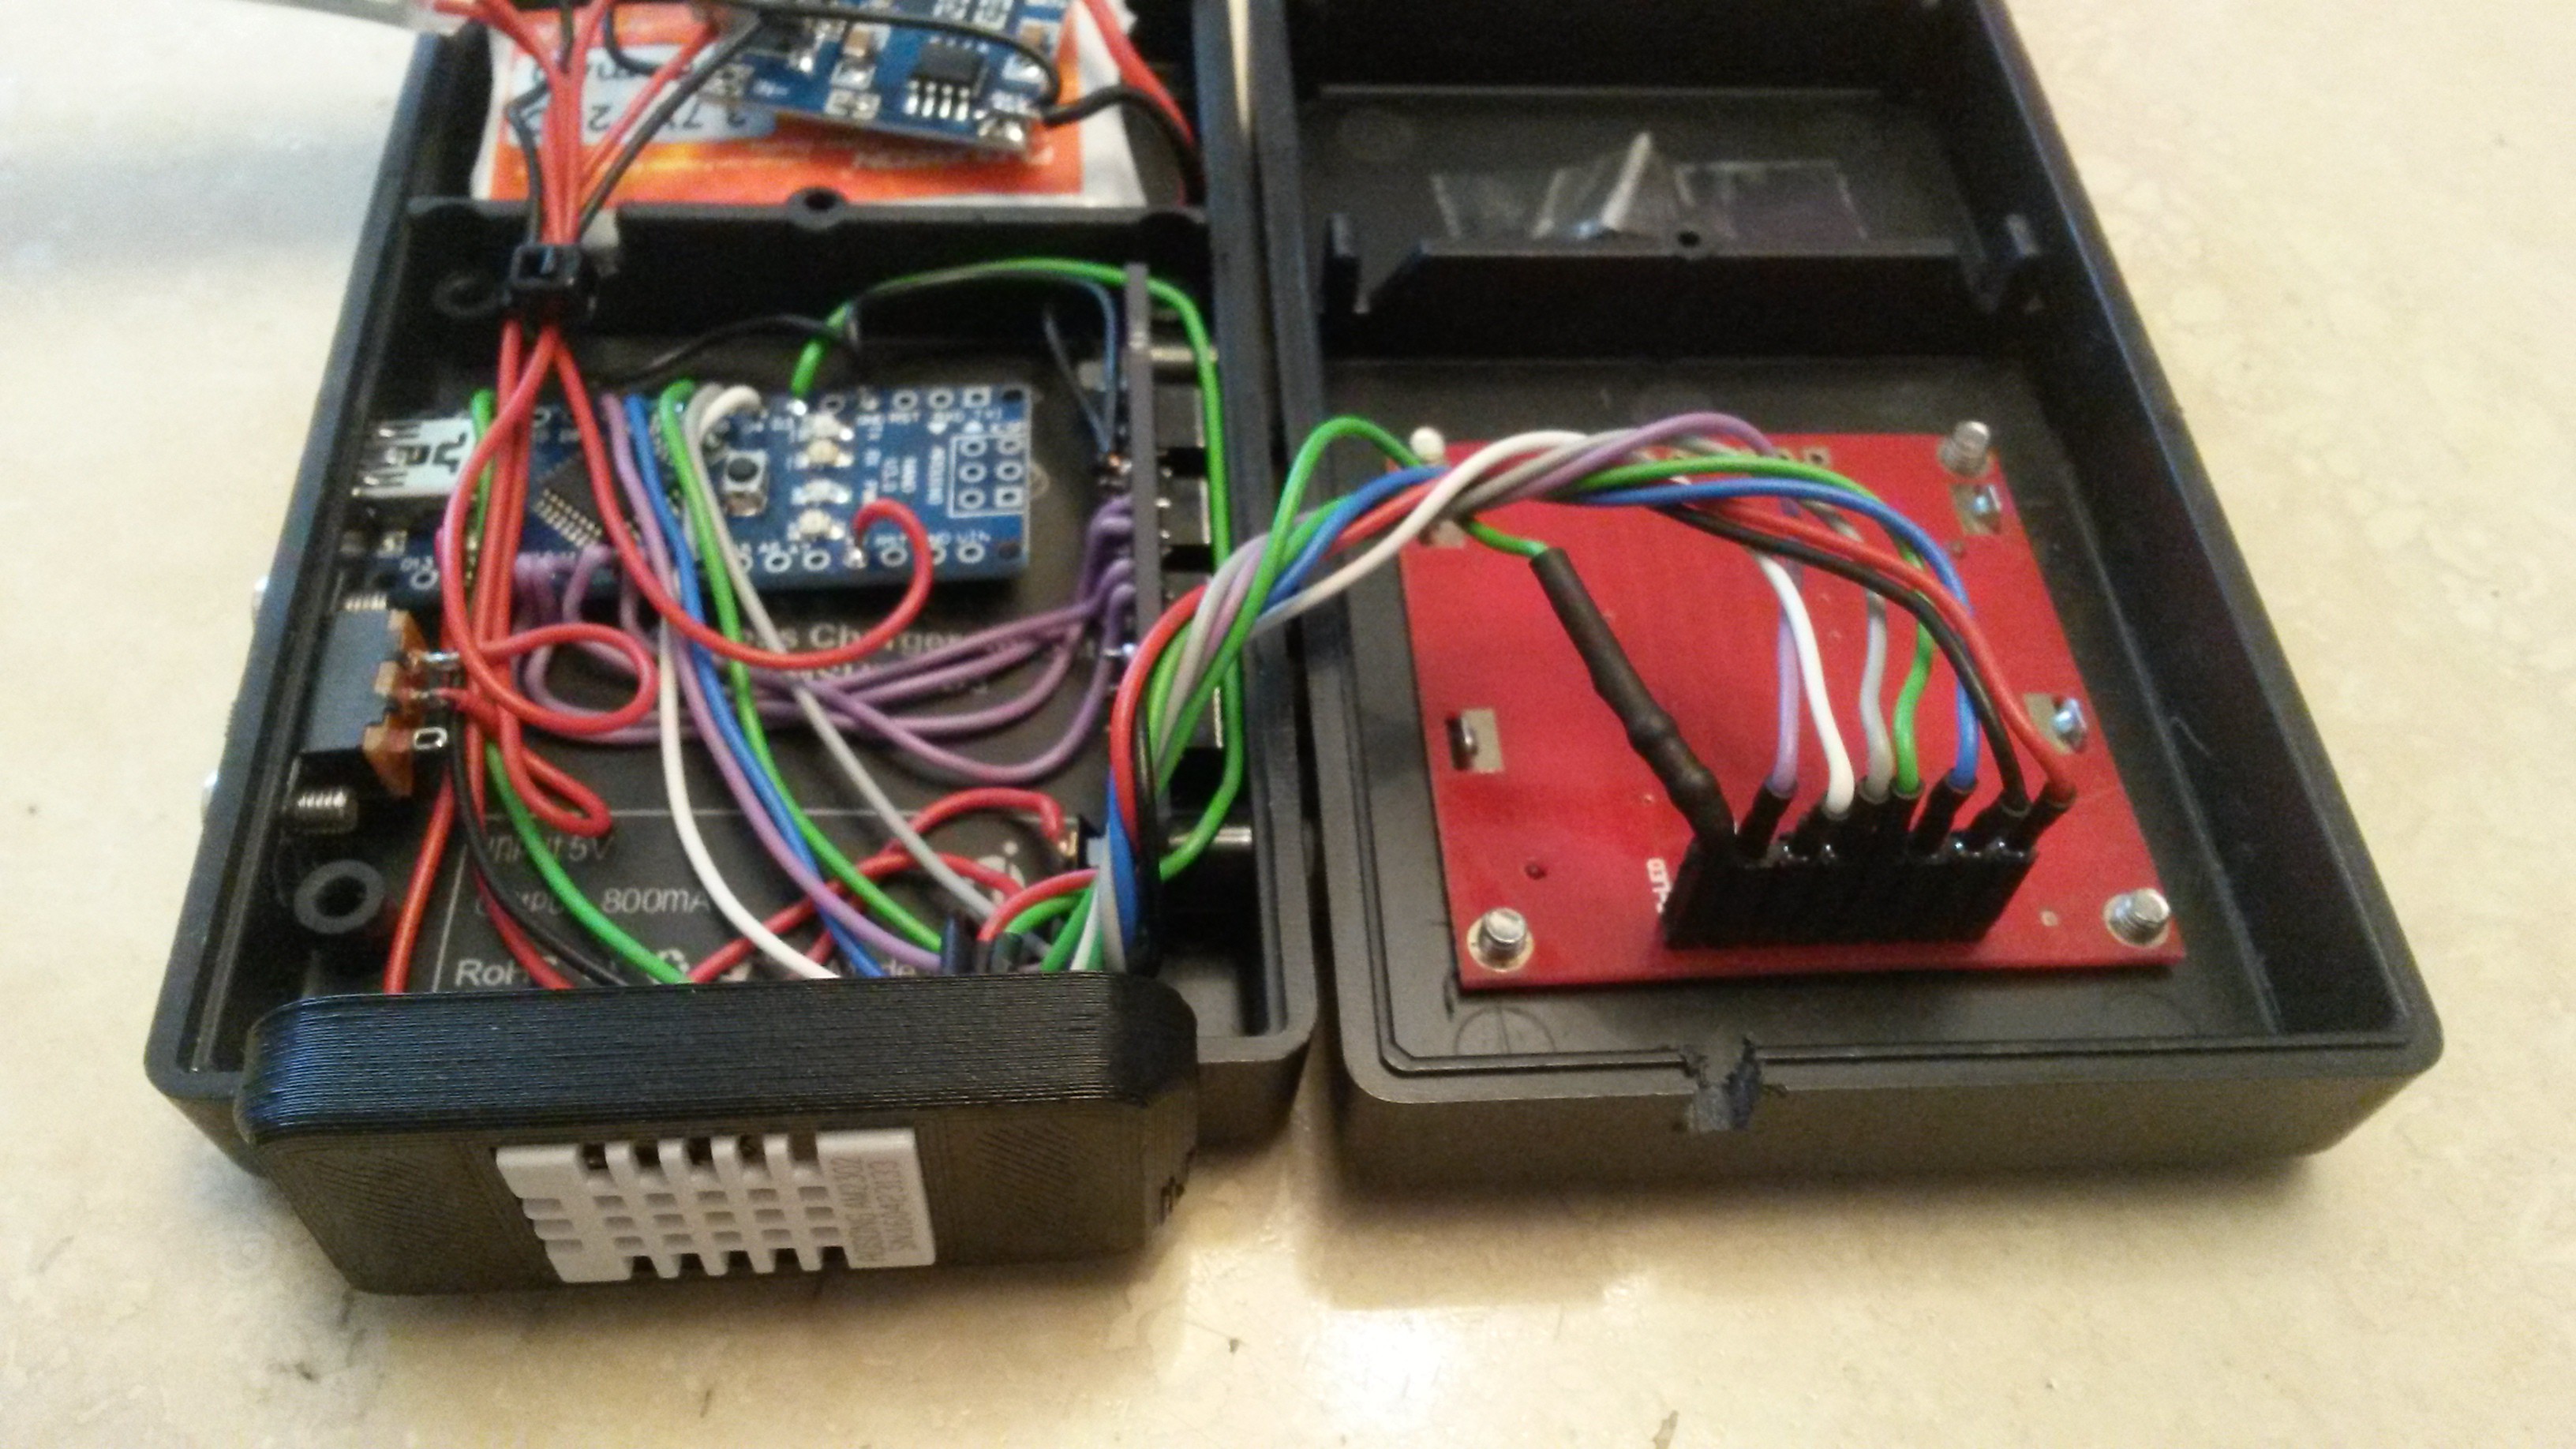
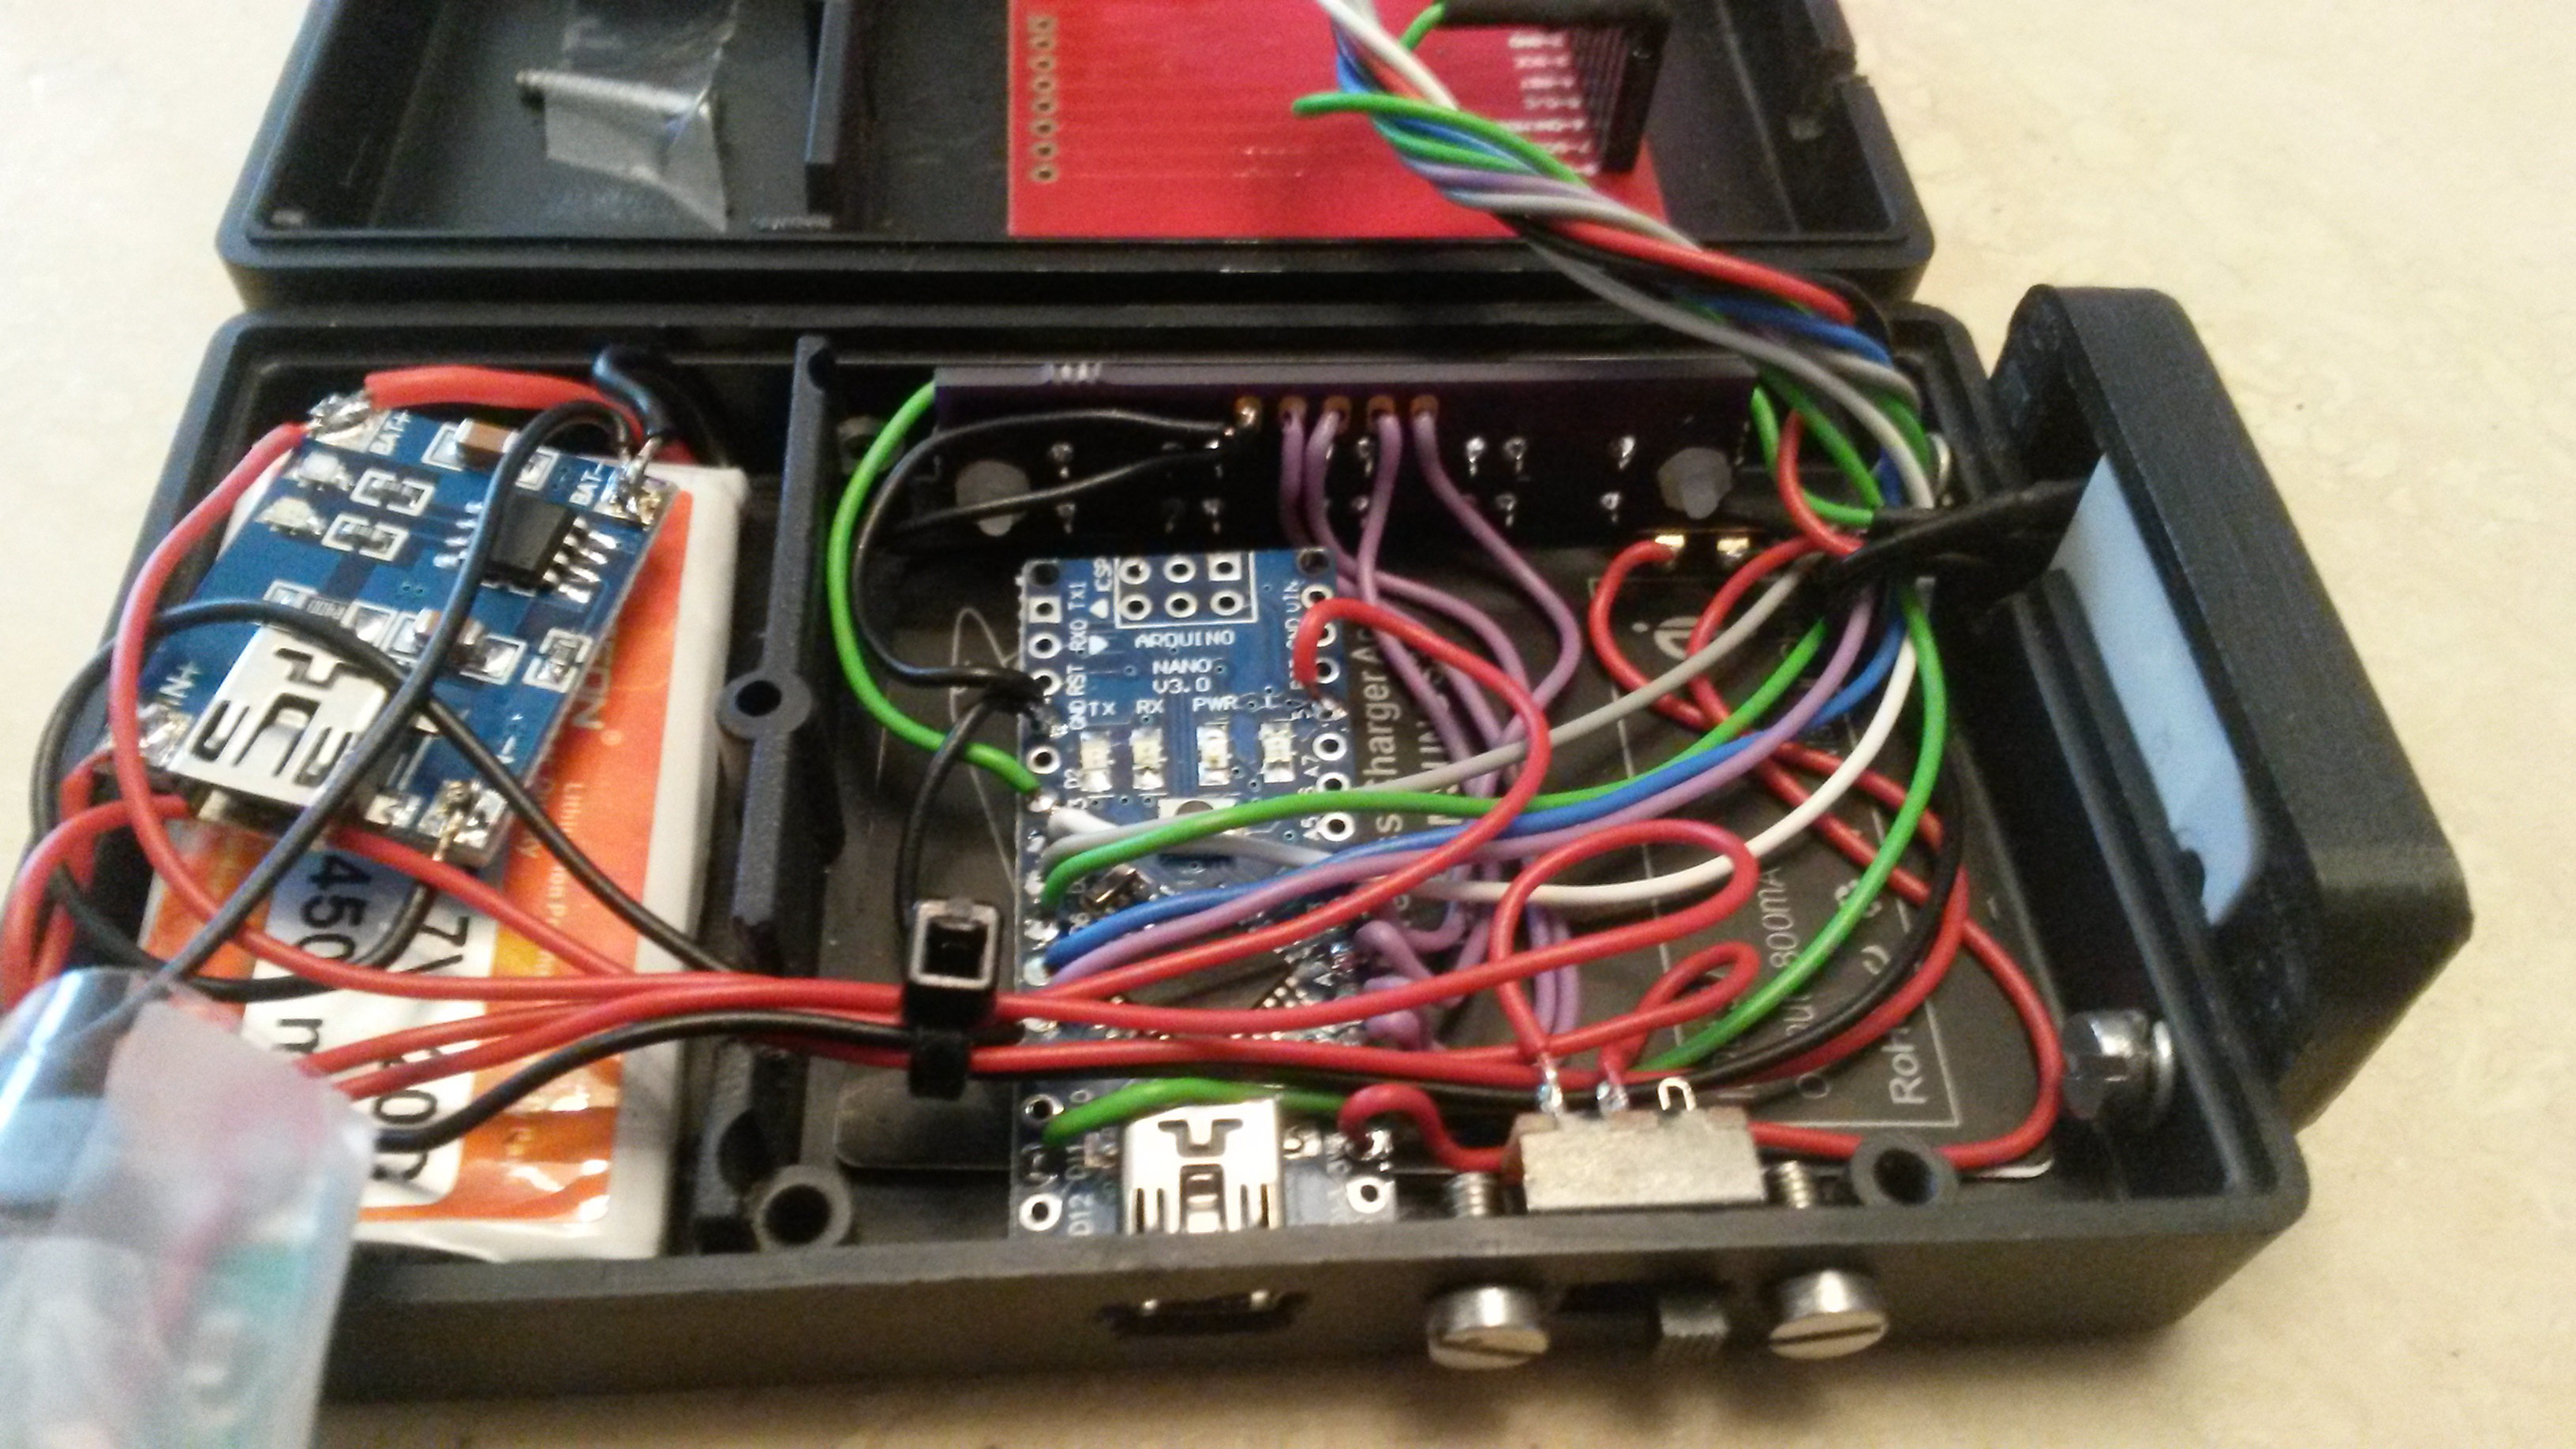
The box is a simple polymer case (Kemo G01B), contanining an Arduino Nano, 1s-450mAh LiPo, Qi-Charging receiver coil for S3, TP4056 charger, Nokia 5110 display, DC-DC-Boost converter and an AM2302 humidity sensor. Of course, some small parts like a sliding switch, screws, a 330 Ohm resistor for the display and a 3d-printed holder for the AM2302.
Actually, while using it powered by USB cable, the slow AM2302 was the reason for the SHT21 iterations...
![Portable AM2302]() It works quite OK using u8glib and currently there´s nothing more implemented than reading out the humidity, temperature and displaying the calculated dew point, heat index and ceiling height. It´s really nothing special but already makes fun carrying it around checking local conditions. At the moment, it only can be switched on and it immediately starts displaying the values. --> "KISS".
It works quite OK using u8glib and currently there´s nothing more implemented than reading out the humidity, temperature and displaying the calculated dew point, heat index and ceiling height. It´s really nothing special but already makes fun carrying it around checking local conditions. At the moment, it only can be switched on and it immediately starts displaying the values. --> "KISS".Wireless charging seems to work. I had to change the charging current of the TP4056 by soldering in a 2.2 kOhm resistor (0603 size) instead of its default resistor. Now it charges the LiPo with approx. 400-500 mA.
Here are some more images from the inside.
![]()
![]()
And here´s the code I´m using at the moment. No temperature case distinctions yet.
#include "U8glib.h"
#include "DHT.h"
#include "math.h"
#define DHTPIN 3
#define DHTTYPE DHT22
#define backlight_pin 11

DHT dht(DHTPIN, DHTTYPE);

U8GLIB_PCD8544 u8g(8, 4, 7, 5, 6);  // CLK=8, DIN=4, CE=7, DC=5, RST=6

//###############################################################################################################################
void setup(void) {
  analogWrite(backlight_pin, 10);  /* Set the Backlight intensity */
    dht.begin();
    u8g.setRot180();
}
//###############################################################################################################################
void loop(void) {
  u8g.firstPage();
  do {
    draw();
  } while( u8g.nextPage() );
  delay(300);  // Delay before accessing AM2302
}
//################################################################################################################################
void draw(void) {
  u8g.setFont(u8g_font_profont11);  // select font
  u8g.drawStr(0, 7, "Temp: ");  // put string of display at position X, Y
  u8g.drawStr(0, 17, "rH: ");
  u8g.drawStr(0, 27, "HI: ");
  u8g.drawStr(0, 37, "Dew: ");

  u8g.setPrintPos(45, 7);  // set position
  u8g.print(dht.readTemperature(), 1);  // display temperature from DHT22
  u8g.drawStr(73, 7, "C ");
  u8g.setPrintPos(45, 17);
  u8g.print(dht.readHumidity(), 1);  // display humidity from DHT22
  u8g.drawStr(73, 17, "% ");

  u8g.setPrintPos(45, 27);
  u8g.print(dht.computeHeatIndex(dht.readTemperature(), dht.readHumidity(), false), 1);  // display humidity from DHT11
  u8g.drawStr(73, 27, "C ");

//  243.12*((log10(dht.readHumidity())-2.0)/0.4343+(17.62*dht.readTemperature())/(243.12+dht.readTemperature()))/(17.62-((log10(dht.readHumidity())-2.0)/0.4343+(17.62*dht.readTemperature())/(243.12+dht.readTemperature())))
 u8g.setPrintPos(45, 37);
  u8g.print(243.12*((log10(dht.readHumidity())-2.0)/0.4343+(17.62*dht.readTemperature())/(243.12+dht.readTemperature()))/(17.62-((log10(dht.readHumidity())-2.0)/0.4343+(17.62*dht.readTemperature())/(243.12+dht.readTemperature()))), 1);  // display humidity from DHT11
  u8g.drawStr(73, 37, "C ");

   u8g.setPrintPos(35, 47);
  u8g.print(125*(dht.readTemperature()-(243.12*((log10(dht.readHumidity())-2.0)/0.4343+(17.62*dht.readTemperature())/(243.12+dht.readTemperature()))/(17.62-((log10(dht.readHumidity())-2.0)/0.4343+(17.62*dht.readTemperature())/(243.12+dht.readTemperature()))))), 0);  // display humidity from DHT11
  u8g.drawStr(73, 47, "m ");

}
Conclusion & further to-do:
- Much fun to use, although nothing special!
- Wireless charging using the Qi receiver is easy and useful.
- AM2303 is slow.
- Implement LiPo voltage readout !
- Implement push buttons for menu etc.
- Correlate real ceiling heights with calculated ones.
- Search for display alternatives (slightly bigger, sun readable, low power consumption).
- Design new case for use with SHT21.
- ...
-
2. Iteration
09/07/2016 at 13:25 • 0 commentsSince the first board was nice and clean but large, I made a second Iteration.
It also can be equipped with the filter cap but mounting holes were skipped. Idea is to clamp or glue the board into it´s dedicated place, which makes everything smaller and easier. The Overall layout will be the same, so the stencil can be used again with it.
Boards should arrive within the next days.
Next steps:
- Assemble sensor board.
- Recherche wiring of Display (first of all it will be a Nokia 5110 ).
- Recherche calculation of absolute humidity and dew Point.
-
First try...
05/15/2016 at 11:59 • 0 commentsAll parts arrived and today I tried my first smt soldering at all.
Here, just some photographs during the process....
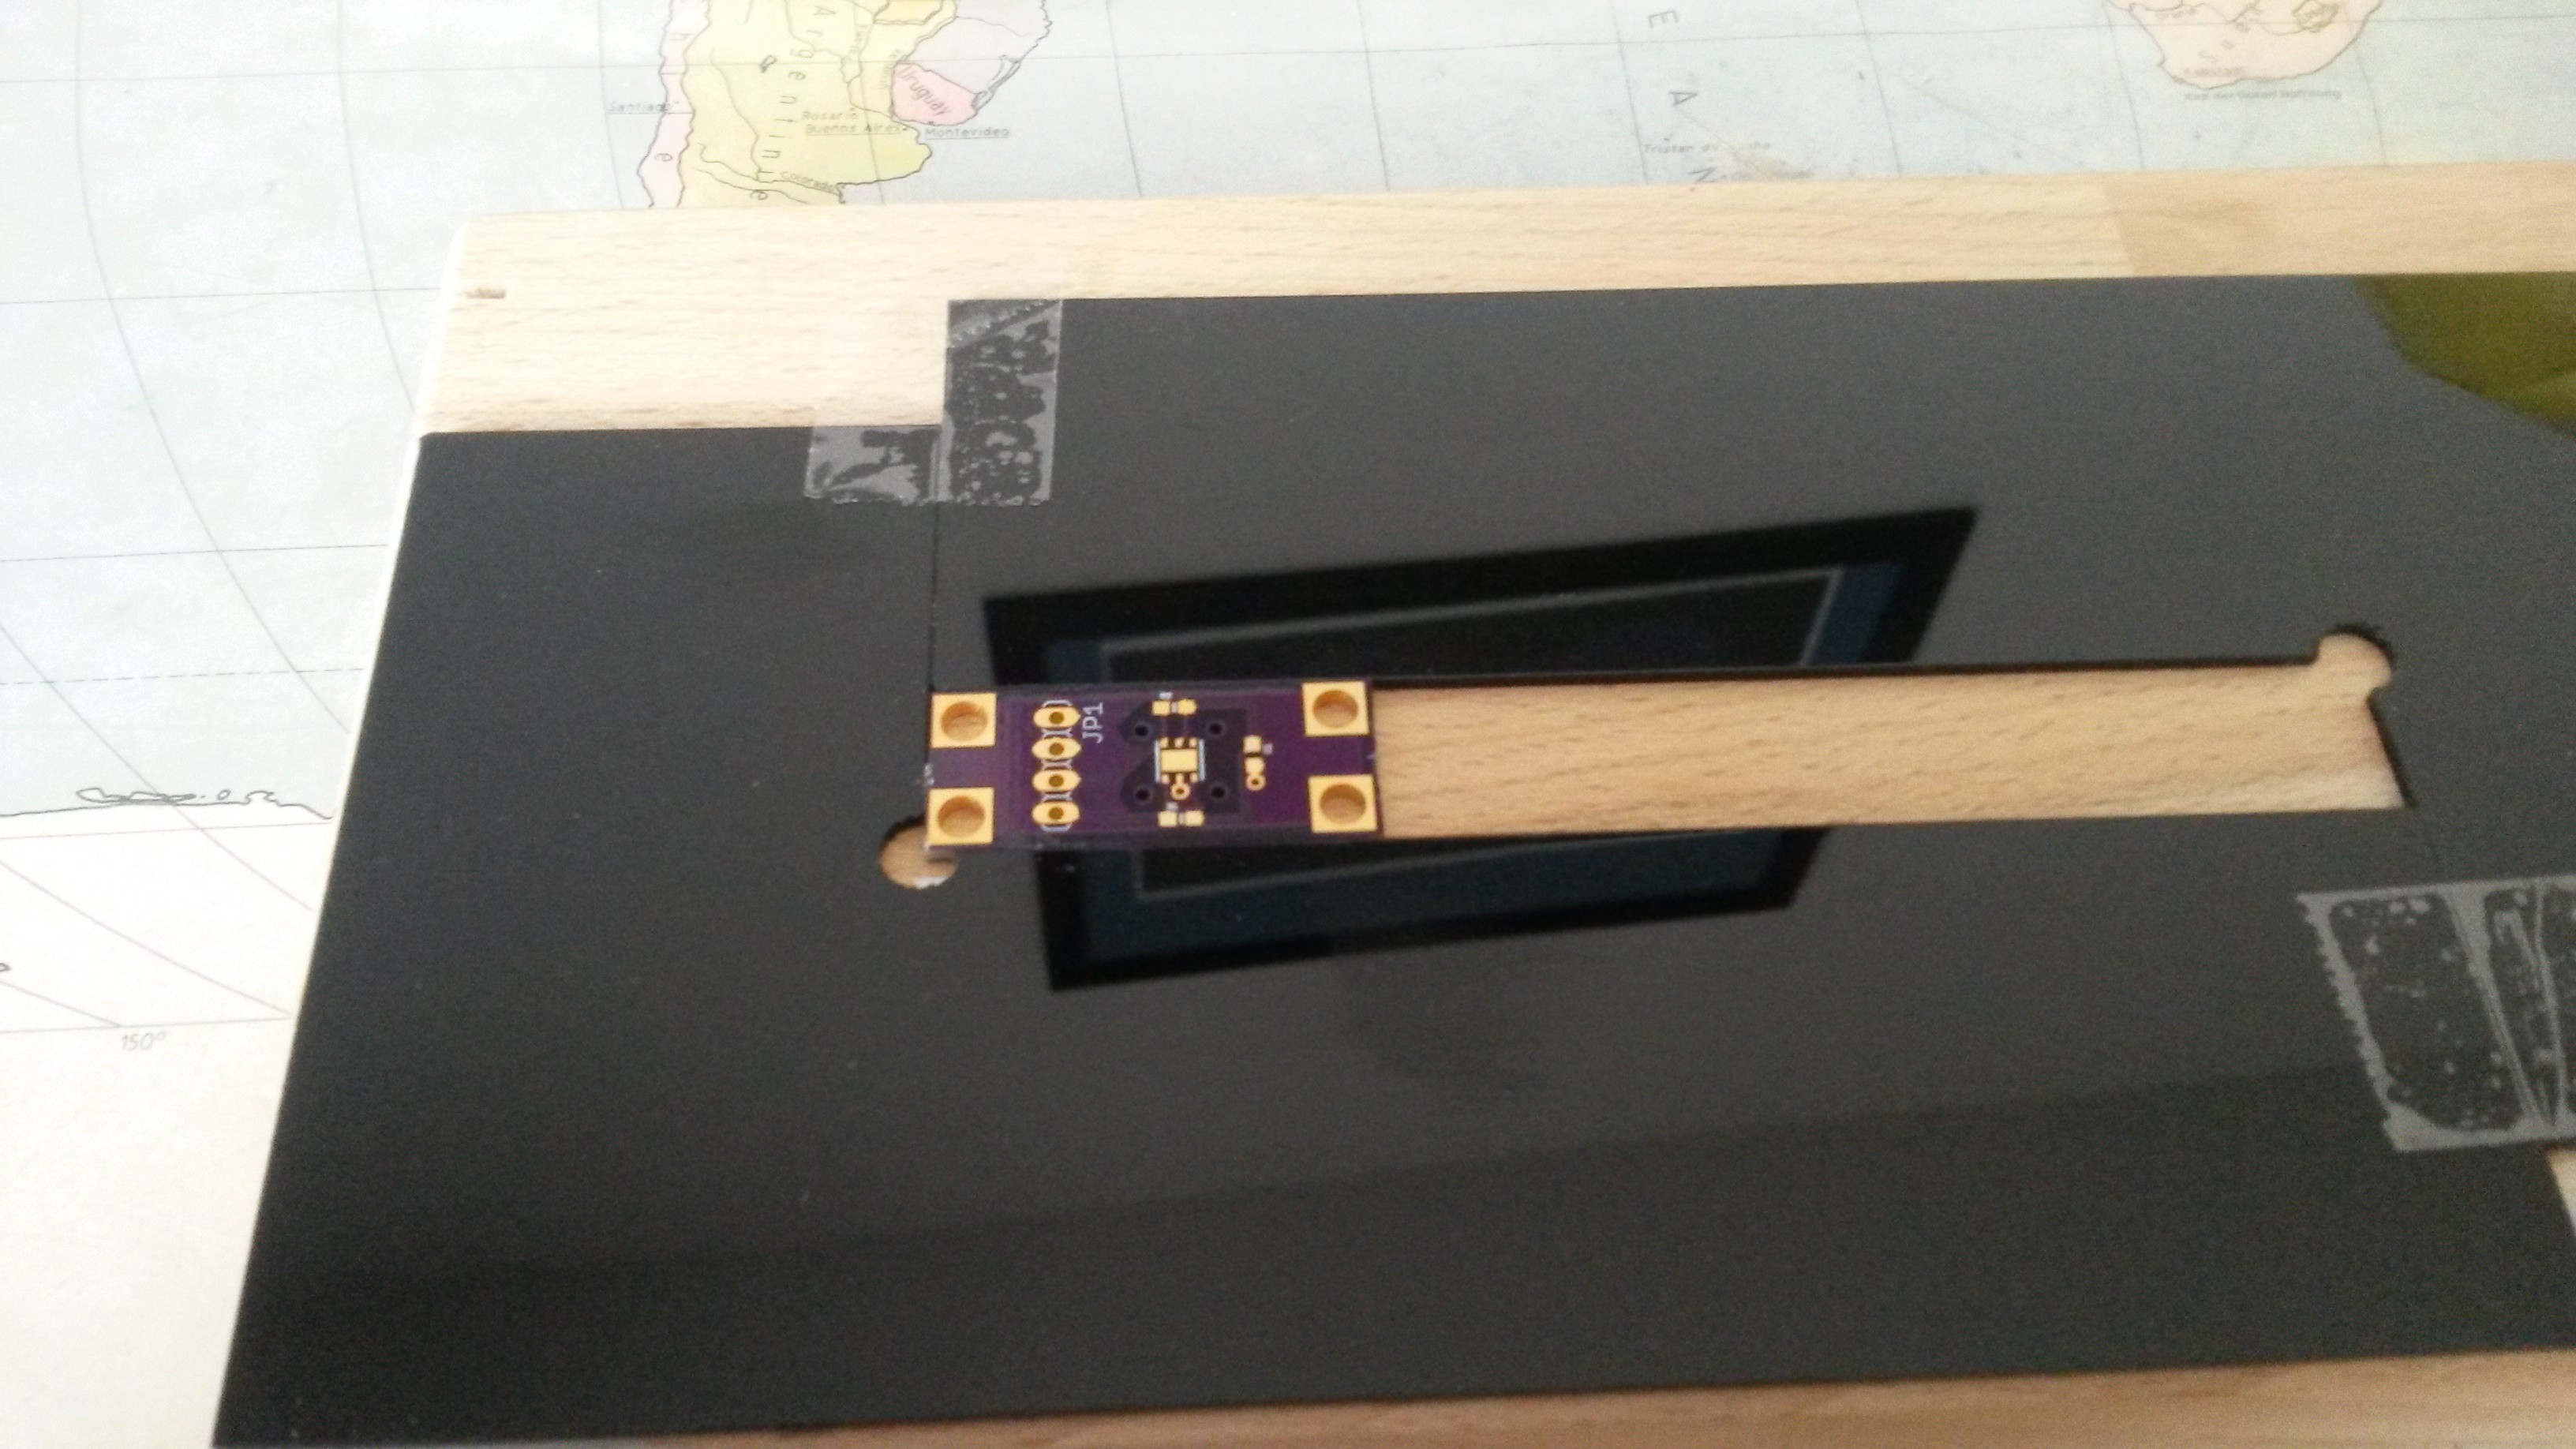
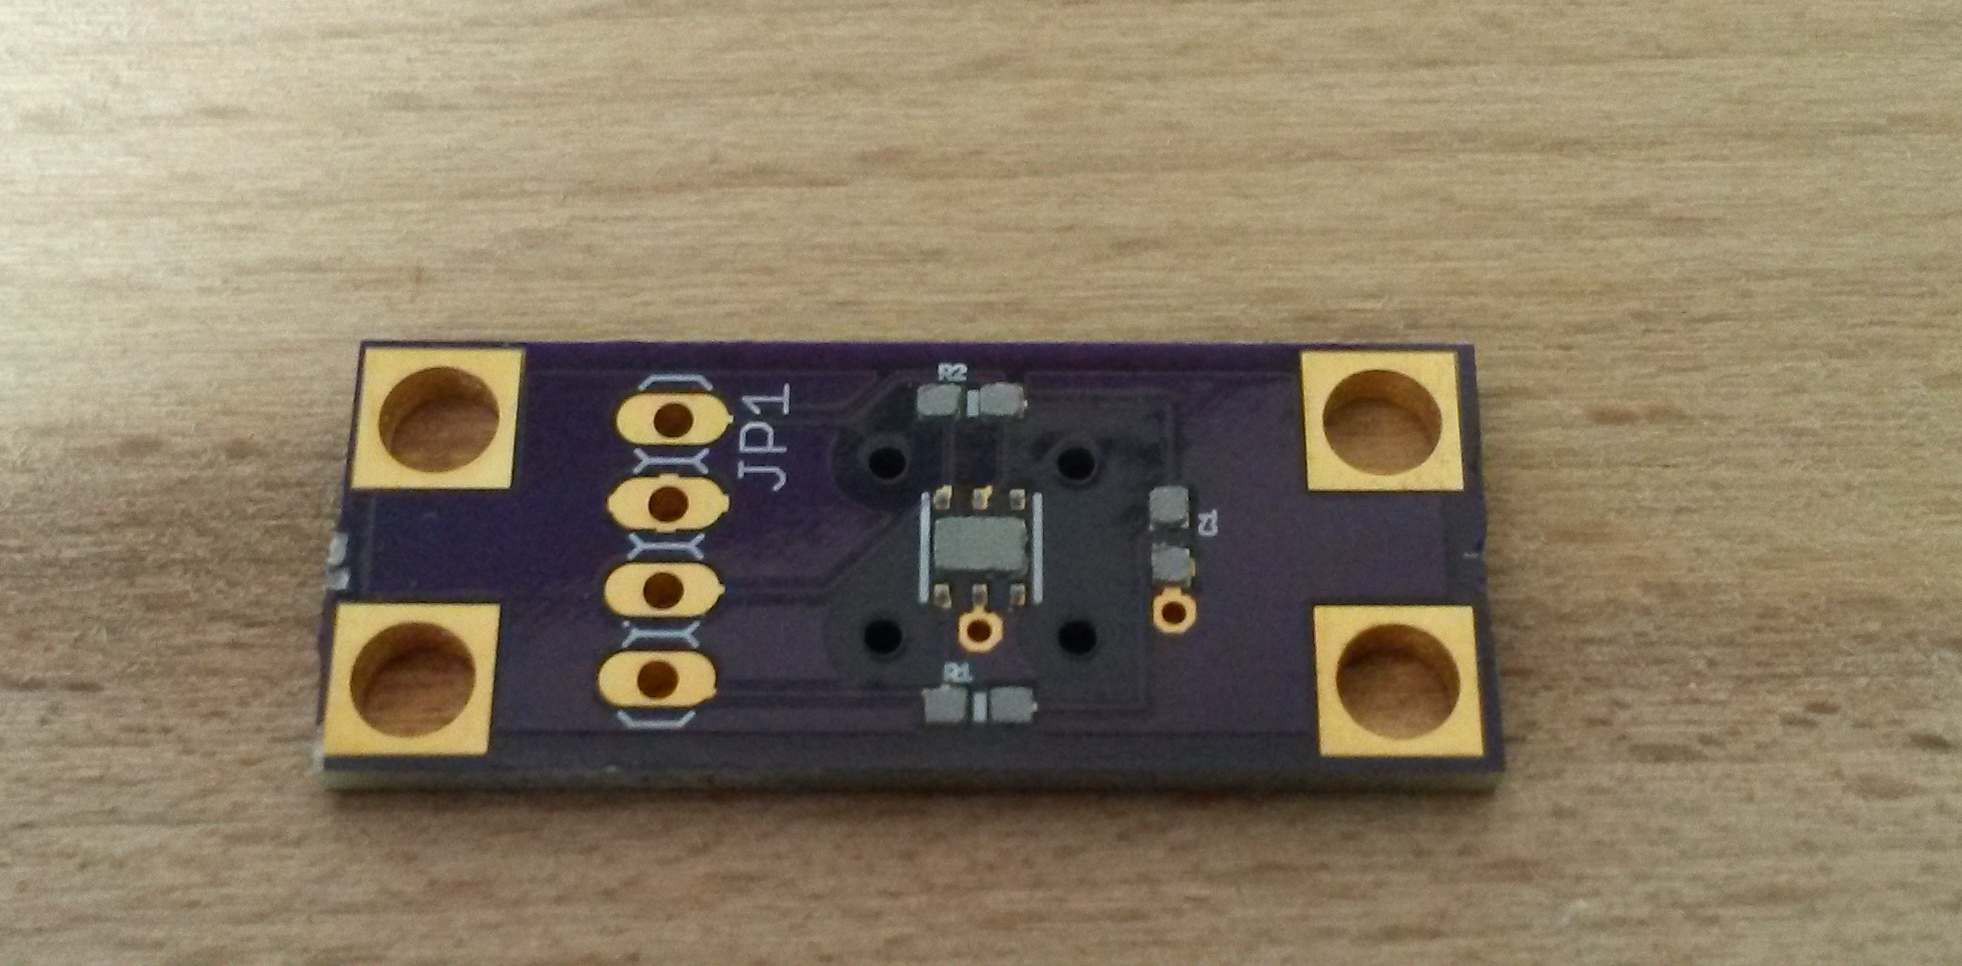
At first I aligned the board in between the holders made by OSH:
![]()
Well, easy and I was glad to have had a small wooden board to which I fixed everything on.
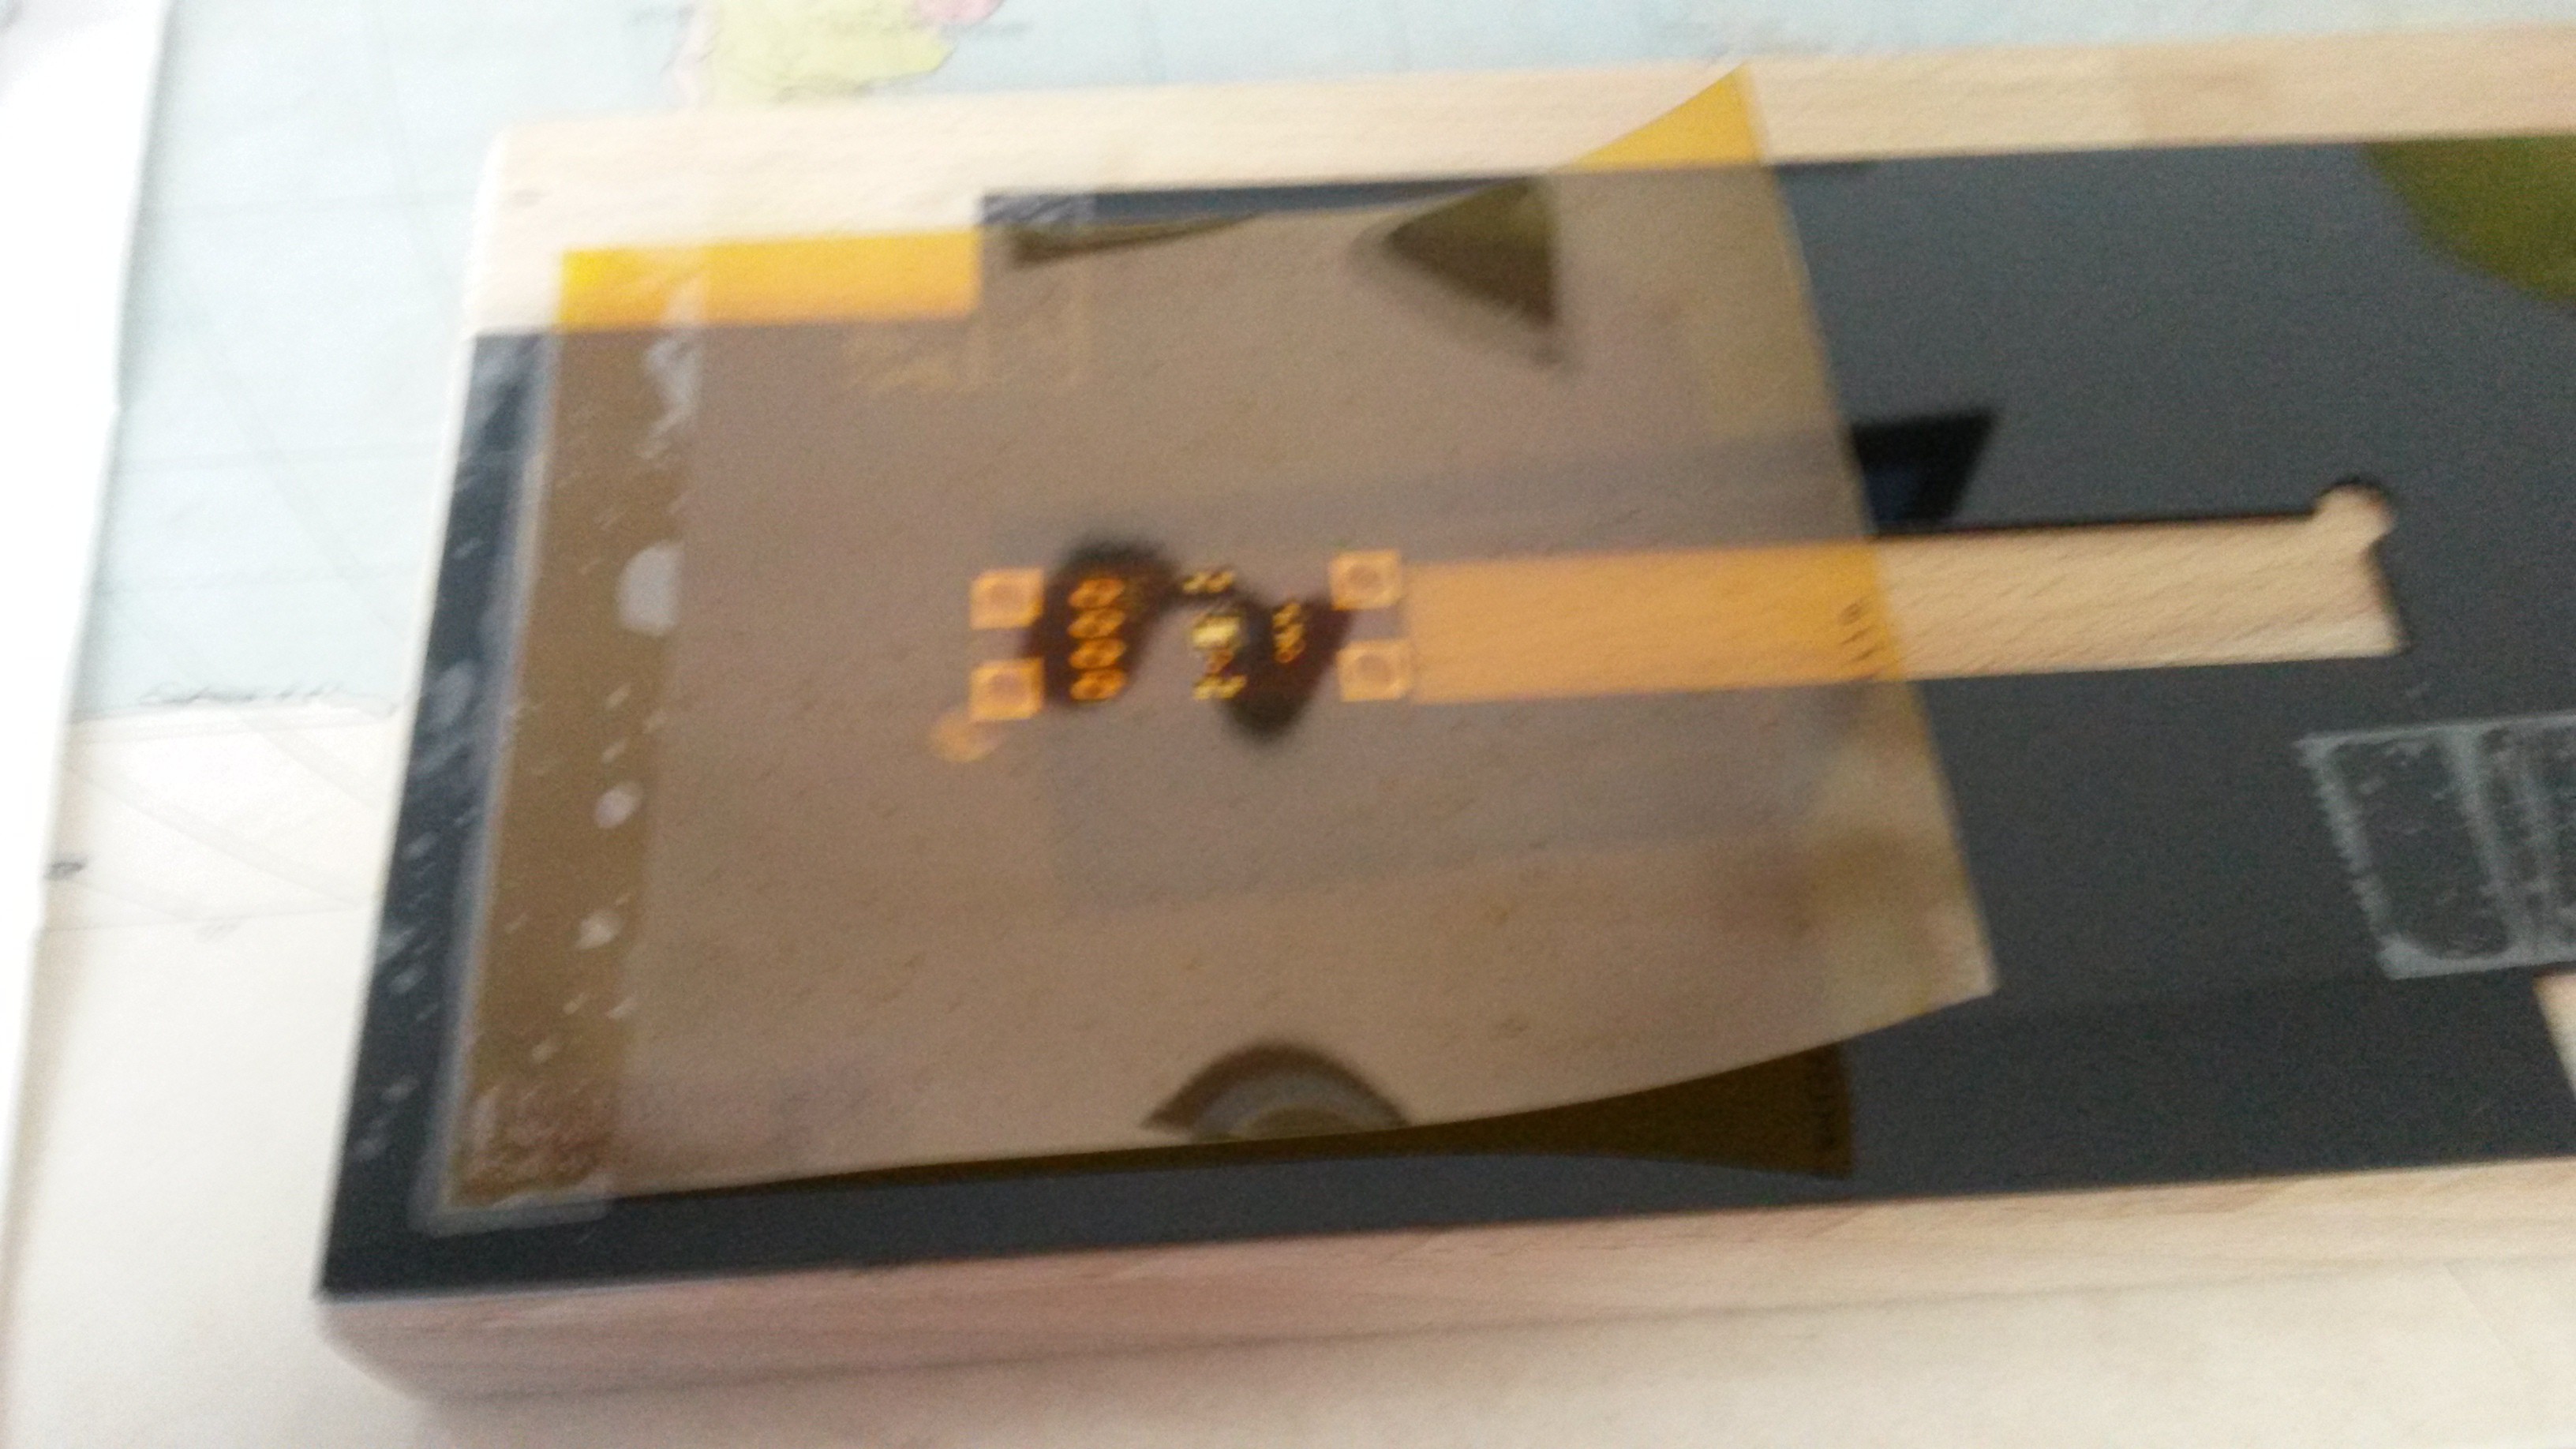
With help of some scotch tape I placed the stencil over it:
![]()
And afterwards solder paste was applied. Sorry, no foto, but here´s the PCB with solder on it:
![]()
It seems, that there is a little less solder on the SHT21 landing pads....Nevertheless, I tried to move on and placed the few parts onto the pcb.
Well, for me, 0603-size was damn small !! I will need to buy much better tweezers, magnifying glass and perhaps a better solder paste.
I used this one and still don`t know if it was a good choice:
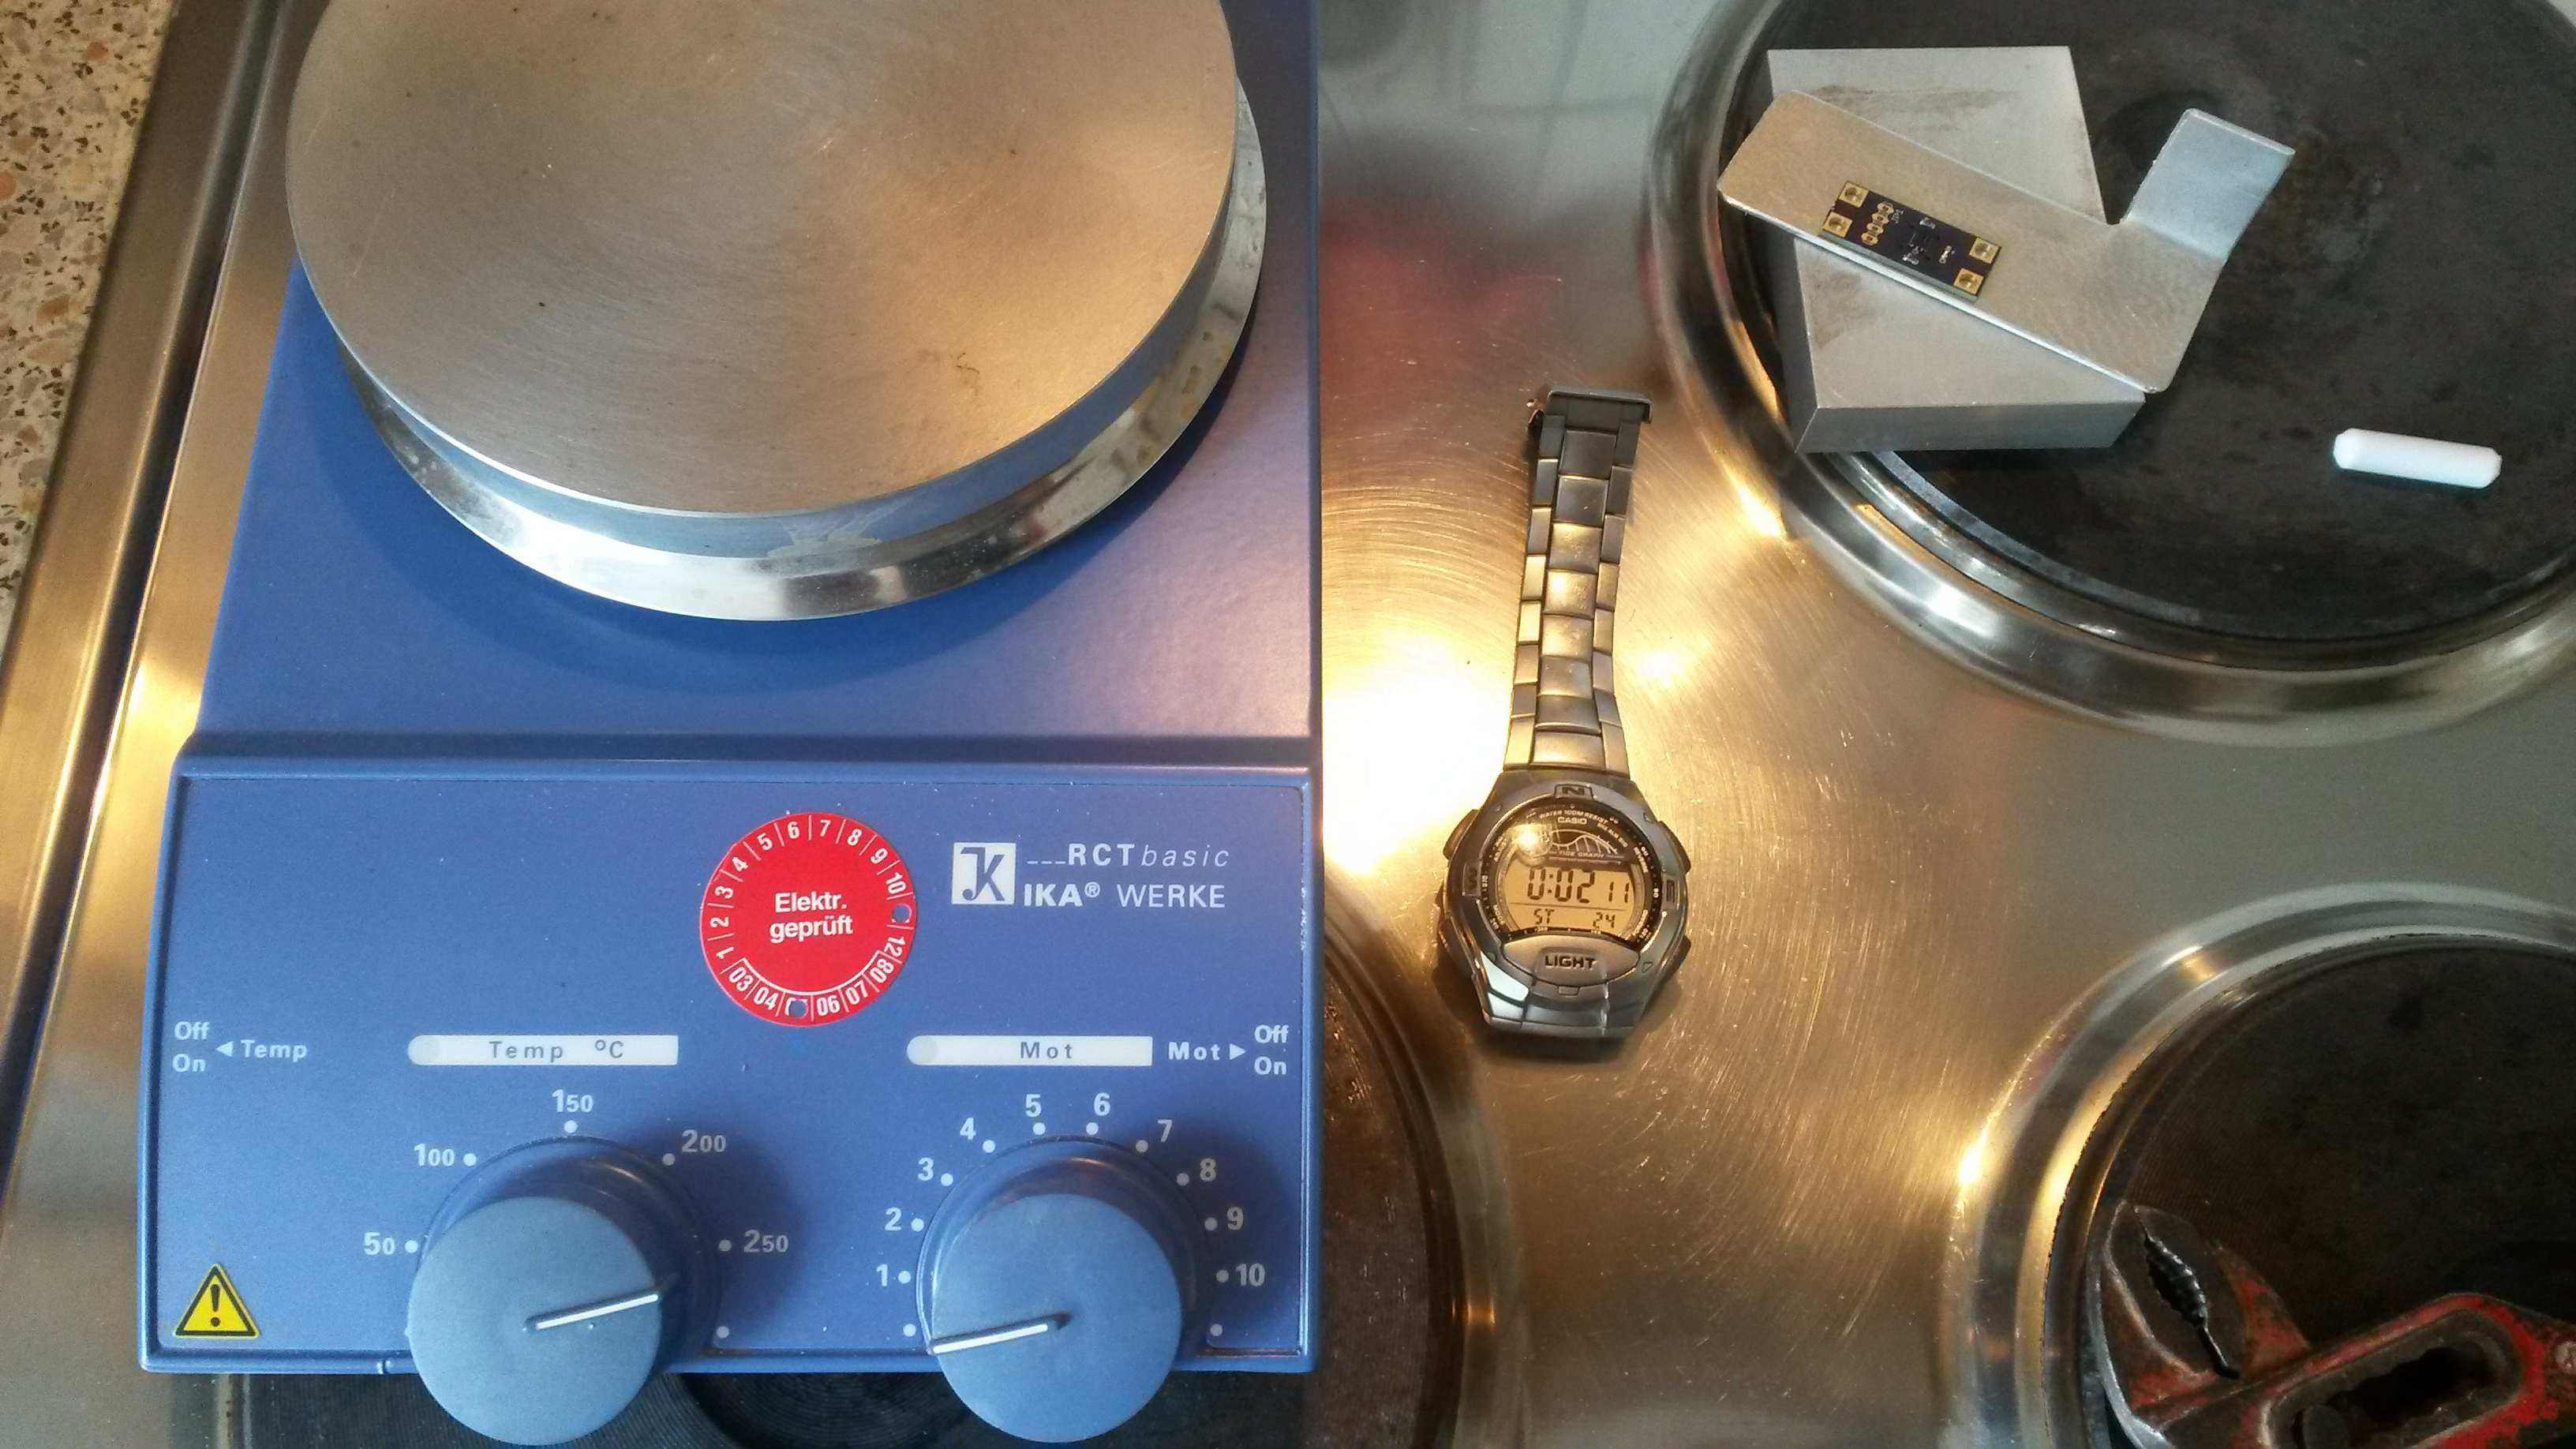
Ok, so here´s my "soldering setup":
It´s just a hotplate set to 250°C, some pliers and a small piece of aluminum to pick&place the pcb on it onto the hotplate or a small block of aluminum to cool it fastly.![]()
I used a stopwatch and after about 1.5 minutes on the hotplate, the solder of the resistors melted, some seconds later the SHT21 was mooving slightly. Yeaahh, looks good. 2 minutes and 11 seconds later, the pcb was cooled down again.
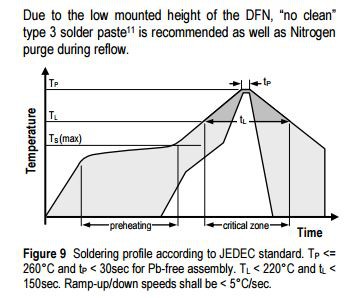
Hopefully the sensor is OK with that, because when looking at the datasheet, we can find that soldering duration should be less than 30s at max. temperature:
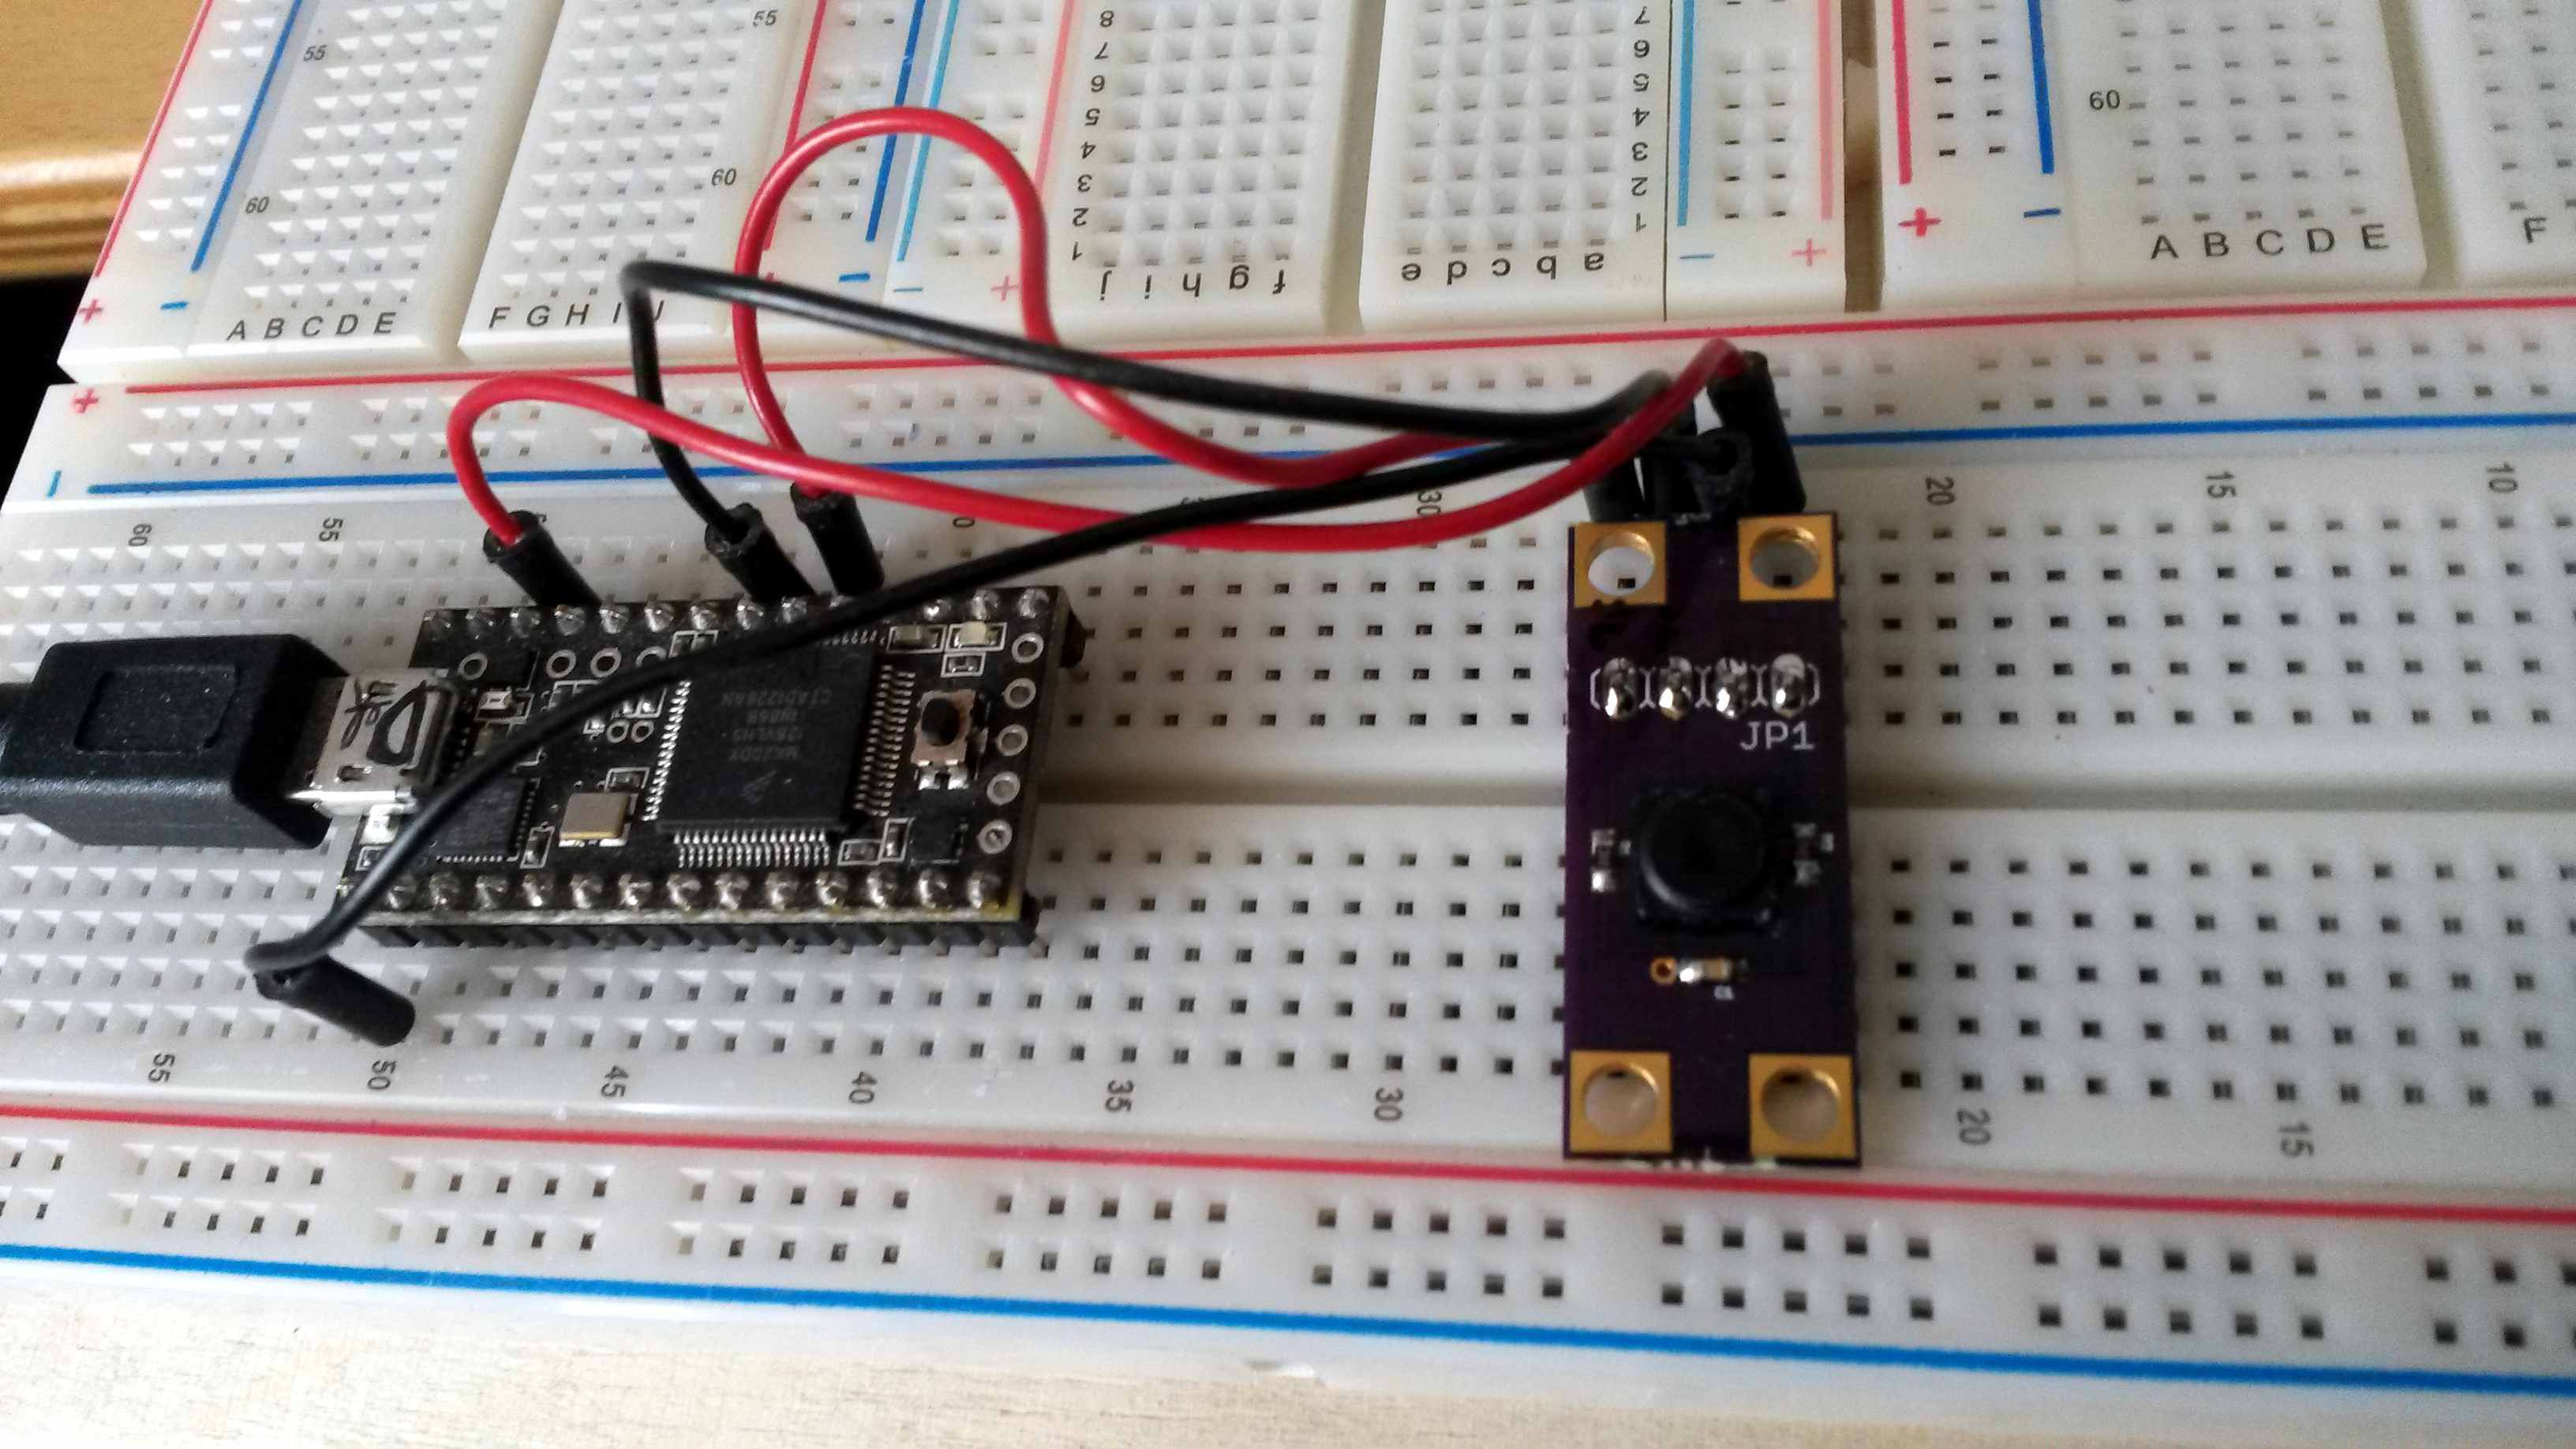
So, just hook it up now...![]()
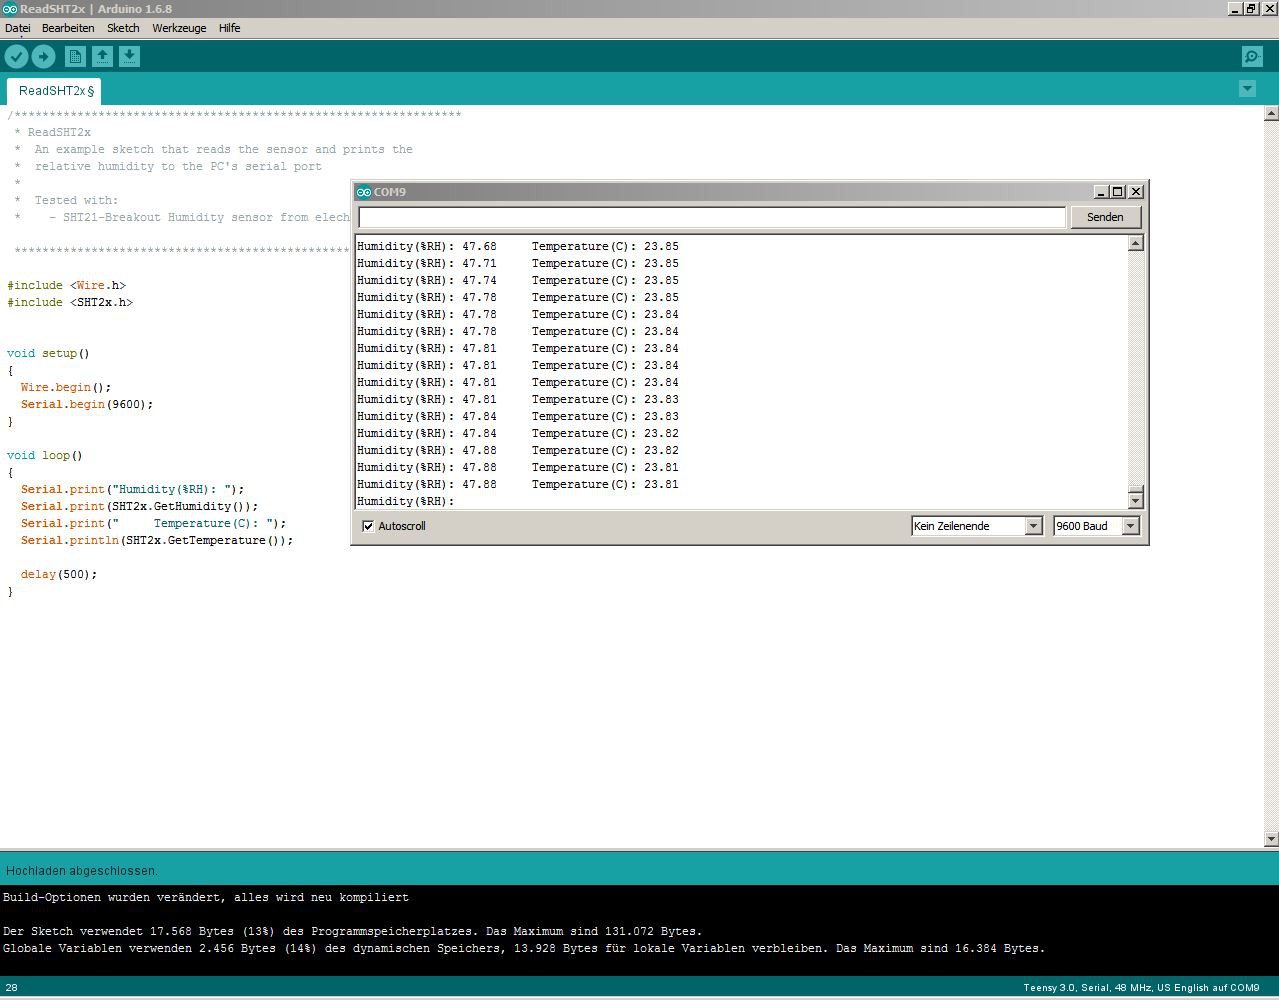
Teensy 3.0 and Arduino 1.6.8 was used as well as the corresponding library ( https://github.com/elechouse/SHT21_Arduino ):
Et voila, it works !!! The sensor is incredible!!![]()
Of course, I do not know how trustworthy the values are, but response time and small changes of rel. H. induced by breathing or hovering the finger over it is measureble !!
![]()
Conclusion:
- Great, it works !! :-))
- Four mounting holes look nice, but seem to be too many for this small pcb. Within next iteration might use two only.
- A little bit more solder paste on the sensor landing pads might be beneficial.
- I will do some more projects using the stencil & hotplate process. Hopefully I will get used to it further.
-
PCB and stencil arrived
05/15/2016 at 11:34 • 0 commentsPCB and stencil arrived. Solder past already available.
Next step will be ordering of components.
SHT21 Humidity sensor board
Using a Sensirion SHT21 sensor for environmental measurements. Equipped with filter cap, I2C connection.
 It works quite OK using u8glib and currently there´s nothing more implemented than reading out the humidity, temperature and displaying the calculated dew point, heat index and ceiling height. It´s really nothing special but already makes fun carrying it around checking local conditions. At the moment, it only can be switched on and it immediately starts displaying the values. --> "KISS".