-
1Step 1
BD Drive disassembly
-
2Step 2
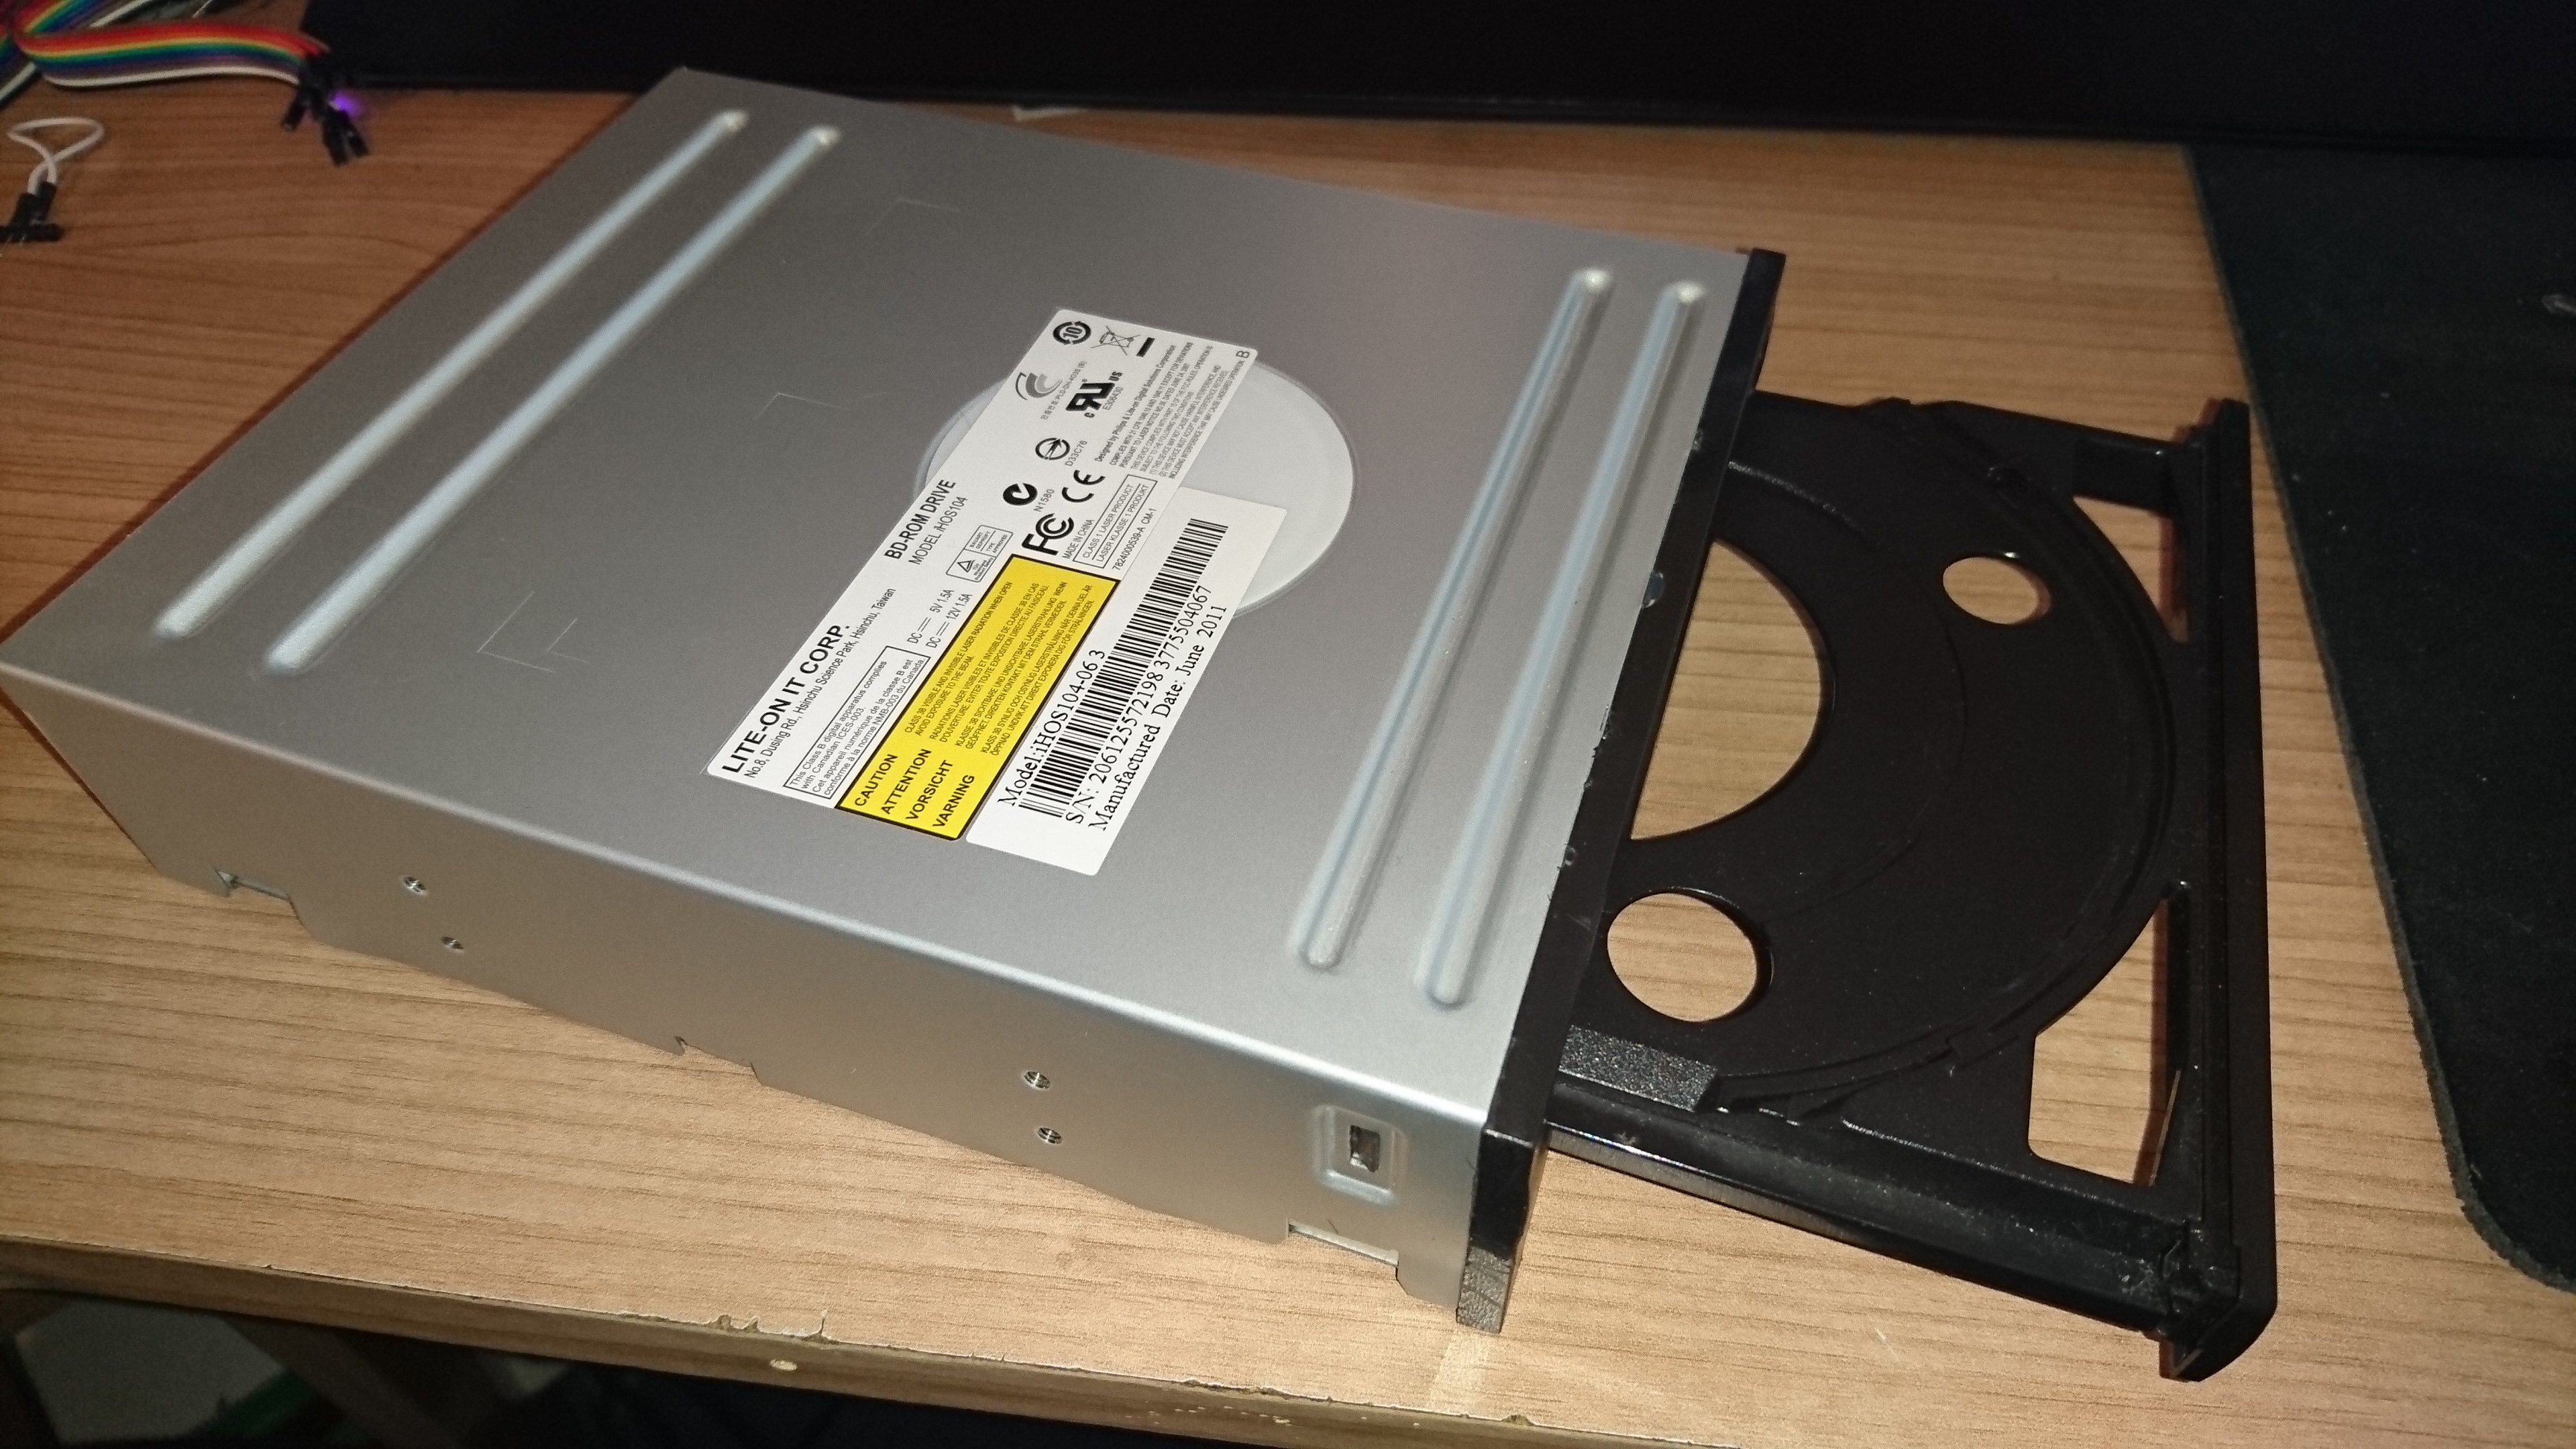
To start of with the drive disassembly you should open the drive from within your PC
![]()
In my case the drive was a LiteOn - iHOS104 actually the cheapest BD drive available while I built my PC
-
3Step 3
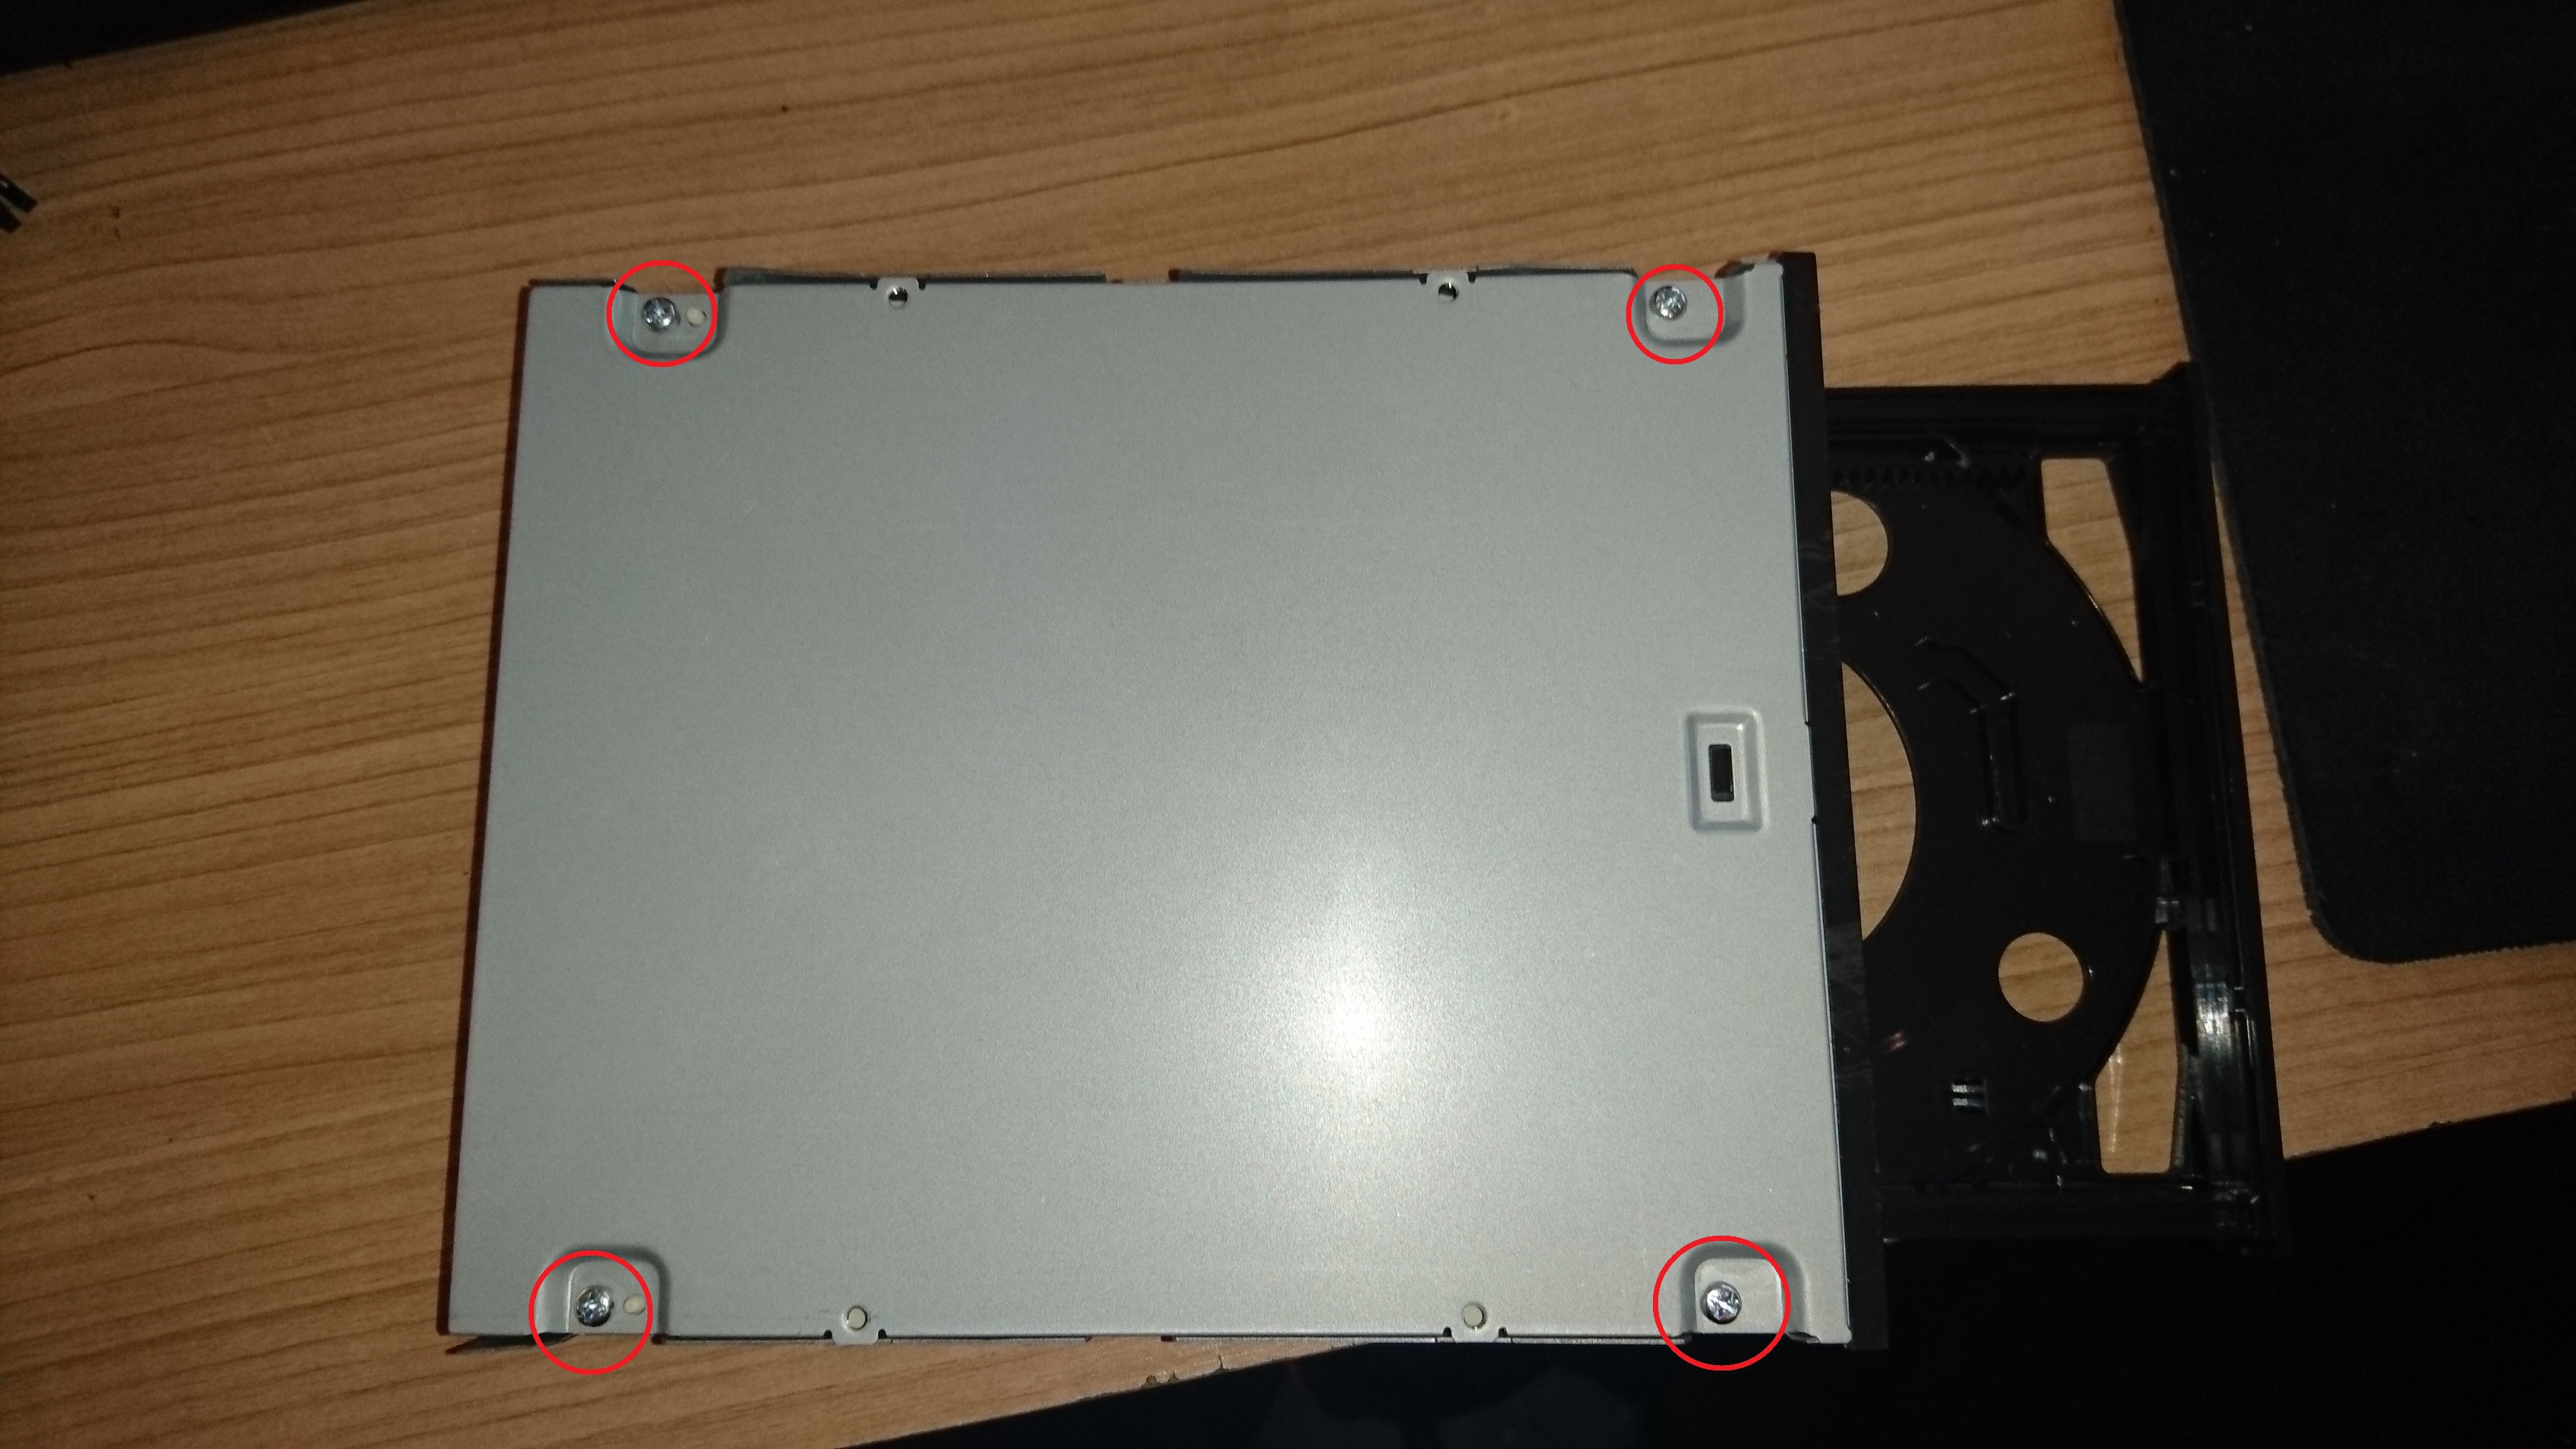
Next you remove the 4 screws at the bottom of the drive
![]()
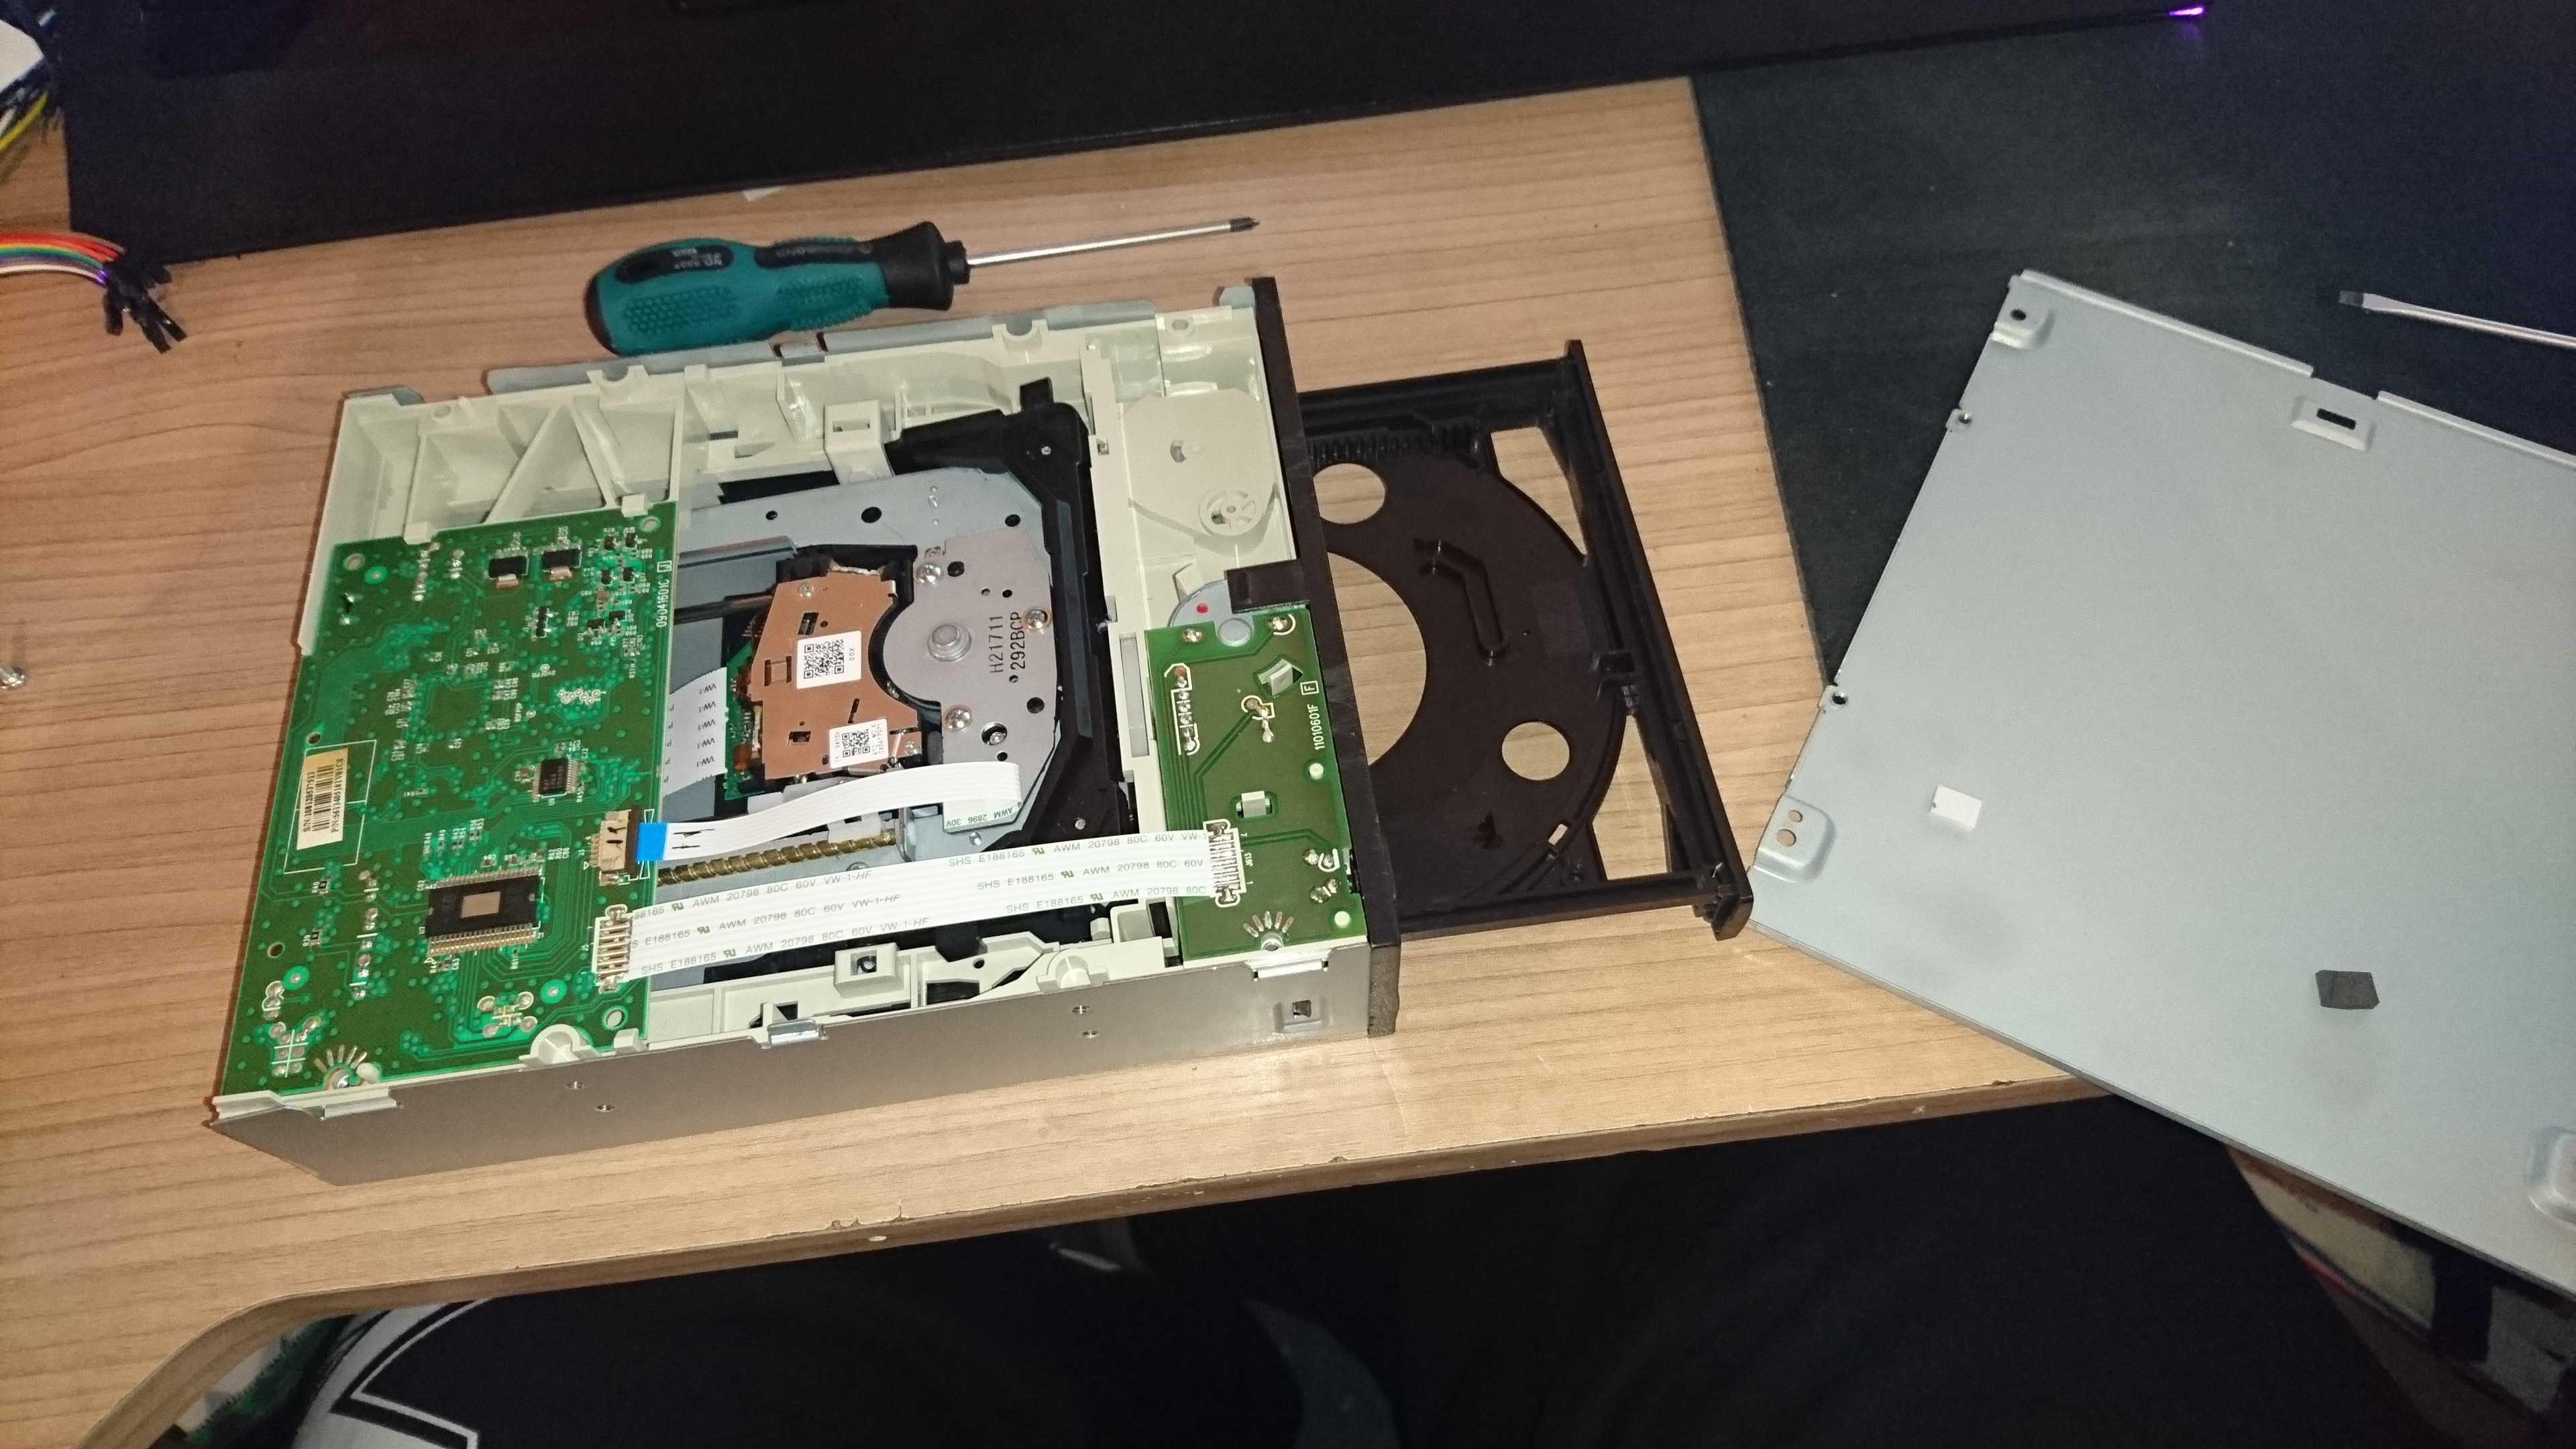
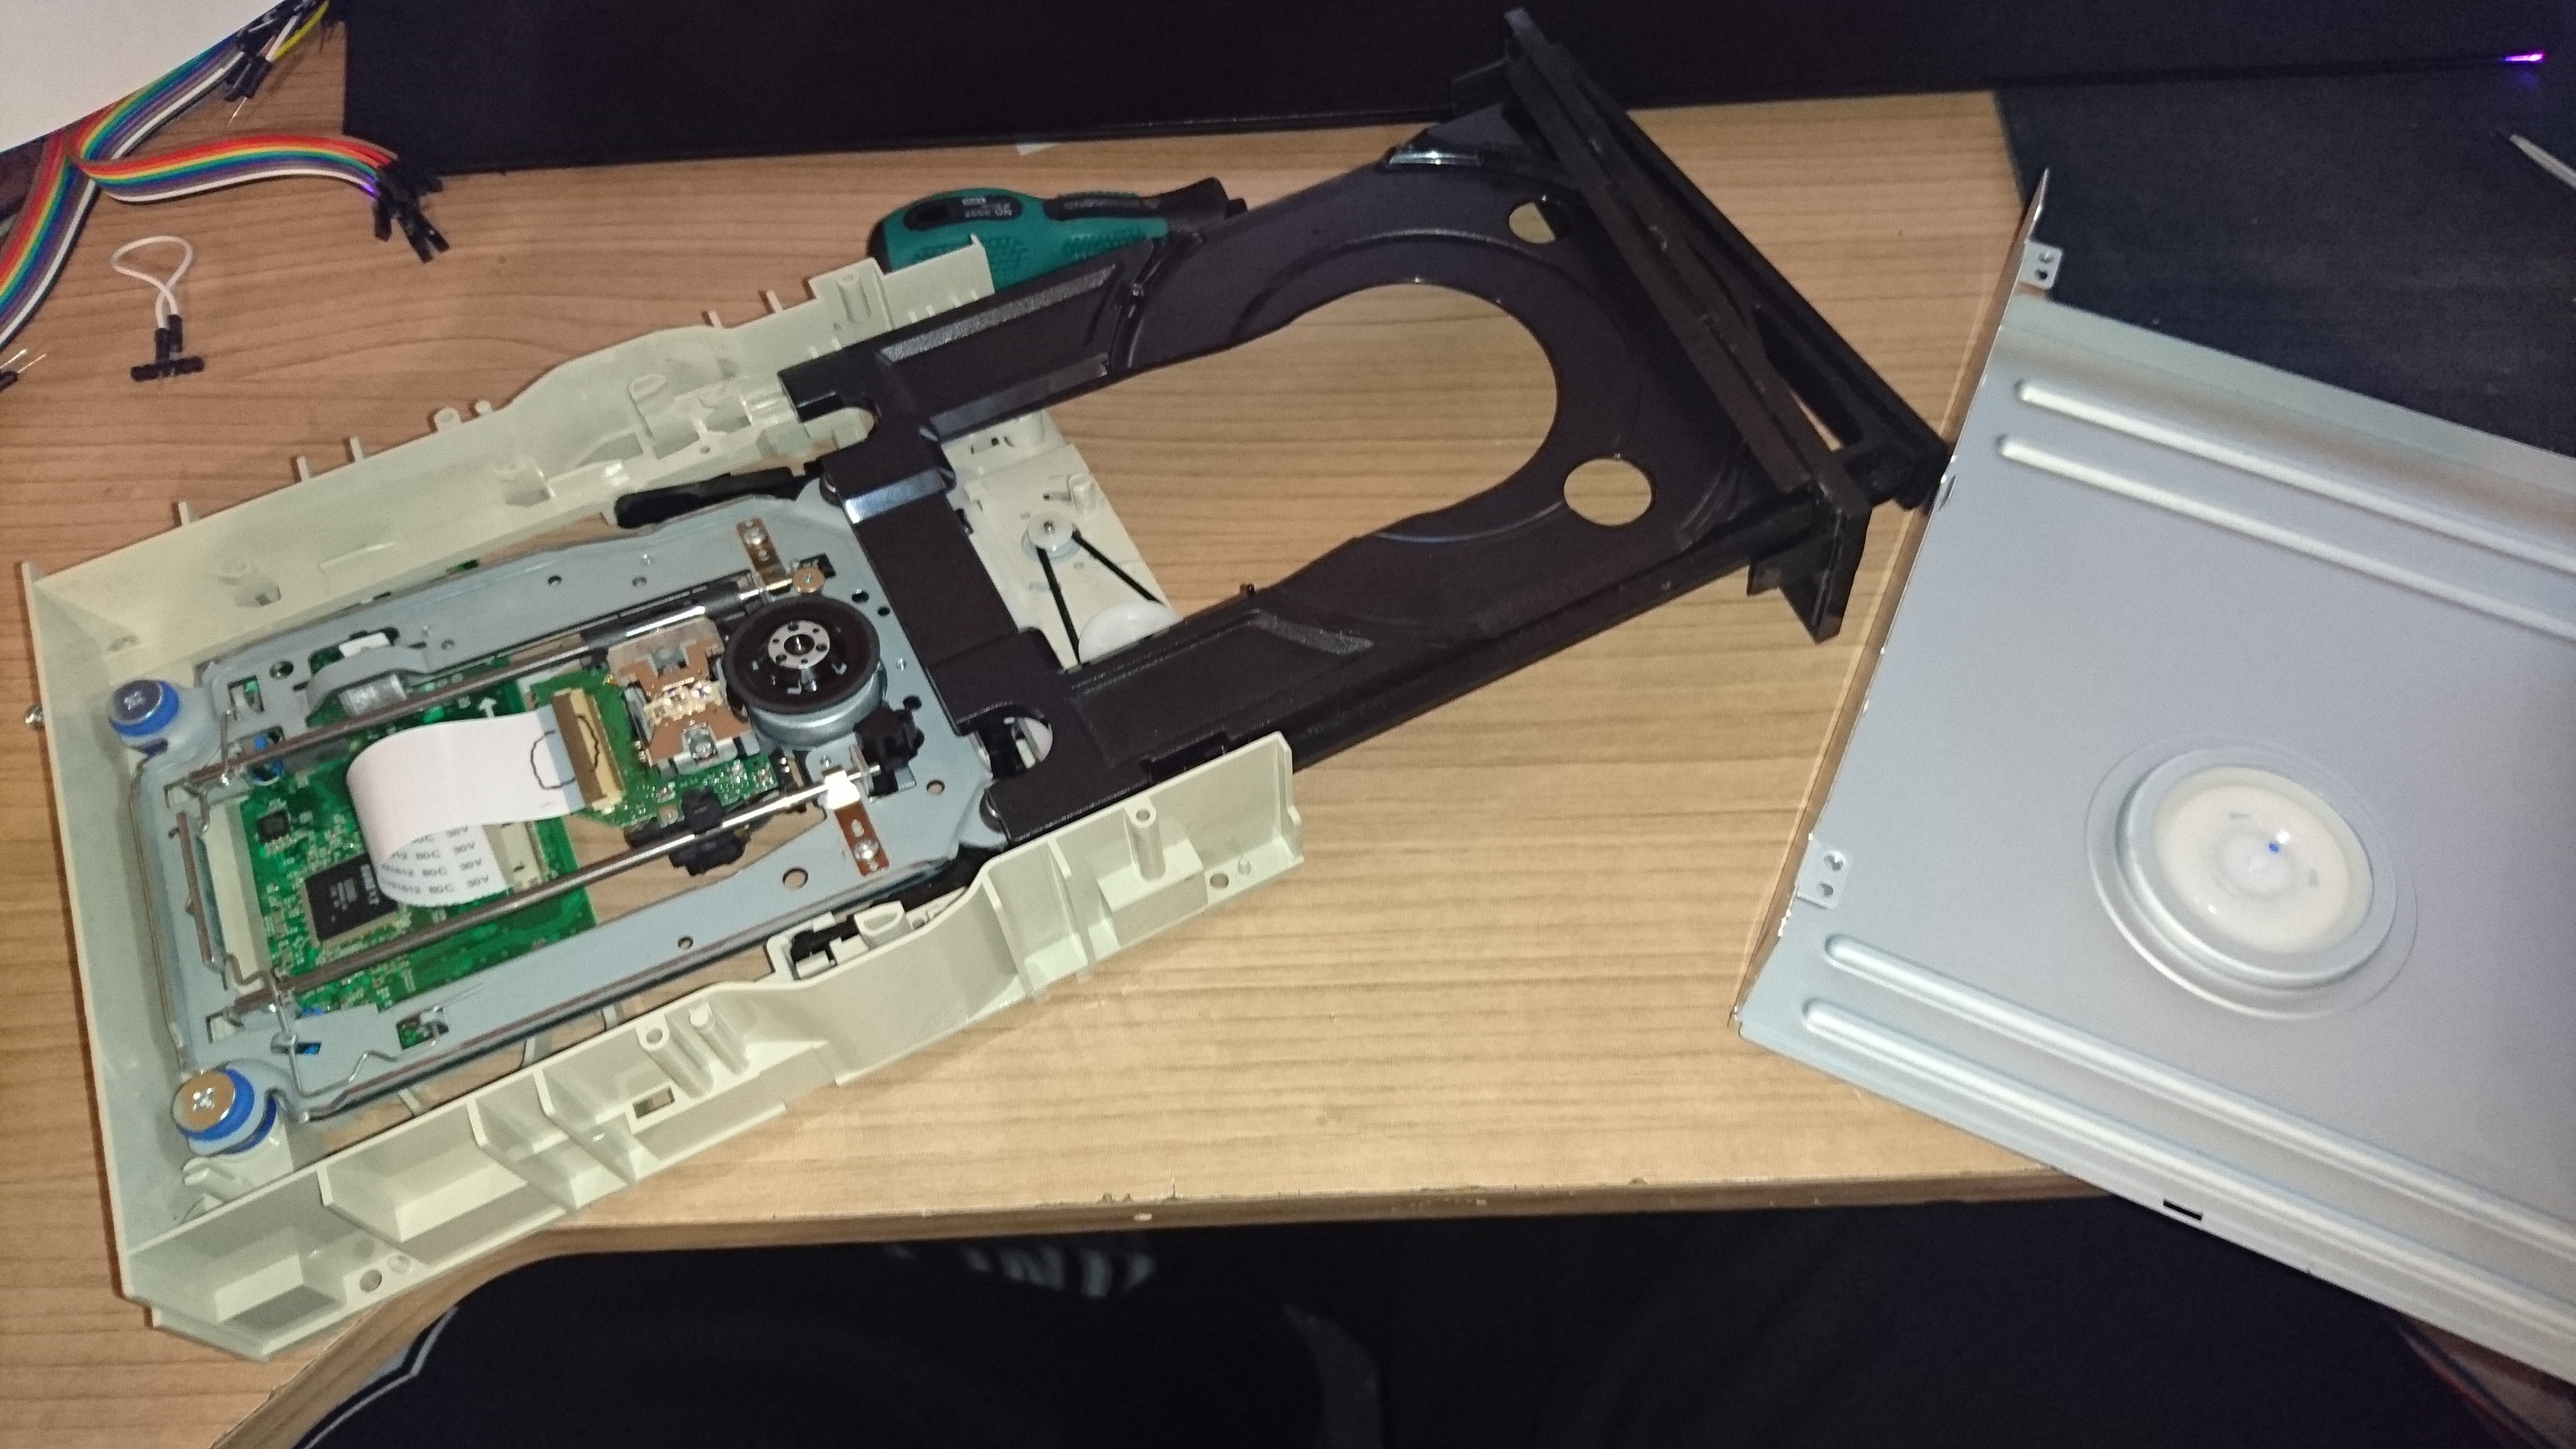
which allows you to remove the bottom cover, the front and the top cover.
![]()
![]()
-
4Step 4
This leaves you with just the technical components left.
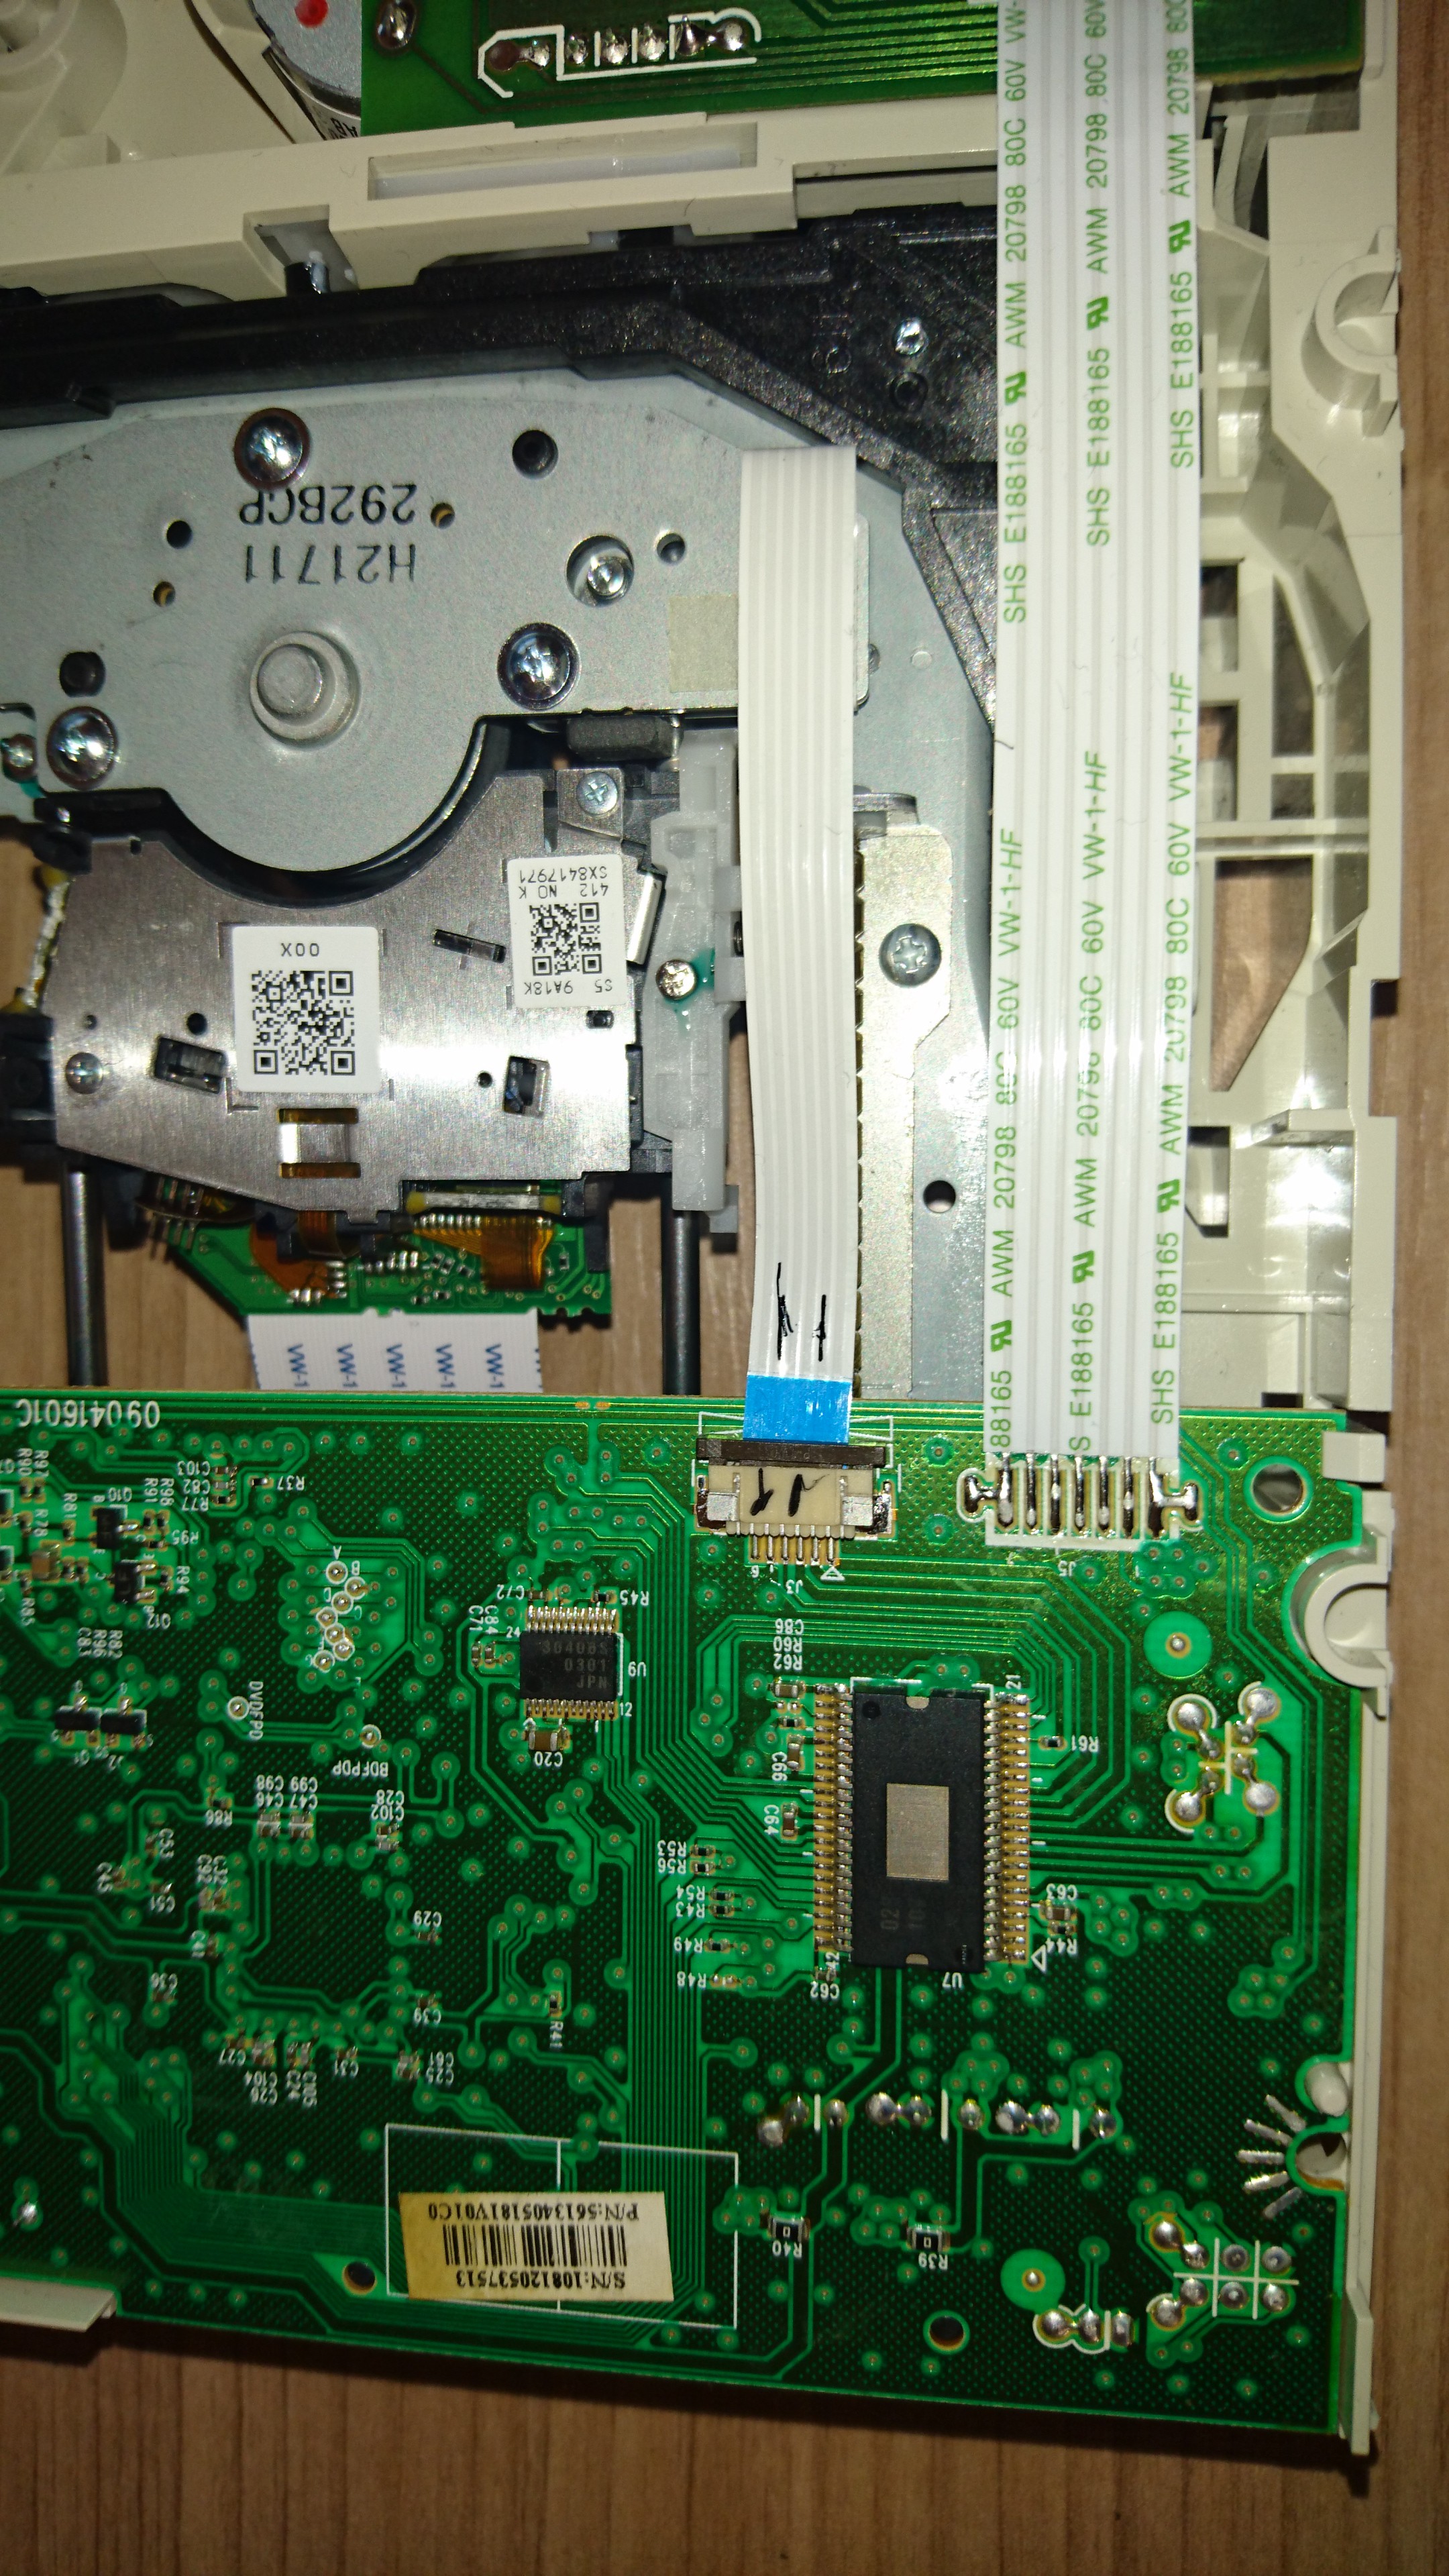
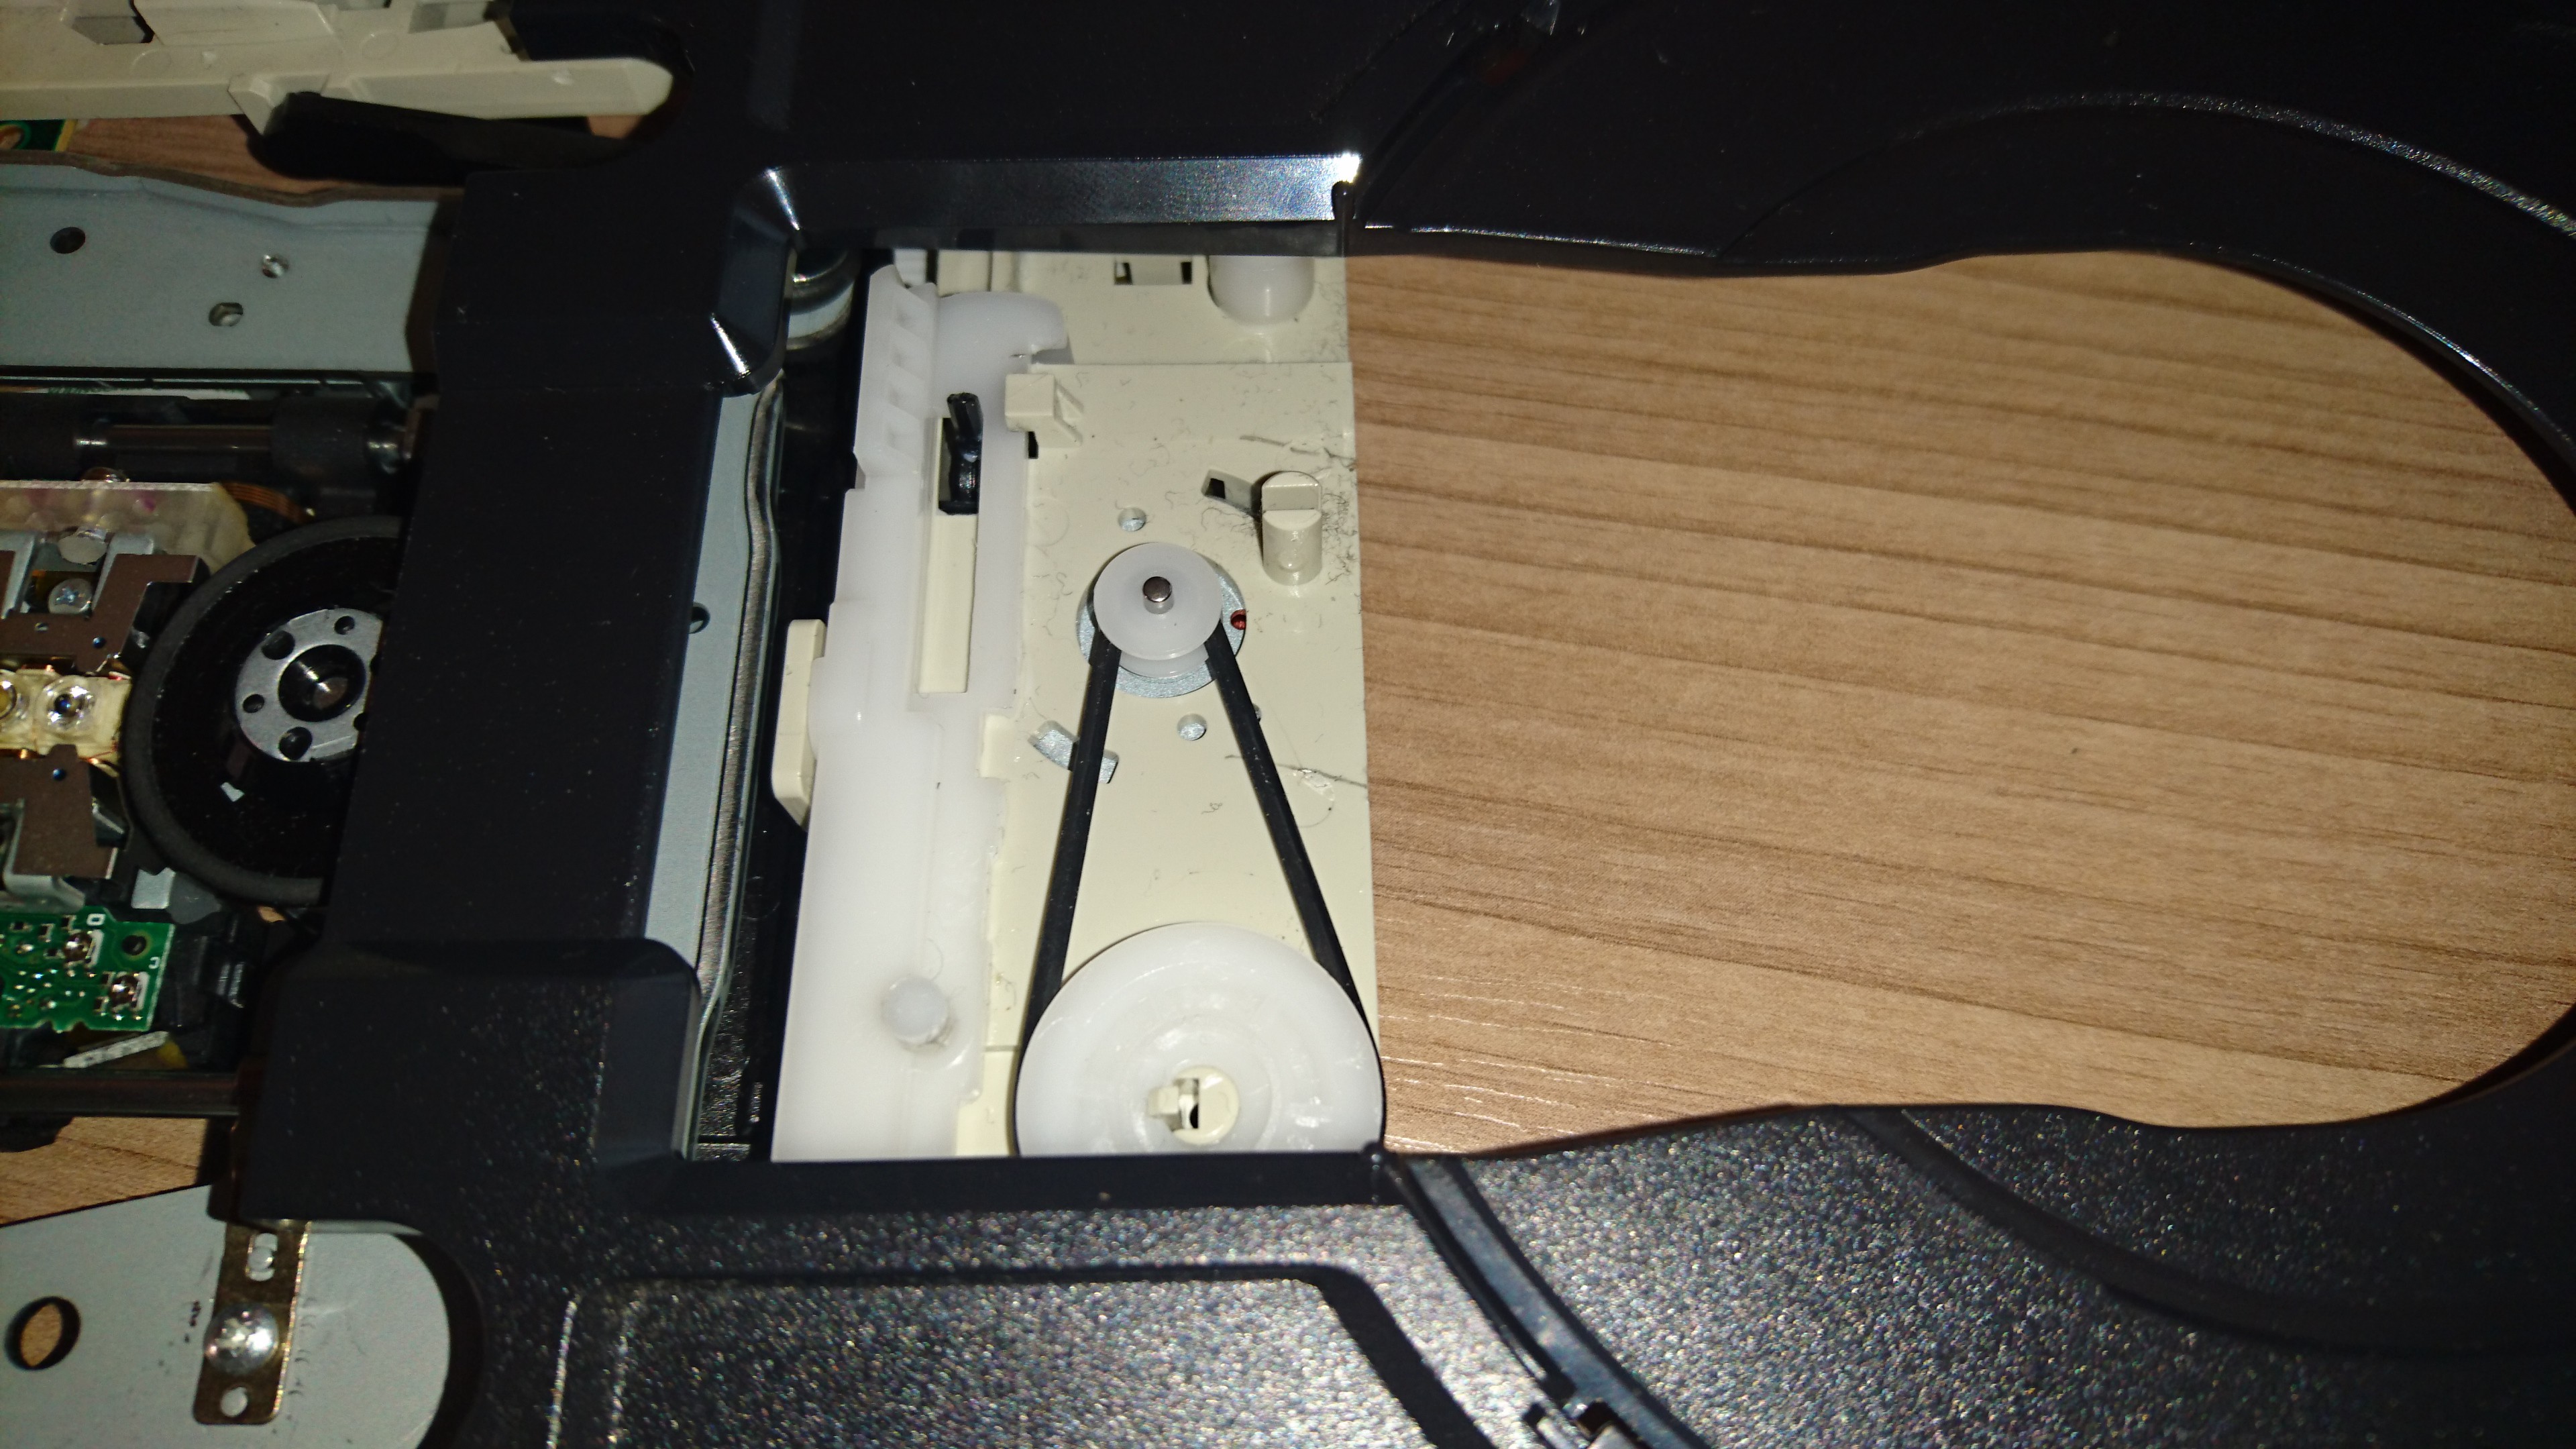
Next you have to remove all the CIF cables and the belt driving the disk sled.
![]()
![]()
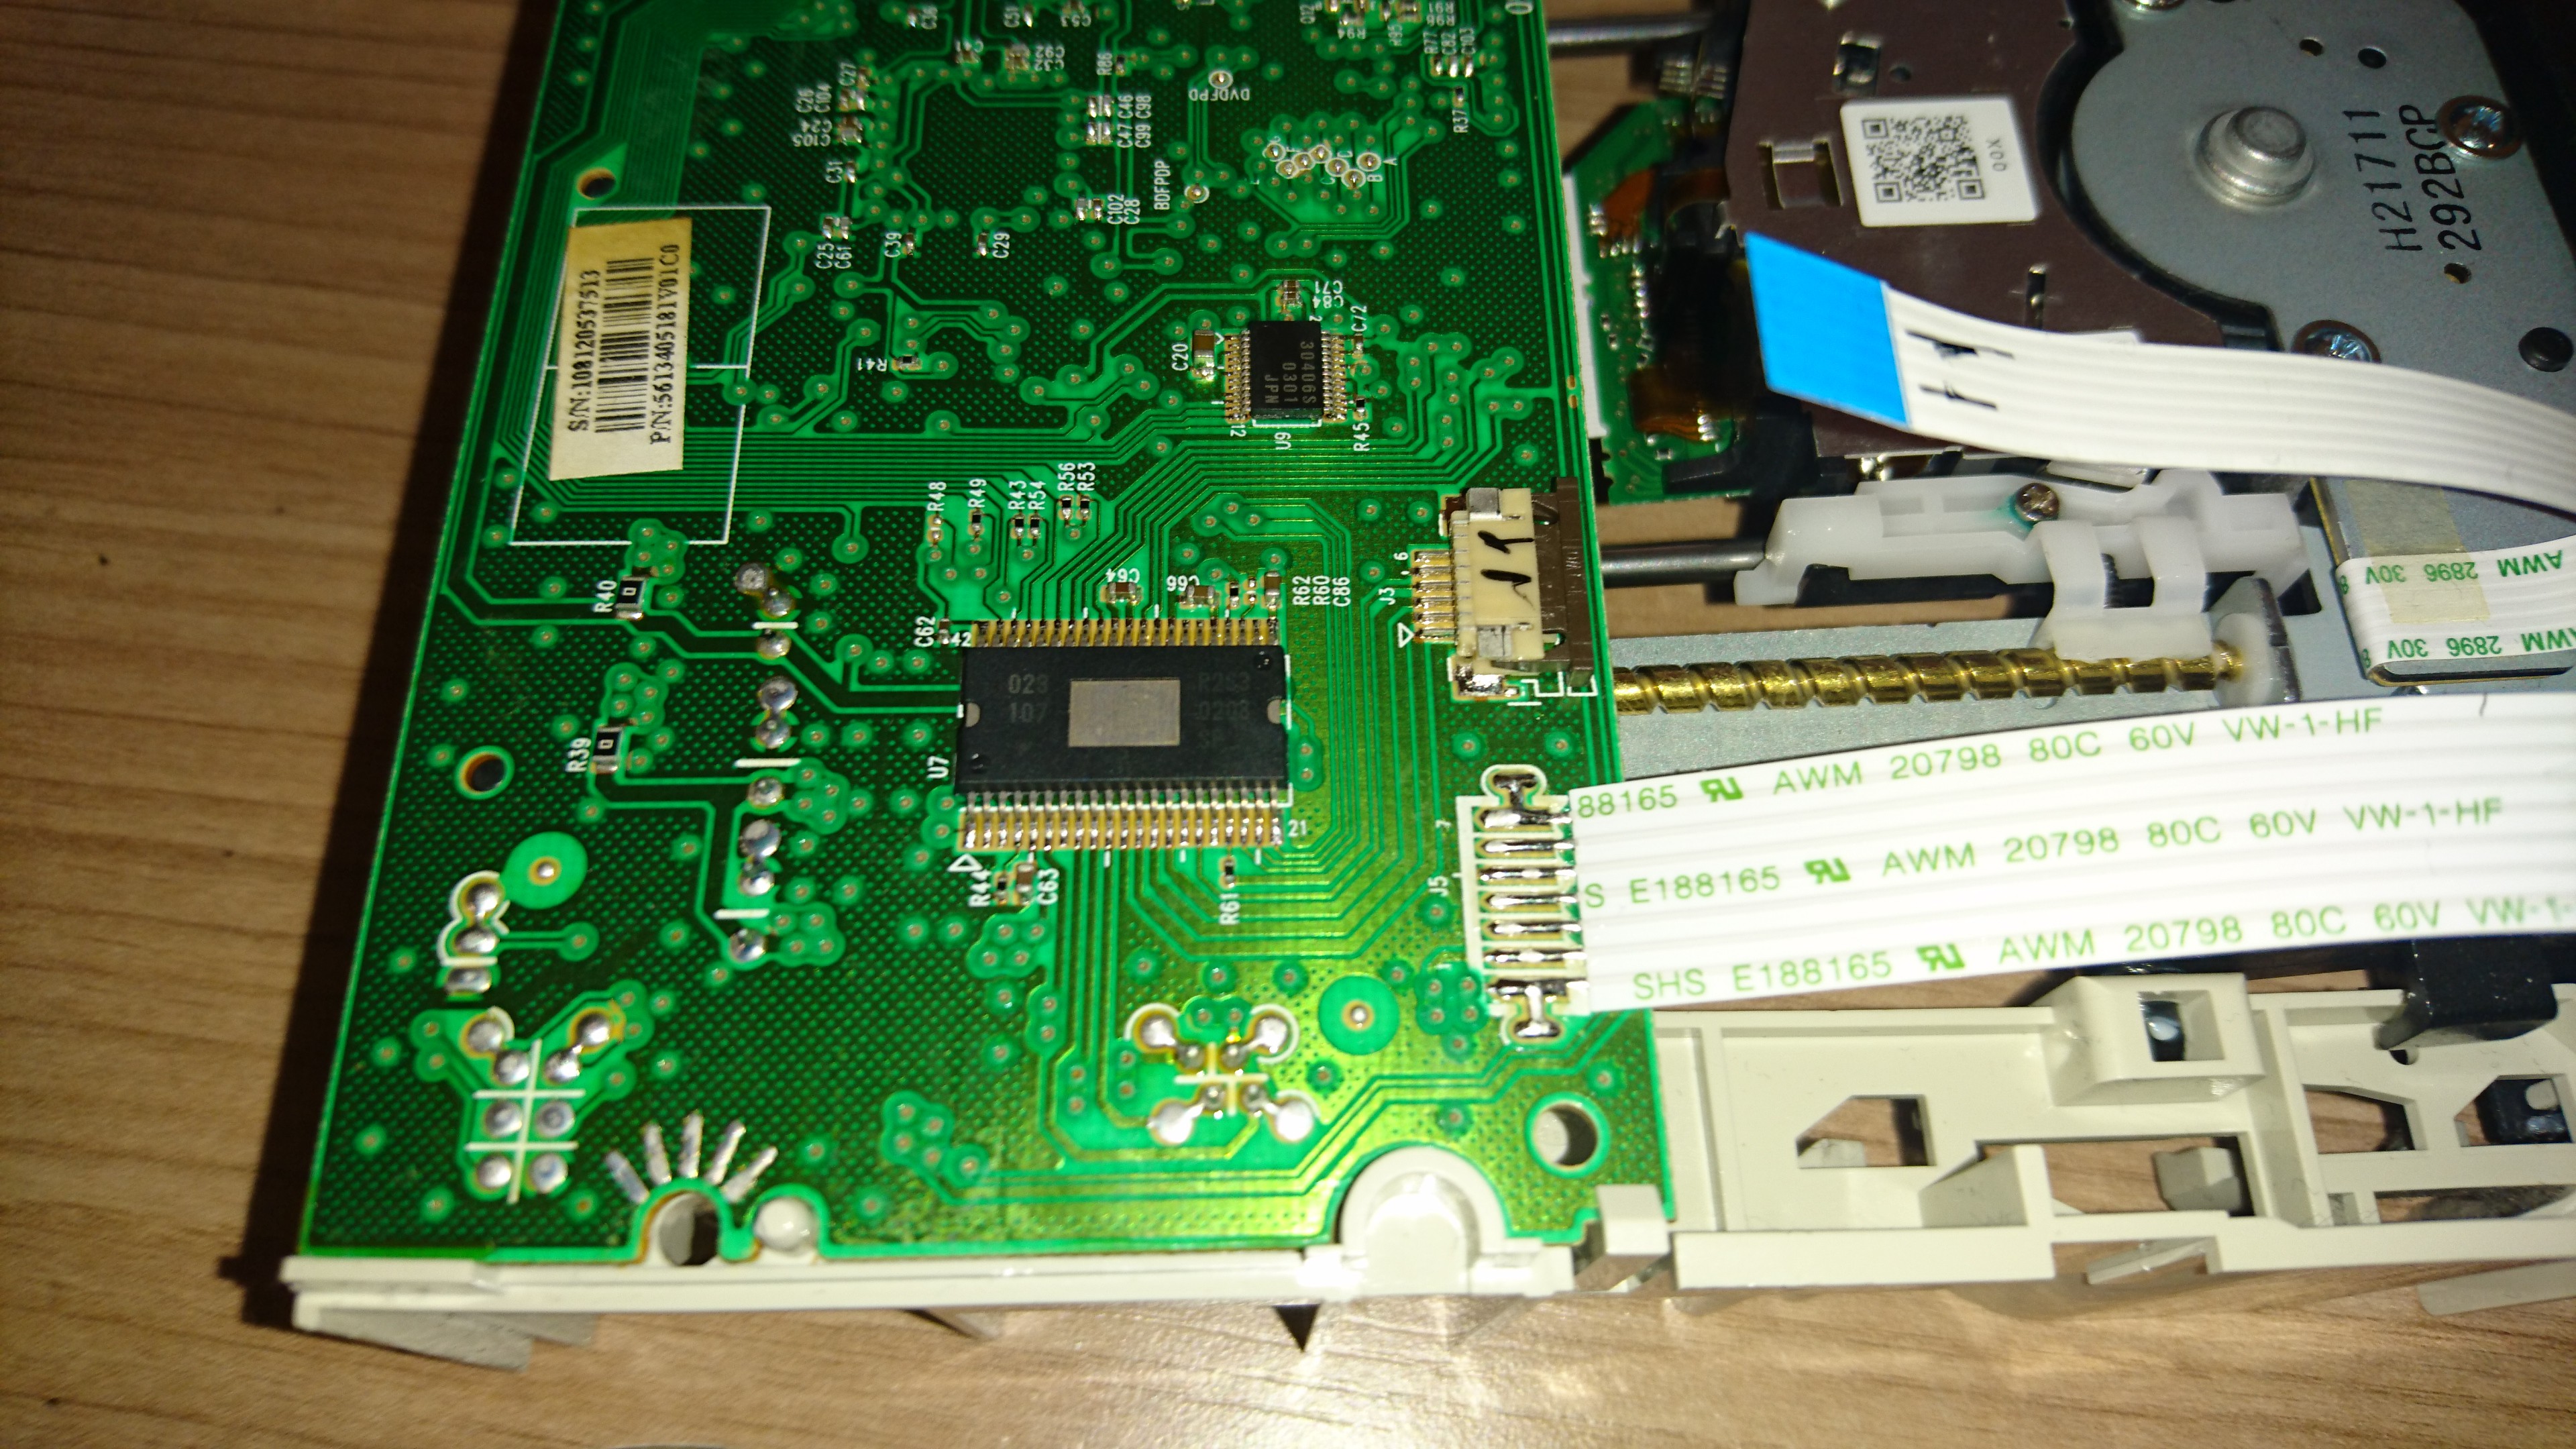
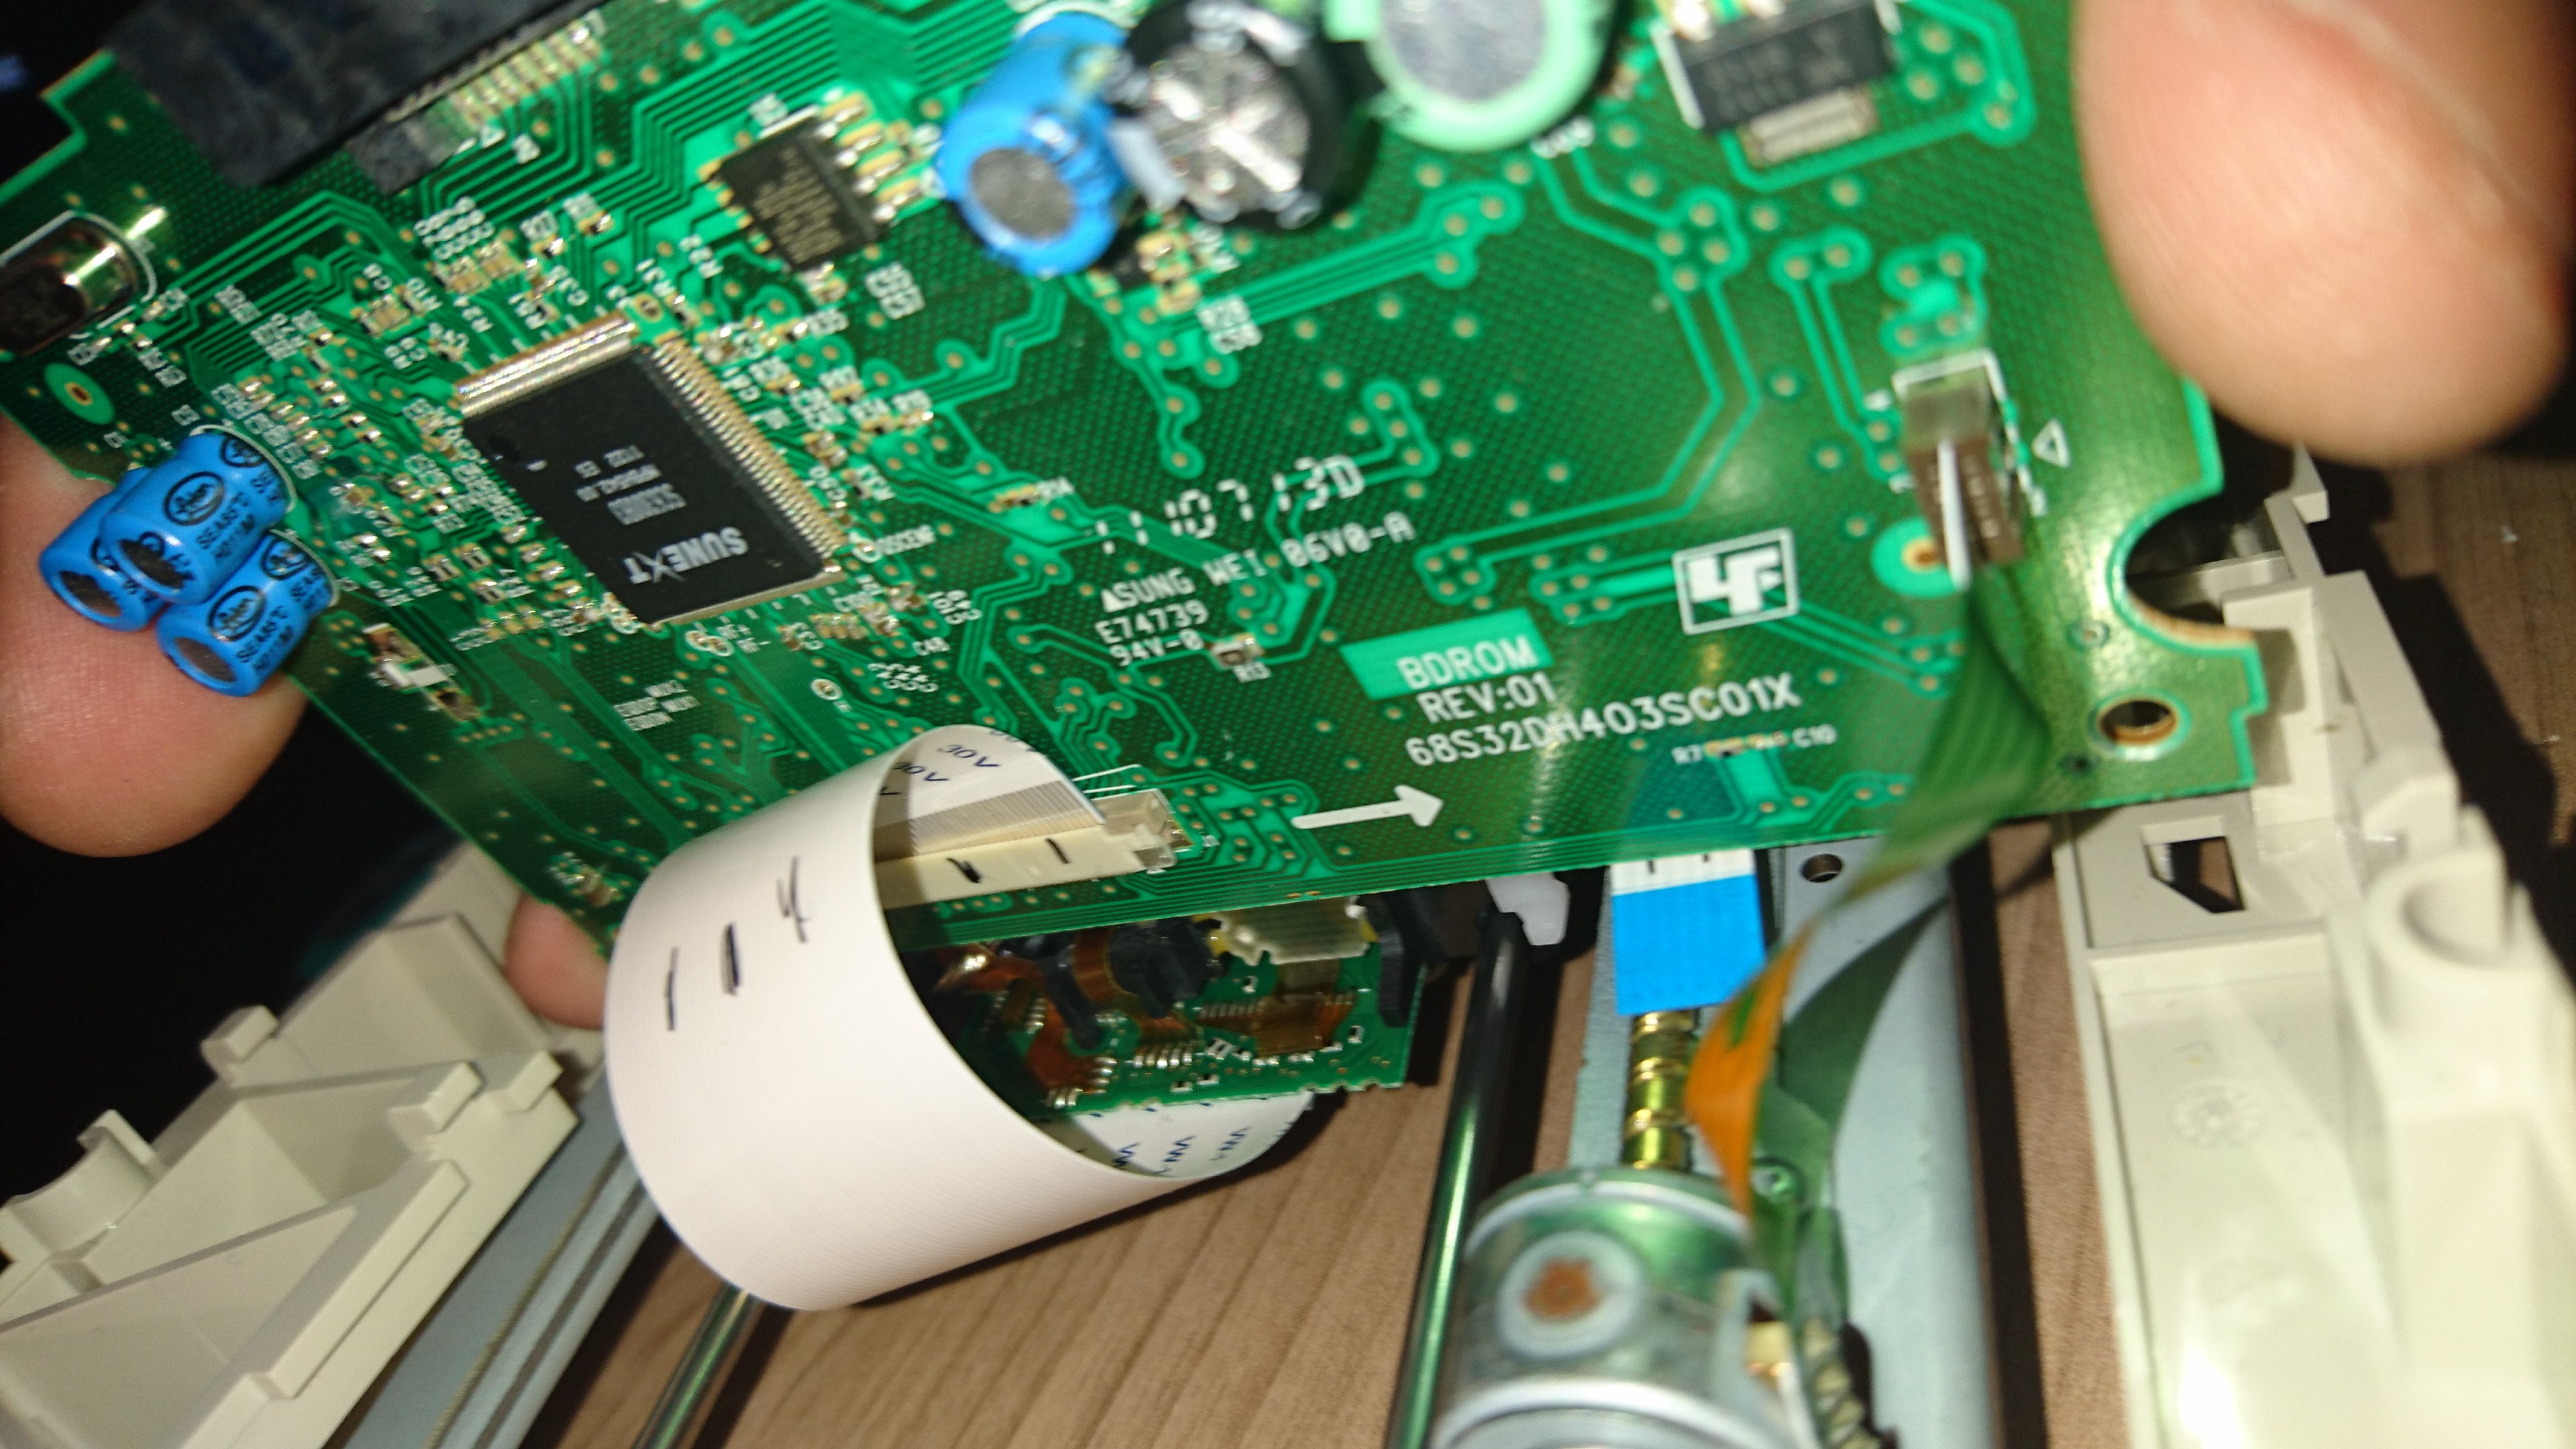
To get the main PCB out you just have to pull back one notch and then lift the PCB up
![]()
![]()
Be very carefull when handling the flat cables they can be harmed pretty easy
I marked the CIF terminals and the cables because I didn't know whether there would be connectors in the same size which didn't happen so you can leave that out.
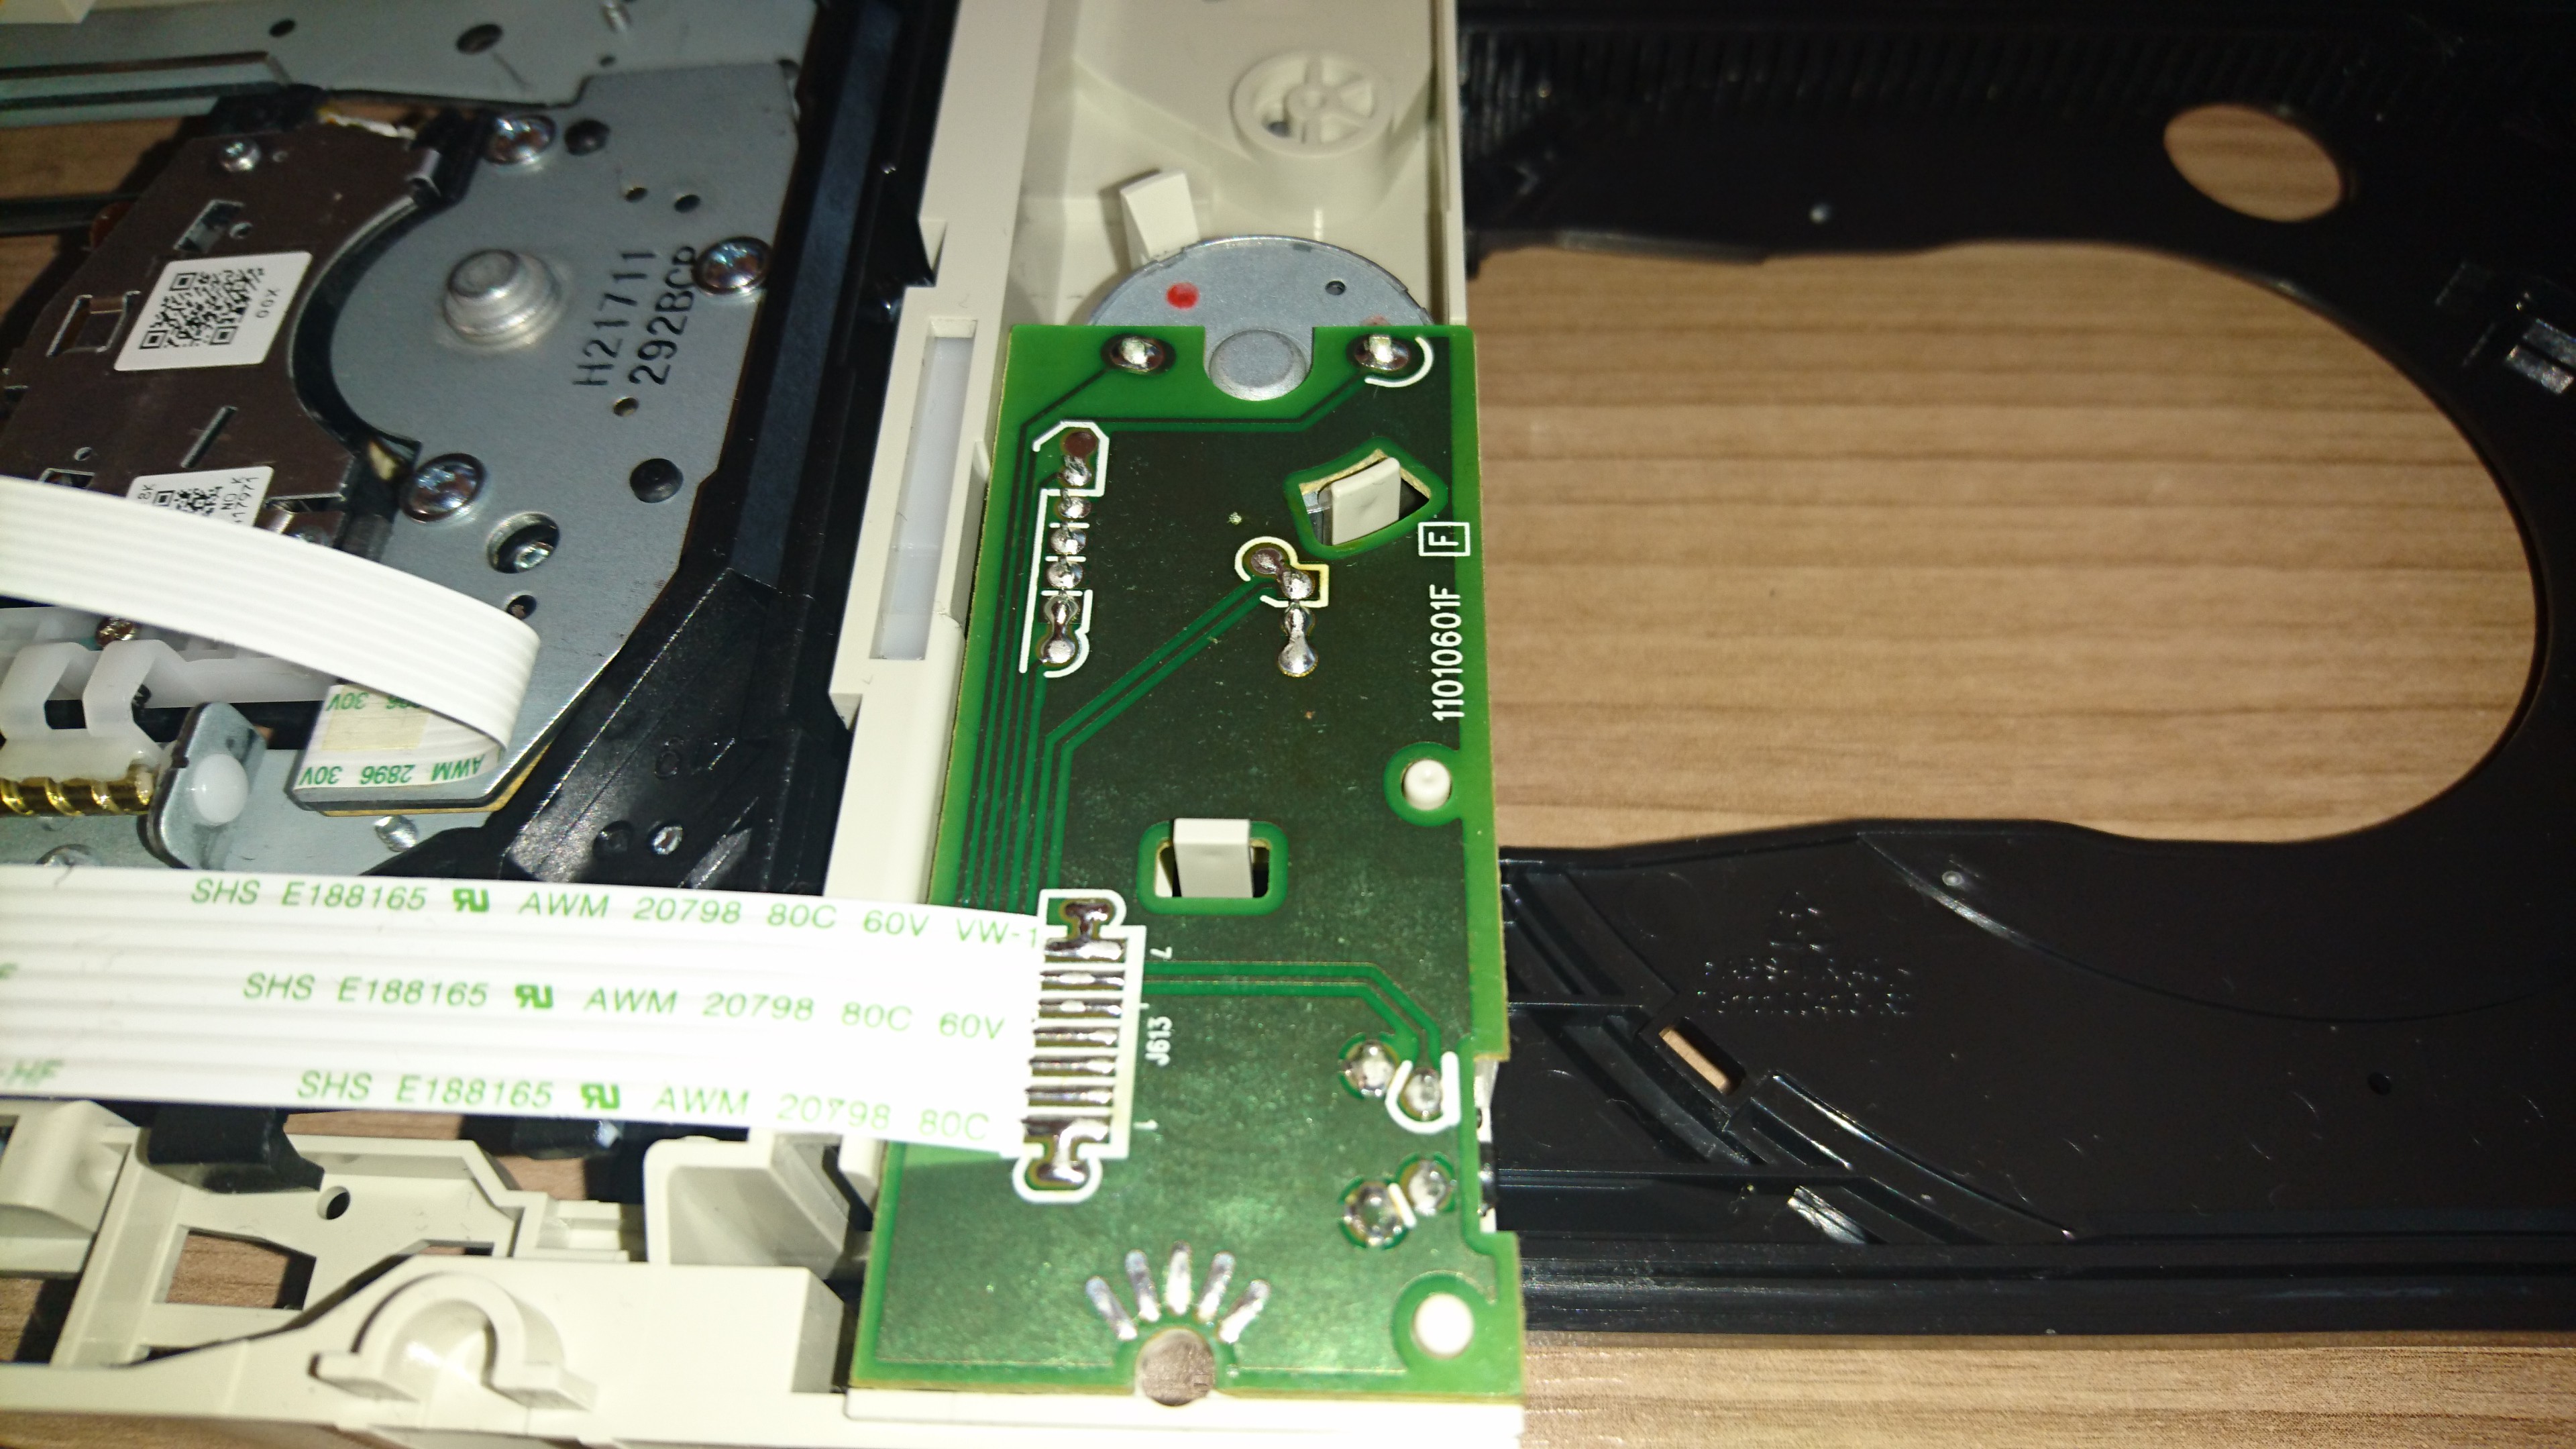
To get the front PCB out you have to push the clamps gently and then pull the PCB including the motor out.
![]()
-
5Step 5
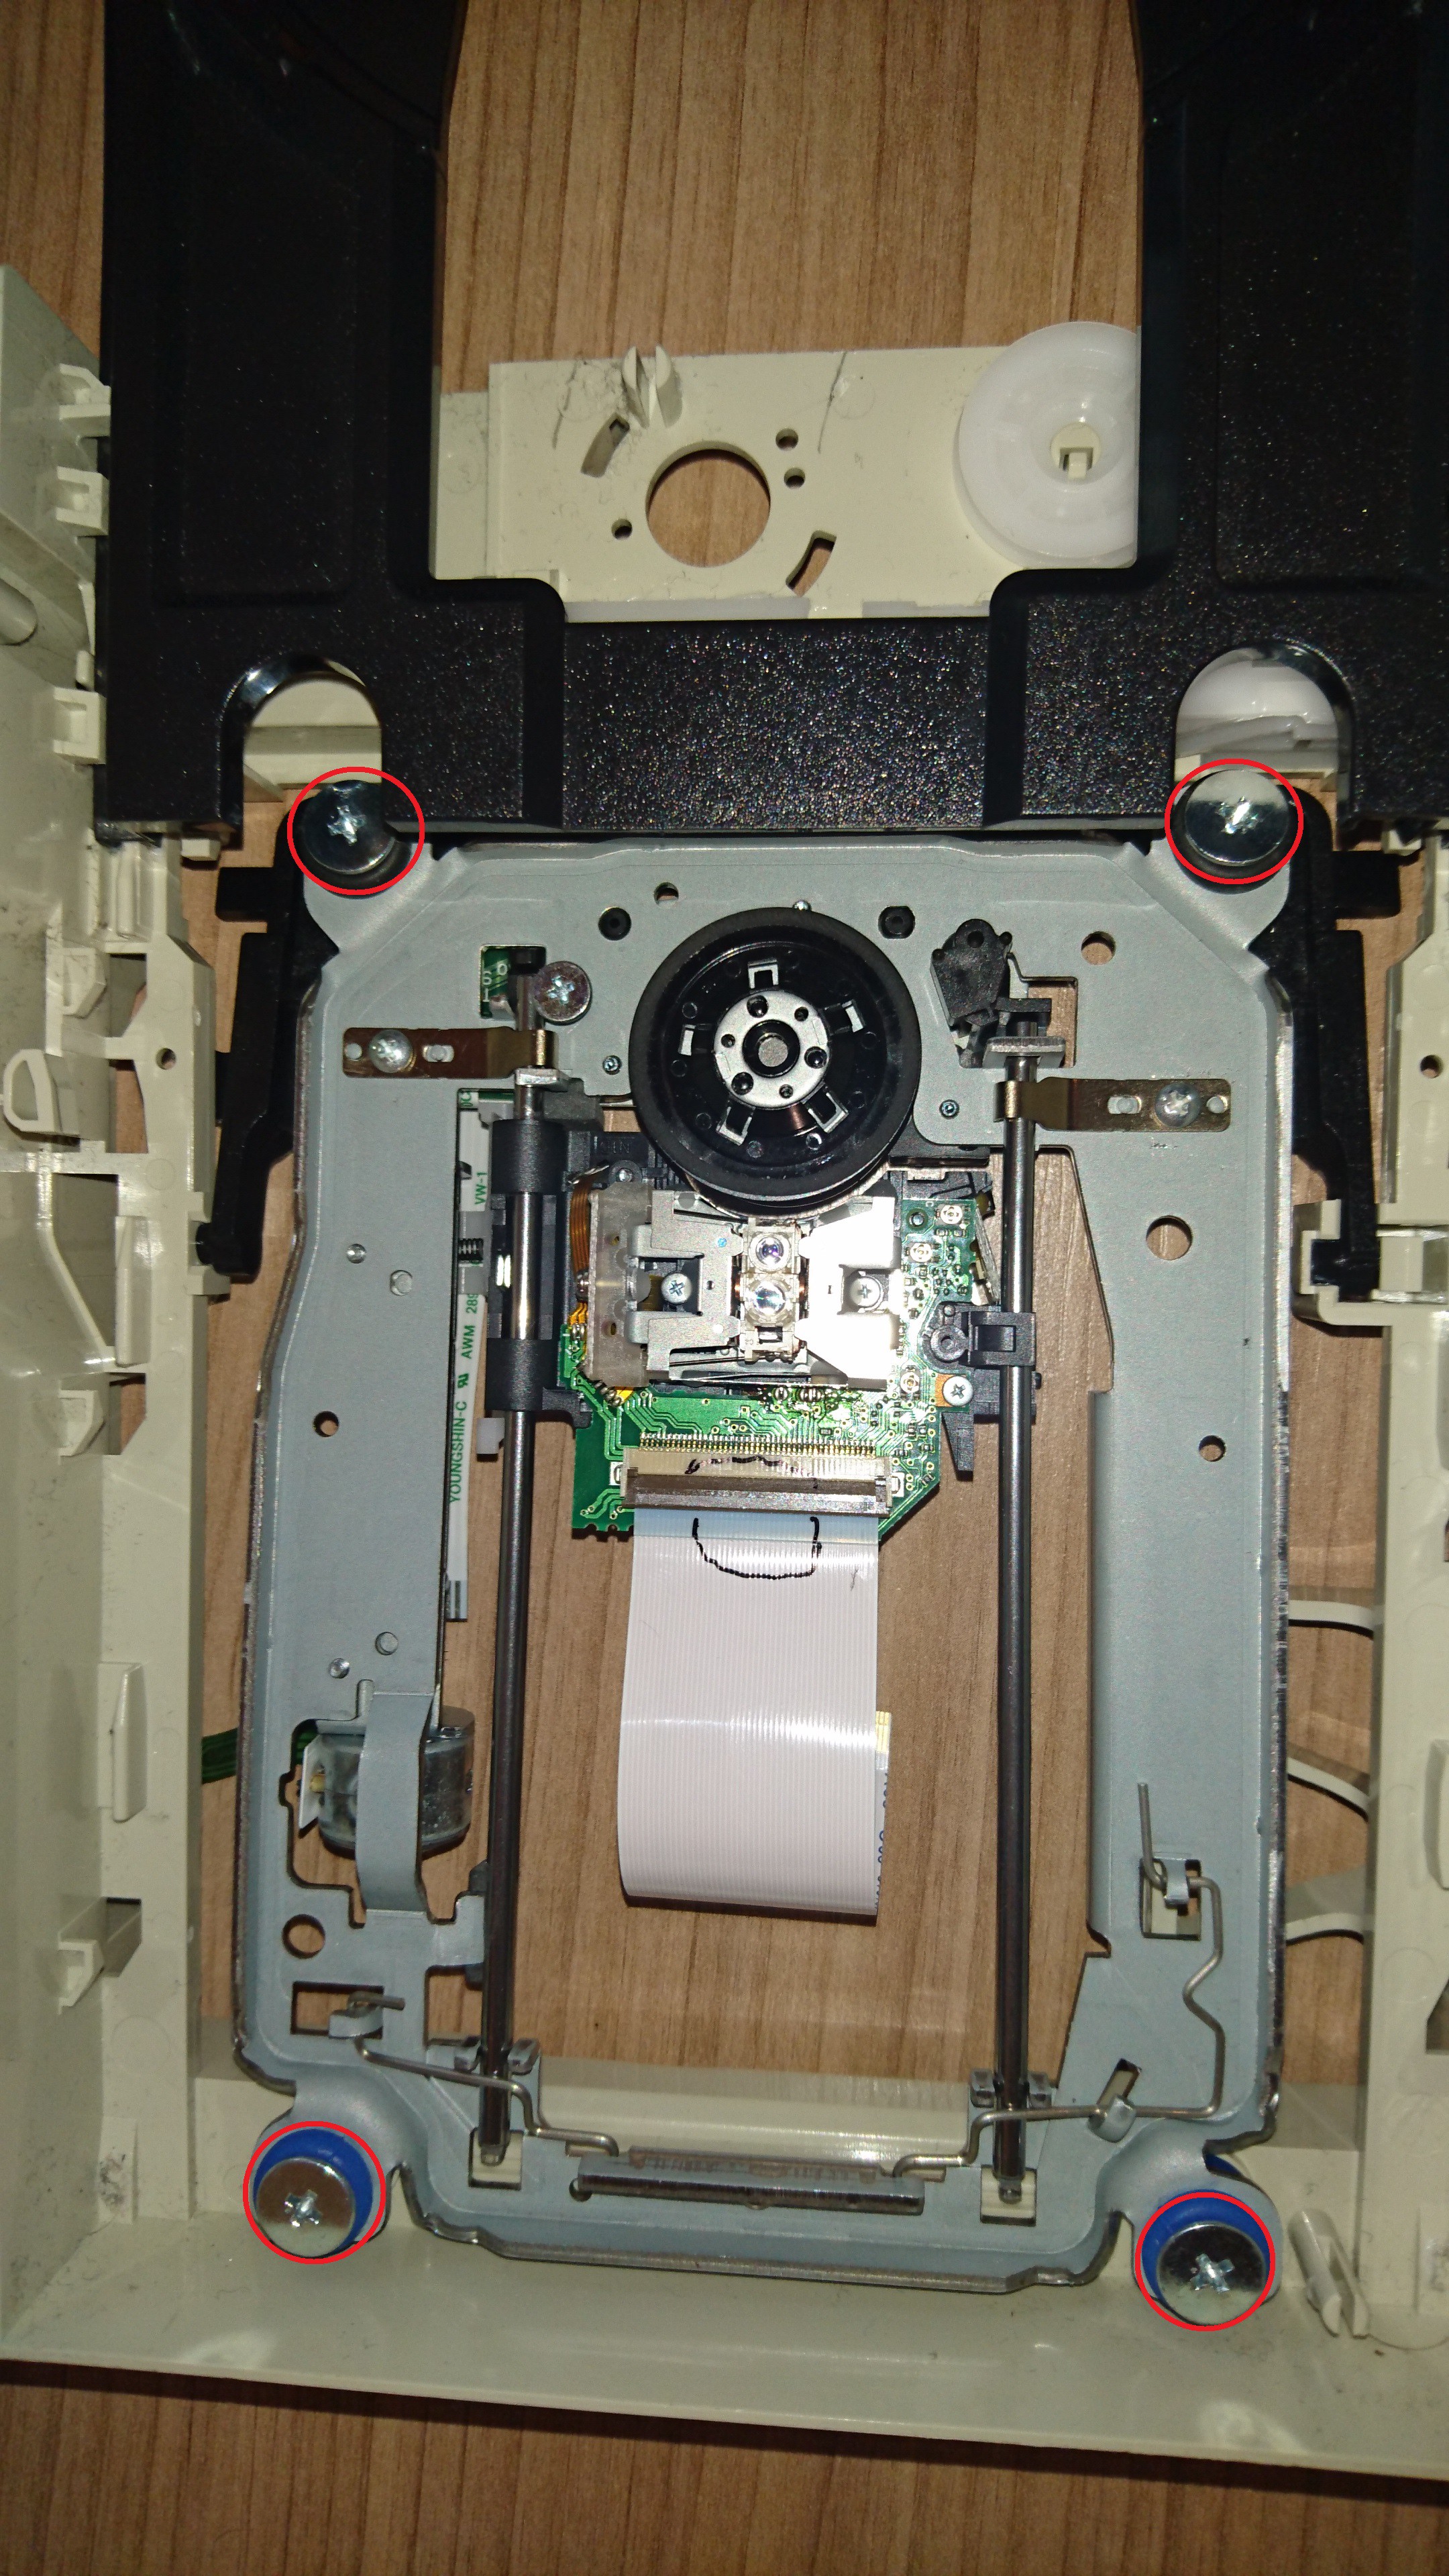
The last step is to remove the screws holding the the disk reading mechanism down to the plastics frame
there are just 4 screws holding it
![]()
-
6Step 6
Yay you finished the drive disassembly =D
The next part of this Project will be the preparation of the CD Changer
Auto Ripper - BD/DVD Changer for automated ripping
In this project I'll hack a CD Changer to use a BD drive and automate the ripping of BDs/DVDs on my PC
 Babo96
Discussions
Become a Hackaday.io Member
Create an account to leave a comment. Already have an account? Log In.
Looks awesome so far! How is the project coming!?
Are you sure? yes | no