Close
0%
0%

Print-Arm 3d: Hand Made 3d Printer

Hand Made 3d Printer

Similar projects worth following
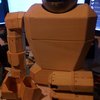
An Open Source 3d Printer made to reduce the materials cost to produce a working 3d printer with a large build volume, and to allow making it from hand without using a 3d printer. The builds hardware currently consists of a modified robot arm, wooden frame, bowden extruder, and a scanner bed from an old printer.

Print-Arm 3d is an Open Source 3d printing machine designed to use small, low torque, dc motors instead of stepper motors to create motion suitable for 3d printing. Several options were considered; but eventually I decided a properly programmed closed loop robot arm would be the most efficient way to print. By adding one linear axis as well we gain a very large potential print area.

I hope that by adding feedback to a cheap robot arm (I’m using an OWI toy arm) I can achieve the necessary precision needed for good printing. Using the idea in this instructable: http://www.instructables.com/id/Modifications-to-Robot-Arm-for-Opto-Coupler-Feedba/ I will add optointerrupters to the inside of the gear box. After this I plan on implementing a PID loop to control the joints of the arm.

In order to use smaller, cheaper motors Print-Arm 3d uses a Bowden style extruder to reduce the weight the arm needs to move. The extruder consists of a mechanical end which pushes plastic filament through a Teflon tube to the heated extruder end on the arm.

Print Arm 3d was designed to be hand made. All of the custom parts are made of a mixture of sawdust and wood glue that was additively sculpted and pressed to form a strong composite material. Also, only basic tools are required to assemble it.

The most complex part of the project is going to be in the software. I will try to write as much of the code as I can from scratch in C++.

printarm.blend

Version 1

x-blender - 645.54 kB - 07/17/2016 at 08:52

Download

  • 2 × Atmega 328
  • 4 × L293D H-bridges
  • 1 × OWI Robot arm
  • 8 × Opto Interrupters
  • 1 × Brass Rod

View all 12 components

  • Bowden Extruder Mechanical End

    levi07/16/2016 at 13:26 0 comments

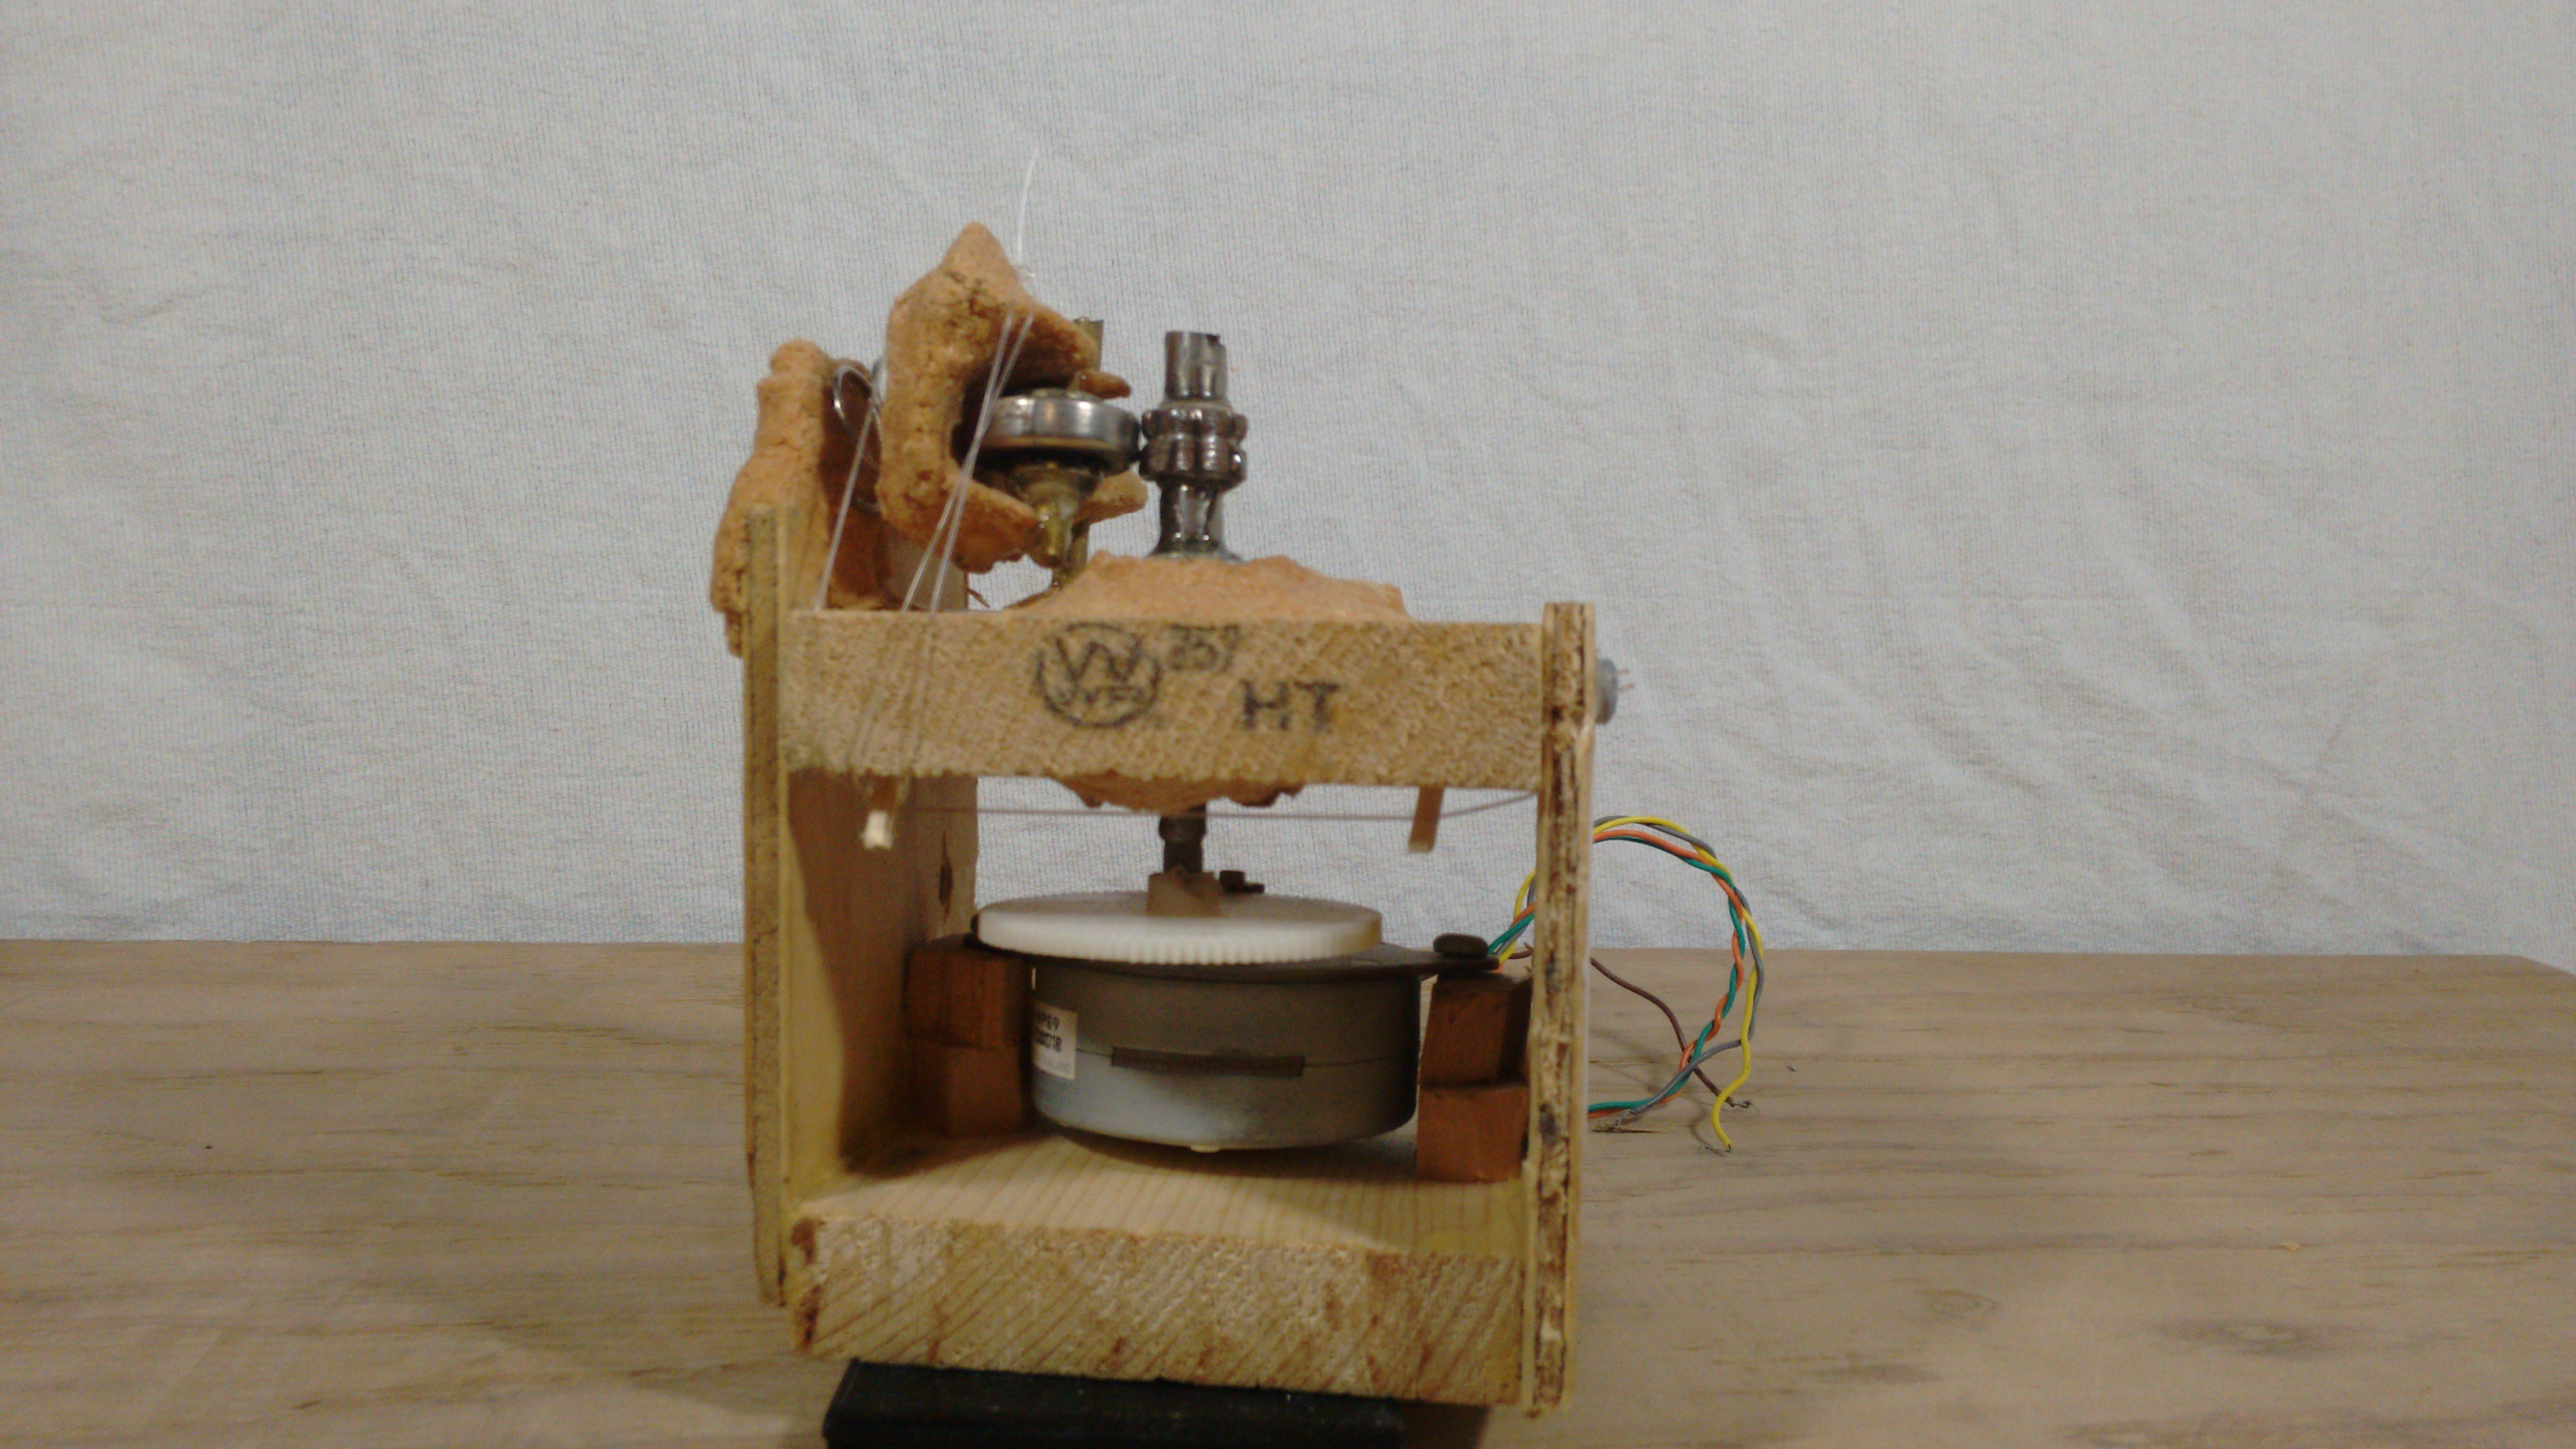
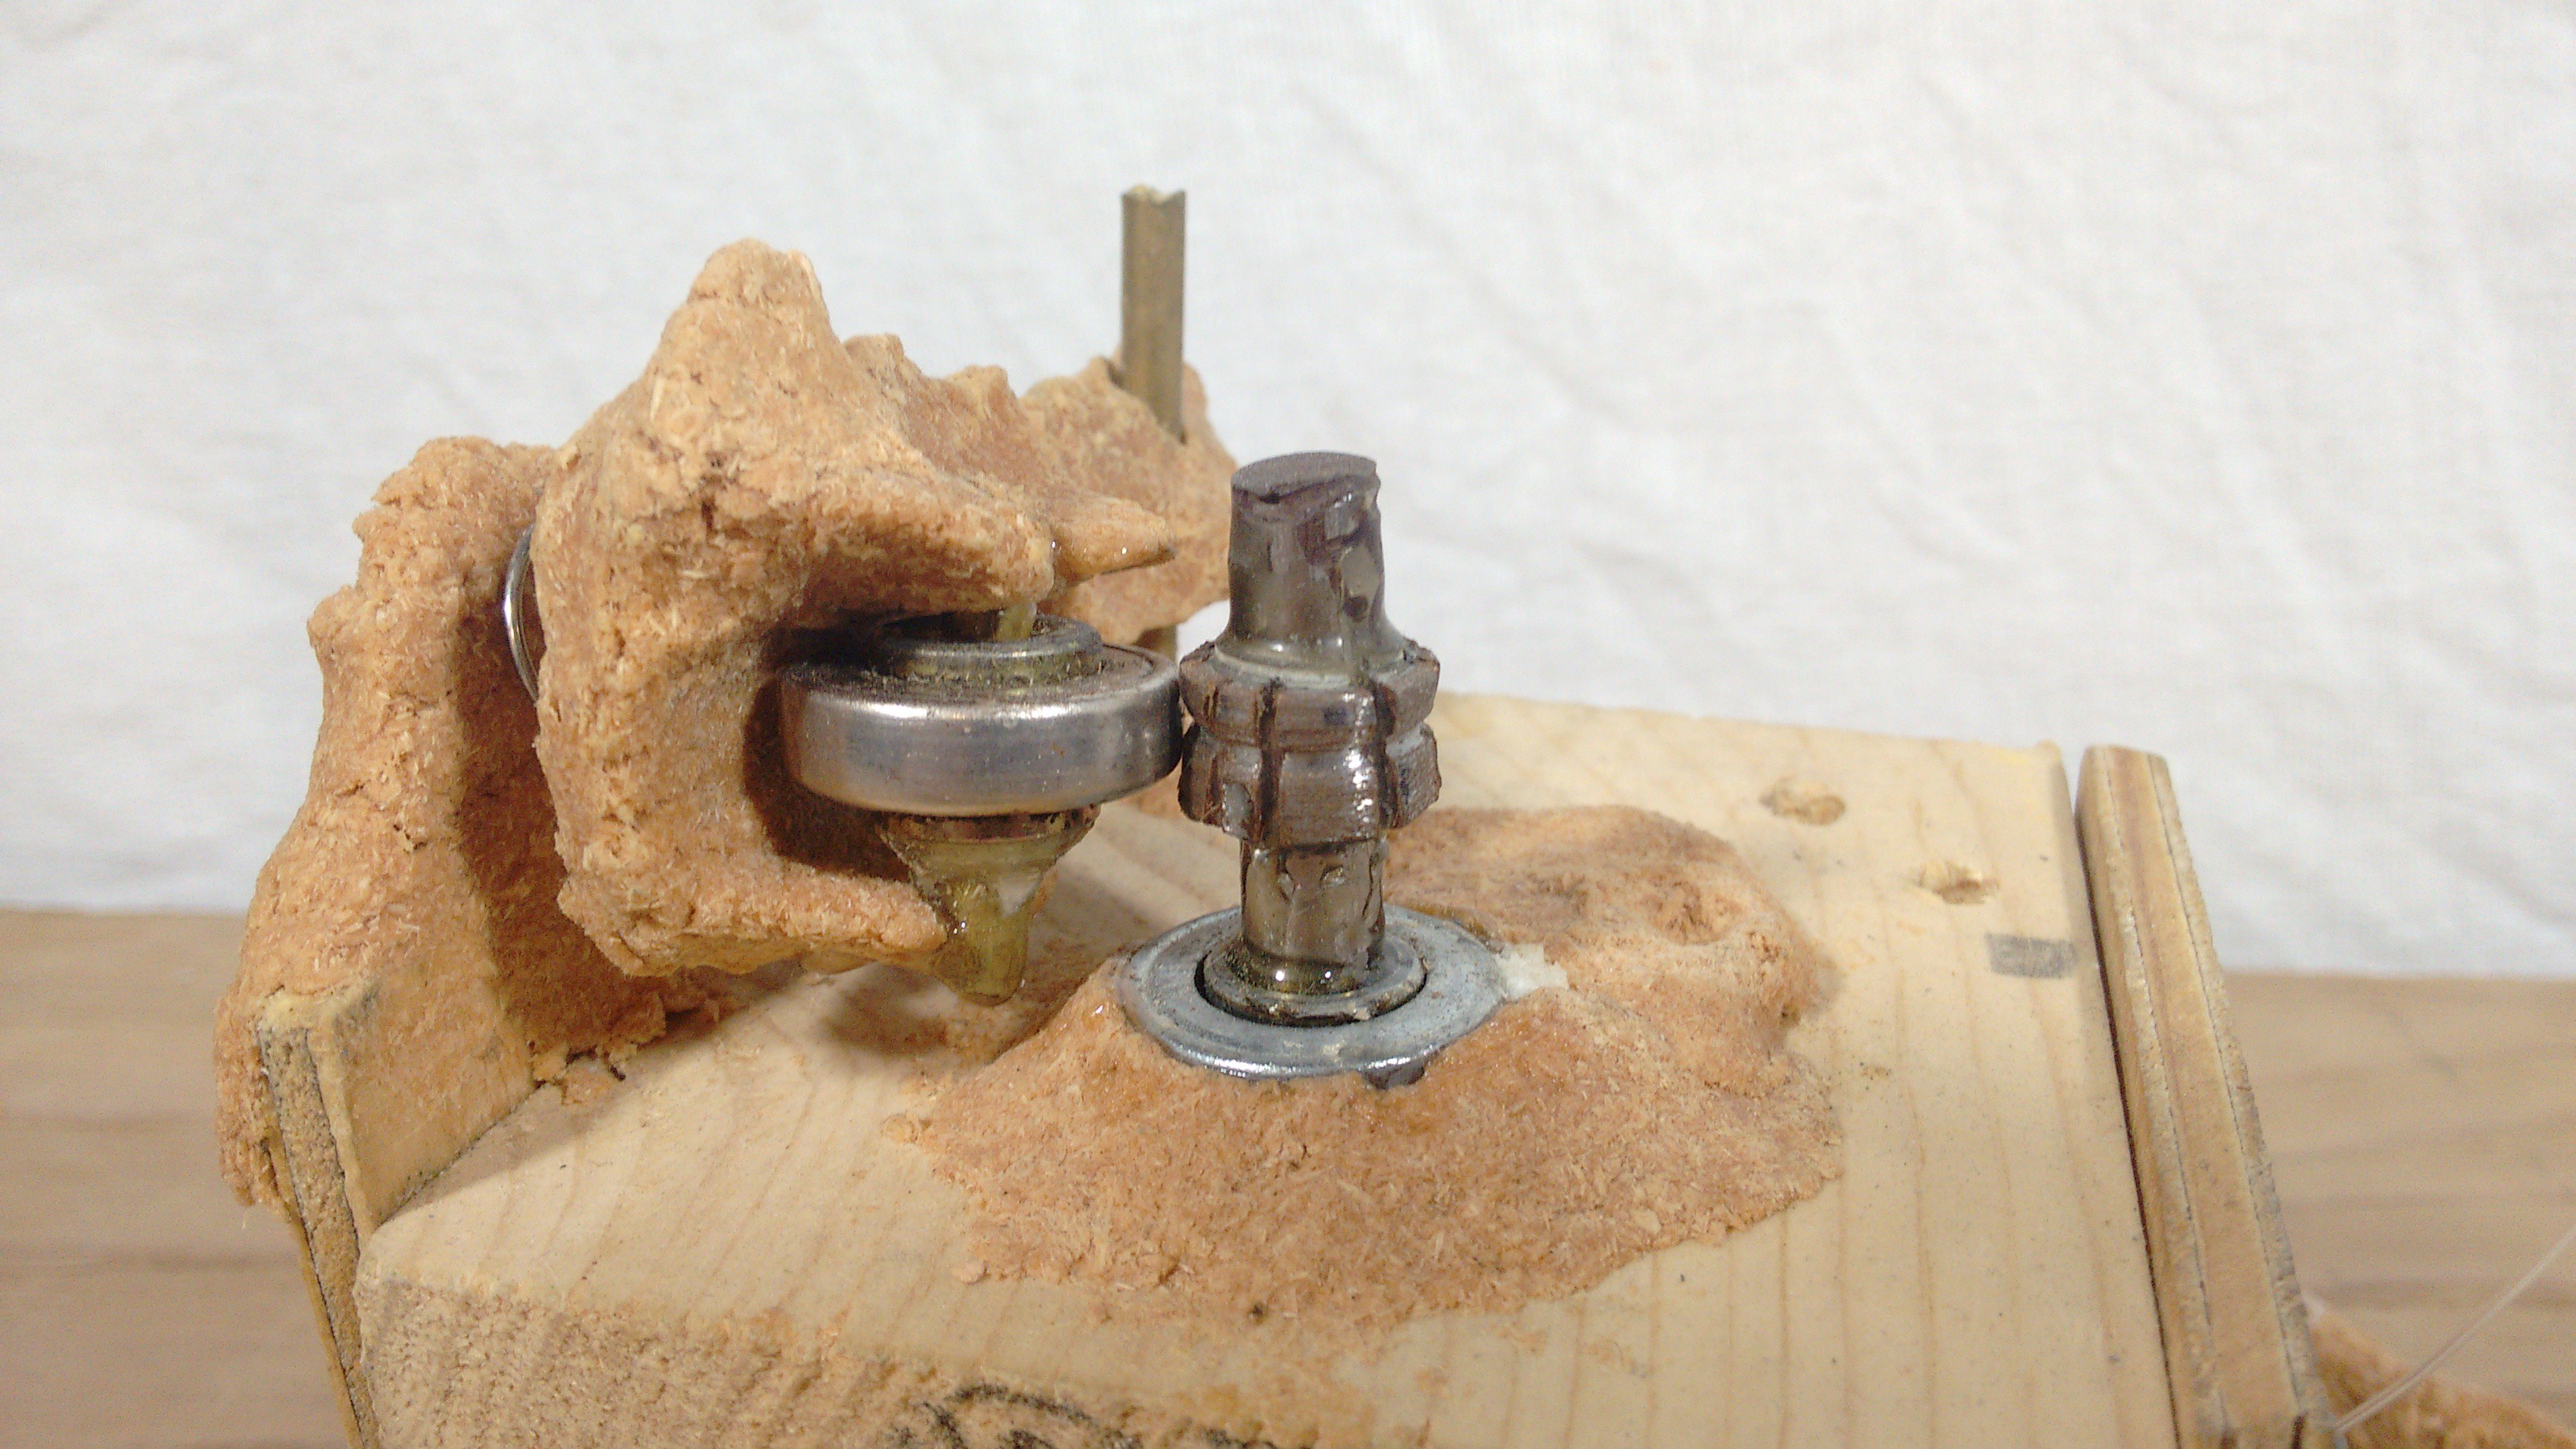
    Print Arm 3d uses a Bowden extruder to reduce the weight the print head has to move around. The mechanical end of this extruder was made from old electronics, some basic parts, wood, and glue. It was constructed using basic hand tools. It uses a knurled “bolt” that bites into the filament and pushes it past an aligned ball bearing. The ball bearing is positioned and tensioned using both the spring and some nylon twine. It is designed to be hand made.

    The “bolt” in the system is actually ahex nut epoxied to a piece of smooth rod which has grooves to hold a gear on one end. The shaft is epoxied to two ball bearings which are held in place by being epoxied to a custom wooden form. The shaft is driven by a stepper motor screwed to the piece of wood.

    All of the custom parts you see were hand sculpted from a mixture of
    wood glue and sawdust. The rest is either plywood, 1*4, brass rod, or a spring from the OWI robot arm battery holder. To align the bearing with the knurled nut I loop a piece of nylon cord over it, and
    around an anchor point to adjust it’s exact tension and position.

    The next step is to mount the bowden tube near it and test it. The bowden tube is an 1/8" ID Teflon tube.

  • Printer Axes

    levi05/30/2016 at 05:45 0 comments

    Printer arm and bed description.

  • Extruder Hot End

    levi05/30/2016 at 05:40 0 comments

    The extruder Hot end is going to be My attempt at remaking this: http://reprap.org/wiki/North90's_hot-end_V2 . Except mine will use kanthal wire for the heating element instead of the power resisitor.

  • Electronics

    levi05/30/2016 at 05:39 0 comments

    Arduino

  • Frame Version 1

    levi05/30/2016 at 05:37 0 comments

    The 2 x 4 frame I made is shown.

View all 5 project logs

Enjoy this project?

Share

Discussions

heinz wrote 03/18/2021 at 13:15 point

Love the handcrafted extruder! :D

  Are you sure? yes | no

Morning.Star wrote 01/21/2017 at 10:00 point

Hi Levi.

Neat project! Thats a really inspiring idea...

I'm building a lathing mill/printer myself using steppers controlled by a pair of piggy-backed Atmels. It uses GCode to communicate so I dont have to write everything, but I pretty much am anyway. If you'd like a heads-up on the mathematics, I've got some Python and C++ code as well as useful geometry on my pages. Or drop me a line if you want some specific help.

Good luck!

Jez

  Are you sure? yes | no

levi wrote 06/06/2016 at 05:10 point

Hi Mike,

I am going to update this project soon. I intend to write as much of the code a possible from scratch in c++. Depending on time constraints I may need to borrow from various open source projects. The hardware consists of H-bridges driven by Atmega-328PU I.C's. At this time I'm actually not sure I'll use G-code at this point. 

I plan to implement inverse kinematics to an owi robot arm with added optointerrupters used to control it with closed loop feedback (probably PID) I'll cite where I got that idea from in my update).

Thanks for Looking,

Levi

  Are you sure? yes | no

TheotherMike wrote 05/30/2016 at 16:24 point

Hi Levi,

interesting project and I wish you good luck and much fun!

What about the software and electronics part? What controlling firmware/board/driver and G-code handler do you want to use?

Are you planning to implement inverse kinematics?

Kind regards,

Mike

  Are you sure? yes | no

Similar Projects

Does this project spark your interest?

Become a member to follow this project and never miss any updates