 Alain Mauer
-
1Step 1
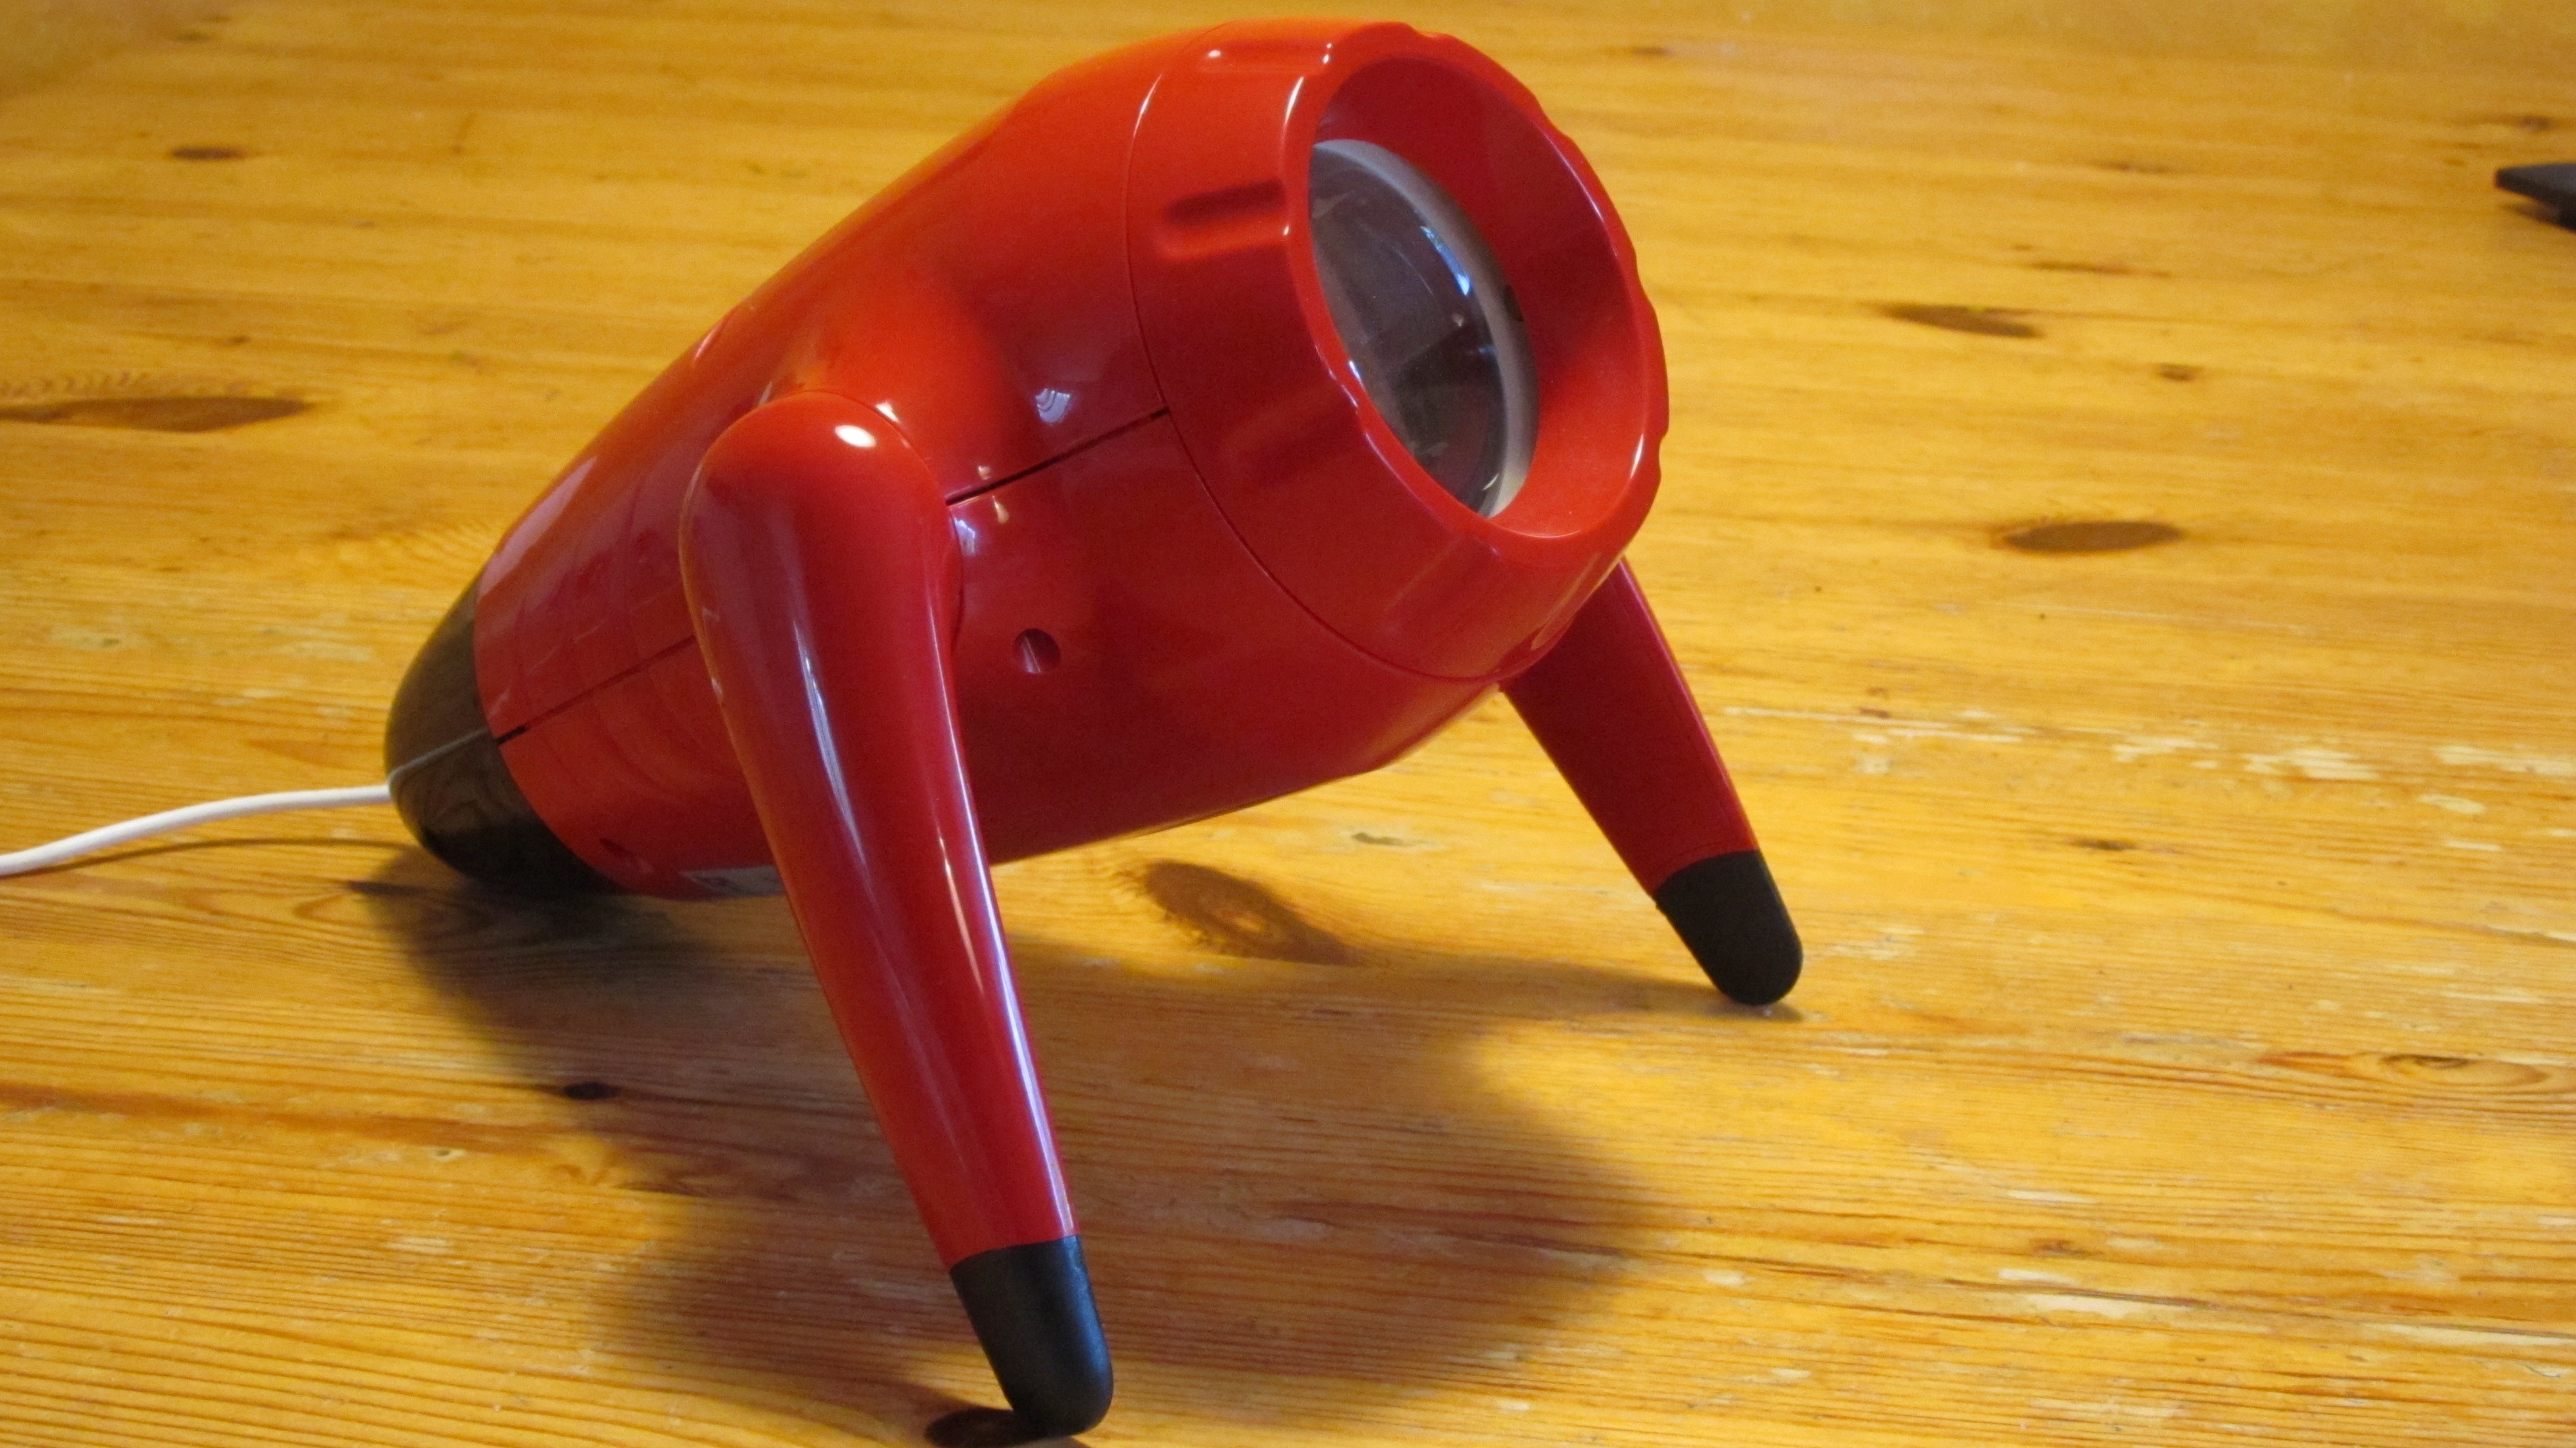
The Lamp Sprida
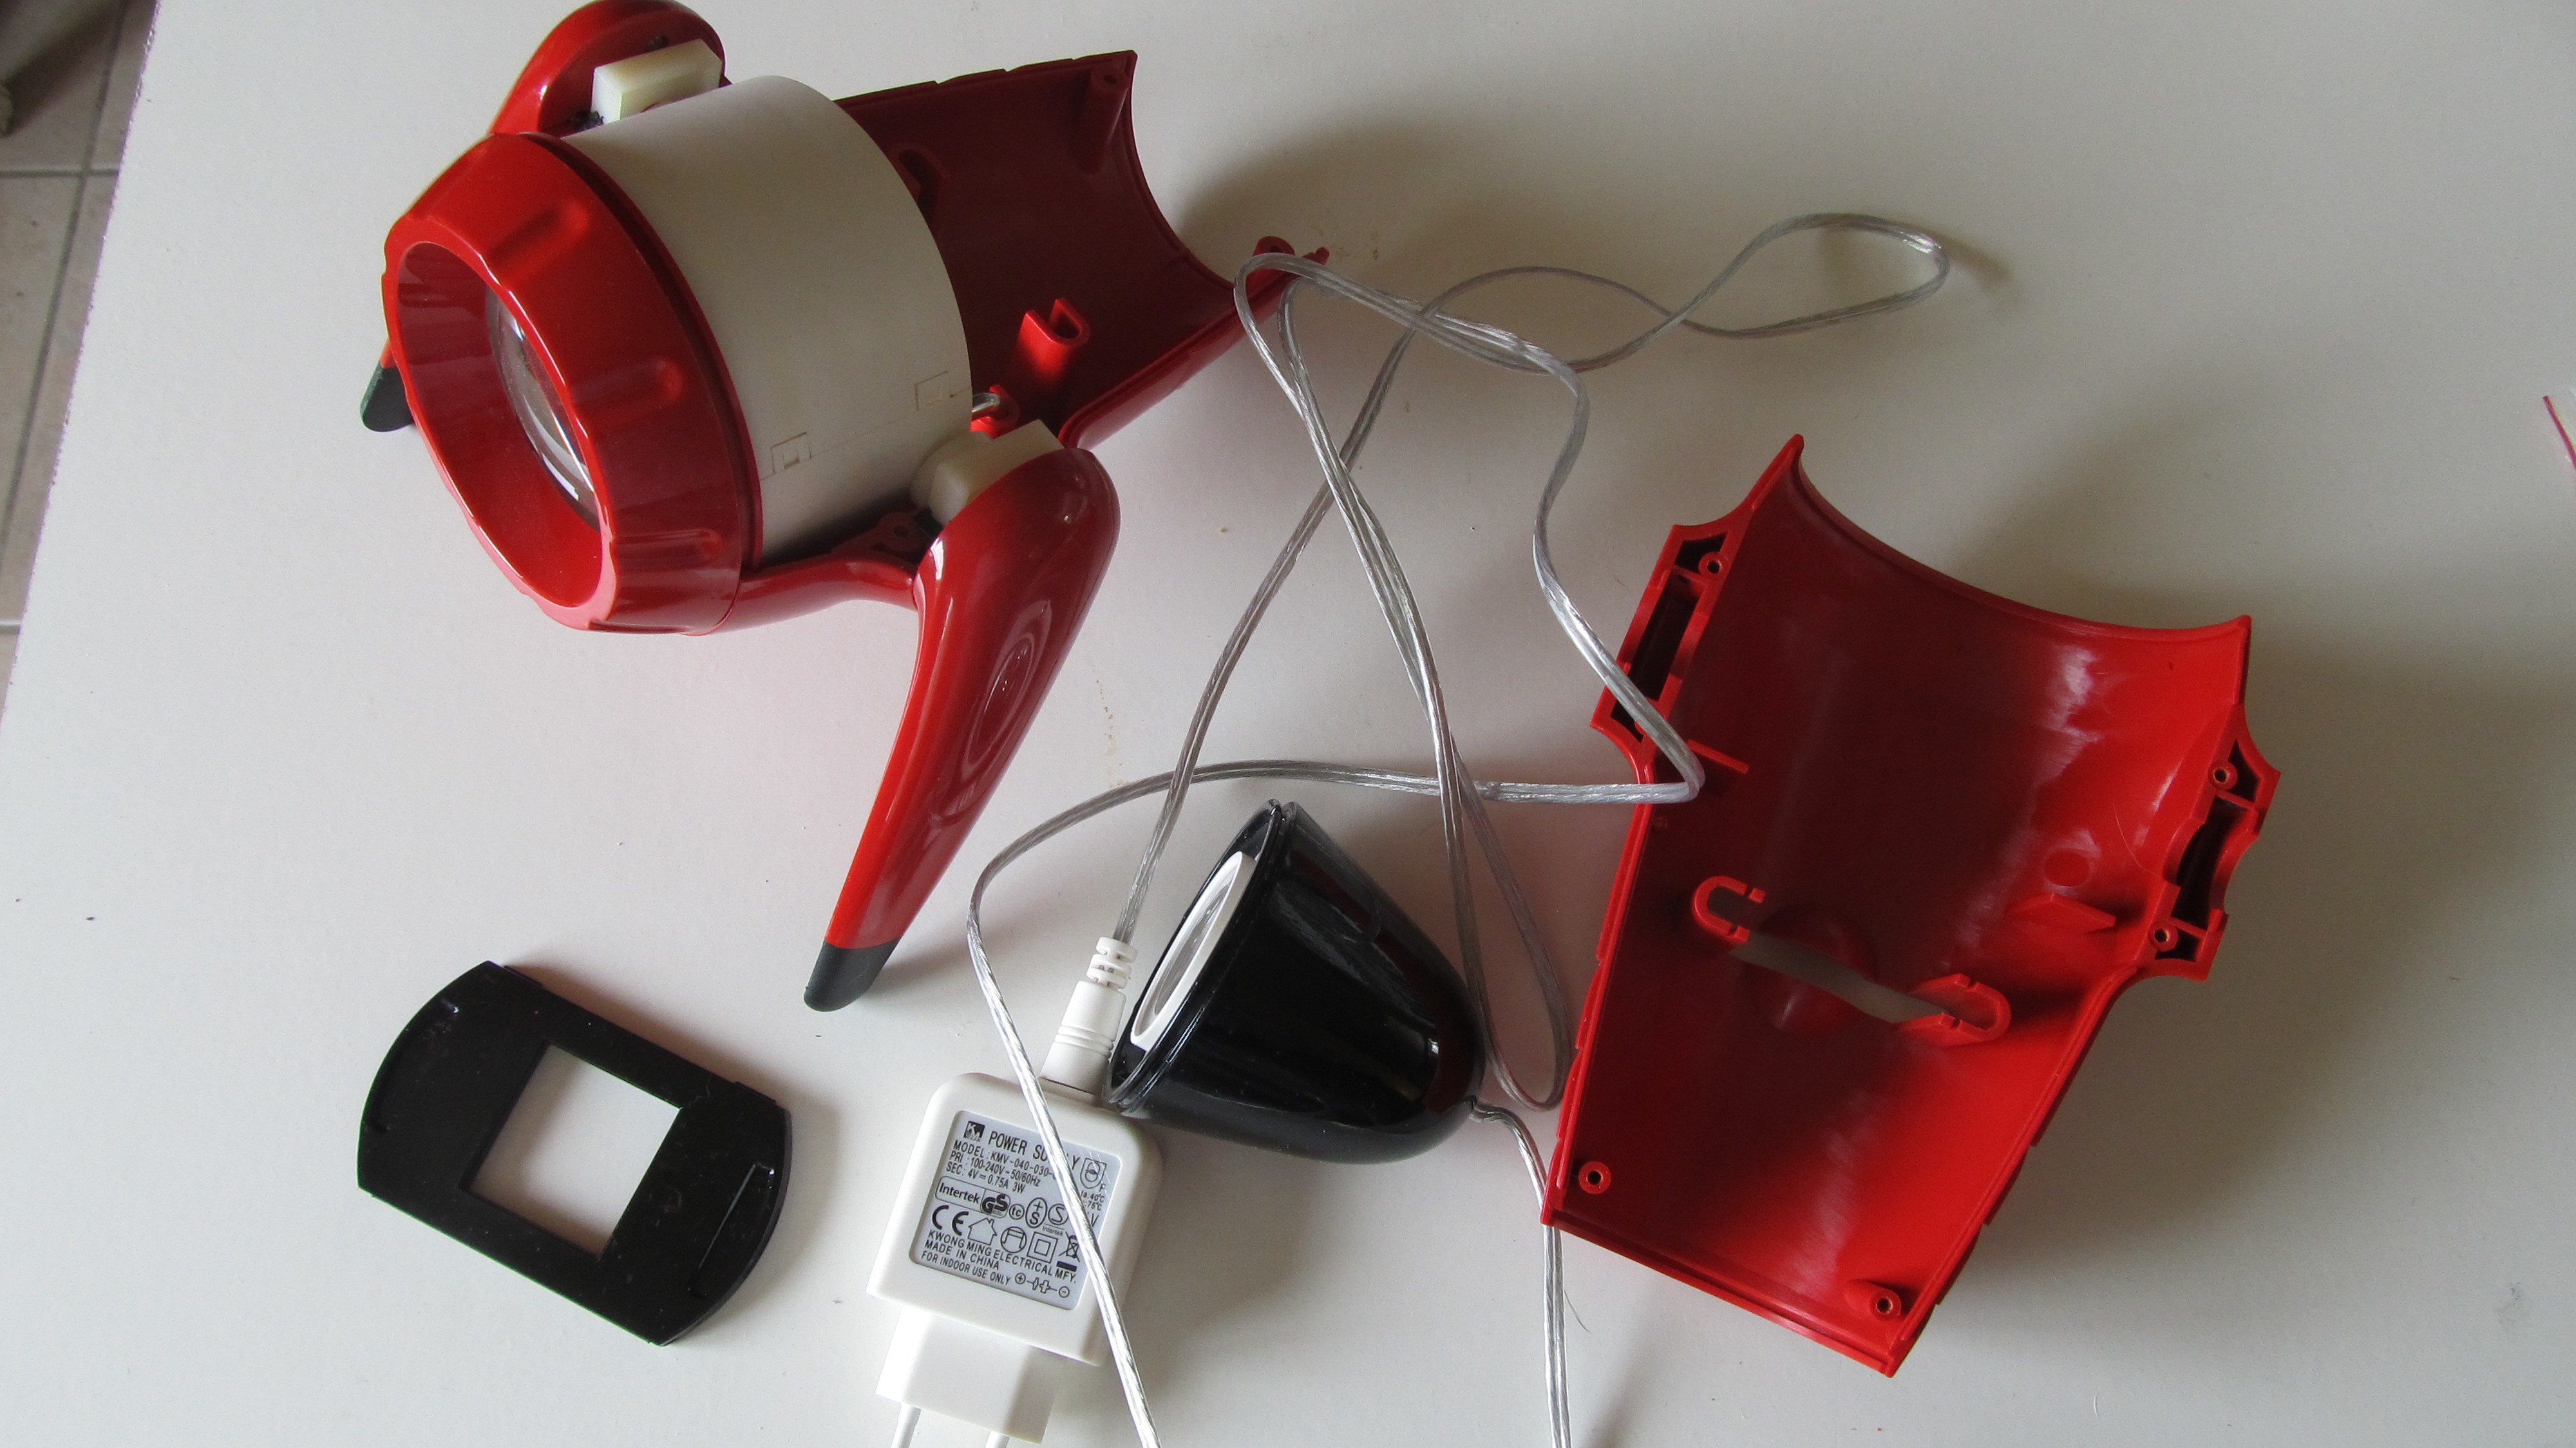
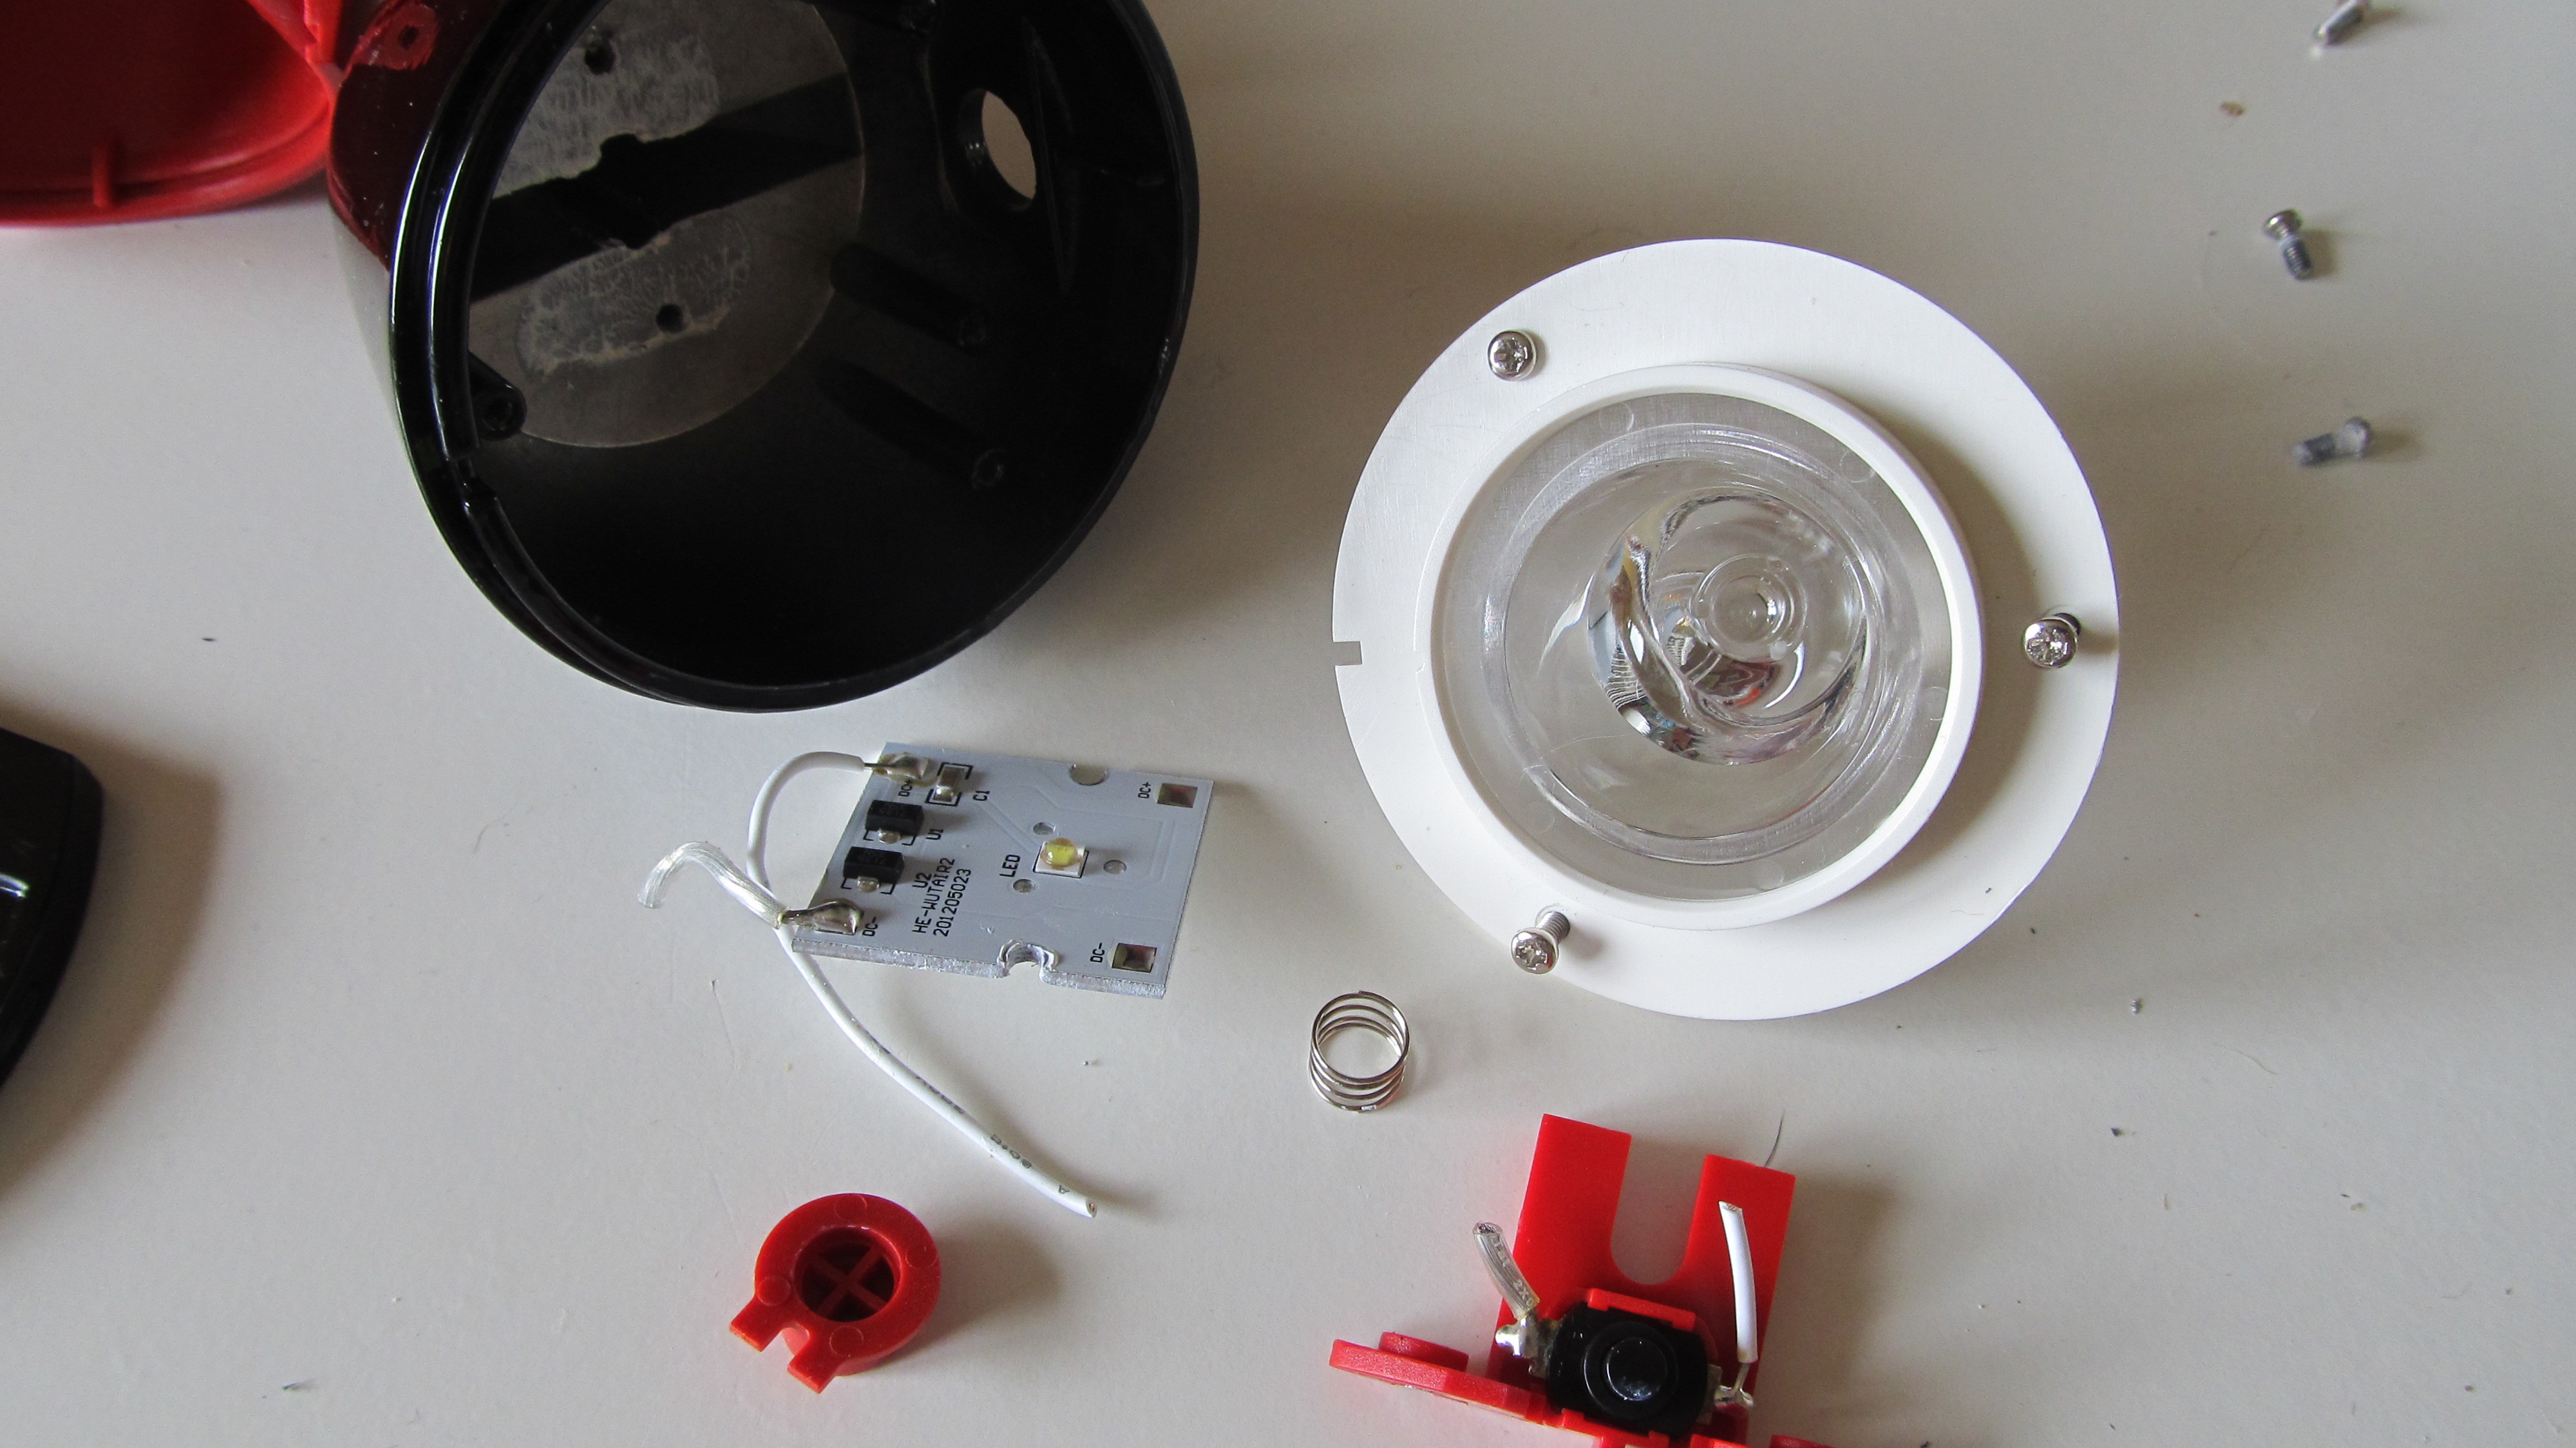
First of all, take it appart. Remove the led from the tail.

-
2Step 2
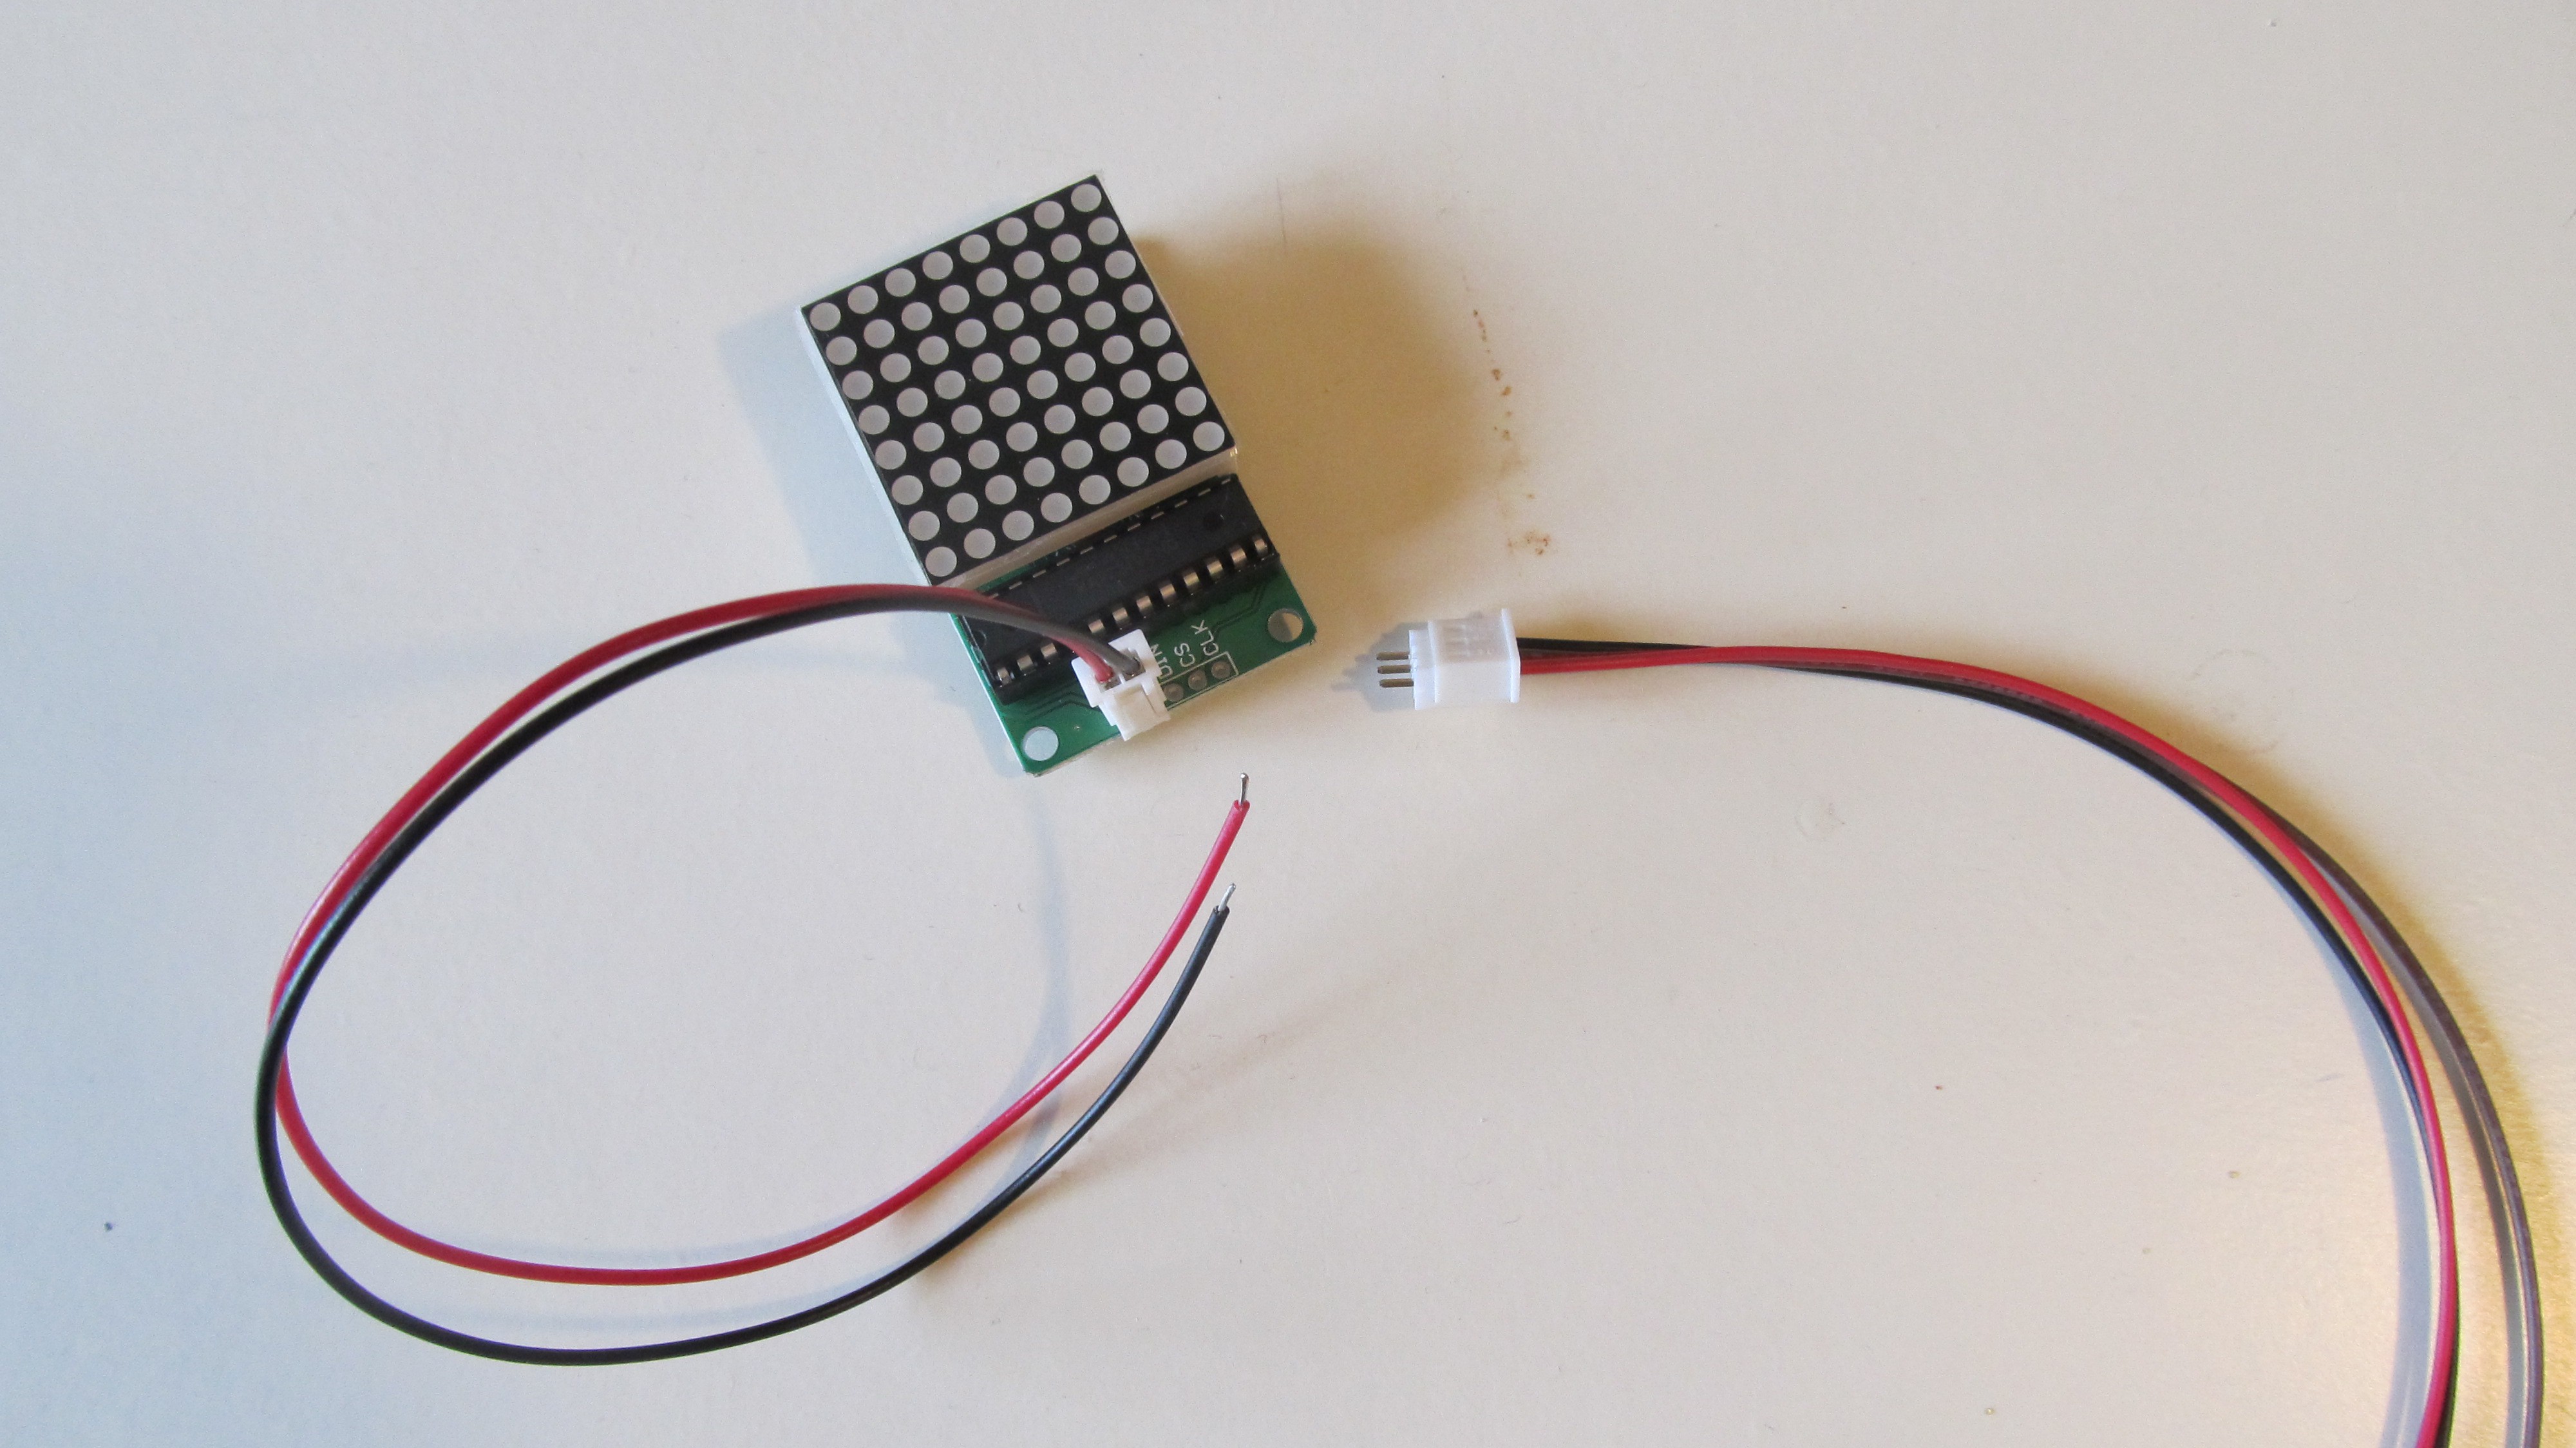
Display
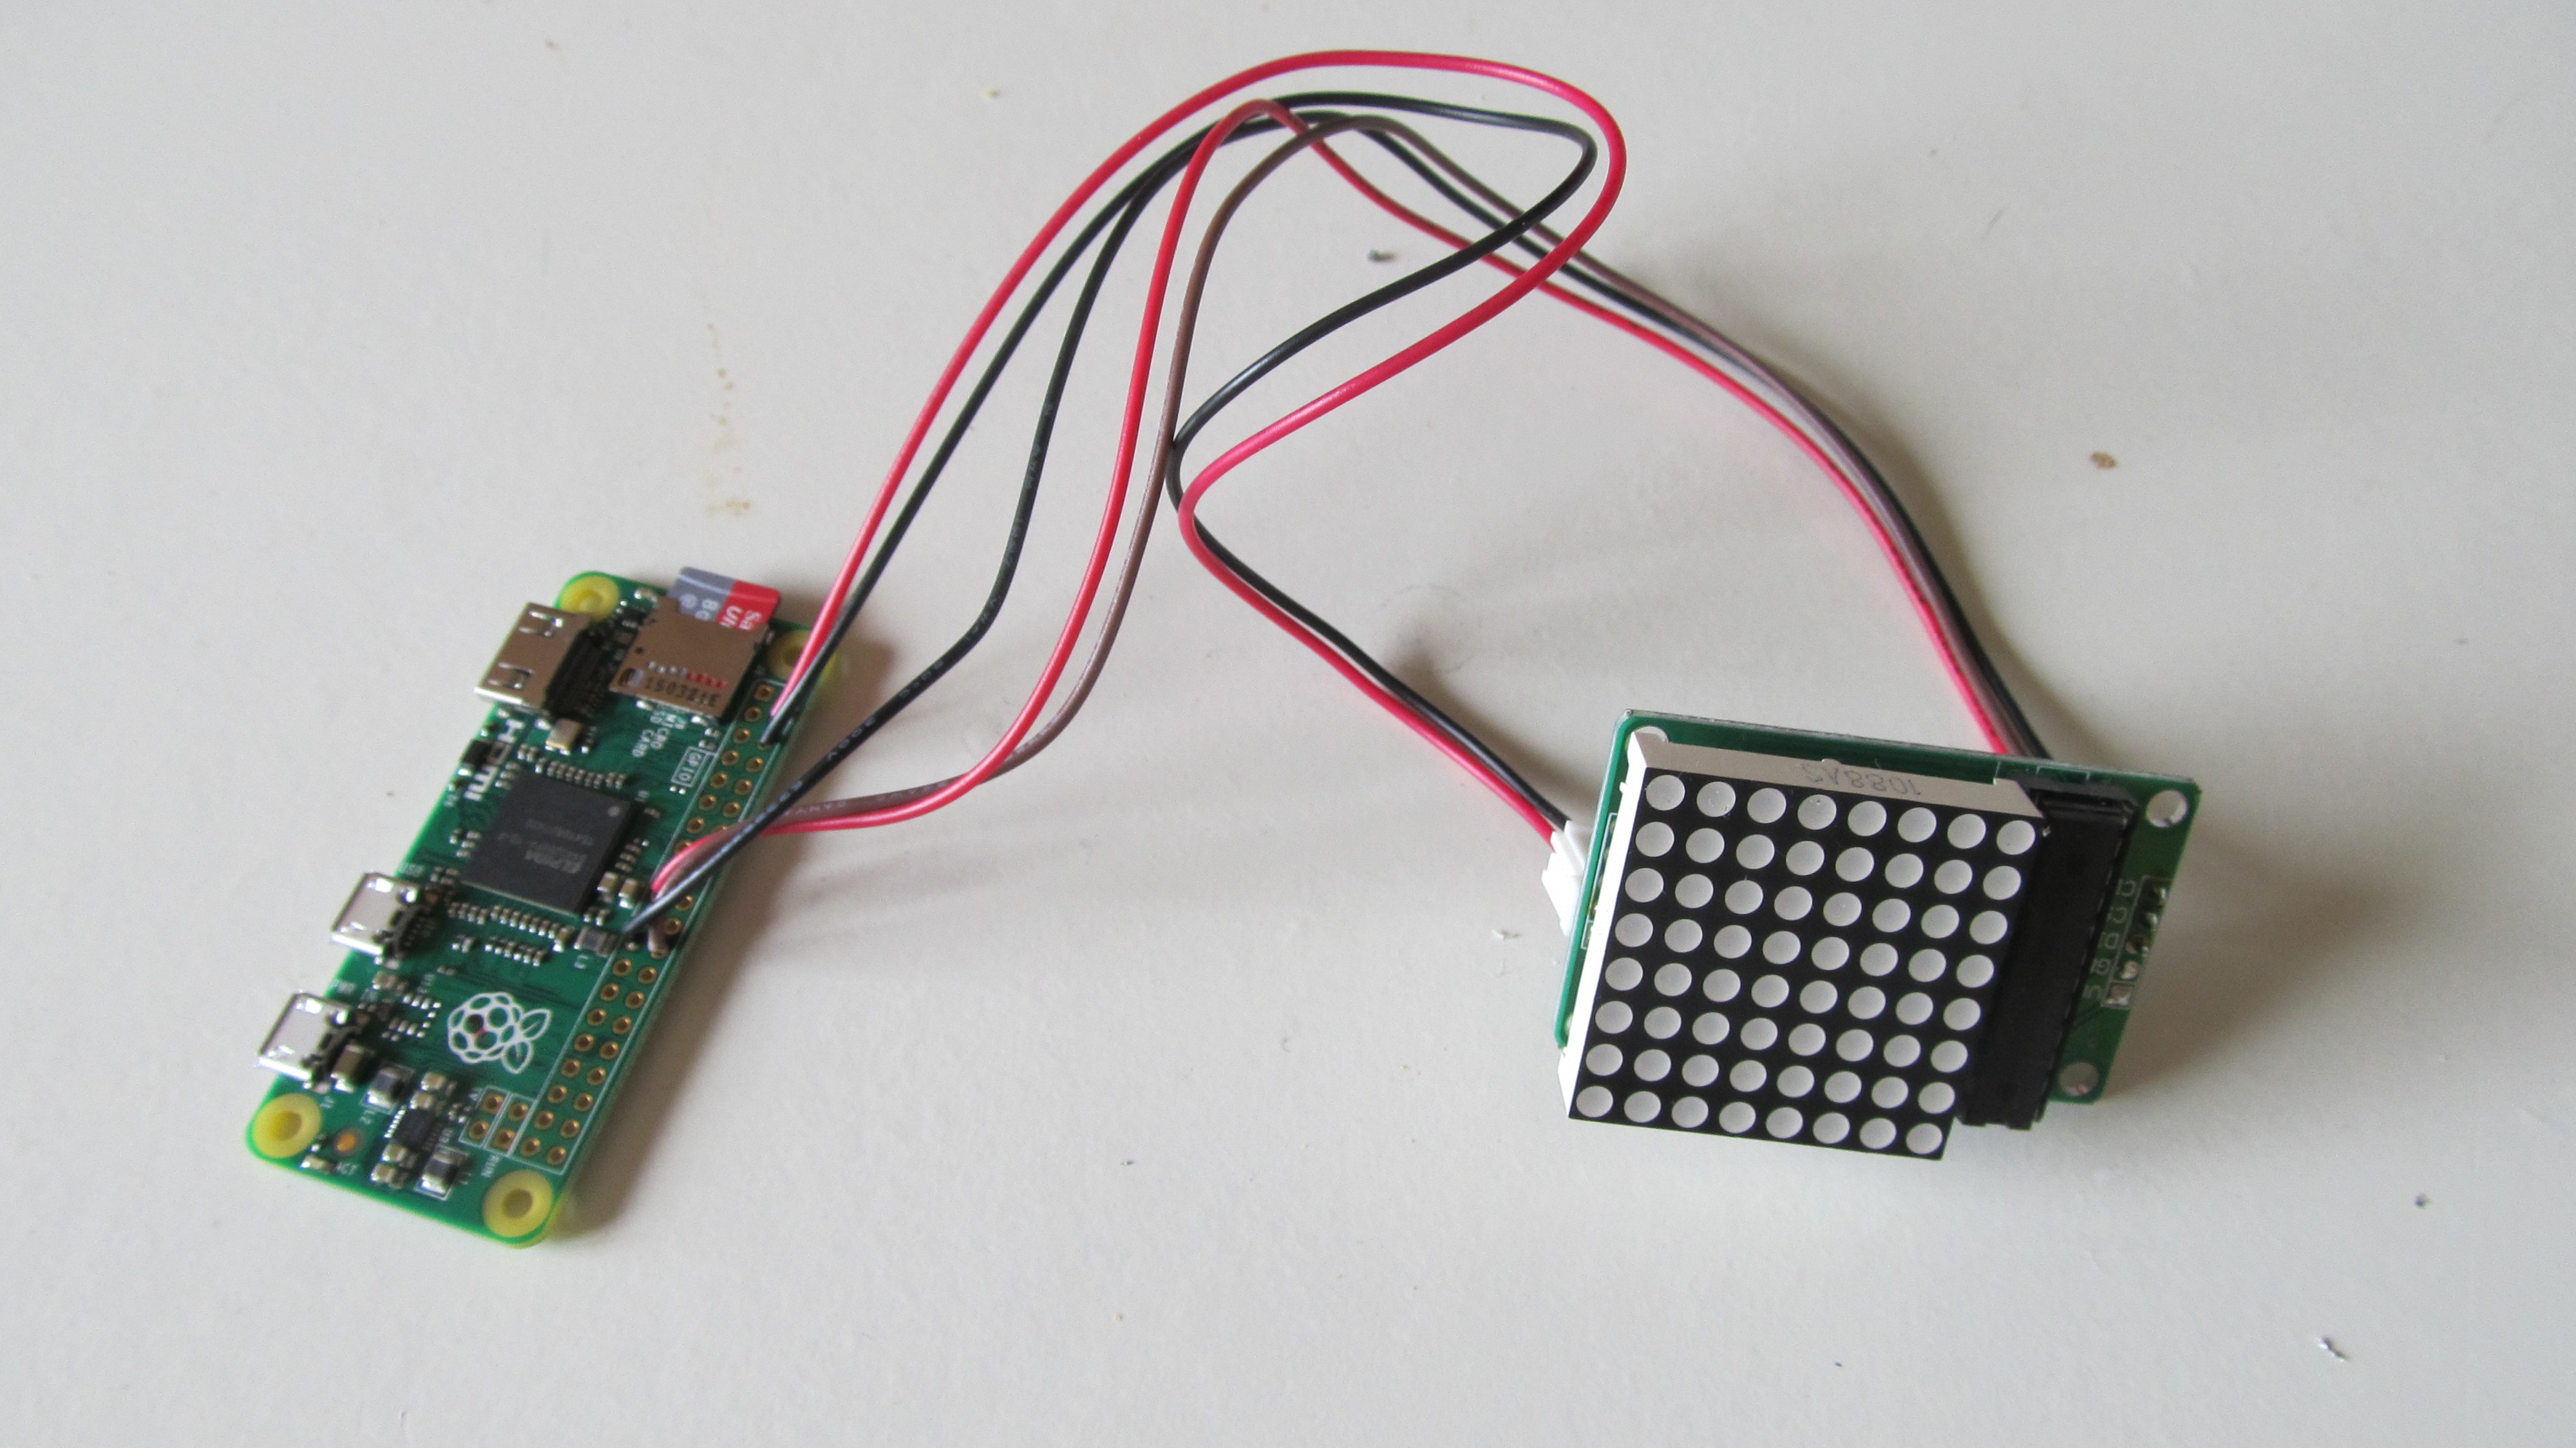
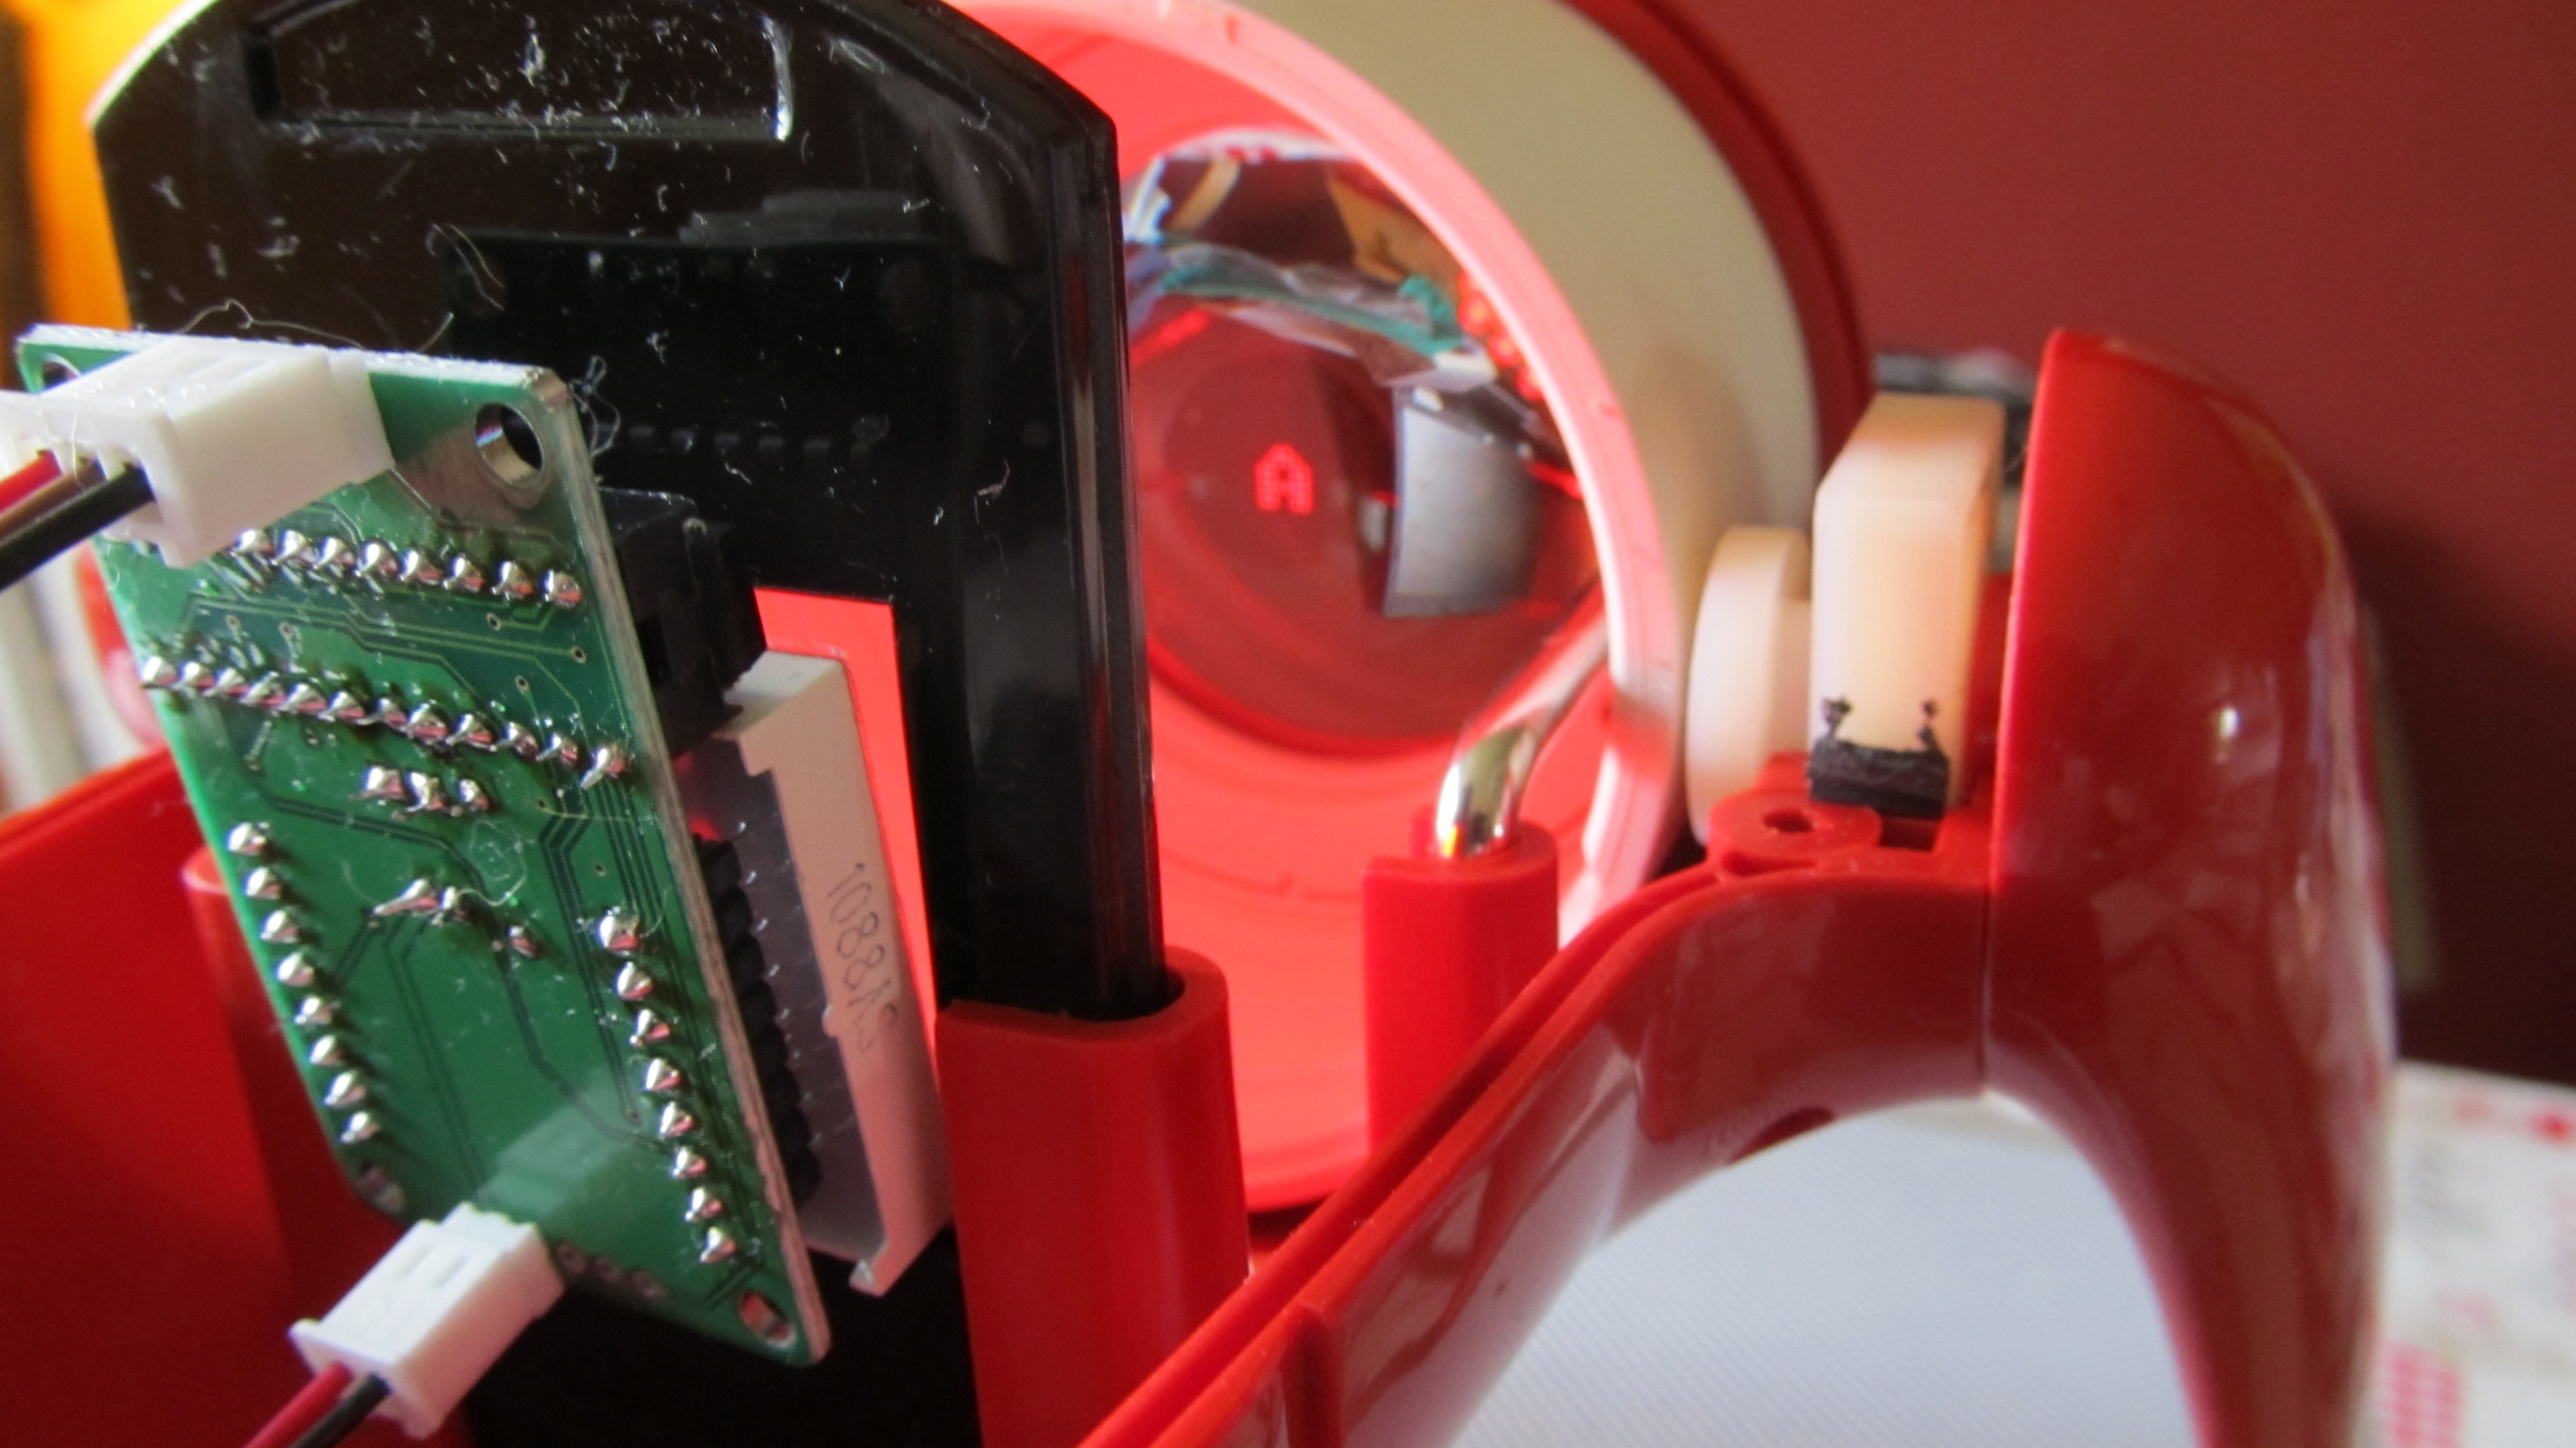
The 8x8 matrix modul with the Max7219 connected to the Pi Zero.
This 8x8 module is perfect. Because of the leds. The are flat with a diffusor and well separated, so that you can beam single dots throught the optic.
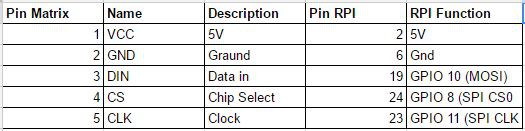
Glue the matrix on the holder for the color sheets of the lamp
-
3Step 3
All together
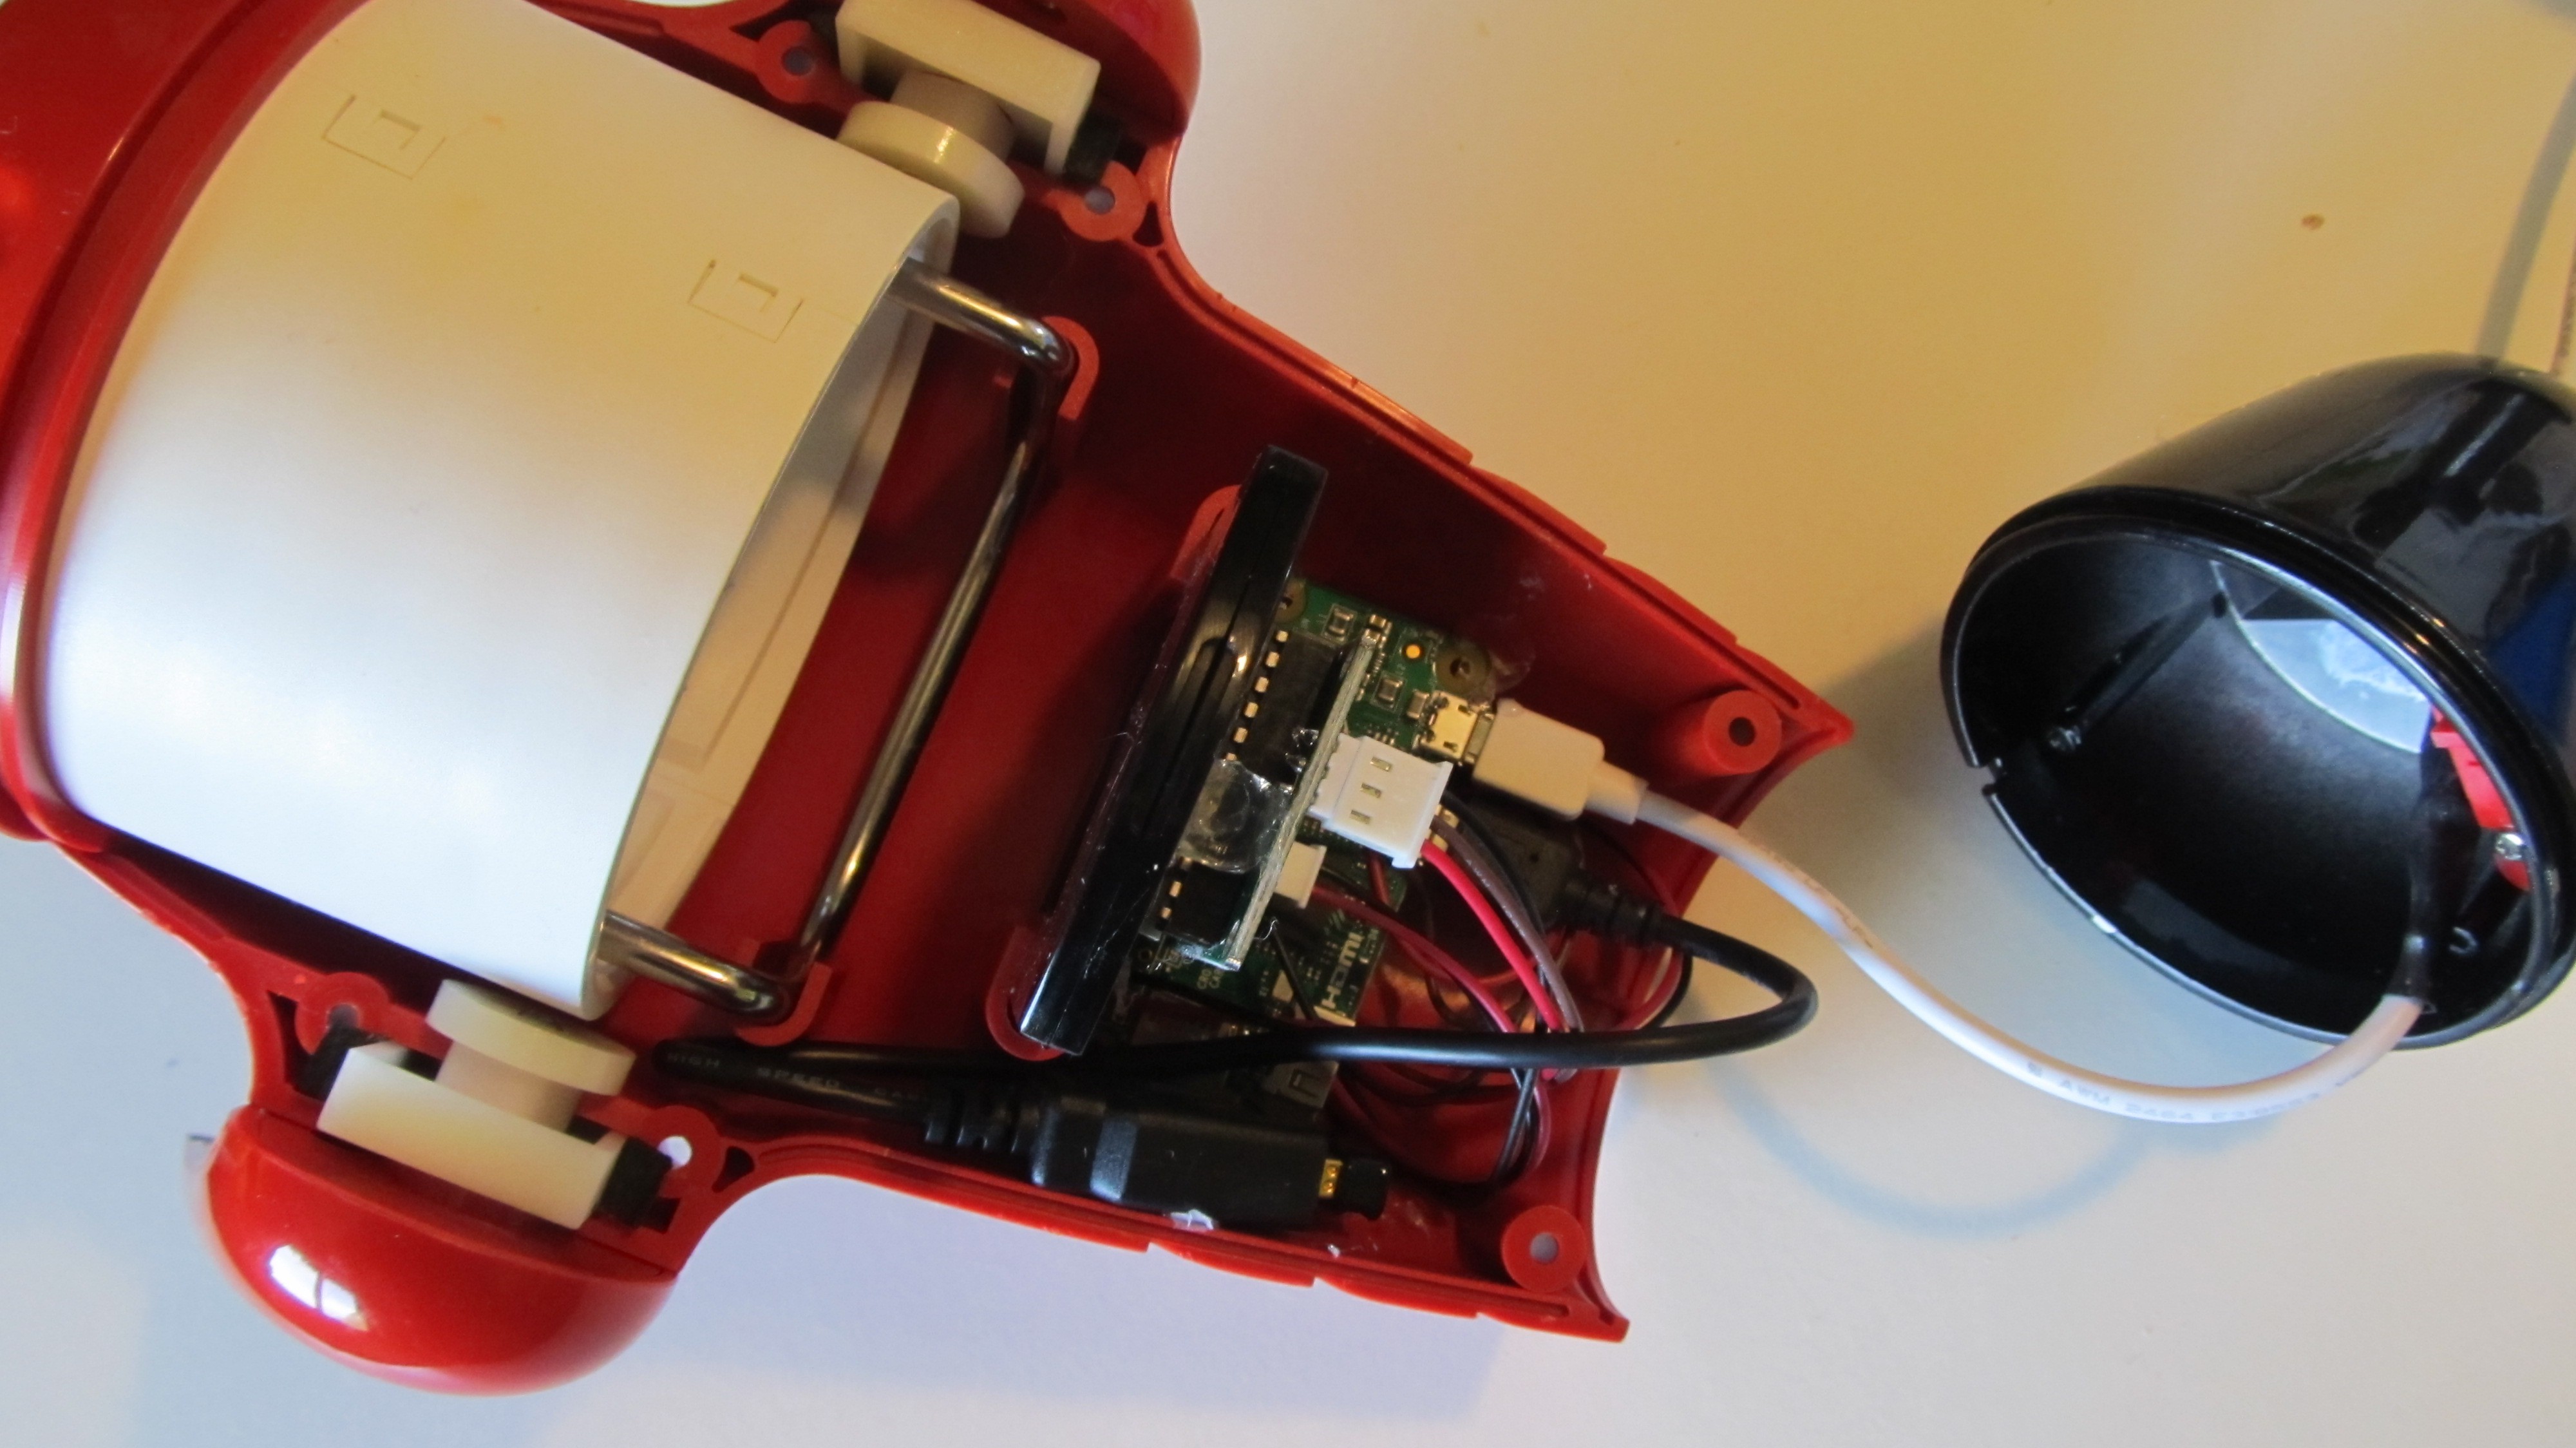
Slide the the sheetholder with the matrix upside down in the sliders.
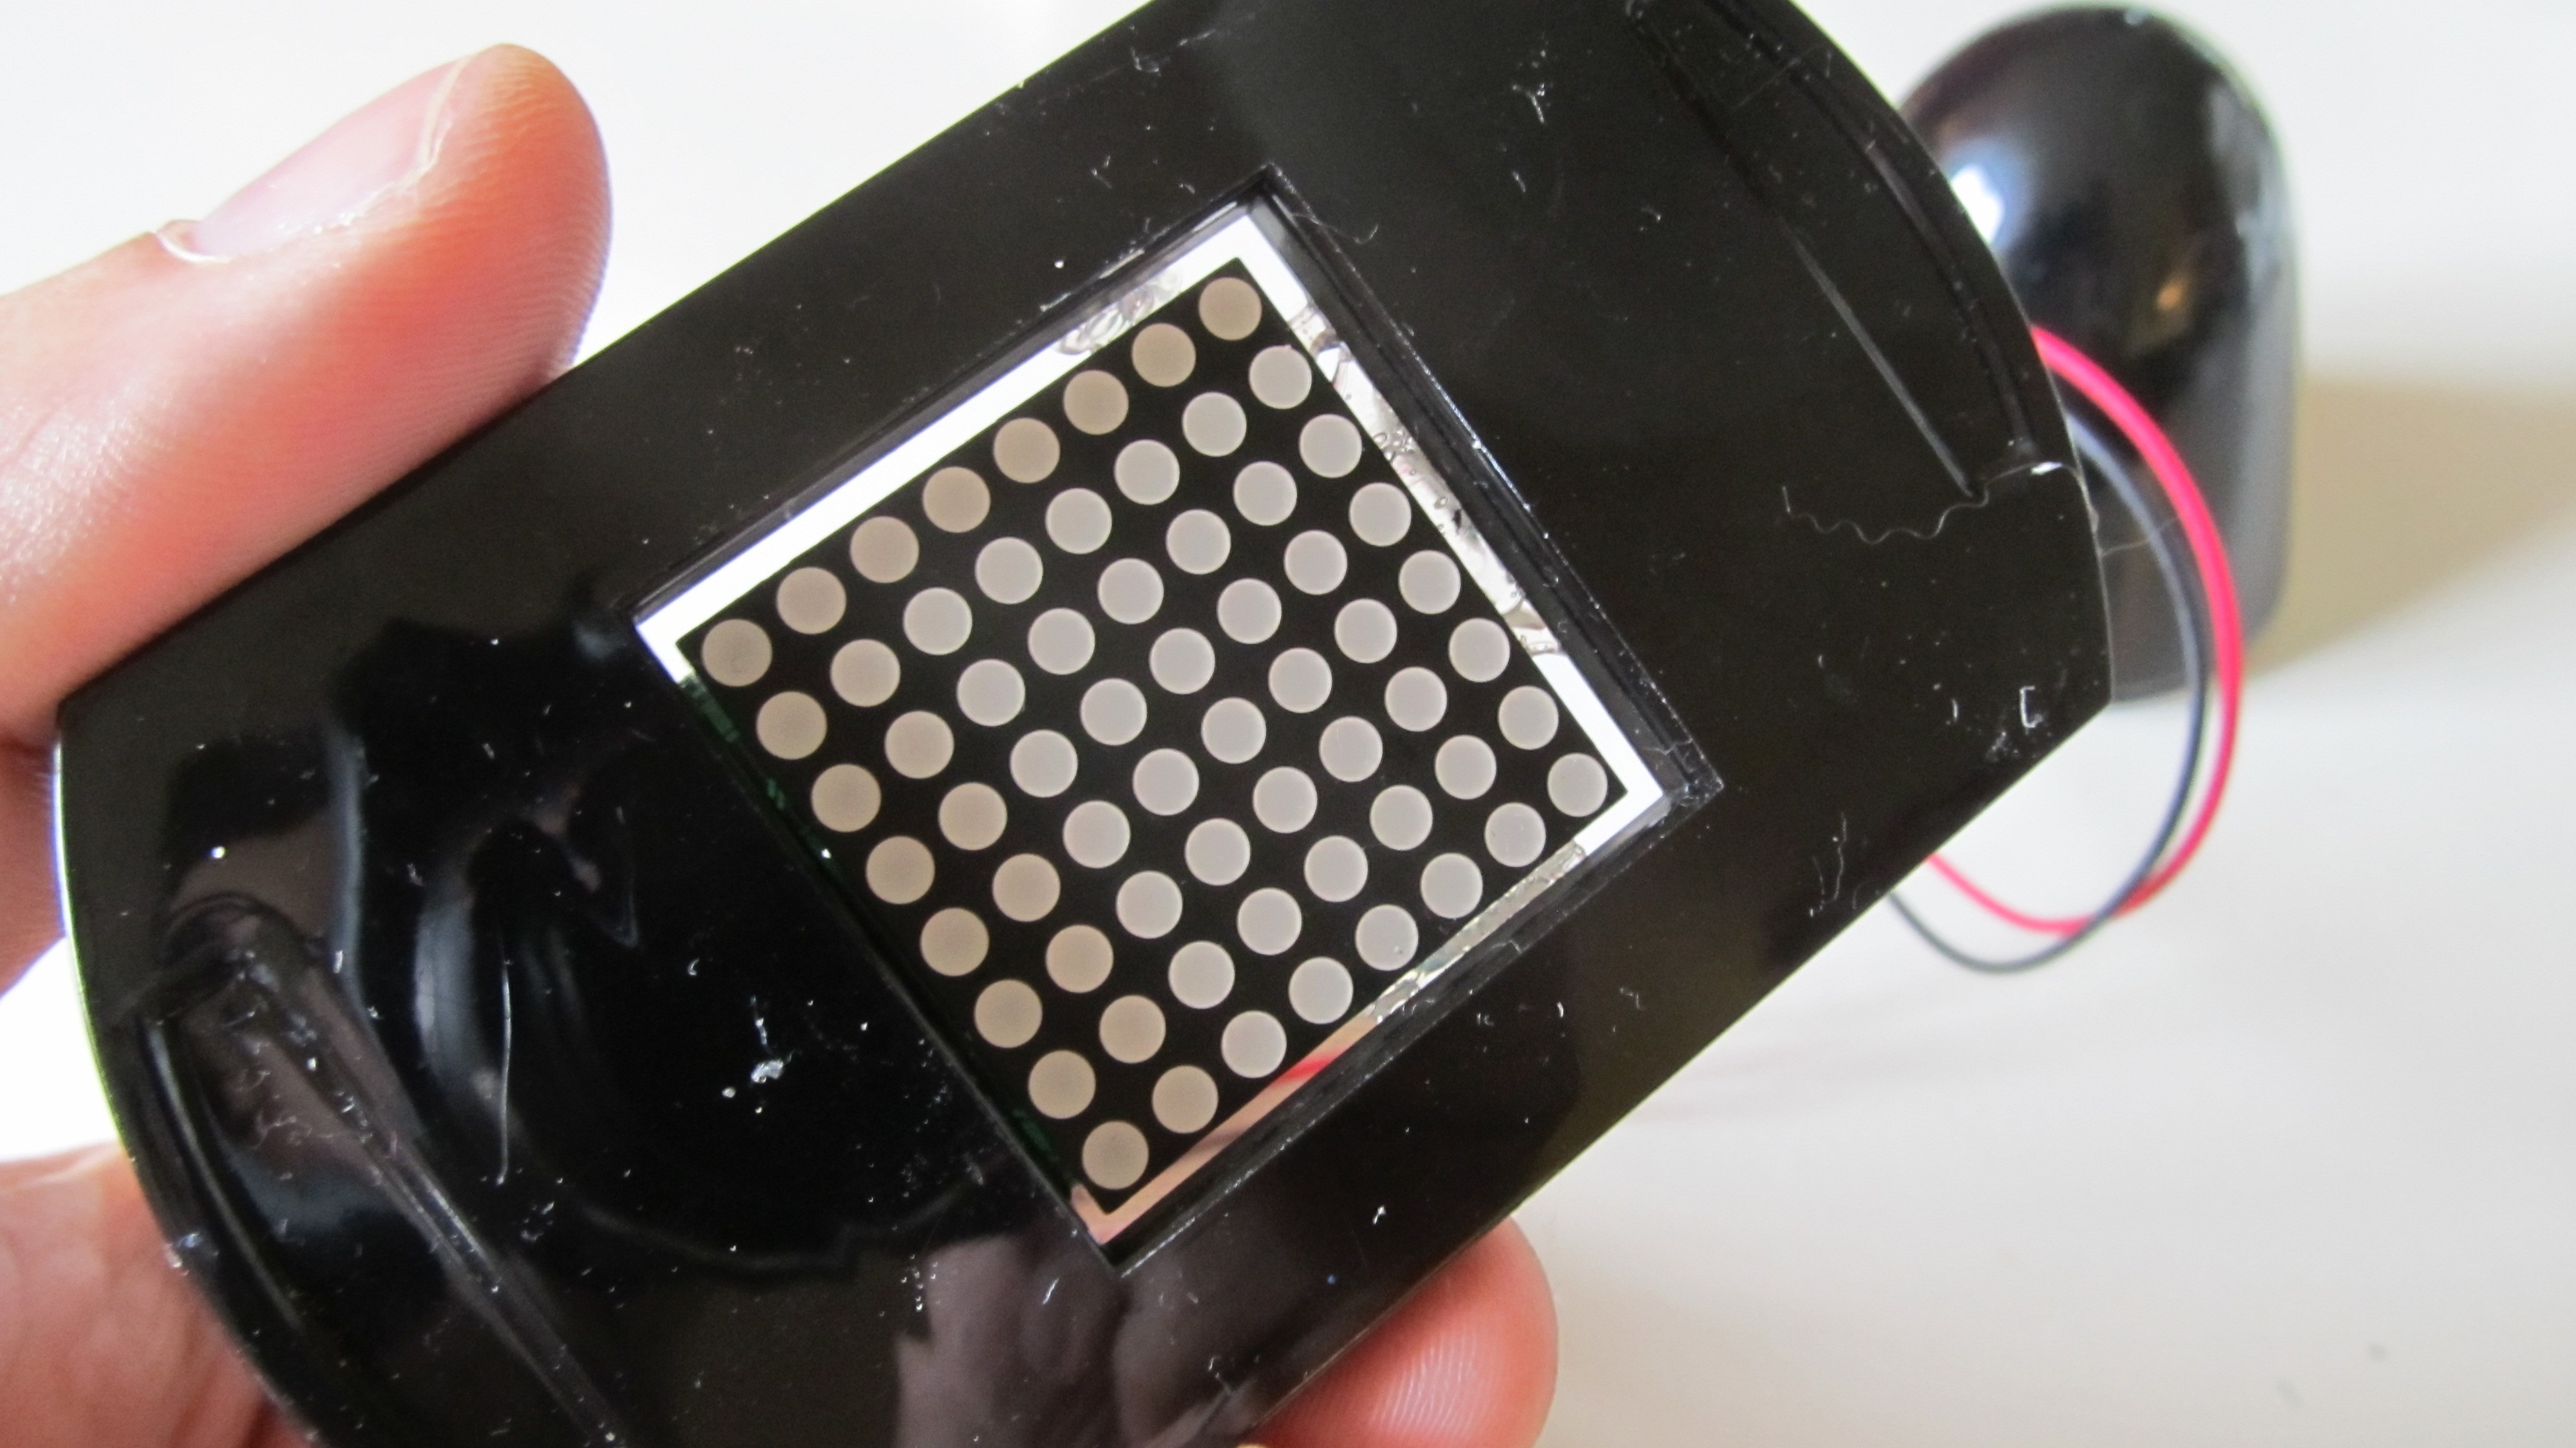
With hot glue fix the pi zero on the bottem.
Cut a long usb cable and pass it through the hole of the lamp tail. Make a node in the cable as cable relief.
Solder the cable together again.
Hot glue the Wifi stick with the ogt cable in the body of the lamp
Ready to rumble
-
4Step 4
Modify the software
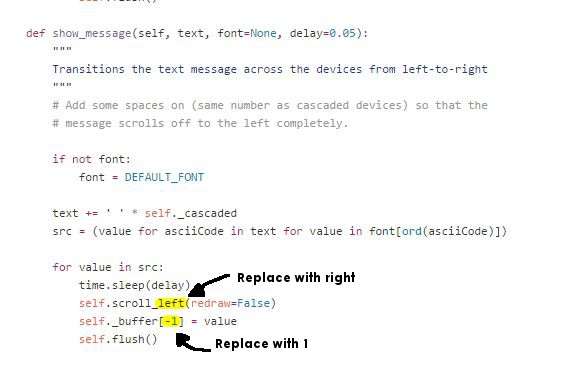
I use the matrix spi software from https://github.com/rm-hull/max7219.
I had to modify the led.py file before starting the setup.py. The original file scrolls the text from the right to the left, but as I placed the matrix upside down in the body, I hade to change the direction from left to right.
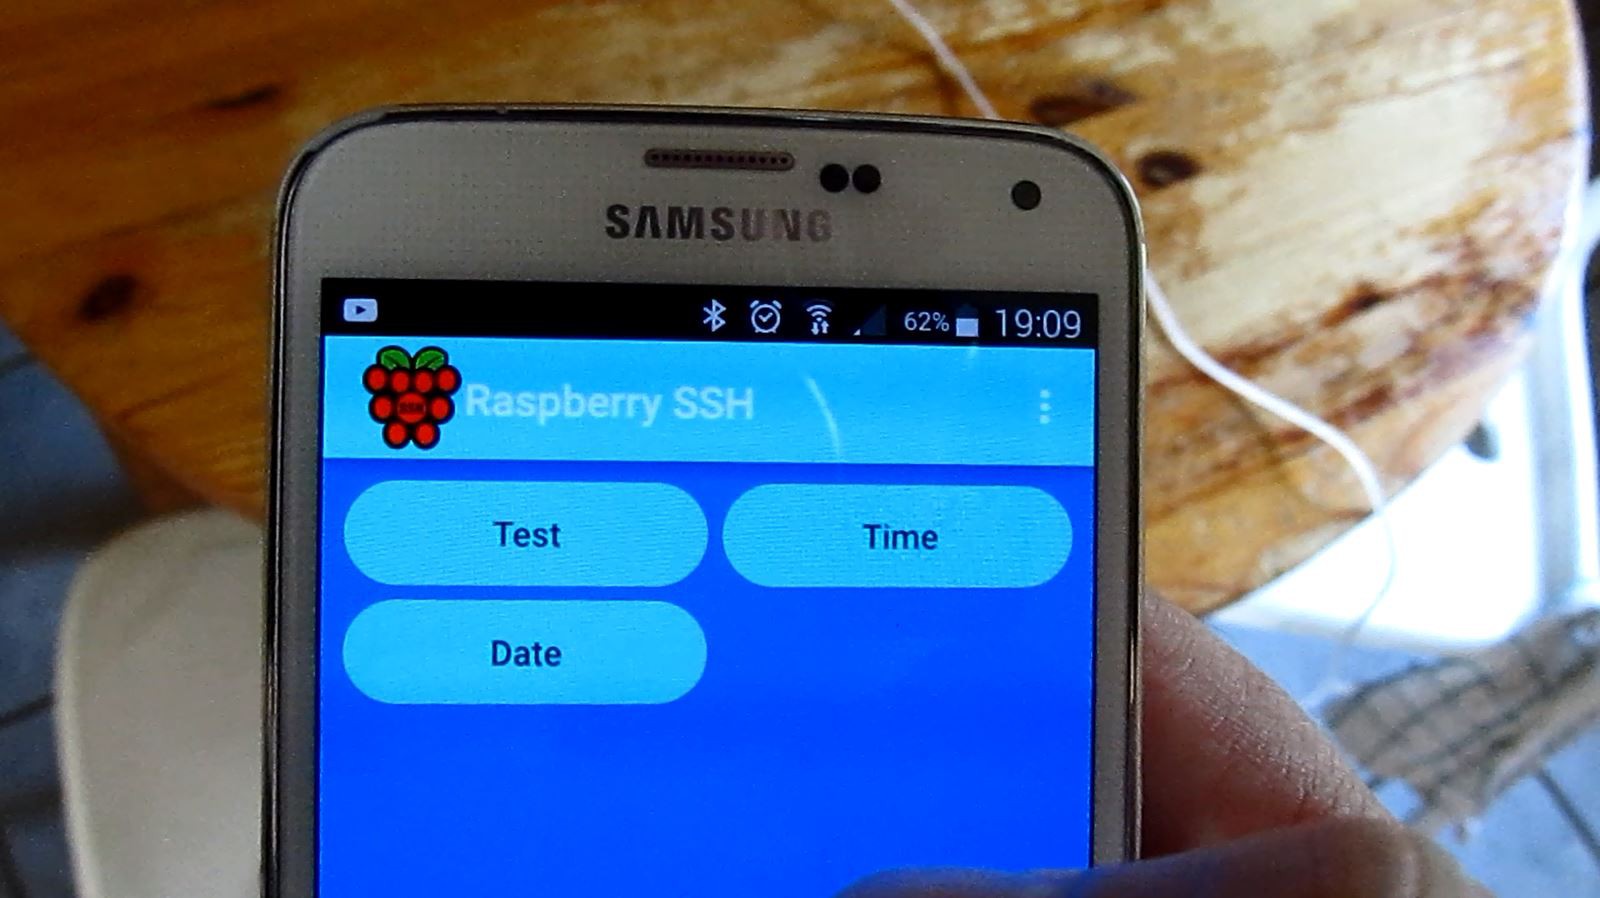
To control the IOT display I use an app called Raspberry SSH. You can simply execute commands on your pi from your phone.
And here the first test run
Pi Zero IOT Led Matrix Beamer
An 8x8 Led matix to display messages on the wall


Discussions
Become a Hackaday.io Member
Create an account to leave a comment. Already have an account? Log In.