FloppidyDingo
-
A long overdue update
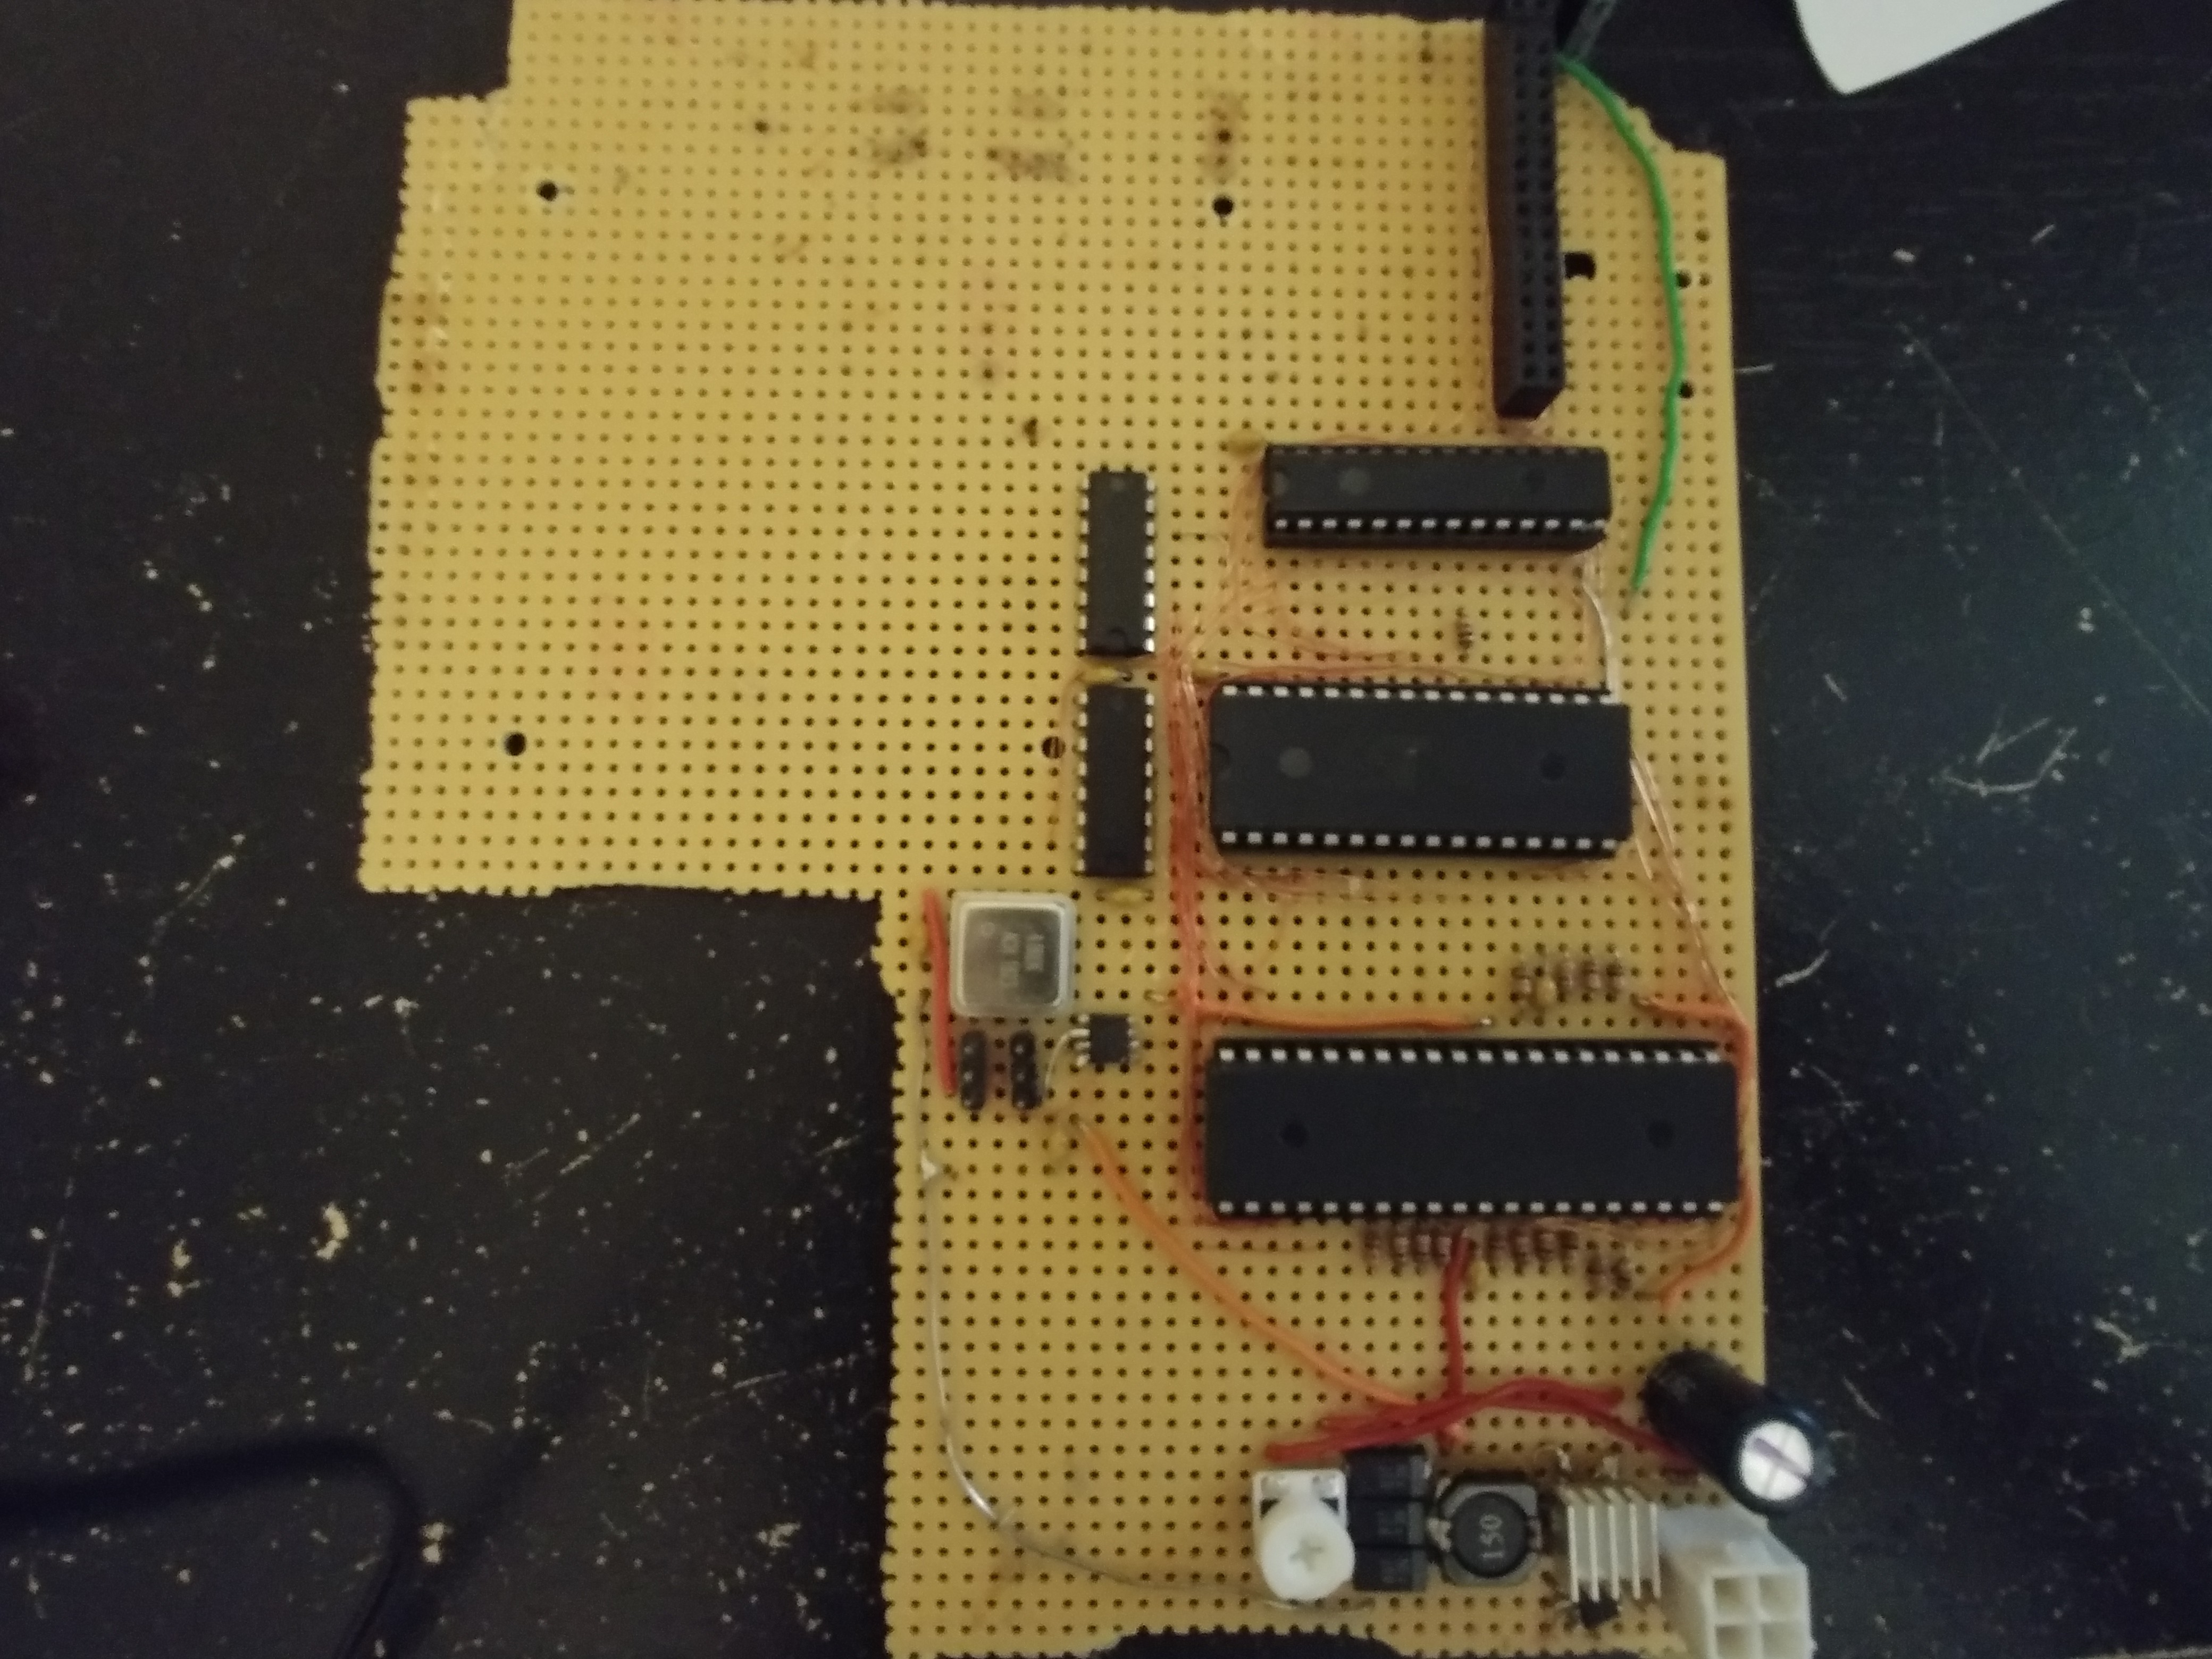
07/15/2020 at 08:41 • 0 commentsTime for a long overdue update of this project. I have decided to move from the Z80 to the 68K, due to working with the Z80 a lot and wanting to work with something new.
Since last log entry, I have been researching older computer architecture, especially of the older macs. I'm starting with the analog board and the CRT, with lots of progress made so far in my research. I have designed and made most of the power supply and the horizontal circuit, I still have yet to figure out the vertical circuit and the video amp. The tube however is showing very dim and I will have to figure out why. I'm certain it's my circuit, as the tube came from a working TV. I also have yet to test the power supply on mains voltage due to being too scared, It seems to work on lower voltages though just not outputting the correct voltage due to starving it. One possible issue I can see is one of the resistors is starting to burn, although that might be because I'm not operating the power supply correctly. No schematics yet as I want to have a working design first before I release them.
-
Tested some overclocking
07/15/2017 at 17:52 • 0 commentsI have put together a minimal system to test everything would work the way i designed it, and I had a school project that involved doing an experiment. So i decided to test how well the Z80 overclocked against my home PC. I found the results surprising since the Z80 maxed out its clock multiplier chip at 32 MHz, and my PC crashed at 4.3 GHz. This may not seem surprising until I worked out the percentages. The Z80 overcooked 320% faster than it was designed to go and my PC only hit up to like 122%. If the clock multiplier wasn't limited to x8 on a 4MHz base clock, I'm sure the Z80 could go faster.
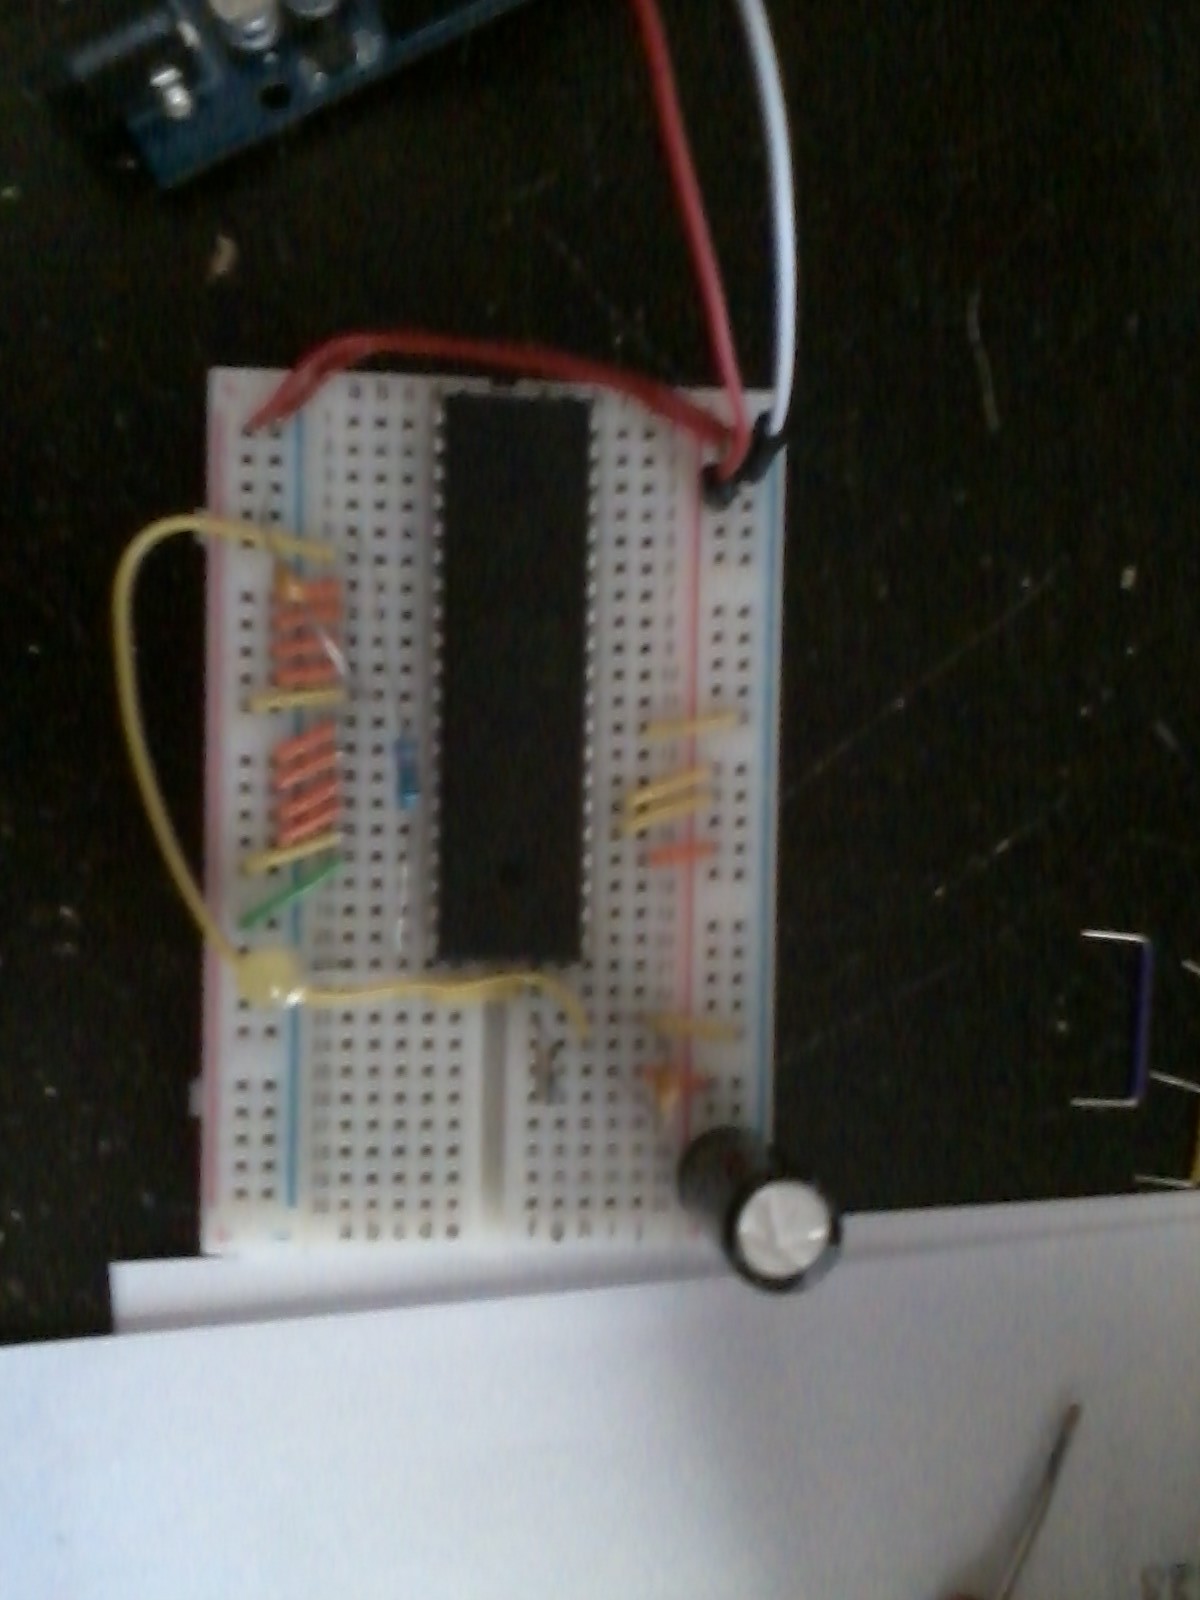
Below is the Z80 test board I made:
![]()
-
Starting a compiler and some design updates
10/20/2016 at 04:49 • 1 commentSo I have quickly found out how tedious it is to write programs entirely in assembly, and I can't seem to find a way to get C to target this system, so I'm creating my own small program language that's C based, it's going to be called D. This language is system agnostic, you can target any system you like with it, with little to no modification. And you can get it to target different CPUs by telling it to translate with a different definition file, which is a file that tells the compiler what to translate the D instructions into.
What the compiler will do is translate the D code into assembly code, then pass the asm file to this assembler: https://sourceforge.net/projects/sjasmplus/ . Then a binary file is generated and you can upload it to whatever you want.
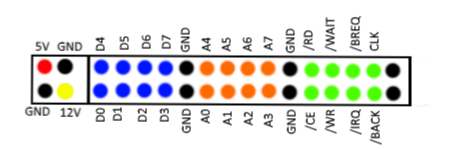
I'm also starting the design of the OS, called Walls (i am so going to be sued), which will be a multitasking OS with some form of GUI. The way it works is that a timer will supply an interrupt at a set interval, and that interrupt triggers the task scheduler to save the CPU state for that task, then move on to the next task, loading its CPU state. When Walls first starts up, it scans all the entire IO space and determines the available hardware. It then loads resources called System Artifacts, which are packets of data that describe certain things such as configurations, drivers for the scanned hardware, startup applications, and other things. The Artifacts reside in reserved drive sectors so they can be read without a file system. This is pretty much like the Registry in Windows. After it loads everything it needs, Walls then initializes the hardware and sets the graphics mode to Graphic, since it starts off in Text mode, and then loads the UI and then the user can do what they like. The OS can also go into ROM mode, where it loads a ROM file into the RAM and then tells the CPU to jump to that data, while disabling the timer interrupt. So pretty much the OS goes to sleep and the ROM file takes over. To go back to normal operation, the ROM has to jump to an address that contains code to resume normal OS function.
I also have a pinout made for the expansion ports:
I'm also going to add an interrupt controller to the chipset so that way the system can handle more than two interrupts. And I might add a DMA engine. Maybe.![]()
-
Got some Memory
06/15/2016 at 02:58 • 0 commentsI got some RAM and ROM for the CPU to work with, now this machine can stop wasting away its life endlessly executing NOPs. For the RAM I got an AS7C256B 32KB SRAM chip. For ROM I got a flash chip (ST39SF010A 128KB) instead of EEPROM, since it's much much cheaper. Since I'm using flash and not EEPROM, writing is a bit different. That's why I made a flash programmer with my Arduino MEGA. It works, just not the way I want it too, so no source code yet. That will be posted when I clean it up and write a client app to easily upload ROM images to the programmer. Then when I start working on the BIOS file, i'll be sure to include built in ROM imaging, so that way I can update the BIOS in the computer itself through the serial port, and not have to move the flash chip to the programmer every time
-
And we're off!
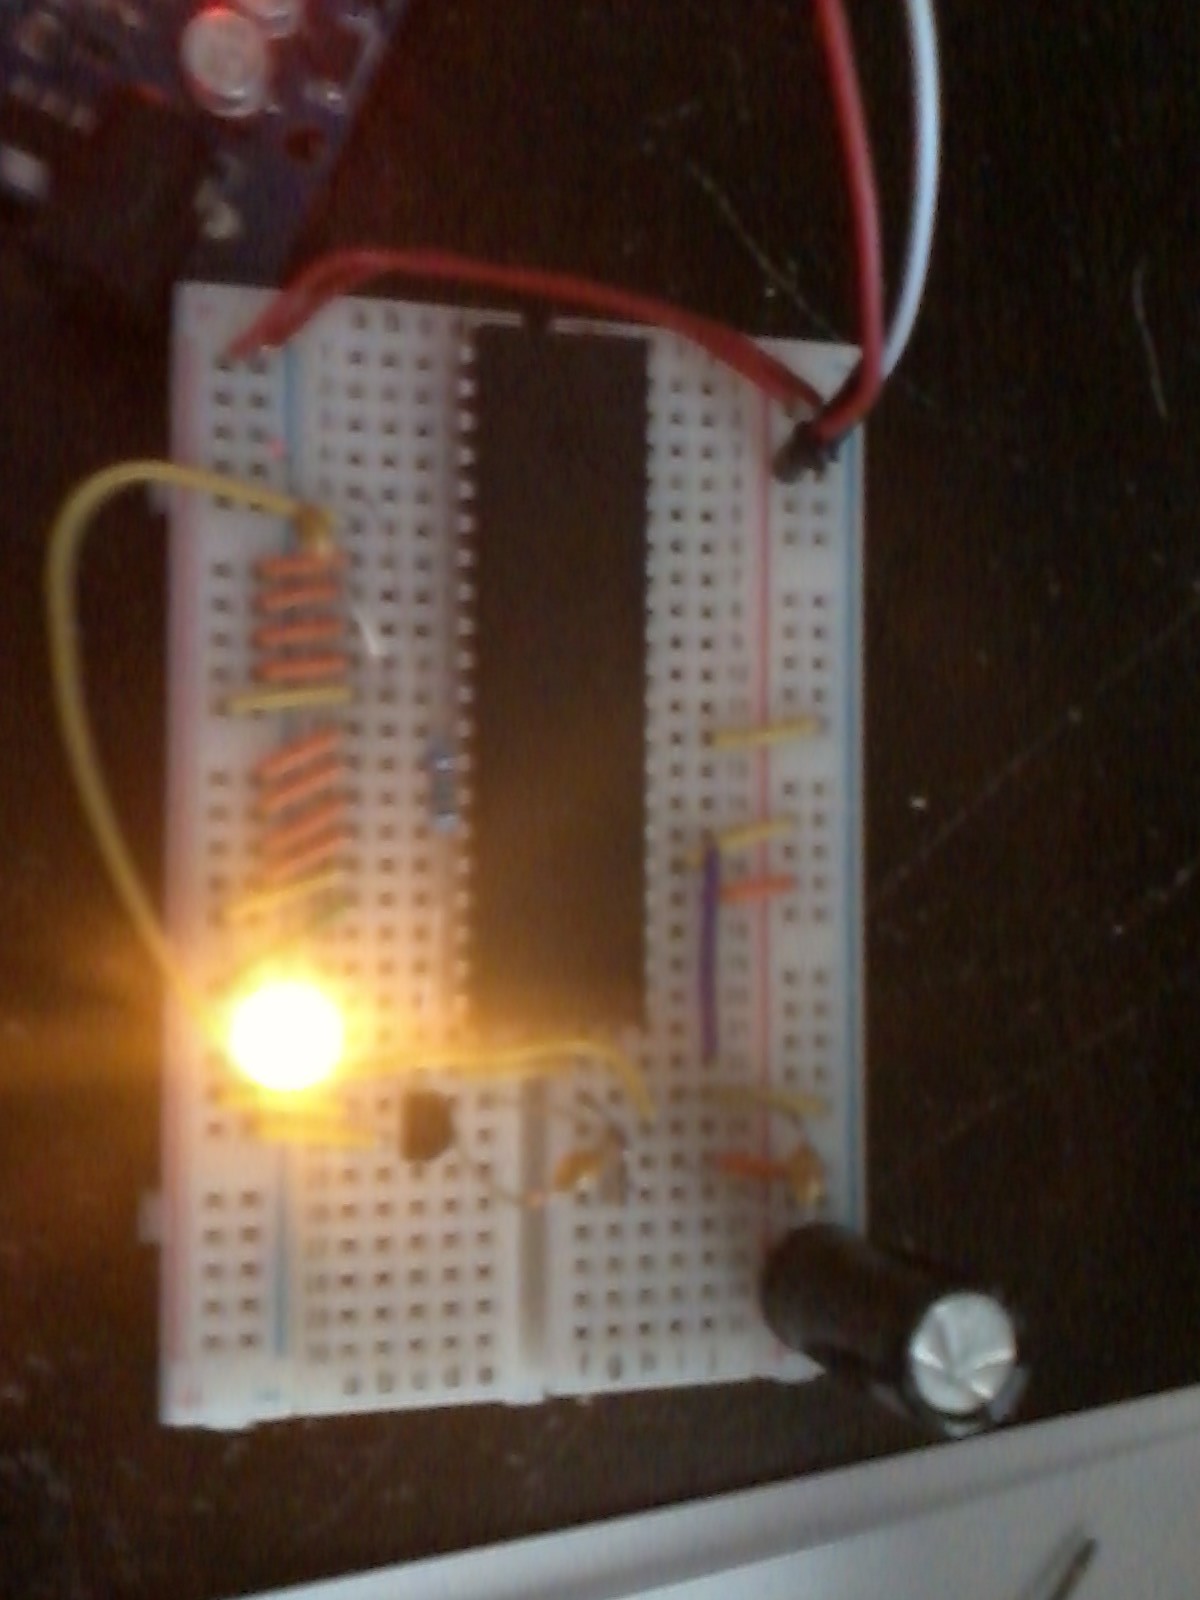
06/11/2016 at 01:22 • 0 commentsI have the test circuit up and running, and I've done what I can to record the behavior of the CPU.
![]()
The clock IC is there, it's just very small and doesn't show well on my low res phone camera.
There were some issues with this circuit though. I have to let it sit for several seconds after powering it off before powering it back up, or else the CPU will stall. This was fixed by adding in a POR chip (shown below) so the CPU resets every power up. The CPU also seems to work on 3.3 volts too.
![]()