Close
0%
0%

Glighter-S

Just another coin-size, wide input voltage range, low cost, failsafe, high power LED driver.

Public Chat
Similar projects worth following
I designed a simple, coin-sized but robust LED driver. It was designed to allow me to exploit easily any source available in my house, from tablet charger, to laptop one, to any battery left there to be drained up.

Moreover, I like being aware on how to drive LEDs correctly, I always been attacted from electric light since I was a child. And, too many LEDs have been killed uselessly or sadistically. It is time to say stop! Never forget the magic smoke!

The core controller is the Texas Instruments LM3405 buck controller, with a fixed sense resistor directly mounted on PCB. With some tricks, like using an external companion LDO voltage regulator to compensate various driver's on-board control voltages, a very wide input voltage range can be used without affecting the efficiency or safety.

The output can be shorted, left open, the LED can be disconnected or connected when working, the control wire can broke up.... anything will not affect the driver nor the LED.

This is a Power LED driver, capable to provide up to 15W of power to turn on a single or mutiple LEDs. It is basically a current source made tiny. A lot of them are available on Hackaday or in the world, but I didn't find a ready to use board with such specifications that I want to have.

This is a project already made in the past, started few month ago. I think just now to publish it here, where tough feedback can be received, and improvement achieved.

From pictures you can see that the revision is not the first: few attempts were made in the past to reach the actual characteristics.

I plan to use this LED driver on my other projects, as a companion board for anything I can imagine, if a current source is needed, of course.

Here, it is also inserted the new revision data, along with the original one.

Project summary

  • Technology: switching buck regulator
  • Input voltage: 4V to 20V
  • Output voltage (LED Vf): 0.3V to 20V
  • Sourced current: up to 1A (set by default to 570mA)
  • Size:
    • Revision 1: 21mm x 32mm
    • Revision 2: 19mm x 24mm
  • Efficiency: 90%
  • Operating Temperature: -40°C to 60°C
  • Safety features:
    • Short circuit immune
    • Open circuit immune
    • Safe state (off) when no control is applied
    • Overtemperature protected
  • Control features:
    • PWM control: voltage swing from <0.4V to >1.8V up to input voltage, max PWM frequency 5kHz
Source files

Any external link is shown in the project's links.

How to use it

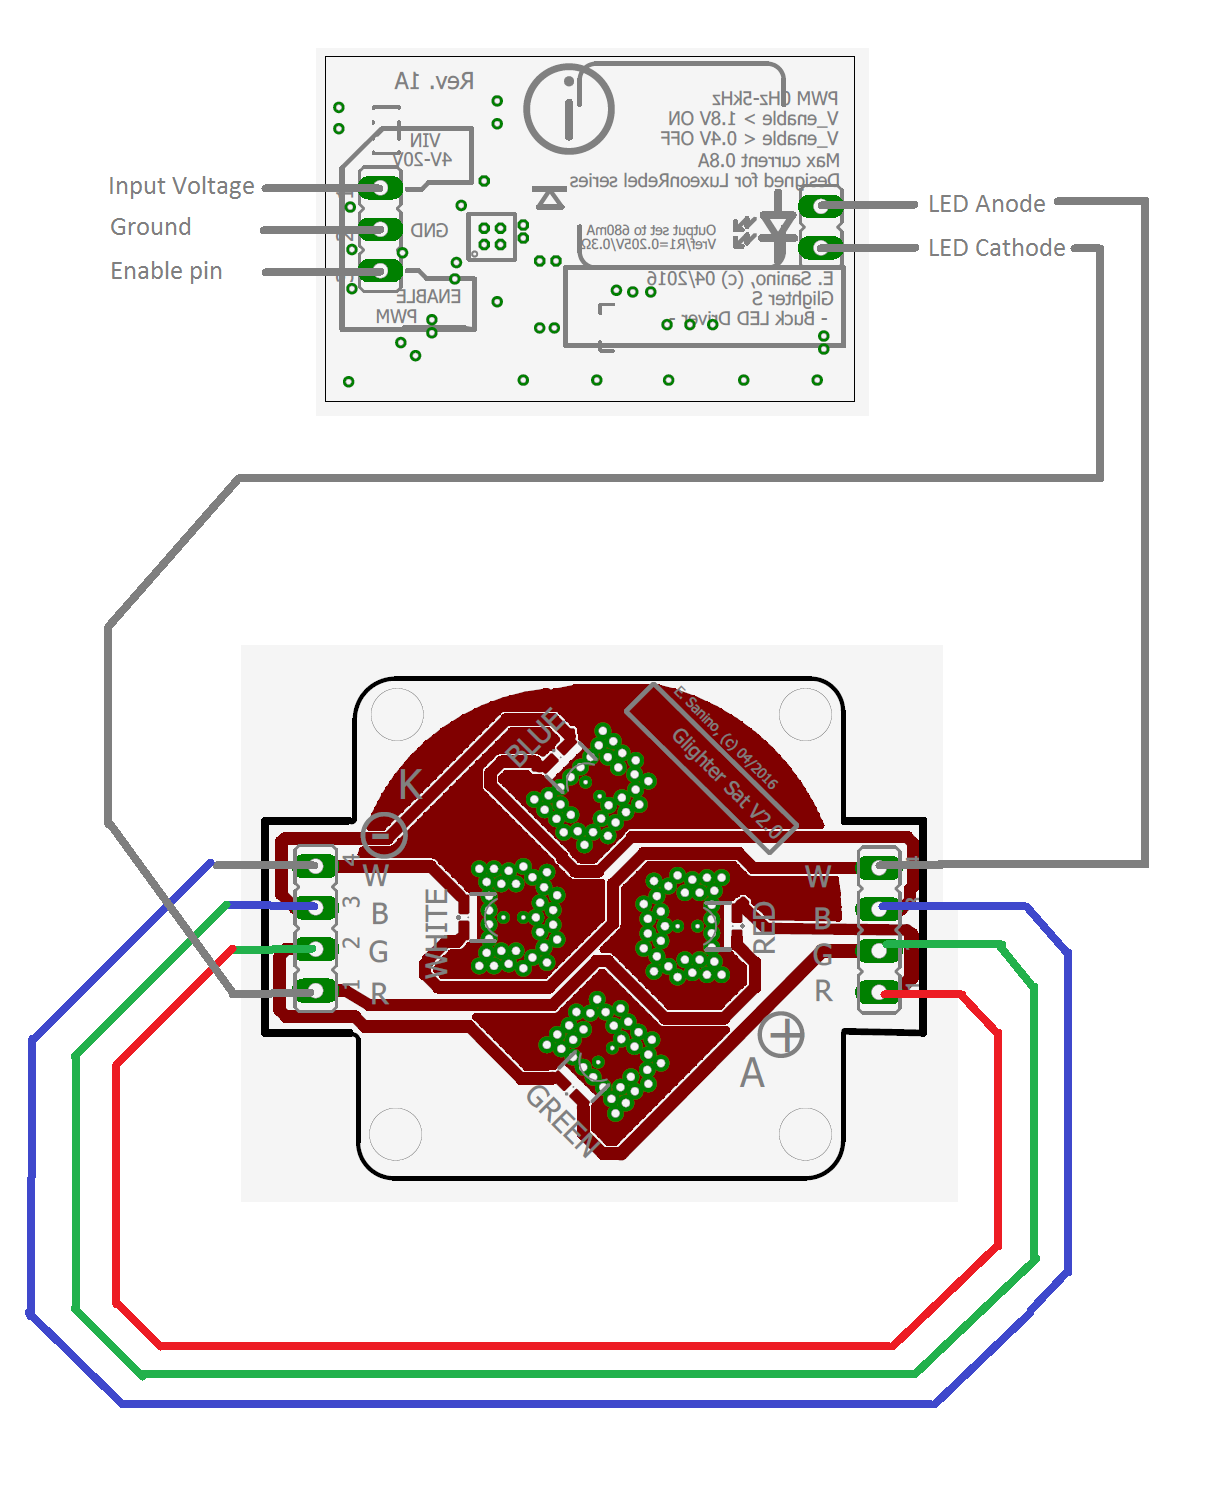
The driver has 3 input pins

  • VIN: the input voltage
  • GND: ground
  • EN/PWM: the control pin

Any board handling any type of digital signal can be used to drive the EN pin. Any signal lower that 0.4V result in a full off driver; any signal higher that 1.8V fully turns on it

The output is made by 2 pins

  • LED anode
  • LED cathode

Just connect the LED respecting the polarity, or the LED can fail.

Setting the current

Assuming that the input voltage is respected, the driver can light any LED which is designed to take around 570mA, but can be tweaked to provide up to 1A. A sense resistor is used to set this current: a different sensing value can be used to adjust the output current.

I made this resistor fixed (but interchangeable) for a security reason: knowing myself, I eventually change the resistor and burn the LED, if it wasn't fixed.

  • Glighter-S - new revision!

    Enrico02/21/2017 at 20:48 0 comments

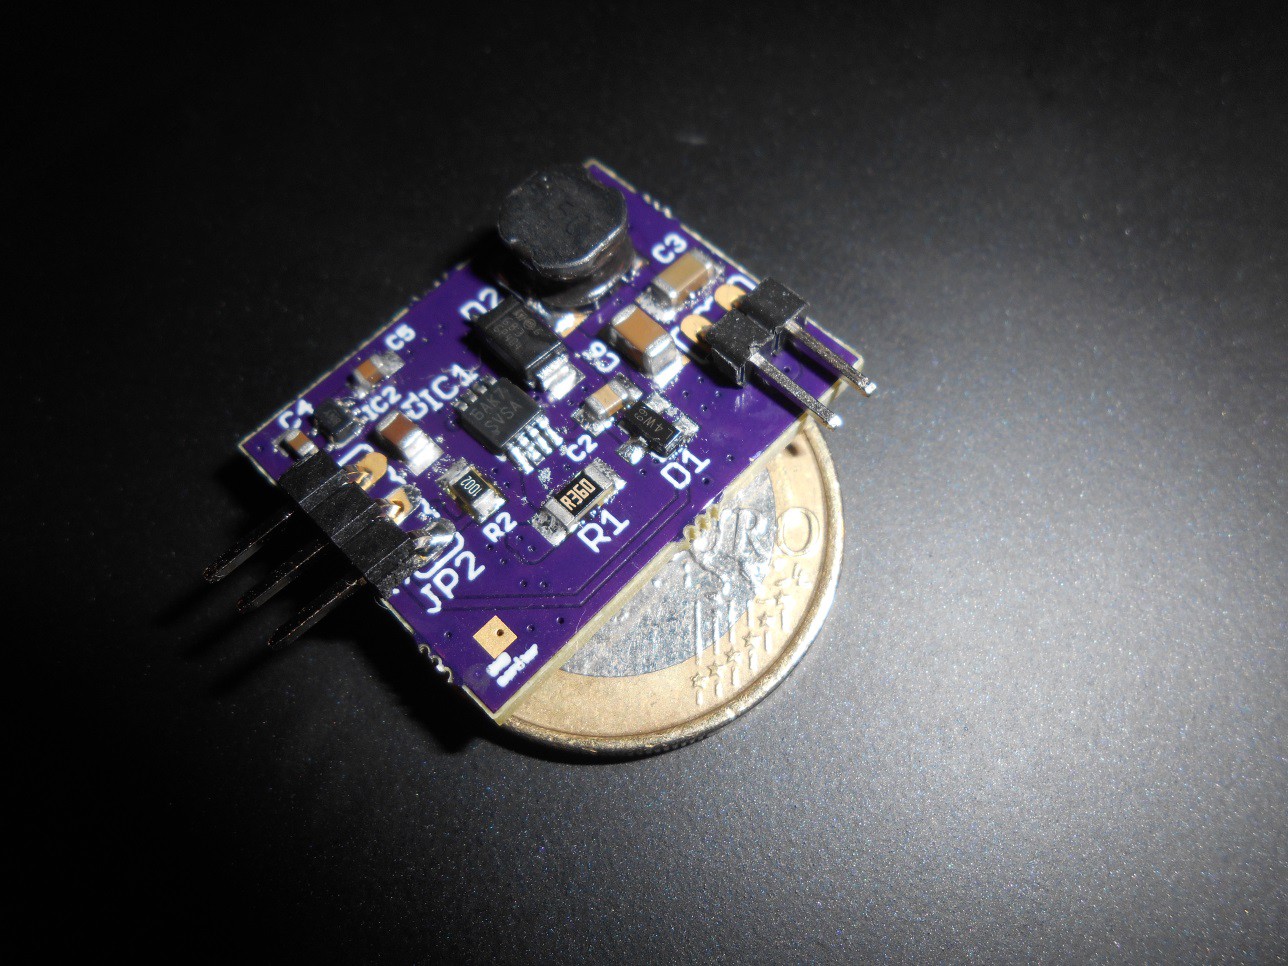
    Glighter now have a new form factor. It is a real coin size this time.

    My need was to enable the possibility to use smaller boxes, with a better organization. I tried to make the board smaller, more similar to a square, with the output connector rotated by 90°.

    This is the newboard:


    Under the electrical point of view, nothing has changed. Only the board sizes are new, with a form factor of 19mm x 24mm.

    The output connector is conceived to be used with pluggable cables, or if a flexible solution is needed without the male header, there is now more space to solder wires directly on the output pads.

    The input connector is kept the same, to allow the board to be either used with pluggable connectors, wires or to be inserted in a breadboard.

    The infos are updated on the project details!

  • Power LEDs breakout board

    Enrico06/16/2016 at 20:16 0 comments

    I think that also referring to what I used to test the driver can be useful/more complete.

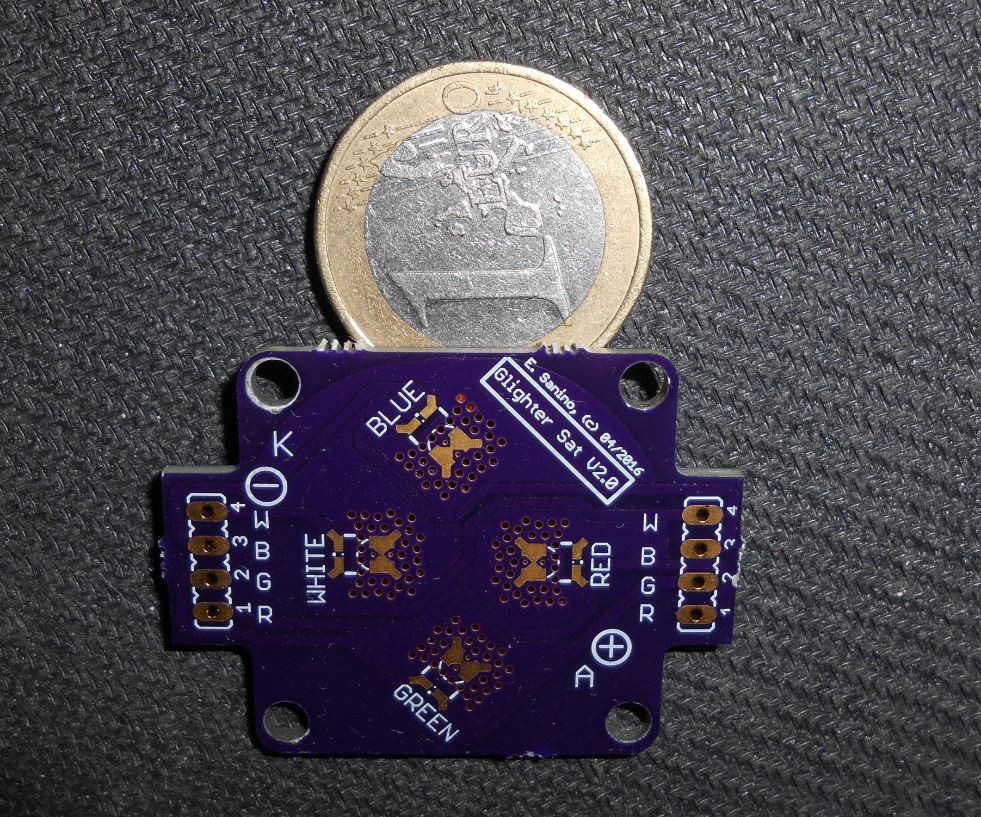
    I designed a small "satellite" that mounts 4 LEDs. There are a Luxeon Rebel series ones, that have the peculiarity to have a low forward voltage: this allow me to use any power supply more easily.

    Electrically speaking, this additional board simply is a breakout, the effort was in making it small but considering its power capability. So a proper PCB design is deployed in a way that proper heatsinks can be interfaced to the LEDs without using a metal PCB.

    Technical characteristics:

    • Luxeon Rebel LED breakout board
    • 4 LEDs can be mounted. Actually red, green, blue and white.
    • Thermal capability of up to 9W up to 40°C. Can be improve by increasing the heatsink

    How I used it to test the driver:

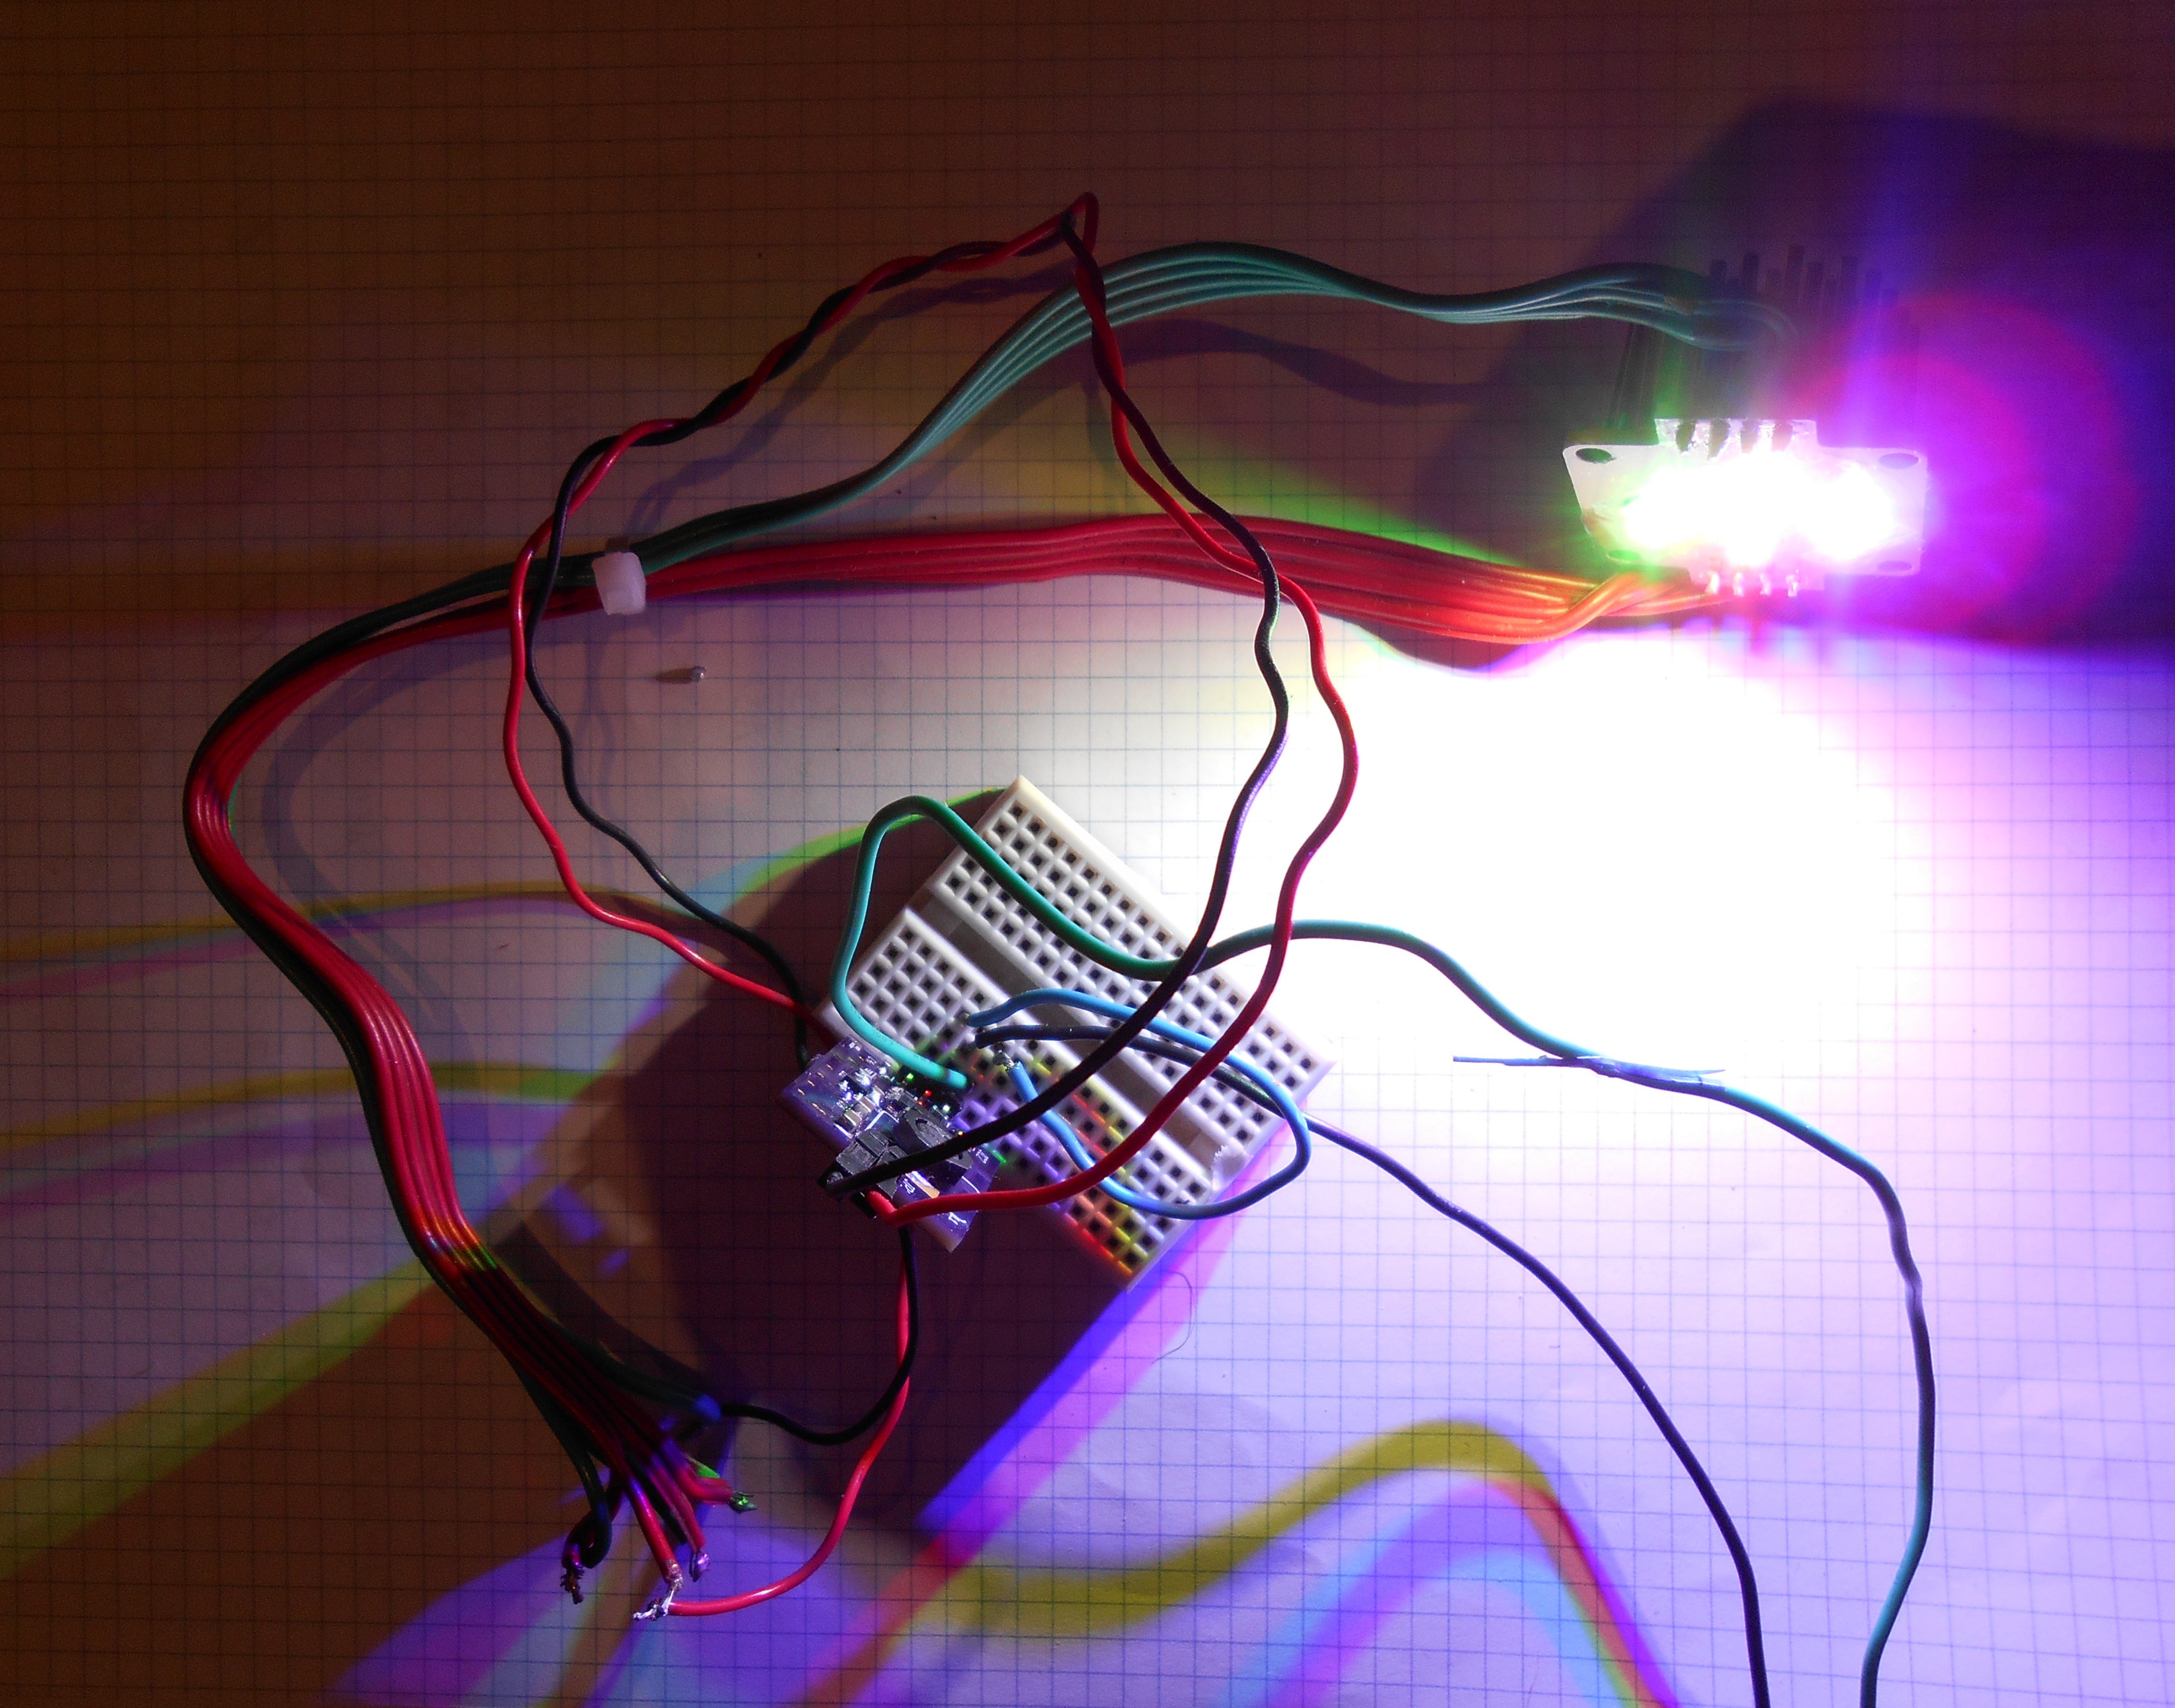
    These 4 LEDs are simply powered in serie to test the maximum efficiency of the driver, then also one of them is tested and seeing the behavior of the board.

    4 Luxeon Rebel ES series are providing an average drop of 3V, therefore I used a power supply with more than 12V, and connected the EN pin to the power supply. There is no damage if the EN pin is at low or equal level of the supply, no matter what it is.

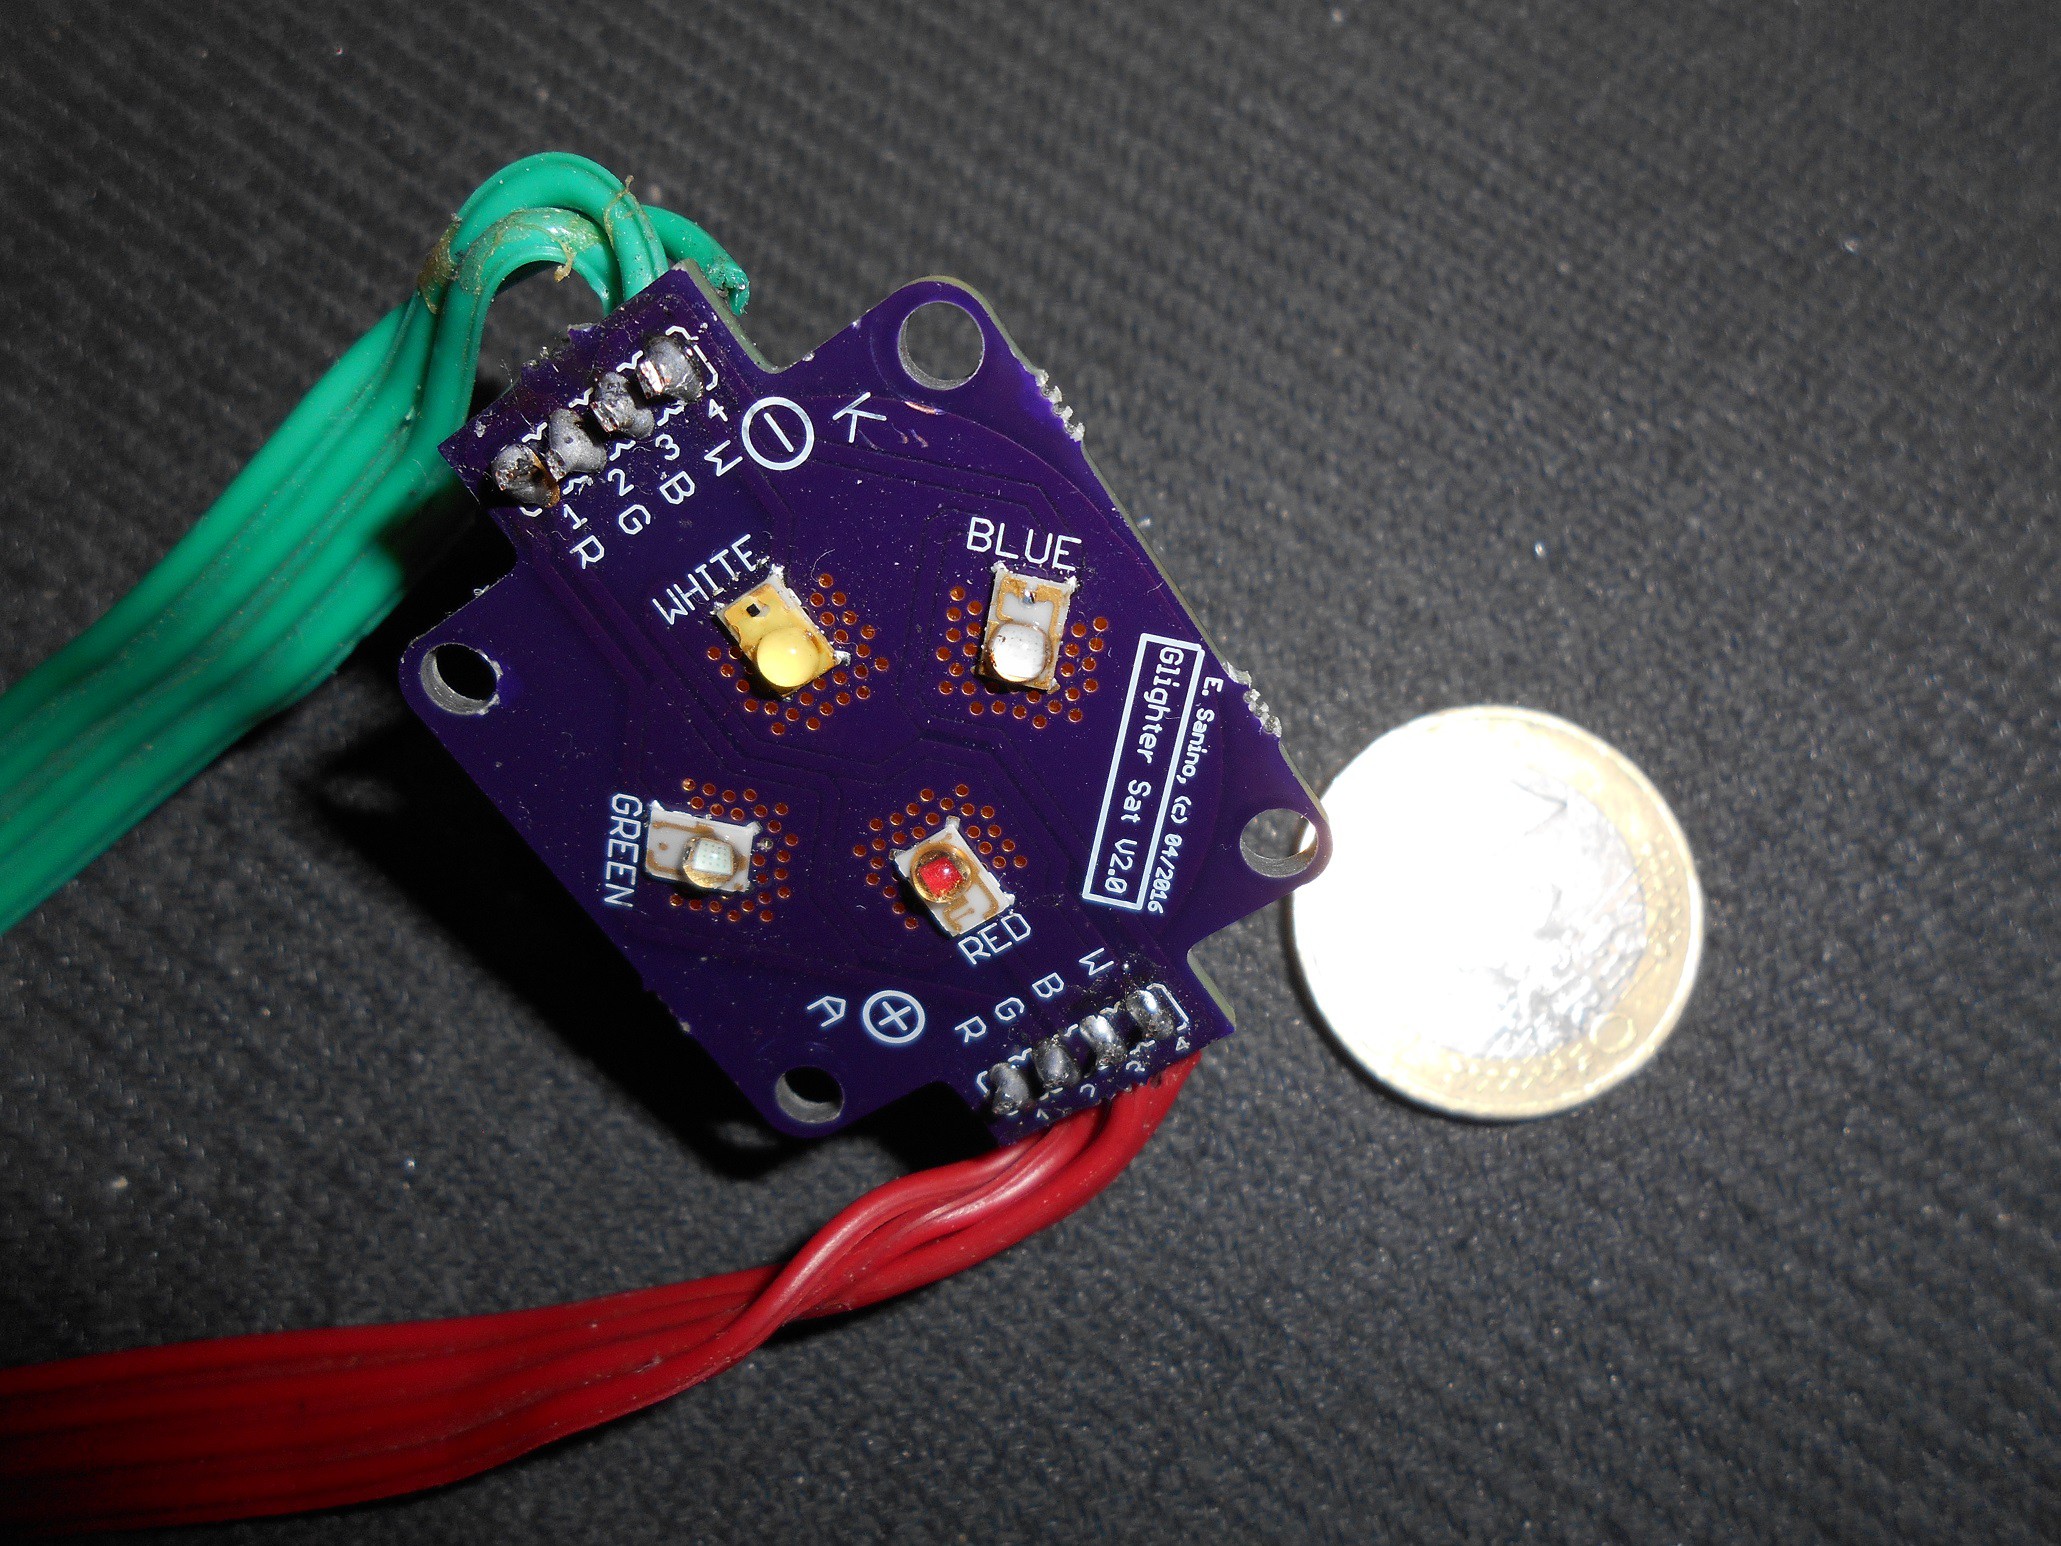
    After soldering:


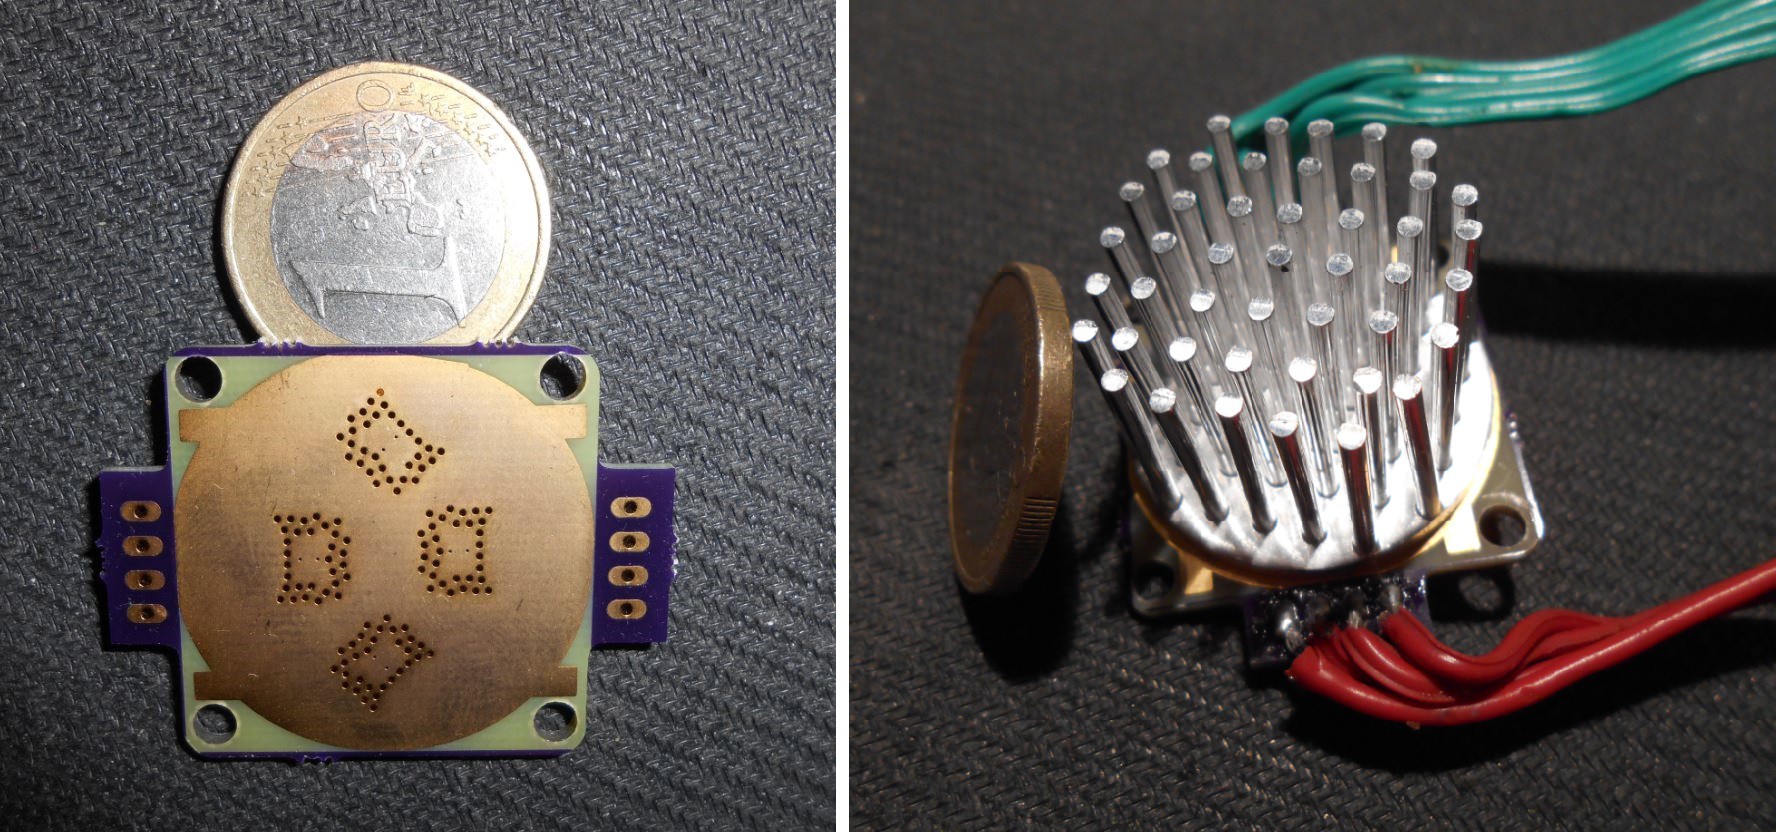
    And here the back, before and after attaching the heatsink:


    Connetions


    And.. voilà:


View all 2 project logs

Enjoy this project?

Share

Discussions

Similar Projects

Does this project spark your interest?

Become a member to follow this project and never miss any updates