-
Tested Running Audacity and Scratch
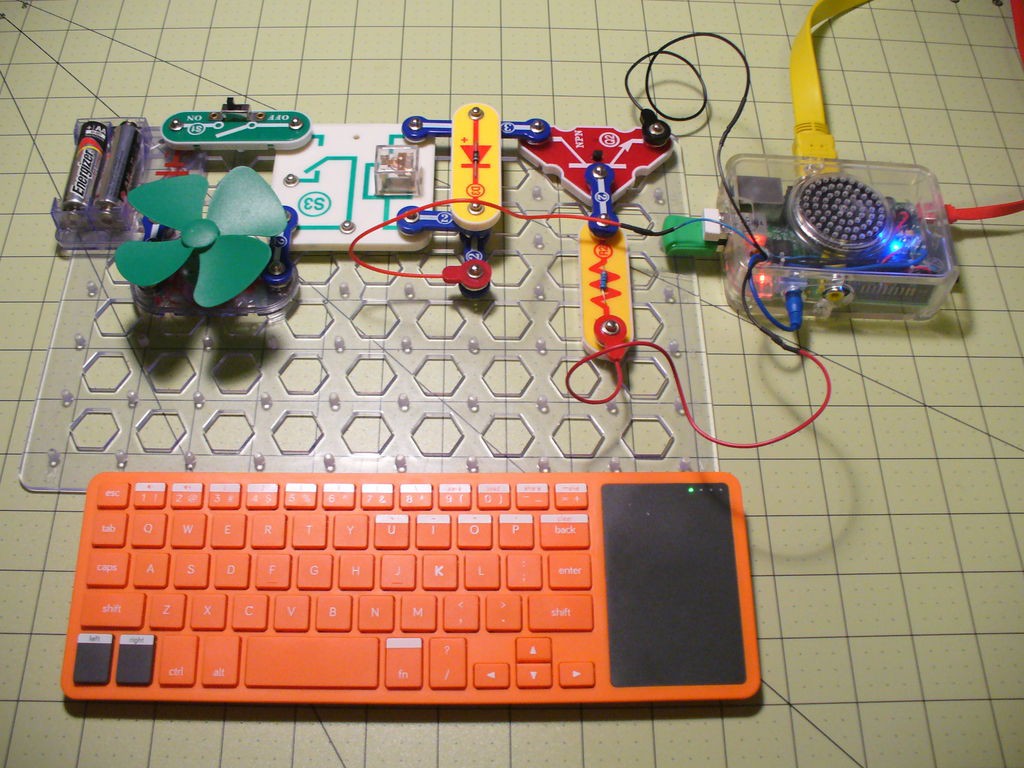
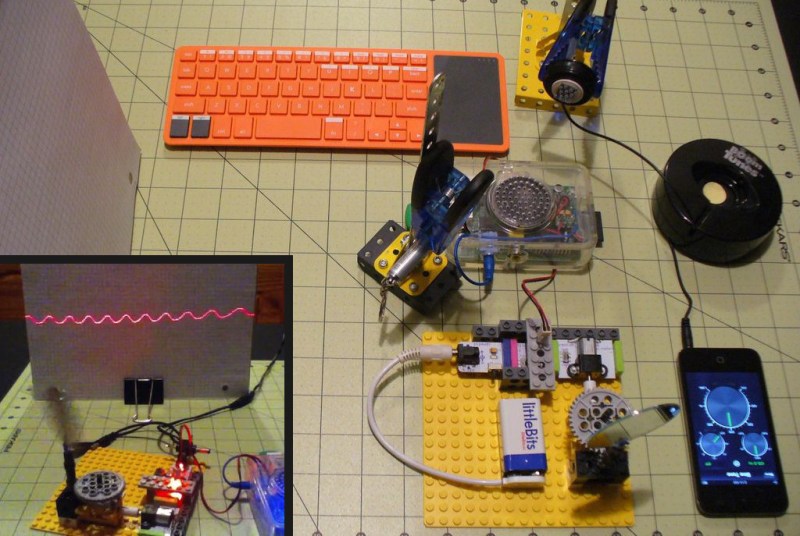
07/08/2016 at 15:09 • 2 commentsSo I had a few minutes this morning to boot up the Kano and I was able to run Audacity to generate a sign wave tone AND run Scratch to speed up or slow down the Snap Circuits Geared Motor circuit. YAY! This project is developing quickly into a tool for the science of sound--you can look at the sine wave form, for instance, on the Kano screen in Audacity and then watch the sine wave on the laser oscilloscope target screen.
A laser oscilloscope is just one of many ways to visualize sound--my project combines a computer (Kano), electronics and mechanics (Snap Circuits Motion set parts), and friggin' laser beams (cat toy laser pointer) as a simple way to visualize sound to ttech the science of sound. Here's a rather interesting TED talk with some clever sound visualization methods:
-
Installed Audacity and Added Boom Tunes Speaker For Testing
07/05/2016 at 17:26 • 0 comments -
Tested Snap Circuits Geared Motor
07/05/2016 at 12:22 • 0 commentsOver the 4th of July weekend I was able to drive the Snap Circuits Geared Motor using the Using the Variable Speed Fan Circuits (see: https://hackaday.io/project/10660-variable-speed-fan-snap-circuits-kano-computer).
-
Able to Flash Snap Circuits LED Using Scratch on the Kano Computer
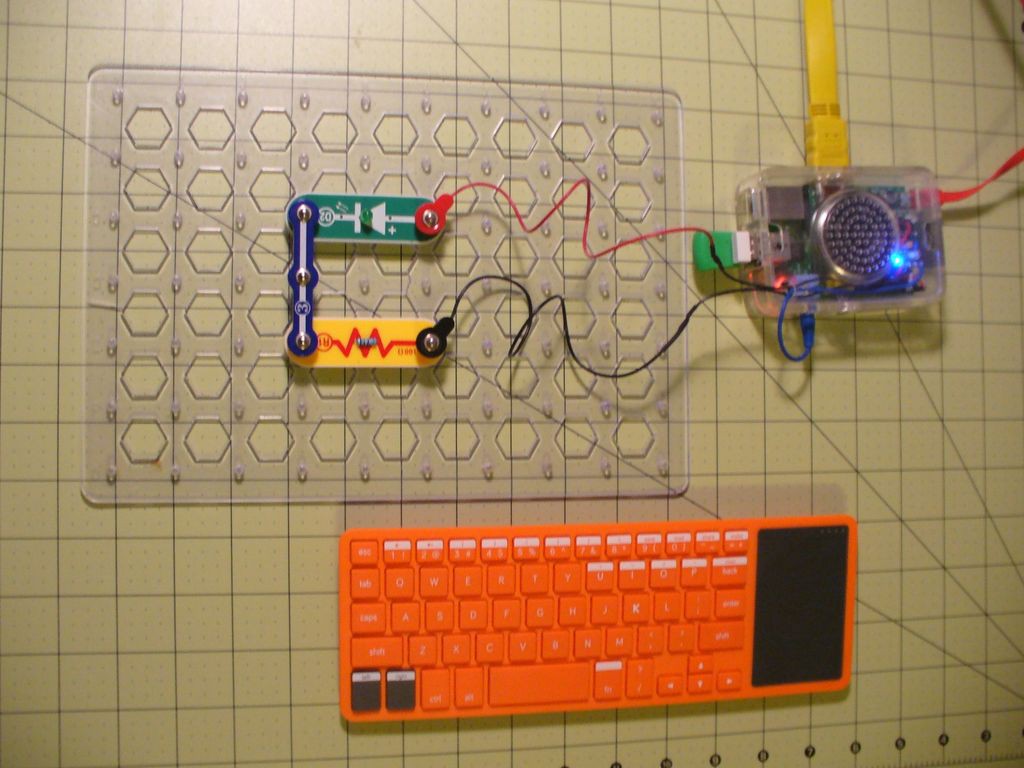
06/27/2016 at 19:14 • 0 commentsOver the weekend I was able to flash a Snap Circuits LED using Scratch on the Kano computer without having to install any additional software. According to raspberrypi.org, "the September 2015 release of Scratch for the Pi, included in the Raspbian Jessie release, introduces a new GPIO server to make driving LEDs, buzzers, HATS and other devices and components easier."
Source: https://www.raspberrypi.org/documentation/usage/scratch/gpio/README.md
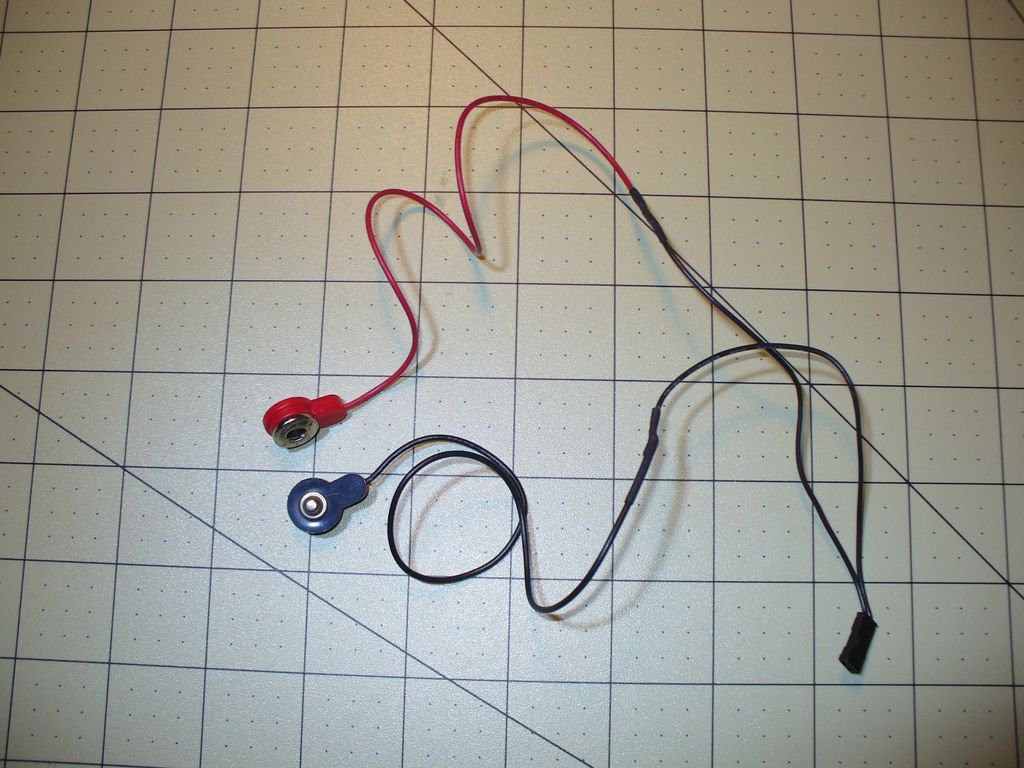
I used my Snap Circuits to header pin conversion cable:
 I connected black-red to pin 7 (GPIO 4) and black-black to pin 9 (Ground).
Picture source: https://developer.microsoft.com/en-us/windows/iot/win10/samples/pinmappingsrpi2
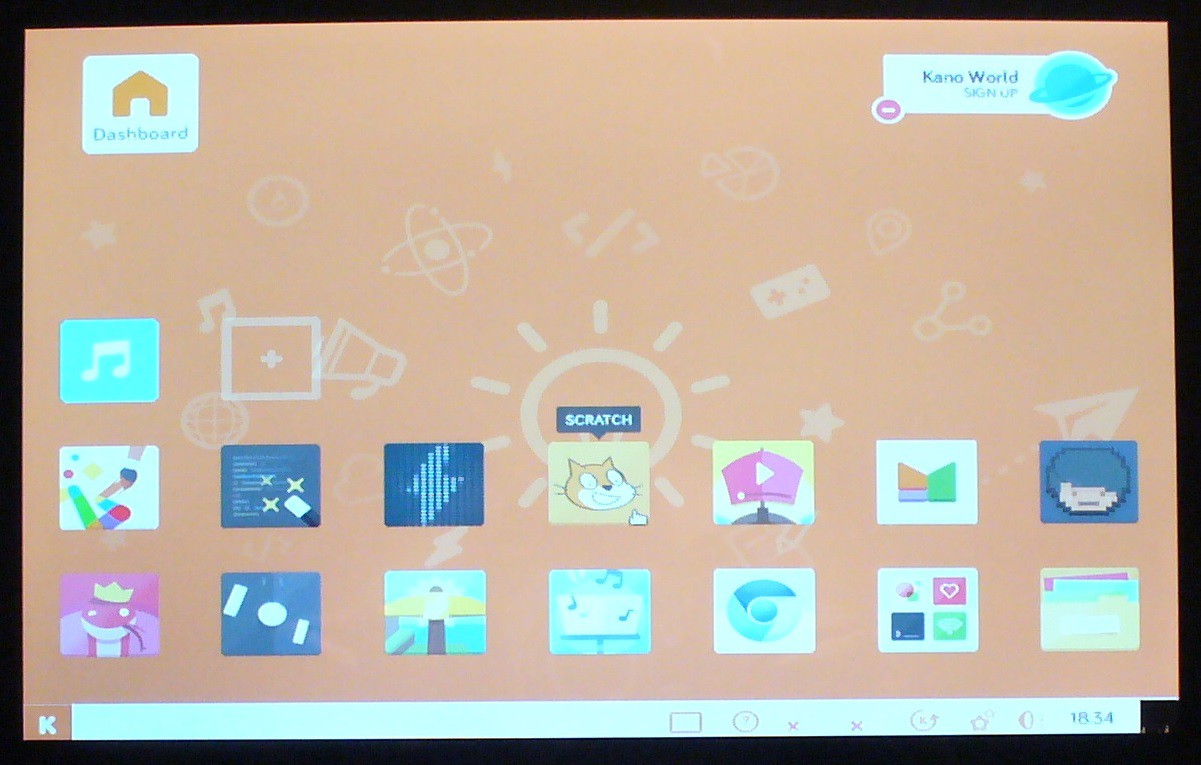
Simply boot up the Kano Computer and go to scratch:
Click Edit > Start GPIO Server:
The Scratch program to flash the Snap Circuits LED is very simple:
-
Request for project ideas for "Raspberry Pi 3 Desktop a 7-yr-old Can Build & Use"
06/24/2016 at 13:05 • 0 commentsThis project log is intended as a request for comments--project ideas--for my project "Raspberry Pi 3 Desktop a 7-yr-old Can Build & Use." See below for more details.
The postulated audience for this project are parents who are STEM (Science, Technology, Engineering, Math) workers, K-12 educators, post-secondary educators, homeschoolers, DIYers/Makers/Hardware Hackers, and parents with children in youth groups such Scouts, 4-H, FFA, etc.
The Kano Computer is recommended for ages seven and older (actually now the website suggests age 6 or older). Snap Circuits is recommended for ages eight and older. Of course it would be up to parents to determine if it is appropriate for younger children.
I have three years experience as an adult educator, but have no training or experience in K-12 education.
I've searched for 3rd grade science fair winners and it would seem the projects I've created so far for Raspberry Pi and Snap Circuits so far should be appropriate for third graders:
Flash a Snap Circuits LED ("Pi Day Project 2016") https://hackaday.io/project/10182-pi-day-2016-project
 Variable speed fan: https://hackaday.io/project/10660-variable-speed-fan-snap-circuits-kano-computer
Control a Snap Circuits Relay with the Kano Computer: https://hackaday.io/project/11575-control-snap-circuits-relay-with-kano-computer
And finally, LaserOscope: https://hackaday.io/project/4907-laseroscope
For my "Raspberry Pi 3 Desktop a 7-yr-old Can Build & Use" I'm considering using the Kano computer to drive the Snap Circuits Geared motor (to vary the speed of the Snap Circuits geared motor) in my LaserOscope II project: https://hackaday.io/project/12103-laseroscope-ii
This weekend I hope to test Scratch that comes installed with the Kano computer to see if it will access the Raspberry Pi 3 GPIO pins. Maybe I'll have to update Scratch from the Kano website or install ScratchGPIO7 from simplesi.net. Anyhoo, I'll push this project log up on the Hackadayio stack and I hope to get some feedback on which of the above projects I should use or suggestions for project ideas I haven't thought of.
-
Raspberry Pi Model B
06/23/2016 at 11:16 • 0 commentsSpecifications:
Processor Broadcom BCM2387 chipset. 1.2GHz Quad-Core ARM Cortex-A53 802.11 b/g/n Wireless LAN and Bluetooth 4.1 (Bluetooth Classic and LE)
GPU Dual Core VideoCore IV® Multimedia Co-Processor. Provides Open GL ES 2.0, hardware-accelerated OpenVG, and 1080p30 H.264 high-profile decode. Capable of 1Gpixel/s, 1.5Gtexel/s or 24GFLOPs with texture filtering and DMA infrastructure
Memory 1GB LPDDR2
Operating System Boots from Micro SD card, running a version of the Linux operating system or Windows 10 IoT
Dimensions 85 x 56 x 17mm
Power Micro USB socket 5V1, 2.5A
Connectors:
Ethernet 10/100 BaseT Ethernet socket
Video Output HDMI (rev 1.3 & 1.4 Composite RCA (PAL and NTSC)
Audio Output Audio Output 3.5mm jack, HDMI USB 4 x USB 2.0 Connector
GPIO Connector 40-pin 2.54 mm (100 mil) expansion header: 2x20 strip Providing 27 GPIO pins as well as +3.3 V, +5 V and GND supply lines
Camera Connector 15-pin MIPI Camera Serial Interface (CSI-2)
Display Connector Display Serial Interface (DSI) 15 way flat flex cable connector with two data lanes and a clock lane
Memory Card Slot Push/pull Micro SDIO
-
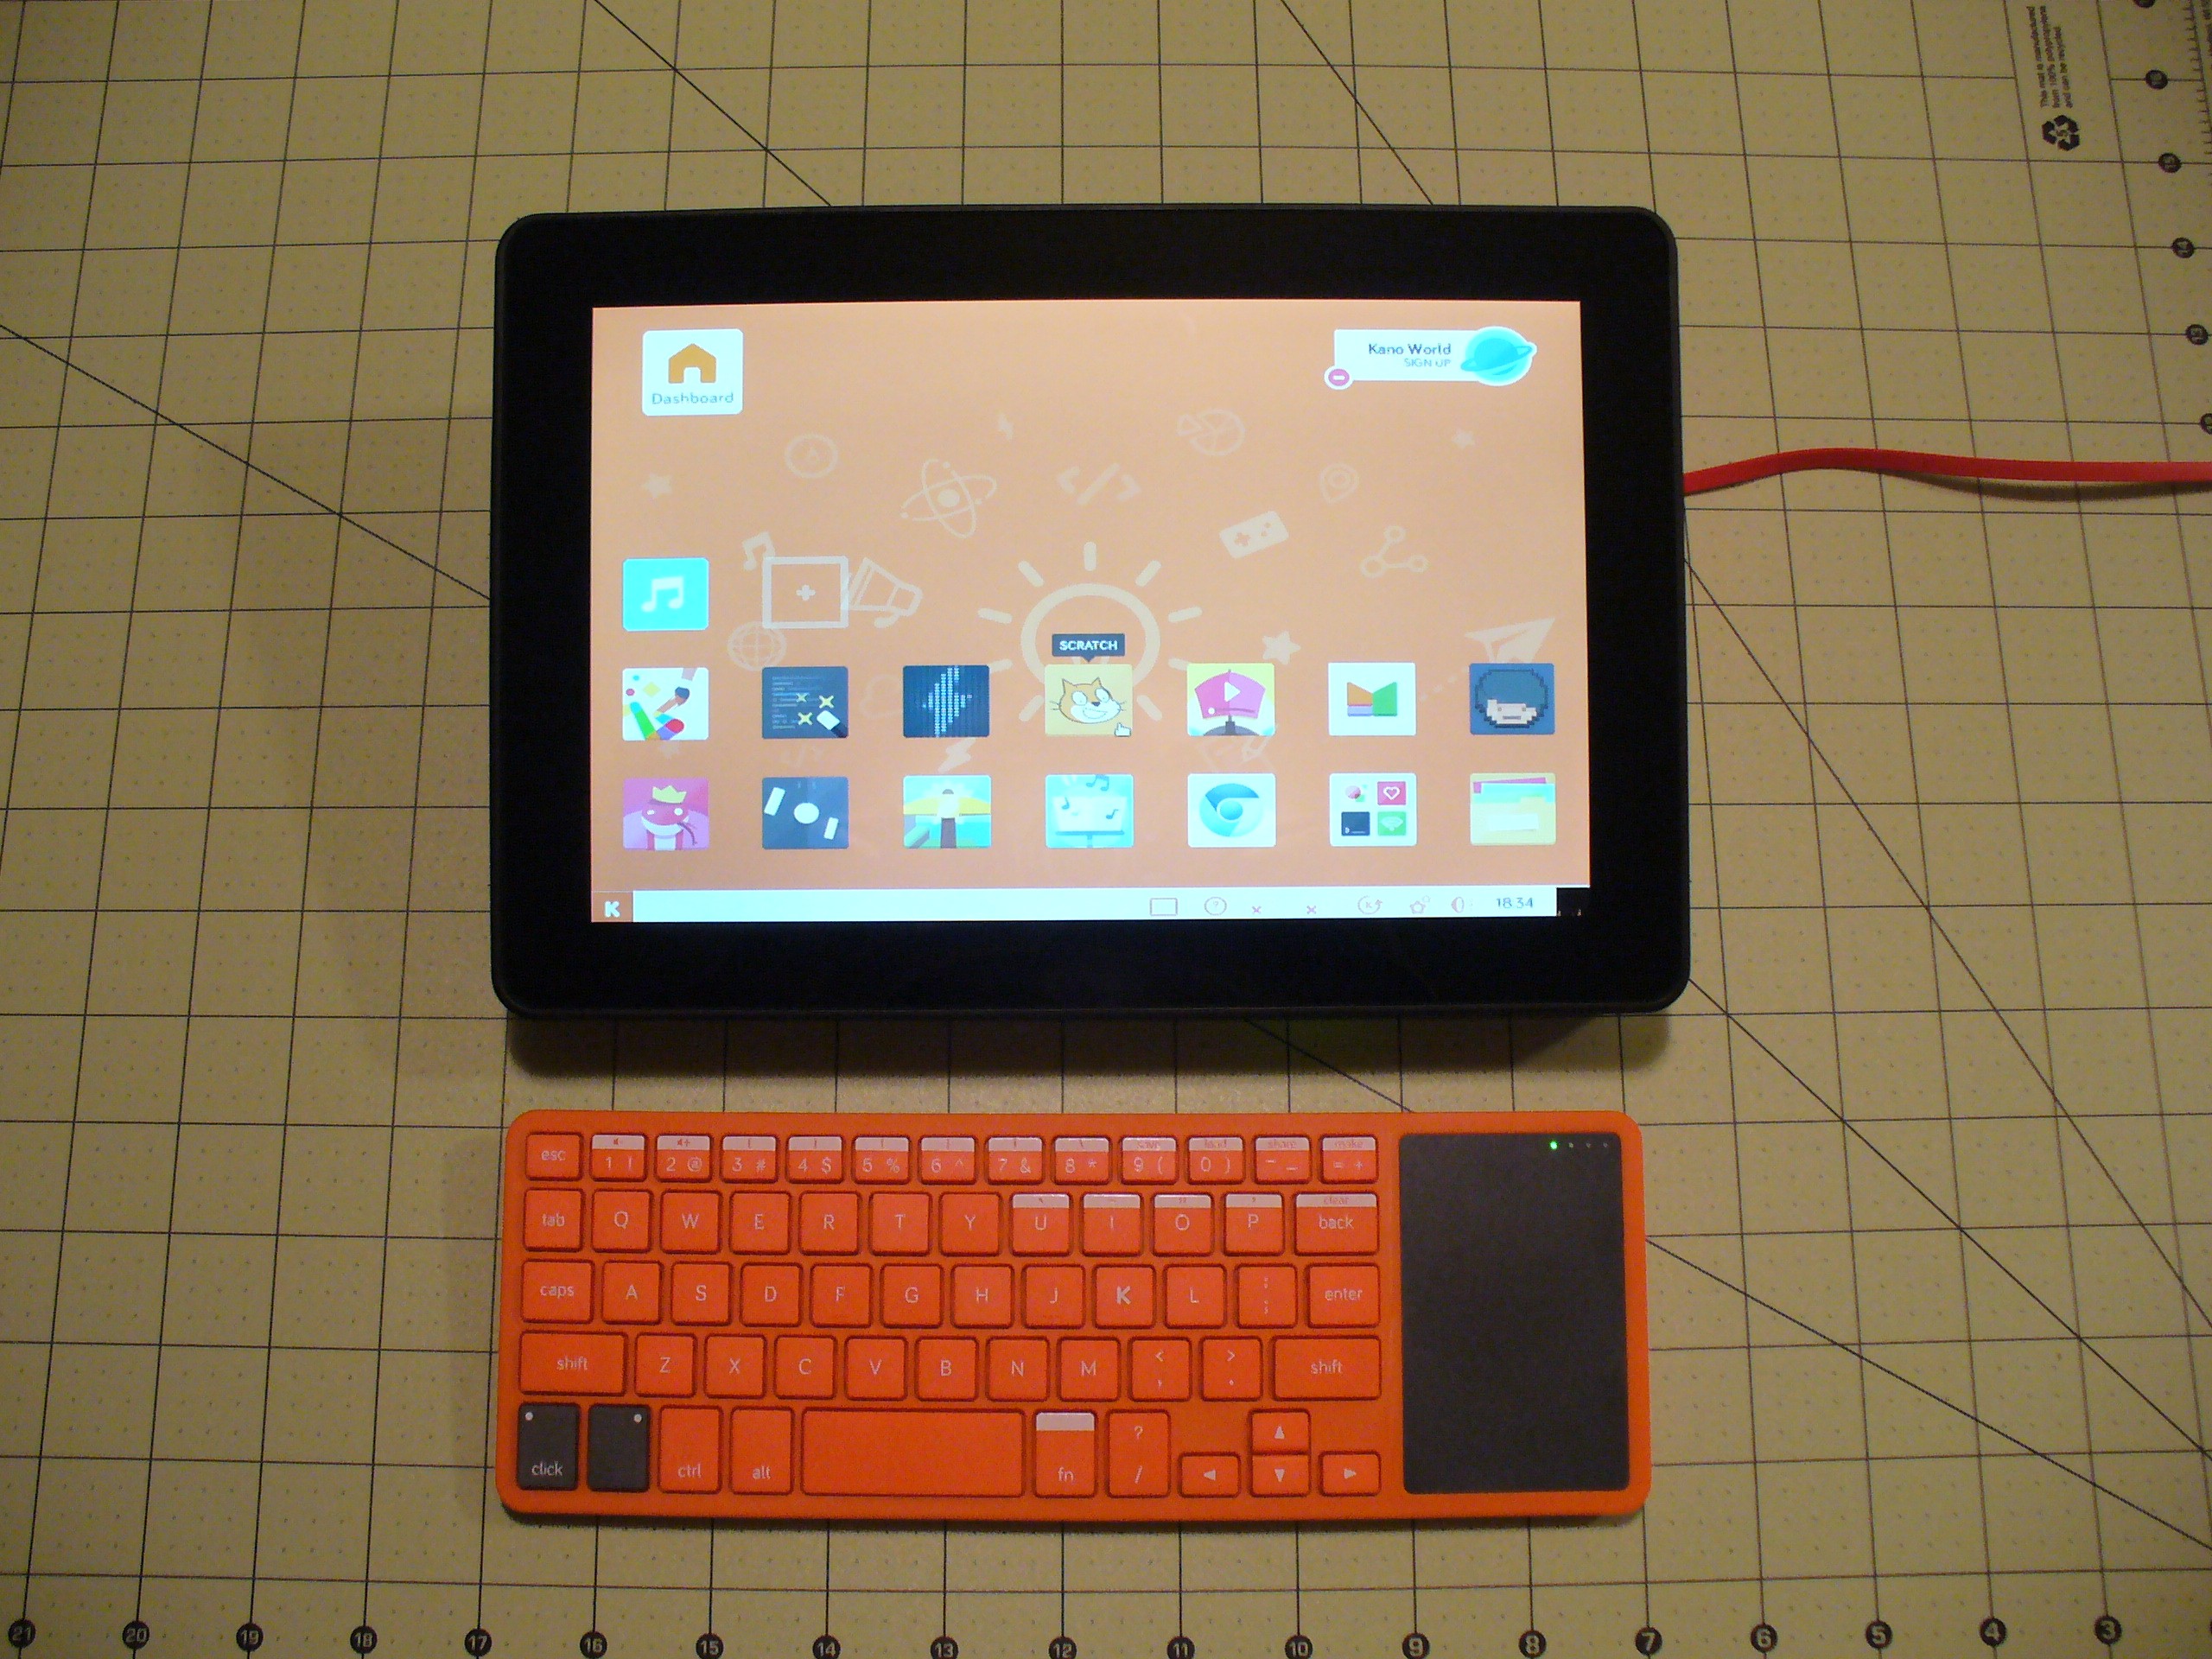
Kano Computer and Screen Kits Built, Now Need to Test Scratch GPIO
06/22/2016 at 20:58 • 0 commentsWith the Kano and Screen kits built, I've connected the Kano to wifi and downloaded the updates for the Kano OS. I'll have to test to see if Scratch GPIO is supported on the Kano computer. If not I've also downloaded scratchgpio7 and will install if necessary.
Scratch GPIO instructions: https://www.raspberrypi.org/documentation/usage/scratch/gpio/README.md
Scratch GPIO 7: http://simplesi.net/scratchgpio/scratch-raspberrypi-gpio/
-
Another Out of Box Experience (Kano Screen Kit UnBoxing)
06/22/2016 at 13:46 • 0 comments -
Out of Box Experience (Kano Computer Kit UnBoxing)
06/21/2016 at 15:56 • 0 comments -
Magic Blue Smoke
06/21/2016 at 14:56 • 0 commentsAs it says on my profile: "You may try my projects AT YOUR OWN RISK--there are infinite ways to damage or destroy people and property, I can't think of them all."
If you accidentally let the magic blue smoke escape (and smell the accompanying burnt electrical malodor) your component most likely won't work anymore.
When you hack something you’re probably using it in a way in which it was never intended to be used so, there is always a risk that things might not go the way you planned. I've lost count of the number of items that I have damaged beyond repair by connecting them up the wrong way or sending too much power through them. You will in all likelihood void the warranty of the item(s). If you cannot afford to replace the item(s) you probably ought not try the hack.
Kids use adult supervision.
Raspberry Pi 3 Desktop a 7-yr-old Can Build & Use
Teach programming, electronics, and mechanics with the Kano Computer and Snap Circuits.
 Steve Schuler


