 Adam M
-
1Step 1
Link to the users Manual: Users Manual
First look through the manual if you have no idea what you are doing.
- Start by powering the printer on and homing it.
- Next preheat the bed to 60 degrees and nozzle to 190 for 15 minutes.
If it doesn't get close to 60/190 and stay there or fails to home for what ever reason I'd recommend exchanging it. I know this is HackaDay and all but you could have a lemon and you did cough up at least $200.00 for this thing it should work out of the box.
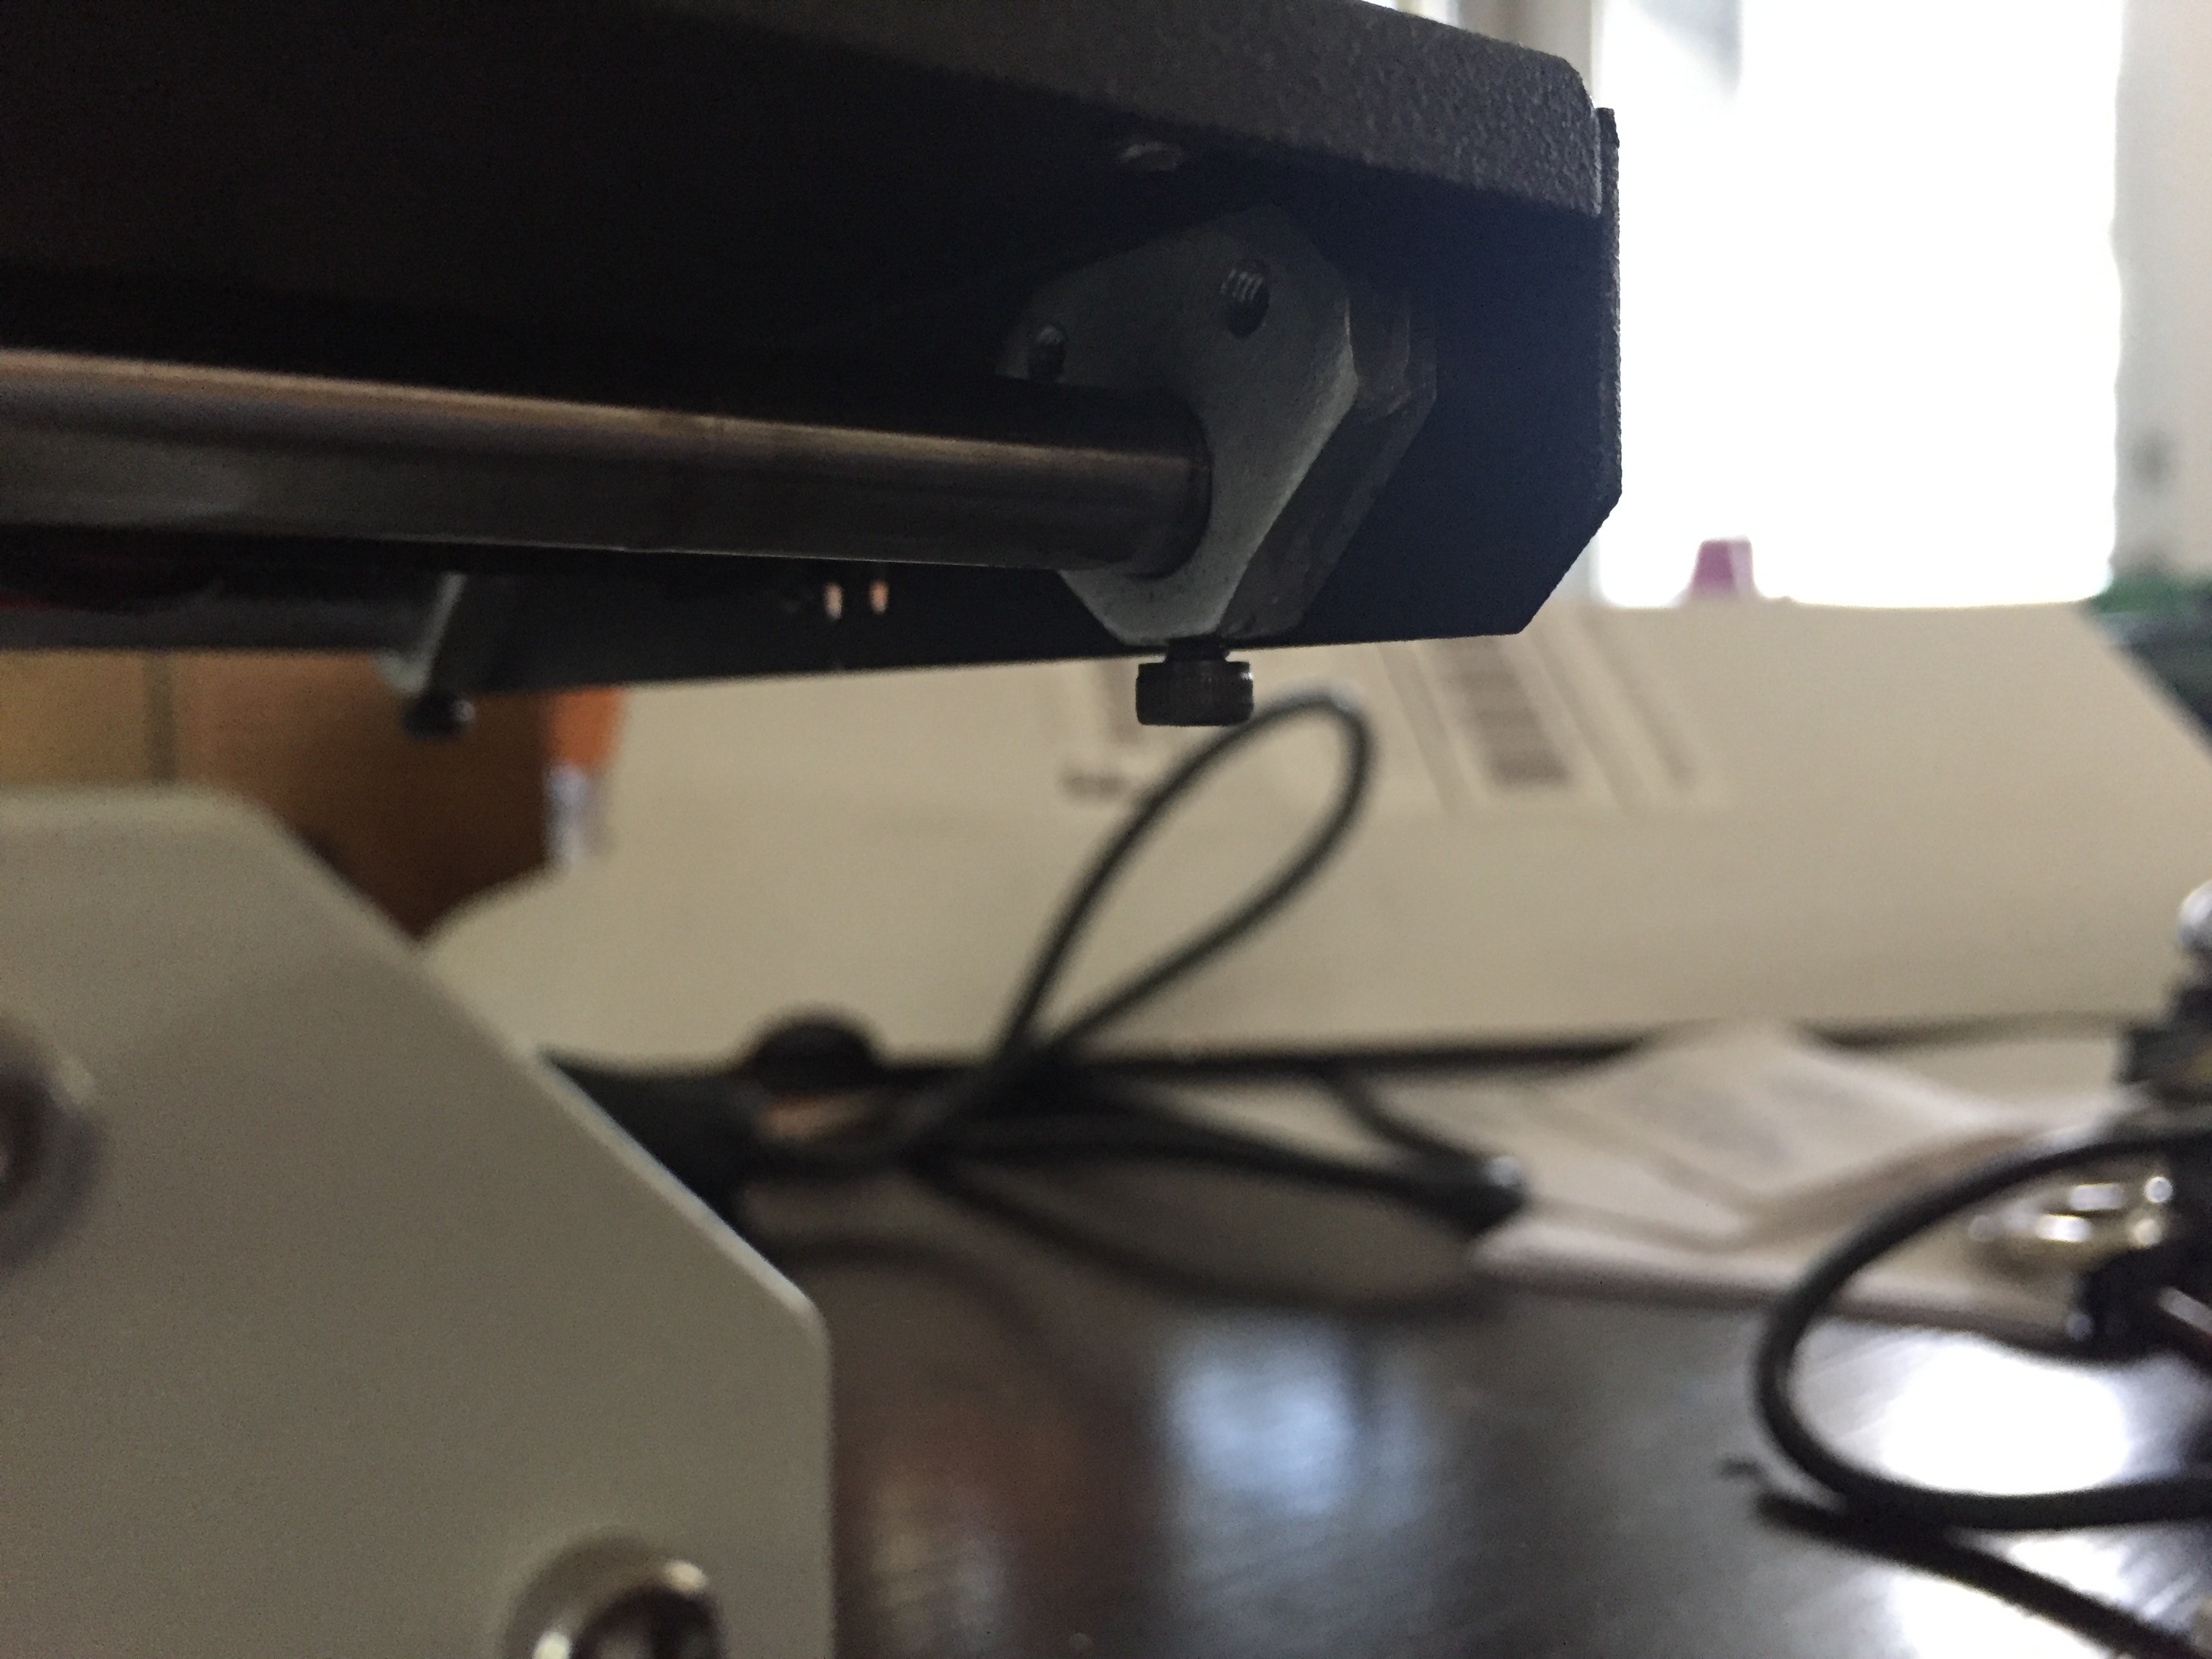
Check all the screws for being loose, this is common with cheap equipment like this.Most of these are assembled by people being payed by the part not hourly. They rush to complete the machine and as long as it passes some level of QA out the door it goes. I found the right rod support set screws on my table's set screws were stripped on both the front and back. I tried to get a replacement but Monoprice is exchange only, I'll just re-tap it with a M4.
![]()
If your machine doesn't sit flat.
- Place the printer on a known flat surface.
- Loosen all the screws on the left and right plates by a single turn.
- If the machine still doesn't sit flat then loosen the screw on the bottom plate by a single turn.
- It should sit flat then, re-tighten them mirrored on each side. So Left front then Right front
If the printer won't sit flat either your printer is really tweaked or something else is wrong missing feet? If the printer rocks while it prints, it will effect the pint quality of machine.
Time to level the bed- Right after homing the printer, turn it off and move the head and table into the four corners.
- Adjust the bed so that a piece of paper slides between the nozzle tip with just a little bit of friction.
You will tighten the hex keys in the four corners of the bed to increase the gap and loosen them to decrease the gap. If your still unsure look for a video on YouTube about how to level an i3 it's basically the same procedure.
Printing- Next pre-heat the nozzle, and insert the material through the extruder on the tower. and load the PLA through the tube and into the nozzle. You can look at the manual for guidance.
- Next you will want to print a test print, from the SD card. Insert it into the right side of the printer
- Select baby.gcode, It is a pretty challenging print and if it comes out nice, then your good to go.
This is where I hit my first snag. the extruder started skipping around 50% of the way through the print. I had to crank up the temperature from 195 to 210 to finish the print. It's got some defects but if finished. Thus begins my upgrades to make this thing print consistently and with good quality.
![]()
-
2Step 2
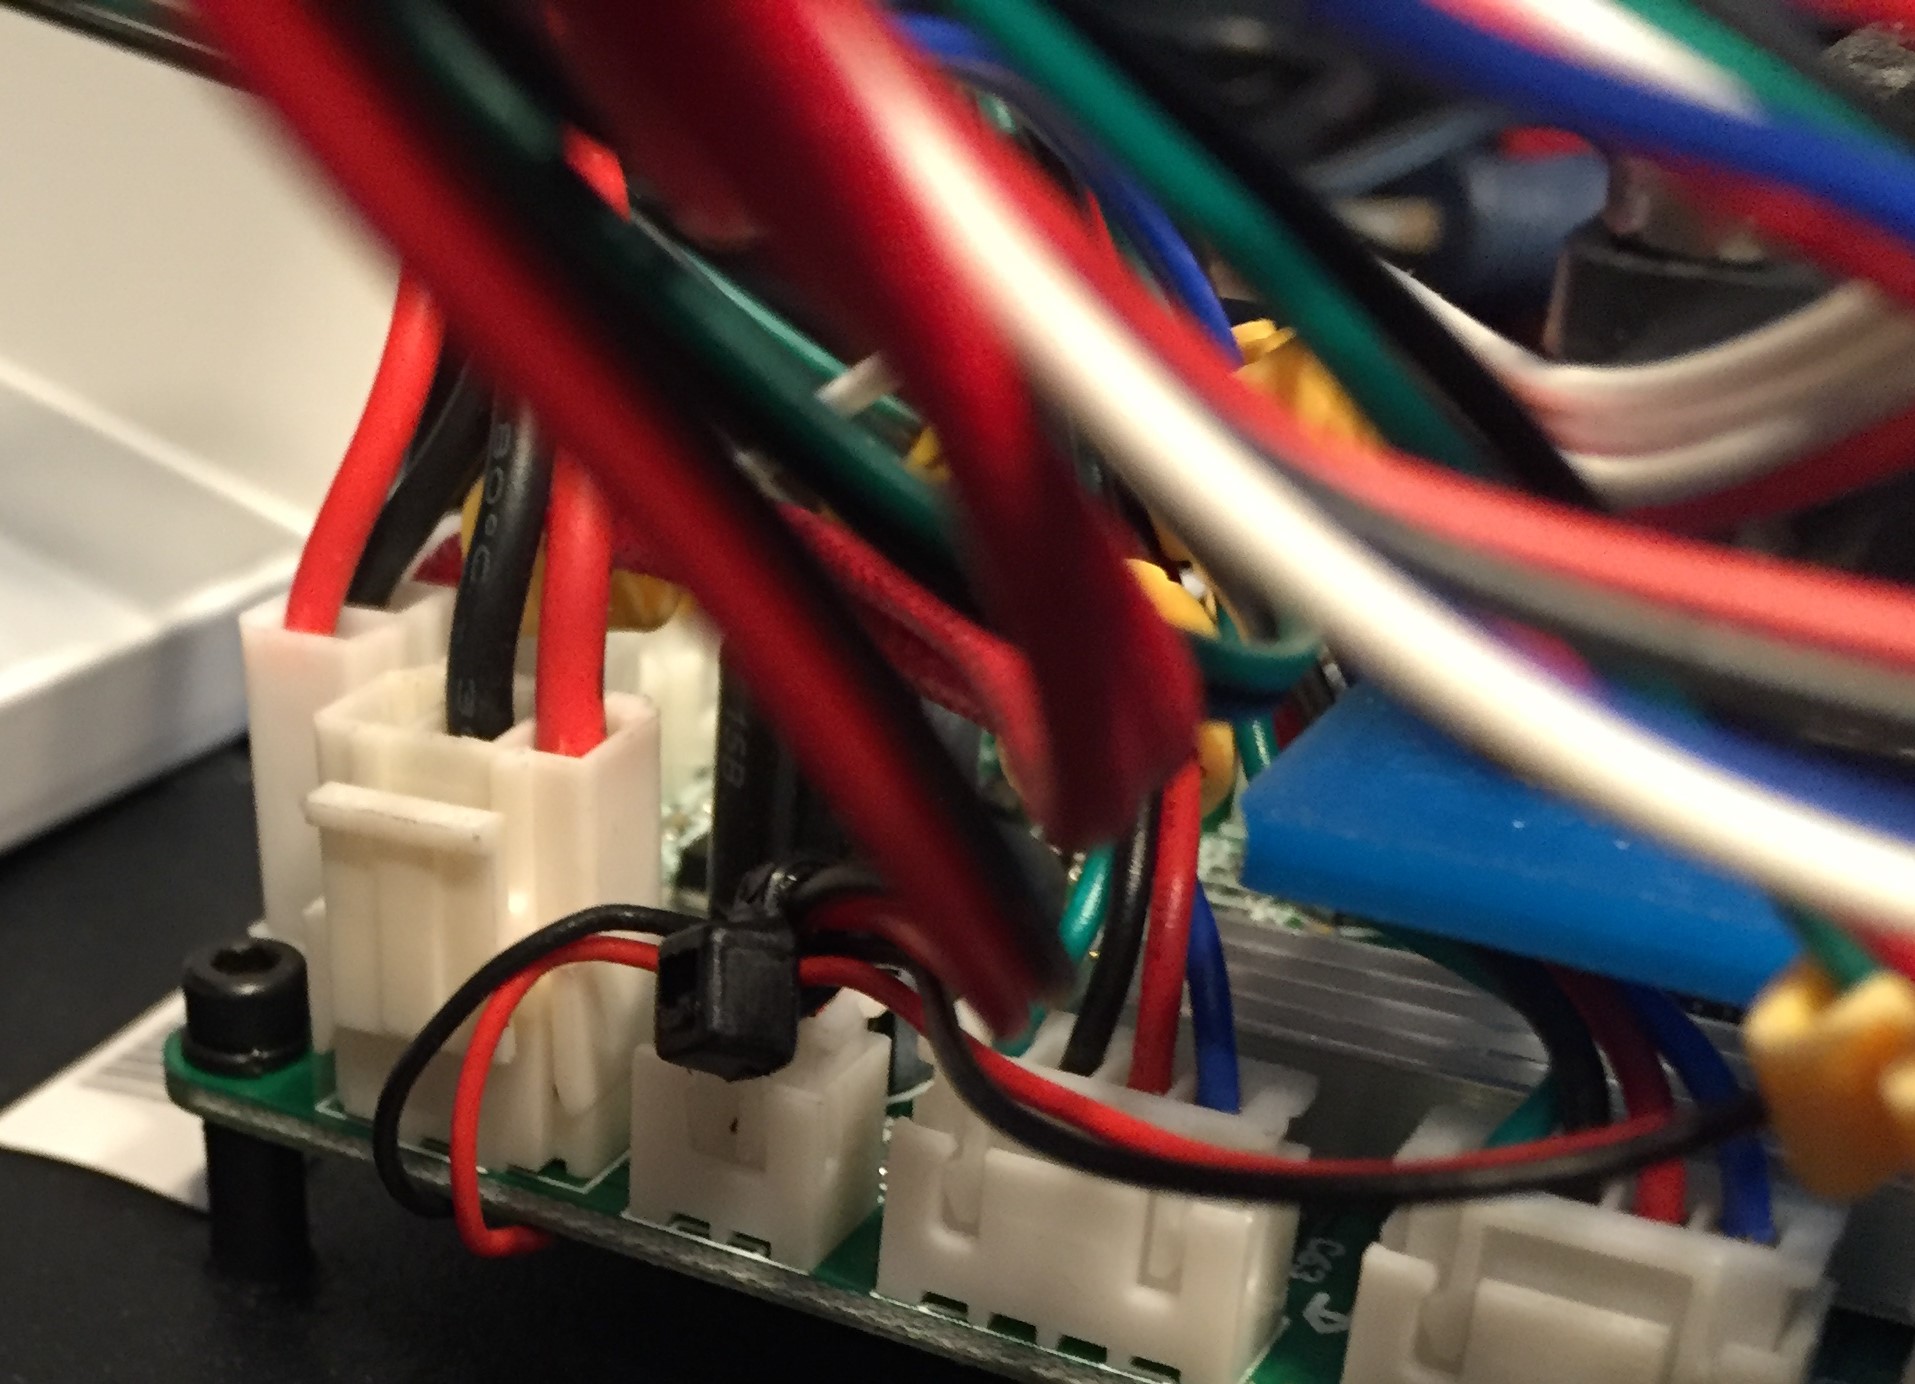
Based on my experience with my Rostock Max and small stepper drivers, I believe the skipping issue is caused the stepper driver shutting down. When the driver overheats it faults and shuts off power the pressure from the filament pins the stepper backwards and then it recovers and repeats. Which leads to what is shown in the video.
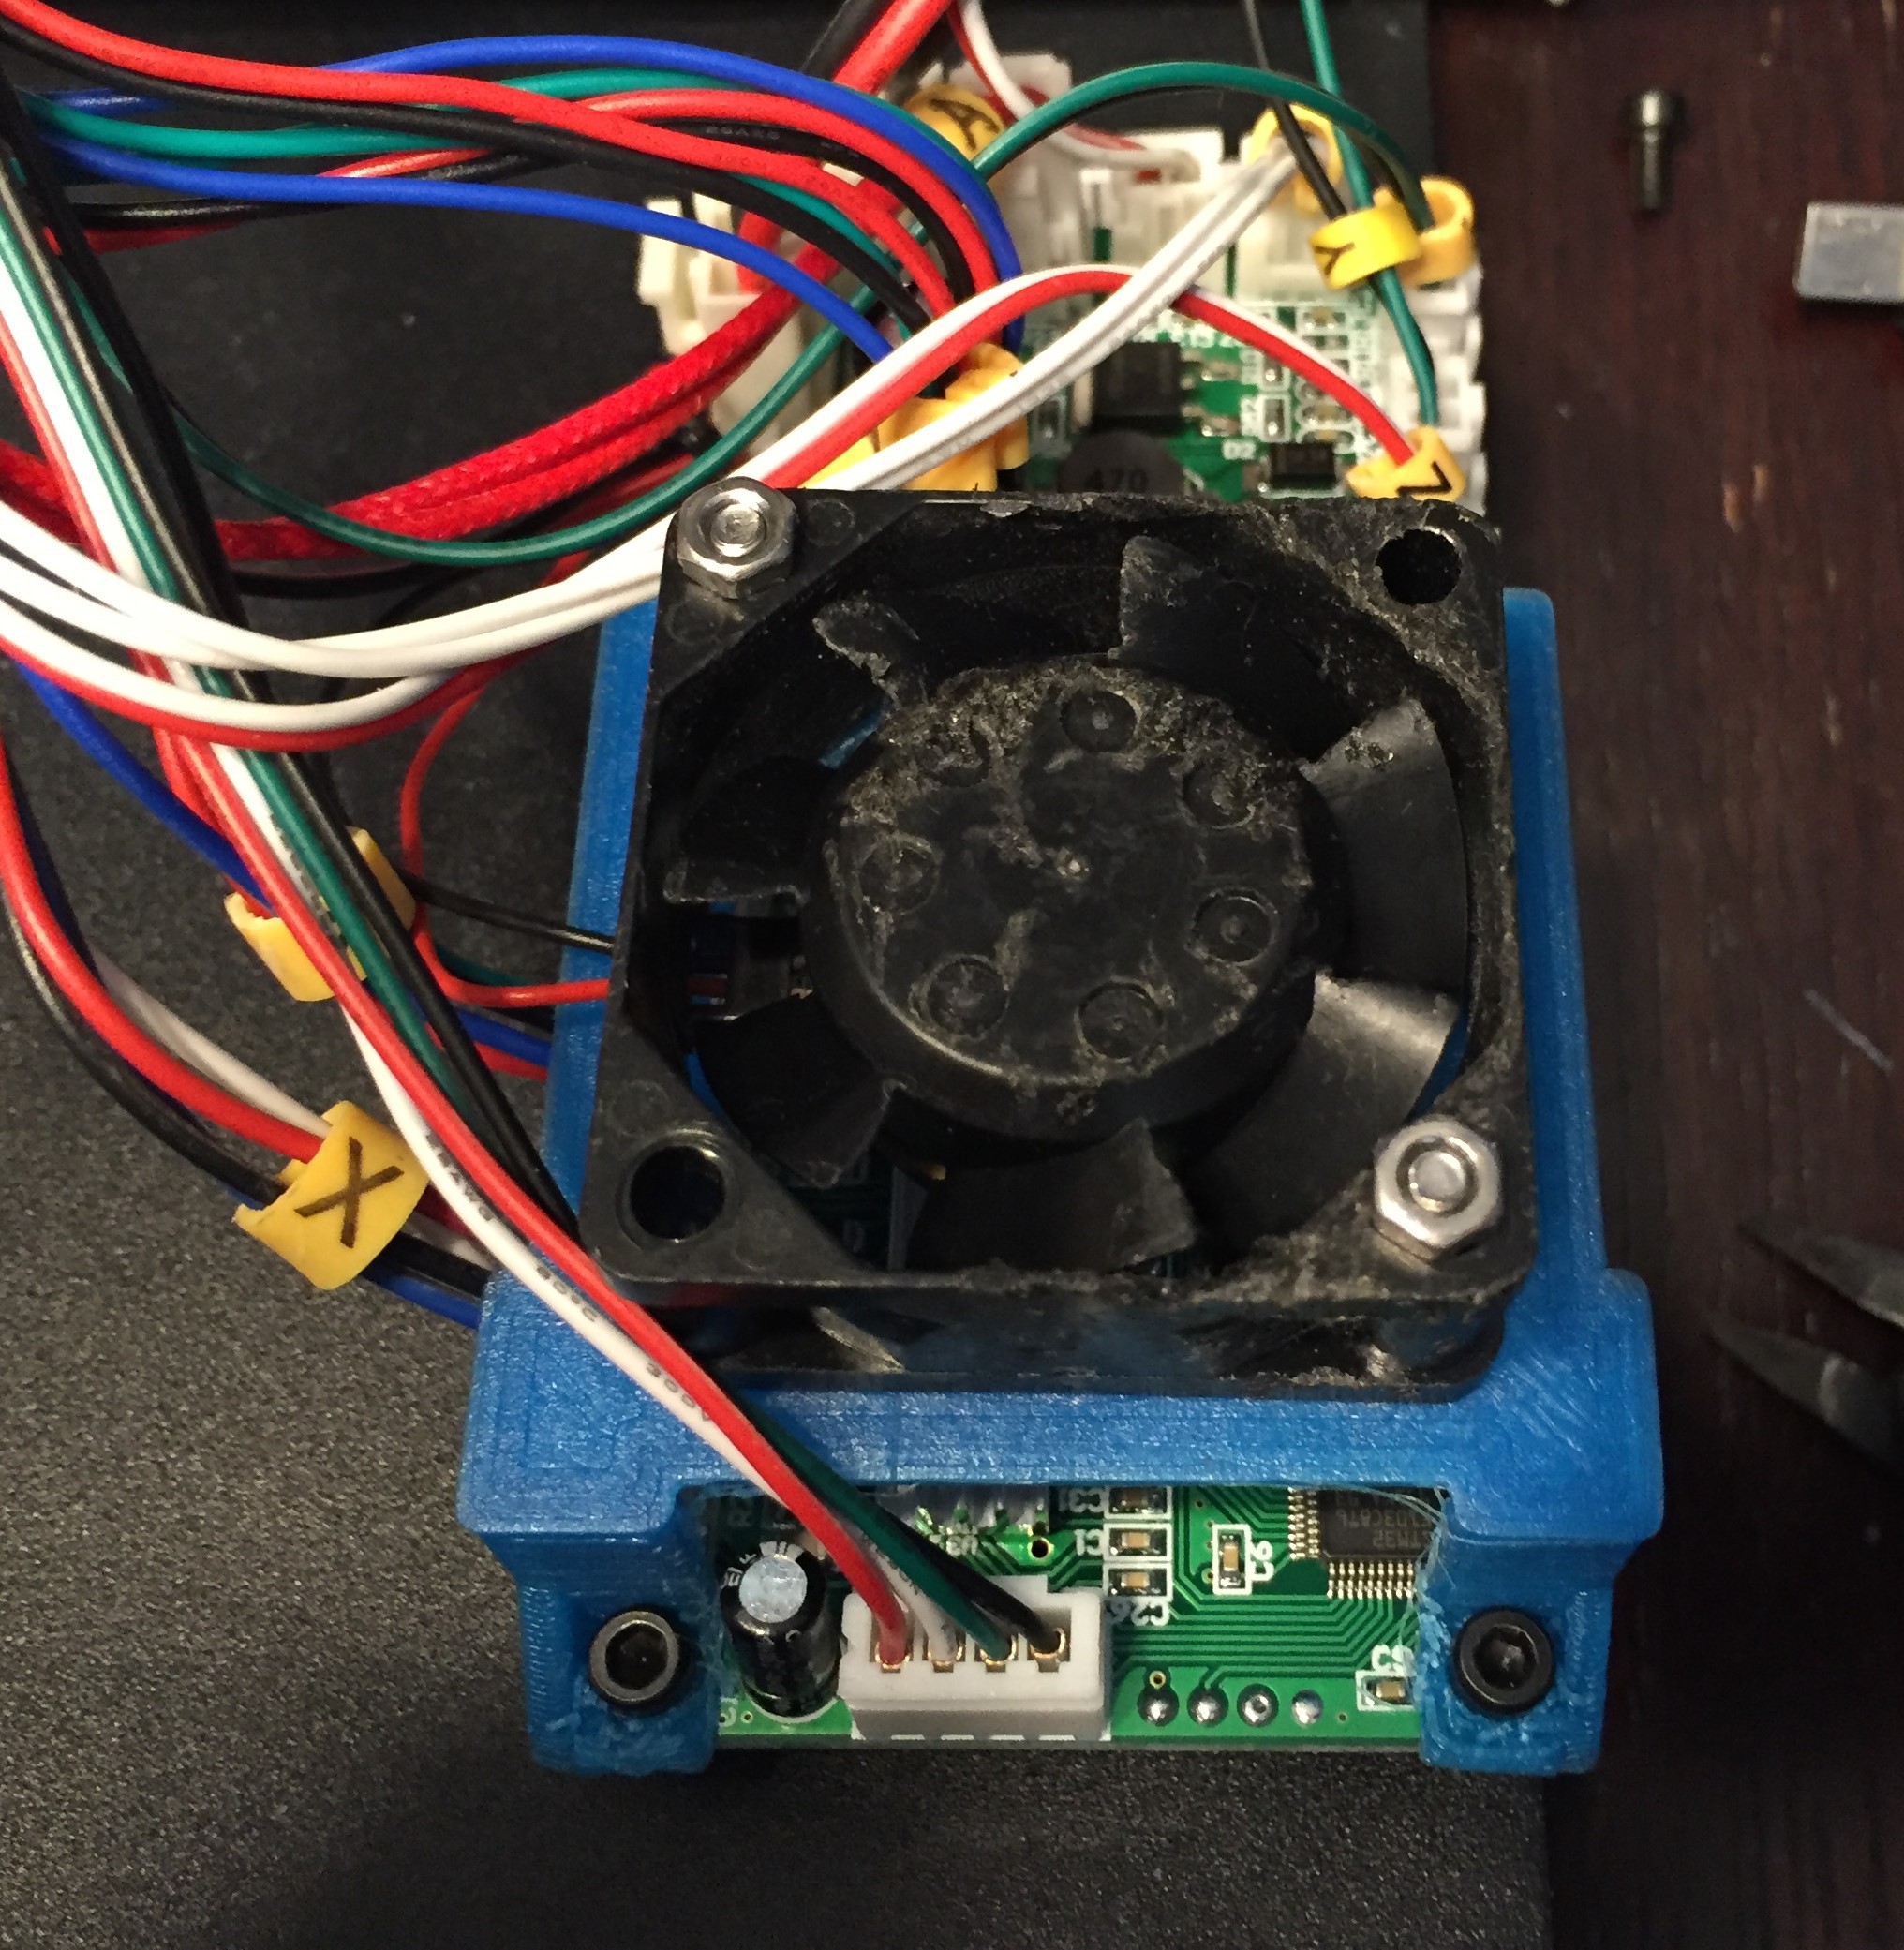
I removed the bottom cover and found all the drivers are linked together on a strip of heatsink material. With no airflow it would seam if the drivers are all working hard this would cause things to overheat. So I drew up a bracket and mounted a 40mm fan blowing onto the PCB.
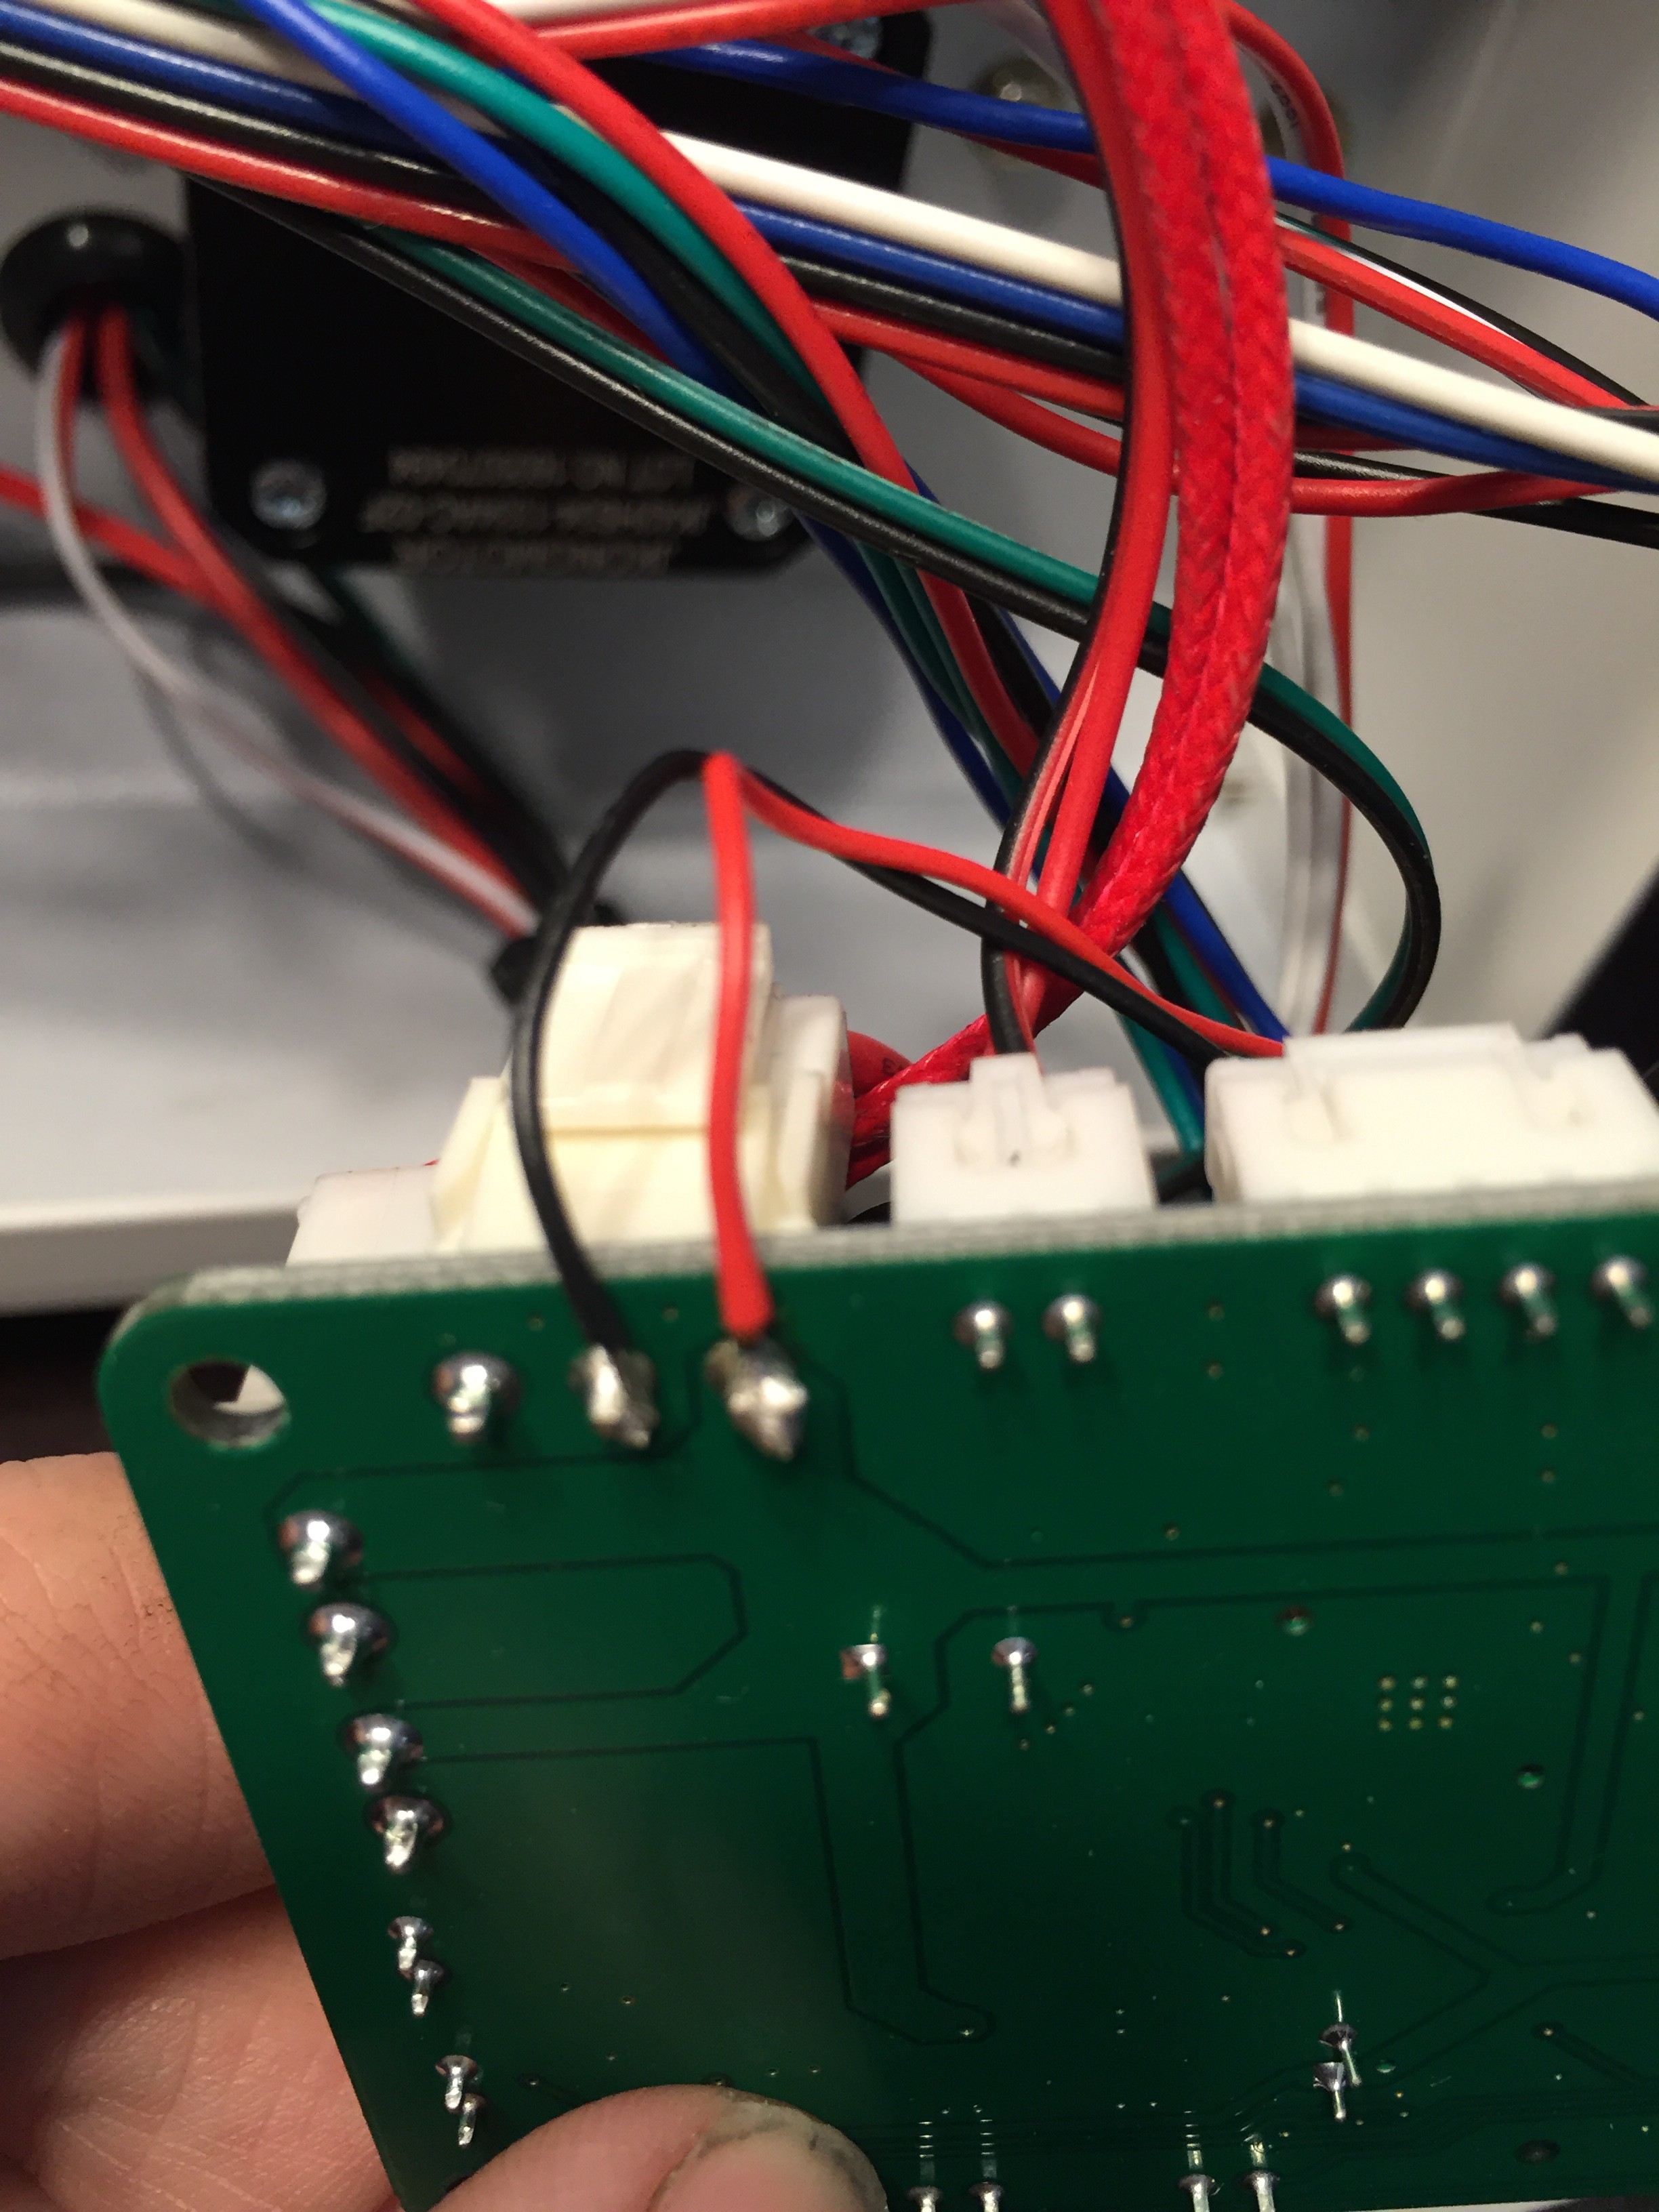
I soldered the power wires from the fan to the main power so the fan turns on with the power to the printer.
![]()
Here is the fan mounted, I should have made the fan clip onto the mount instead of screws, but I had the hardware and this required less trial and error. For the fun of it I used the MP to print the part.
![]()
I zip tied the power wires to the existing harness to provide strain relief.
![]()
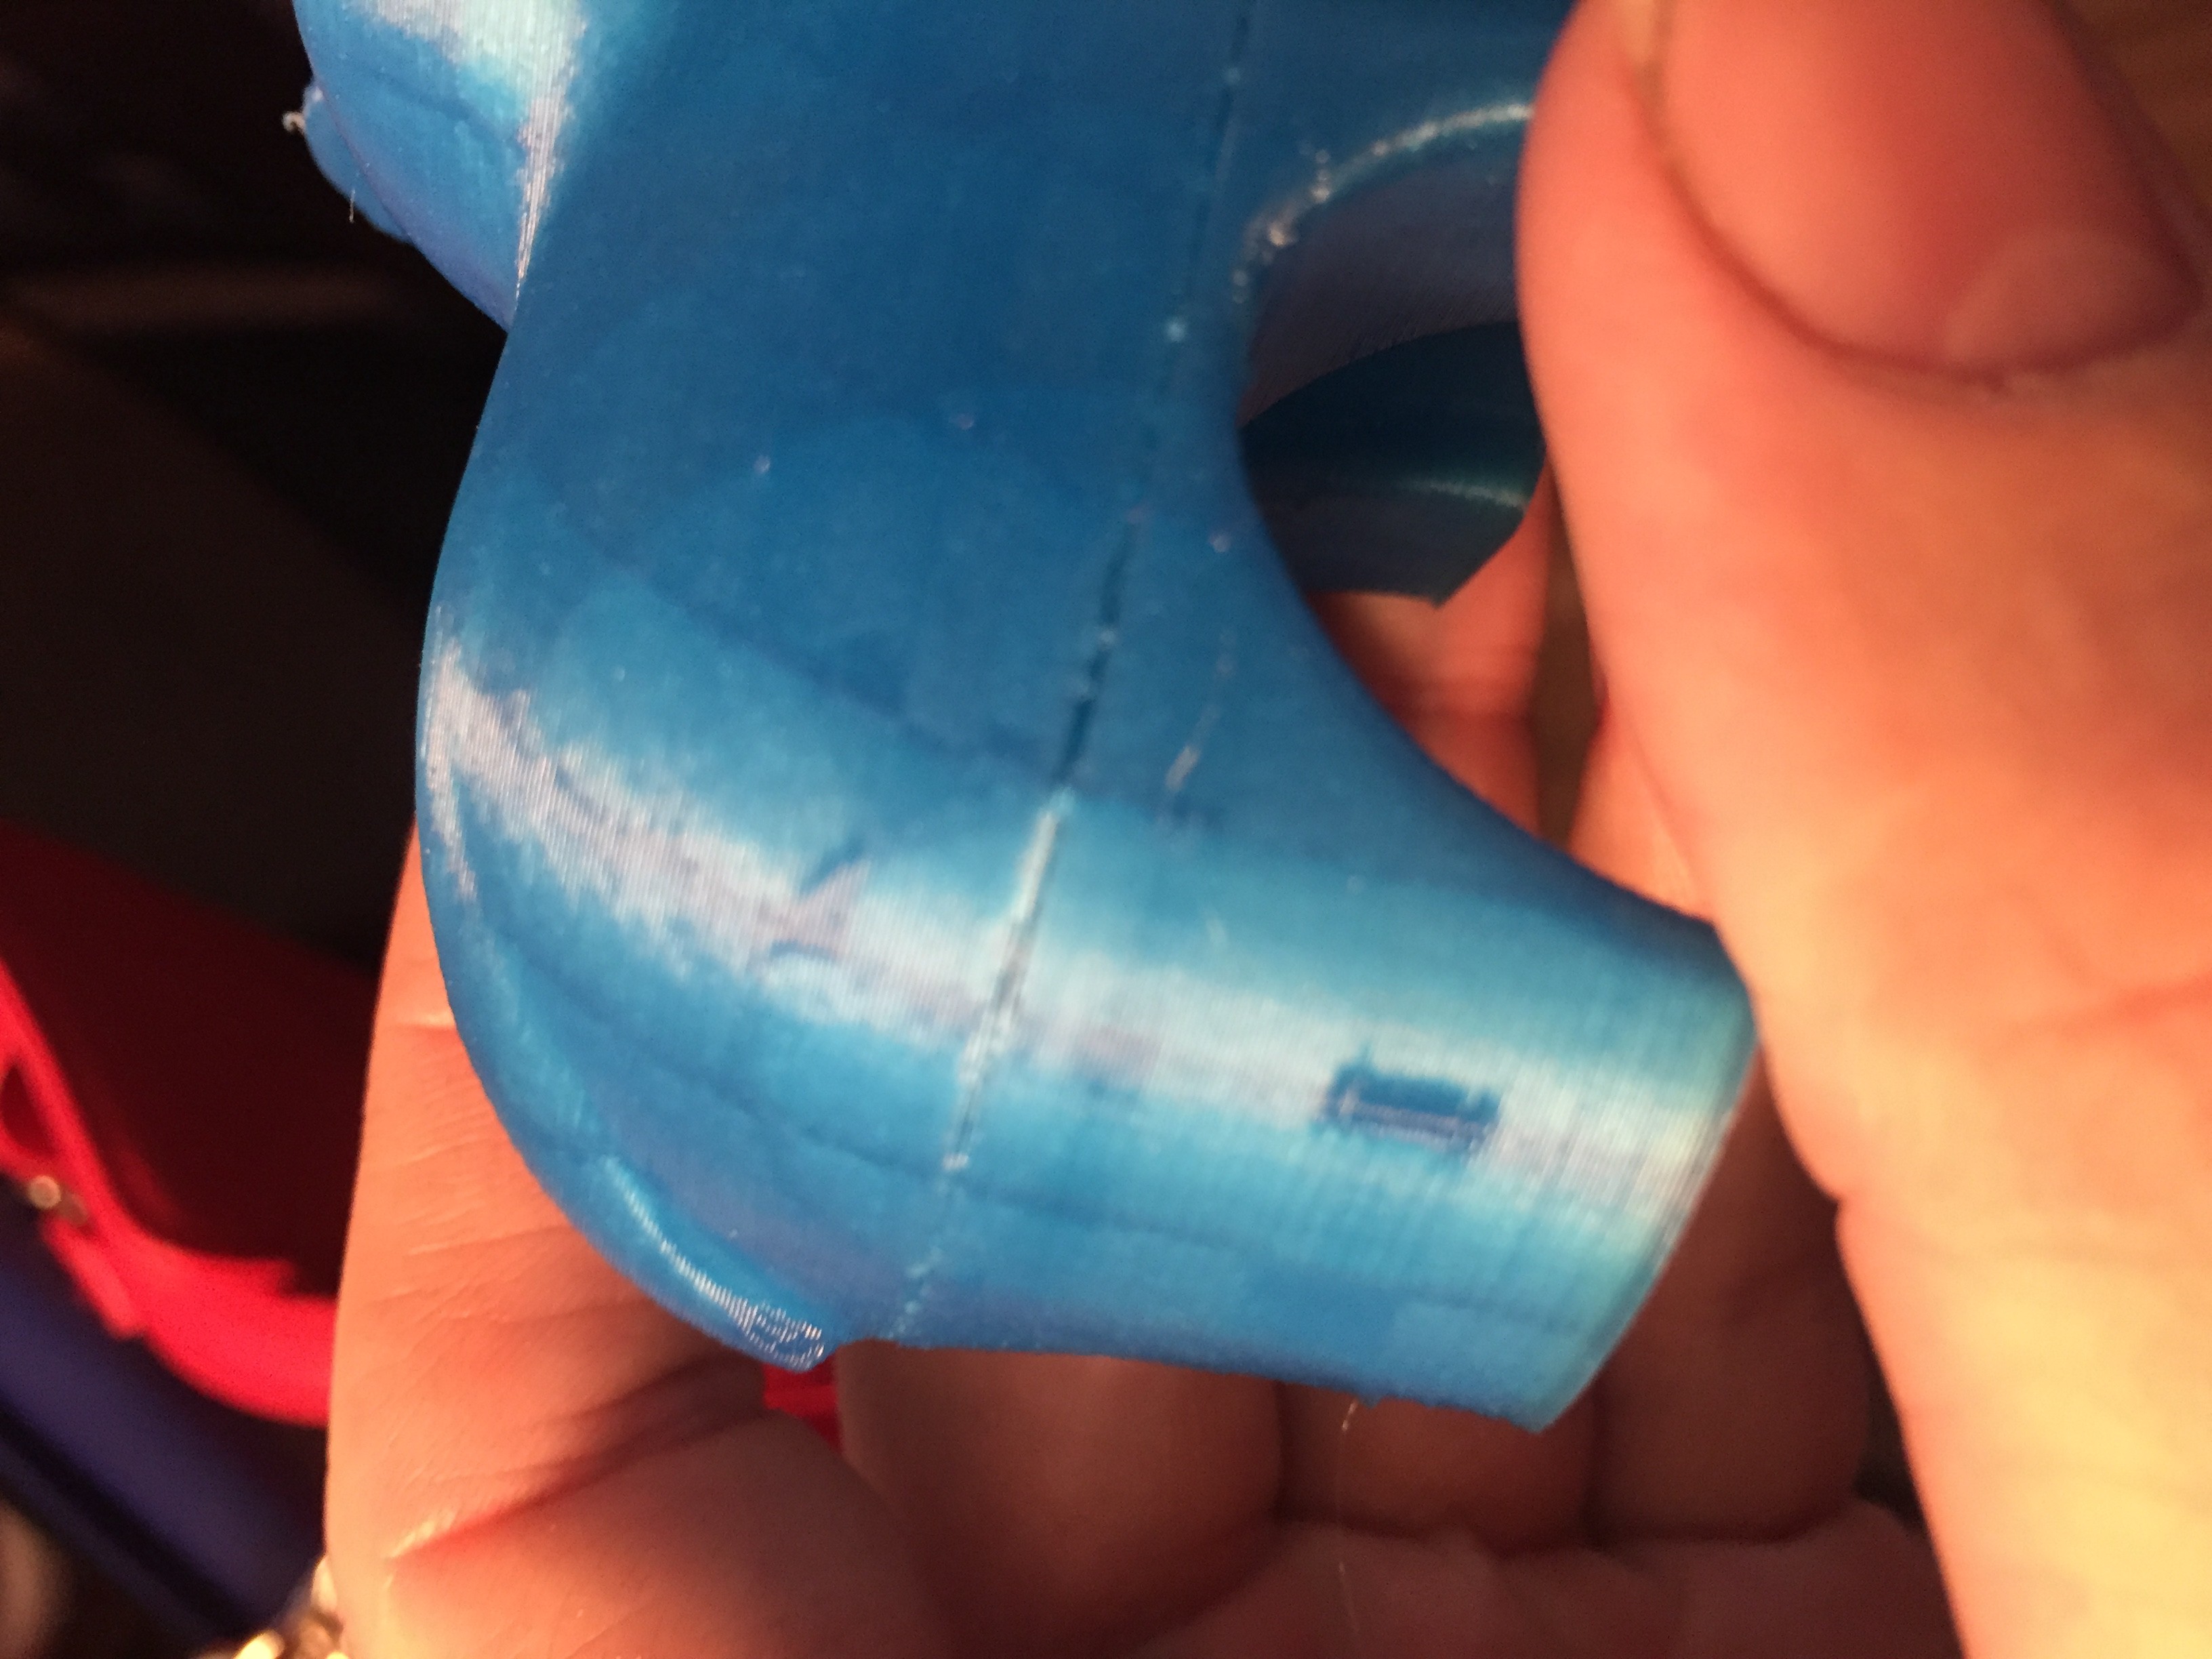
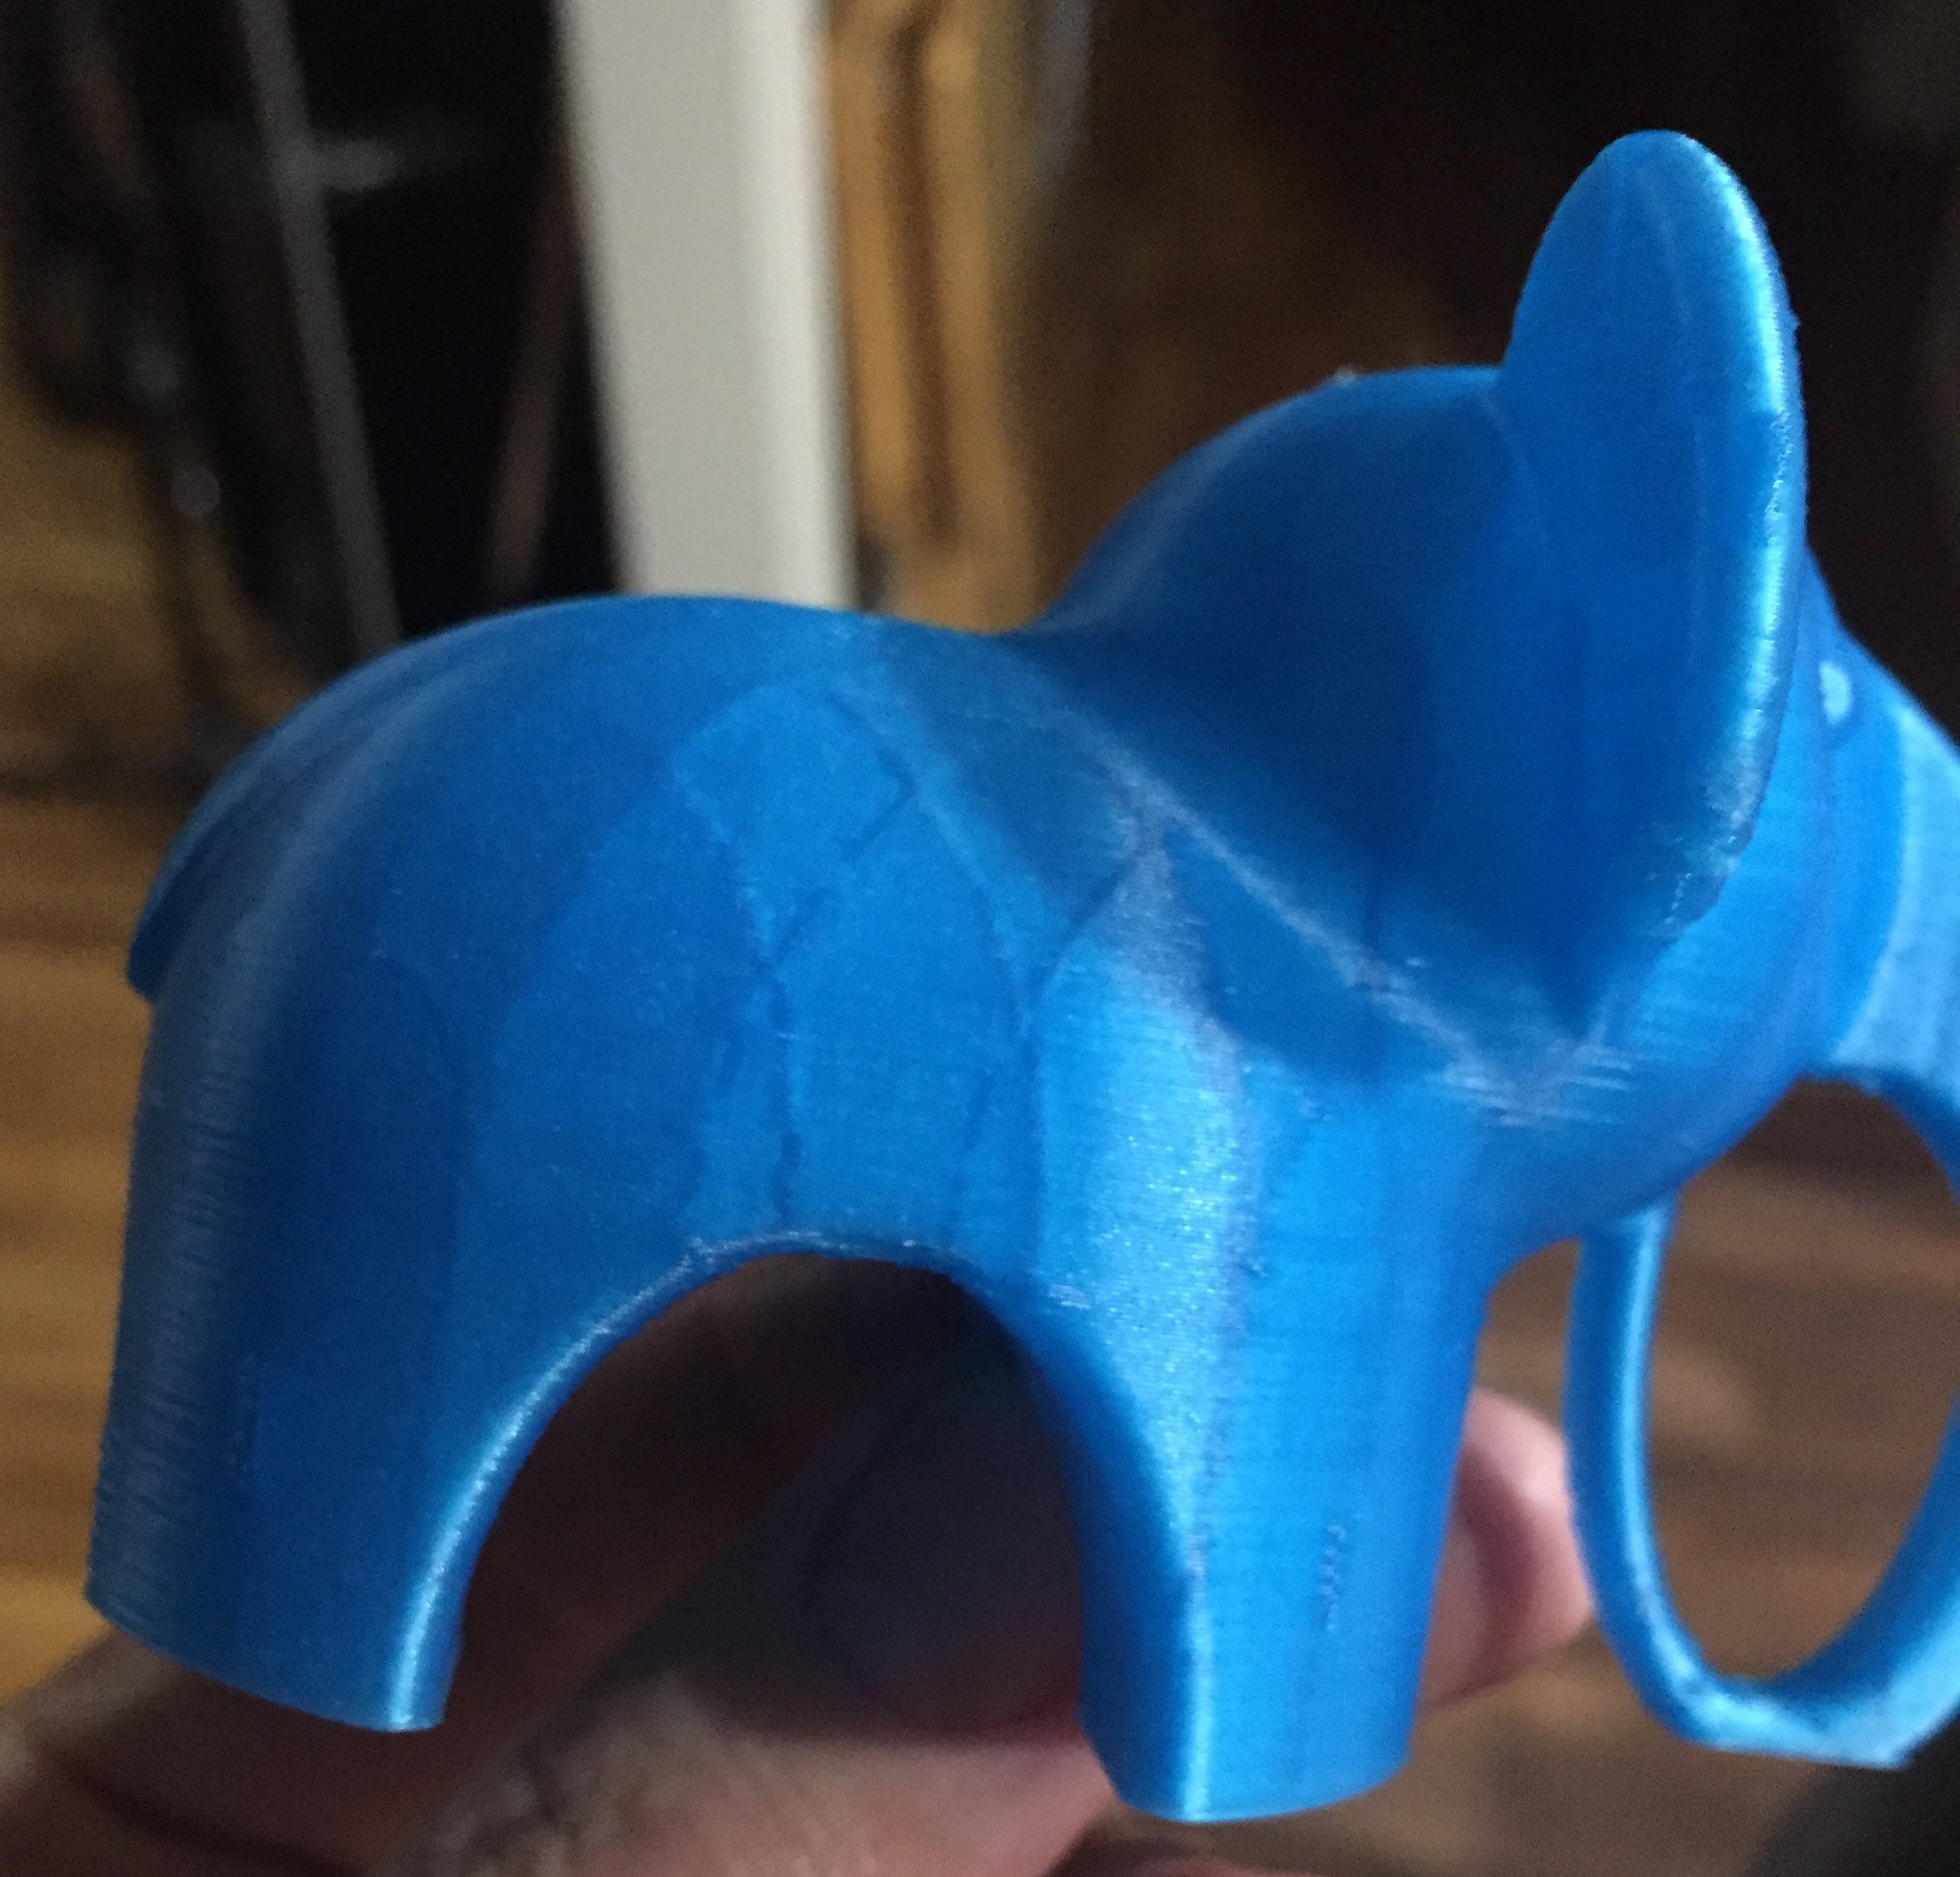
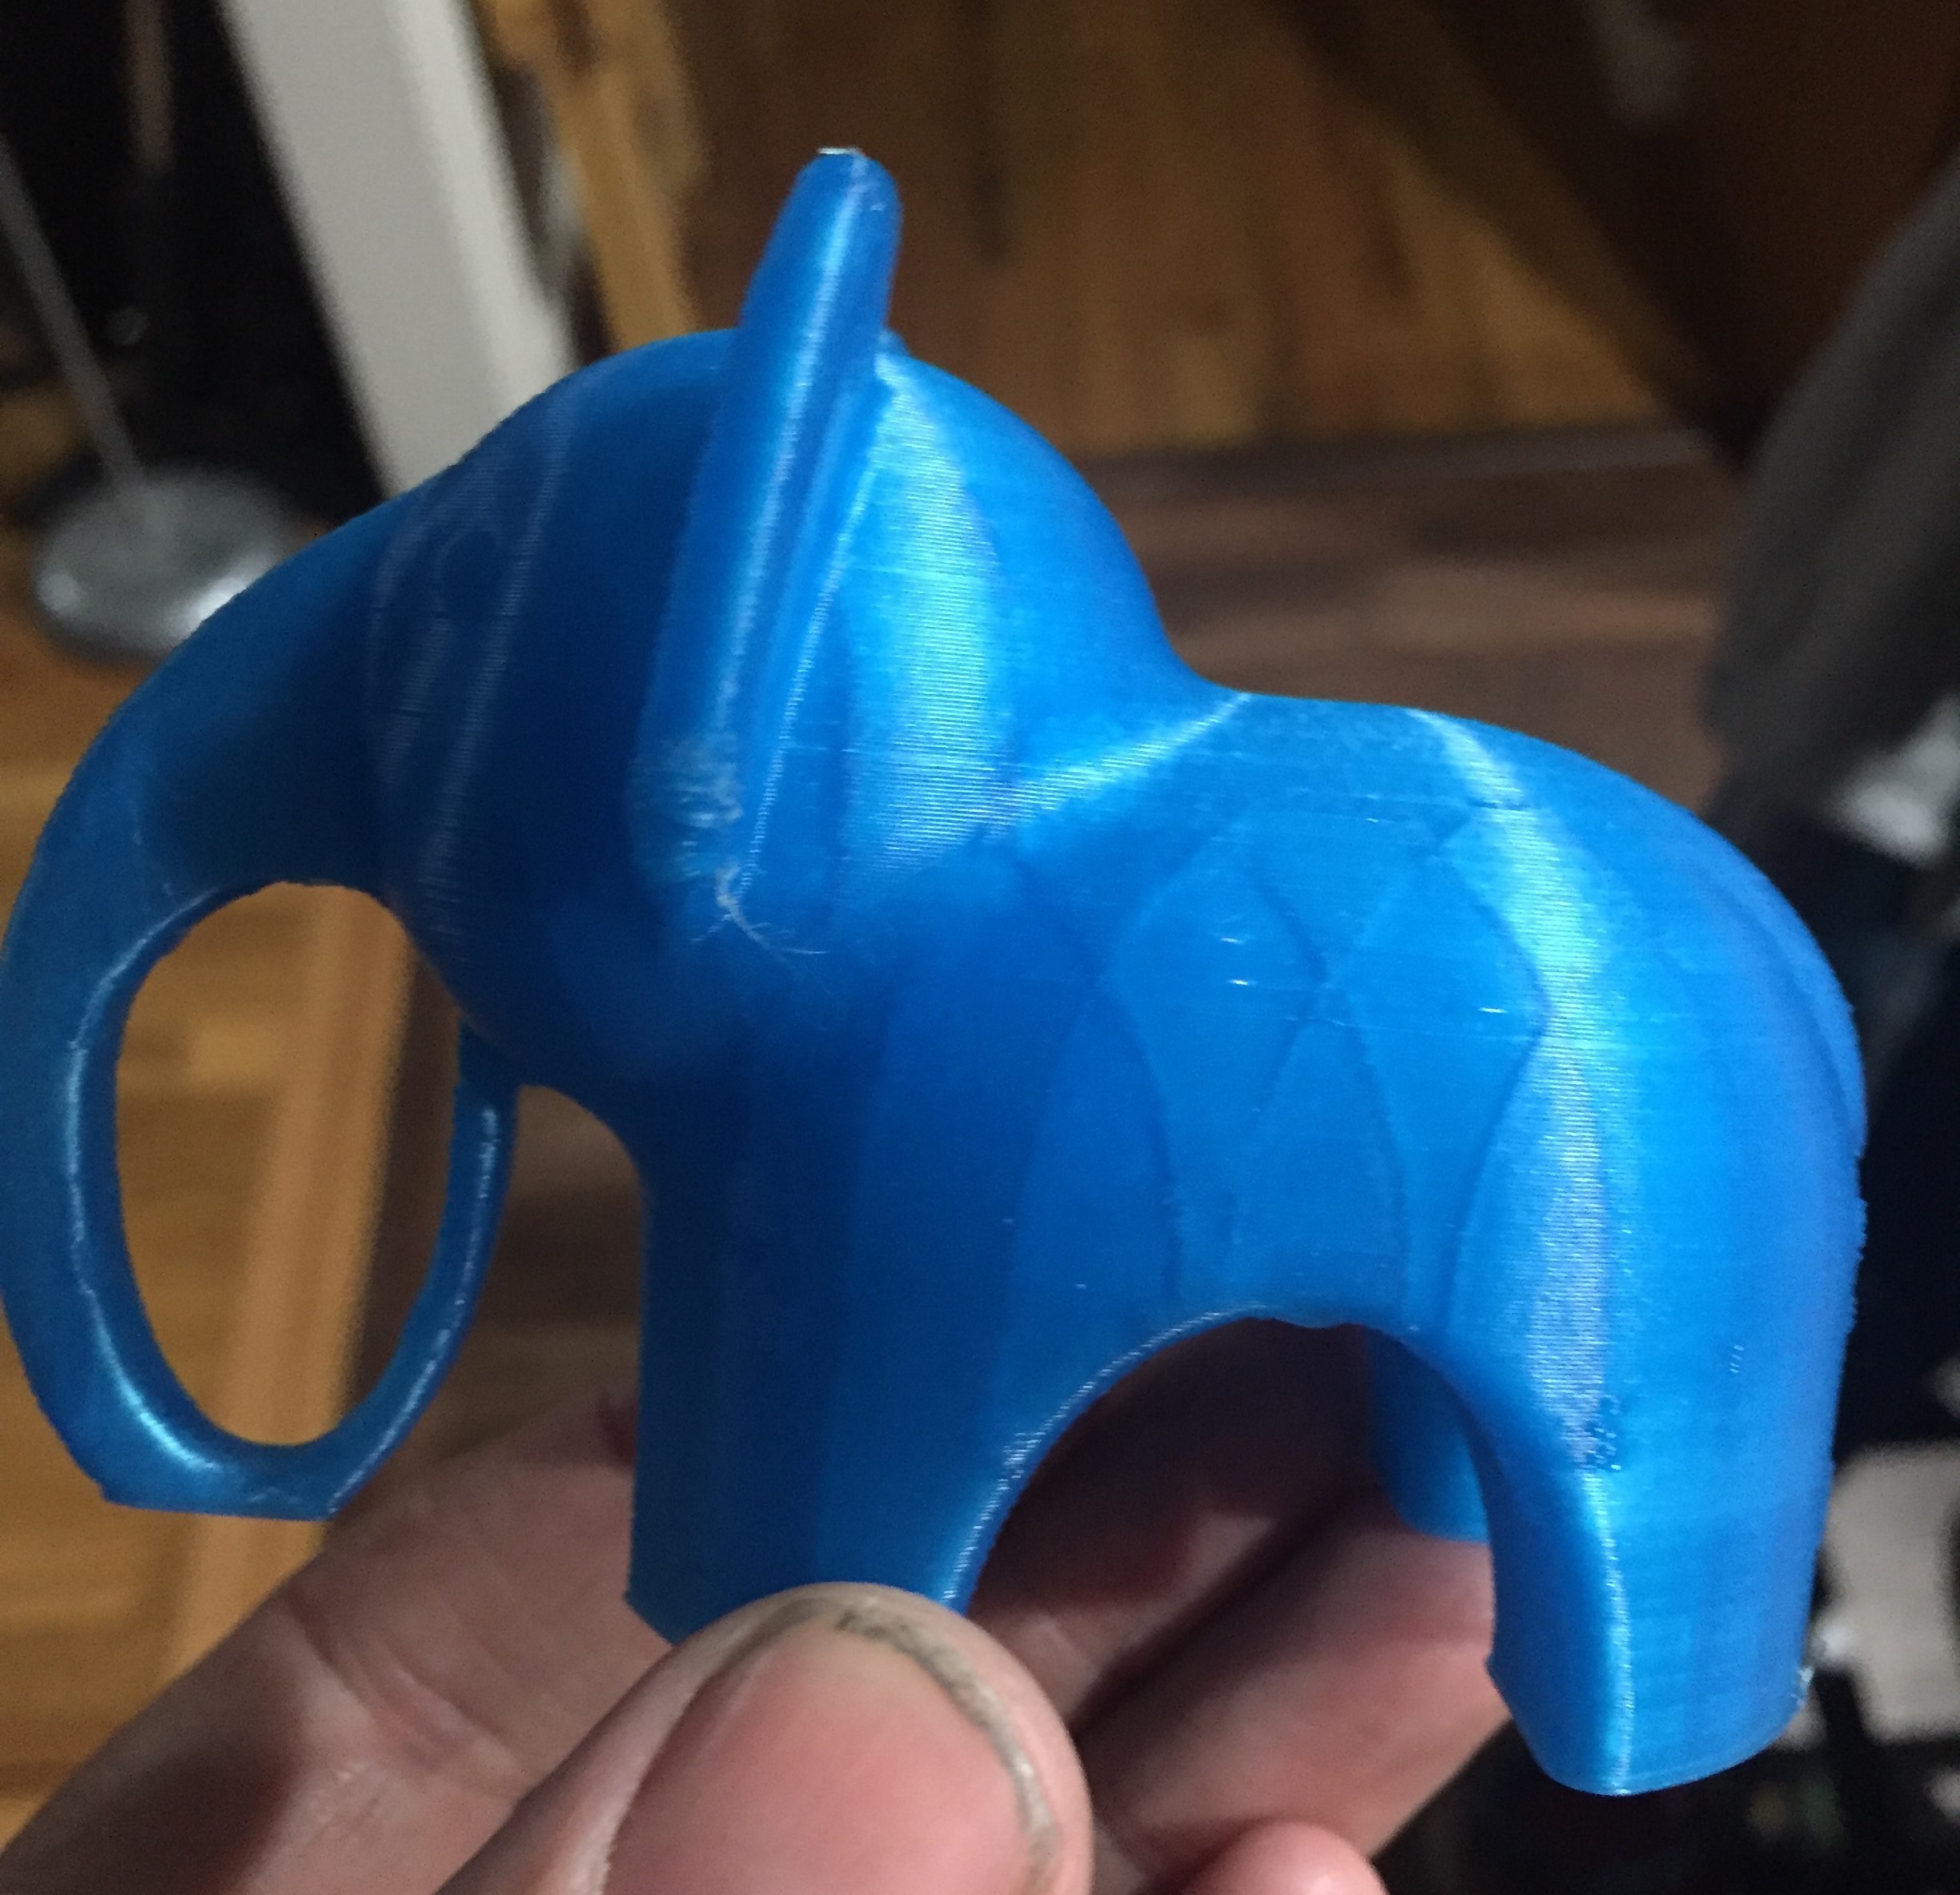
The results of the baby.gcode object.
![]()
![]()
![]()
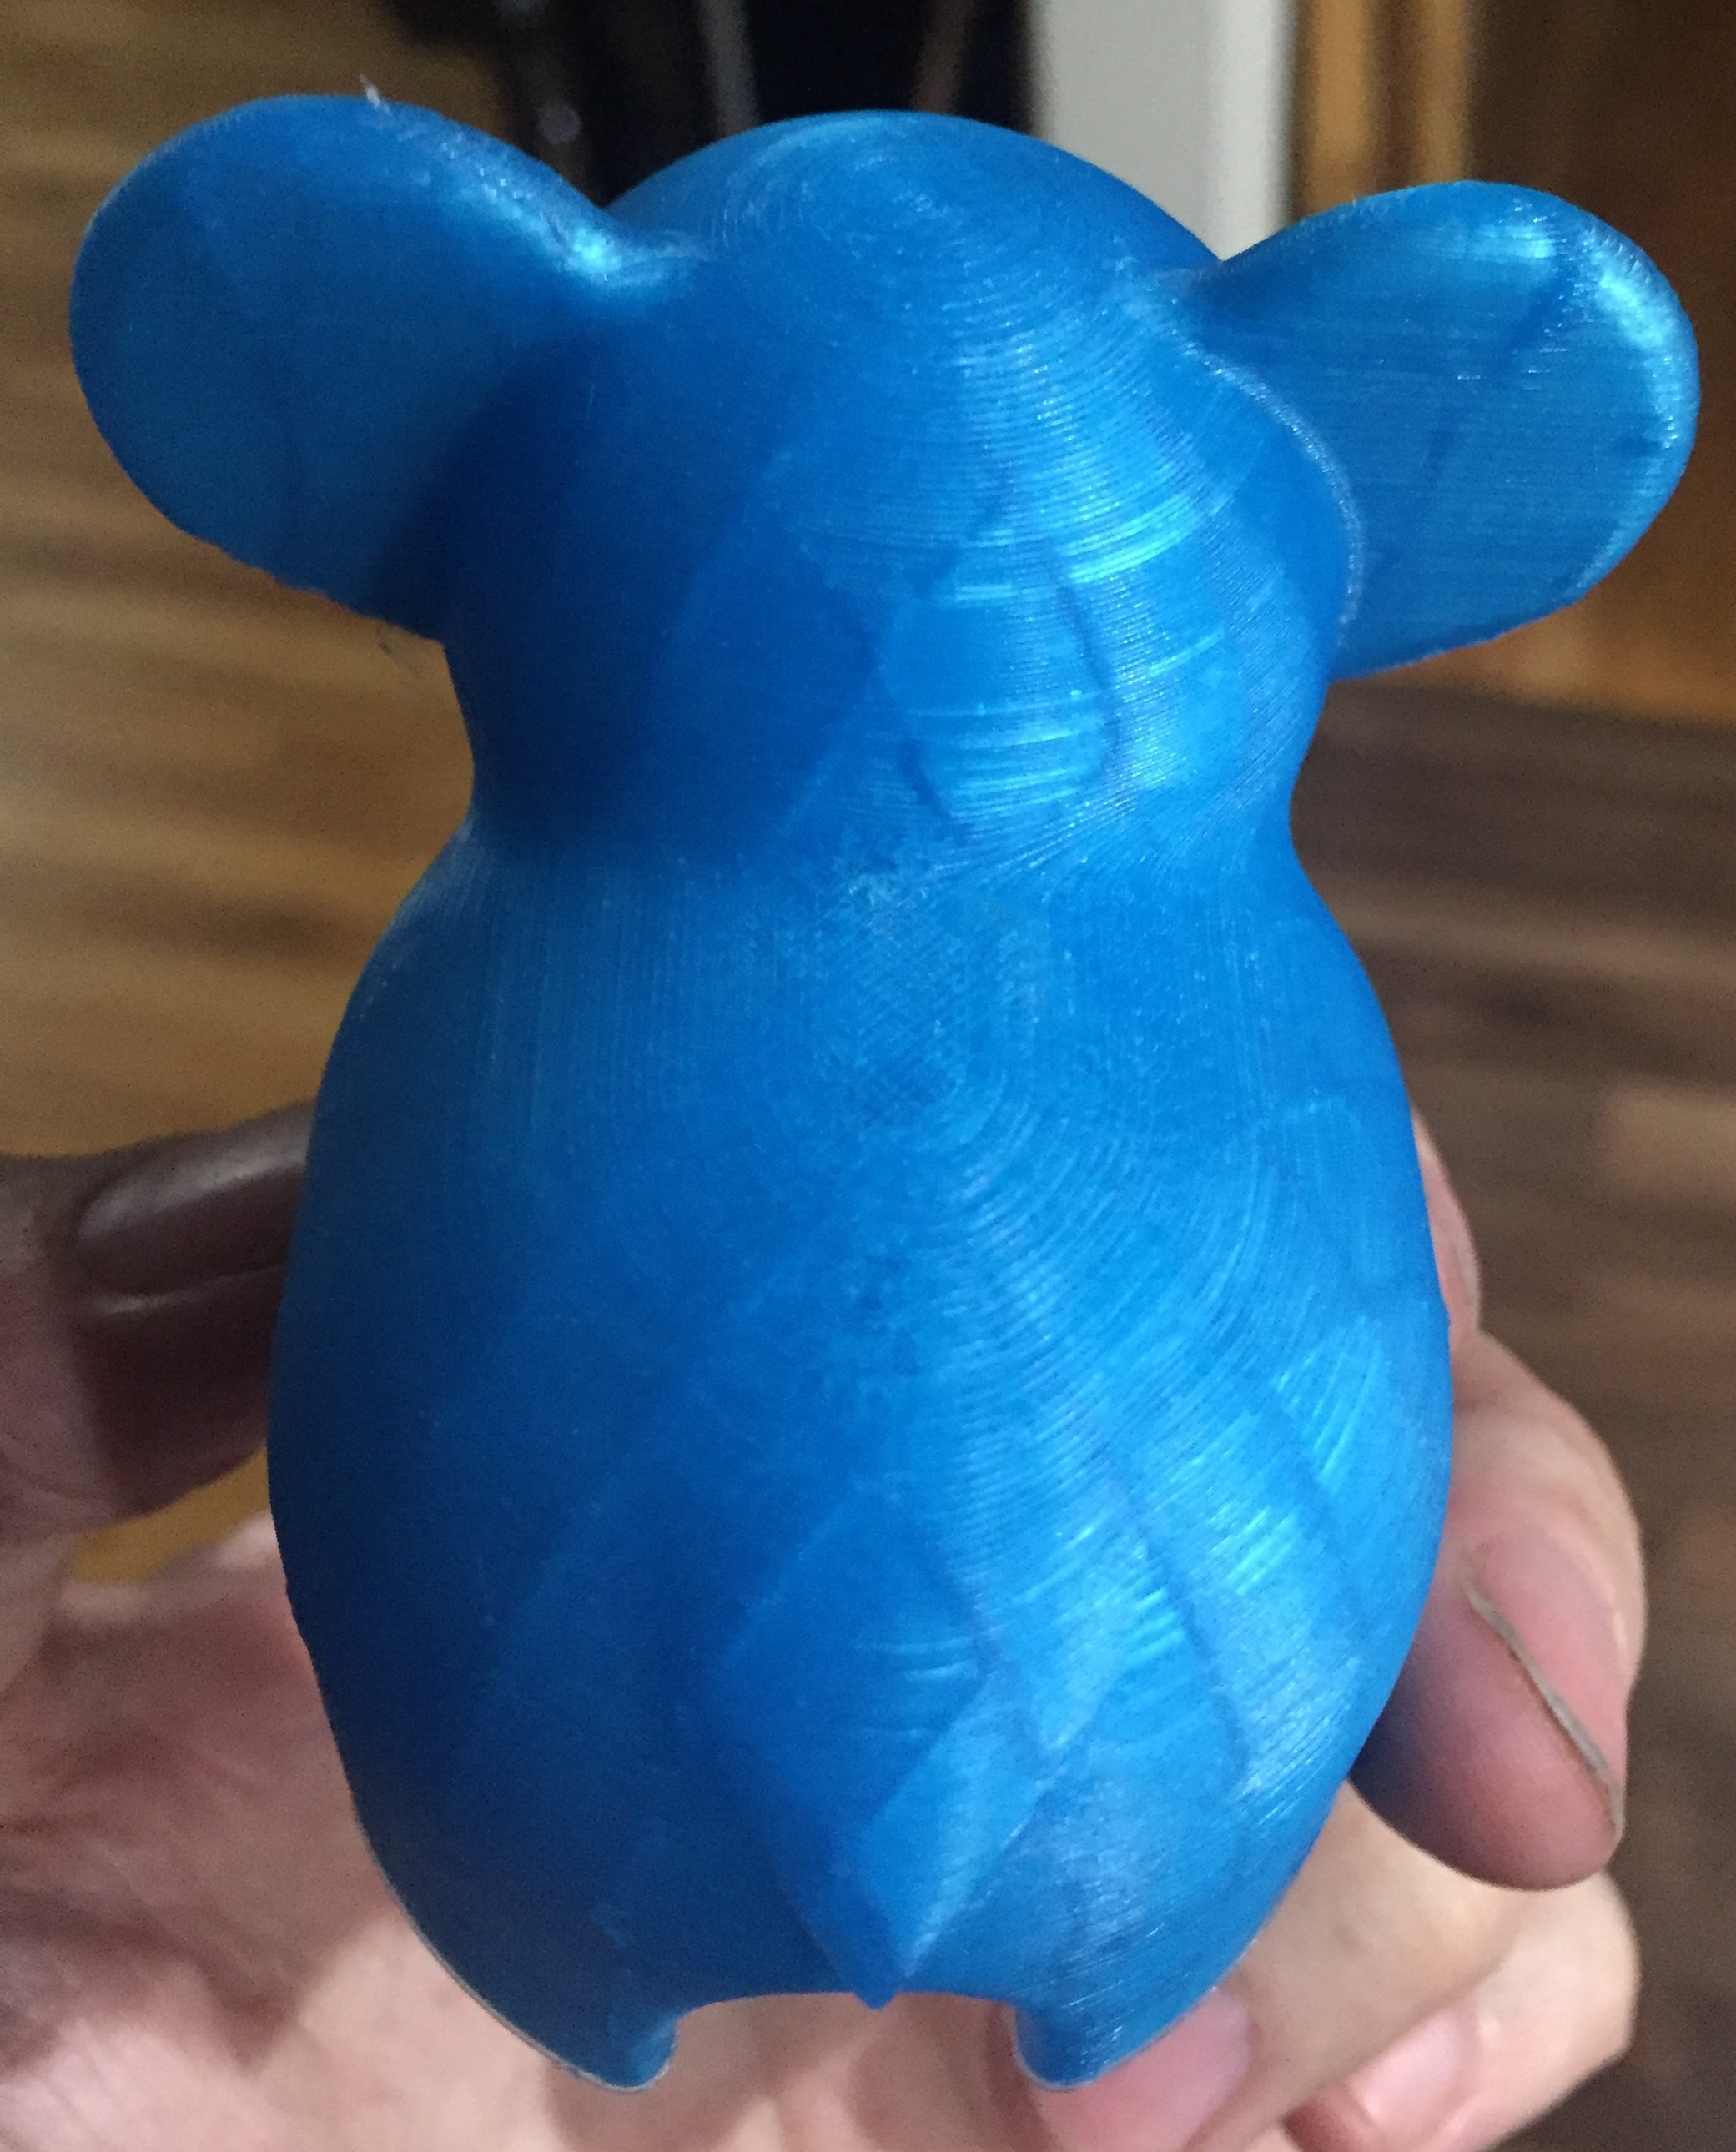
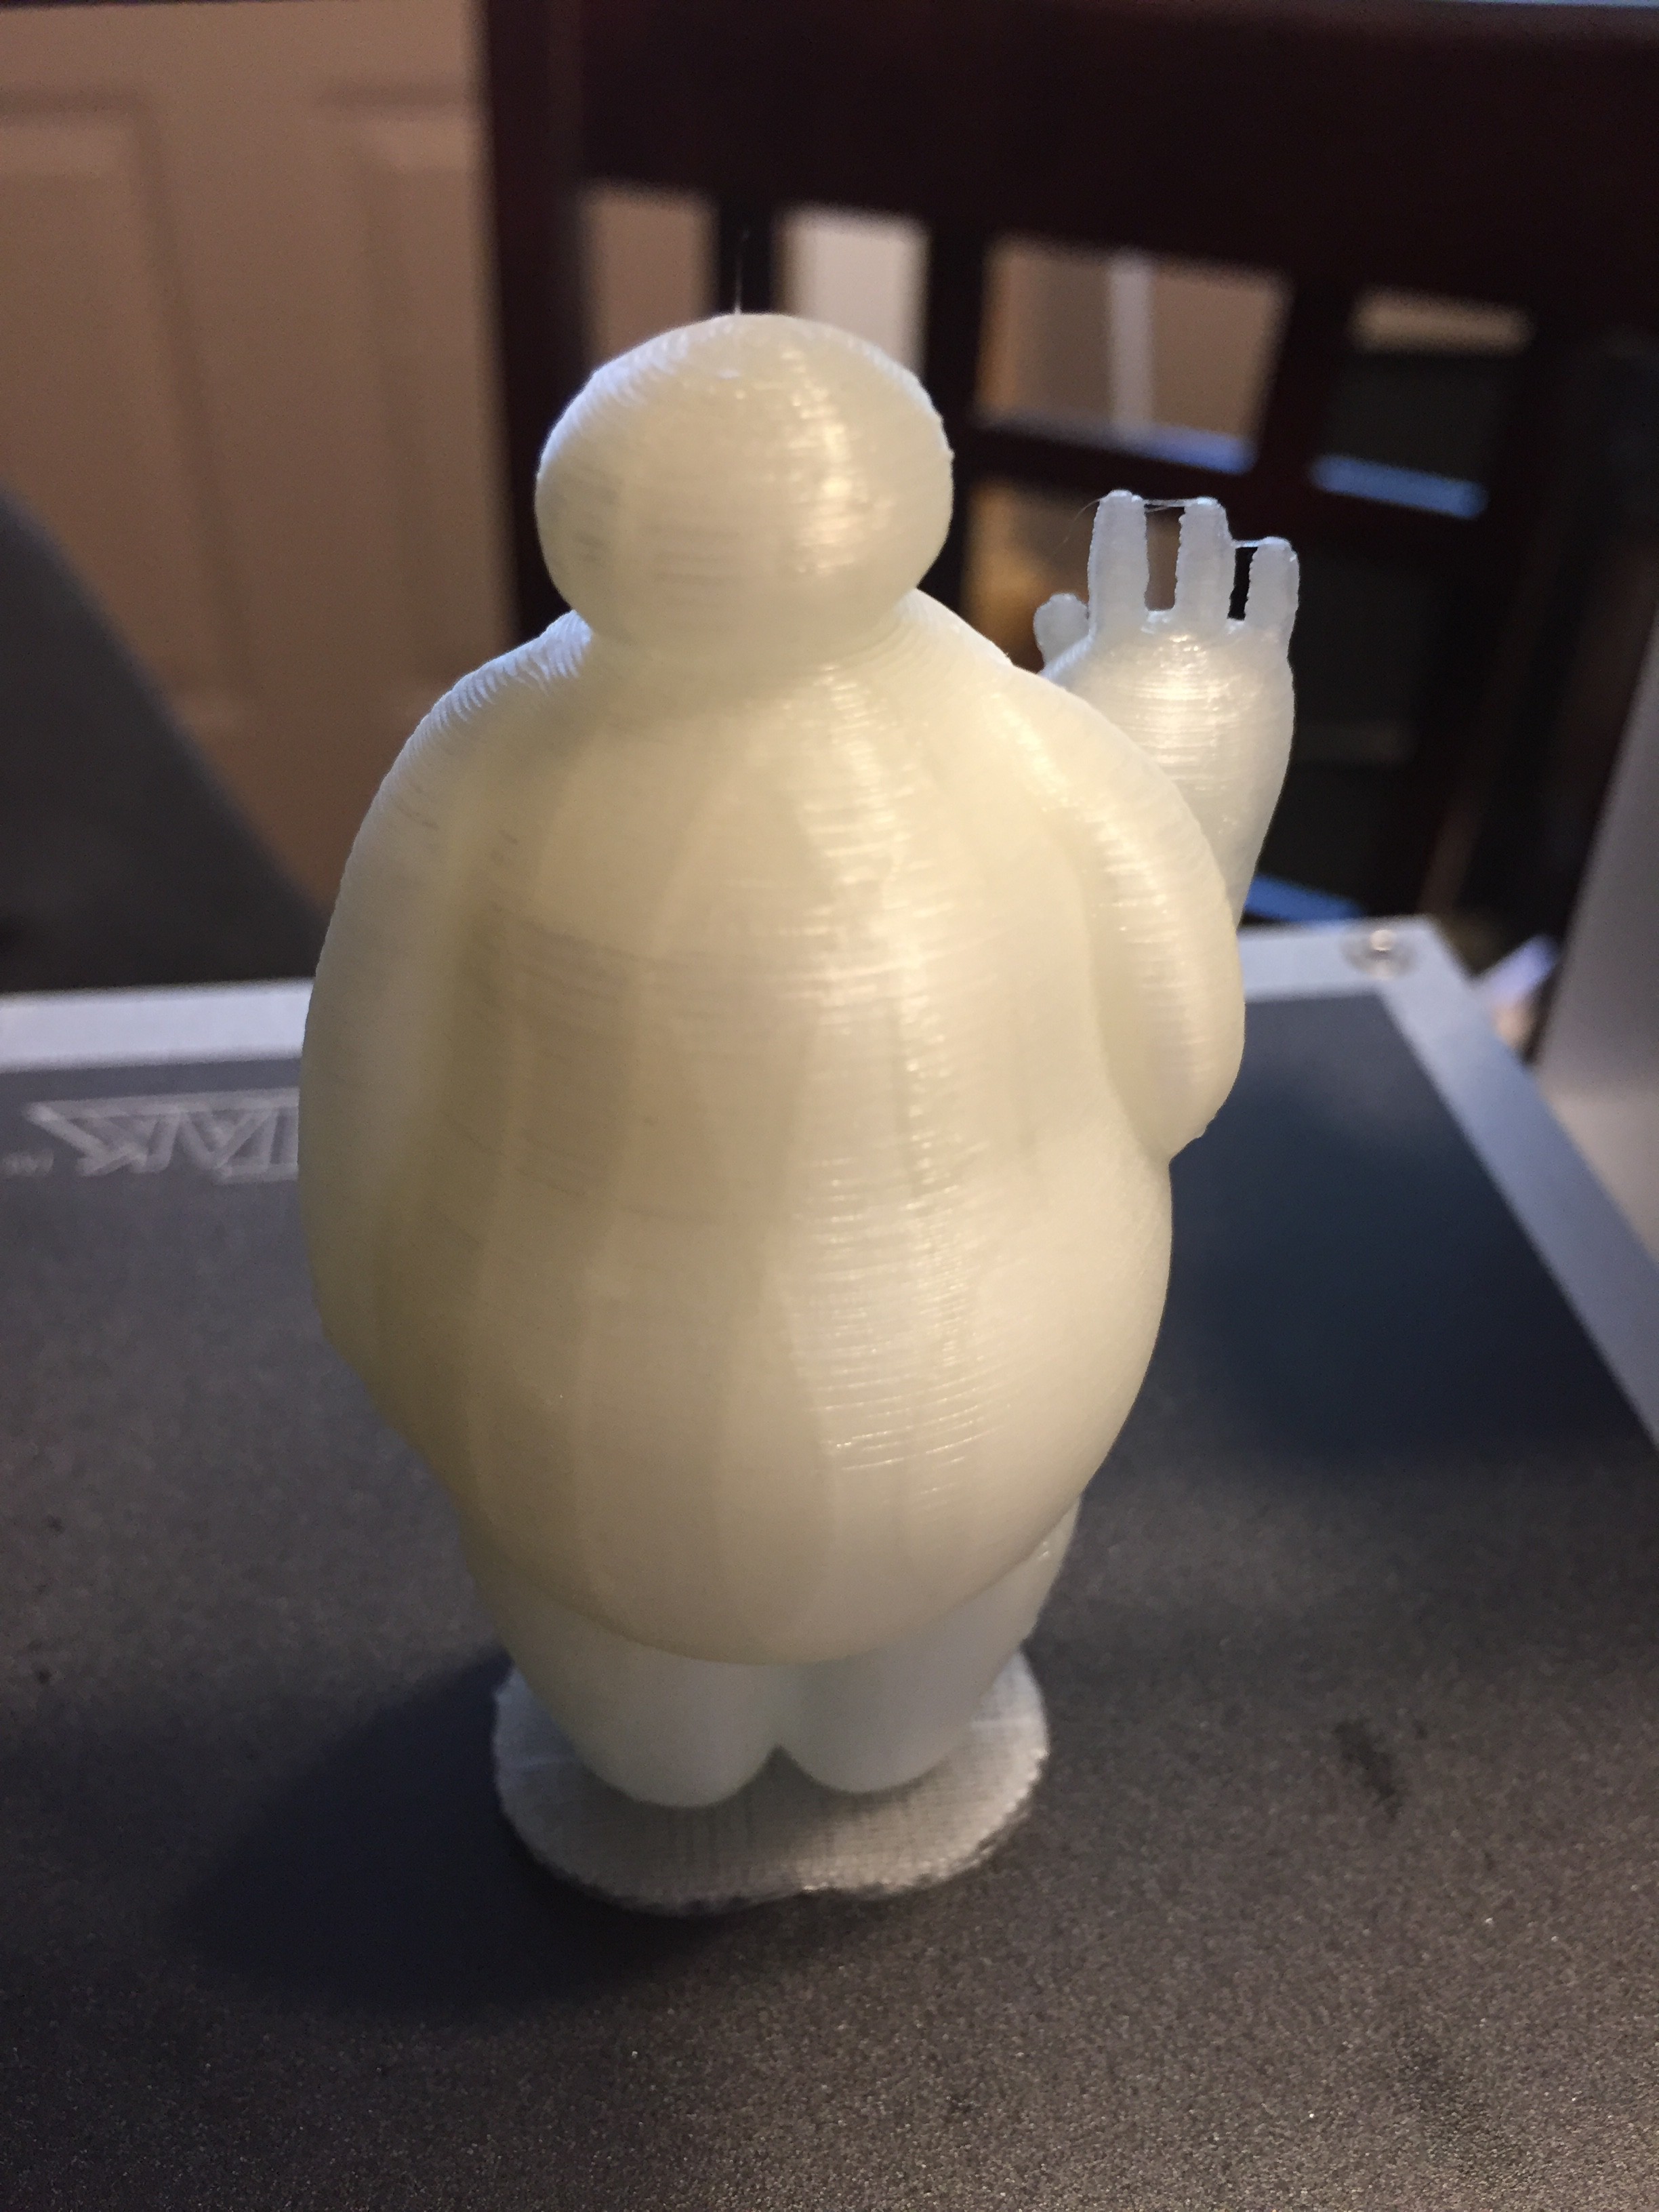
Next I Printed baymax.gcode
![]()
![]()
I'd say the problem is solved!
-
3Step 3
![]()
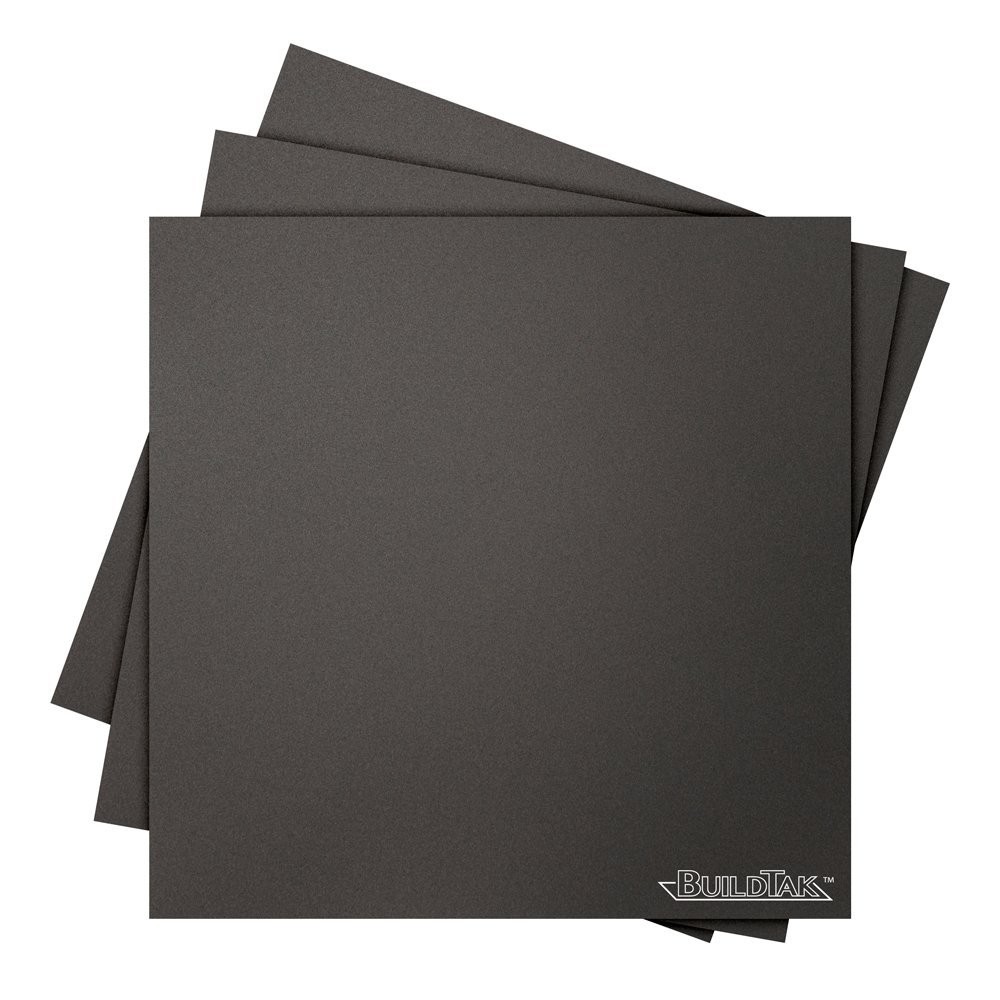
Install BuildTak, I run this on my Rostock Max, XYZ 1.0, now this little guy. Playing with tempratures, tape, and hairspray become a thing of the past.
To Install
- Remove the tape that comes with the printer and place.
- Mark the four travel extents of the nozzle onto the bed with dot via a sharpie marker.
- Place the BuildTak centered between the dots you made.
Note: The BuildTak is super sticky so make sure it doesn'tt touch down until your ready. Also make sure to lay it down with no air bubbles.
-
4Step 4
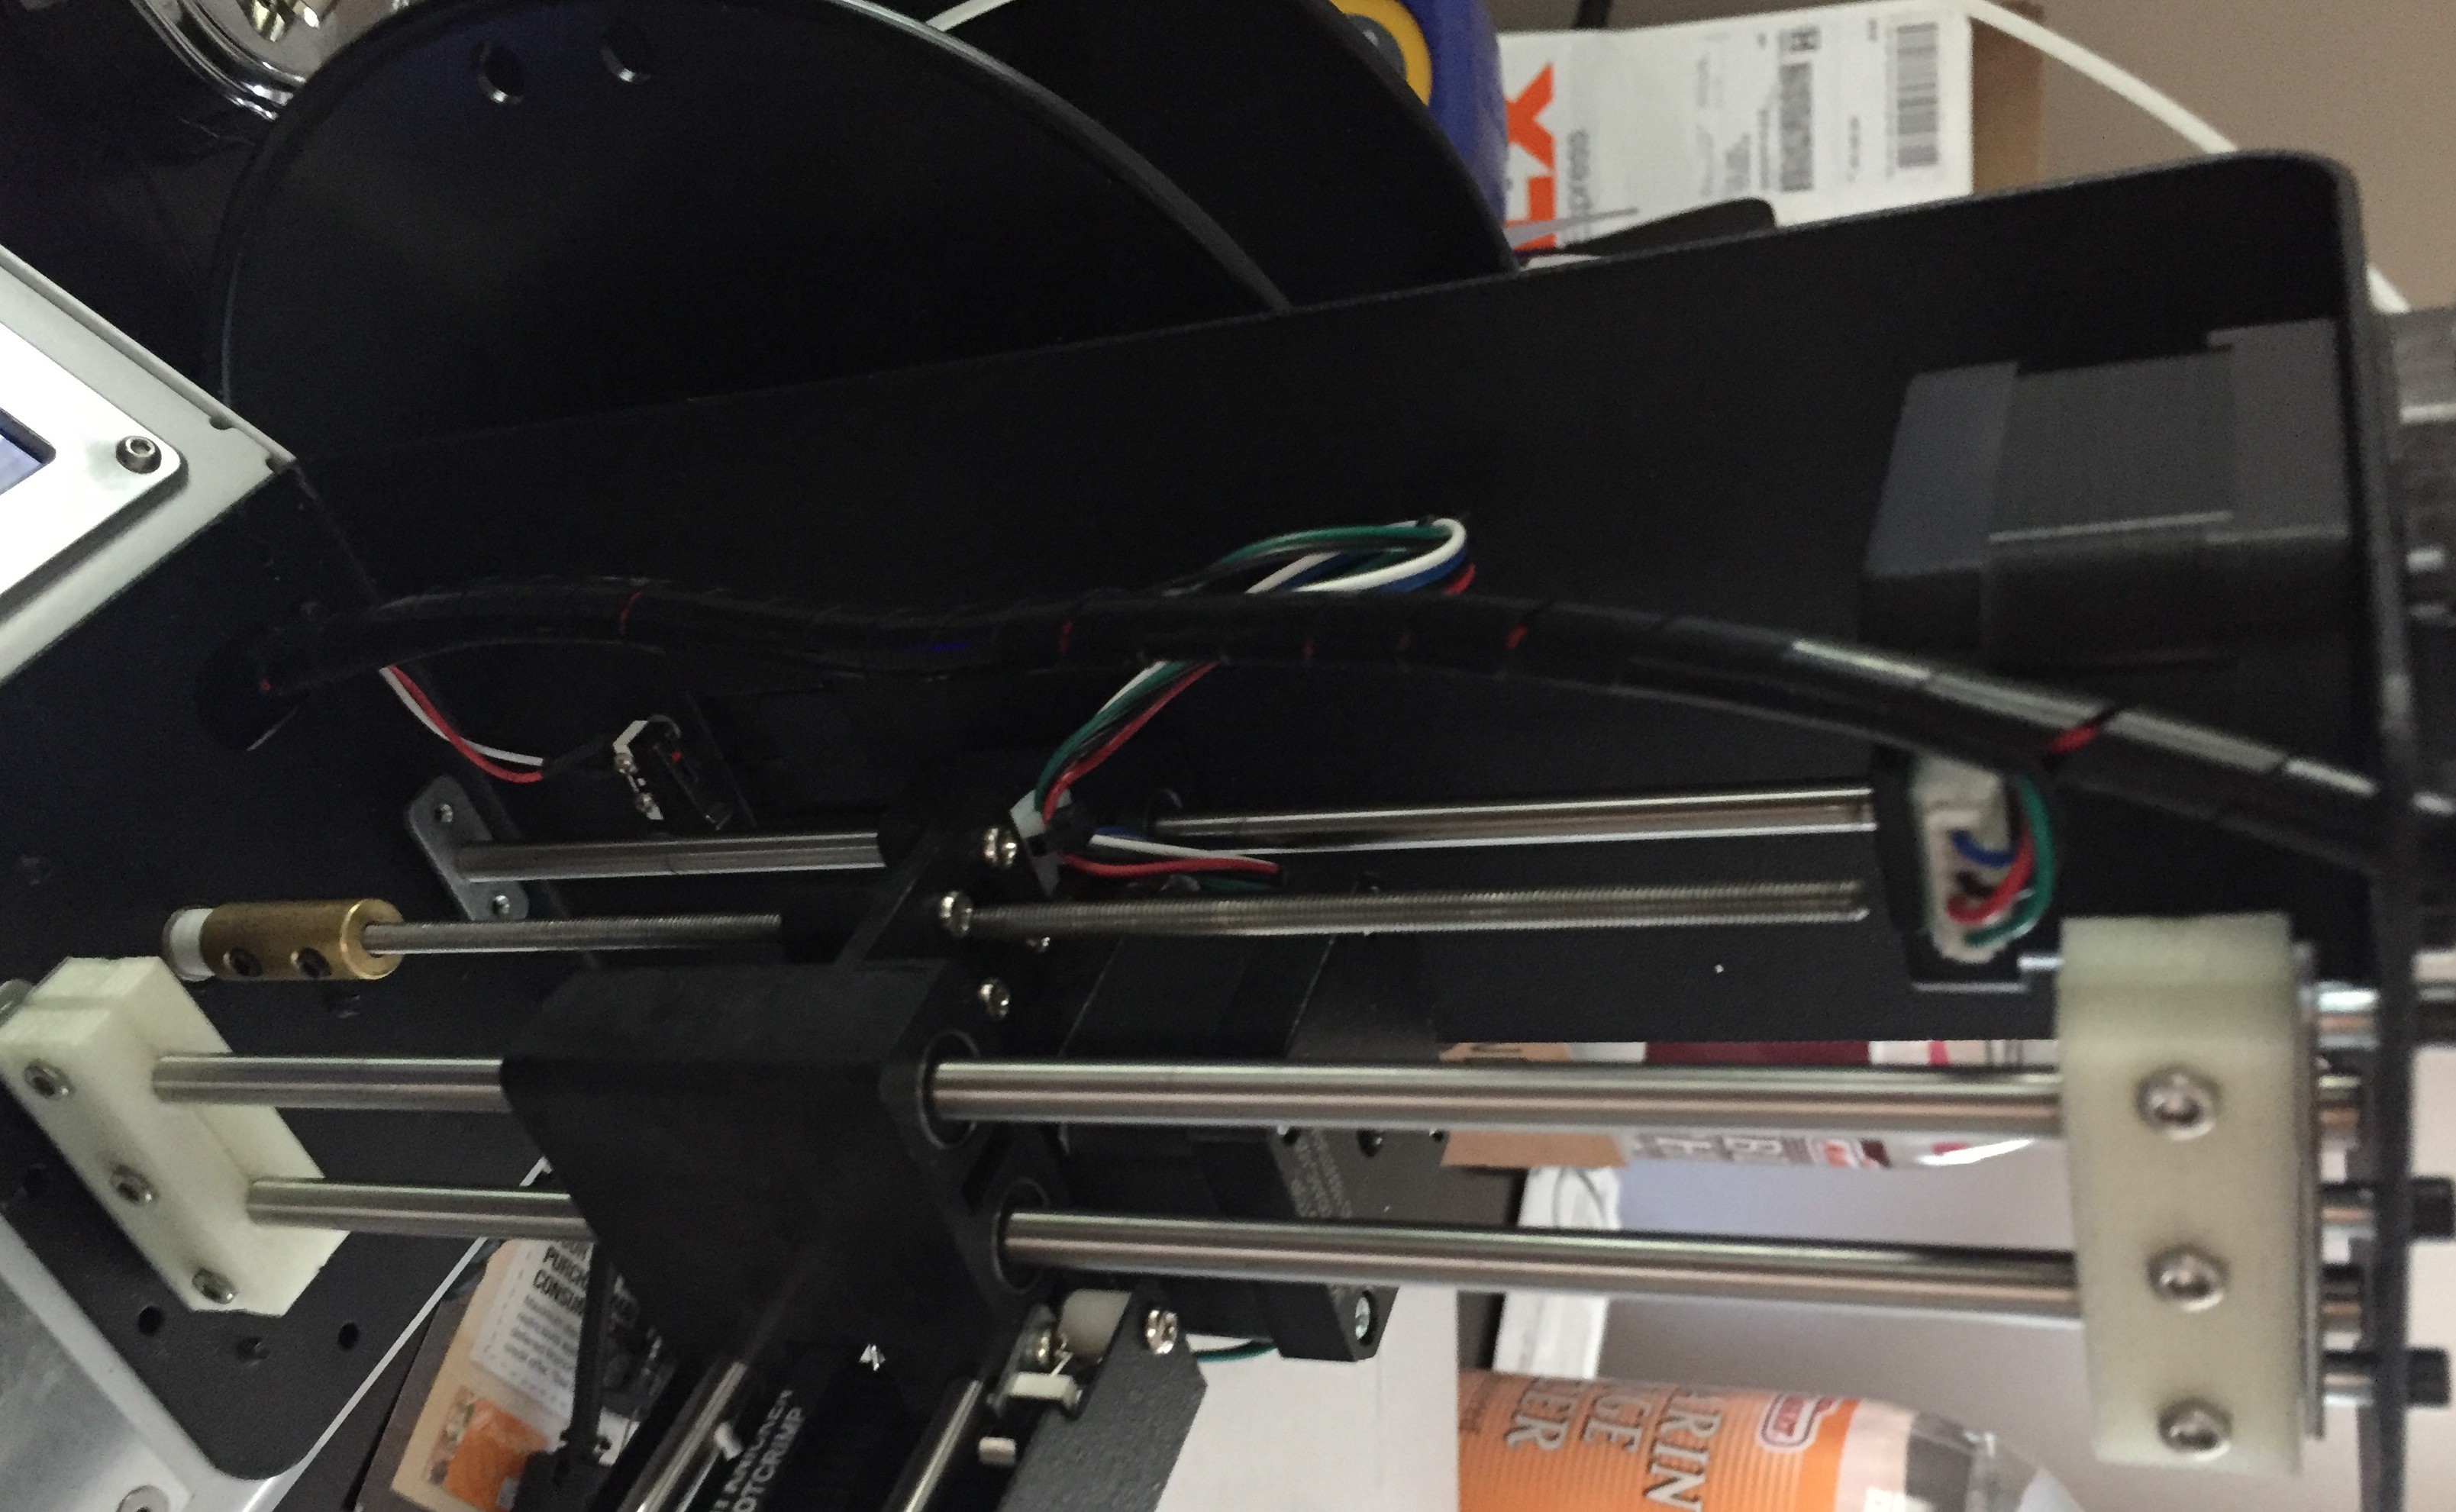
Fixing the slop in the Z-Axis Rods.
I really did't like listening to the printer rattle or how loose the rods were for the Z-axis. I drew up some clamps that both clamps both rods together and assures proper spacing. I placed the on the top and bottom of the Z rods. I feel it helps the X-Axis rigidity as well. I may try and clamp the single rod as well in the future.
Link to STL![]()
Monoprice Select Mini Upgrades
I've created this project to make the Monoprice Select Mini 3D a descent and affordable solution. For the $200 Price Range.

Discussions
Become a Hackaday.io Member
Create an account to leave a comment. Already have an account? Log In.