 Audrey Robinel
-
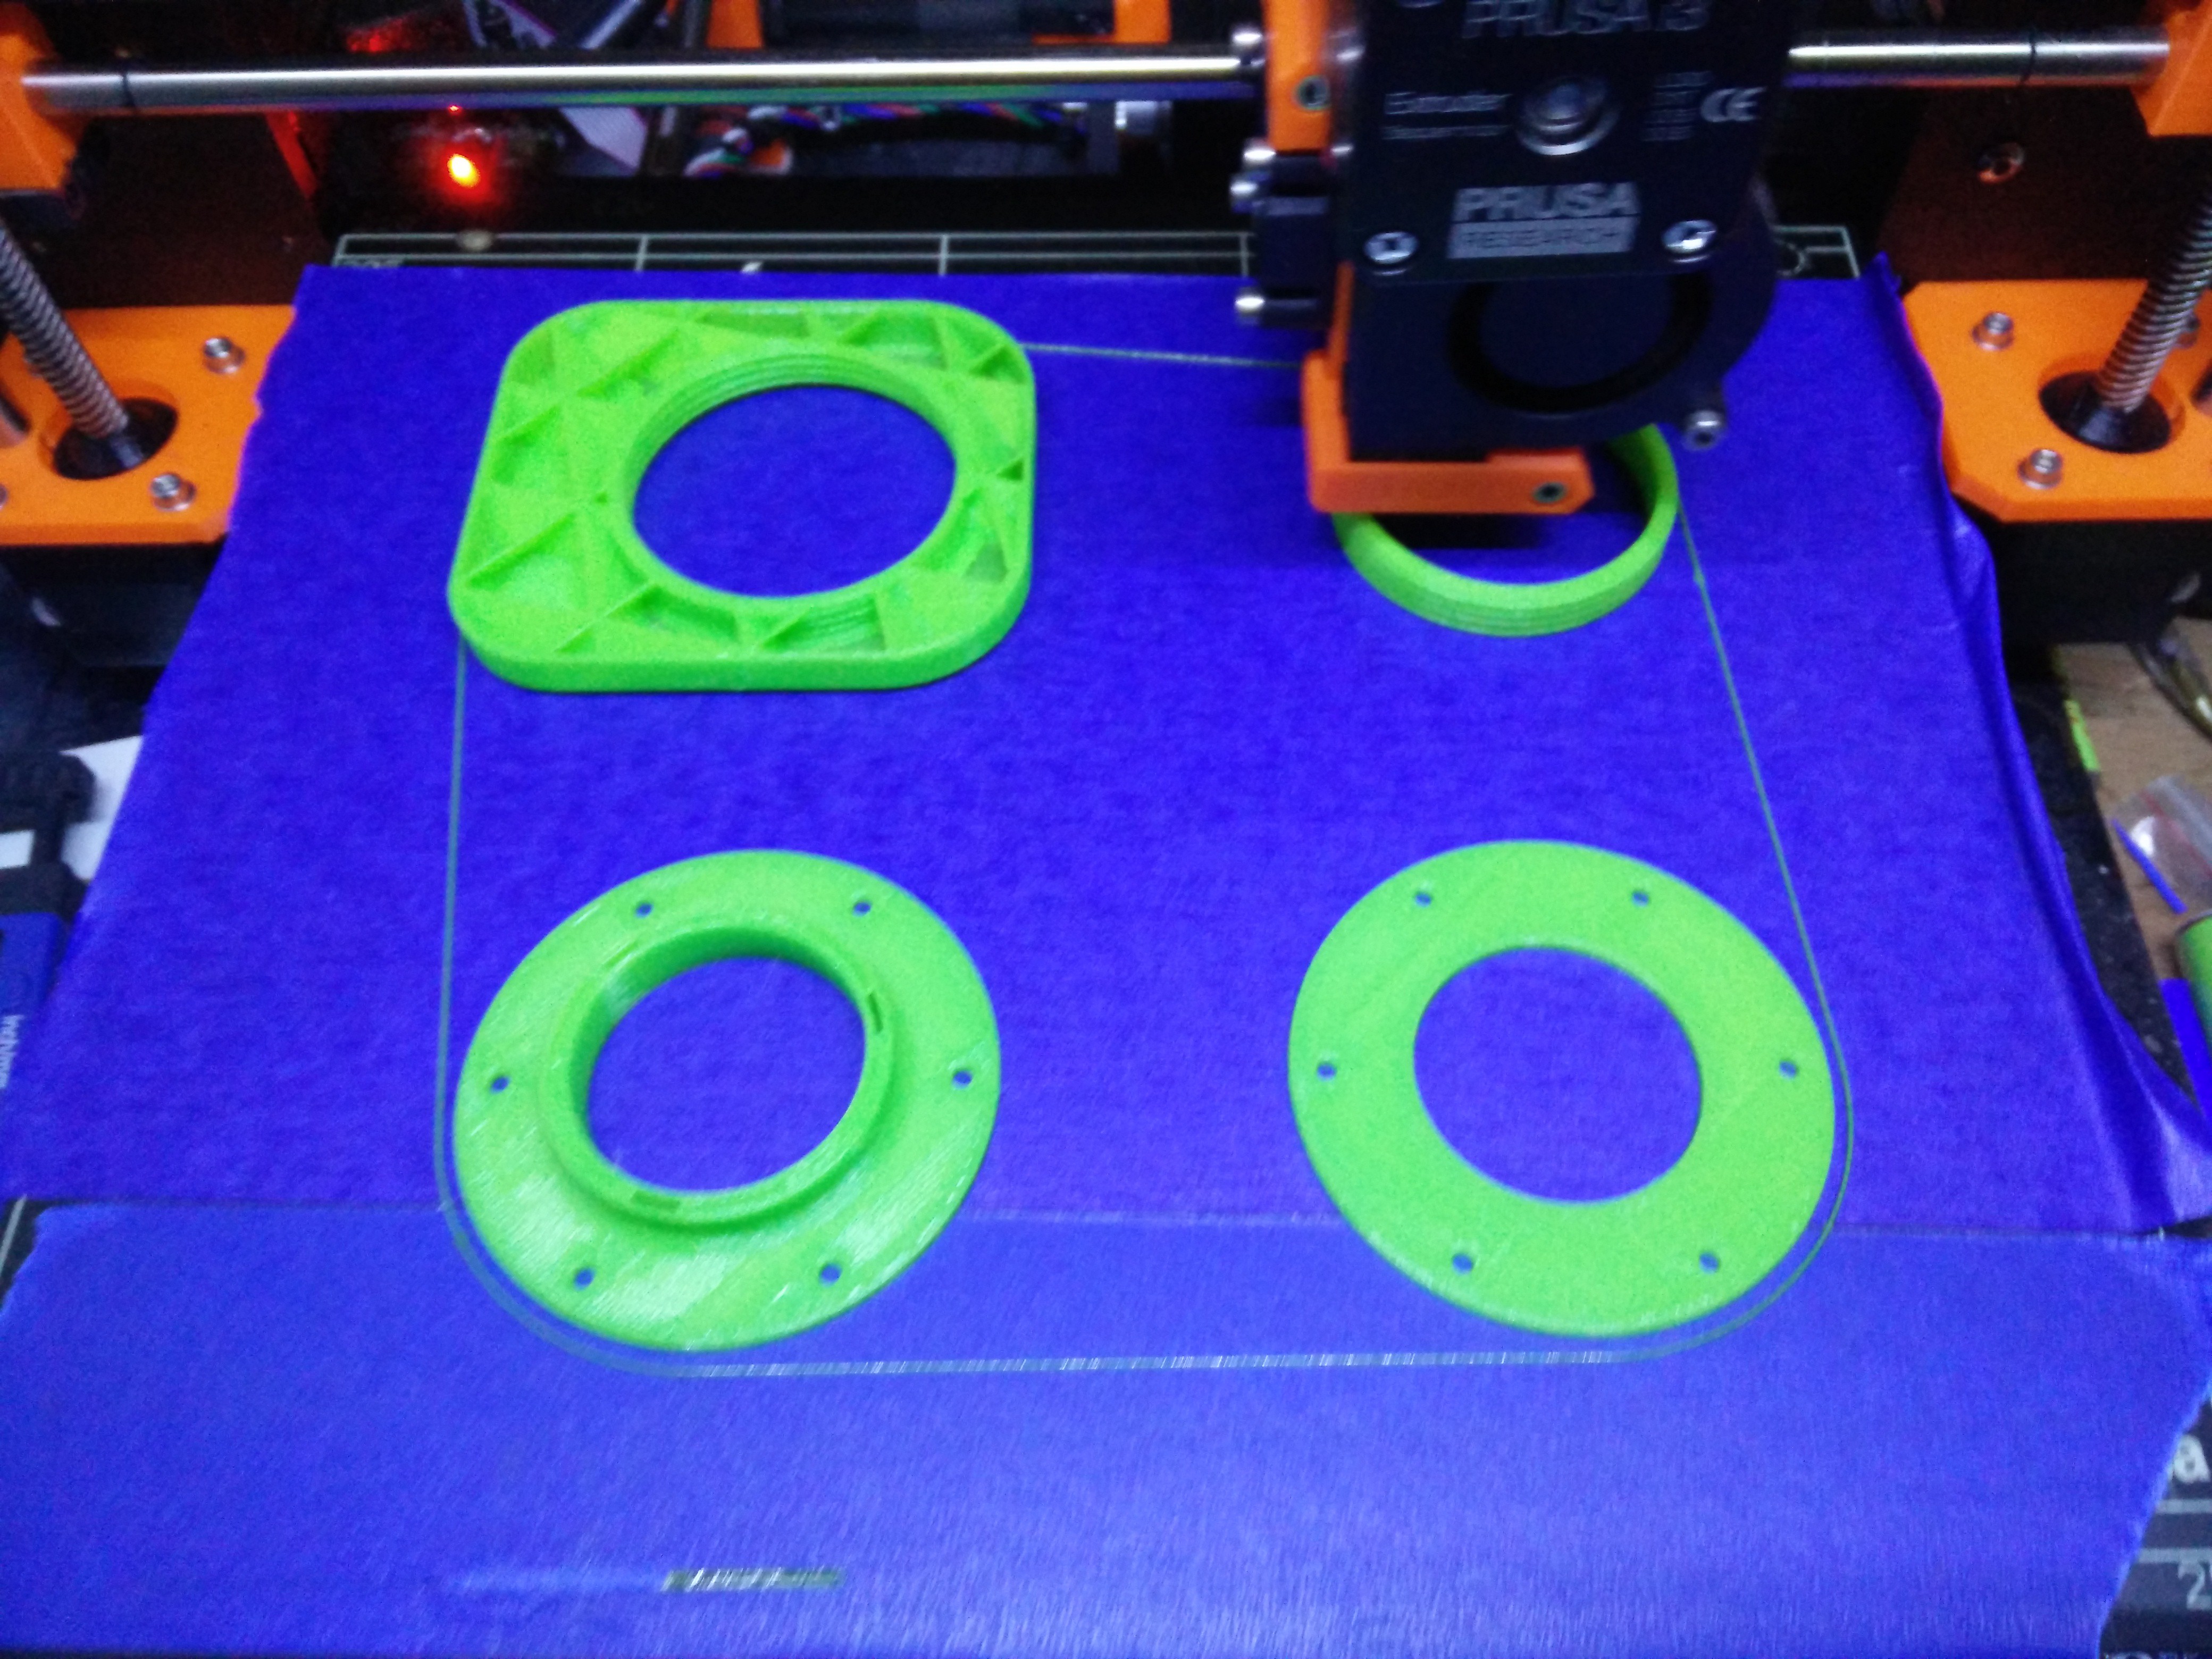
13D print the parts
You have 4 parts to print, whose STL can be found here on the github repository.
Orient the parts properly to have no steep overhangs, and slice at 0.3mm layer height (it work for me at 0.3, you can go finer if you want, and i did not tested coarser prints).
I printed the parts in PLA on a prusa I3 MK2, but it should work with most rigid plastics.
On my prusa it took aproximately 5 hours with a 20% infill.
![]()
-
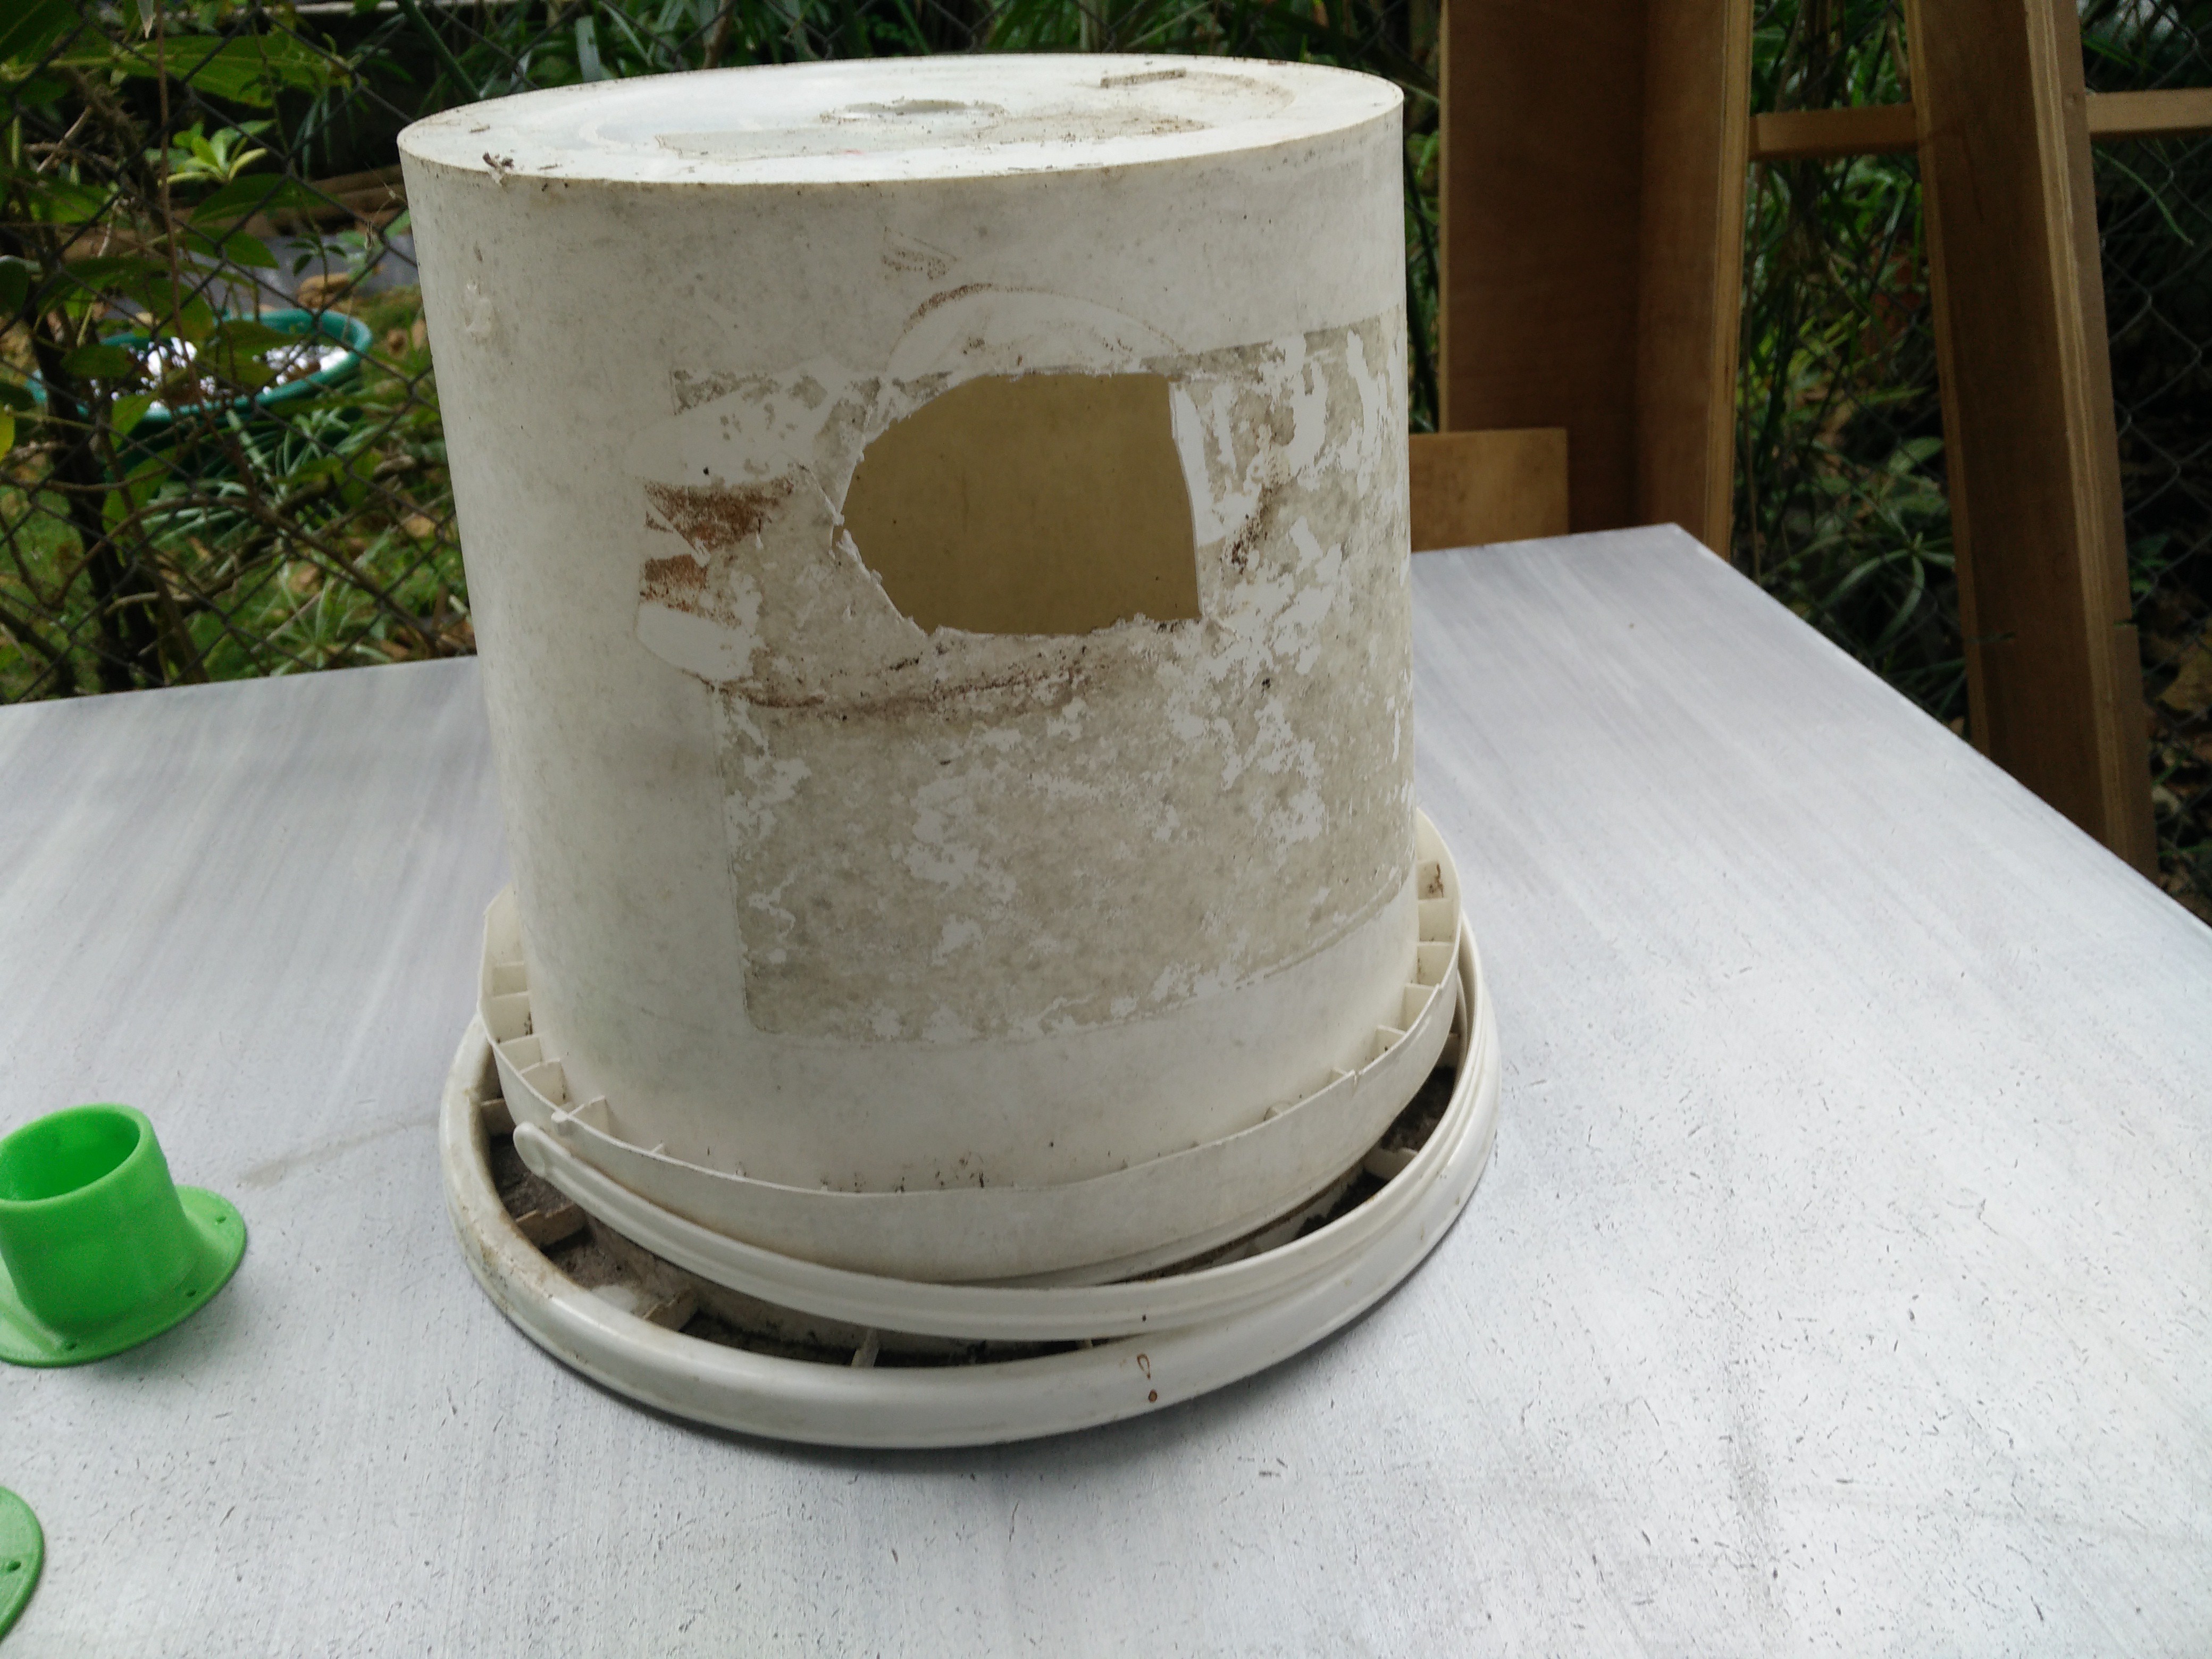
2Cut your bucket to have holes for the inlet and the outlet
-Cut a circular hole at the top of your bucket, large enough to have the 3D printed part #1 go trough it (the screw section only, the flat section remains IN the bucket)
-Near the top of the bucket, cut a hole to transfer the hole in the part #3 to the side of your bucket. To to so, you can simply place the part on the side of the bucket, and trace the hole. It should simply fit properly the right way.
![]()
-
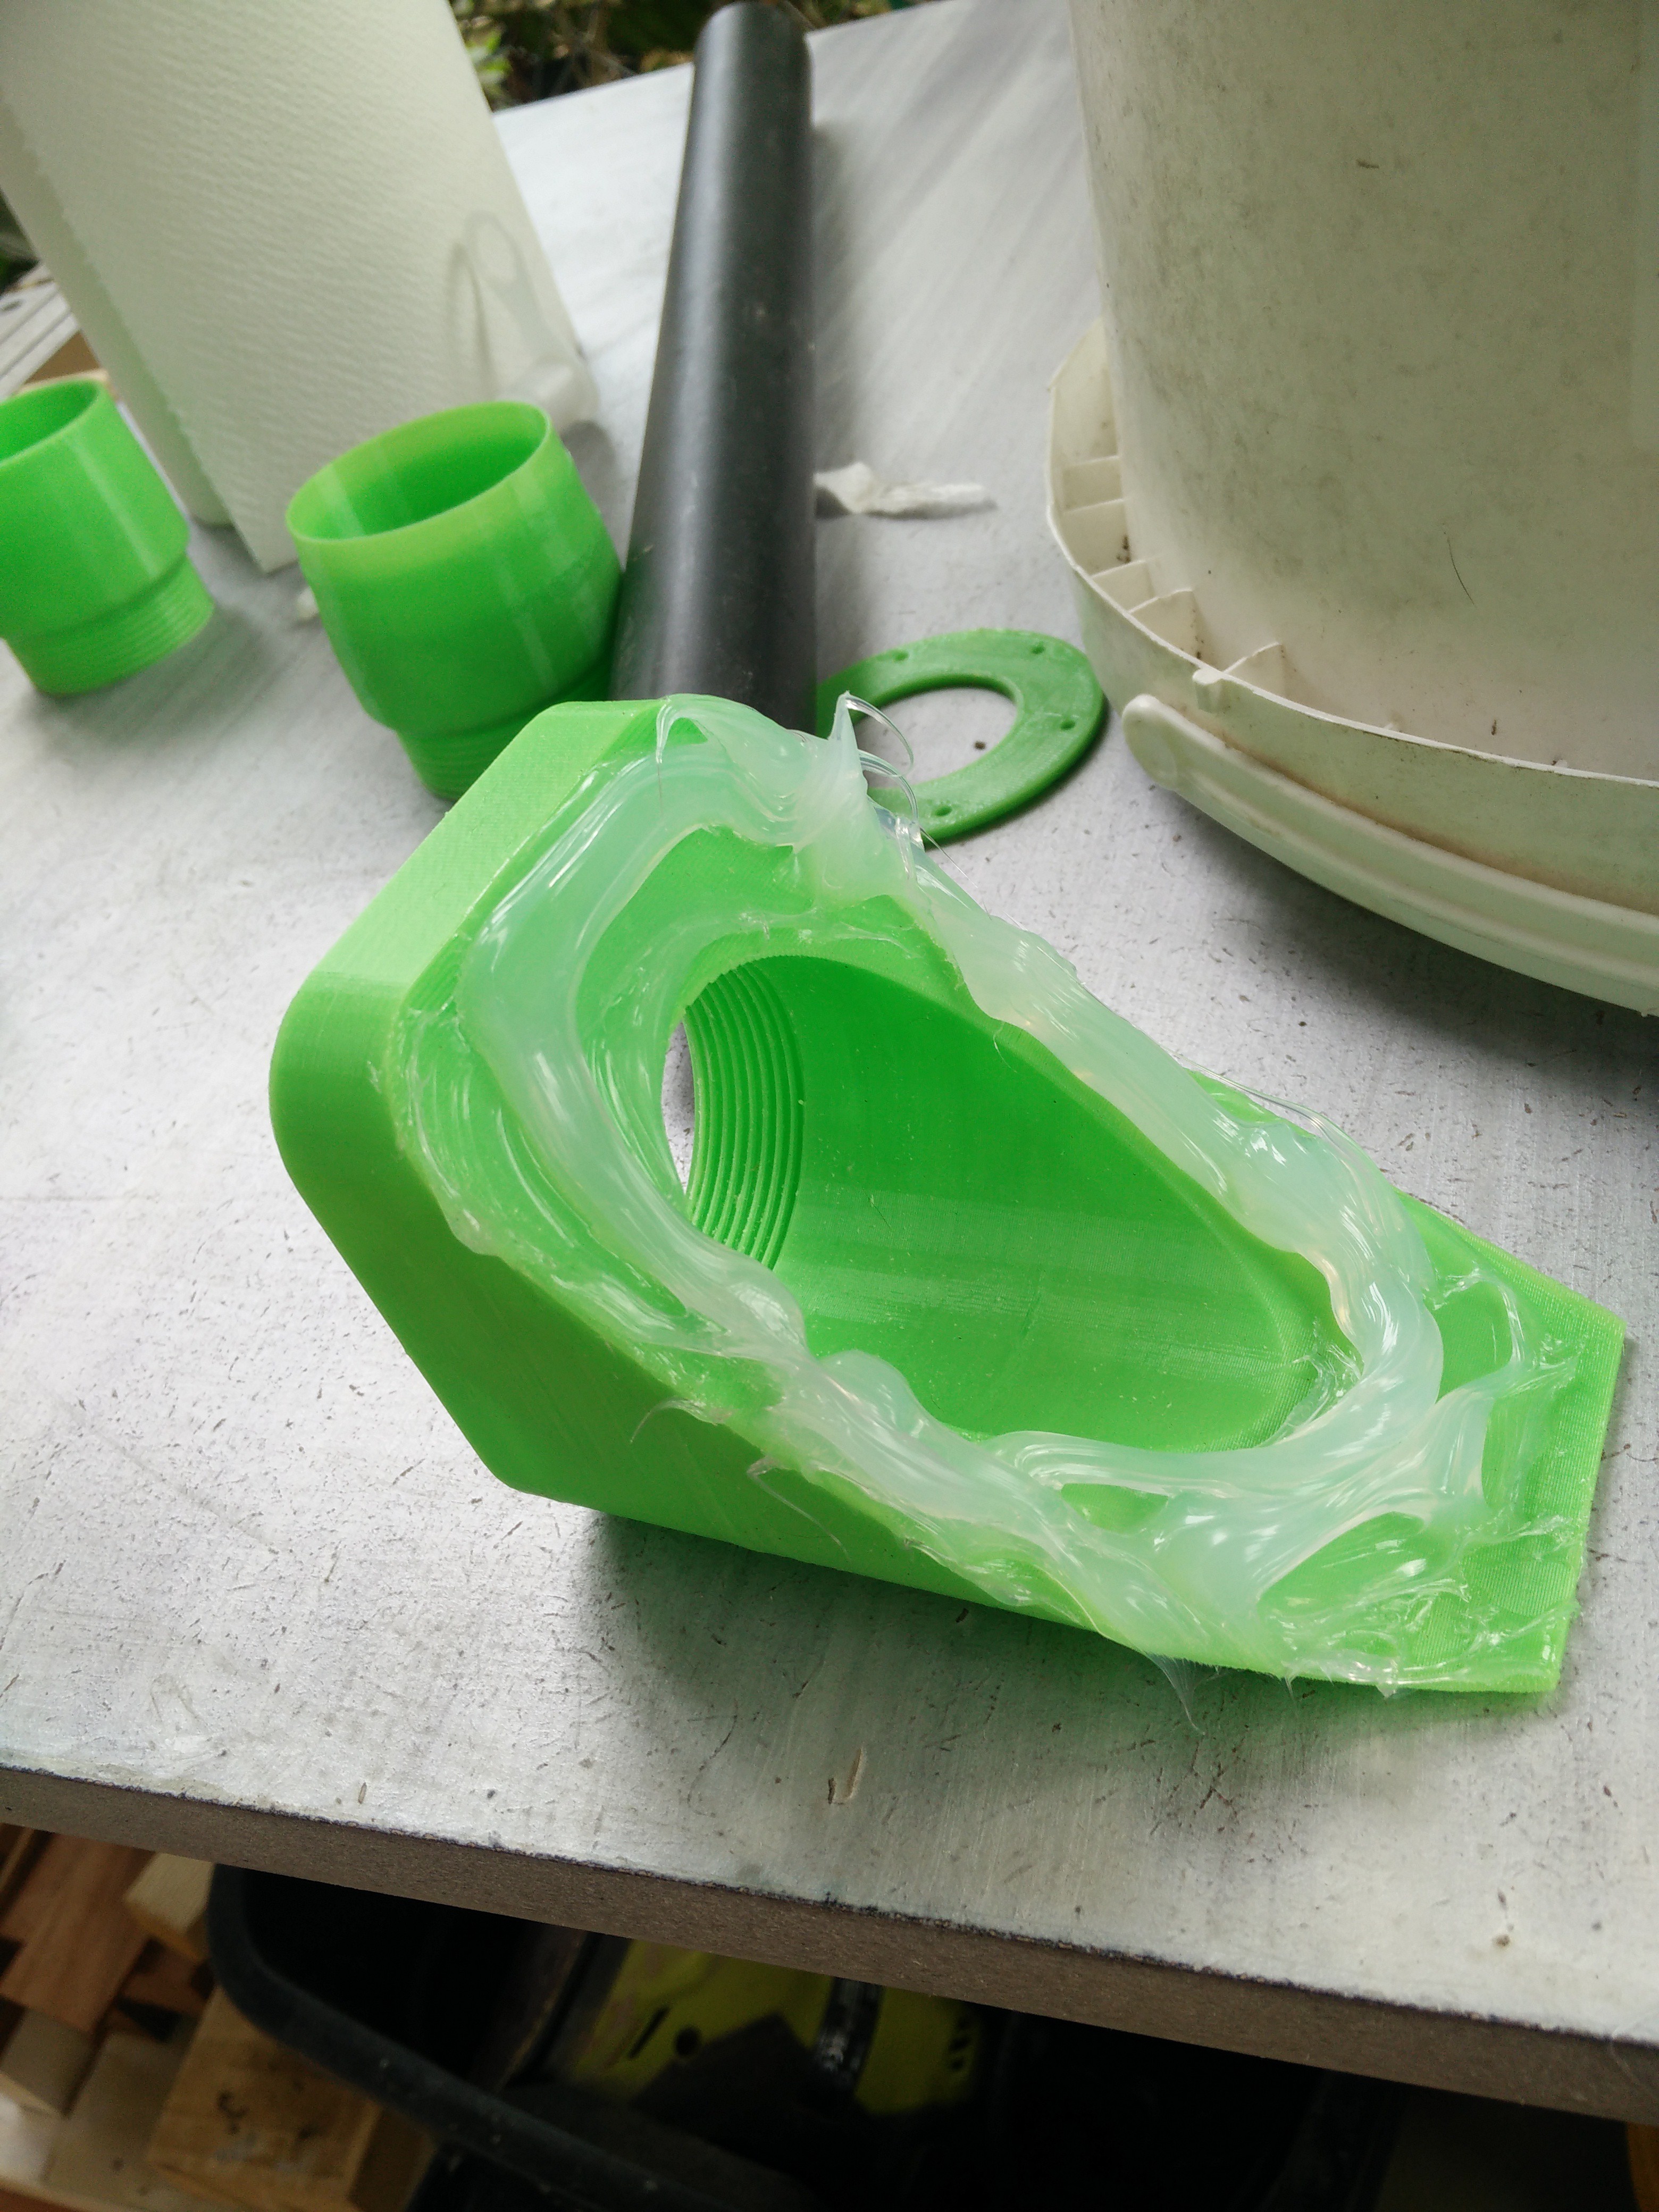
3Glue part #3 on the side of the bucket with silicone
Put generous amount of silicon on the surface of part #3 that mates with the bucket :
![]()
Then align the hole with the opening on the side of the bucket, and press firmly.
You can also add extra silicone around to ensure a better air tight joint. -
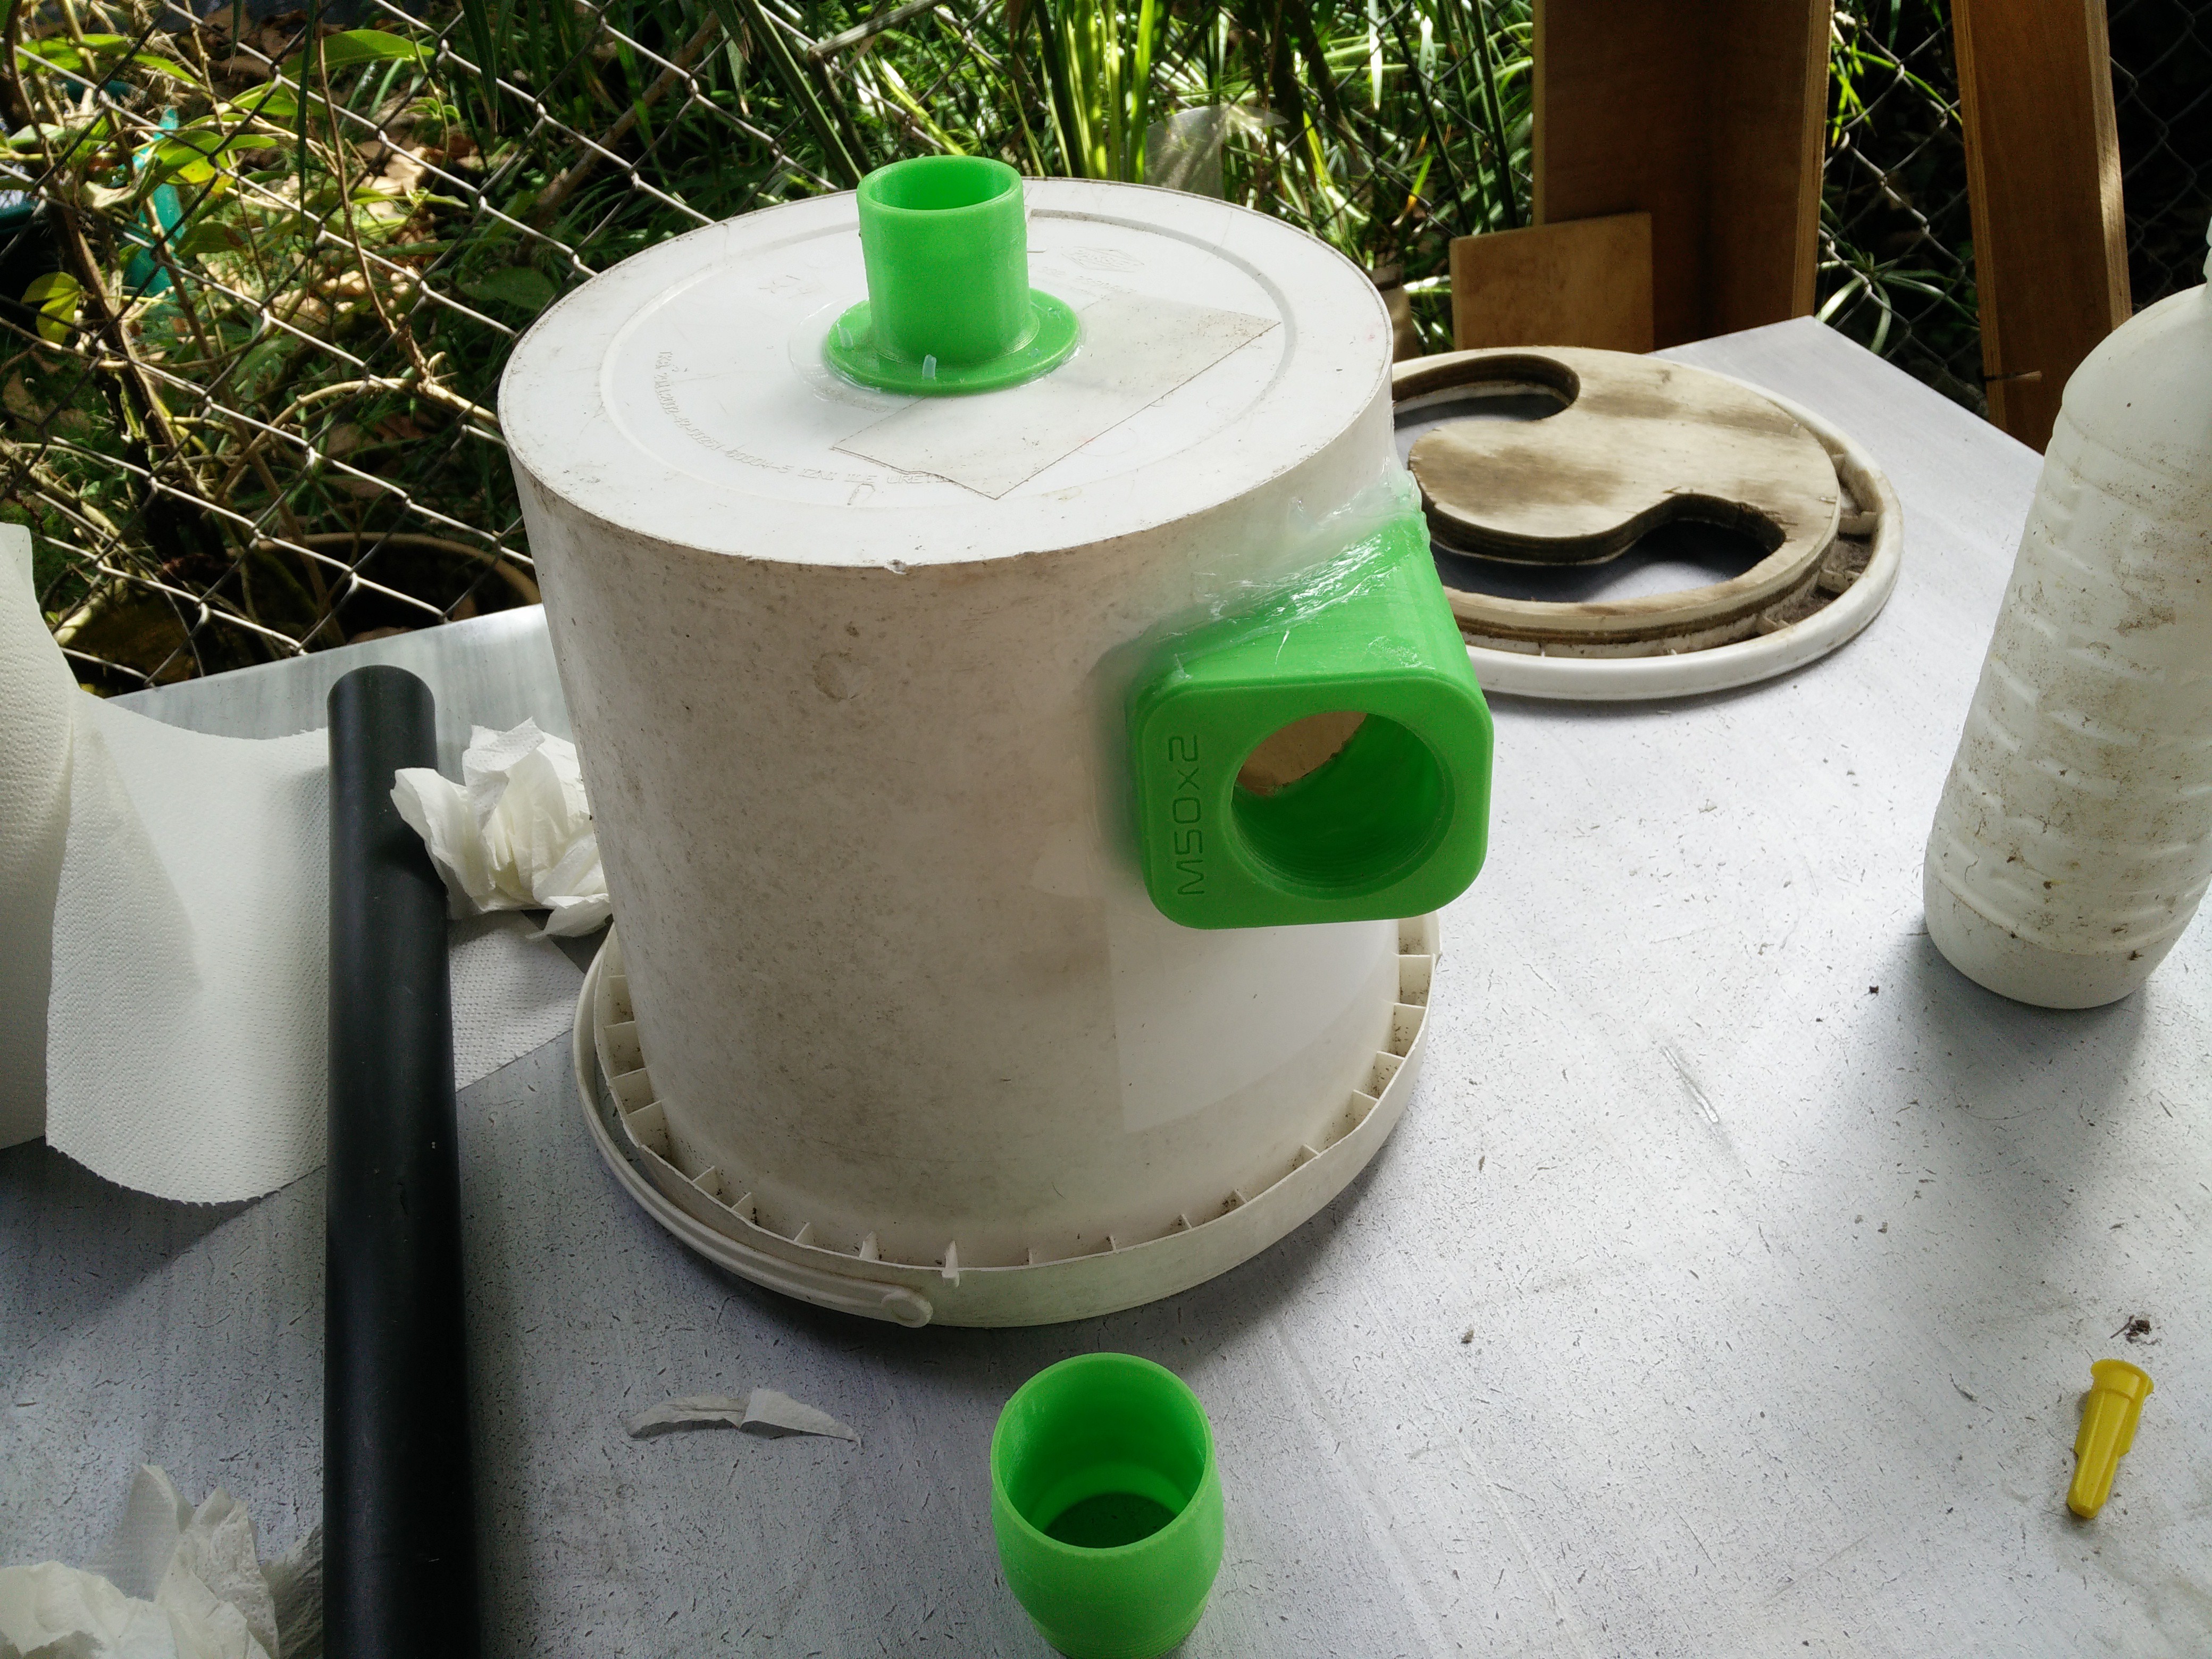
4Put part #1 in place
Place some silicone on the flat surface of the part #1 that faces up, taking care of not putting any on the screw-ey portion, and slide it trough the hole from the inside of the bucket, so that it protudes outside.
You can then add some silicone on the bottom surface of the part #2 before screwing it on part# 1 really tight.(you can forgo the silicone on part 2, but i went with it).
![]()
(the picture has an older version of the top outlet, but the principle is the same)
-
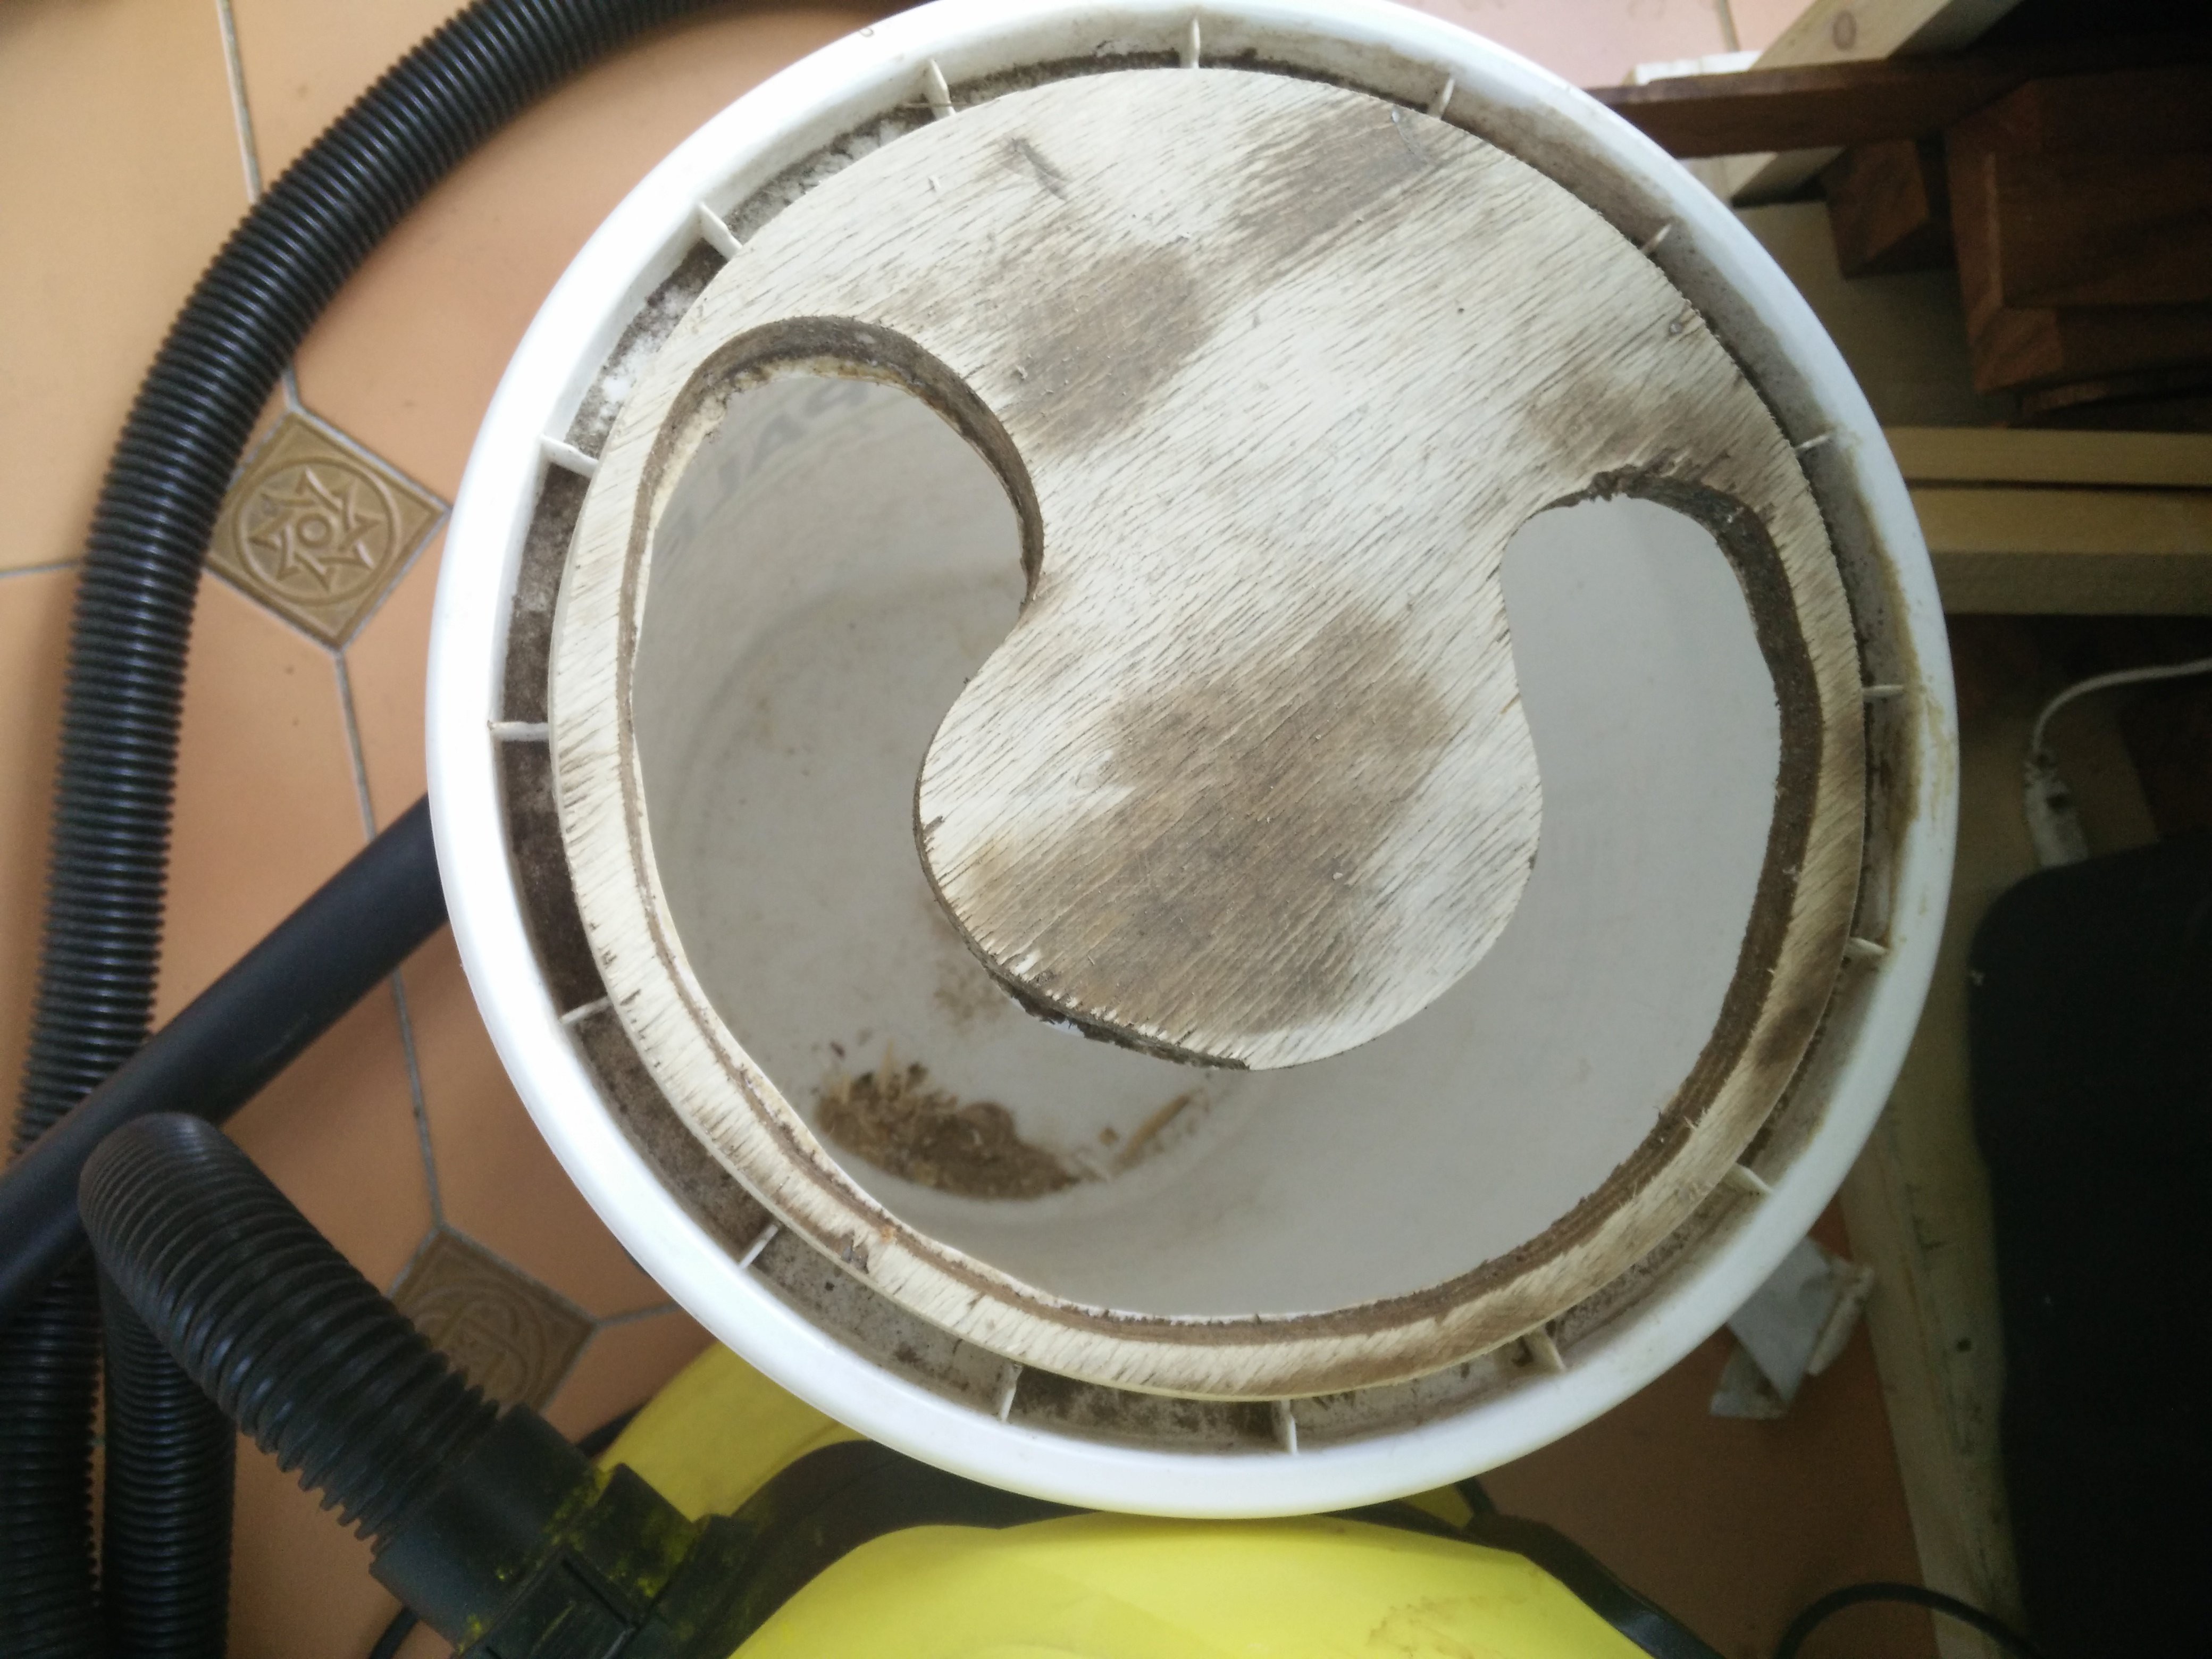
5cut your bucket lids to have a U-hape hole in it
Cut a horseshoe shape in your bucket lids to create a baffle :
![]()
This one is made out of wood because i had a smaller bucket laying around, and used it for the top bucket, but it will work the same with two plastic lids
-
6secure both lids together
Secure both lids together to have the holes line up, and be able to use this assembly to secure the two buckets together.
-
7jam your inlet hose on part #4 and your vacuum cleaner hose in part #1
Jam your inlet hose in part #4 to get it securely attached to it. You can use duct tape to keep it from going out again.
Also insert your vacuum cleaner hose in part #1, it is a friction fit. unless you pull on it, it should not move.
-
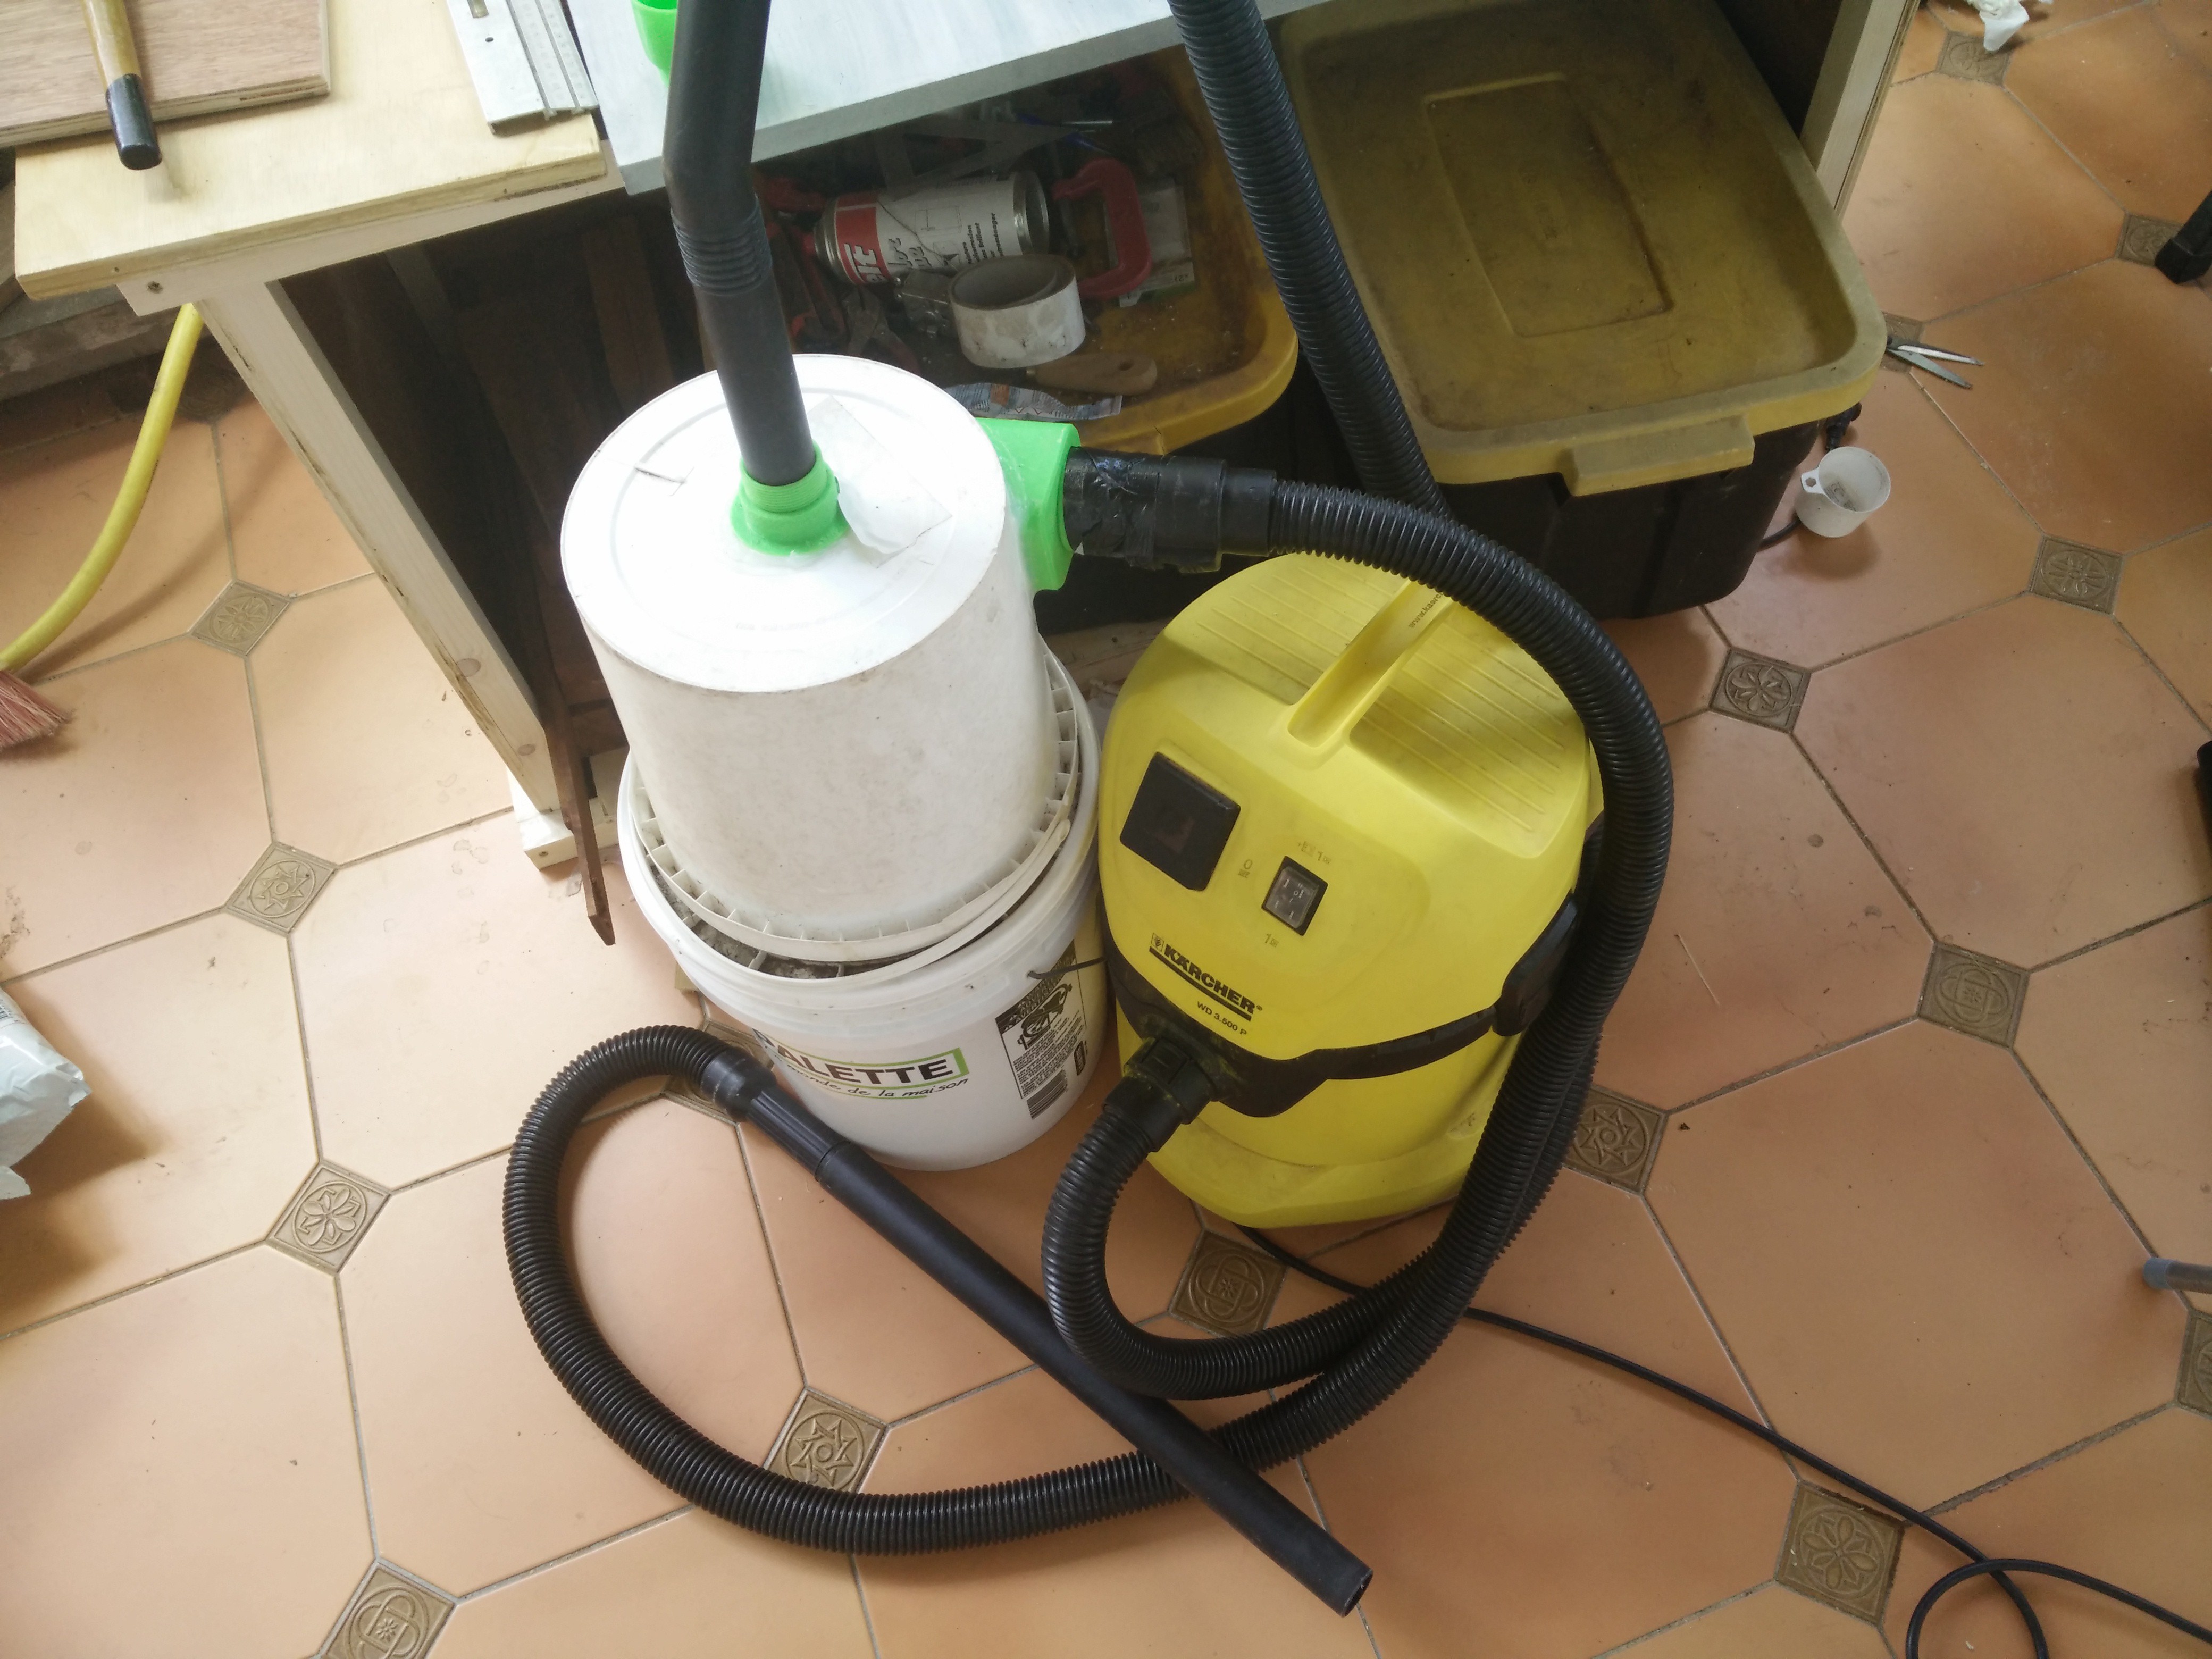
8assemble the two buckets together
Simply snap the buckets and lids together, and you're good to go!
![]()
Easy cyclone for your shopvac with 3D printing
quickly create a cyclone dust separator with 2 buckets and a few 3D printed parts.
Discussions
Become a Hackaday.io Member
Create an account to leave a comment. Already have an account? Log In.